Frozen Garden: the gate lock
Get through the frozen garden gate. The castle set has 8 steambugs; collect them all before taking the main elevator underground (in the next part).
- Zoom on the barrel right of the gate: take the Bucket and the fleur-de-lis Metal Spike. The step ladder behind it is stuck.
- Zoom on the glider: take the Chain and the Snowball. Use the Bucket on the snowdrift to get a Bucket with Snow.
- Hold the Bucket with Snow over the steaming grate by the lamppost: Bucket with Water.
- Break the ice of the frozen puddle with the Metal Spike to free a hook, then attach the Chain to it: Hook on a Chain.
- Throw the Snowball at the owl in the tree to scare it away.
- At the barrel, pour the Bucket with Water on the rocky ground so it freezes smooth, push the barrel aside and take the Step Ladder.
- Place the Step Ladder under the tree on the left and fish in the hollow with the Hook on a Chain: Garden Gate Key.
- Steambug (Castle): in the Frozen Garden, zoom on the lantern on the stone wall at the left; the bug is inside the lantern. Click it to collect it.
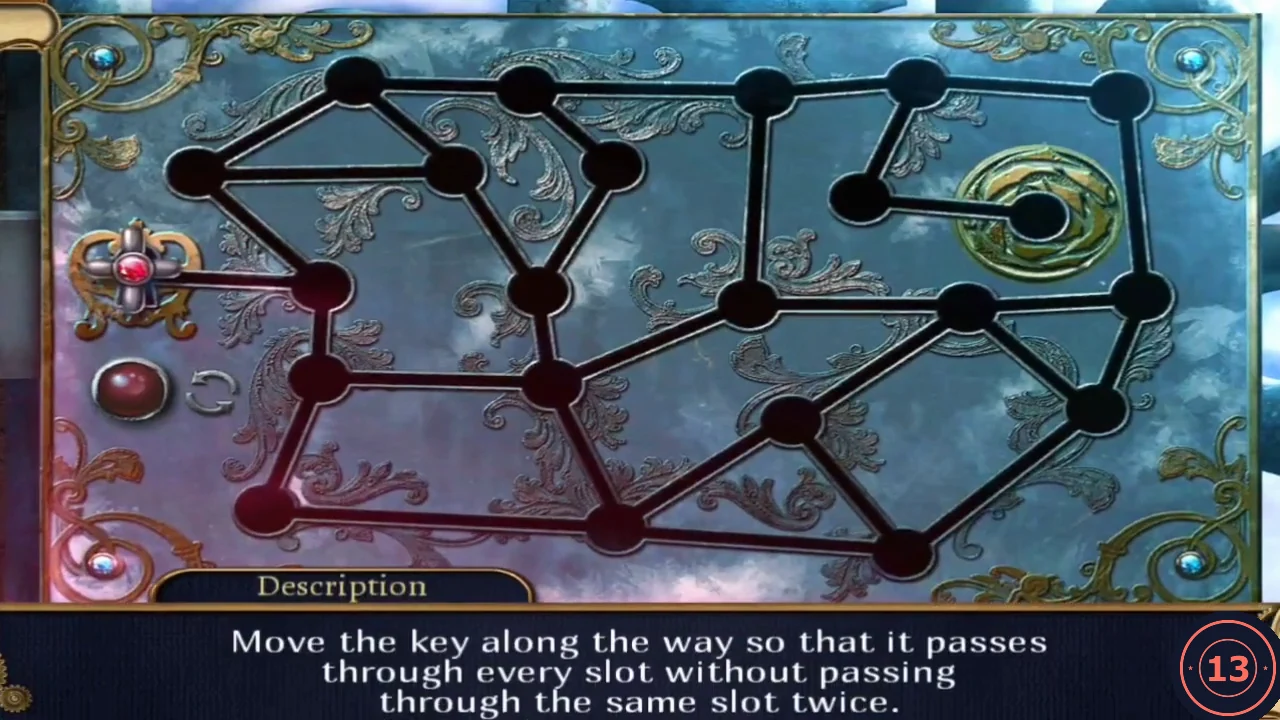
- Put the Garden Gate Key into the lock. Draw one continuous path from the key holder to the gold lock that passes through every node exactly once (the red knob at the lower left resets). Route that works: from the key go to the node just right of it, zig-zag through the upper-left cluster (up-left, up to the top, down-right, down, up, then to the top node on the left of the cluster), run right along the top to the next node, drop down through the centre to the lower-left corner, follow the bottom row to the right, climb up through the right-hand nodes to the top-right corner, go left along the top, then down and right into the gold lock. The image after this step numbers the nodes 1-21 in this order. Every node lights up when the path is right.
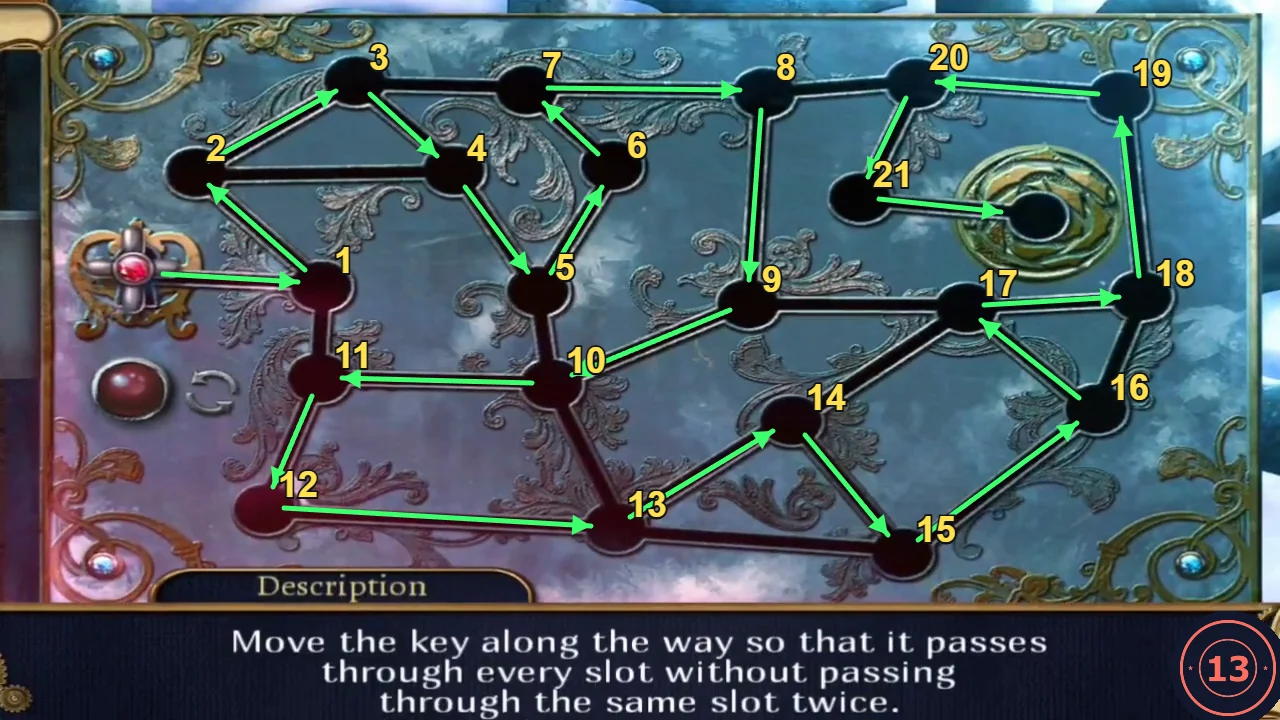
One working route: follow the nodes in number order from the key to the gold lock. - Barber and his golem capture Evangeline and throw her into the dungeon.
Escaping the dungeon
Signal Matthew from the cell window so he can bring the key.
- Take the Broom (right of the gate) and the Flints from the window sill.
- Zoom on the cell gate and reach through the bars with the Broom to pull in the Lamp.
- In the straw alcove on the right take the Stick and the Dustpan. Note the sparkling crystal in the wall; you will need a pick for it later.
- Use the Flints on the dry hay to start a fire and hold the Stick in it: Burning Stick.
- Put the Lamp on the window sill, open it, light the wick with the Burning Stick and fit the Camera Shutter to its front. Click the shutter on the lamp to make it blink: the signal brings Matthew to the window.
- At the gate, use Matthew on the Cell Key hanging by the red coat, then open the padlock with it.
- Steambug (Castle): in the dungeon cell, on the stone wall right of the cell gate (you can also come back for it later). Click it to collect it.
- Watch Barber use his pendant key on the elevator. From the kitchen, zoom into the doorway view of the elevator hall: take the Elevator Key lying on the right door-frame ledge.
- Steambug (Castle): in the same elevator-hall view (Downstairs Lobby), at the top of the right door frame. Click it to collect it.
Kitchen: the sliding-key cabinet
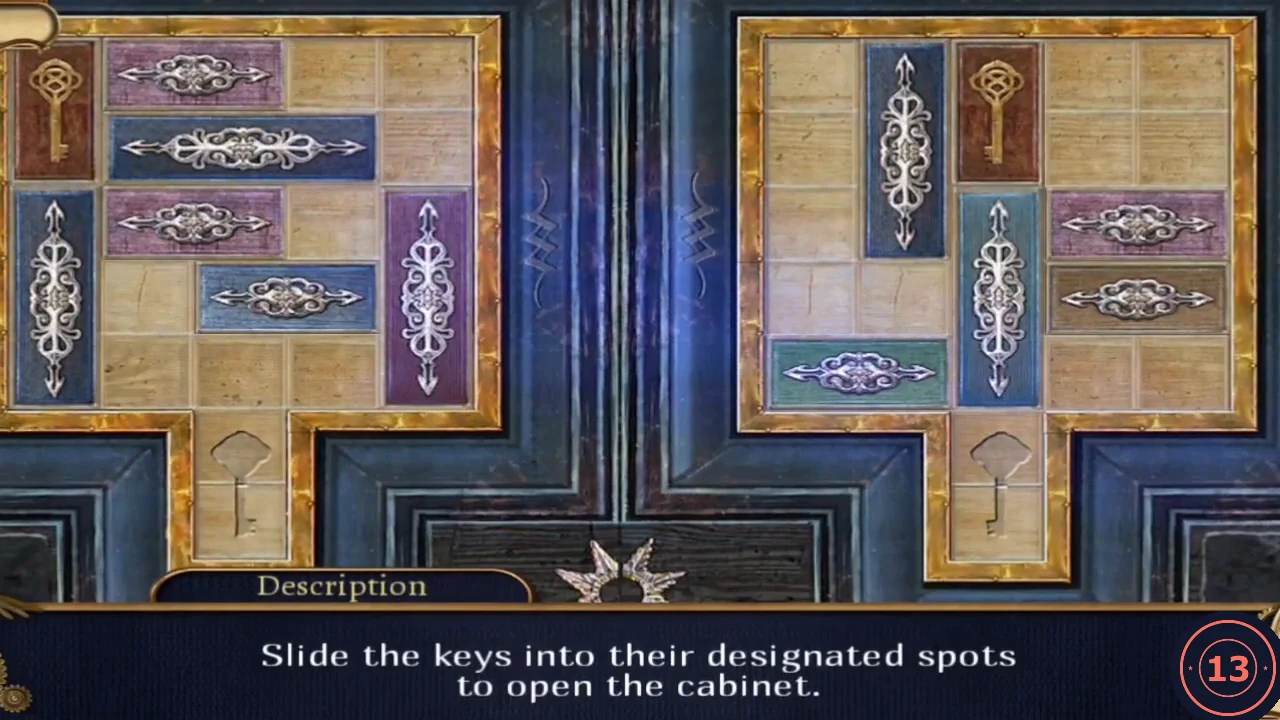
Find the scraps of a torn crest drawing and open the kitchen dumbwaiter. In the cabinet puzzle, the goal on each board is to slide the key down into the slot under the middle column; bars only move along their arrows, so clear the key's path one bar at a time. The move lists below solve the boards as they appeared in the recorded game; if yours start differently, use that goal.
- Use the Elevator Key in the dumbwaiter keyhole on the left wall. The hatch opens but its chains are broken.
- Take paper scrap 1/4 from the floor in front of the stool.
- Steambug (Castle): in the kitchen, on the wall left of the iron stove door, near the window at the upper left. Click it to collect it.
- Open the upper cabinet. Grid columns A-E, rows 1-5 (row 1 at top); the slot is under column C. Keys move in any direction, bars only along their arrows. Left board: top pink bar right; dark-blue bar right; row-3 pink bar right; key right, then down to B4-5; top pink bar back left; dark-blue bar left; purple bar up; blue bar (row 4) right; key right to C4-5 and down into the slot.
- Right board: key right to E1-2; teal vertical bar up; teal horizontal bar (bottom) right; dark vertical bar down; teal vertical bar down; key left to A1-2 and down to A4-5; dark bar up; teal vertical bar up; key right to C4-5 and down into the slot. Take paper scrap 2/4.
Kitchen rack and the salon door
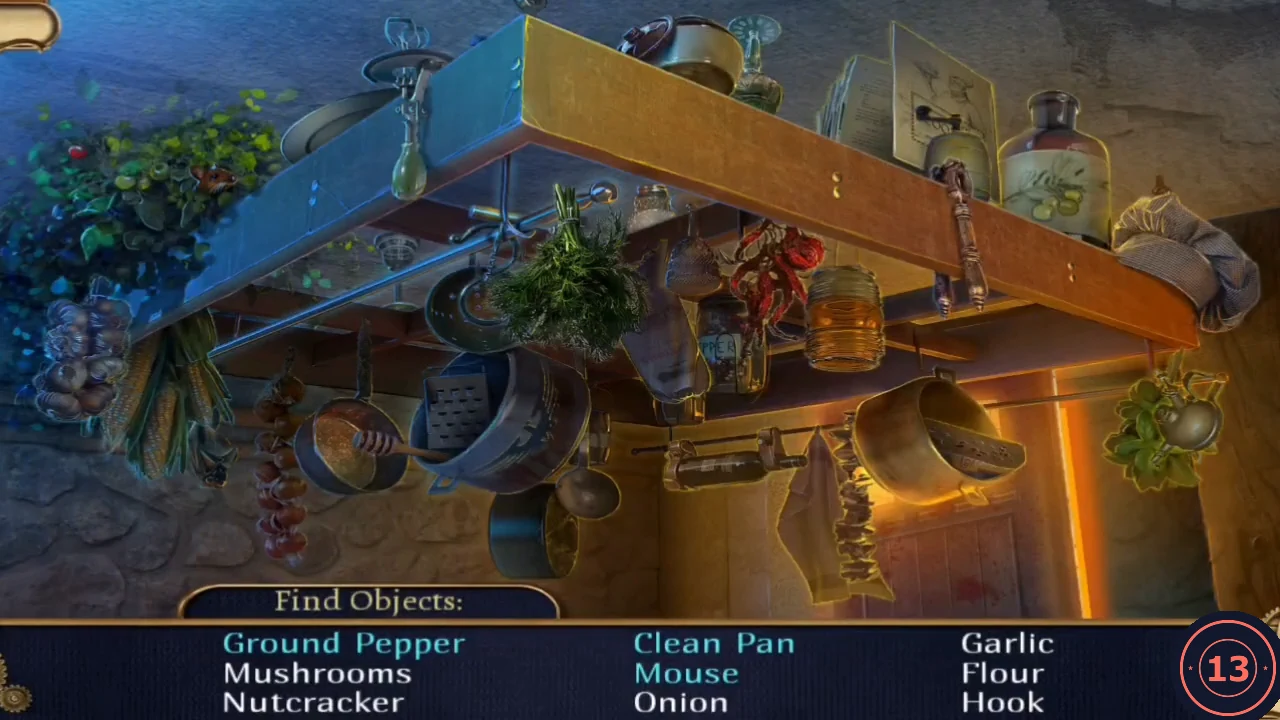
Repair the dumbwaiter, reach the salon and open its locked door.
- Click the hanging rack (Find Objects). Interactive items: click the mouse hole and put the Cheese in it (Mouse); use the Cloth hanging at the left on the dirty pan (Clean Pan); put the Whole Pepper from the top shelf into the pepper mill (Ground Pepper). Reward: Hook.
- Put the Hook on the broken dumbwaiter chain and ride it To the Salon.
- Open the display case on the left: take the Flask and the Letter Opener.
- Steambug (Castle): in the Salon, in the dish on the small round table in the centre. Click it to collect it.
- Sweep the cobweb under the credenza with the Broom and take the small pick.
- At the locked door slide the Dustpan under it, push the key out of the keyhole with the Letter Opener, then pull the Dustpan back: Door Key. Unlock the door To the Upstairs Lobby.
- Return to the dungeon cell and use the pick on the sparkling crystal in the alcove wall: Diamond.
Upstairs Lobby: the red tiles
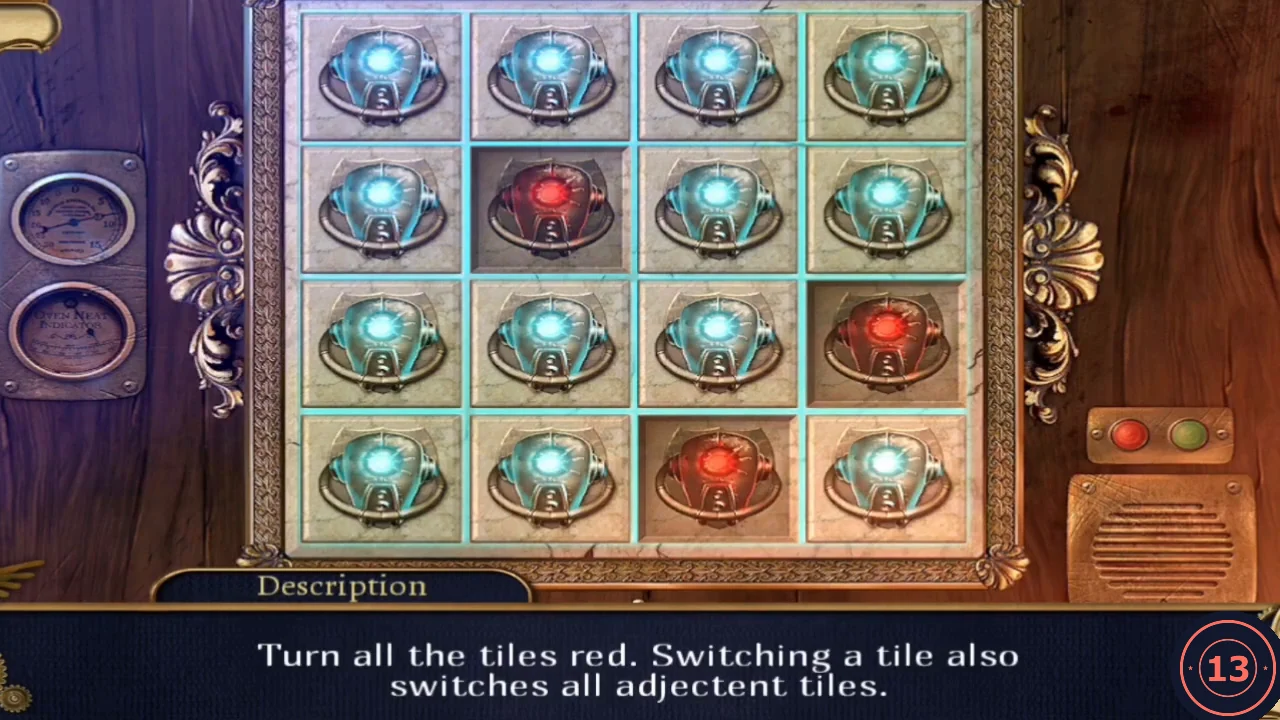
Cut into the Study and solve the tile box on the balcony lectern. The tile box works like a lights-out puzzle: clicking a tile flips it and its direct neighbours, and clicking the same tile twice undoes it. The clicks below solve the starting pattern seen in the recorded game; if your pattern differs, flip tiles row by row from the top so that each row is finished by clicks in the row beneath it.
- In the Upstairs Lobby, cut the glass of the right-hand door with the Diamond.
- Steambug (Castle): in the Upstairs Lobby, on the right arm of the chandelier. Take it now: the chandelier is brought down later. Click it to collect it.
- Use Matthew on the red gem high in the lobby: Red Quartz.
- Click the box on the balcony lectern. Goal: turn all 16 tiles red; clicking a tile also switches the tiles next to it. With rows and columns numbered from the top left, from the starting state click row 3 col 3, row 1 col 1, row 4 col 1, row 1 col 4 and row 4 col 4. Take paper scrap 3/4 from under the lifted tile.CODEr3c3, r1c1, r4c1, r1c4, r4c4
Study: the grandfather clock
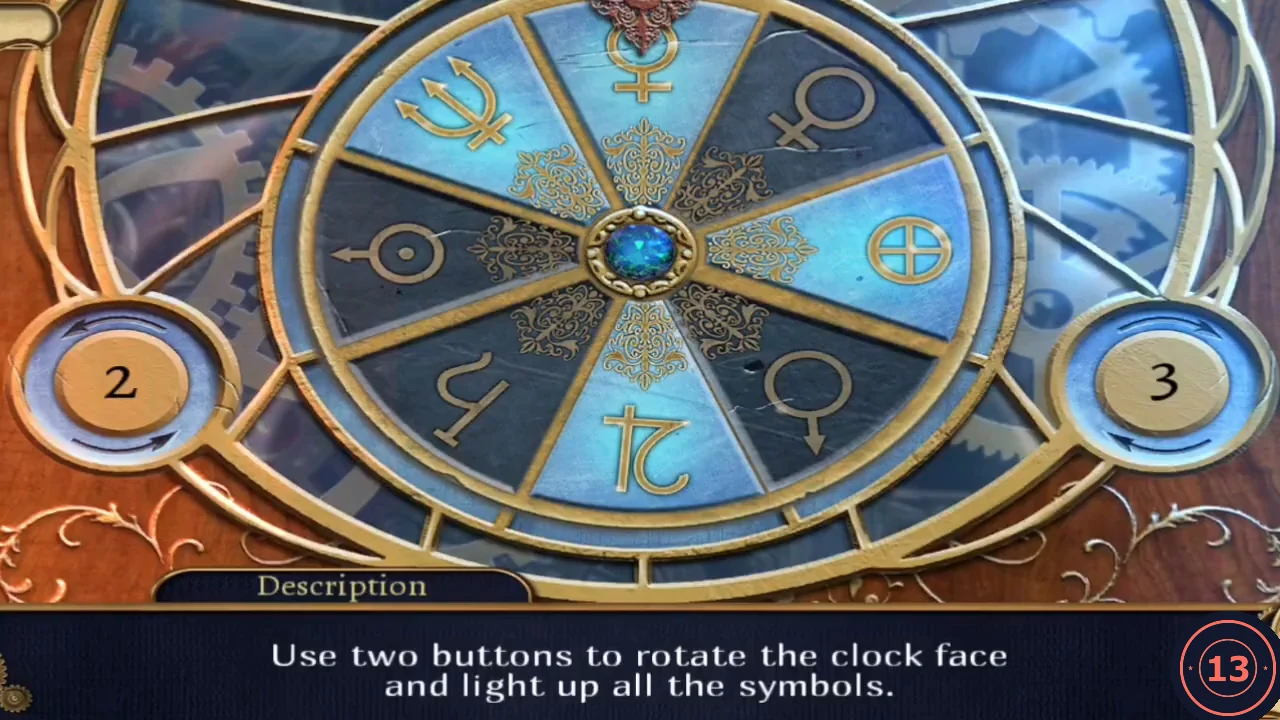
Collect items from the hunting trophy and fireplace, then light the clock's symbols. The button presses below solve the clock from the start state seen in the recorded game; if any symbols are lit differently on your clock, watch which symbol stops at 12 o'clock after each press and toggle only the unlit ones.
- Zoom on the lizard trophy above the fireplace and take the Saber and the Horn.
- Zoom on the lizard's head and pry out the lodged bullet with the Letter Opener: Bullet.
- Zoom on the fireplace, take the Tongs from the right side and use them on the coals: Ember.
- Steambug (Castle): in the Study (library), on the ceiling at the top centre. Click it to collect it.
- Click the grandfather clock. Button 2 turns the face 2 steps clockwise and button 3 turns it 3 steps anticlockwise; the symbol that stops at 12 o'clock switches on or off. From the starting state press 2, 2, 2, 3, 2, 2, 3, 2 to light all symbols. Take paper scrap 4/4.CODE2 2 2 3 2 2 3 2
Salon: the glass cabinet
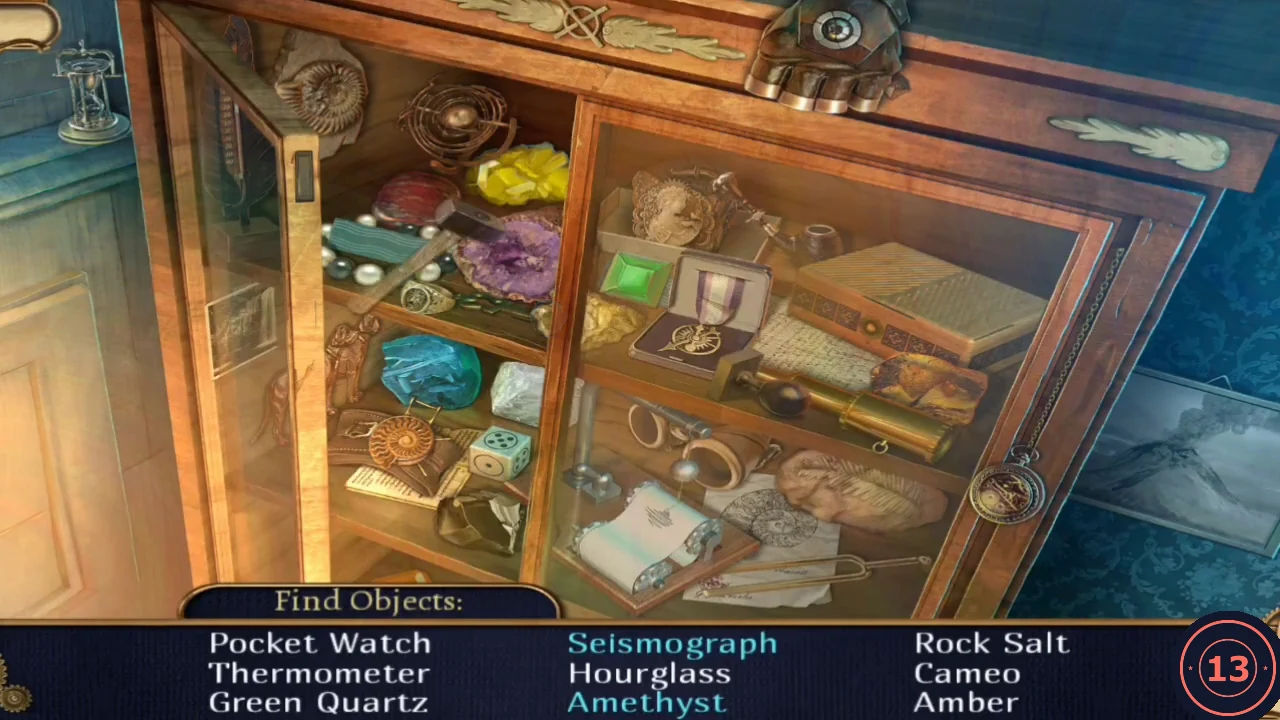
Search the Salon cabinet for the Green Quartz.
- In the Salon click the sparkling glass cabinet right of the desk (Find Objects). Interactive items: take the hammer from the lower-left shelf beside the dice and use it on the purple geode on the upper-left shelf, then collect the Amethyst; click the paper roll at the bottom centre so the stylus drops onto it (Seismograph). Reward: Green Quartz.
Salon: the crest rings
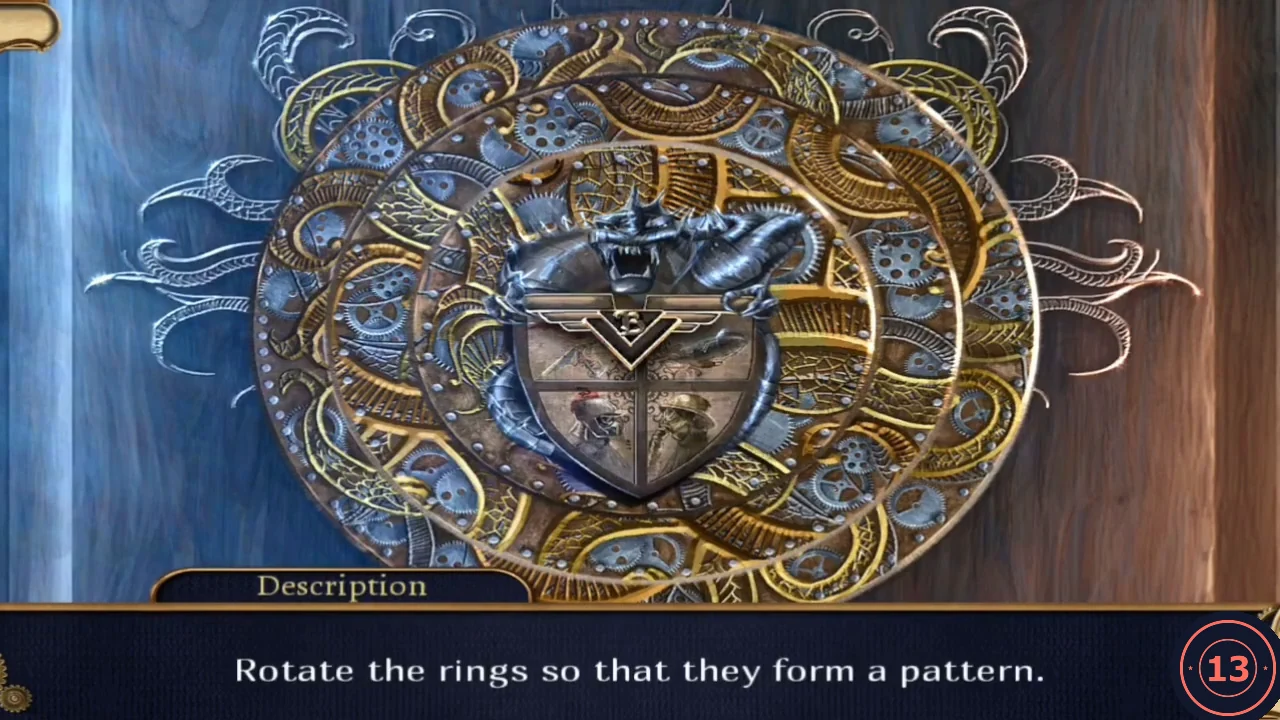
Rebuild the crest beside the portrait to get the Blue Quartz.
- Place the four paper scraps (Crest Parts) on the round crest left of the portrait.
- Click a ring to rotate it. Turn the three rings until the gold swirls form one continuous pattern around the shield. If your rings start in a different position from the picture, keep turning each ring until its swirls join those of its neighbours. Take the Blue Quartz.
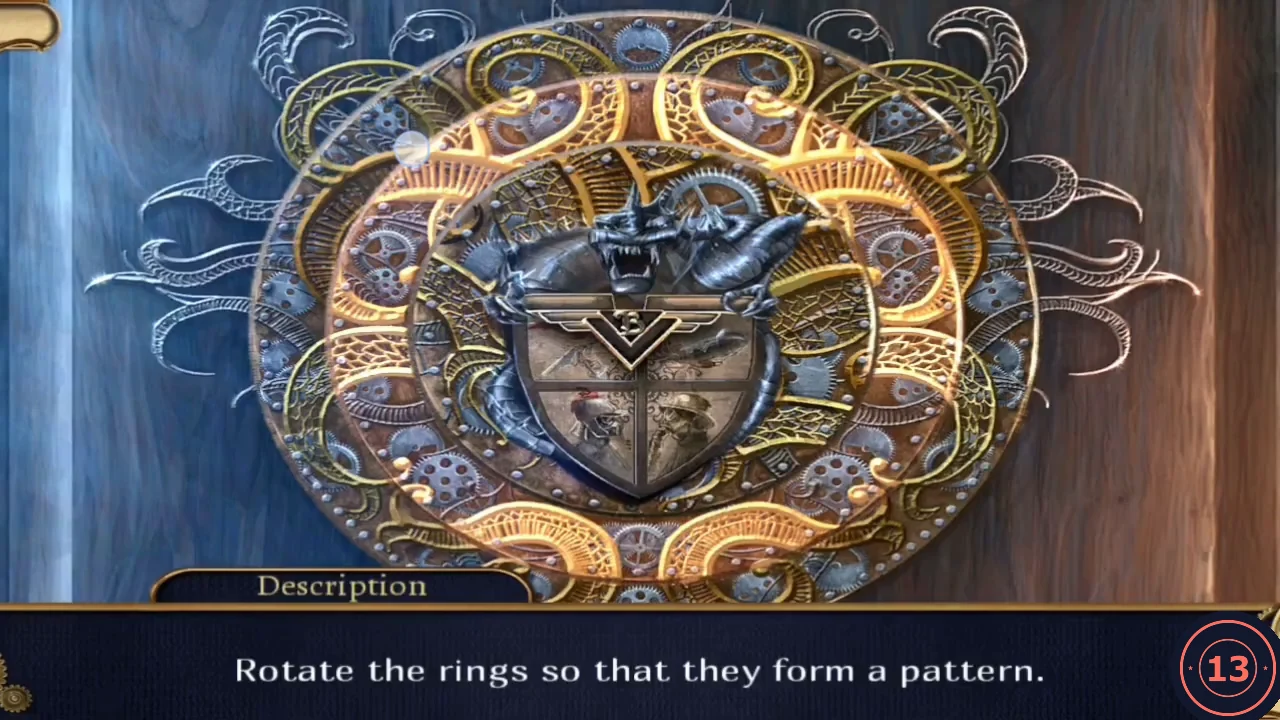
The completed crest.