Glowing mushrooms and the fuse box
Light the dark storeroom. The underground set has 11 steambugs.
- On the Bridge zoom on the left rock pedestal: take Golem Part 1/5 and the Putty Knife.
- At the glowing mushroom patch on the right take the mechanical lizard, then scrape the rock-hard mushrooms with the Putty Knife: Glowing Mushrooms.
- Steambug (Underground): on the Bridge, on top of the boxed control panel on the right rock above the lava. Click it to collect it.
- At the Cave Entrance put the Glowing Mushrooms into the lantern on the rock column and take the glowing lantern.
- Steambug (Underground): at the Cave Entrance, hanging on a stalactite at the top left. Click it to collect it.
- Enter the dark Golem Parts Storeroom and place the lantern on the machinery at the right. Zoom on the fuse box.
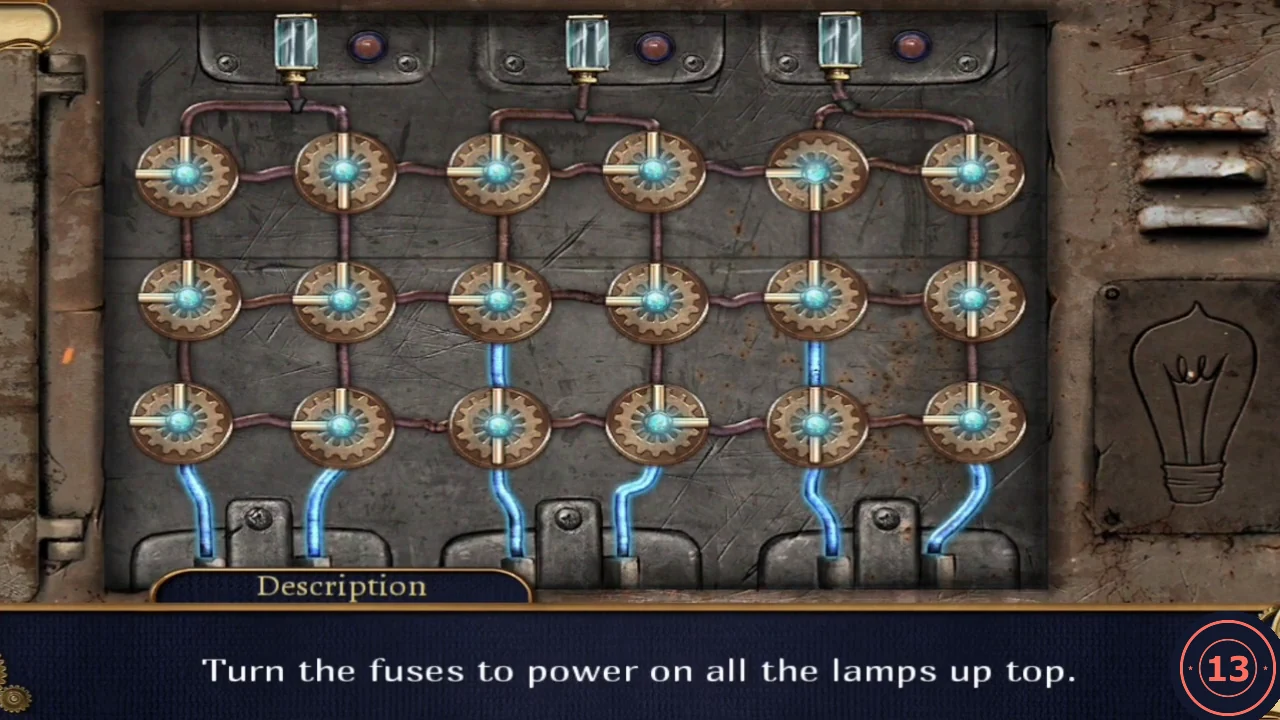
- Rotate the T-shaped fuses (6 columns x 3 rows) so power from the cables below reaches all three lamps. Left lamp: join columns 1-2 on the bottom row, up column 1, right to column 2 in the middle row, up column 2. Middle lamp: from column 3 up, right to column 4 in the middle row, up, left to column 3 in the top row, up. Right lamp: join columns 4-6 on the bottom row, up column 6 two rows, left to column 5 in the top row, up.
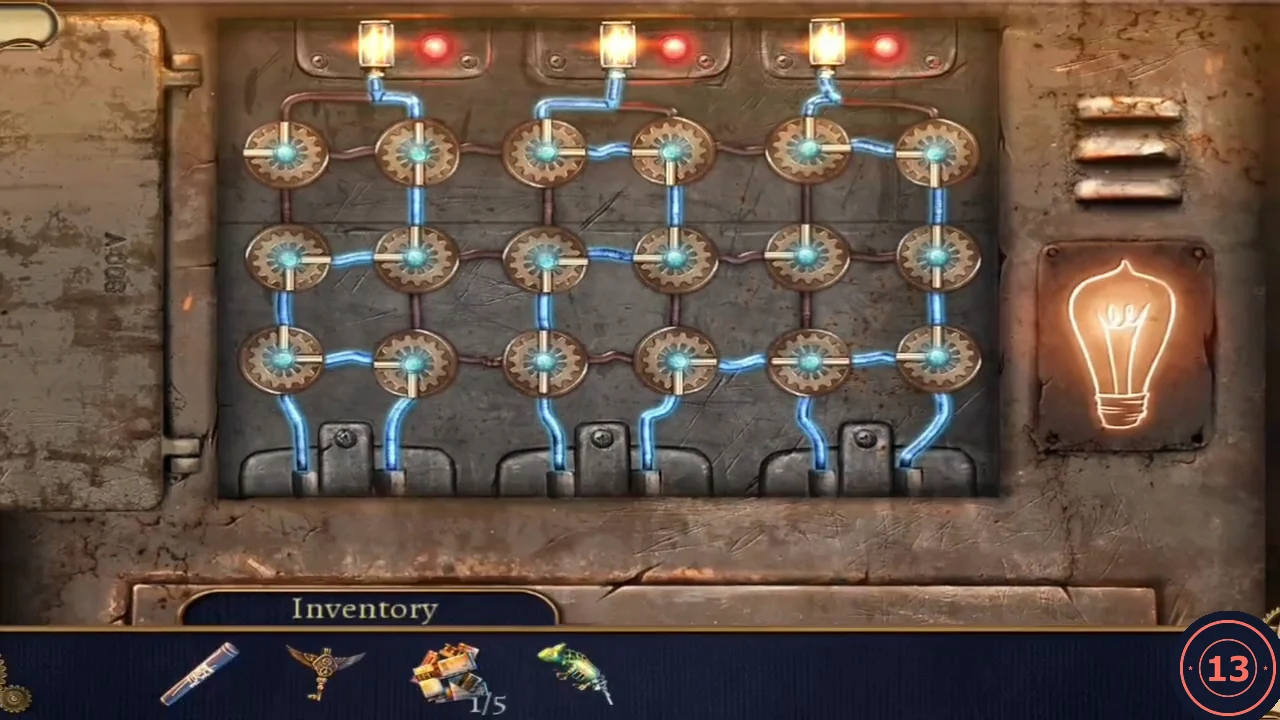
Power reaching all three lamps.
Storeroom: valve, Ink's cell door and the parts rack
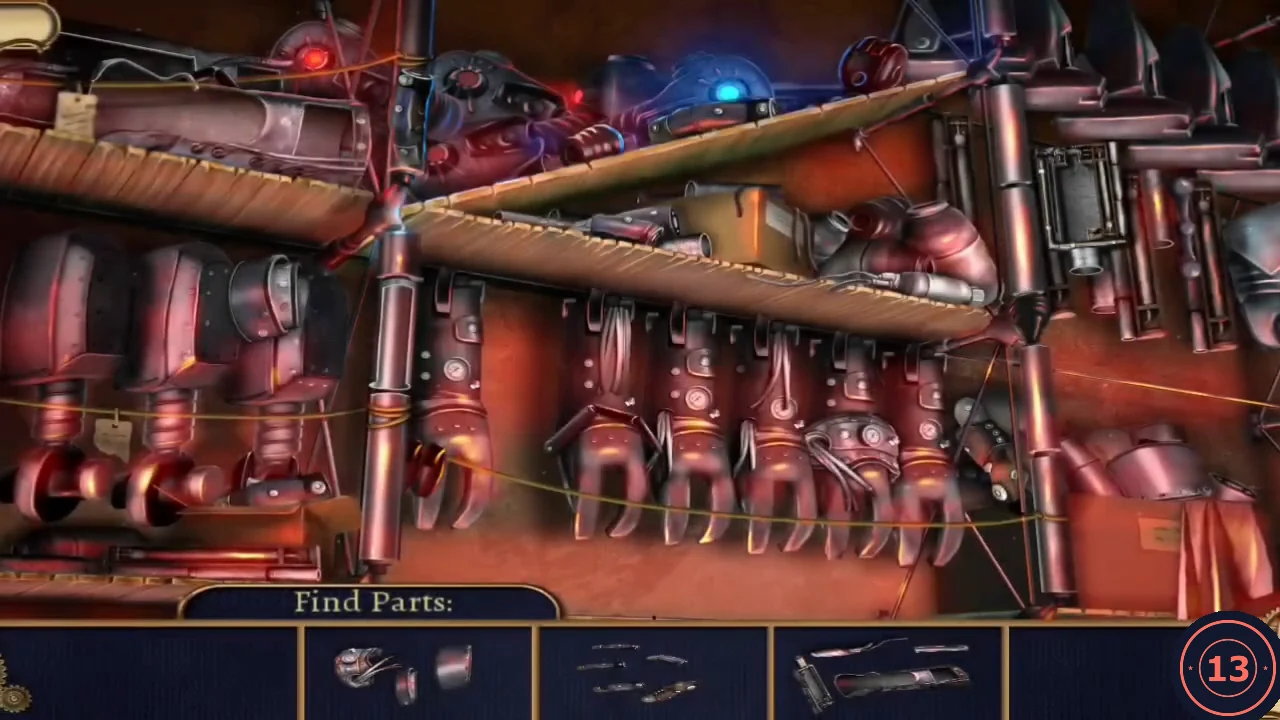
Collect golem parts and assemble the chassis for a mechanical hand.
- In the lit storeroom take the Jackhammer from the floor and Golem Part 2/5 from the floor grate.
- Use Matthew on the red cloth hanging high on the right pipe: Flag.
- Steambug (Underground): in the storeroom, on the upper-right pipe where the red Flag was hanging (visible once Matthew has taken the Flag). Click it to collect it.
- At the Cave Entrance use the Jackhammer on the left of the two cracked stalagmites. Take the stalagmite piece.
- In the storeroom use the stalagmite piece as a lever on the stuck wheel valve on the right pipe.
- Go Cave Entrance > Bridge > To the Differential Machine. Talk to Ink in his cell; the door's hand-shaped plate needs a mechanical hand. Take Golem Part 3/5 from the floor by the door.
- At the machine console take Golem Part 4/5 and the orange-blue sphere from the socket at the right.
- In the storeroom click the parts rack (Find Parts) and collect the pieces of three silhouettes: on the upper-left shelf, the central post, by the wheel feet at the lower left, the top shelf near the post, the ends of the middle shelf, the top of the blue glowing machine, among the hanging hands, the rods on the right wall and the crate at the lower right. Reward: Golem Hand Chassis.
Storeroom hatch: the ball maze
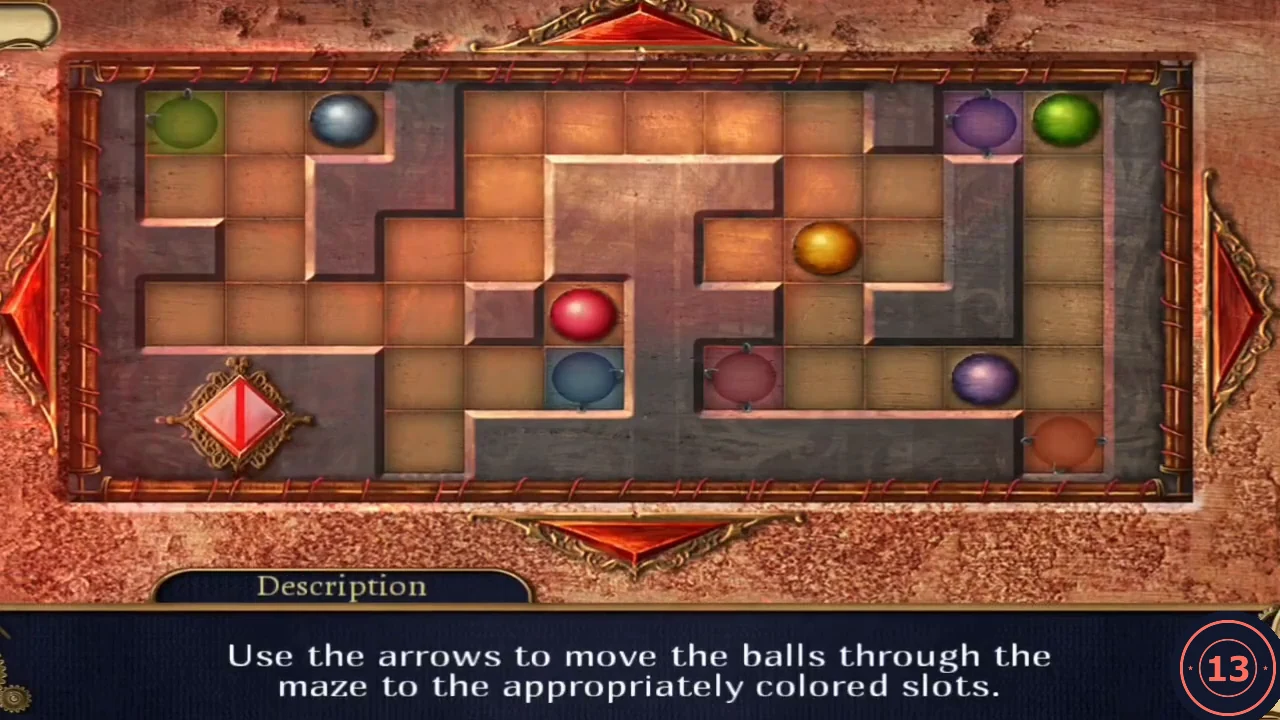
Tilt five coloured balls into their matching slots to open the way to the Golem Factory. Every press tilts the whole board, so all balls roll until they hit a wall or another ball, and a ball that reaches its own coloured slot stays there. The press list below solves the layout seen in the recorded game; if your layout differs, work the balls into their slots one at a time and use other balls as stoppers.
- Put the orange-blue sphere into the centre socket of the round hatch in the storeroom's rear wall.
- All balls slide together until blocked. From the starting layout press: Right, Up, Left, Down, Right, Down, Left, Down, Left, Up, Left, Down, Left, Down, Right, Down, Left, Up, Left, Up, Left, Up, Left, Right, Down, Left, Down, Right, Up, Right, Up, Right, Down, Left. Purple settles after press 11, yellow after 16, green after 23, blue after 28 and red after 34.CODER U L D R D L D L U L D L D R D L U L U L U L R D L D R U R U R D L
Golem Factory: the mechanical hand
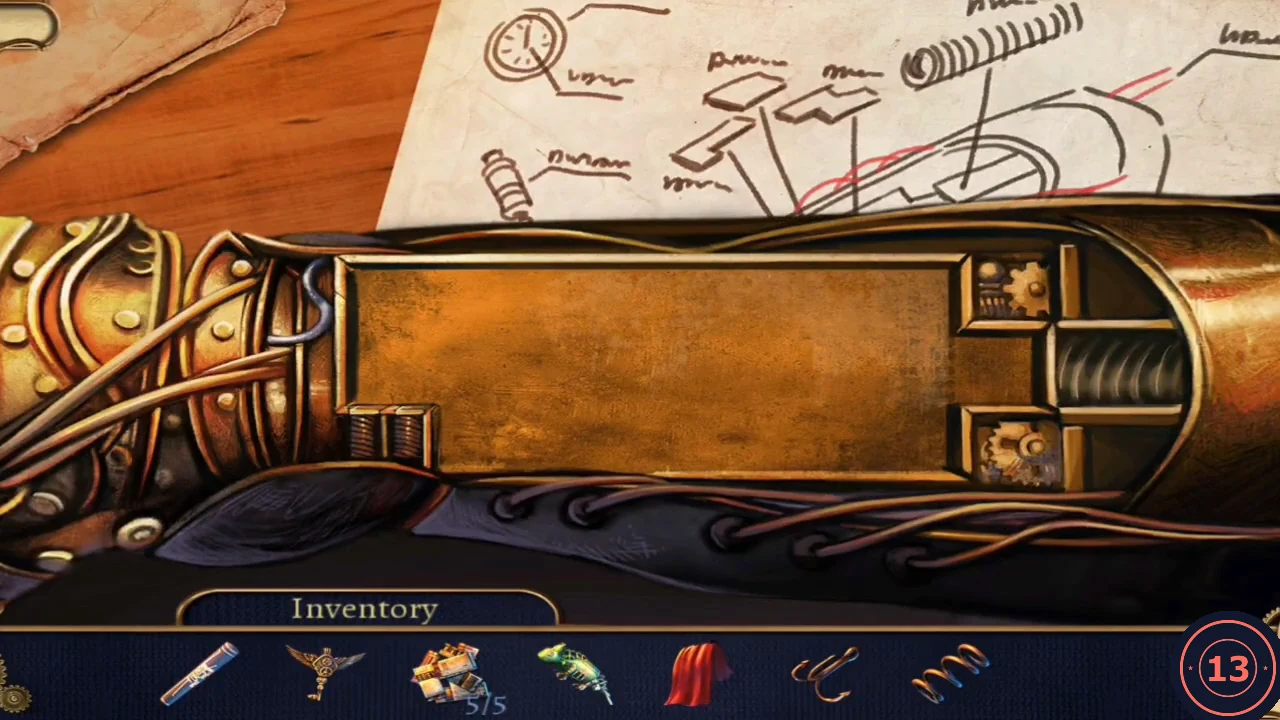
Build a mechanical hand to open Ink's cell.
- Take the Blowtorch from the worktable blueprint and the Hook from the table edge.
- Zoom on the hanging golem's chest: take Golem Part 5/5, then use the Blowtorch on the chest wheel so the Spring drops out.
- On the blueprint place the Golem Hand Chassis, the Spring and the Golem Parts, then fit all parts into the hand's slot: brass L-piece along the left and top-left, green gear block under its top bar, pink block in the centre, grey steel block centre-right, copper long bar on the right. Take the Mechanical Hand.
- Steambug (Underground): in the Golem Factory, on the floor at the right beside the pillar near the right wall. Click it to collect it.
Ink's cell: the token lock
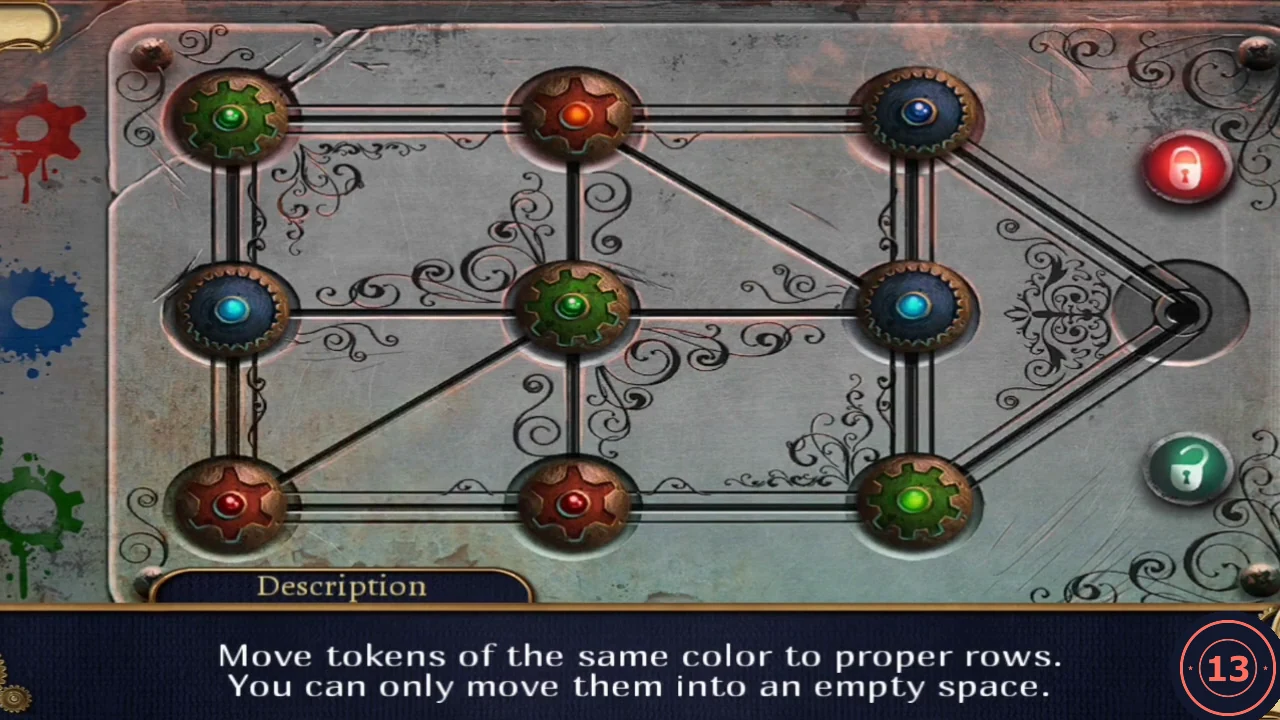
Sort the coloured tokens on the cell lock: red to the top row, blue to the middle and green to the bottom. A token can only move along a line into the single empty spot, so the puzzle is solved by cycling tokens around the empty spot. The move list below solves the starting layout seen in the recorded game.
- Return to the Differential Machine and put the Mechanical Hand on the cell door's hand plate.
- Move tokens into empty spaces only, along the lines, until red fills the top row, blue the middle row and green the bottom row. Name the spots TL, TM, TR (top), ML, MM, MR (middle), BL, BM, BR (bottom) and E (the empty spot on the right). Moves used (from > to): TR>E, TM>TR, MM>TM, BM>MM, BL>BM, ML>BL, TL>ML, TM>TL, MM>TM, BM>MM, BR>BM, E>BR, TR>E, TM>TR, MM>TM, MR>MM, BR>MR, BM>BR, BL>BM, ML>BL, TL>ML, TM>TL, TR>TM, E>TR, BR>E, BM>BR, BL>BM, ML>BL, MM>ML, MR>MM, BR>MR, E>BR.
Free Ink and the Officer's Office
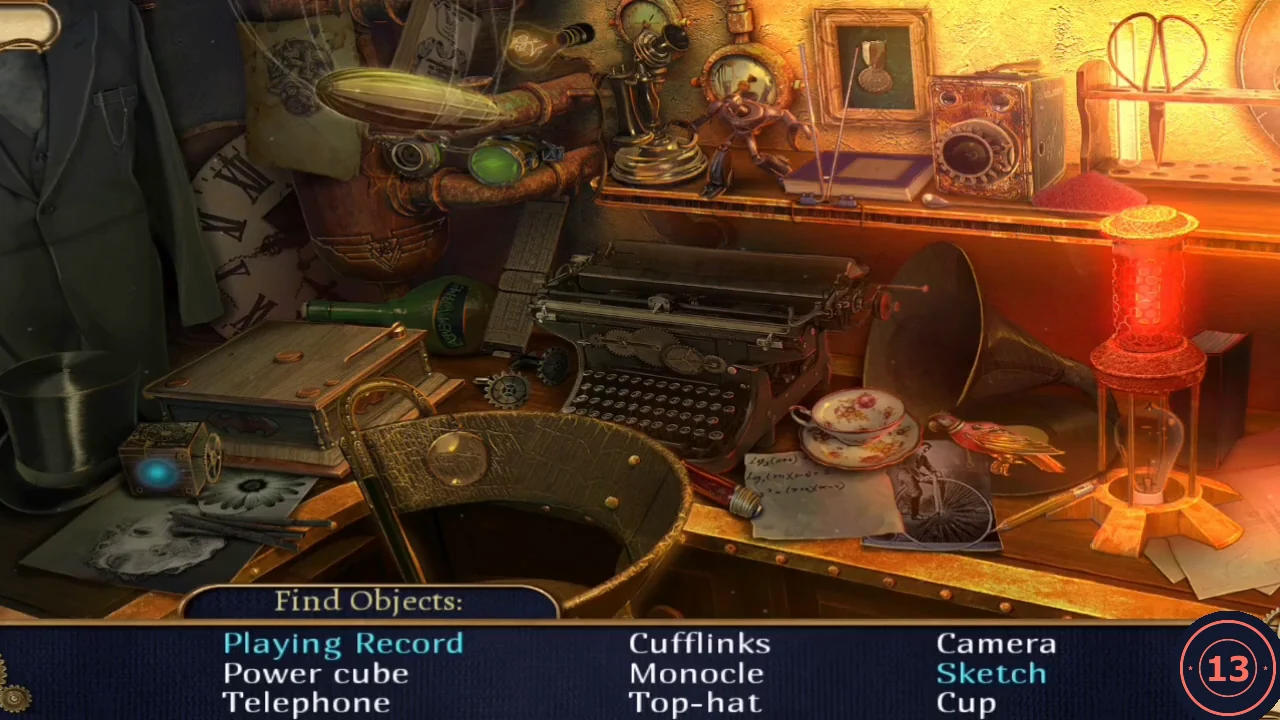
Make a grappling hook to reach the office above the machine room.
- Talk to Ink; he takes the rolled tube (the machine documents). Free Ink is completed (achievement My Savior); new objective Plan a Sabotage.
- Take the Curtain from the rod by the cot. Zoom on the cot, click the sheet, then add the Flag, Curtain and Hook: Grappling Hook.
- Steambug (Underground): in Ink's cell, in the cot close-up, on the mattress near its lower edge. Click it to collect it.
- In the Differential Machine room throw the Grappling Hook at the retracted ladder (upper left) and climb to the Officer's Office.
- Steambug (Underground): in the Differential Machine room, zoom on the ladder area at the upper left; the bug is on the green wall at the upper left of that close-up. Click it to collect it.
- In the office take the Spyglass from the desk and the Bottle from the floor right of the round table.
- Zoom on the pneumatic desk: clear the broken glass and take the Magnet (red horseshoe) and the Piece of Chalk. The ink pad is dry and the glass tube is missing.
- Steambug (Underground): in the Officer's Office, on the big curved pipe at the upper right. Click it to collect it.
- Search the office desk (Find Objects). Interactive: put the vinyl and the gramophone horn on the gramophone (Playing Record); use the coal (upper left) on the sketch (Sketch). Reward: Camera.
Machine schematics and the chalkboard
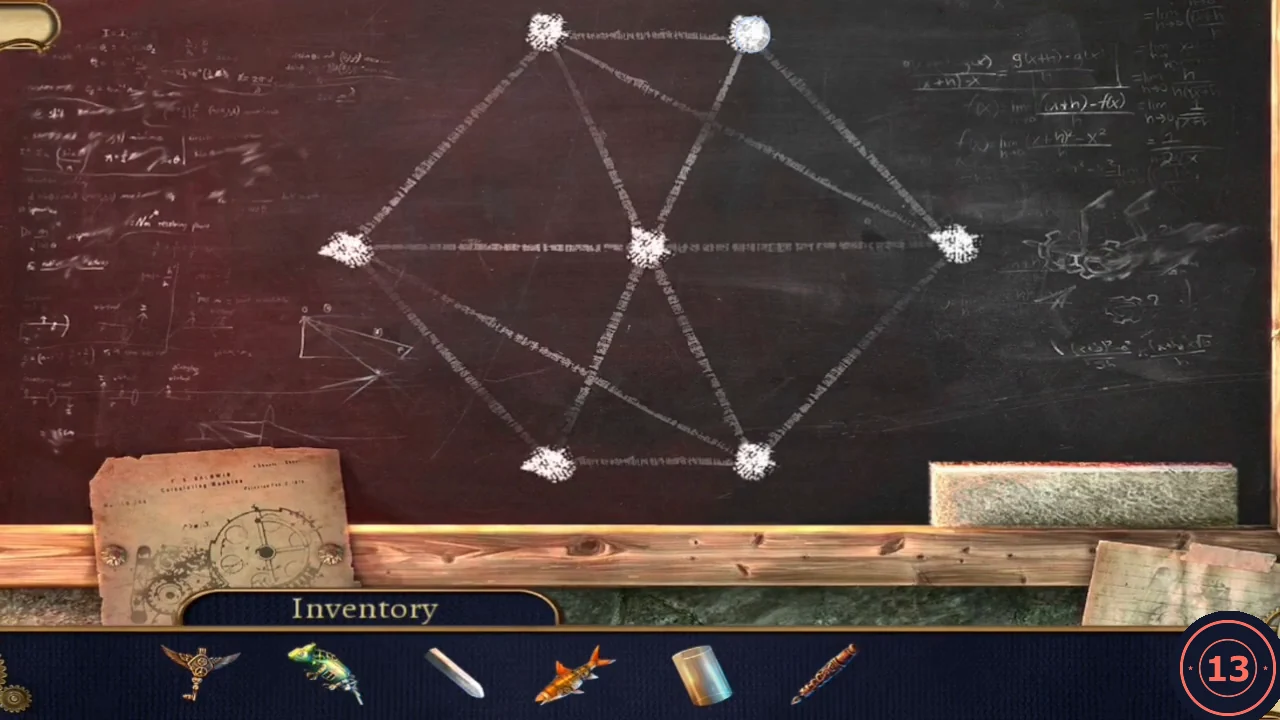
Photograph the machine plans and work out the sabotage on Ink's blackboard.
- In the storeroom use the Magnet on the floor grate: Mechanical Fish.
- In the Golem Factory cut the Bottle on the circular saw (right wall): Glass Tube.
- On the Bridge place the Camera on the left rock pedestal and attach the Spyglass: Machine Schematics.
- Give the schematics to Ink in his cell. Take the red Ink's Pen that comes to you there.
- Use the Piece of Chalk on the blackboard. Draw every line once without lifting: label the points TL, TR (top), L, C, R (middle) and BL, BR (bottom), and draw TR-TL-R-TR-C-TL-L-C-R-BR-BL-L-BR-C-BL.CODETR-TL-R-TR-C-TL-L-C-R-BR-BL-L-BR-C-BL
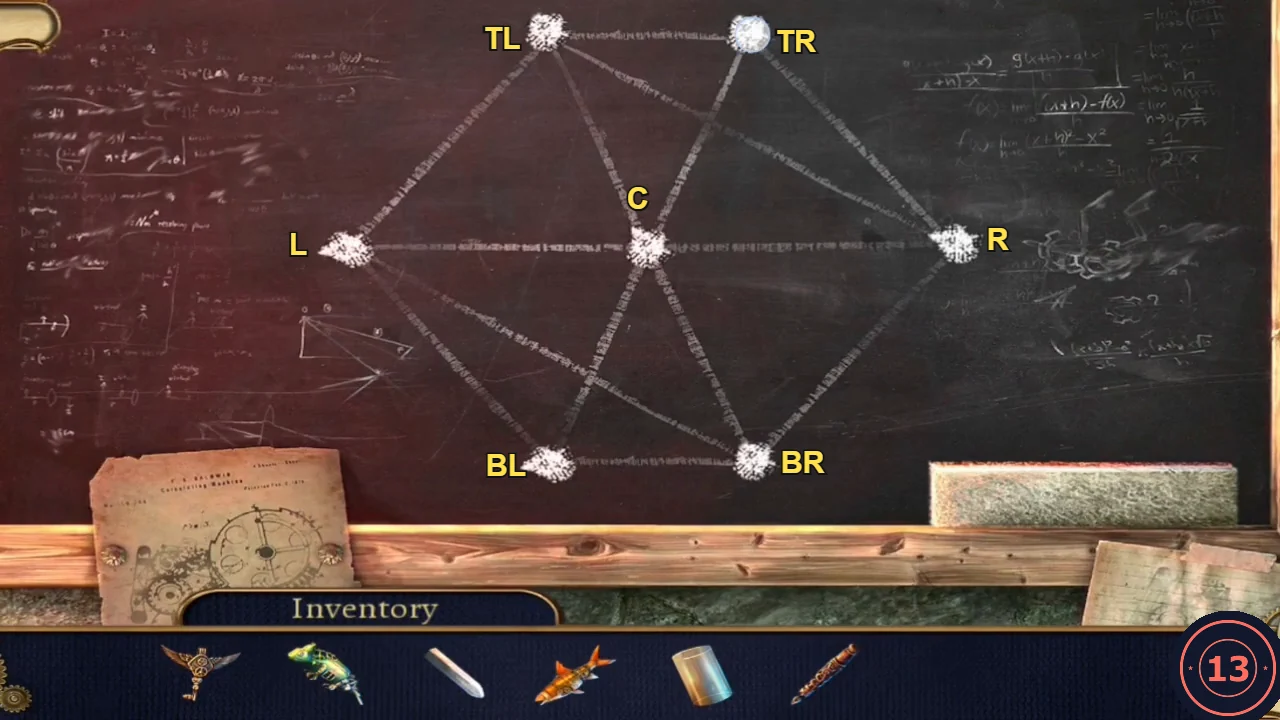
Point labels used in the chalk sequence.
The Myriapod Tail and the pneumatic requisition
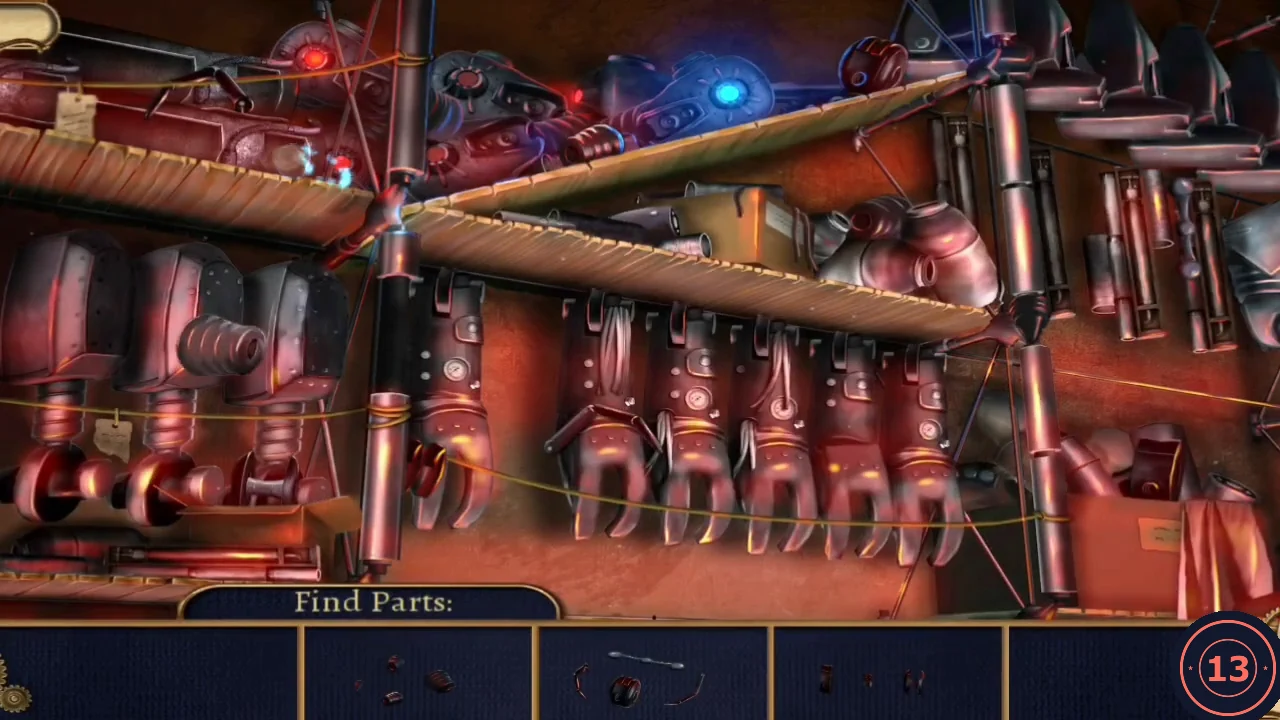
Rebuild a myriapod to lure Barber out.
- Search the storeroom parts rack again (Find Parts): pieces are at the bottom wheel of the left post, the blue device on the top shelf, the middle of the right post and the upper-left shelf. Reward: Myriapod Tail.
- At the office pneumatic desk put the Glass Tube on the capsule base, refill the ink pad with Ink's Pen, stamp the requisition, put it in the capsule, close it and press the red button. A Myriapod Brain comes back.
Office desk: the Mechanical Bird
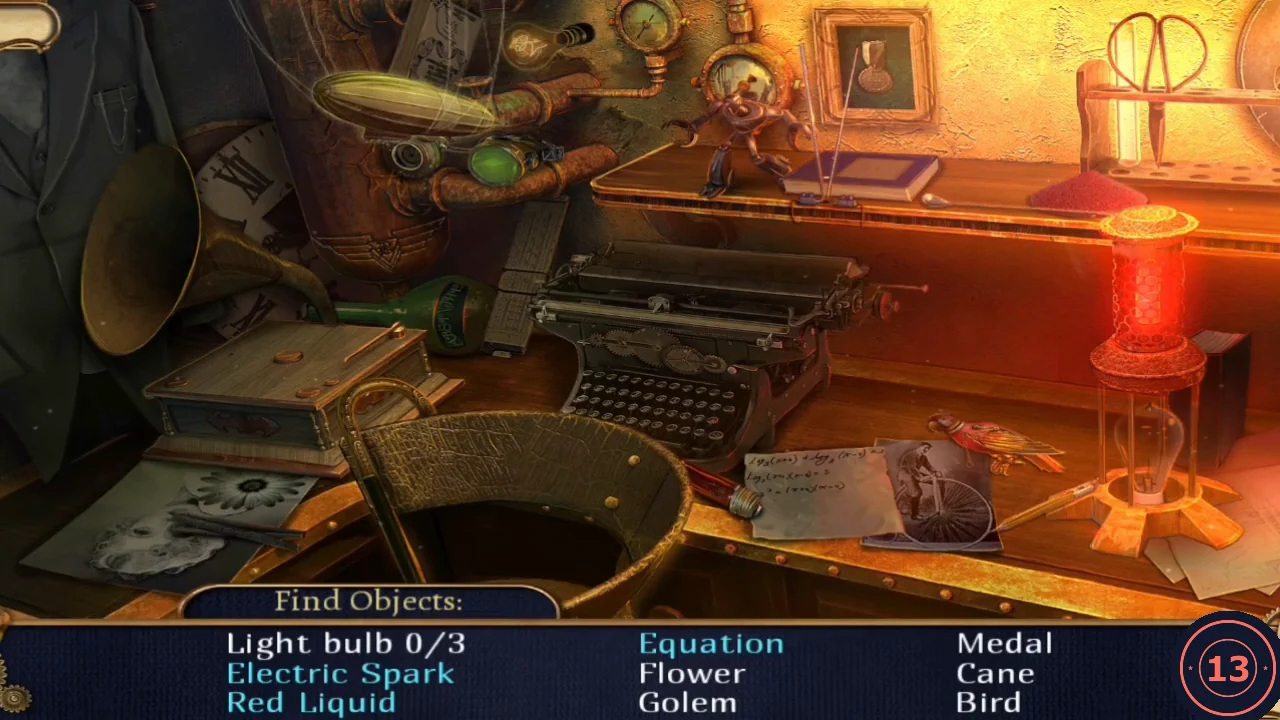
Search the office desk a second time for the last mechanical animal.
- Search the office desk again (Find Objects). Interactive: Equation - click the note, take the pencil and use it on the note; Light Bulb (3 needed) - the third bulb is screwed into the red flashlight lying on the rim of the wicker basket below the typewriter: click the flashlight to take it; Cane - the hooked handle at the left of the basket; Electric Spark - click the two thin rods standing on the upper shelf in front of the purple book, then click them again to make the spark; Red Liquid - take the spoon (upper right shelf) and scoop the red powder into the red glass cylinder. Reward: Mechanical Bird.
Office: the animal panels
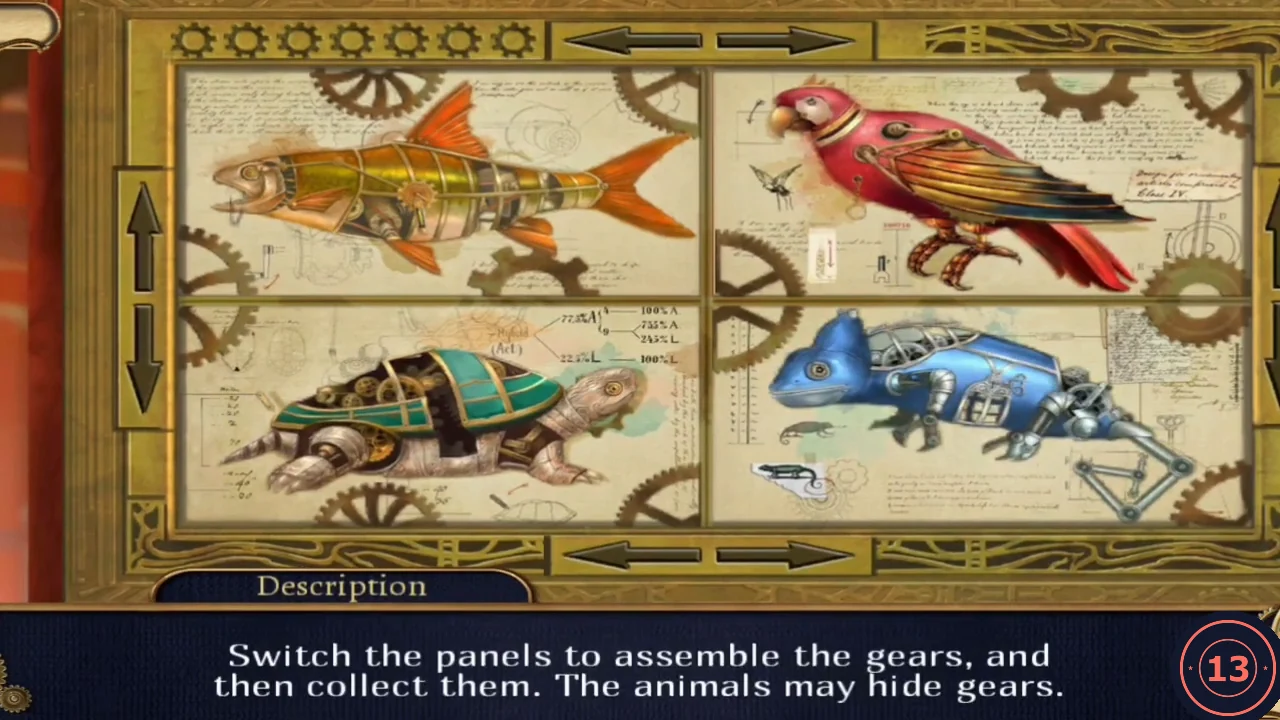
Rearrange the four animal panels of the framed blueprint to collect its seven gears.
- Place the Mechanical Bird, Mechanical Fish and Mechanical Lizard on the framed blueprint at the upper right.
- The arrows swap the two panels of a row or column. Start: fish top left, parrot top right, turtle bottom left, chameleon bottom right. 1) Swap the left column: three gears form across the panel borders - click each one to collect it (3/7). 2) Swap the bottom row, then 3) the right column: a fourth gear forms - collect it (4/7). 4) Swap the left column, then 5) the bottom row: the fifth gear forms - collect it (5/7). The panels now show chameleon top left, fish top right, parrot bottom left, turtle bottom right. Click the turtle's head for the sixth gear (6/7), then the parrot's wing, which opens to give the last gear (7/7). Take the Machine Card.
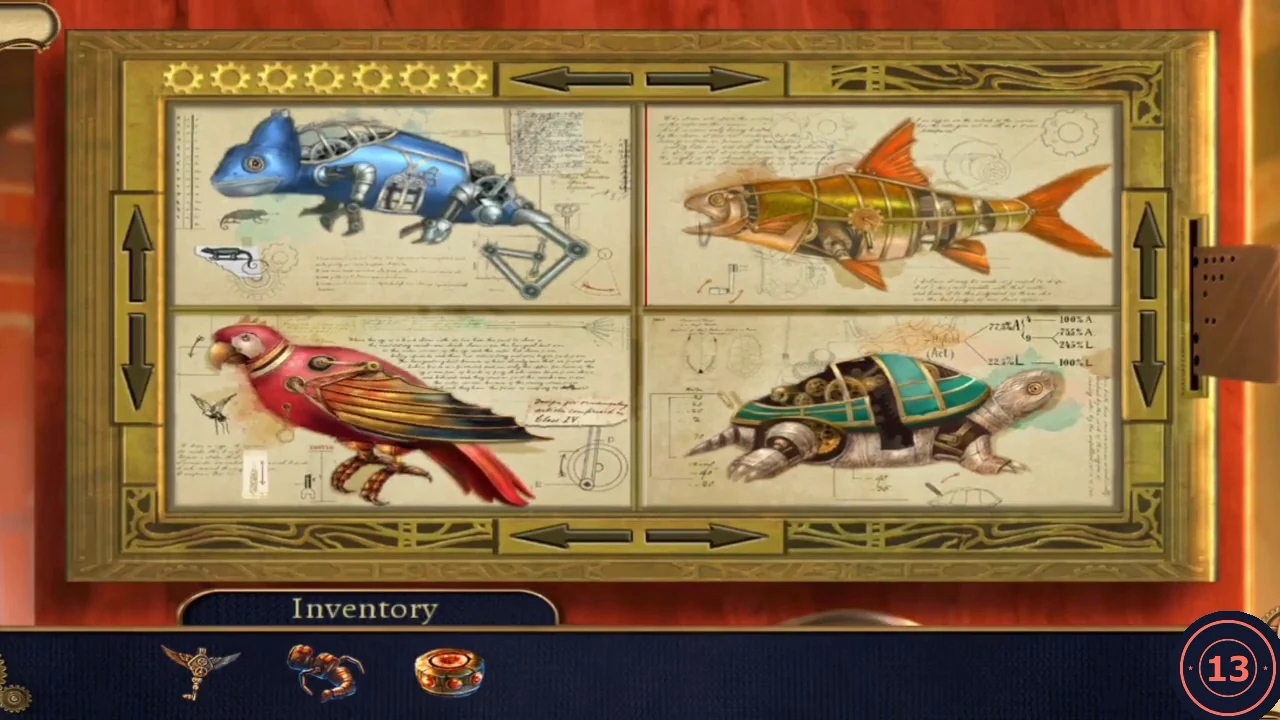
The animal panels after the five swaps.
Reprogramming the Myriapod brain
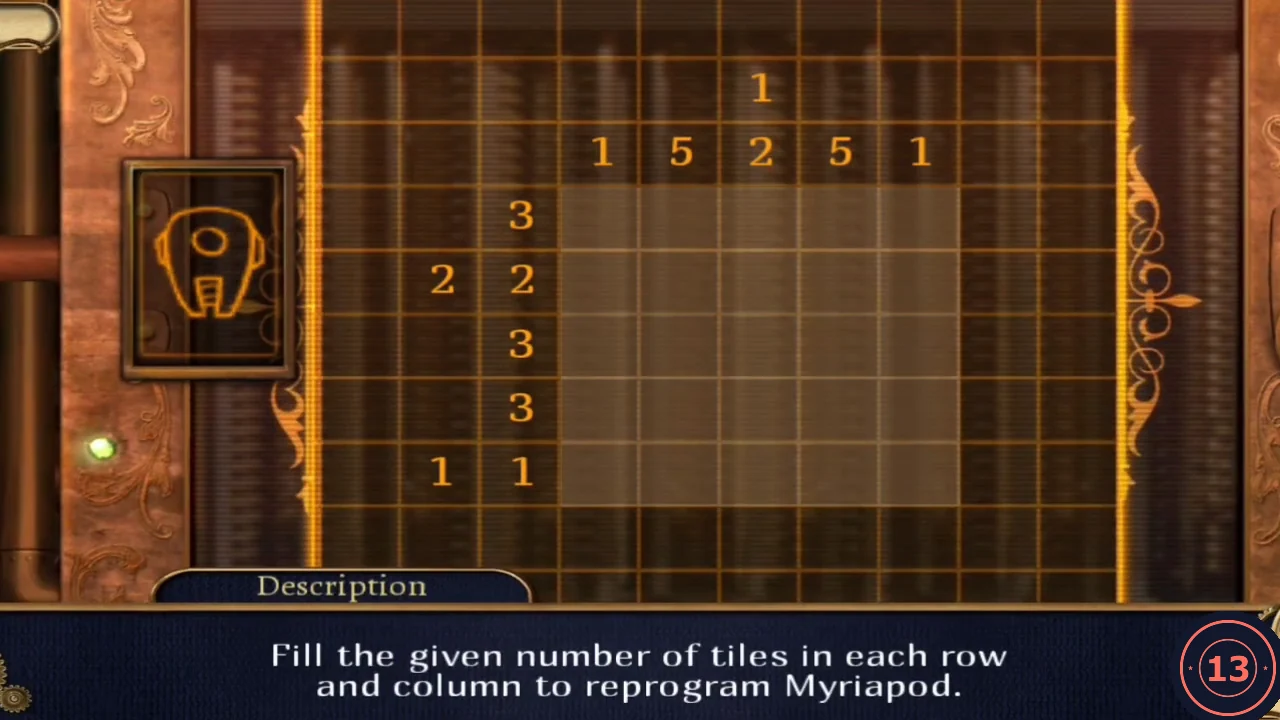
Fill the two picture grids on the machine console.
- At the Differential Machine console put the Myriapod Brain in the round slot on the left and the Machine Card in its slot.
- Fill the given number of tiles in each row and column. First grid (5x5), rows top to bottom (# = filled): .###. / ##.## / .###. / .###. / .#.#.CODE.###. / ##.## / .###. / .###. / .#.#.
- Second grid (6x6), rows top to bottom: .##... / ###..# / ..#### / .####. / ...#.. / ..##.. Take the Reprogrammed Brain.CODE.##... / ###..# / ..#### / .####. / ...#.. / ..##..
- Climb to the office and put the Myriapod Tail and the Reprogrammed Brain on the broken myriapod on the round table. Lure Barber Out is completed; next objective Get to the Machine.
Bridge: the symbol tiles
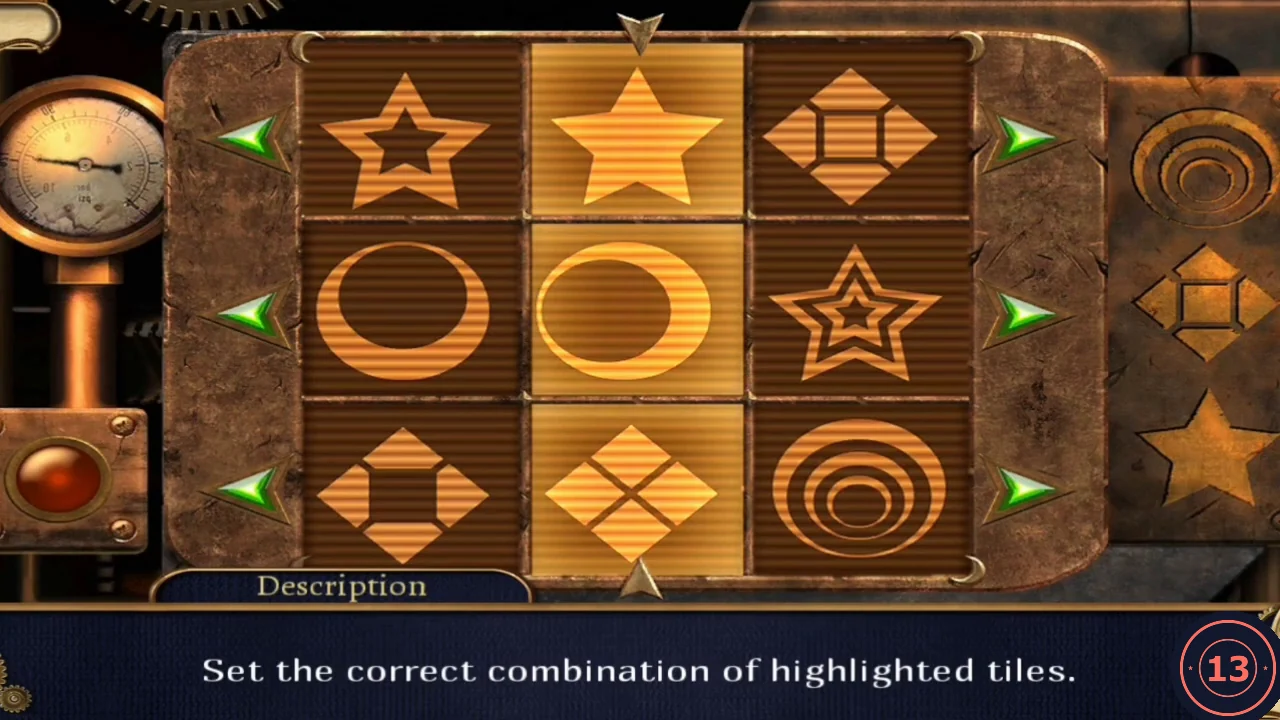
Set the bridge control panel to open the way to the machine's central part.
- Zoom on the control panel on the right of the Bridge. Slide the rows left or right (green arrows) and scroll the highlighted middle column until it matches the legend on the right edge: concentric rings at the top, square-in-diamond in the middle, star at the bottom.
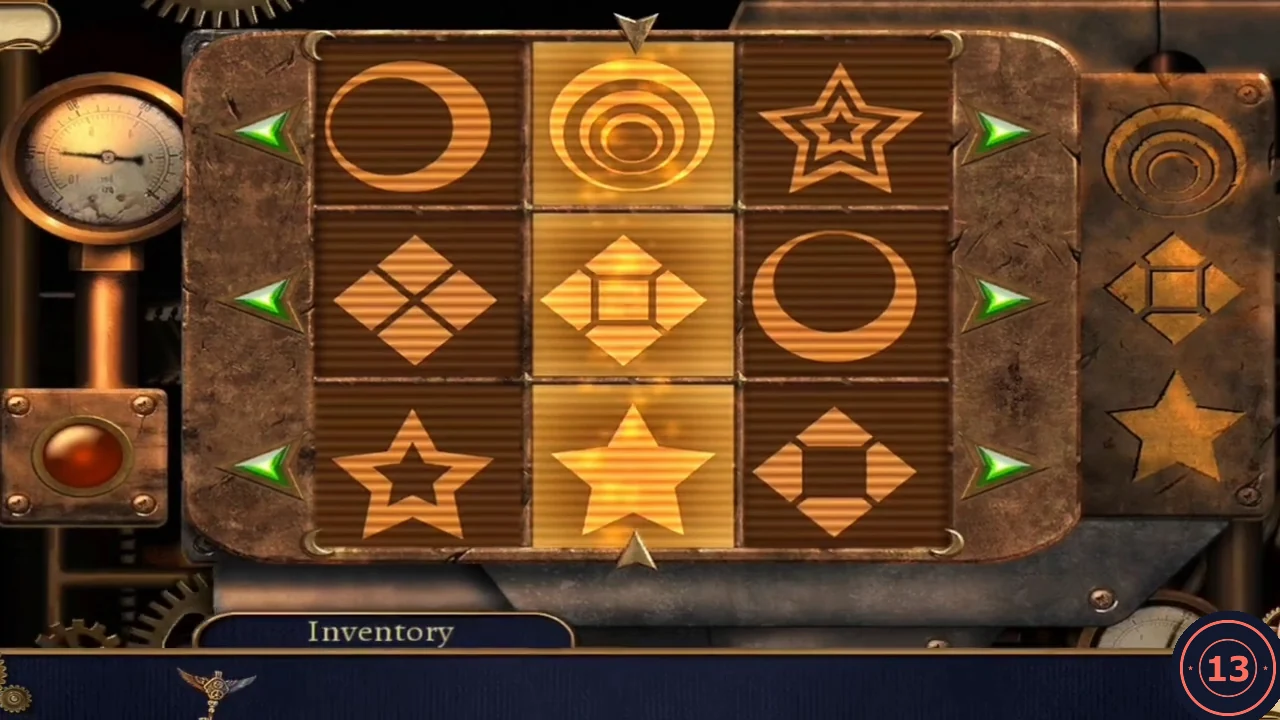
The highlighted middle column matching the legend (rings, square in diamond, solid star). - Go To the Central Part and take the Hammer and the Heavy Stone.
Central Part: gluing the gear
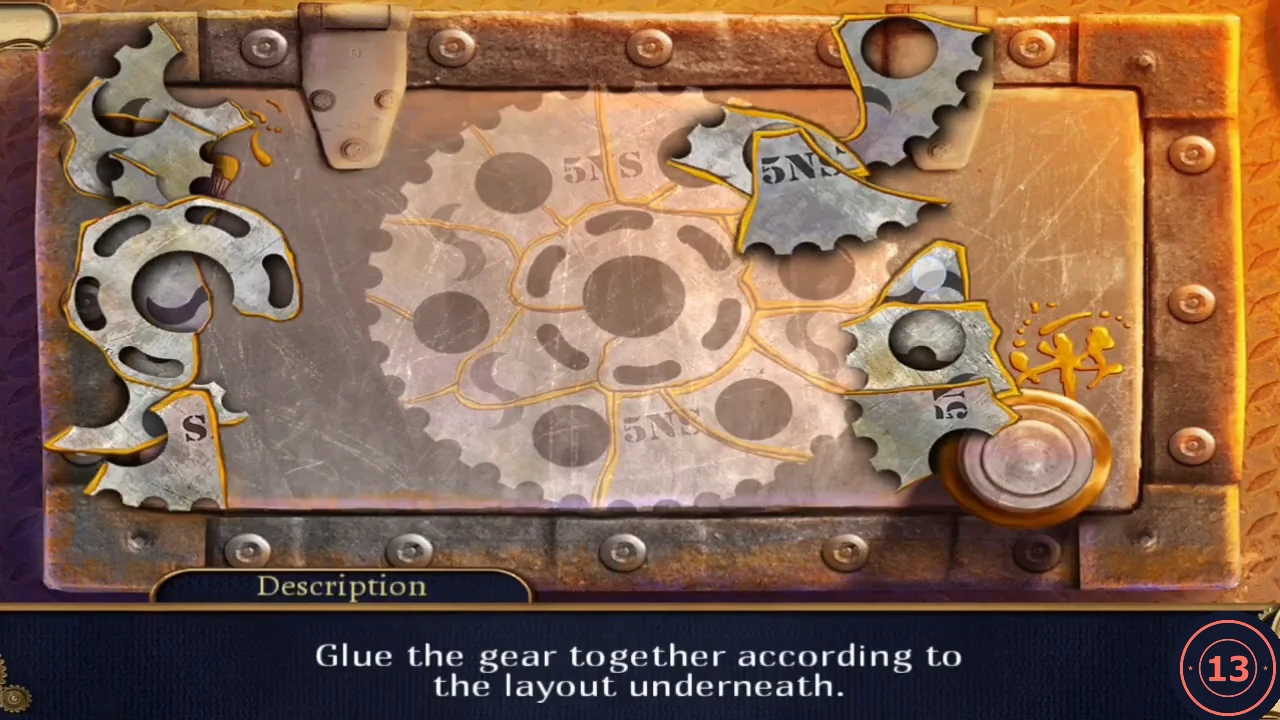
Glue a broken gear together as a pattern for a new one.
- Click the box on the floor near Ink. Drag the broken gear fragments onto the matching outlines of the etched layout; pieces marked "5NS" or "S" must sit on the same etched marks, and some must be rotated before they fit. Placing the inner ring first, then the outer toothed pieces, works well. Take the Fractured Gear.
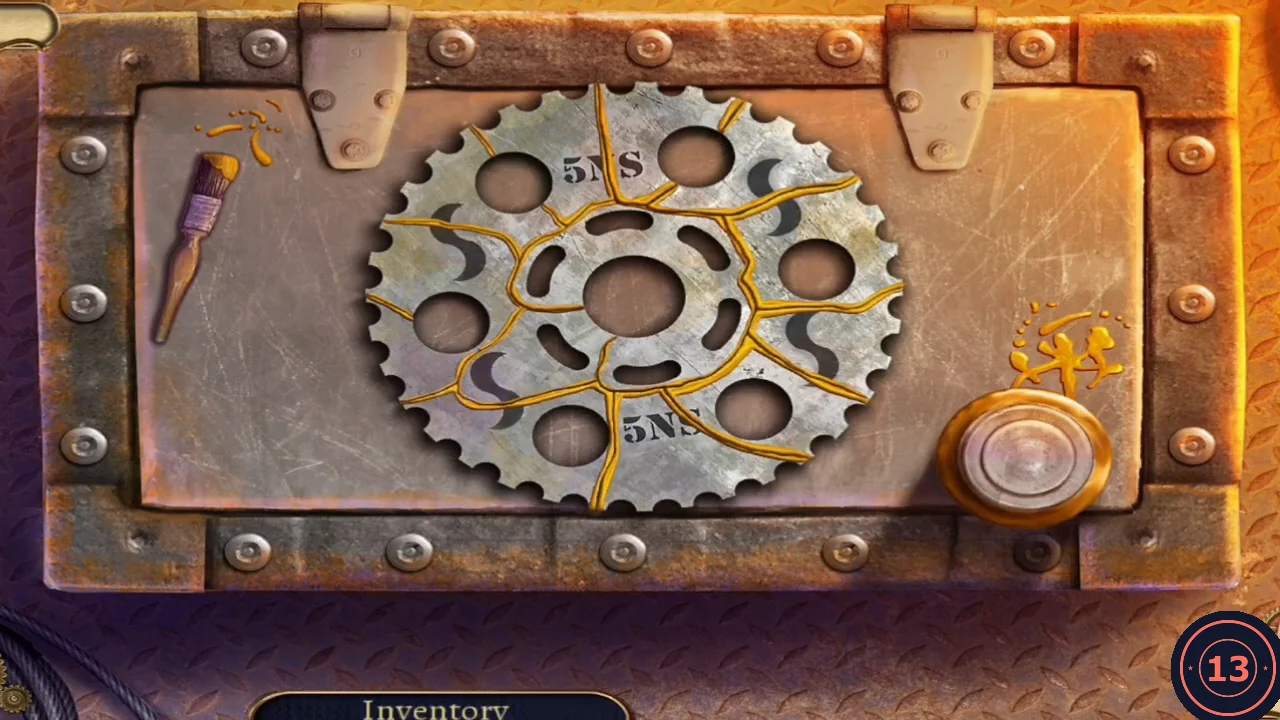
The completed gear pattern. - Steambug (Underground): in the Central Part, on the pipe at the upper left of the big machine. Click it to collect it.