Gathering the sprites
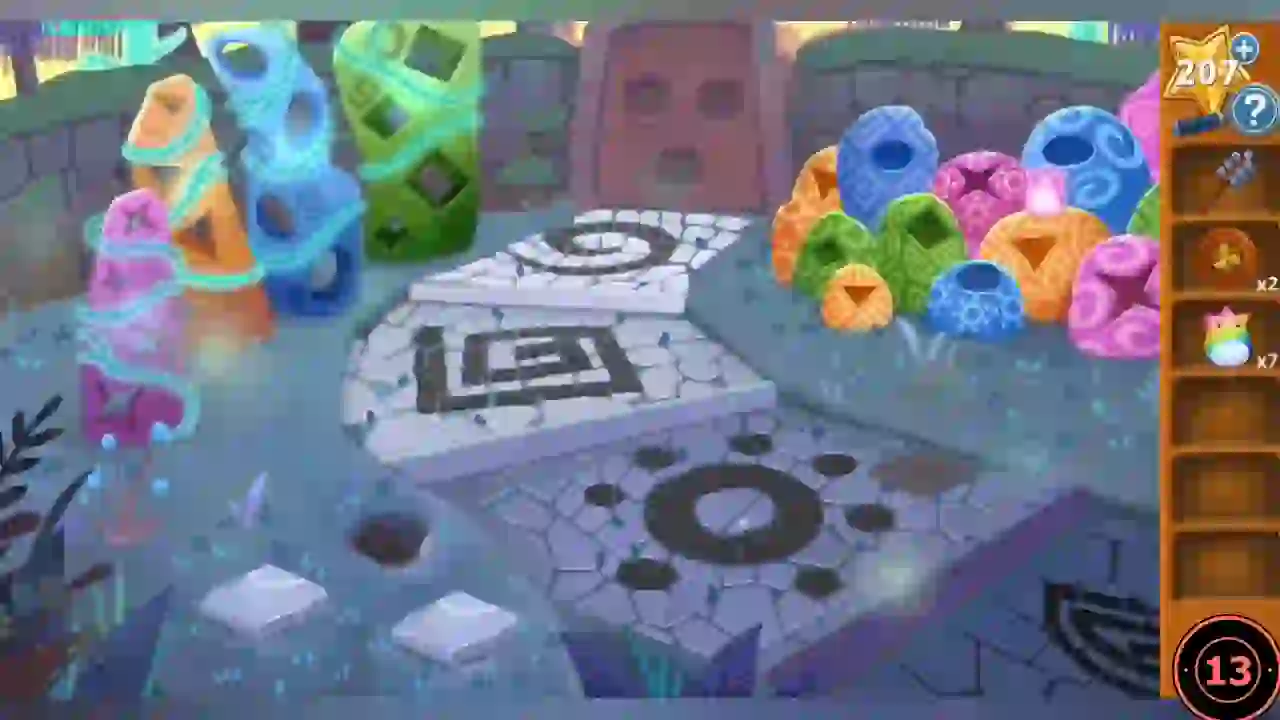
A forest sprite leads to the huts. Collect sprites and wooden tokens.
- Watch the storybook and follow the sprite to the huts.
- At the huts take the Wooden Token and the Bell Wand.
- Take the two Rocks, tip the pot for sprites and collect sprites from the holey totems on the left.
- Ring the Bell Wand at the shaking tree for more sprites; put the Rocks over the holes for more sprites and another Wooden Token.
- Place both tokens on the door for more sprites.
- Add the sprites at the huts for the last Wooden Token.
- Place the last token on the door. It stays shut: the musical stones must be played.
Musical stones
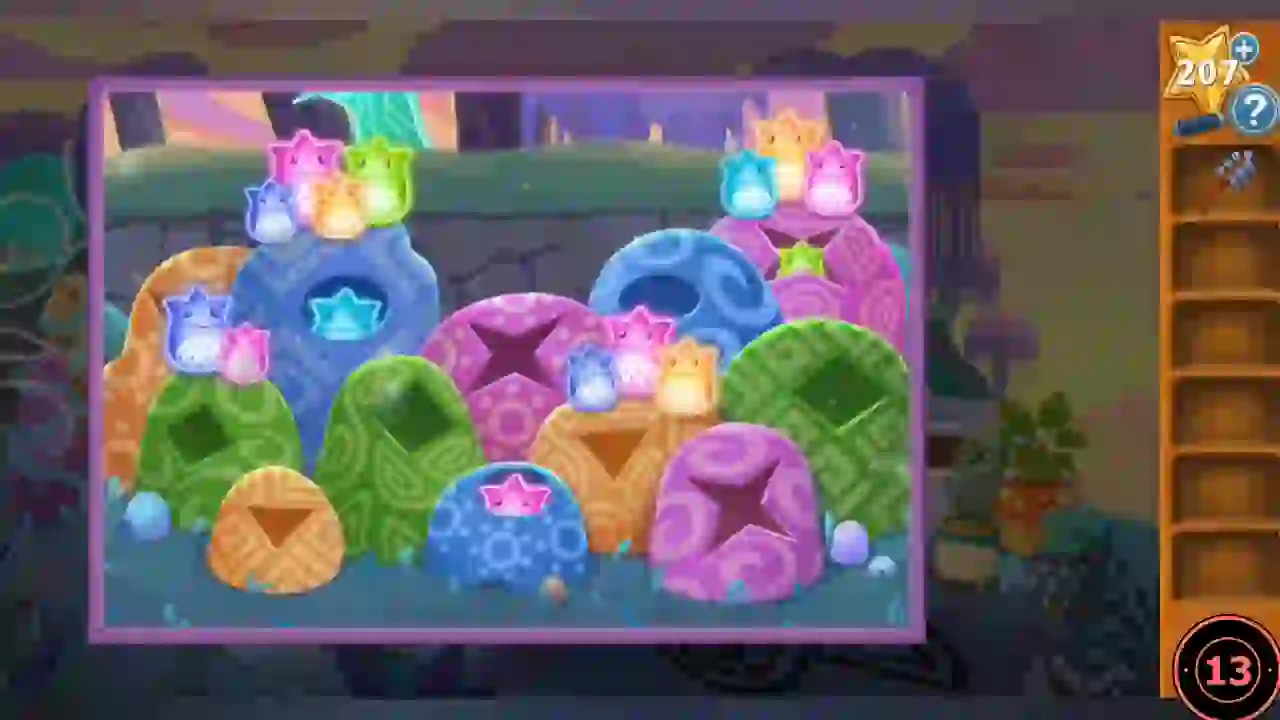
Each hut holds a group of 1–5 sprites. Tap the stone hole with each hut's pattern in order of group size.
- Groups: blue dotted hut 1, green swirl hut 2, orange S-swirl hut 3, pink star hut 4, blue Greek-key hut 5.
- Tap blue sun, green swirl, orange S, pink star, blue Greek key.
The wishflower
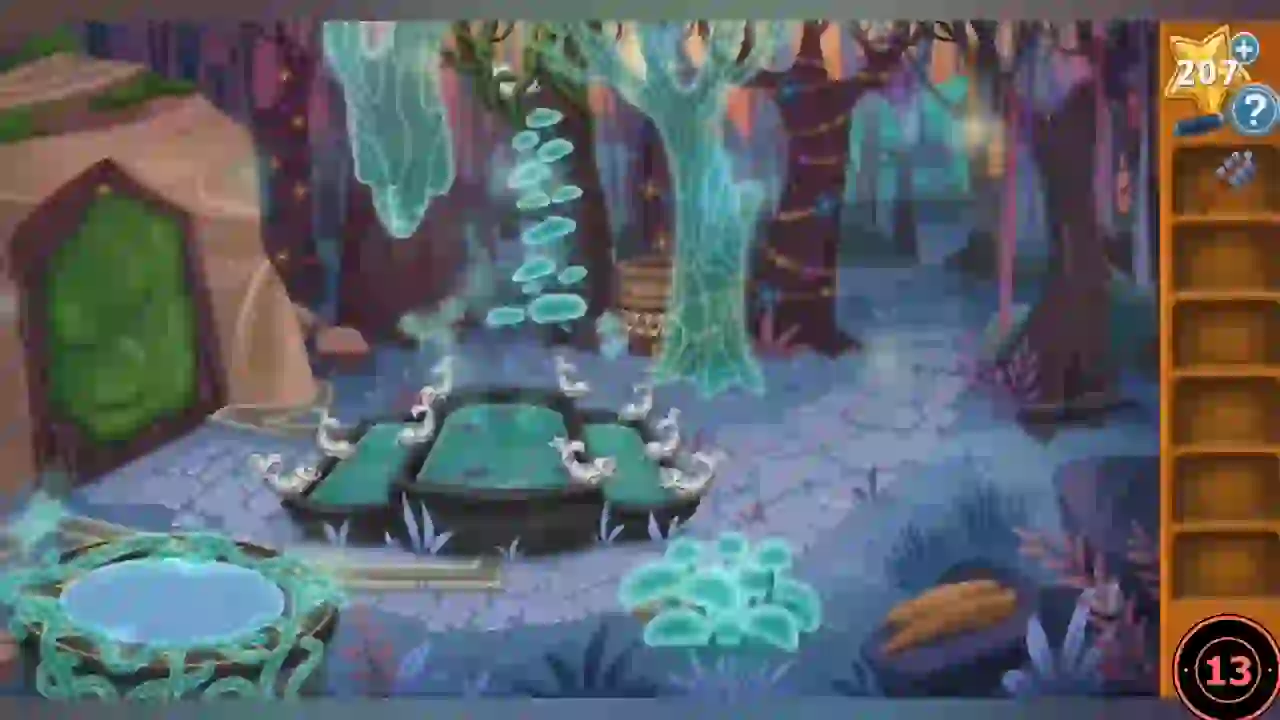
Grow a wishflower to lure the sprites.
- Take the Flat Bark and scrape the Spongy Moss off the door.
- Hidden star: tap the sparkle at the upper left of the carved stone door in the forest clearing.
- Take the Wishflower Seed.
- Soak the moss in the water bowl for Damp Moss.
- Plant the seed in the empty bed by the huts and squeeze the Damp Moss over it.
- Ring the Bell Wand at the wishflower; the sprites are scared and want a game.
Sprite leapfrog
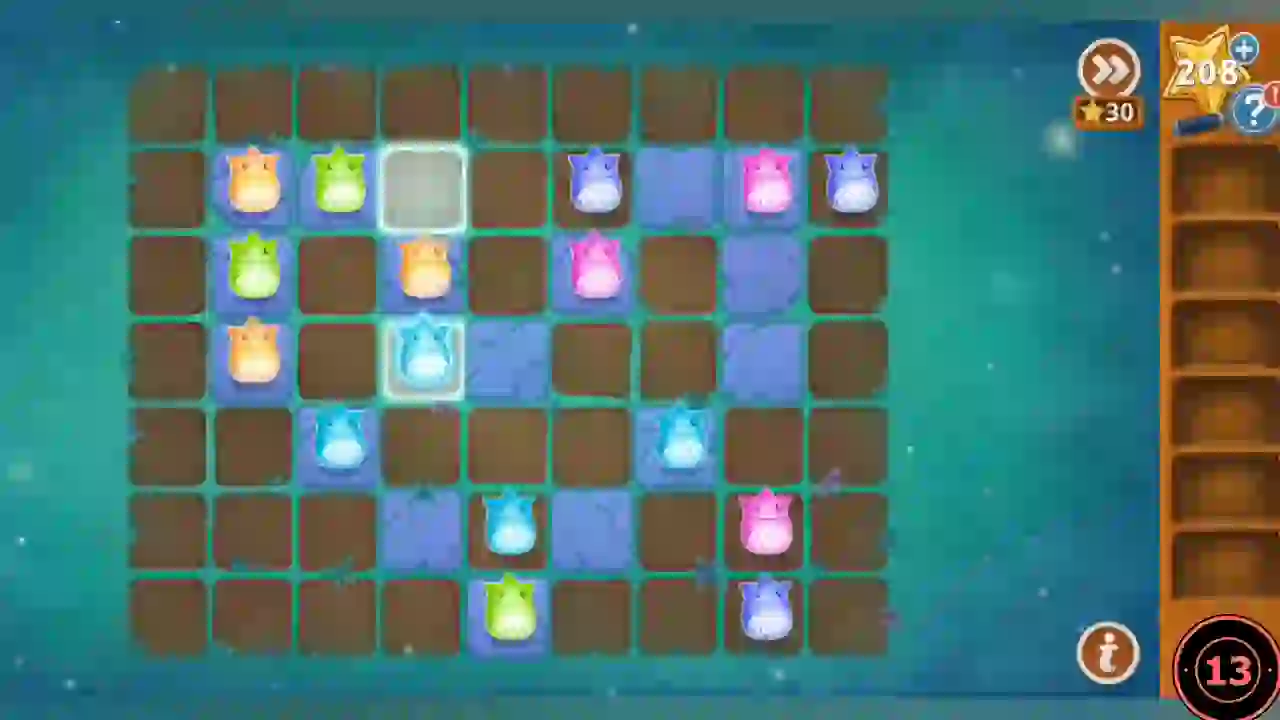
Select a sprite, then one of the glowing squares that appear: a sprite can only move by jumping over a neighbouring sprite. Get every sprite onto the blue stones, which together form a heart shape. This guide gives the approach rather than a move list.
- Start with sprites already next to the heart outline and use them as stepping stones for those farther out. Before each jump, make sure the sprite you hop over will still have a neighbour to jump with later; a sprite left alone cannot move. Fill the heart from its outer edge inwards until every sprite stands on a blue stone.
The forest: fish statues and the star dial
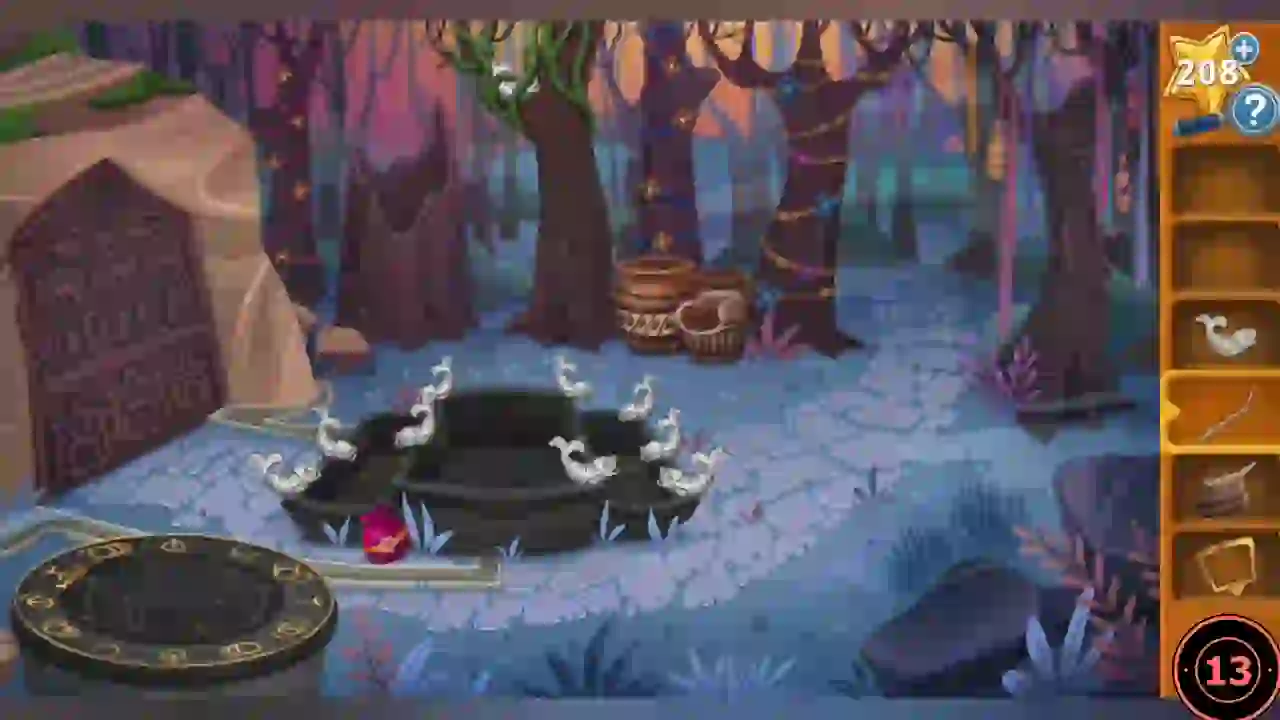
The sprites blow to the forest. You can now switch the PomPom on and off.
- Follow to the forest. With the PomPom off, take the Sharp Shard and the Brass Frame, then take the loose Fish Statue sitting in the hollow of the broken tree stump behind the fountain.
- Look in the fountain and take the Good Stick.
- At the huts, reach the second Fish Statue with the Good Stick.
- Back in the forest, turn the PomPom on and cut the vines on the vine-wrapped tree behind the fountain with the Sharp Shard for the third Fish Statue.
- Place all three Fish Statues on the fountain.
- With the PomPom off, put the Brass Frame on the star dial.
Sprite paths and fish fountains
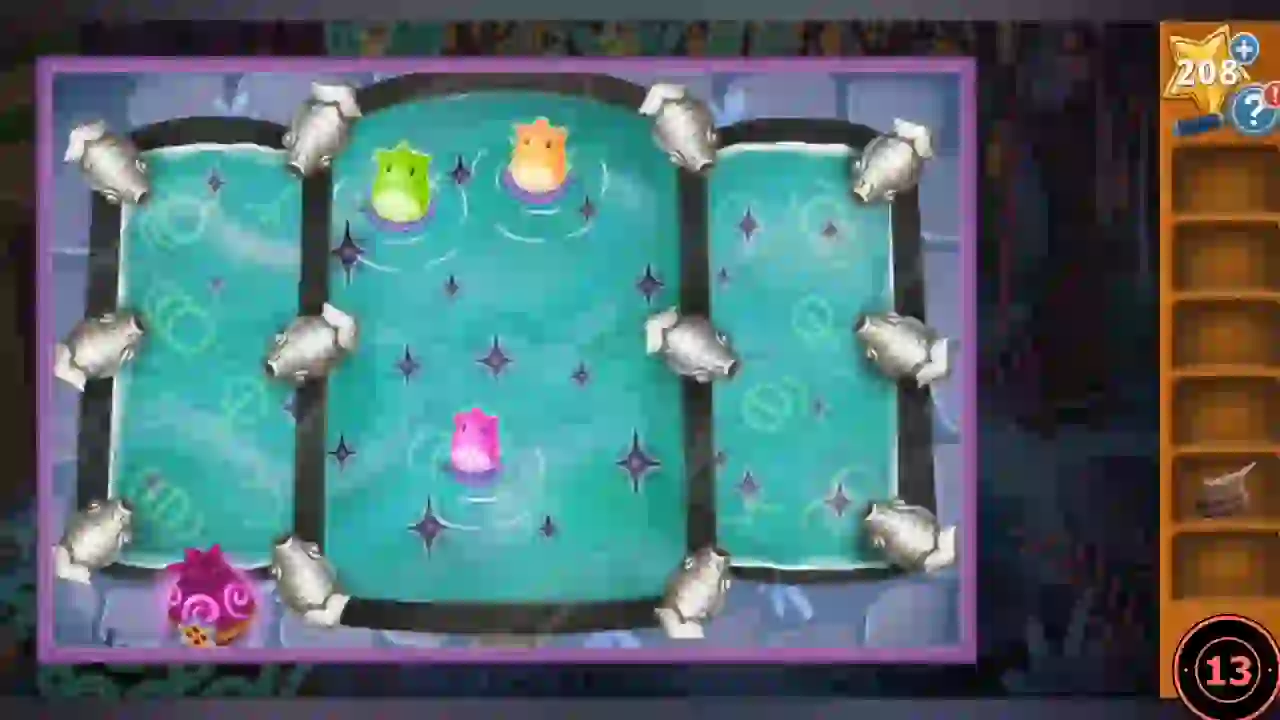
Each sprite swims a shape; find those shapes on the star dial and aim fountains at their symbols.
- With the PomPom on, tap each sprite to see its path.
- With the PomPom off, slide the dial to each shape: Y/branch → crossed-Y symbol, tall kite → circle-with-bar symbol, bow-tie fish → Y-fork symbol.
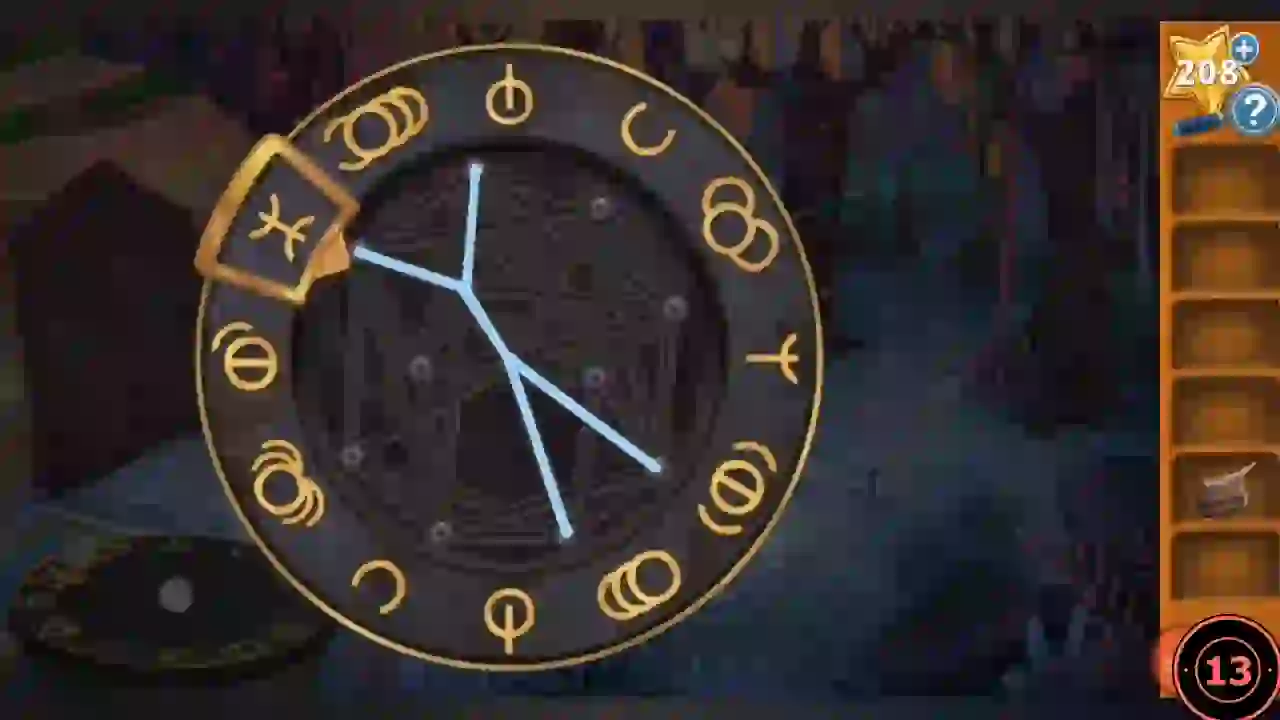
The star dial: slide the brass frame to each sprite shape and read the symbol beside it. - Turn the PomPom on and switch on the three fish fountains facing those symbols.
Stone lanterns
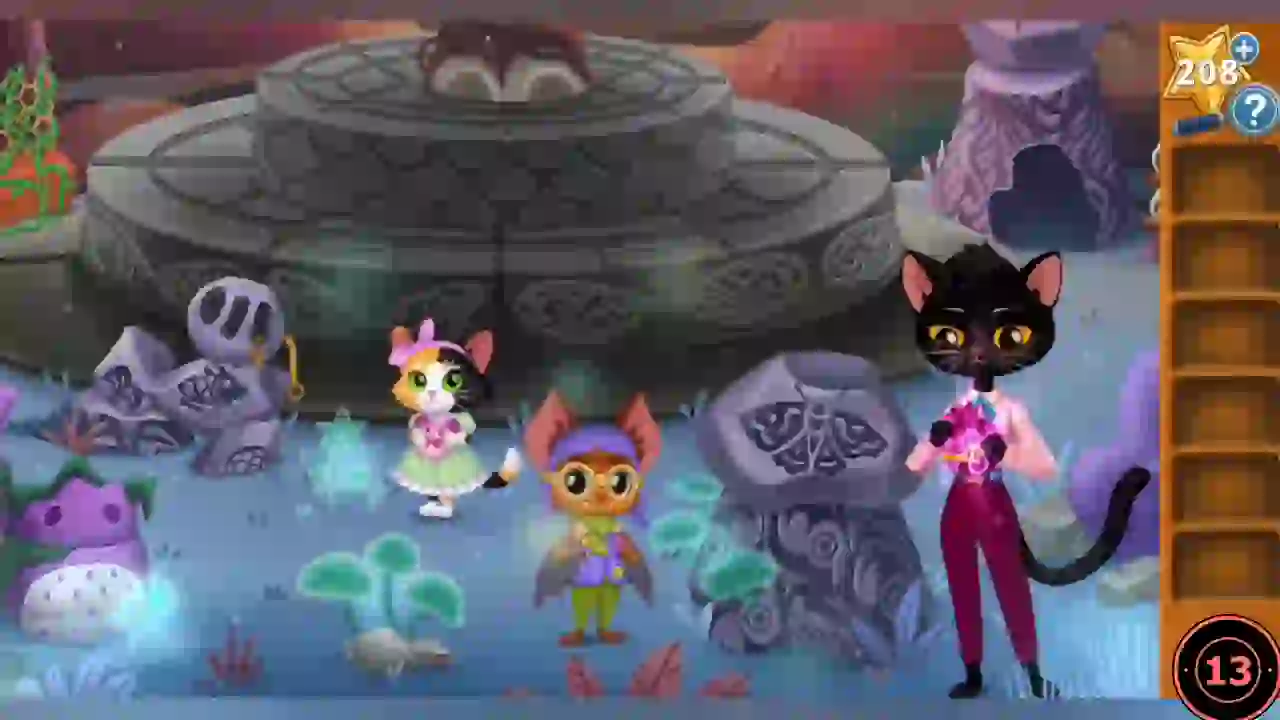
Mom and Rainy May arrive. The fountain needs three working lanterns.
- Go through the gate; Mom says the hearts are too weak.
- Take the Stone Sprite and get the Ghost Flowers from Rainy May.
- Place the Stone Sprite with the others, take the Lantern Top from the larger lantern and give it to Mom.
- At the grave trees take the Shoelace Vines and put the Ghost Flowers in the blue vase.
First grave trees
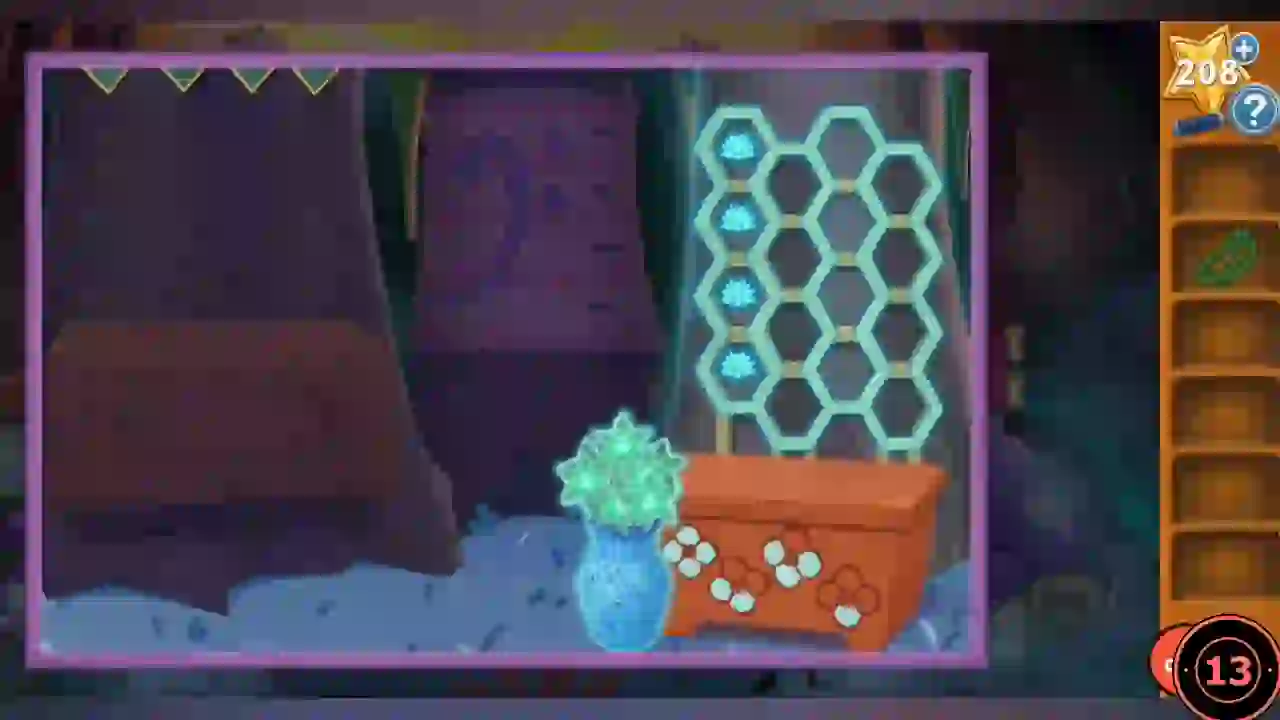
Three linked puzzles: hexagons, books and buttons.
- Hexes: the planter flowers show 4, 2, 3, 1 lit petals. Light that many hexes from the bottom in each column above.
- Books: swap them so the orange blocks read book 1 slot 1, book 2 slot 3, book 3 slot 2, book 4 slot 4.
- Buttons: place them on the knitted panel top to bottom: blue square, yellow star, green clover, orange round.
Second lantern and Winnie's climb
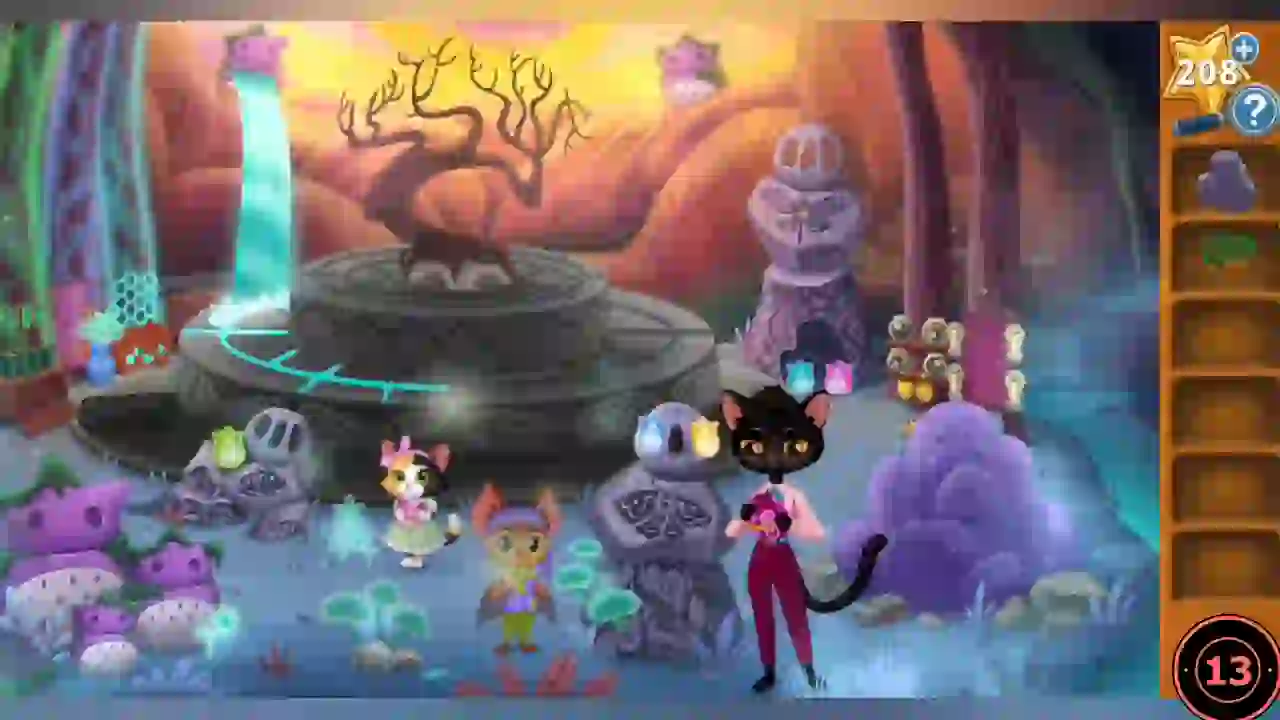
Fix the second lantern.
- Take the Lantern Base and place it.
- Oliver spots a sturdy hook on the low stone lantern at the front left of the fountain (gold hook on the side of its carved head, green light beside it). Use the Shoelace Vines on that hook to make the Grappling Hook.
- Use the Grappling Hook on the tall Stone Sprite statue to the right of the fountain. Winnie climbs up and opens its mouth; the fountain fills and more graves glow.
- Take the Cookies from Winnie.
Candles and moon vases
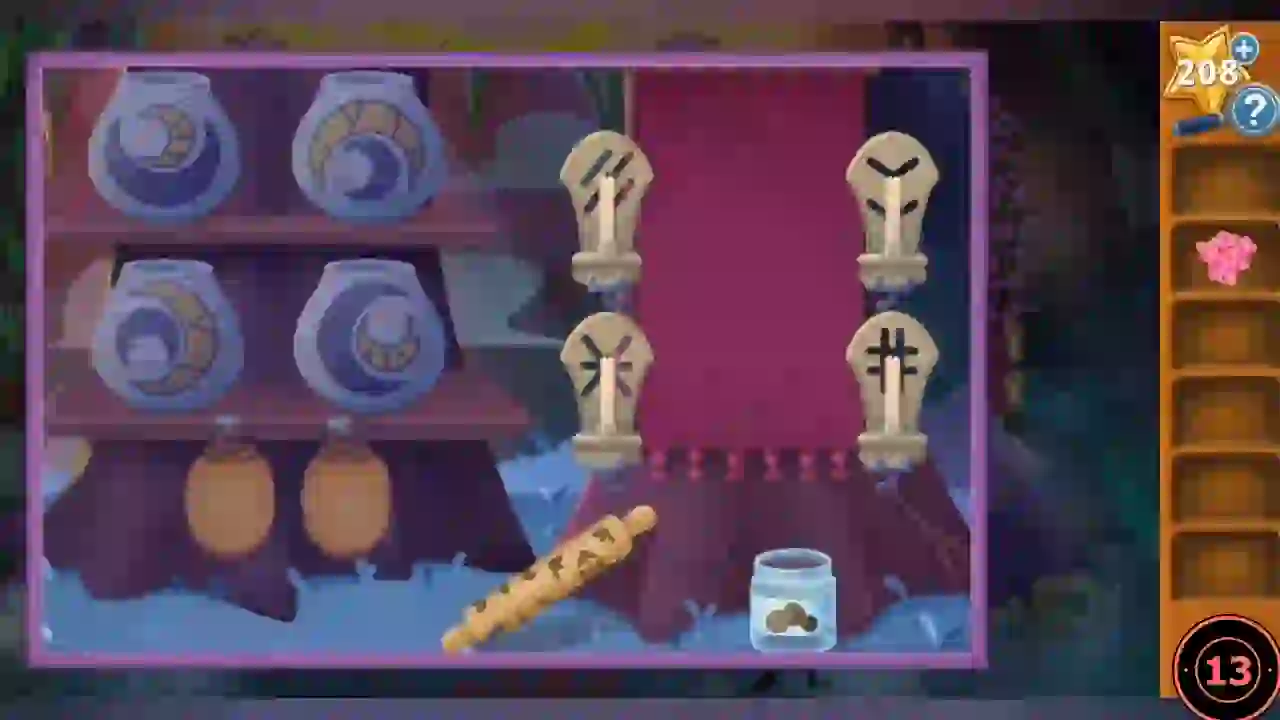
Put the cookies in the jar, match the candle shadows, then turn the moon vases.
- Put the Cookies in the cookie jar. The candles light and cast shadows.
- Swap the candles so each matches its panel: top-left star/X, top-right #, bottom-left chevrons, bottom-right slashes.
- Tap a pink slot to project its two moon shapes, then rotate the vases to match.
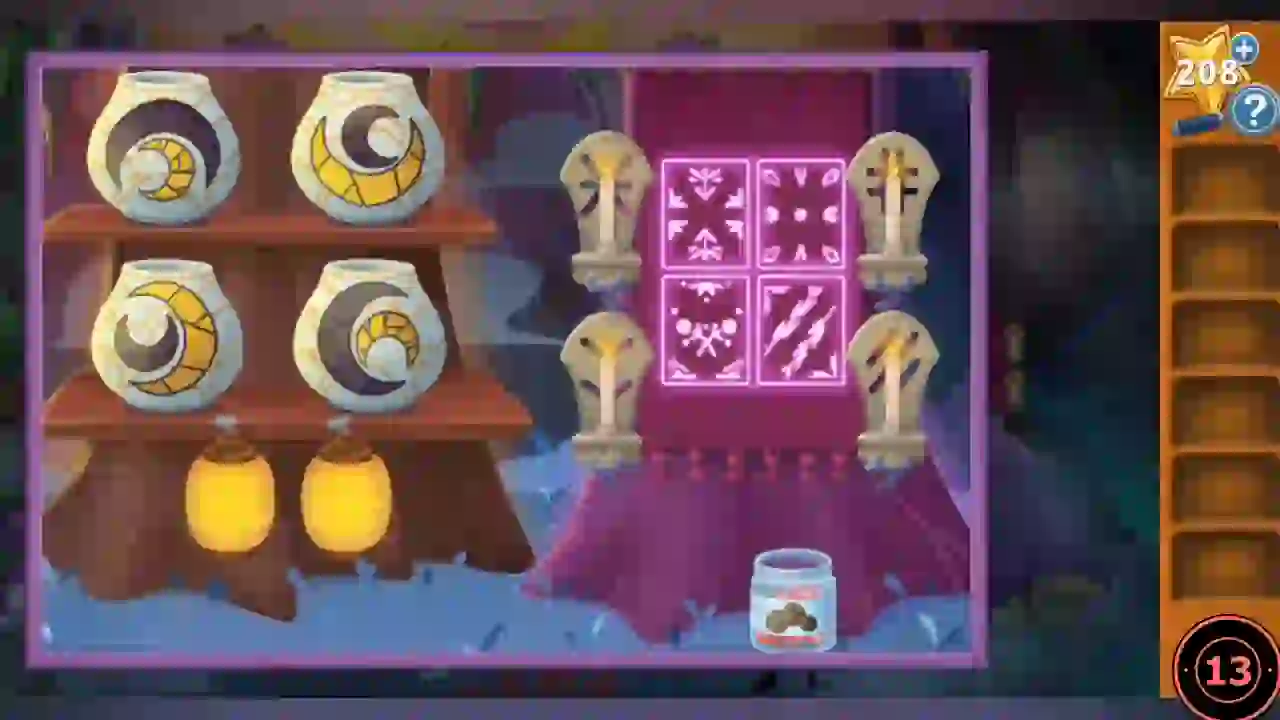
Finished state: every candle casting its shadow pattern on the panel and the moon vases turned to their final positions.
Dad's grave and the third lantern
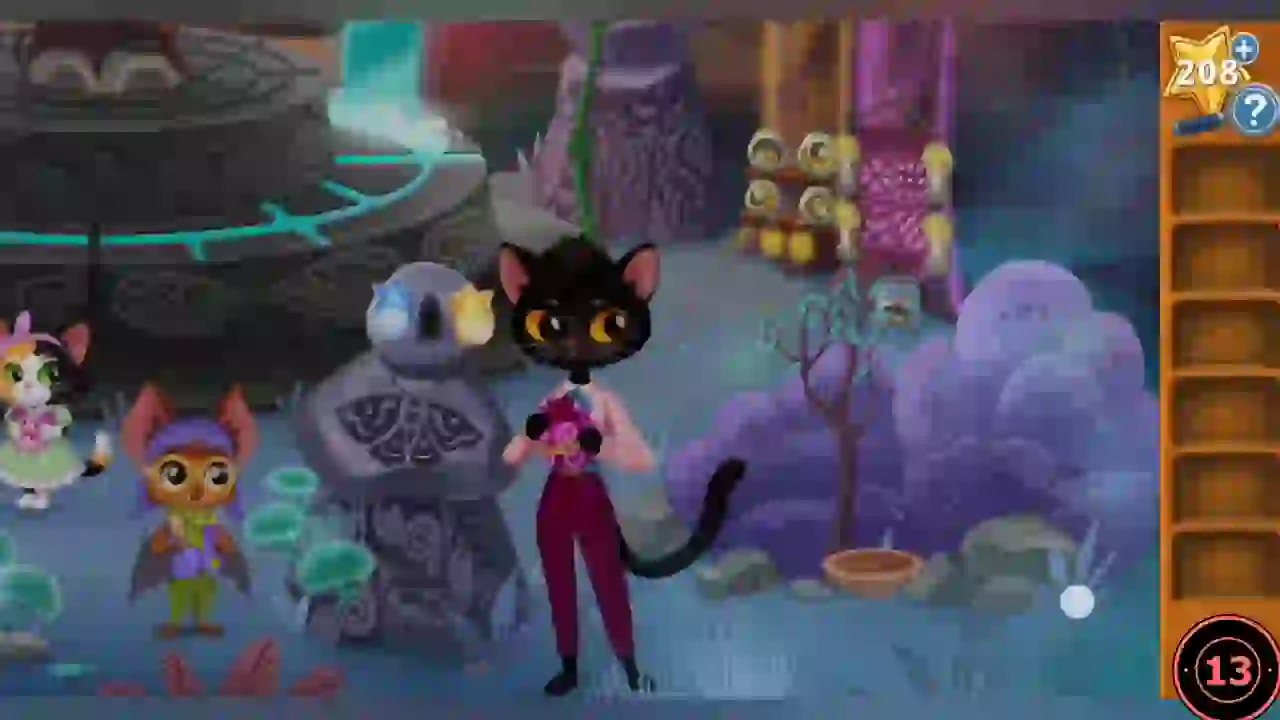
A new grave appears behind the bushes.
- Find Dad's grave. Take the Bowl and fill it under the dripping tree for Sticky Mush.
- Fix the third lantern with the Sticky Mush.
Five-heart maze
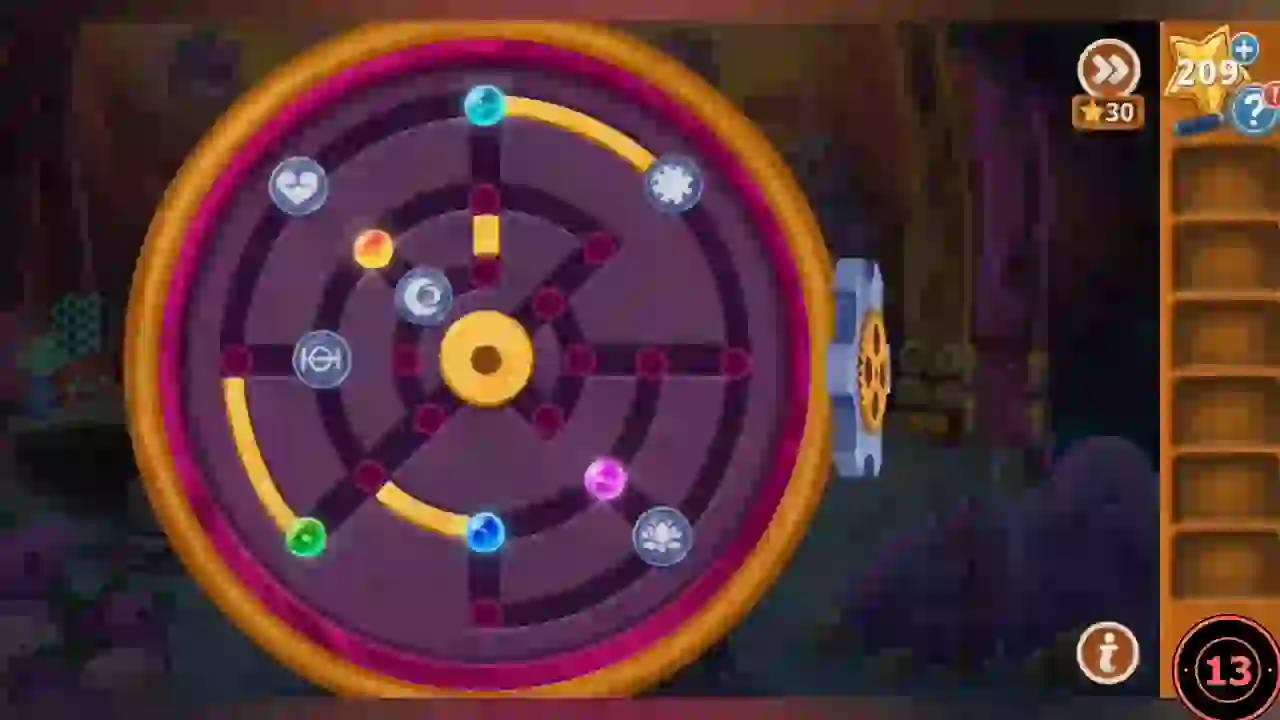
All five bot hearts are on the board at once. Select a heart, then press an arrow: it rolls in that direction until it hits a wall, a block or another heart. Each heart has its own matching goal. A heart parked on the yellow switch lowers the yellow blocks. This guide gives the method rather than a move list.
- Because hearts slide until stopped, use other hearts as stoppers: park one at a junction so the next heart halts exactly where you need it. When a yellow block bars a route, roll a heart onto the yellow switch and leave it there while the others pass. Bring the hearts into their matching goals one at a time, and move the switch heart last.
Ending
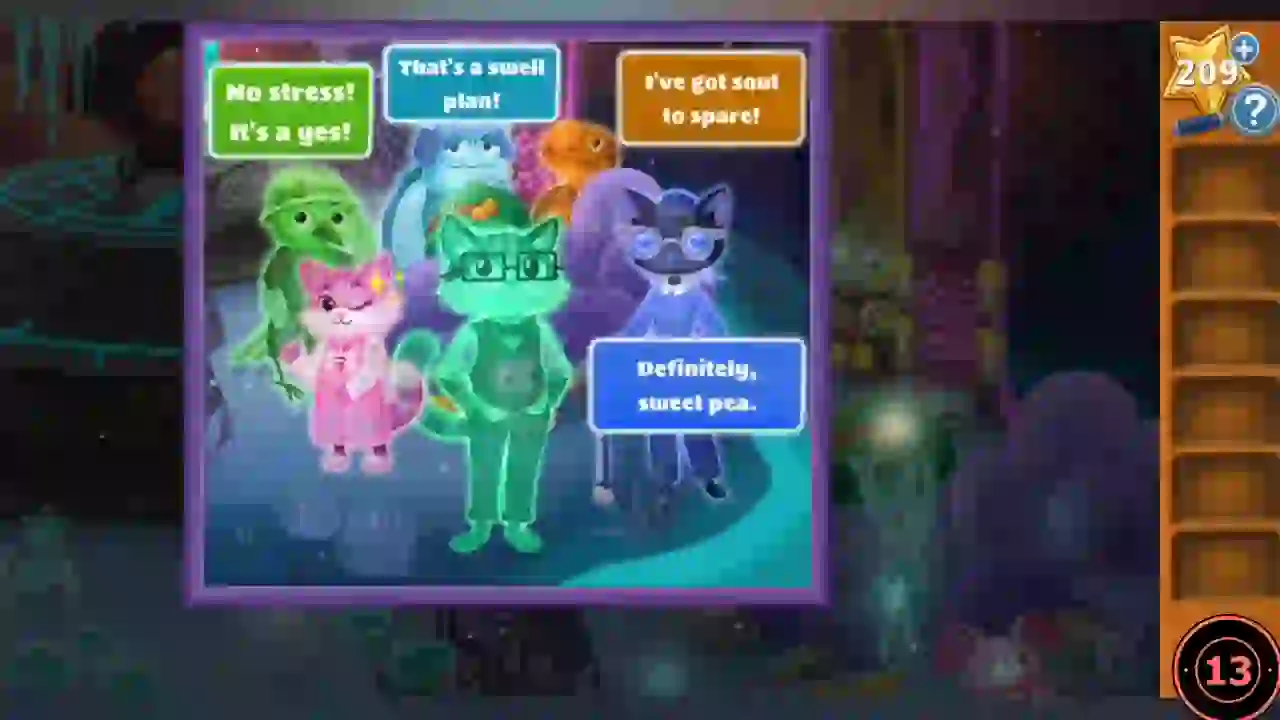
The bots' hearts are recharged.
- Watch the ending: the recharged hearts make the bots' spirits and the family's ghosts appear, followed by the "One Year Later" epilogue and Rainy May's Storytime scrapbook.