Glass factory yard
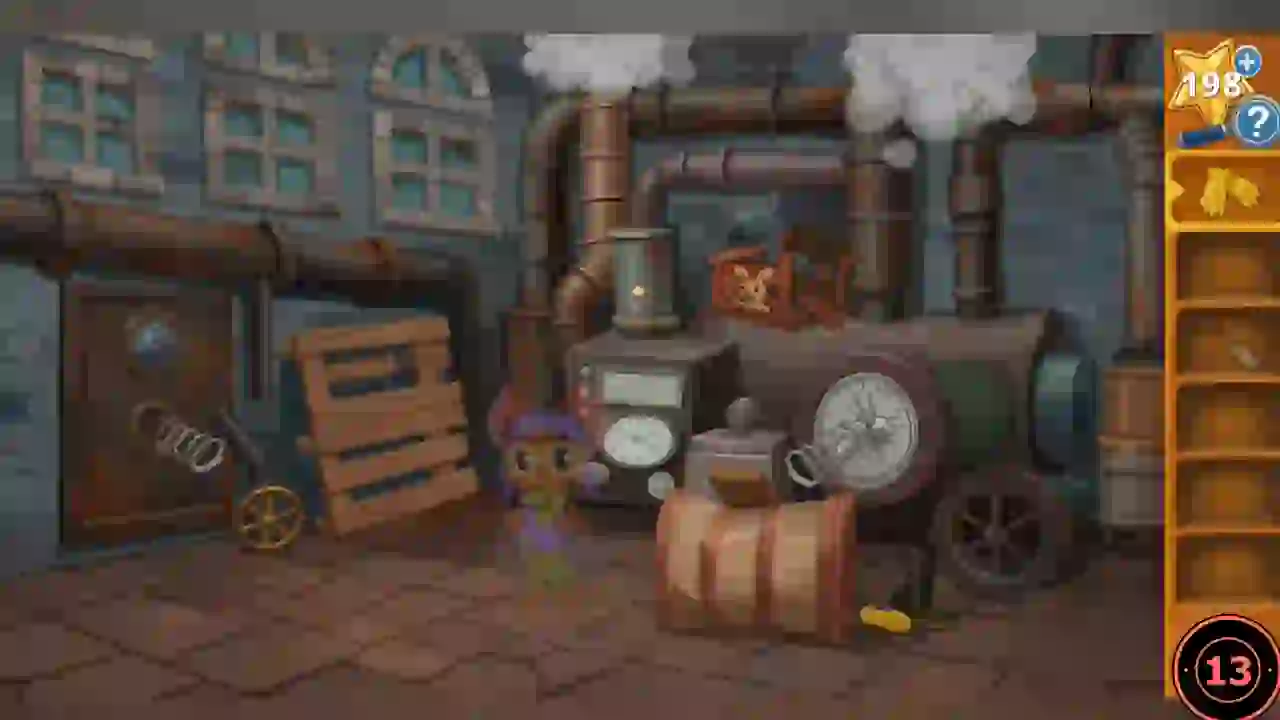
The factory door is locked and the yard is full of steam.
- Watch the storybook and arrive at the factory.
- Take the Crate from the bottom-left of the yard.
- Tip over the barrel and take the Spatula.
- Take the Board.
- Lay the Board over the barrel to make a seesaw and put the Crate on it. Winnie jumps on the other end; the crate breaks. Take the Gloves.
- Use the Gloves on the steam valve on the left pipe to stop the steam.
- Take the Spring sticking out of the door, then use the Gloves to take the second Spring.
- Add the Springs to the boots by the barrel to make Spring-o-matic Shoes.
- Give the shoes to Winnie. He reaches the window, but it is stuck.
- Hidden star: tap the small glass lantern on top of the central machine.
- Toss the Spatula to Winnie. He breaks in and opens the door.
Inside: Blink and the lenses
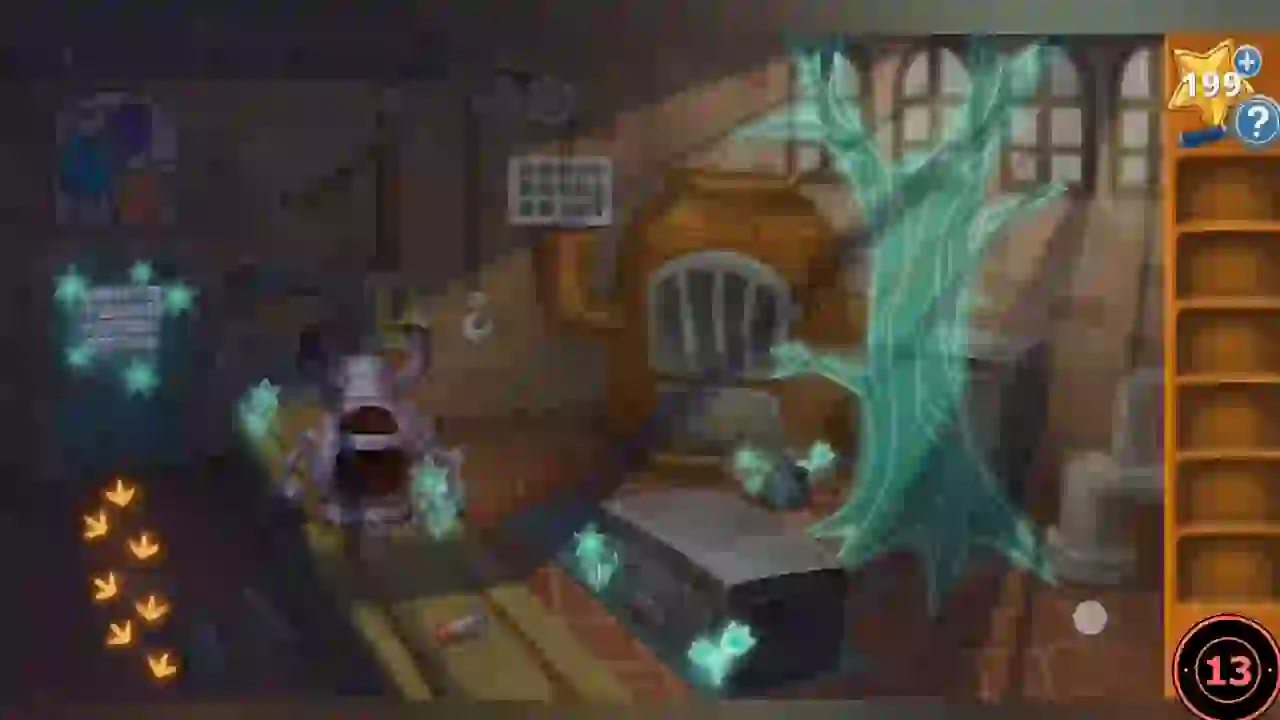
Coal is dark; someone is calling from behind a locked door.
- Turn on the PomPom: ghost trees and footprints lead to the locked door on the left.
- Take the Switch Handle from the workbench in front of Coal.
- Fit the Switch Handle to the black glass oven in front of the furnace. Inside is Blink; take the Lenses.
- Tap Blink so he shines through the red and blue vases from both sides, revealing symbols.
Lens door
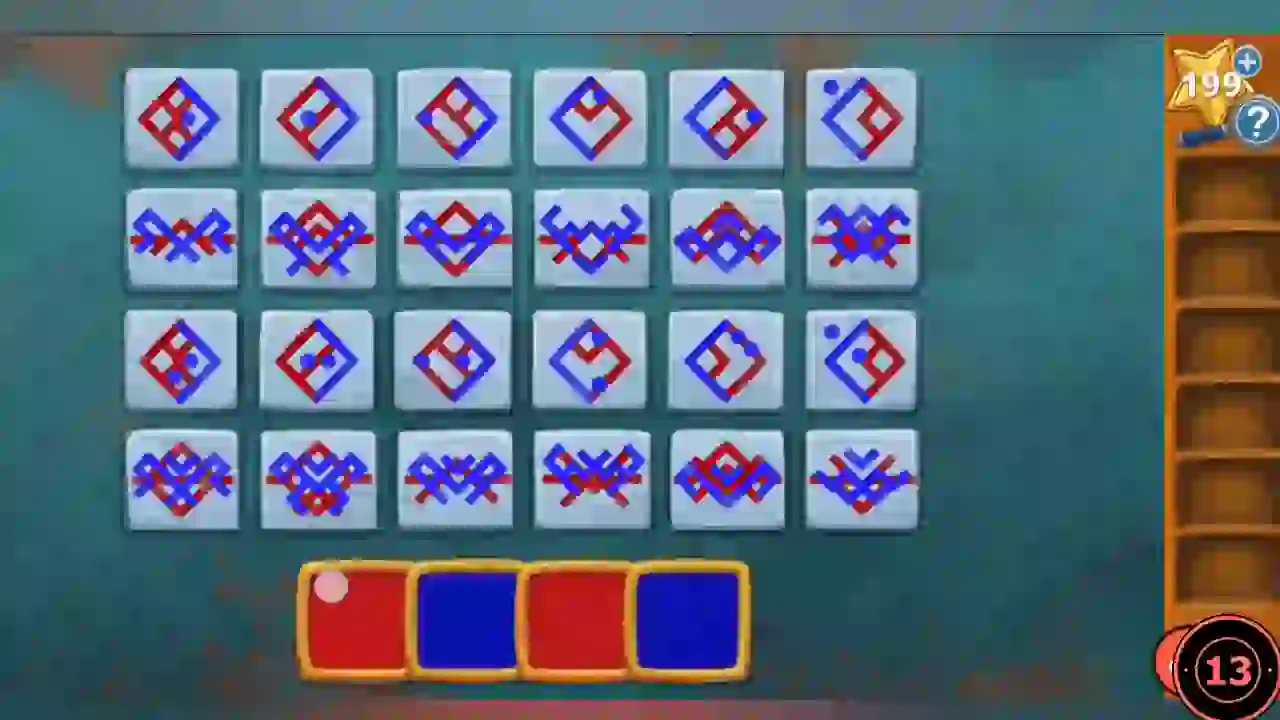
Place two red and two blue lenses on the 4×6 symbol board so they show the symbols revealed by the vases.
- Use the Lenses on the locked door.
- Place red lenses on row 3 column 4 and row 4 column 5, and blue lenses on row 1 column 3 and row 2 column 2 (rows from the top, columns from the left).
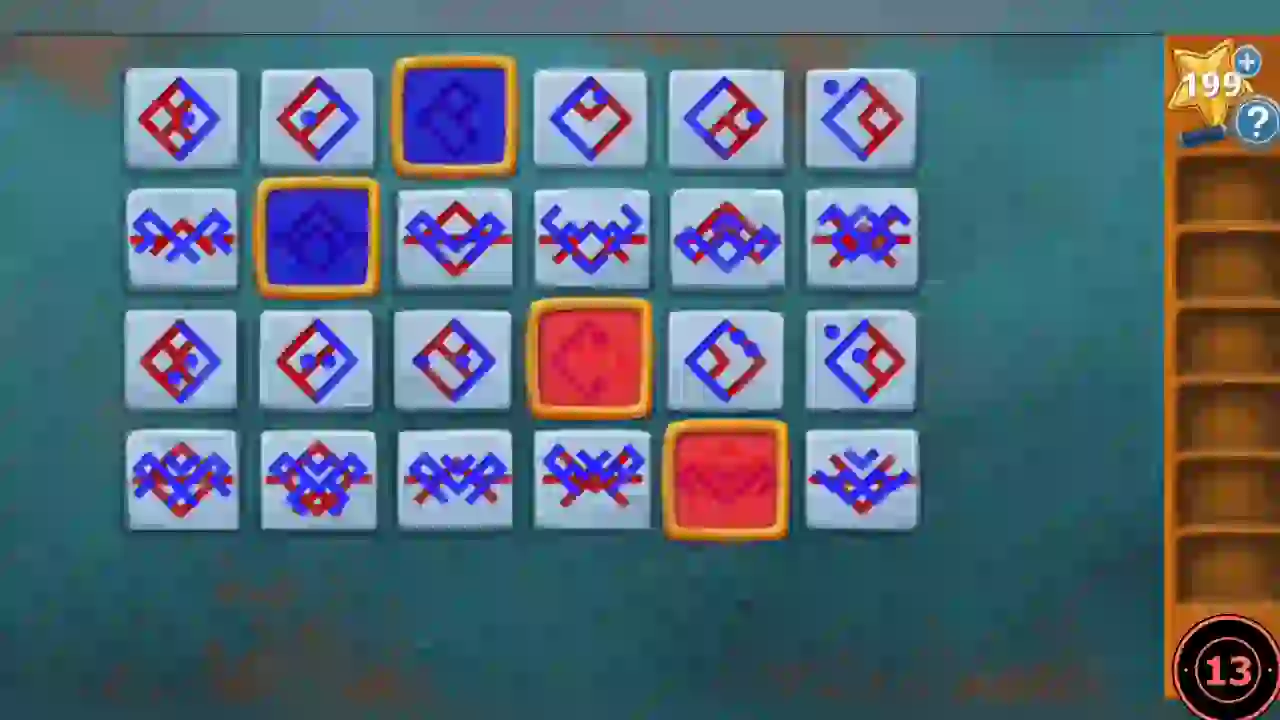
Completed lens door: two blue lenses in the upper rows, two red lenses in the lower rows.
Trapping the will-o'-wisp

A will-o'-wisp escapes. Guide it into the furnace.
- Take the Fire Poker leaning by the open door and use it to open the furnace's fuel chute.
- Swipe the flame: it slides until it stops on a blue tile. Ghost trees deflect it while the PomPom is on; toggle the PomPom to show or hide them. Reach the orange hex at top centre. Method only.
Coal, the scale and the workshop
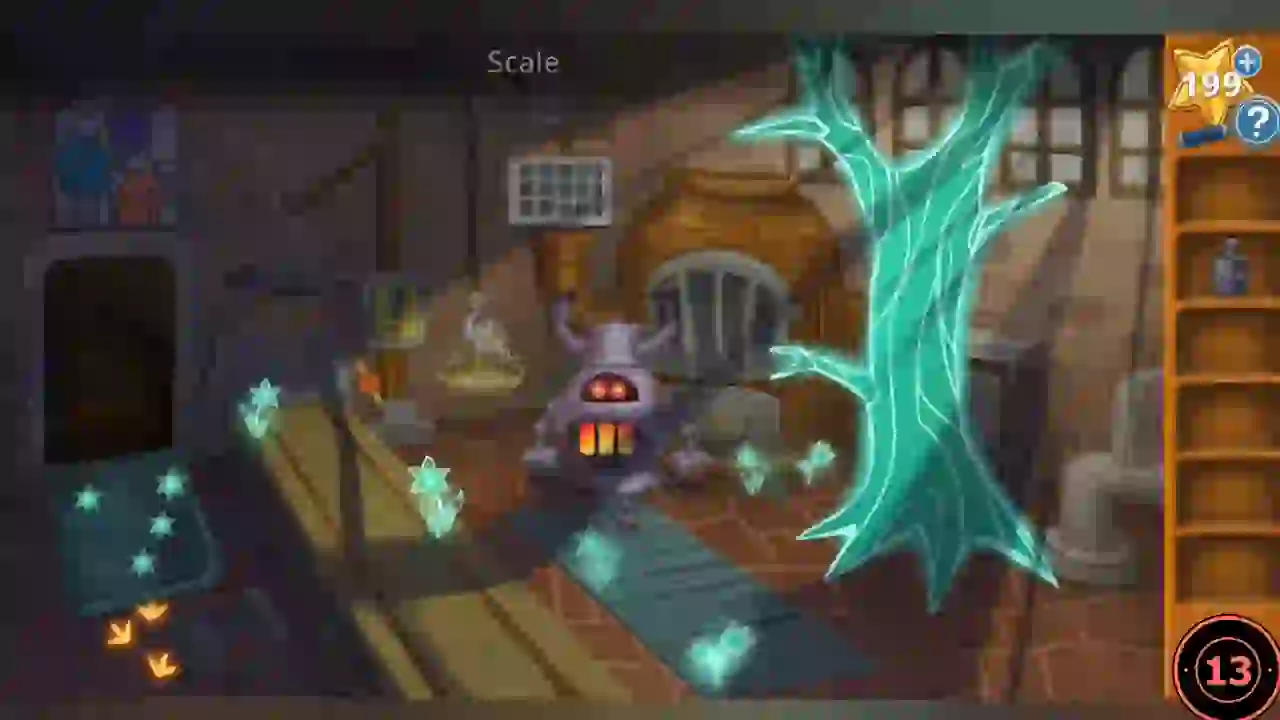
The wisp wakes Coal. Clear the smoke and forge the weatherglobe base.
- Coal wakes up.
- Take the Weight and the Scale.
- Hang the Scale on the hook and add the Weight; the smoke clears.
- Turn the PomPom off at Coal's request and enter the workshop.
- Take the Hand Tool and the Mold.
- Back in the furnace room, open the stuck panel with the Hand Tool, press the red button and take the Gear.
- Place the Gear with the workshop gears and pull the lever to send the metal chunk along the belt. Take the Oil.
- Oil the red and yellow lever. Press the red button to grab the chunk, pull the lever to move it over the furnace and press the red button again to drop it in.
- Place the Mold in front of the furnace.
Glass-chip pitchers
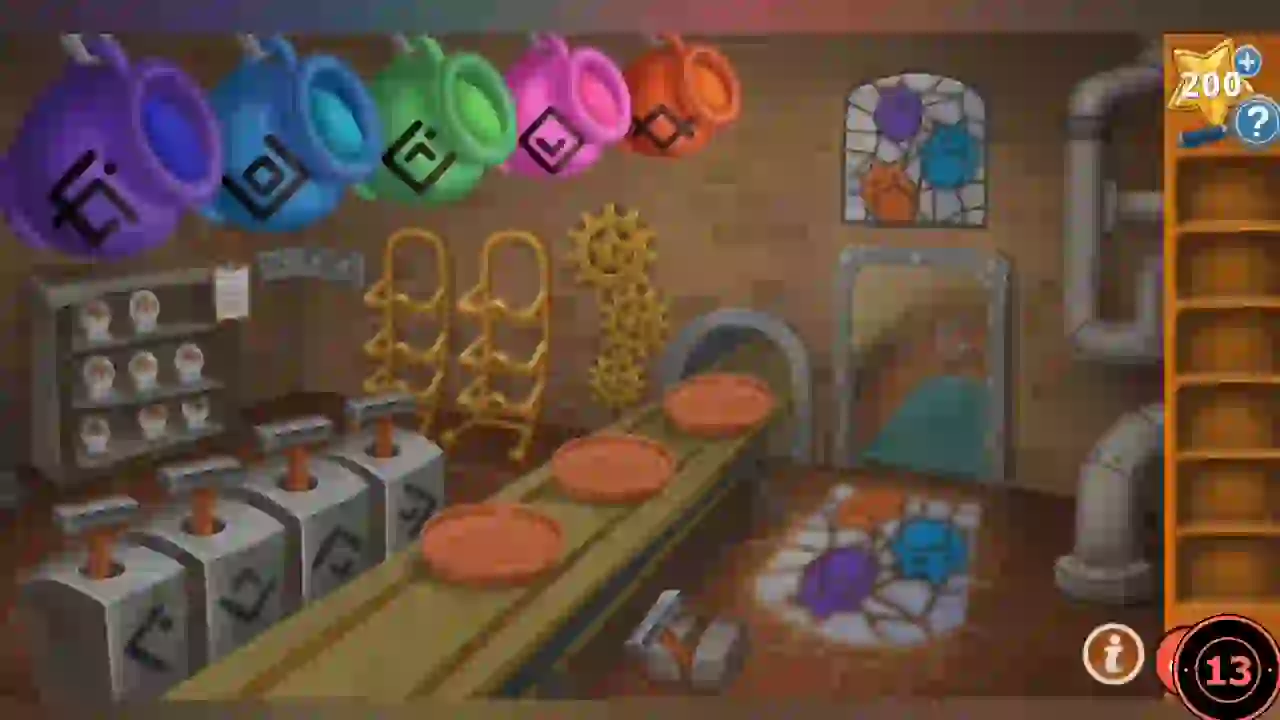
Fill the platters with the three sprite colors from the stained-glass window.
- Coal sends platters along the belt. Pull the lever; it breaks off and becomes the Lever Handle. Follow the platters and fit the handle on the empty lever base.
- Hidden star: tap the stained-glass window at the top right of the pitcher room.
- Rules: pressing two levers lowers the pitcher bearing both symbols. The window sprites are orange, blue and purple.
- Pull levers 2 and 4 for blue, 2 and 3 for orange, then 1 and 3 for purple (levers counted from the left).
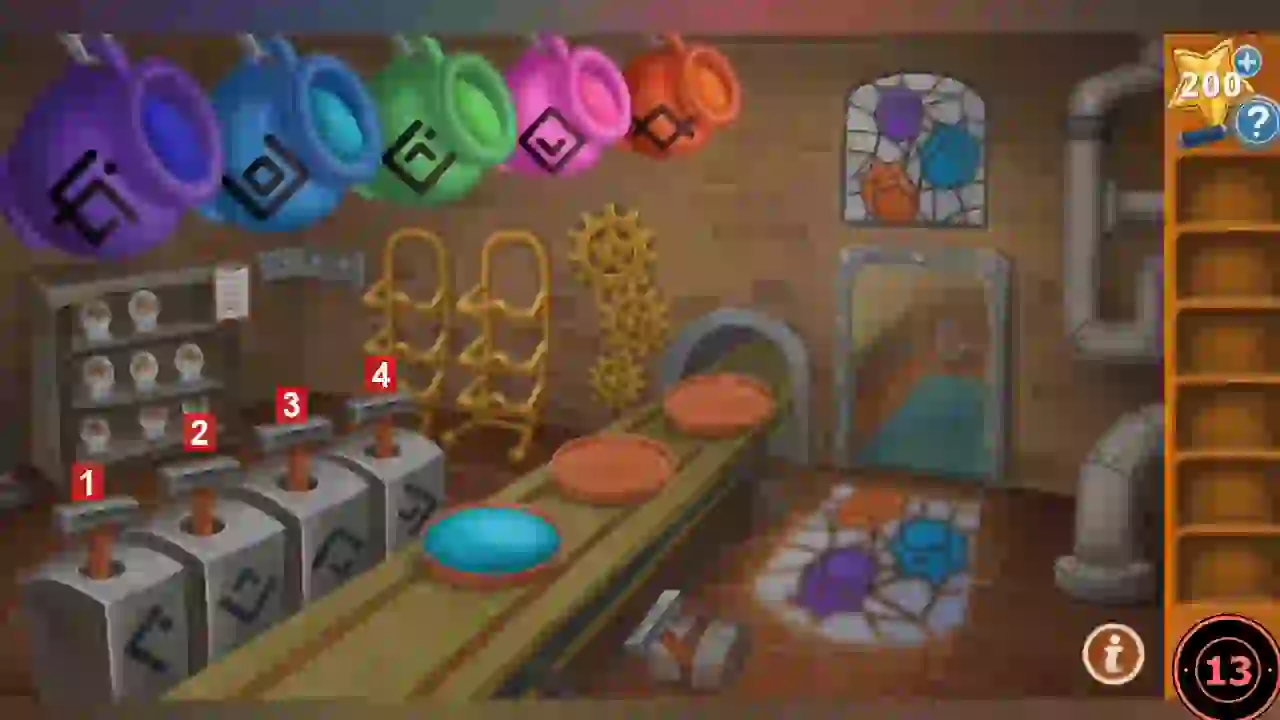
Levers numbered 1–4 from the left (shown after the blue platter is filled). The window shows which three colours are needed.
Coal's tools and the weatherglobe
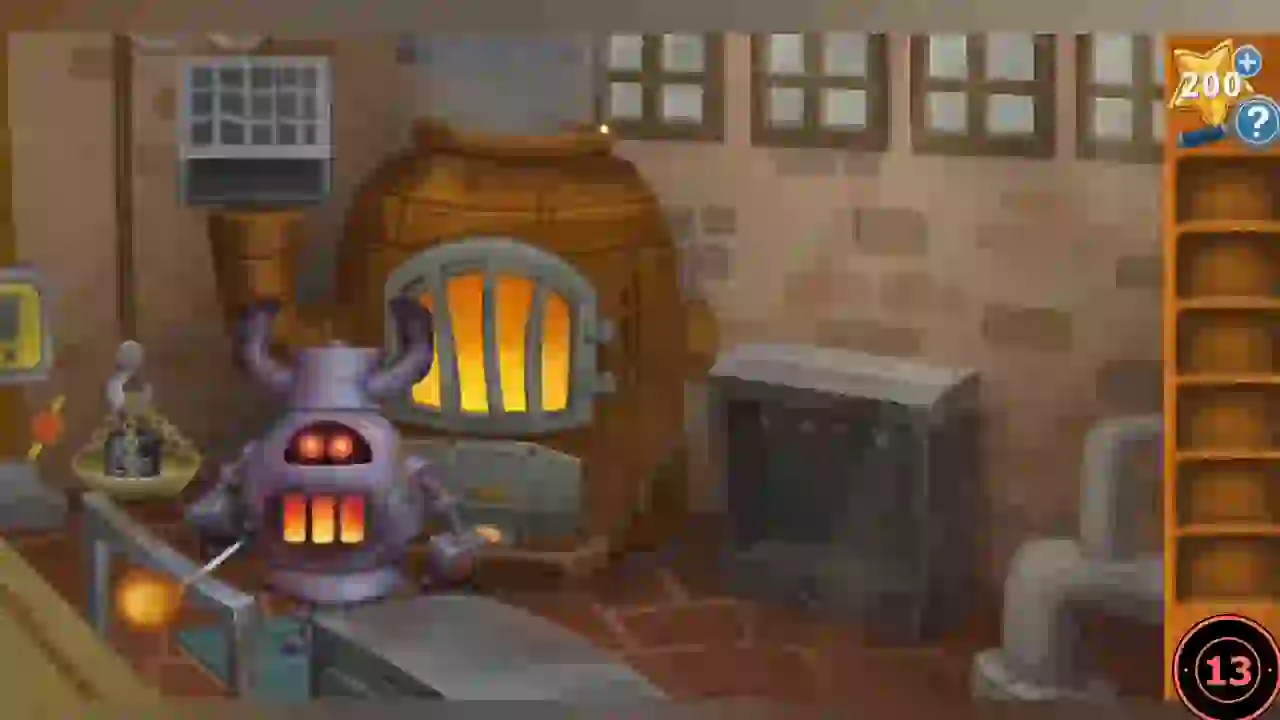
Coal eats the glass and asks for tools.
- Take the Crank Handle from Coal, open the tool rack and take the tools (Thing-a-majig, Ginormous Tweezers, Grabby Gizmo).
- Give Coal the Thing-a-majig when he asks for the blocking buff, then the Ginormous Tweezers for the super jack.
- Use the Grabby Gizmo on the furnace to get the Molten Mold.
- Put the Molten Mold in the glass oven and take the Weatherglobe.
- Place the Weatherglobe on the shelf in the pitcher room and read the clipboard: Tues 6pm, Tues 10pm, Wed 8am (x2), Wed 12pm.
Coal's weather instruments
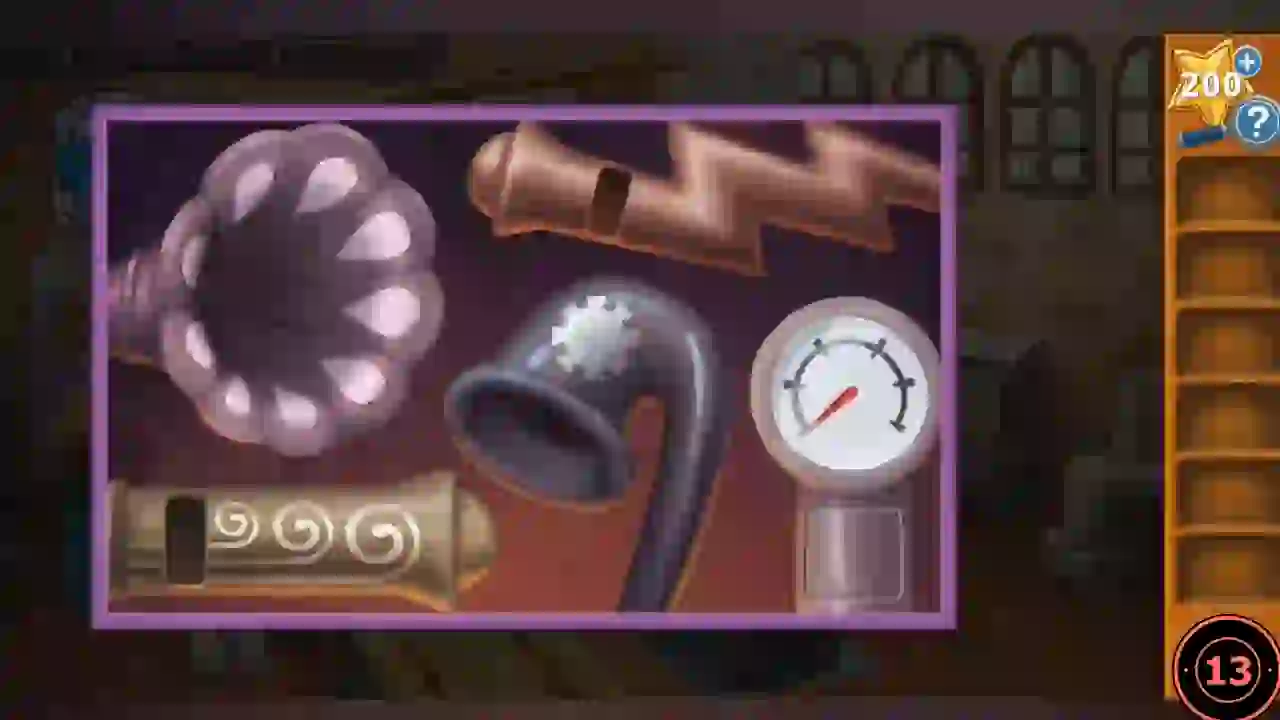
Each instrument in Coal's chest makes one kind of weather. Play them in pickup-schedule order.
- Turn the weatherglobe dial to each time: Tues 6pm windy, Tues 10pm thunderstorm, Wed 8am rainy, Wed 12pm sunny.
- Open Coal's chest and tap: brass pipe with wind swirls (wind), copper zigzag pipe (thunder), pink flower horn twice (rain), curved horn with the sun/gear knob (sun).
- Take Coal's Heart and put it in the PomPom.
Coal's heart maze
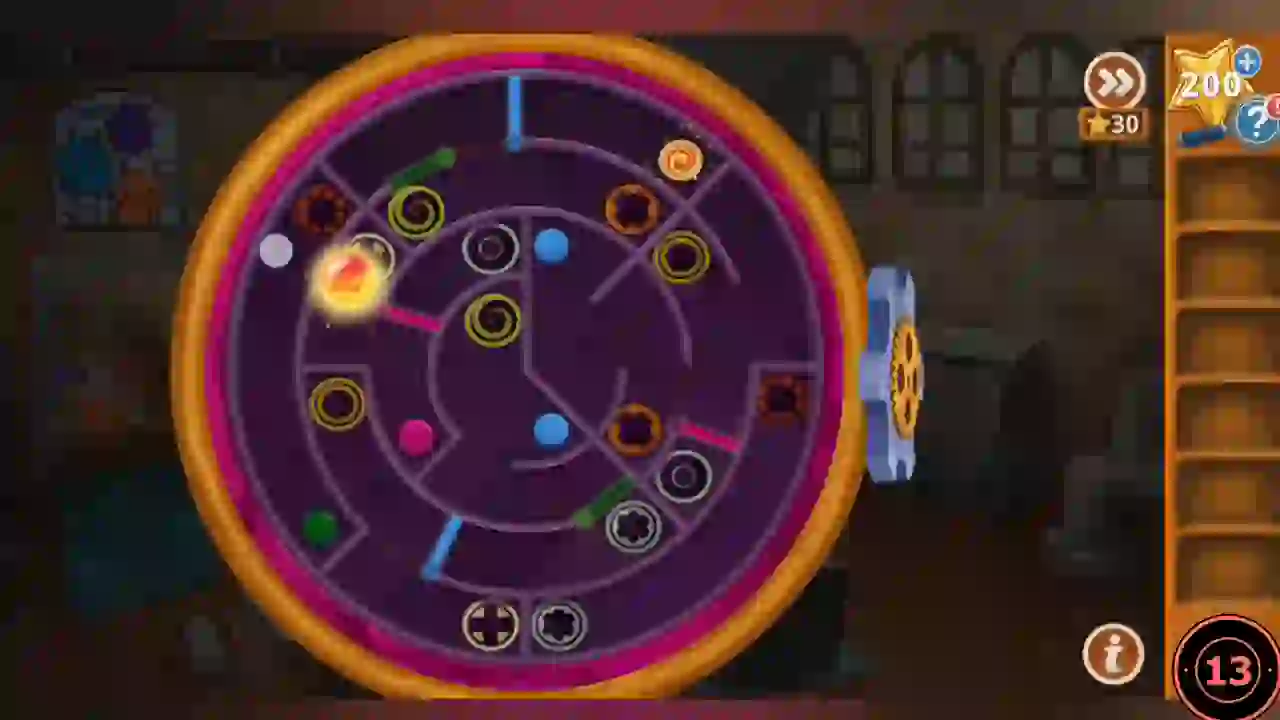
A circular maze with coloured gate buttons and paired symbol rings: entering a ring sends the heart to the other ring with the same symbol. The goal is the dock on the right edge by the gear wheel. This guide gives the method rather than a move list.
- Pair up the rings by symbol first. Work out which ring sits in the section next to the right-edge dock, then use the coloured dots to open the gates on the way to its twin. Roll over a dot again to undo a gate that has closed your path.
- Watch the cutscene. Chapter 4 complete.