Oliver's bedroom
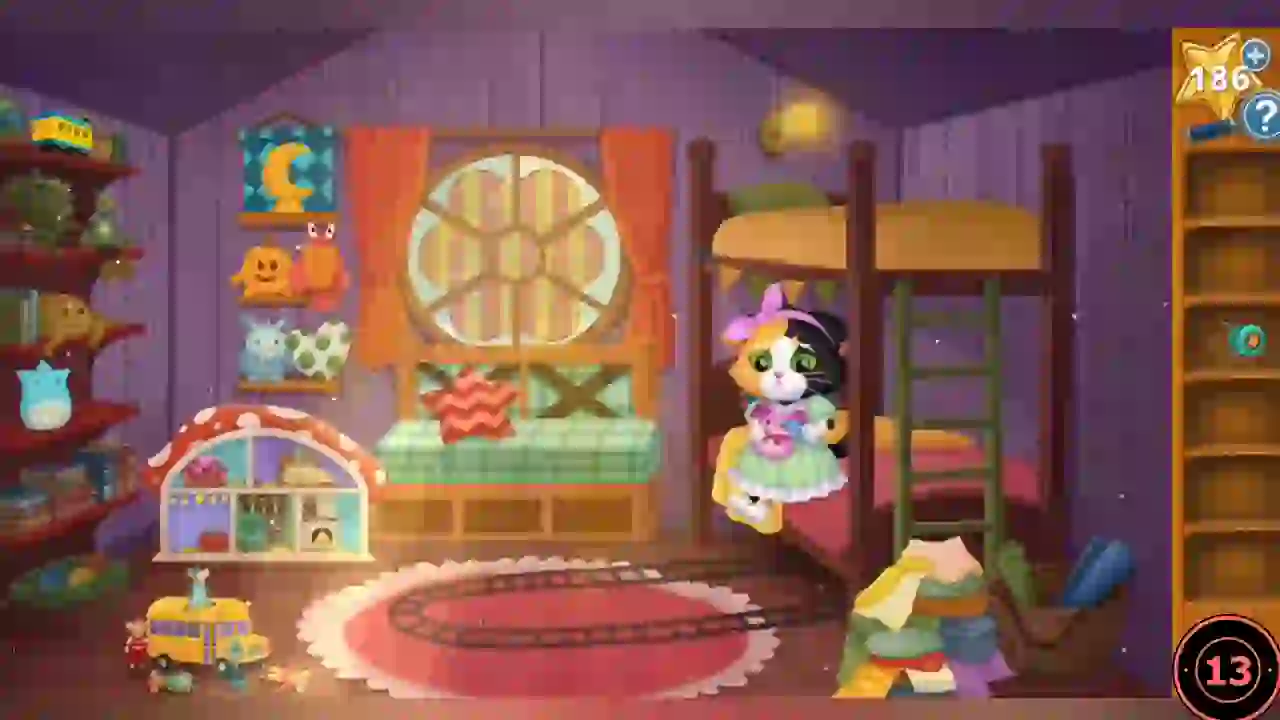
Chapter 1 starts in the bedroom Oliver shares with his little sister Rainy May. Collect the loose toys first.
- Flip through the storybook intro: scratch away the two question-mark panels, then drag the pink tab to the left to continue.
- Pick up the Yo-yo from the floor beside the rug.
- Pick up the Blue Train from the floor next to the bunk-bed ladder.
- Zoom into the window seat and take the Green Sprite plush. Note the patterns on the window-seat cushions and bench: they are the clue for the dollhouse.
- Pick up the Dolls from the floor in front of the dollhouse.
Dollhouse rooms
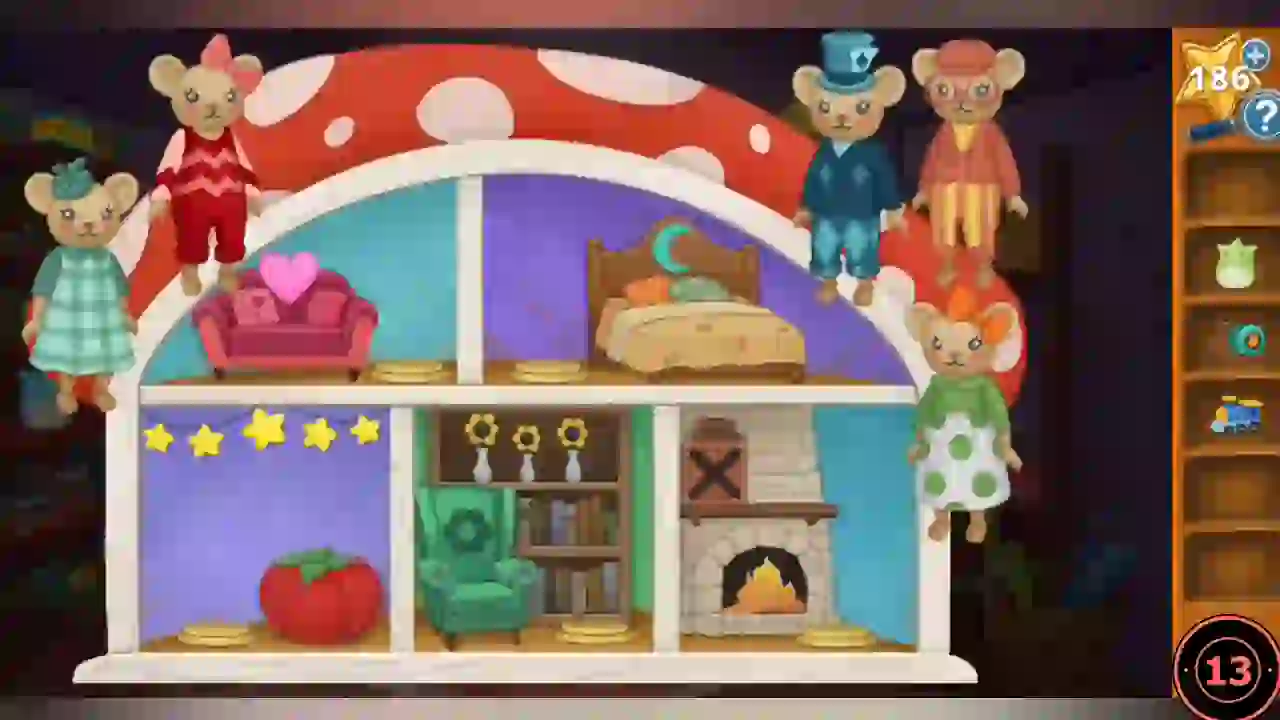
Each doll belongs in the dollhouse room whose furniture matches its outfit pattern on the window seat.
- Use the Dolls on the dollhouse to open the puzzle.
- Place the dolls: green polka-dot dress in the heart/sofa room; top hat with diamond trousers in the moon/bed room; red zigzag sweater in the star room (the bottom-left room with the tomato); glasses with yellow-red striped trousers in the flower/armchair room; teal plaid dress in the X/fireplace room.
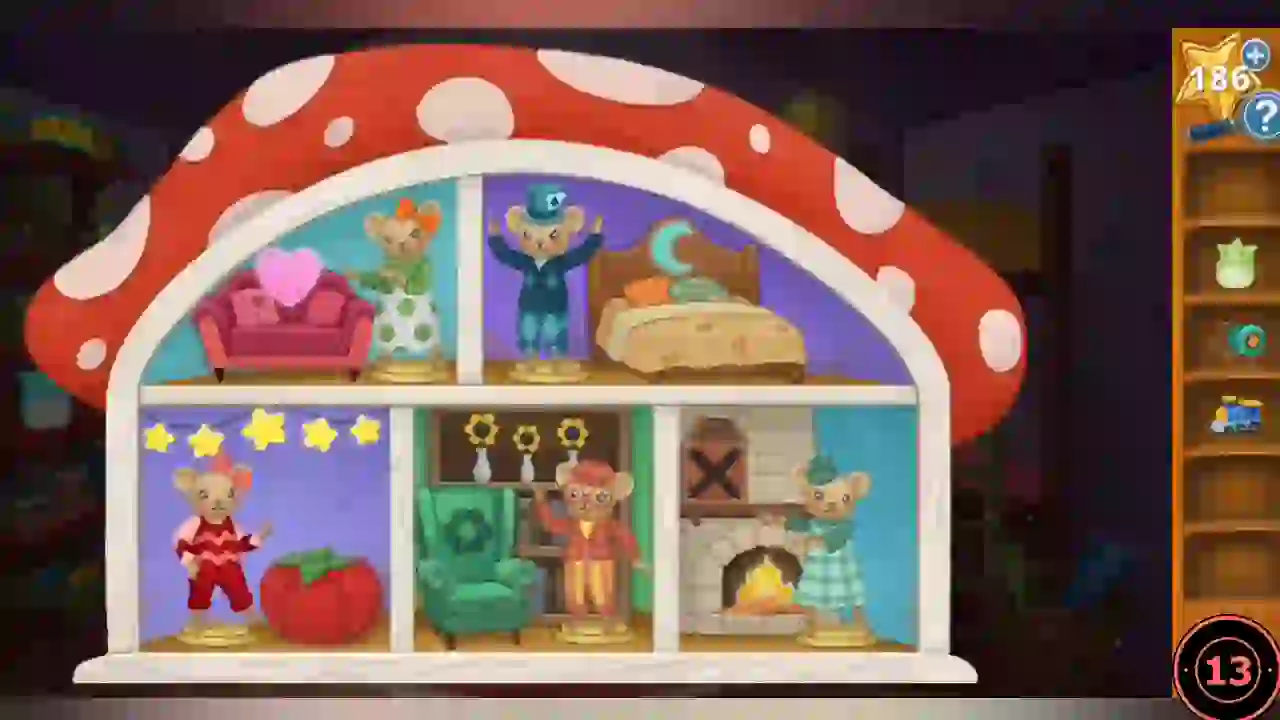
Completed dollhouse: every doll in the room that matches its outfit pattern (the red zigzag doll shares the star room with the tomato).
Train set and the plush sprites
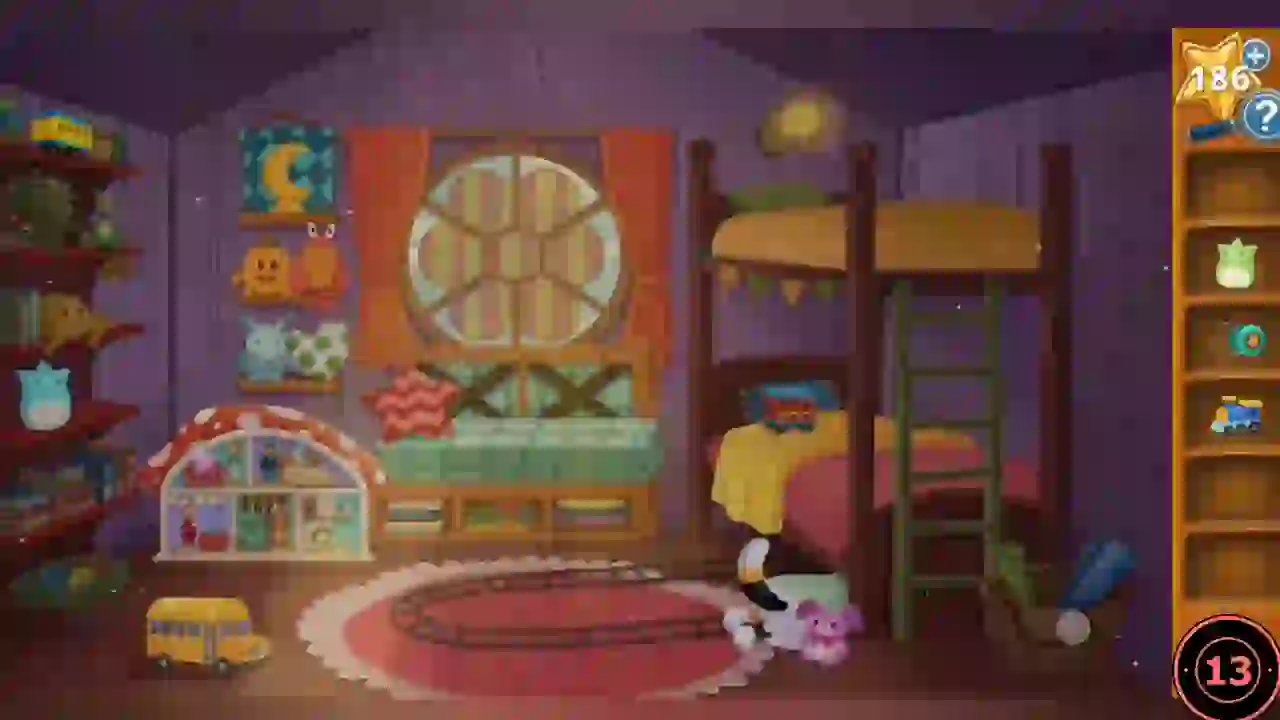
Finish the bedroom by rebuilding the toy train.
- After the dollhouse, Rainy May climbs under the bed. Take the Red Train from her lower bunk.
- Use the Yo-yo on the top-left shelf to knock down the Yellow Train.
- Place the blue, red and yellow train pieces on the track.
- The train rolls under the bed; take the Pink Sprite it brings out.
- Zoom into the shelf with the blue sprite and place the green and pink sprites beside it. Oliver then heads downstairs.
Living room and kitchen: snacks for Snacktime
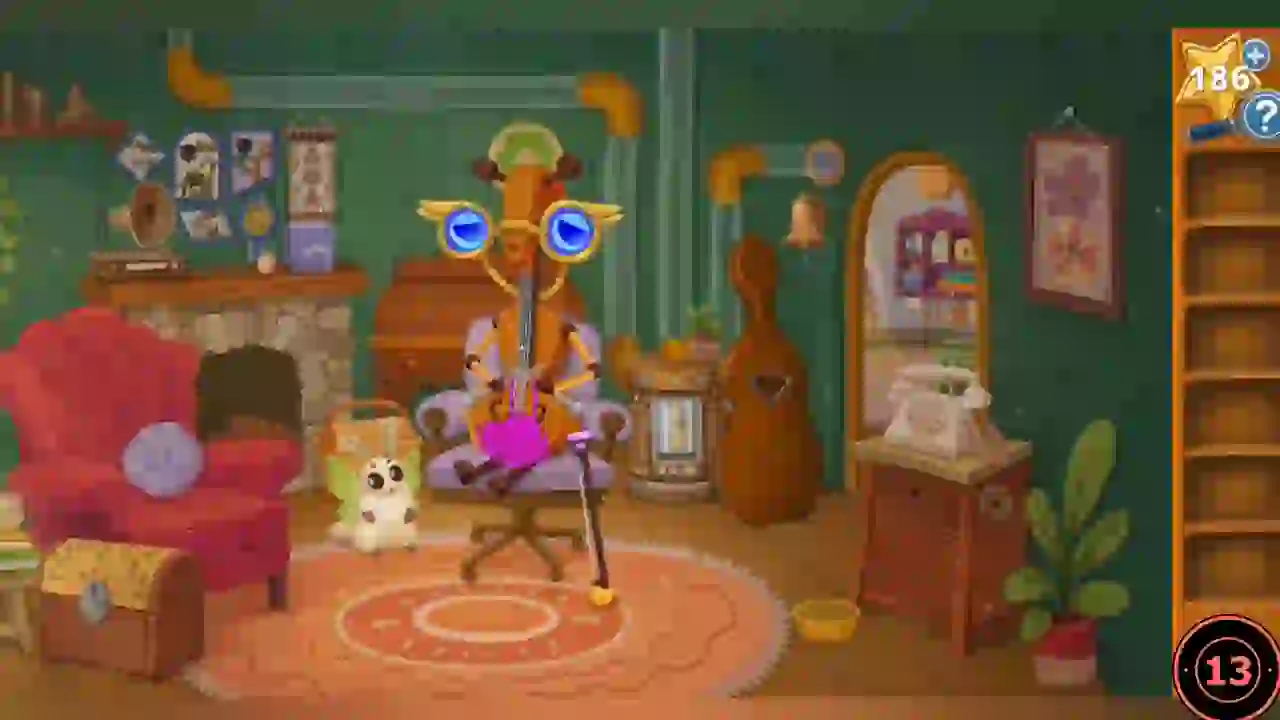
A message tube delivers a letter and Rainy May wants a snack tray. Collect five snacks, two hidden stars and several helper items.
- In the kitchen the tube delivers a letter. Go to the living room and take the Snacktime List from the tube flap.
- Take the Blanket from the chest beside the armchair.
- Put the Blanket on Mimi (the cello bot). She hands over the Sweater (a pink yarn knot).
- Give the Sweater to Motthew, the moth sitting on the wicker basket beside the armchair. Once he flutters down to the floor, open that basket and take the Scissors.
- Take the Basket from beside the fireplace side table.
- Hidden star: tap the brass bell on the wall to the right of the cello case.
- Zoom into the mantel and take the Drawer Handle.
- Fit the Drawer Handle to the drawer of the phone table (lower right) and take the Money Envelope.
- Put the Money Envelope in the message tube; it returns Blueberries.
- In the kitchen, cut the hanging net with the Scissors to get Oranges.
- Open the green drawer left of the sink and take the Grab-o-matic. (The drawer beside the stove is stuck for now.)
- Hidden star: tap the sparkle at the open green drawer left of the sink.
- Open the fridge and take the Cucumbers.
- Use the Grab-o-matic on the cookie jar on top of the fridge to get Cookies.
- Tap the snack tray. Rainy May takes the list: Snacktime needs five items.
- Use the Basket on the windowsill plants to pick Strawberries.
- Place all five snacks on the tray. Rainy May gives you her Fortune Teller.
Snack tray
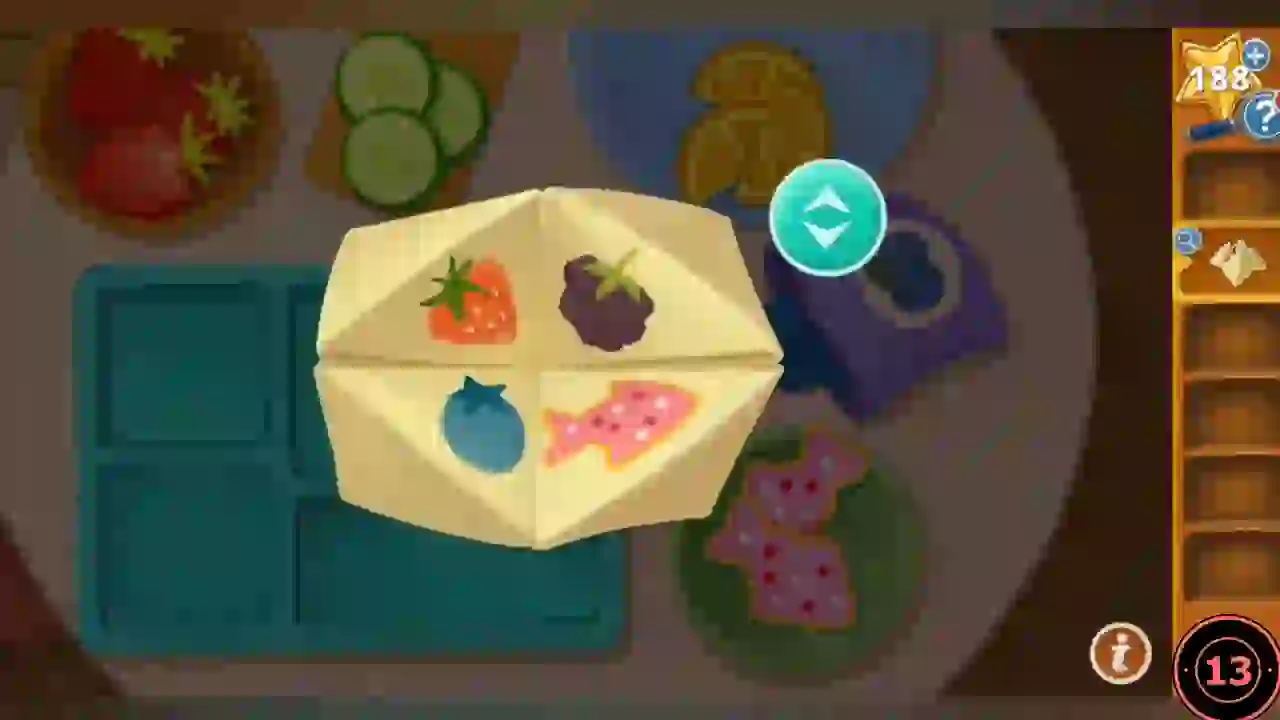
Each snack is linked to a symbol by the Fortune Teller, and the purple wall cabinet shows where each symbol goes.
- Zoom into the purple wall cabinet. Top row: bird with four-point stars, jar of six-point star candies, water drop. Bottom row: jar with a snail, books with a clover.
- Open the Fortune Teller to read the pairs: strawberry = water drop, blueberry = clover, cookie = six-point star, cucumber = four-point star, orange = snail.
- Arrange the tray: top left cucumbers, top middle cookies, top right strawberries, bottom left oranges, bottom right (wide slot) blueberries.
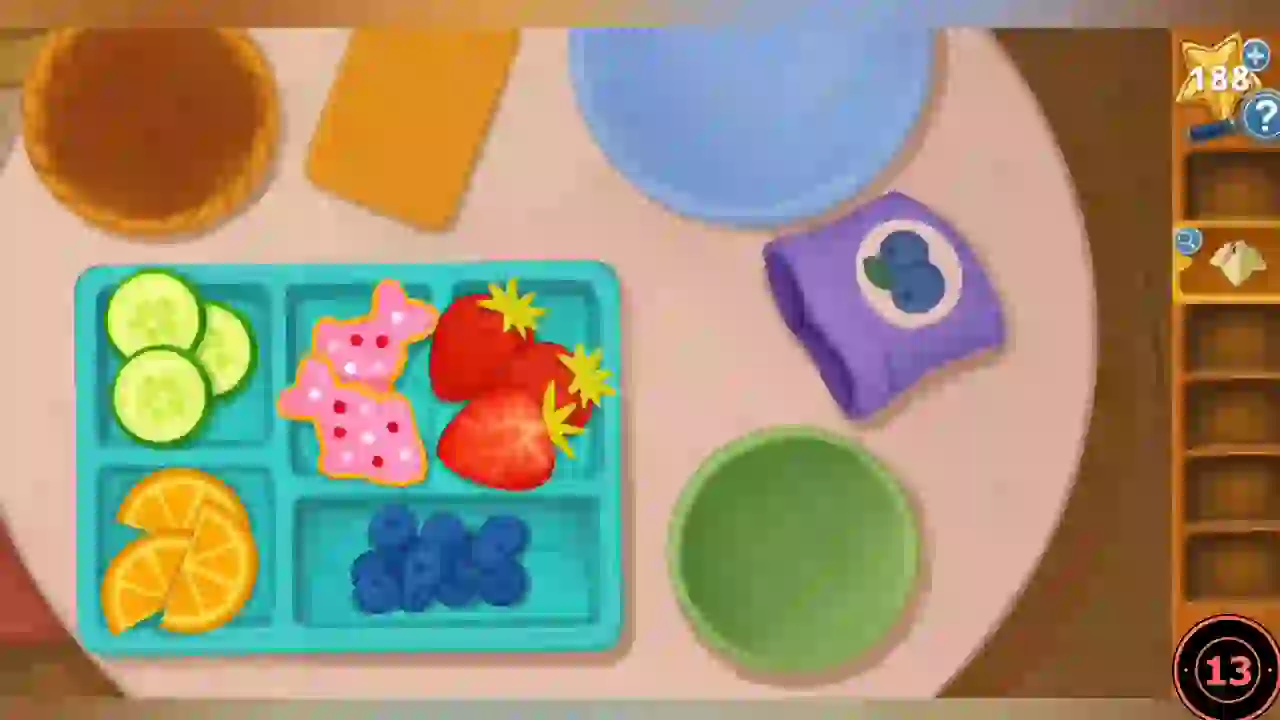
Completed tray: cucumbers, cookies and strawberries on top; oranges bottom left and blueberries in the wide bottom-right slot.
The phone call and the locked desk
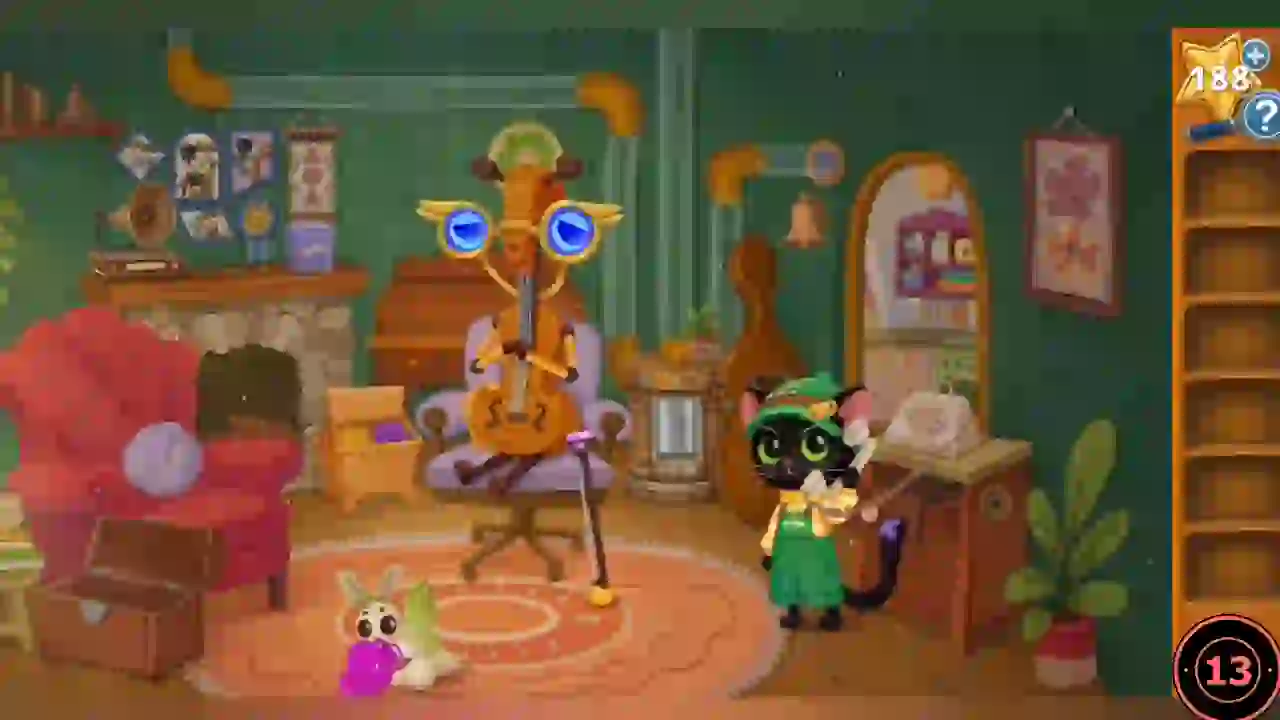
The tubes jam and Oliver overhears that the bots are dying. Open the desk.
- Watch the tubes jam and the phone call between Bea and Jax.
- In the kitchen, open the drawers to collect Soap and a Bottle Opener.
- Rub the Soap on the stuck drawer beside the stove and take the Record.
- Put the Record on the gramophone on the living-room mantel. Mimi starts moving.
- Use the Bottle Opener on the desk. It opens to reveal the PomPom and a blueprint.
PomPom blueprint labels
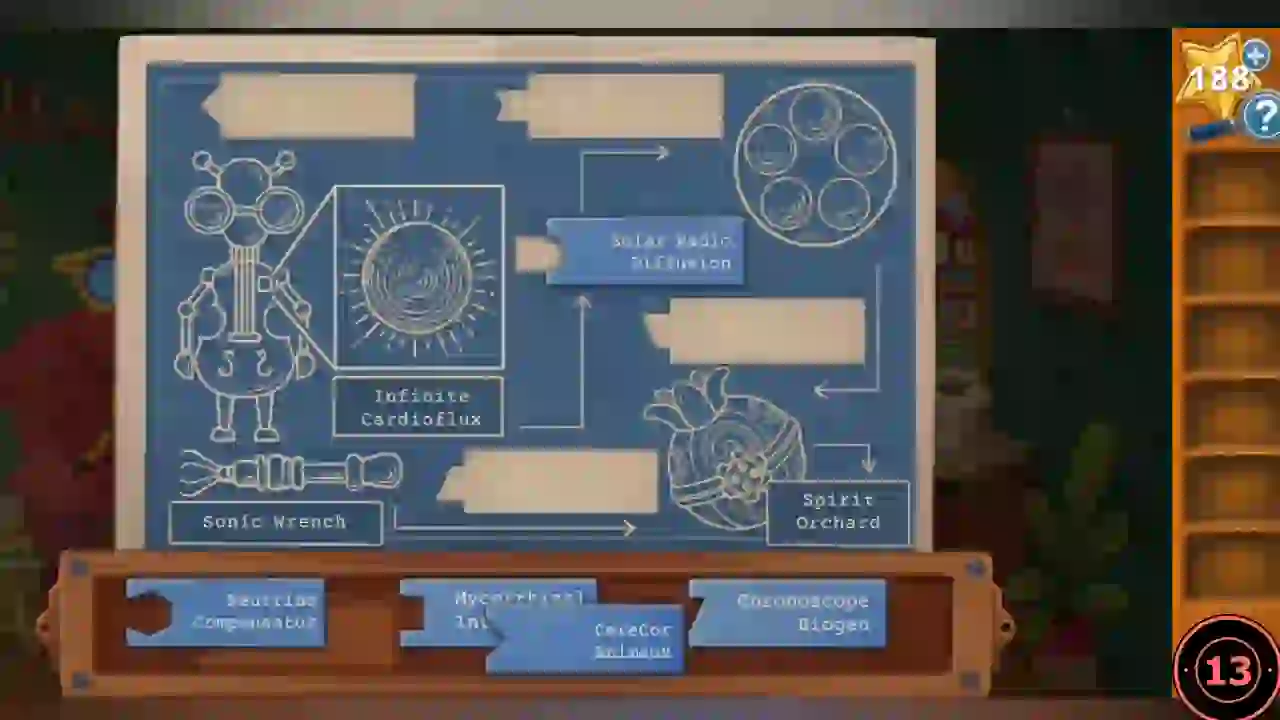
Drag each label onto the blueprint. The notch shape on each label matches a picture-frame shape on the mantel.
- Open the blueprint. Compare the label notches with the mantel frames (diamond, arch, shield, hexagon medal, parallelogram).
- Place the labels: CereCor Animaux top left (above the cello bot), Neutrino Compensator top right (beside the round wheel), Solar Radio Diffusion right of the sun box, Mycorrhizal Integration below it, Chronoscope Biogen bottom middle.
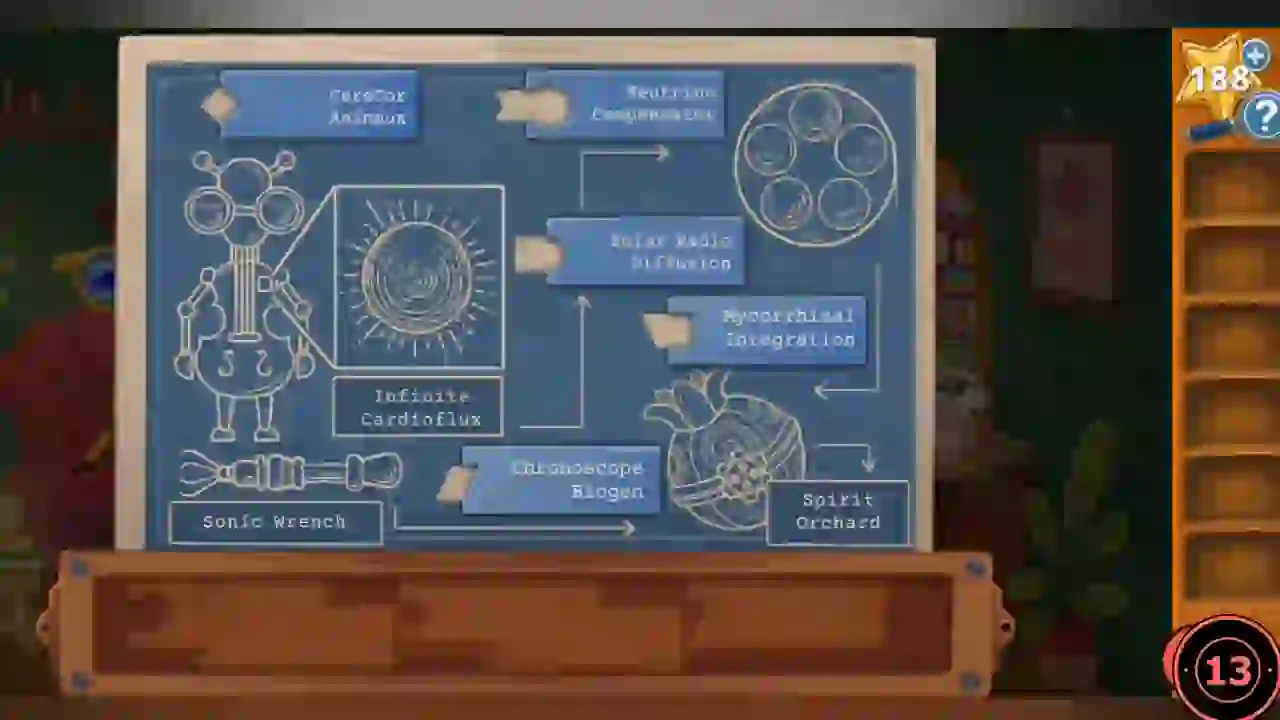
Completed blueprint with all five labels in place.
Two strings for Mimi
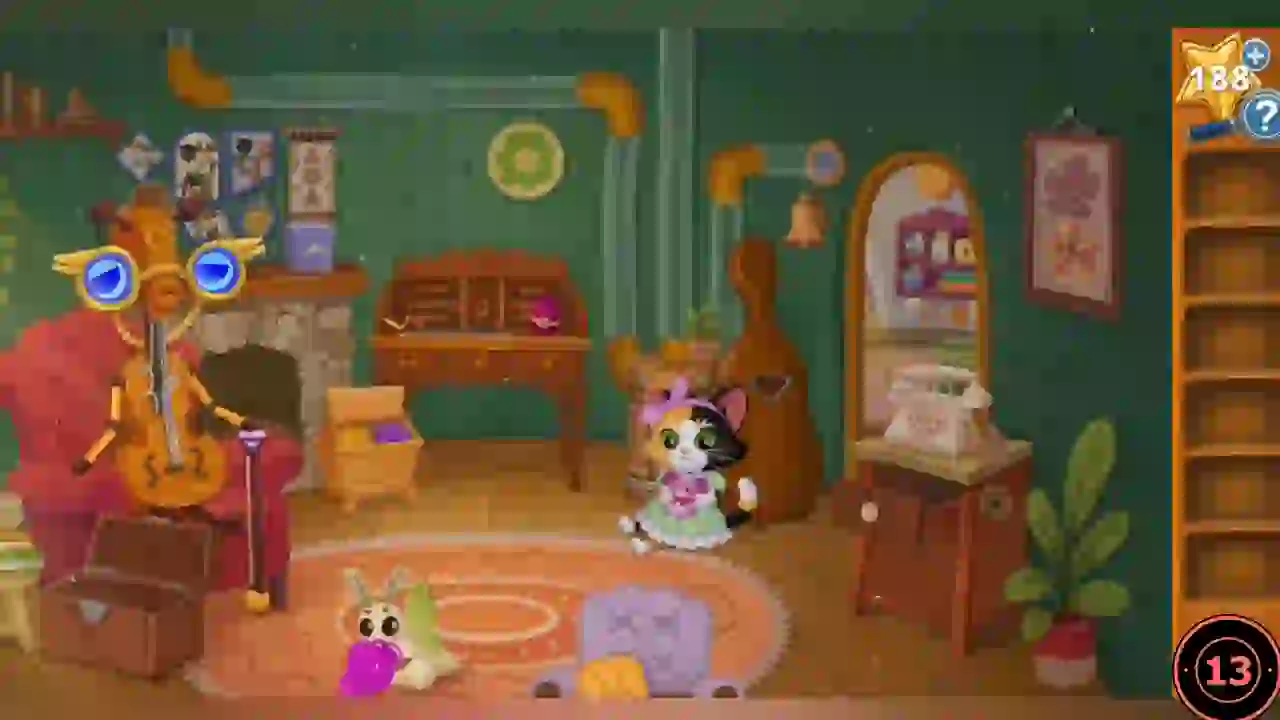
The PomPom needs a heart, but Mimi's strings are broken.
- Talk to Mimi: her strings are broken.
- Take the Crank Handle from the desk.
- Use the Crank Handle on the jack-in-the-box on the mantel to get a Cello String.
- Use the Crank Handle on the round socket on the right side of the phone table (lower right, with the telephone on top). The table's lower compartment opens: take the second Cello String.
- Fit both strings to Mimi. "All tuned up."
Mimi's cello tune
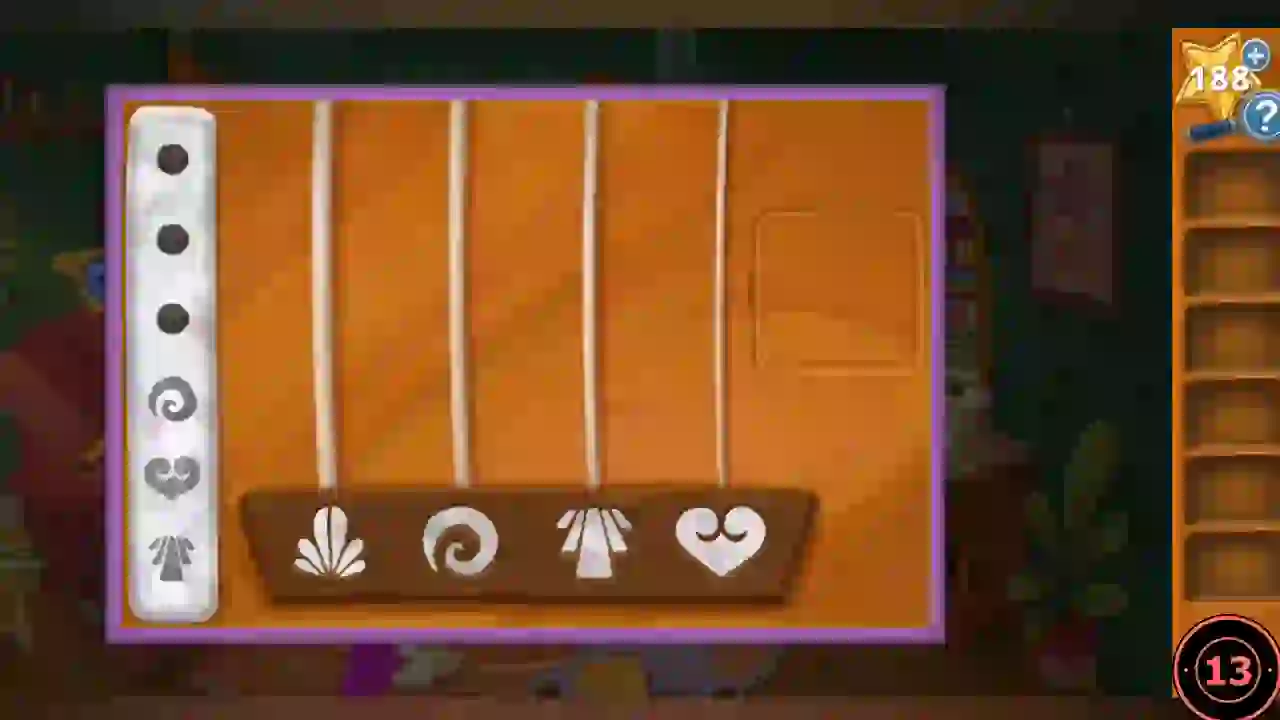
The four strings carry symbols. From left to right: shell, spiral, coat (arrow), heart.
- Clues: the shelf engravings read coat, heart, spiral (left to right); the jack-in-the-box arrow points up to the tapestry, which reads shell, spiral, shell from bottom to top.
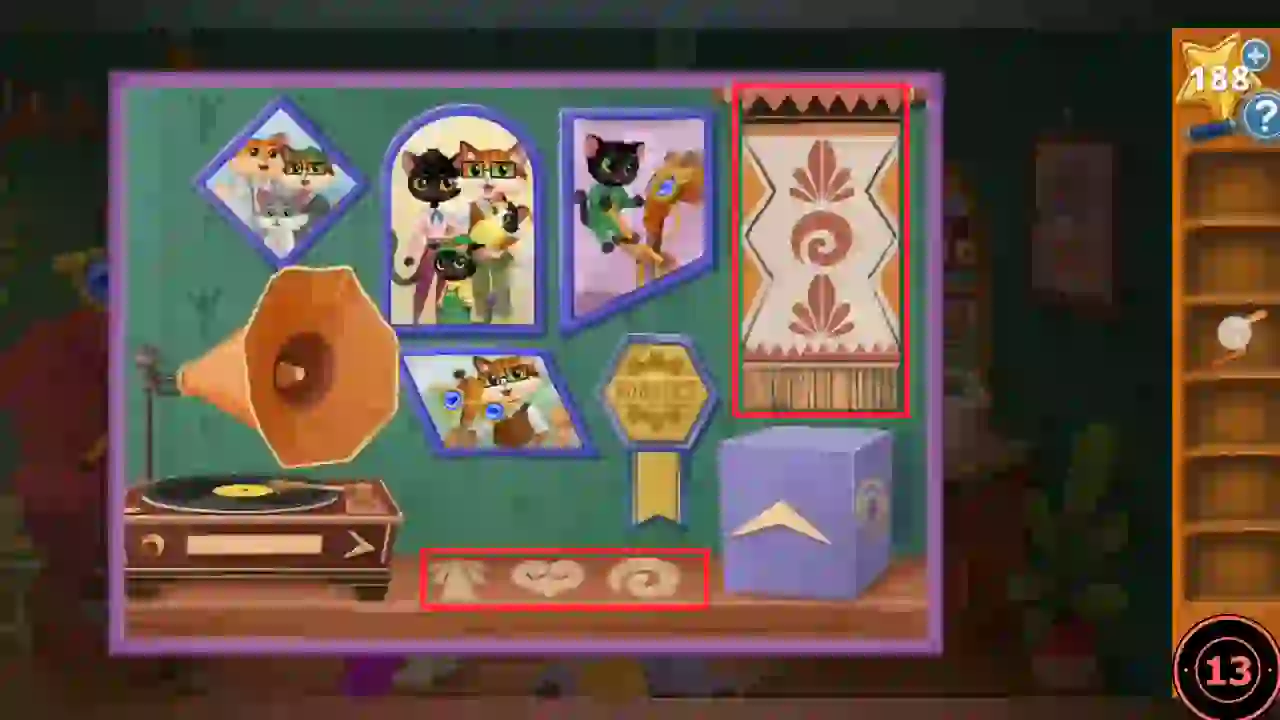
Both clues on the mantel: the shelf engravings (left box) and the tapestry the jack-in-the-box arrow points to (right box). - Pluck coat, heart, spiral, shell, spiral, shell — strings 3, 4, 2, 1, 2, 1 counting from the left.
- Take Mimi's Heart.
Opening the PomPom
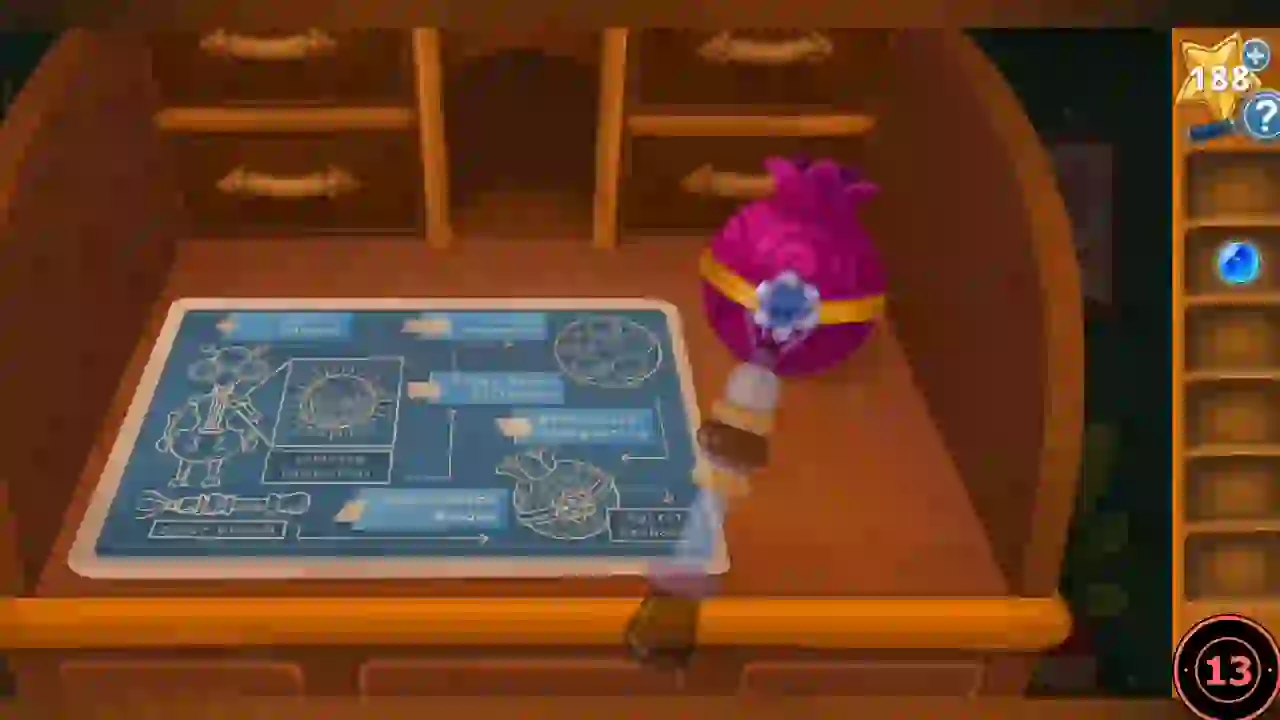
Find the tools to open the PomPom.
- Mimi's walking stick falls on the rug; take the Pink Stone.
- Place the Pink Stone on the cello case to get a Key.
- Use the Key in the desk keyhole and take the Sonic Wrench.
- Open the PomPom with the Sonic Wrench and insert Mimi's Heart.
Mimi's heart maze
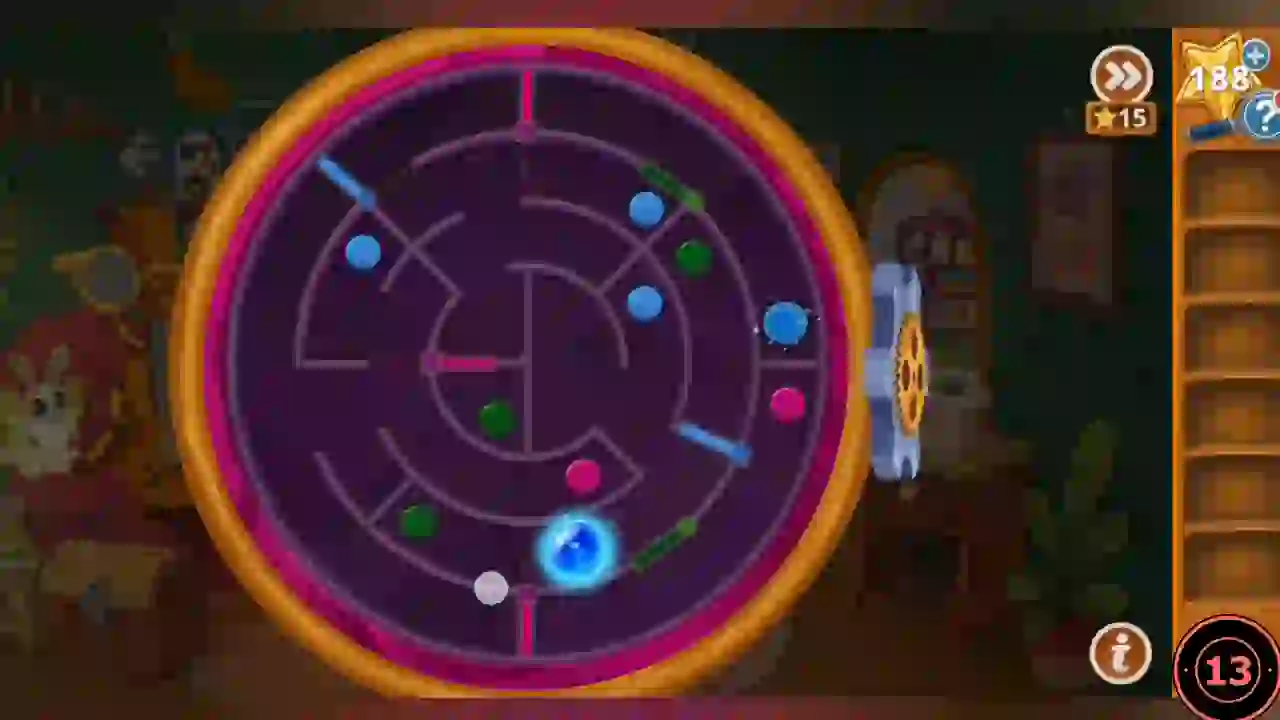
Drag Mimi's heart around the round board to the socket on the right edge, beside the gear dock. The small coloured dots are buttons: rolling the heart over one moves the gate bars of the same colour. This guide gives the method rather than a move list.
- Work backwards from the goal: find the gate bar that closes the passage leading to the right-edge socket, note its colour, then roll the heart over a dot of that colour to move it. If a move closes a gate behind you, roll over the same colour again to switch it back. Repeat until the path is open and drag the heart into the socket.
- Watch the cutscene. Chapter 1 complete.