The library
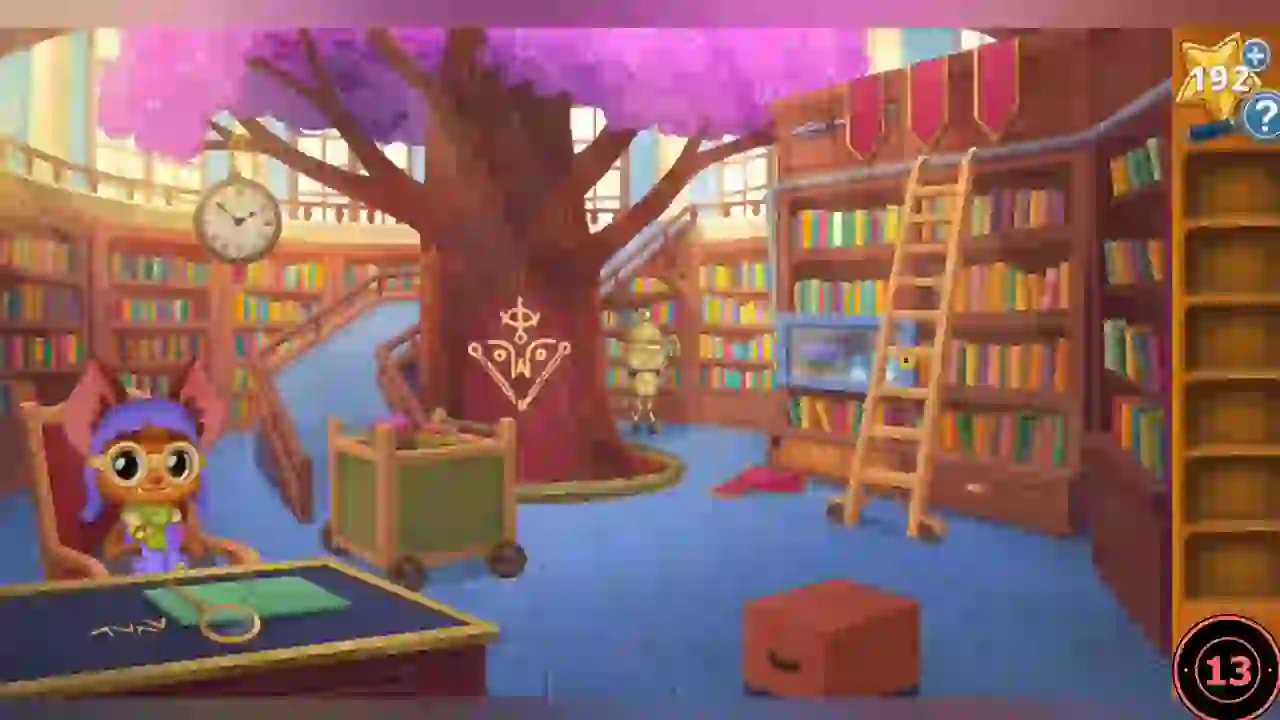
Oliver and Winnie search the library for the next bot.
- Watch the storybook and meet Winnie in the library.
- Take the Hand Truck in front of the tree.
- Hidden star: open the low drawer at the base of the right bookshelf (right of the box stack) and tap the star inside.
- Use the Hand Truck to move the box stack.
- Slide the ladder along the right shelves and collect the four red Banners.
- Take the Lining Paper from the cardboard box at the bottom.
- Place the Lining Paper and Banners on the desk to start the book puzzle.
Book cover emblem
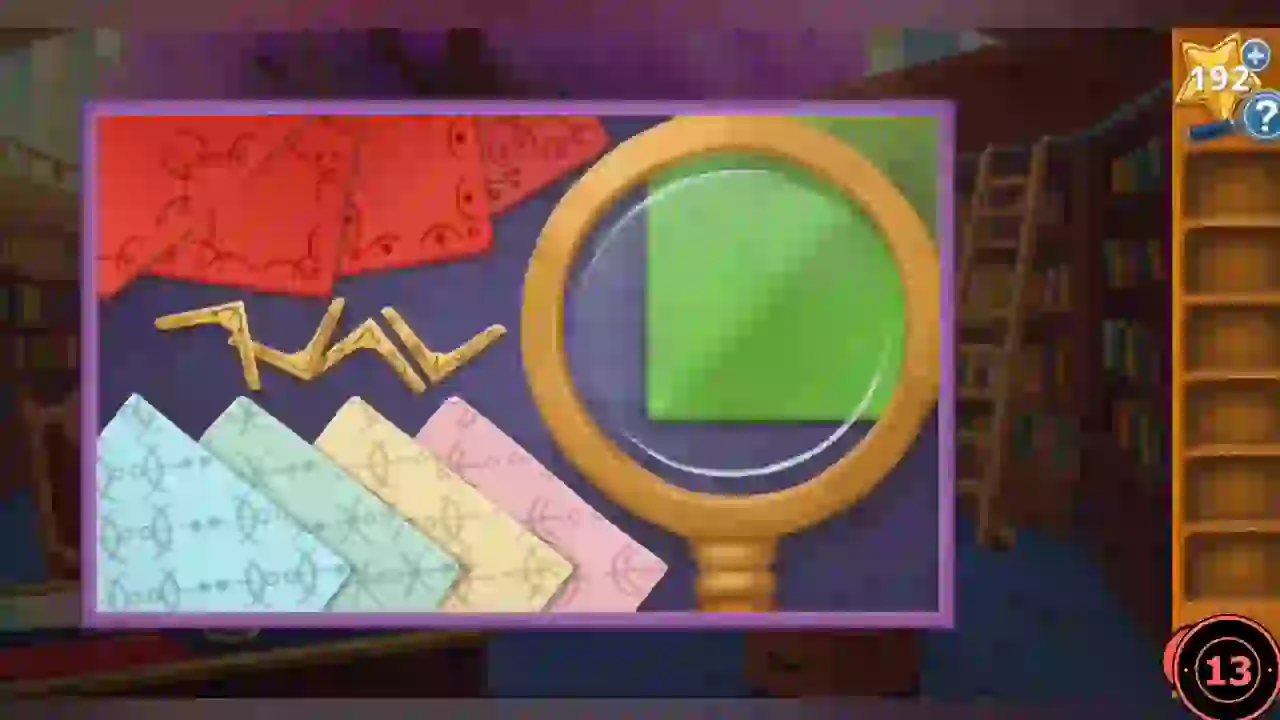
Recreate the tree emblem on the book cover: crossed crescent on top, a W-shaped swirl with circles, and an outer bracket with circle ends.
- Look at the emblem on the tree for reference.
- Choose the yellow lining paper with the crossed-crescent pattern.
- Choose the red banner with the W-swirl and circles, then the gold corner bracket with line-and-circle ends.
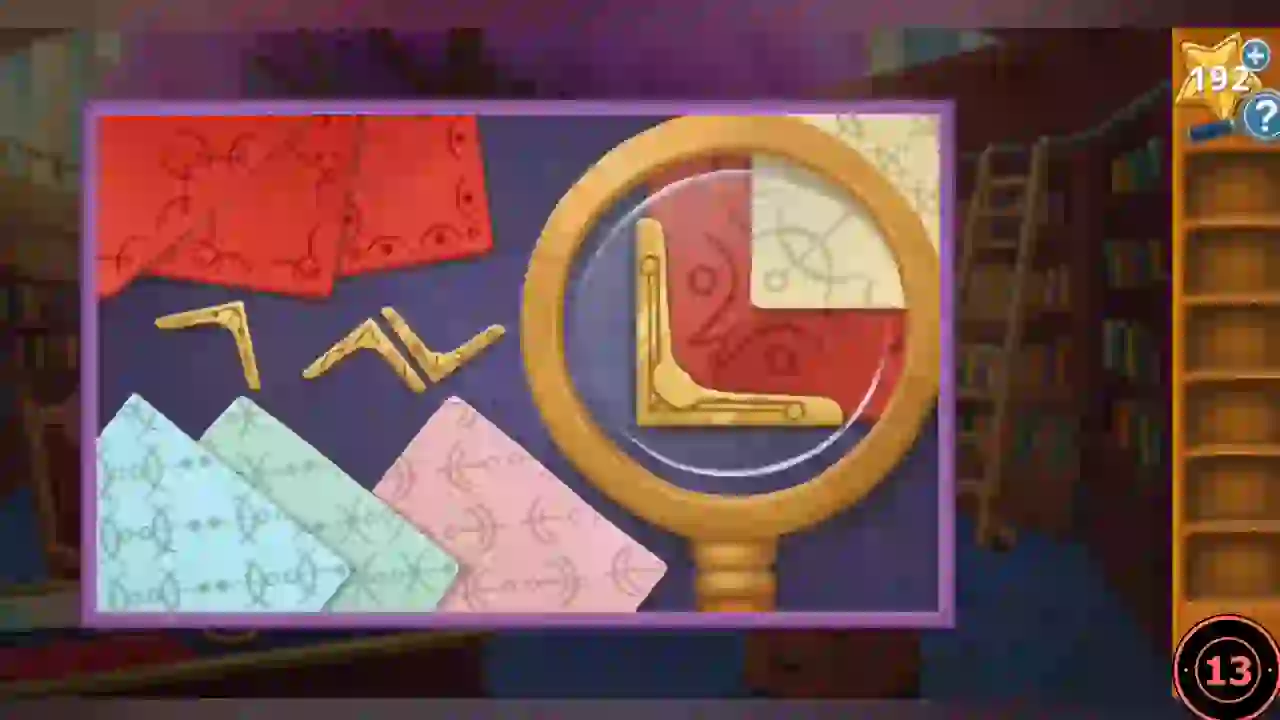
Completed book cover emblem.
The rotunda: lion and unicorn
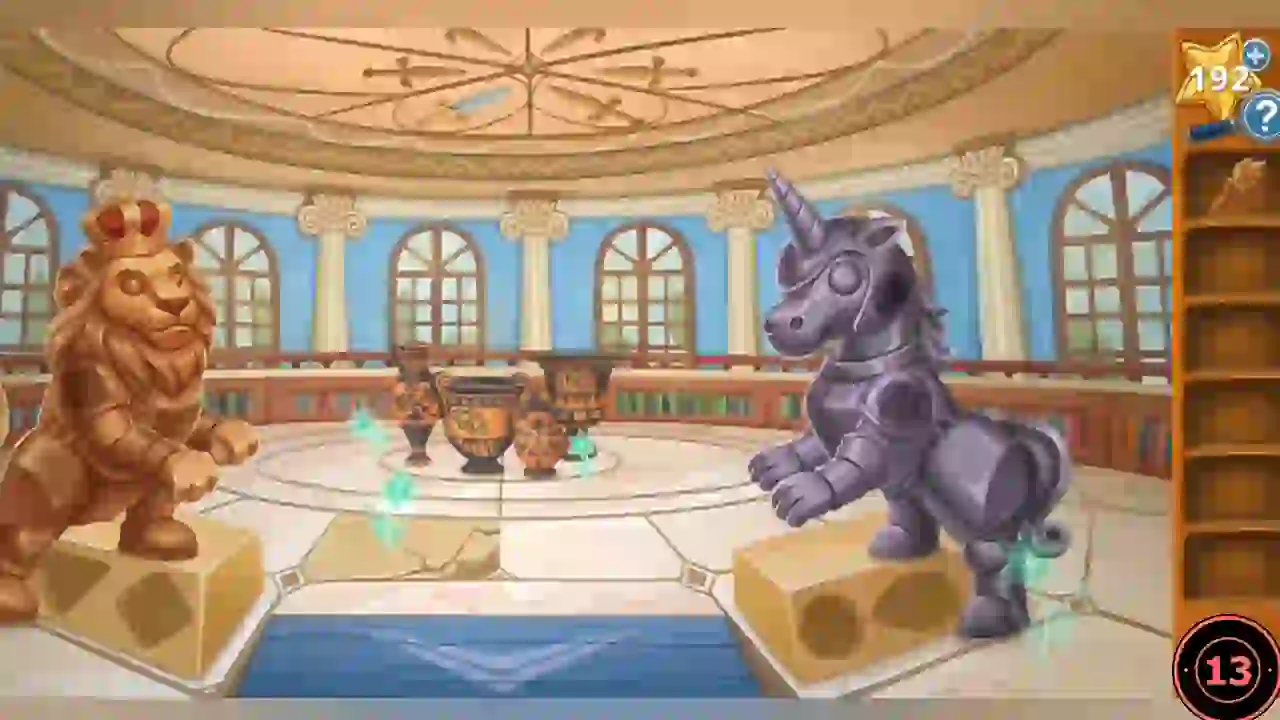
Winnie fixes the PomPom and Stanza's riddle leads to the rotunda statues.
- Watch Winnie fix the PomPom; ghost flowers appear and Stanza gives a riddle.
- Take the Brass Torch in the library.
- Go to the rotunda. Lift the loose floor tile for the Diamond Gem.
- Put the Diamond Gem in the lion's slot to get the Case Key.
- Open the glass case with the Case Key and take the Astrology Scroll.
- Inspect the Astrology Scroll to get the Droplet Gem.
- Put the Droplet Gem in the unicorn's slot. A sword falls and a vase breaks: take the Brass Sword and the blue Circle Gem.
- Put the Circle Gem in the unicorn's other slot and take the Coin.
- In the library, climb the ladder (now on the left) to the top-right shelf. Use the Coin on the screw to free the Silver Arrow.
- Use the Brass Sword on the panel below the glass case to get the Triangle Gem and the Silver Bow.
- In the rotunda, put the Triangle Gem in the lion's slot, the Brass Torch and Brass Sword in the lion's paws, and the Silver Bow and Silver Arrow in the unicorn's hooves. Light beams appear.
Light beams and the astrology scroll
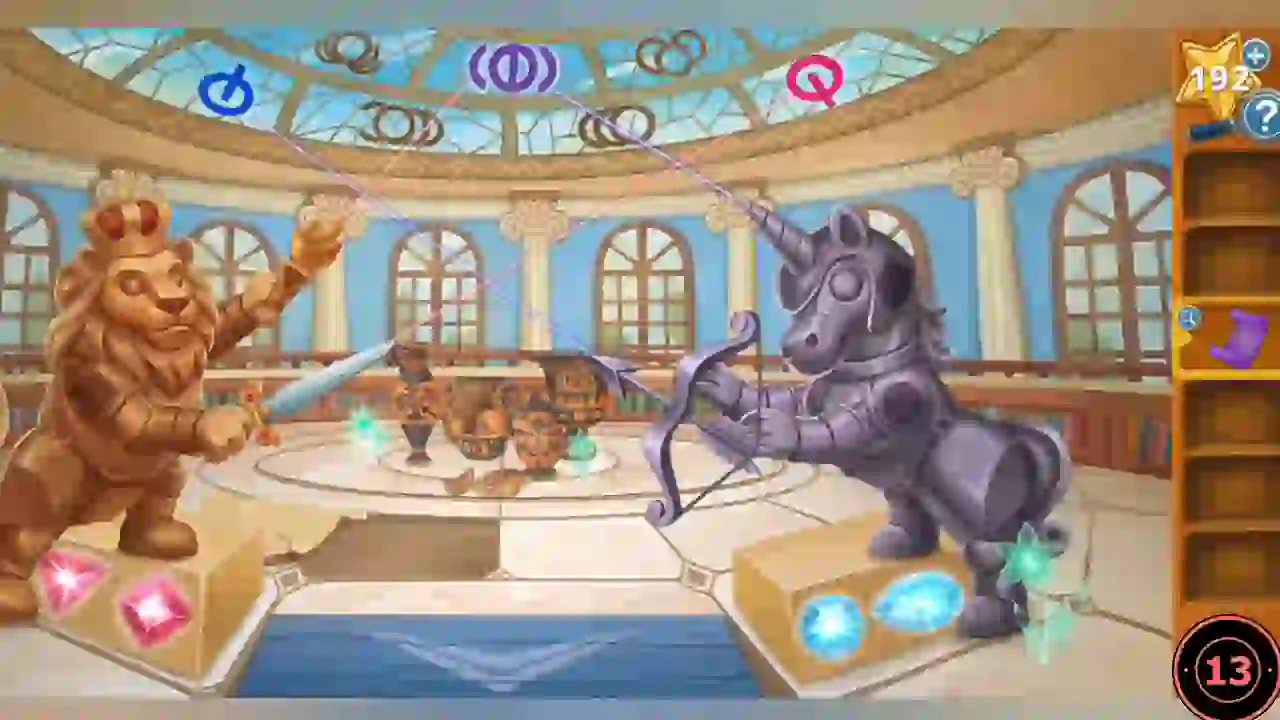
Each held object must point its beam at a scroll symbol. The vases show the pairings.
- Clues: the vases pair tree with sword, moth with horn, fish with bow and arrow, and book with flames. The scroll shows the symbols (book, lobster, hook, moth, goblet, tree, bone, lute, fish, ocarina, blossom, sickle).
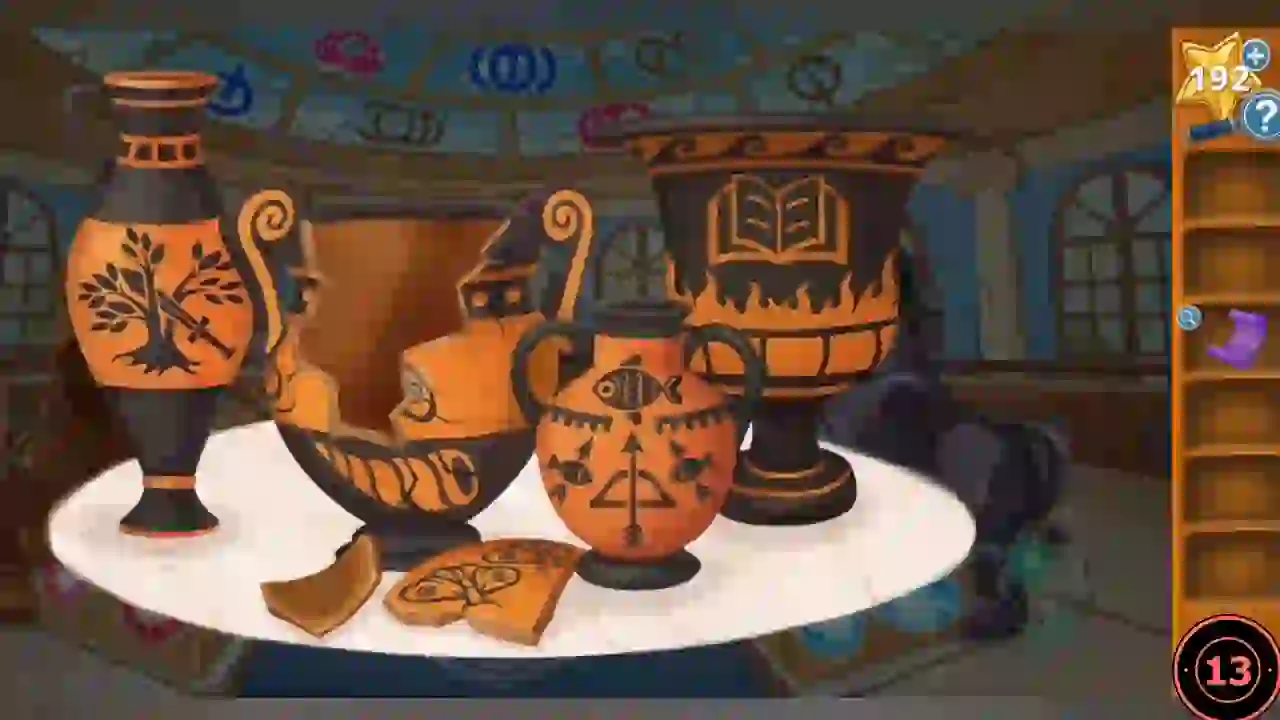
Vase clue: each vase pairs a held object with a ceiling symbol. 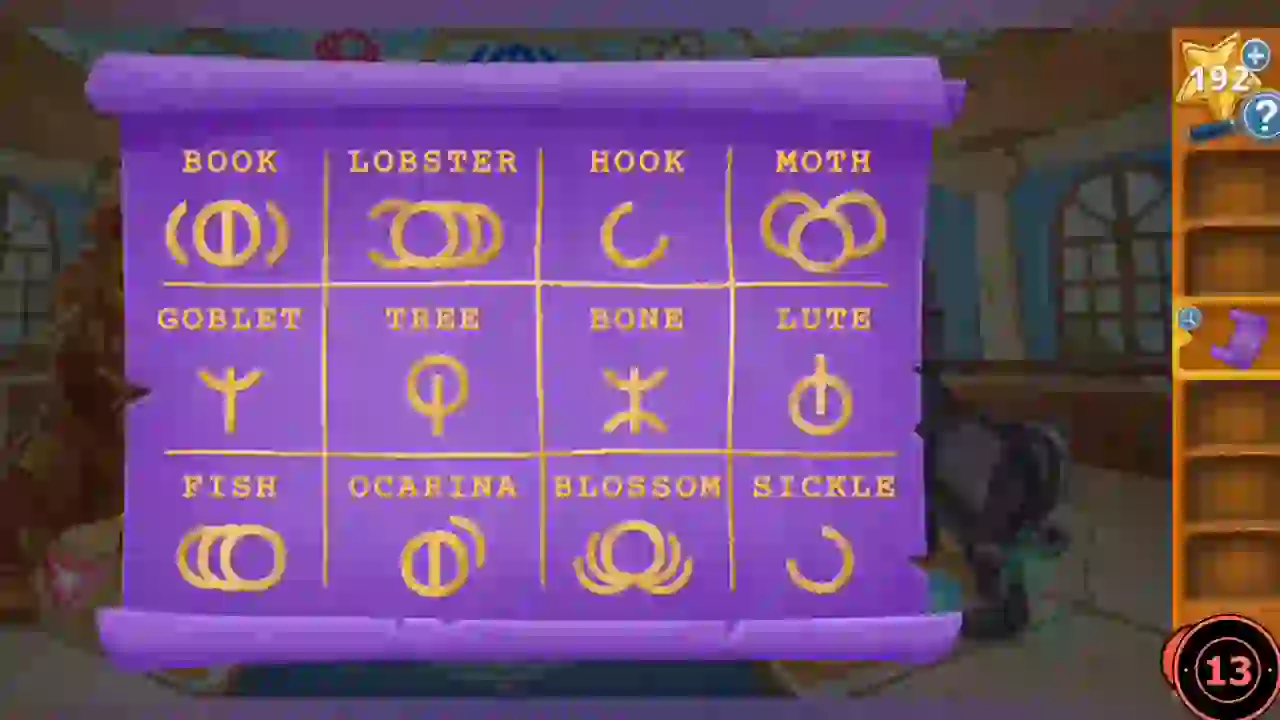
The Astrology Scroll names each ceiling symbol. - Tap the gems on the pedestals to move the beams until torch points to the Book, sword to the Tree, bow and arrow to the Fish and horn to the Moth.
Armillary sphere
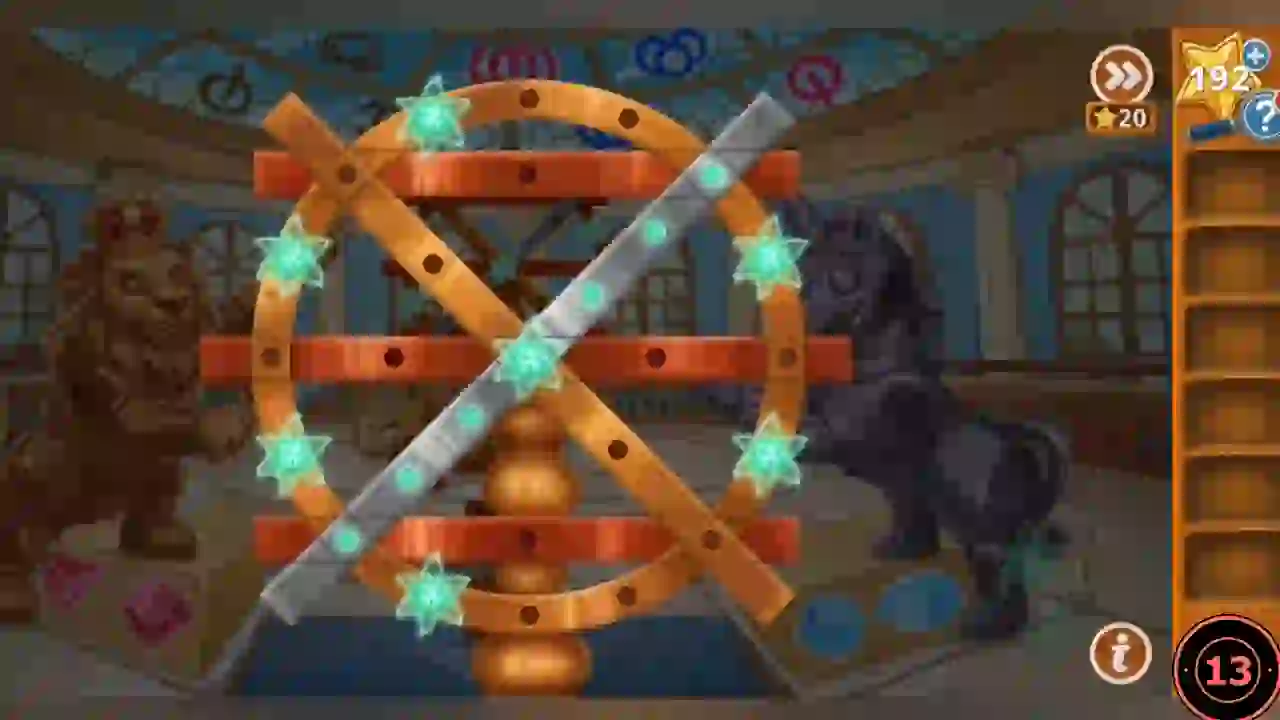
An armillary sphere appears, but it is missing a gear.
- In the library, move the chair under the clock and take the Gear.
- Place the Gear on the armillary sphere.
- Drag the ghost flowers along the rings. Flowers on the same band move together, so a move that helps one flower also shifts its neighbours. Line every flower up on the silver diagonal band: place the flowers that share a band first, then use the remaining rings for the single flowers. This guide gives the method rather than a move list.
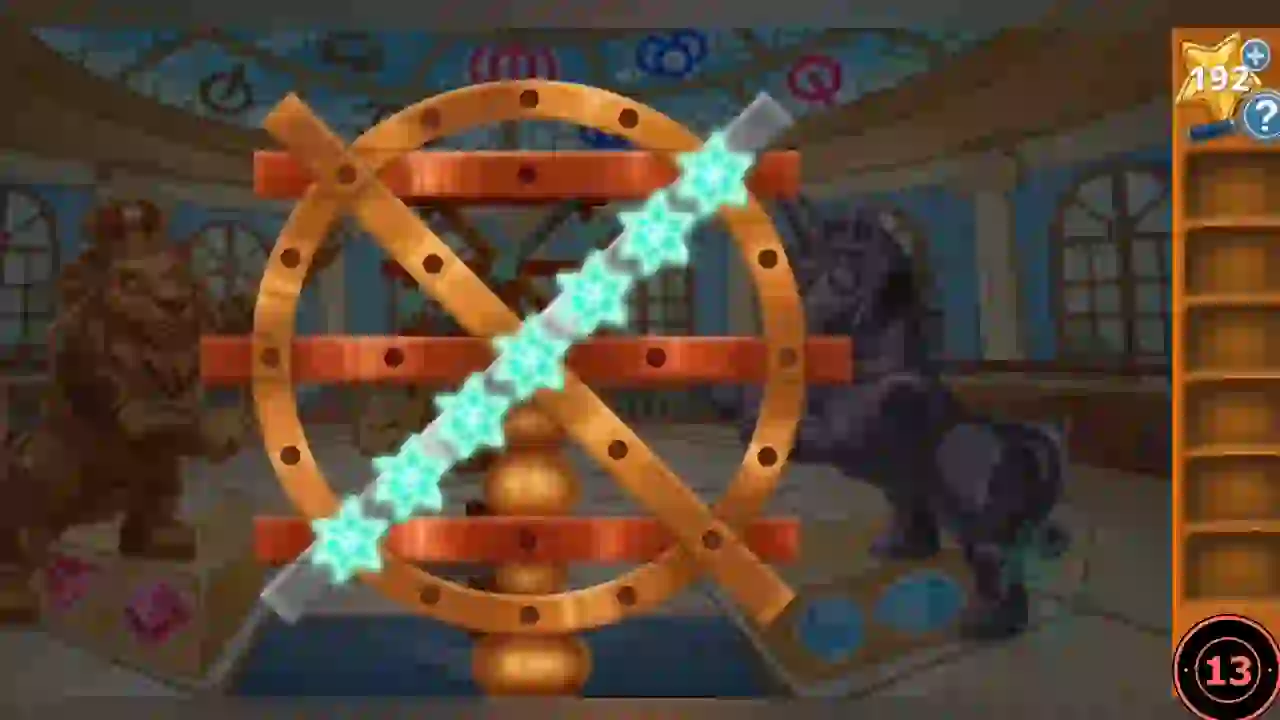
Target state: all ghost flowers on the silver diagonal band.
The hidden cellar
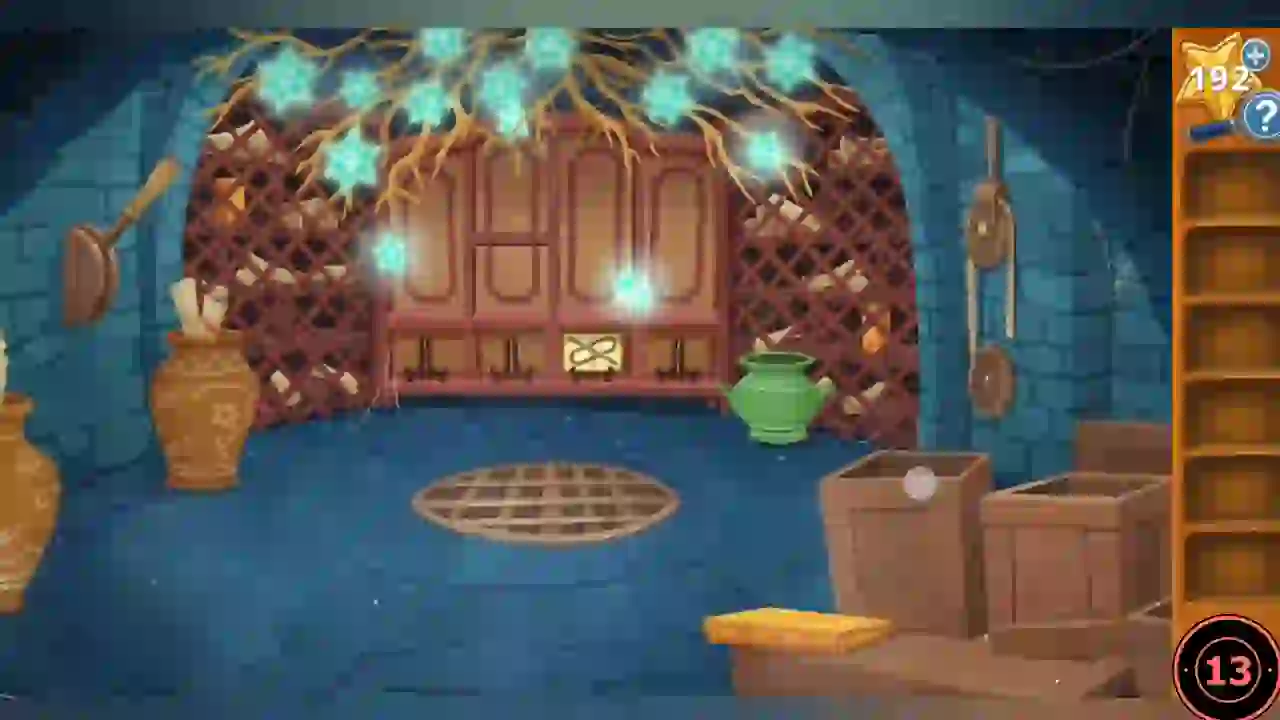
The sphere opens the way to a hidden room below.
- Move the vase to find a Lever, then pull it to reveal the room.
- Take the Feather Quill from the cabinet.
- Use the Feather Quill to clear the cobwebs on the crates: take the Chain and a Book Spine.
- Attach the Chain to the pulley to lower the shelf, then take two more Book Spines.
- Place the Book Spines in the cabinet stands to reveal the mural.
Mural bells
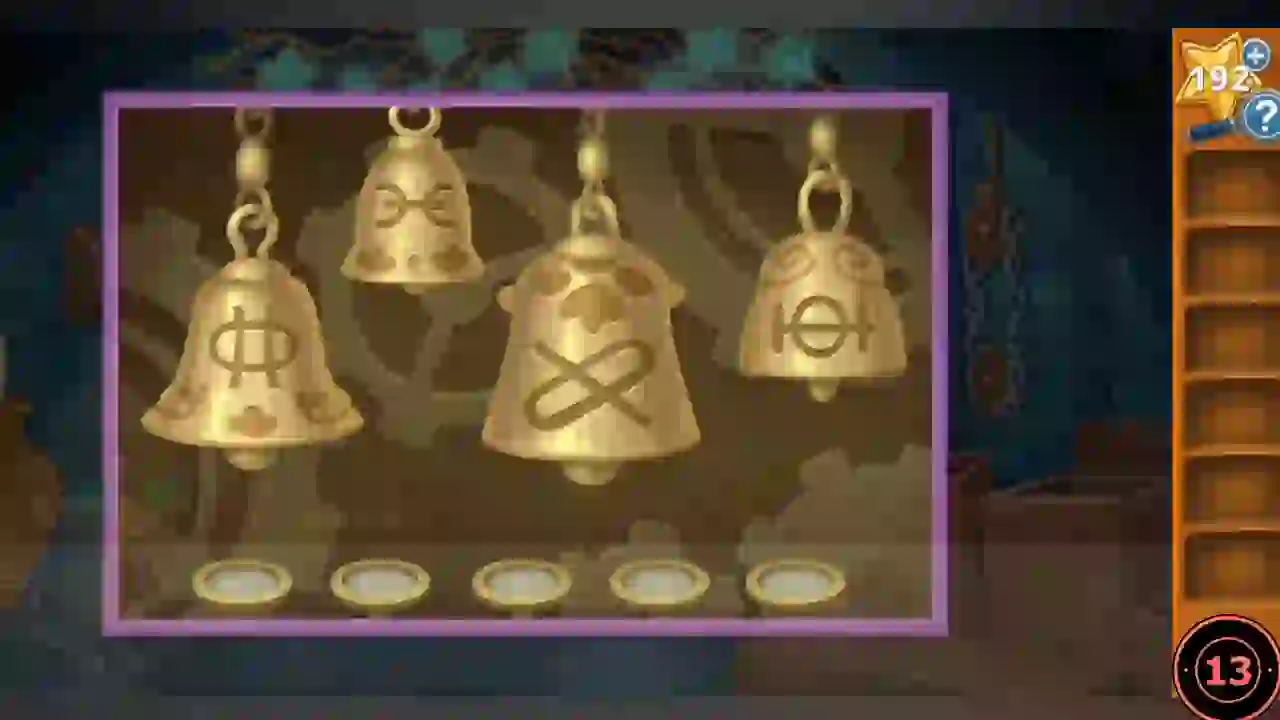
The mural shows the story in order; each panel carries the symbol of one bell.
- Bells from left to right: 1 bar-circle, 2 back-to-back curves, 3 knot, 4 bar-circle-bar. Mural order: building the bot (4), stealing souls (3), burning town (1), broken heart (2), ruins with ghost flowers (4).
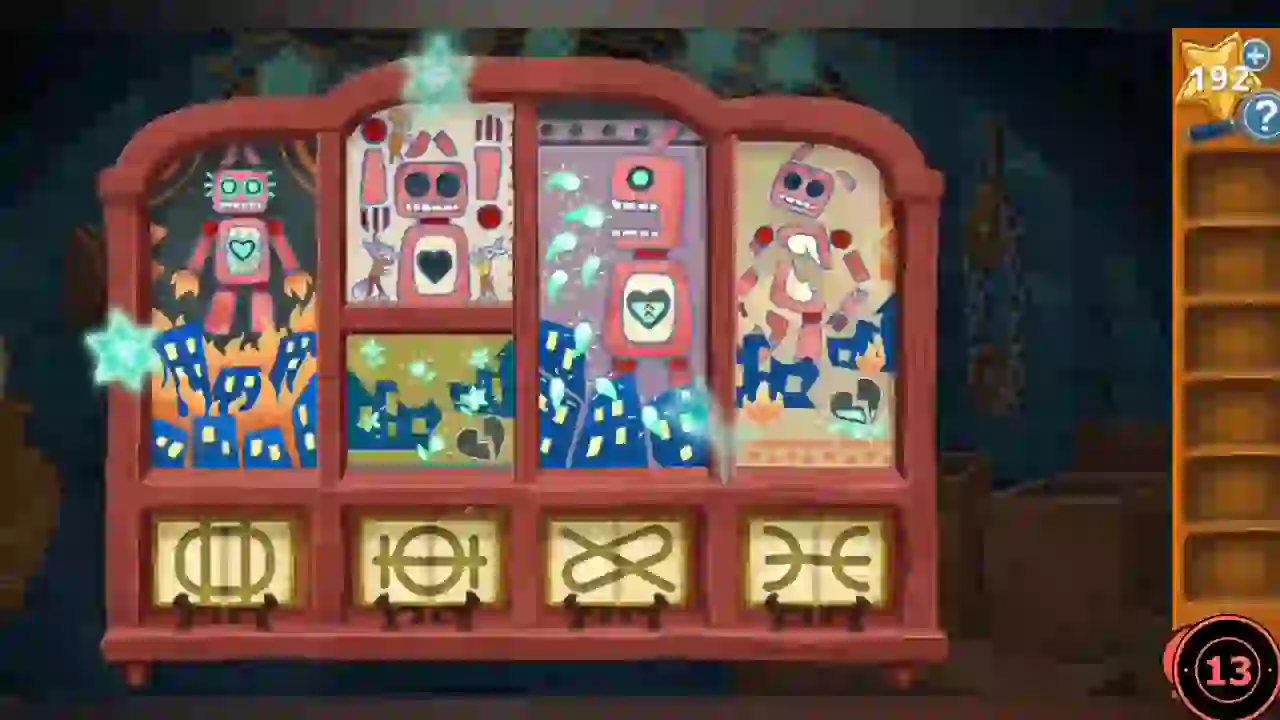
Mural clue: the story panels and their symbol plaques. - Ring bells 4, 3, 1, 2, 4.
Fishing Stanza's heart from the well
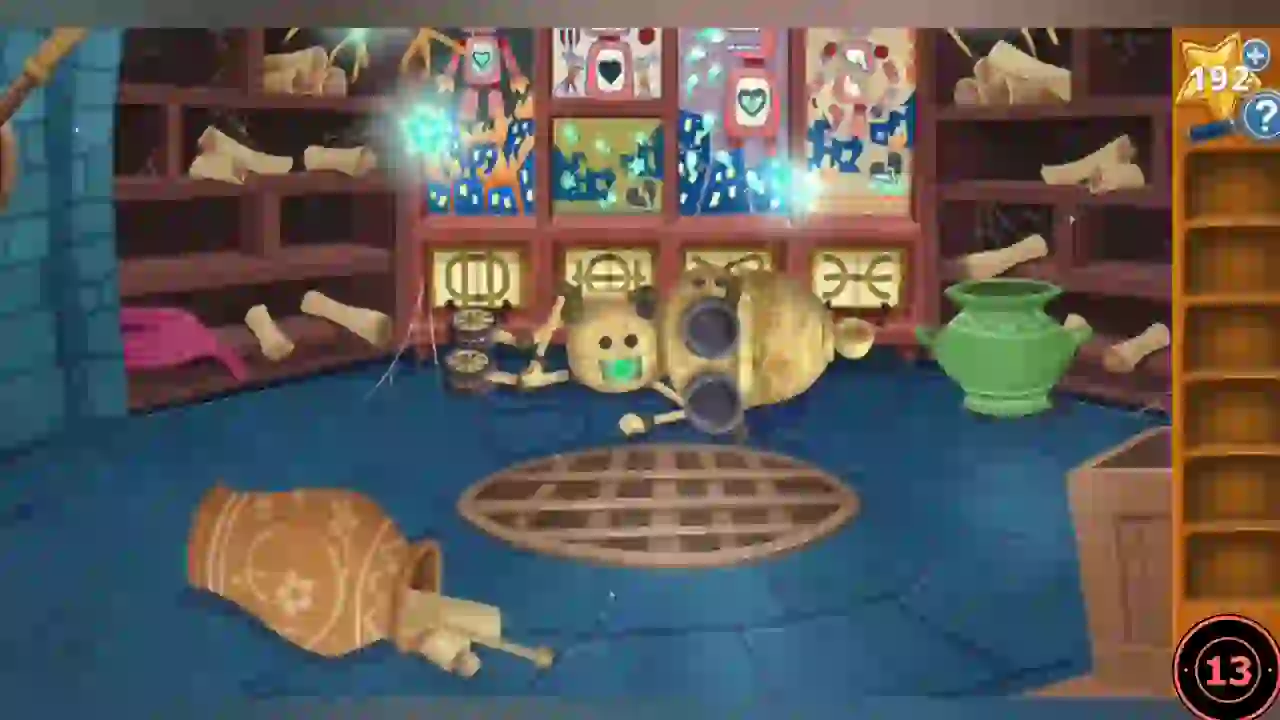
Stanza falls and her heart drops into the well.
- Watch Stanza fall; her heart drops into the well.
- Take the Rope and the Scroll Rod from the shelf.
- Use the Scroll Rod to lift the drain grate.
- Combine the Rope with the green vase to make a Vase Pulley.
- Lower the Vase Pulley into the well, take Stanza's Heart and put it into the PomPom.
Stanza's heart maze
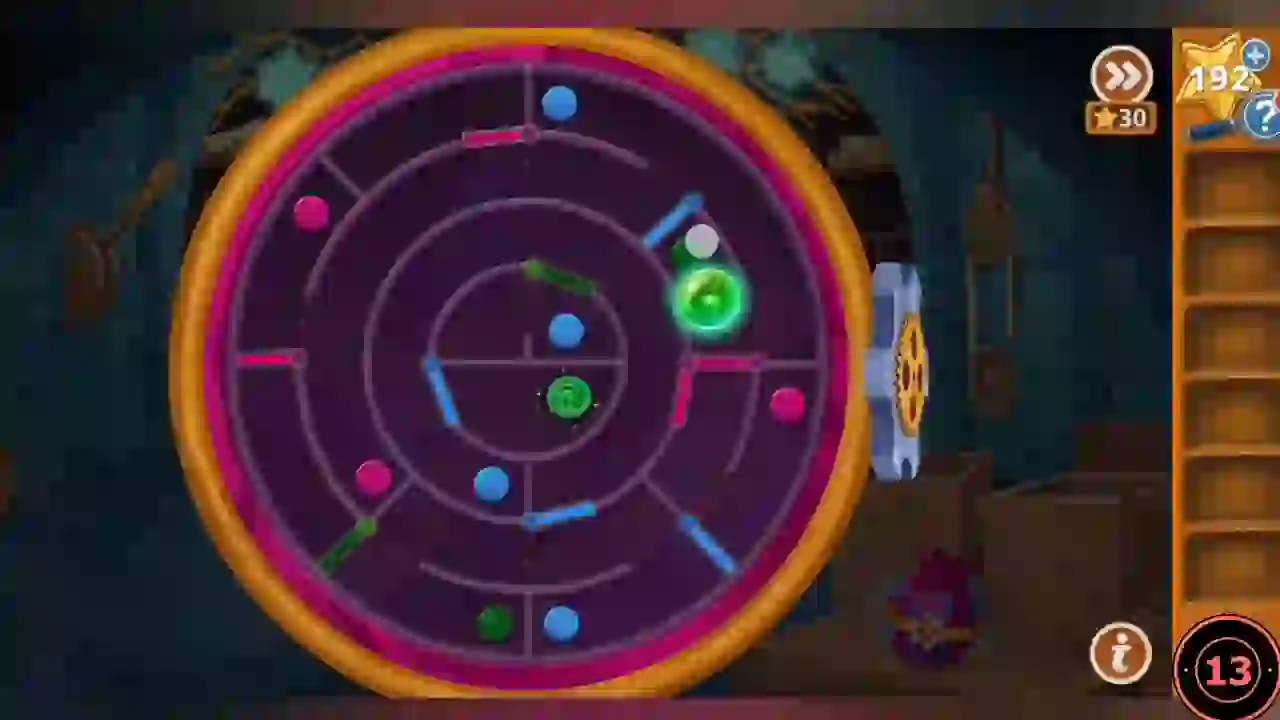
Same rules as Mimi's maze with a new layout: drag the green heart to the socket on the right edge by the gear dock, rolling over coloured dots to move the gate bars of the same colour. This guide gives the method rather than a move list.
- Trace the rings from the right-edge socket inwards to see which coloured gates block the way, then visit dots of those colours to swing the gates aside. Using a colour again reverses it, so if you get shut in, roll back over the last dot you used.
- Watch the cutscene. Chapter 2 complete.