Donut dough
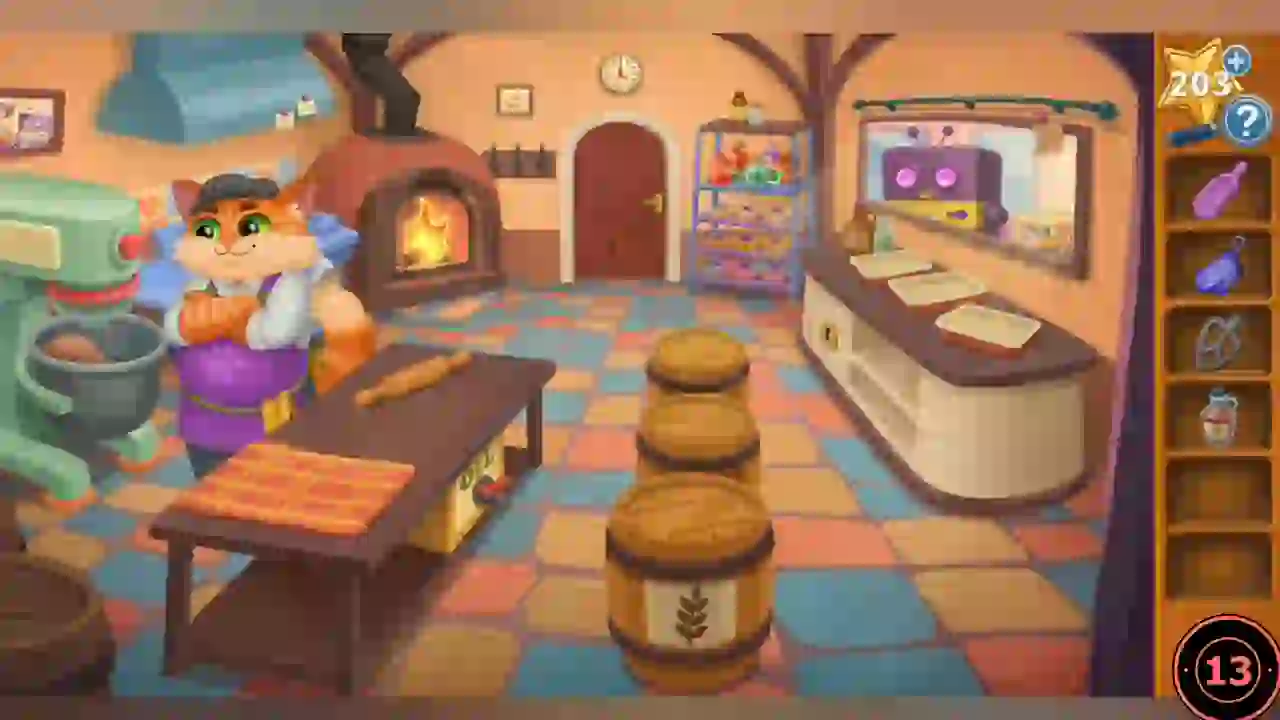
Uncle Jax and Honey will only talk after a batch of donuts.
- Watch the storybook and arrive at the bakery.
- Collect the Vanilla, Clean Mugs, Scoop, Mixer Attachment and Oven Mitt.
- Give the Clean Mugs to Honey for a Butter Knife.
- Pry open the flour lid with the Butter Knife and scoop Flour.
- Add the Vanilla and Flour to the mixing bowl and attach the Mixer Attachment.
- Use the Oven Mitt to take the Measuring Cup, fill it with oil and pour it into the fryer.
Frying the donuts
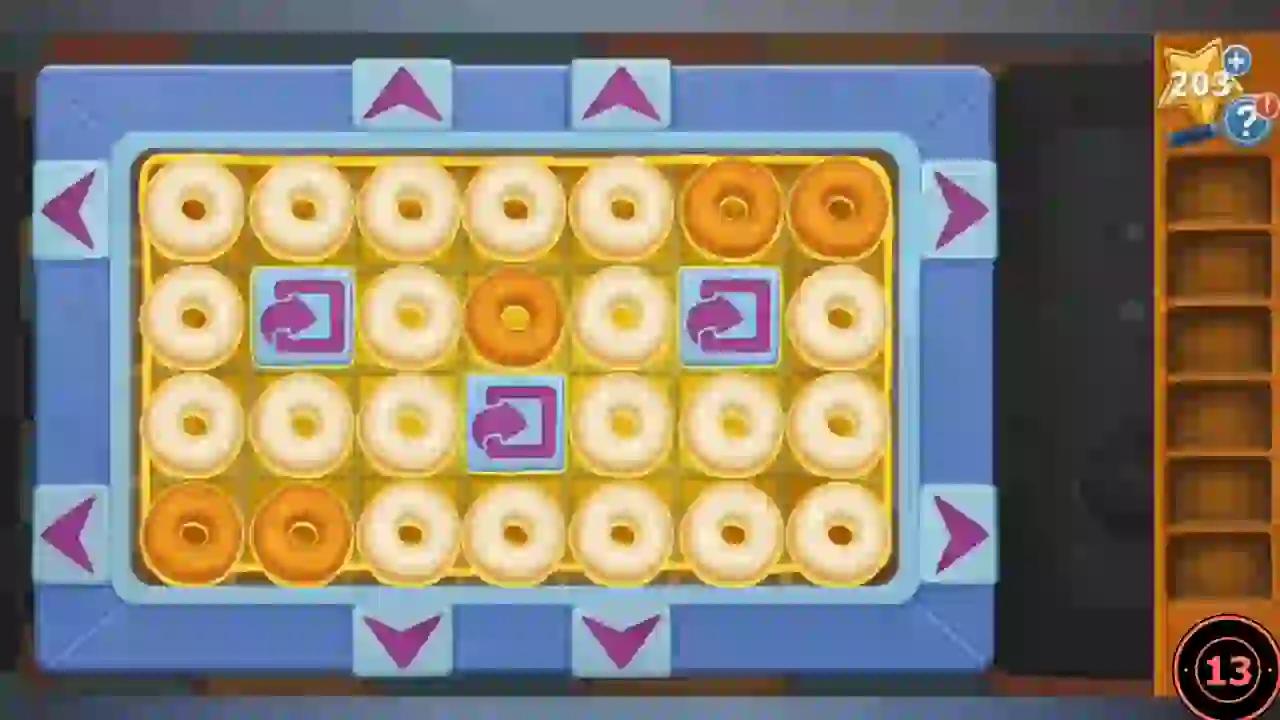
The fryer holds a grid of donuts four rows high and seven wide. The square buttons set into the grid flip donuts, and the arrow buttons around the edge slide rows and columns. Turn every donut golden side up. This puzzle takes many moves, so the guide gives the approach rather than a move list.
- Tap a flip button once and watch which donuts change. The flip buttons stay put while the arrows move the donuts beneath them, so slide a row or column until a group of pale donuts sits under a flip button, flip it, then bring the next pale group into place. Keep going until no pale side is showing.
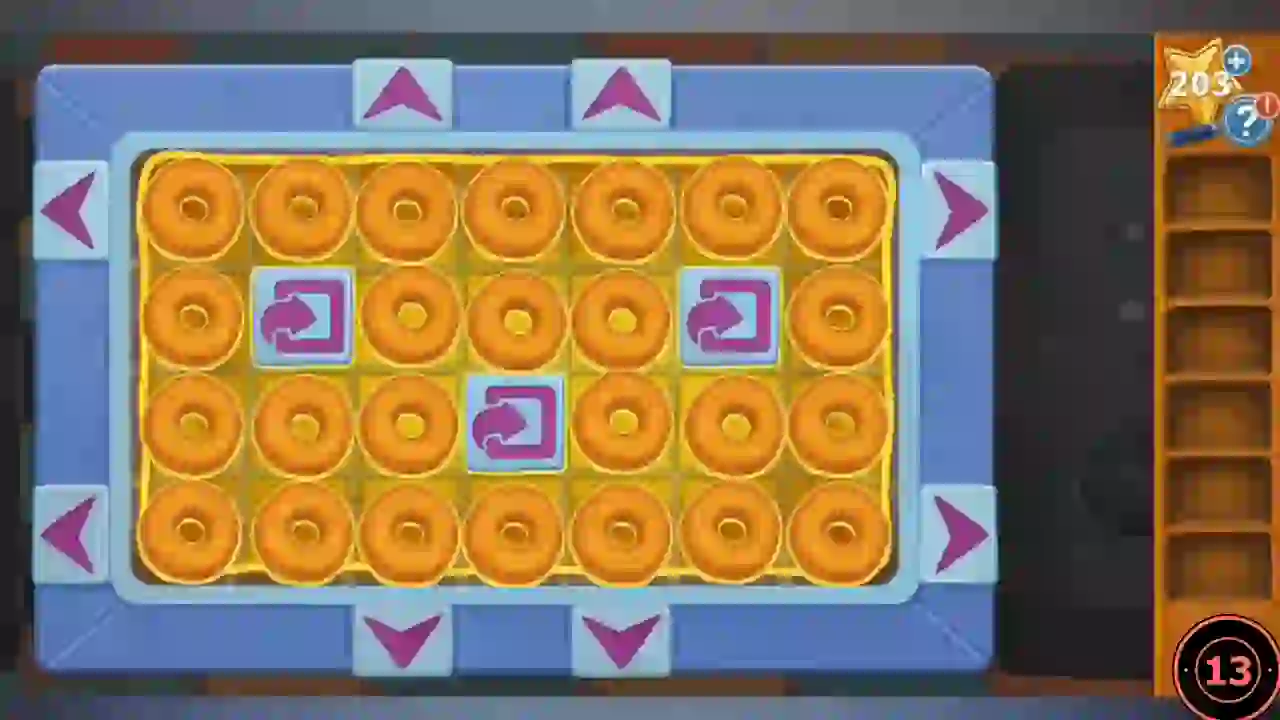
Target state: every donut golden side up.
Jax's office and the photos
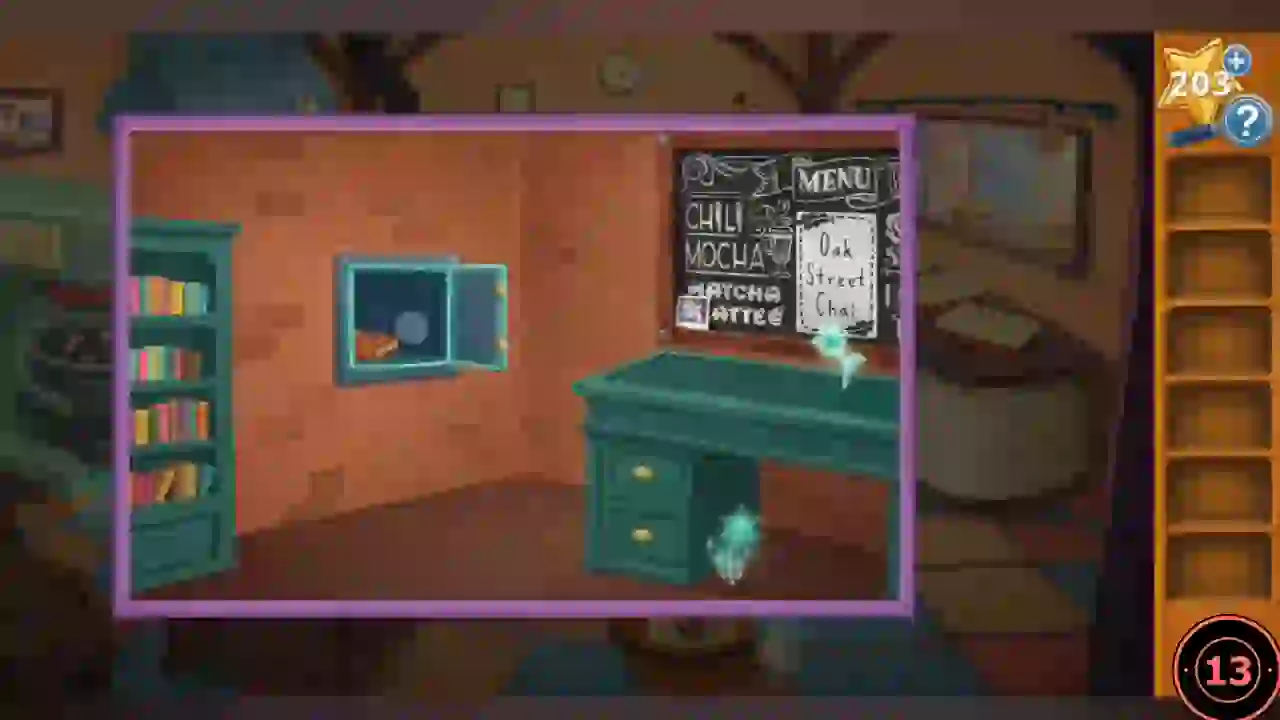
Turning on the PomPom upsets Jax, but the ghosts open his office.
- Turn on the PomPom. Jax leaves and the ghosts open the office door; the bookshelf swings aside to a safe. Take the Photo Album.
- Zoom into the blackboard and take the photo at its lower left.
- Take the photo in the bakery by the front table.
- Open the office desk drawers: Cabinet Key and a photo.
- Open the bakery cabinet with the key and take the photo.
- Zoom into the jar shelf and take the photo behind the jars.
Photo album
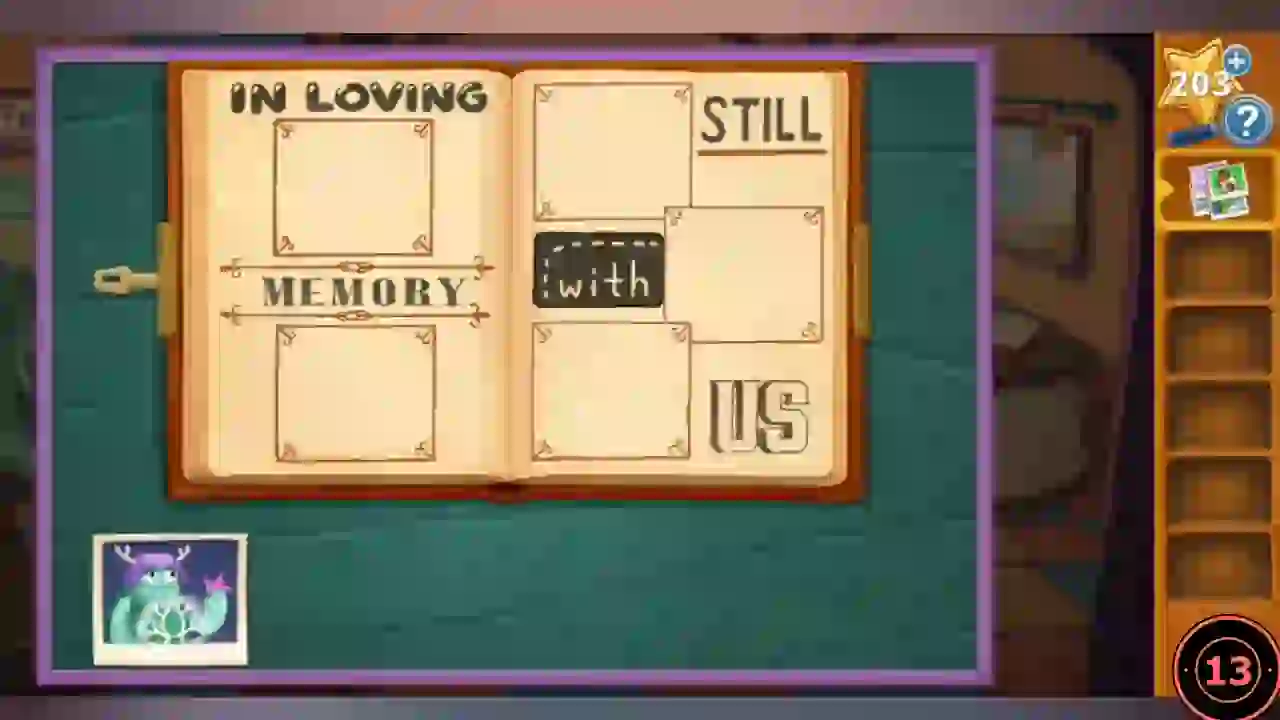
Match each album label's lettering to a drink on the blackboard, the drink to its ingredient jar, and the jar's symbol to a photo.
- Place the five photos by the album to open it.
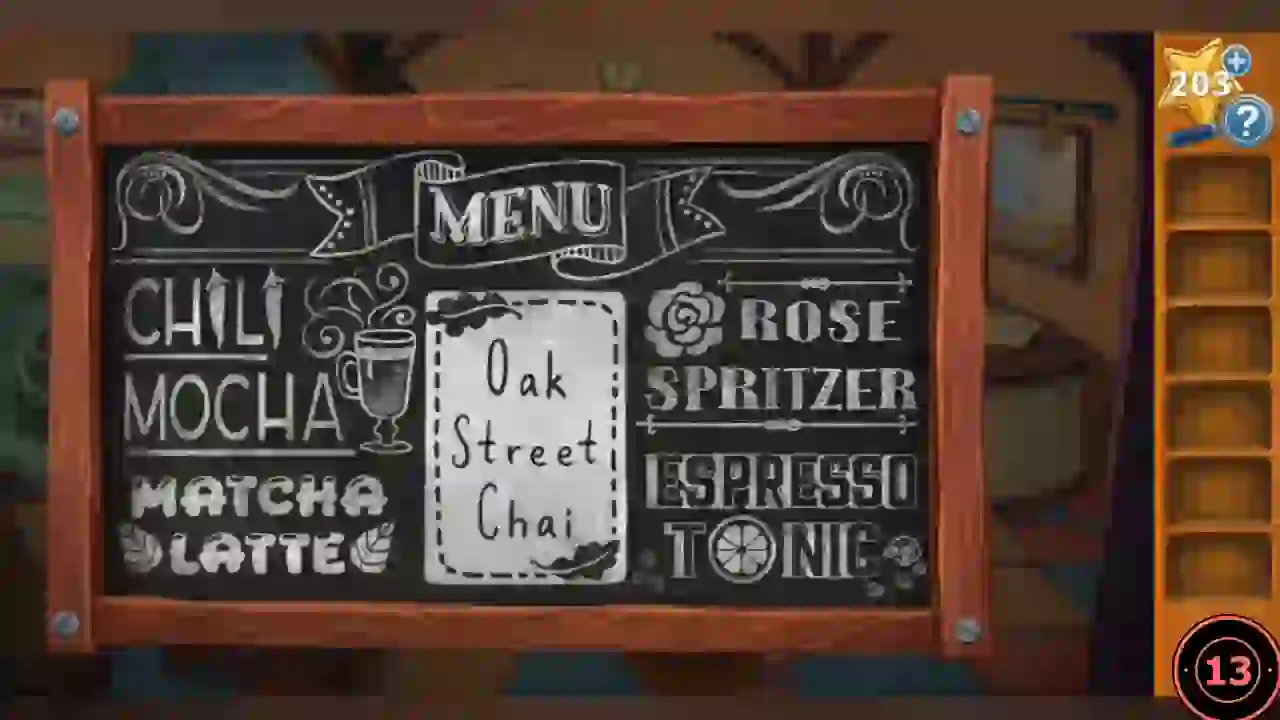
The blackboard menu: match each album label's lettering to a drink name. - IN LOVING = Matcha Latte = mint jar = green bird in a pith helmet. STILL = Chili Mocha = chili jar (gear) = orange creature with a welding torch. "with" = Oak Street Chai = acorn jar (crescent) = grey cat with moon. MEMORY = Rose Spritzer = rose jar (lotus) = teal antlered monster with lotus. US = Espresso Tonic = orange-slice jar (swirl heart) = black cat with cello and heart.
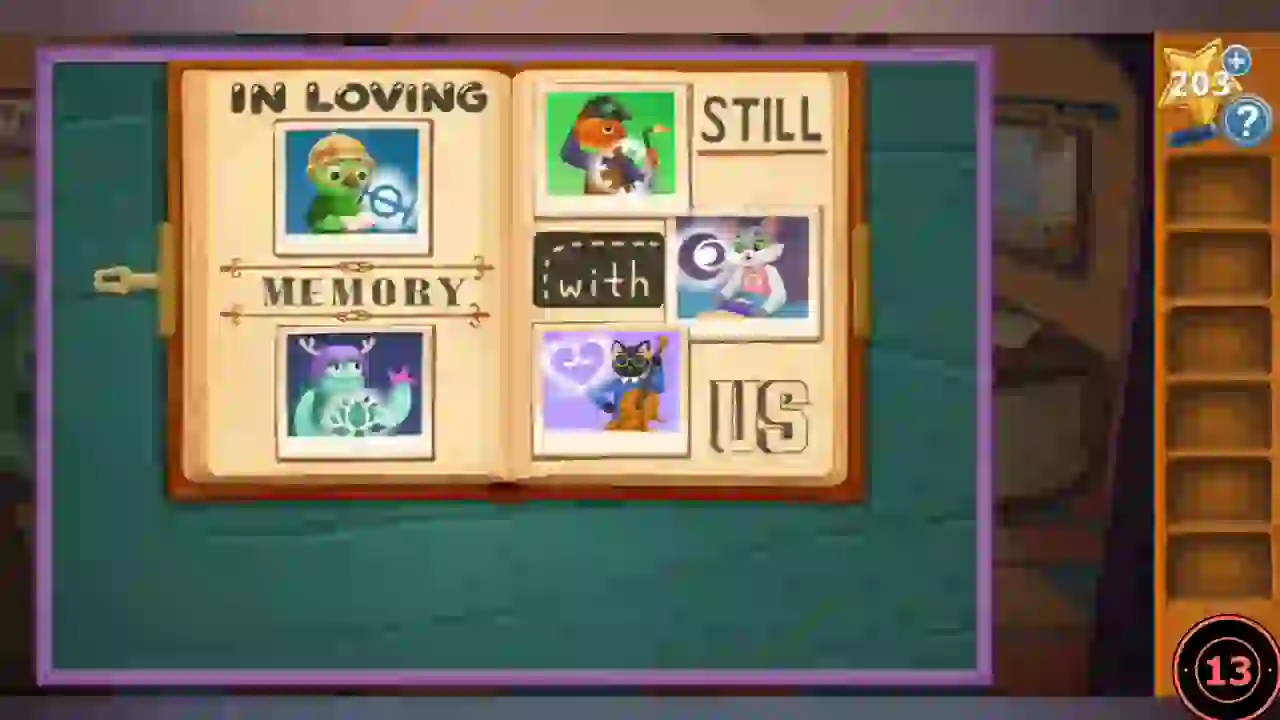
Completed photo album.
Honey's closing tasks
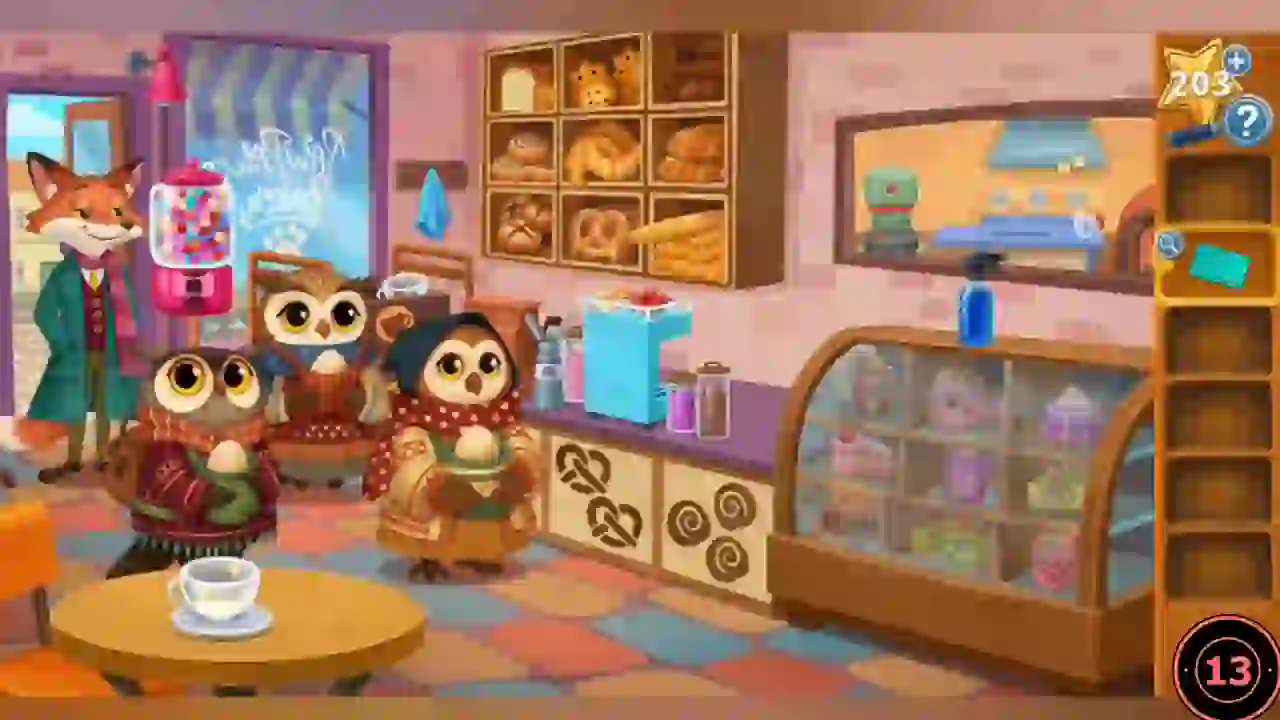
Jax confiscates the PomPom. Honey will help if you finish her closing task list.
- Watch the reveal; Jax takes the PomPom. In the café, read Honey's Closing Task List.
- Collect the Cleaning Spray, Rag, Baguette and a Dirty Mug.
- Spray the pastry case and wipe it with the Rag. Two customers take donuts and pay Coins.
- Outside, the delivery crow refuses coins and wants trinkets. Knock down the Handle with the Baguette.
- Hidden star: outside, tap the glowing glass orb on the café table behind the crow.
- Attach the Handle to the gumball machine by the door and insert the Coins for Marbles.
- Trade the Marbles to the crow for Coffee. When the crow flies off, take the Dirty Mug from the outdoor table on the left, by the bicycle (your second mug). Go inside and put the Coffee in the coffee machine.
Clyde's usual drink
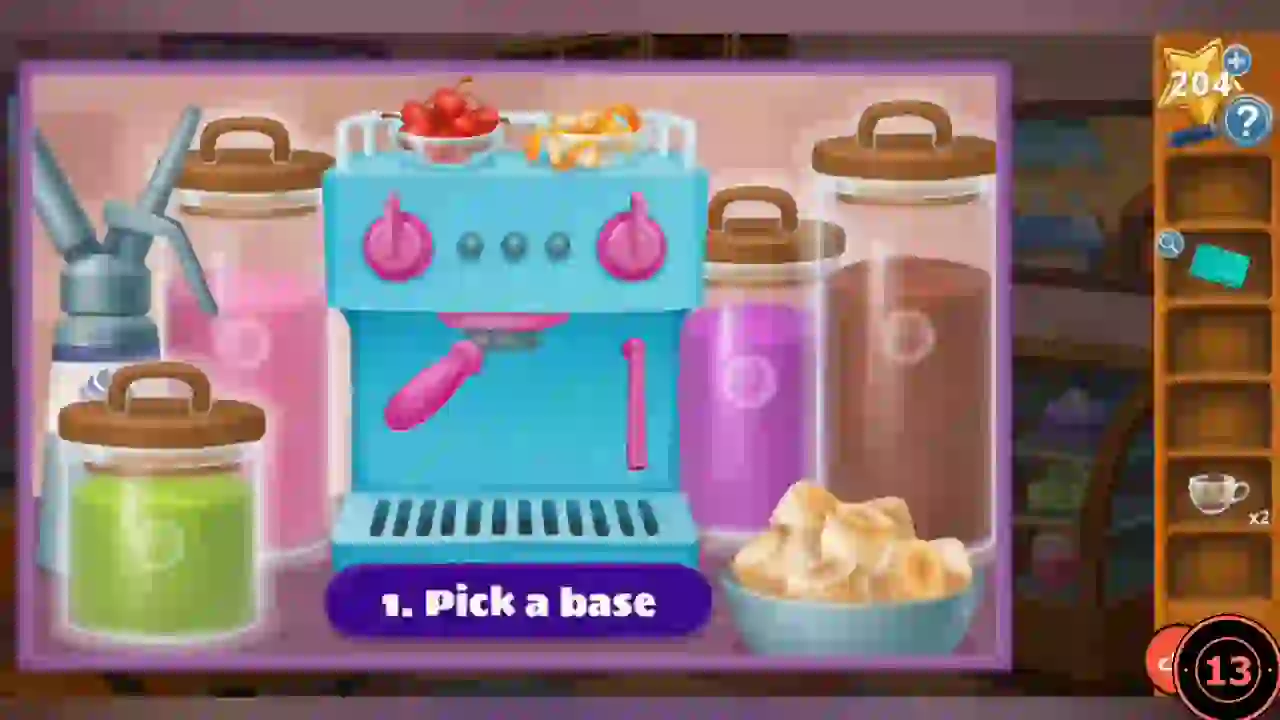
Clyde's drink pairs with bread. The counter icons tell which shelf position to read for each step.
- Counter front: 1 croissant, 2 pretzels, 3 cinnamon buns. On the bread shelf croissants are middle-centre, pretzels bottom-centre, cinnamon buns middle-left. Read the same positions in the pastry case.
- Step 1 purple base, step 2 wreath latte art, step 3 cherry garnish.
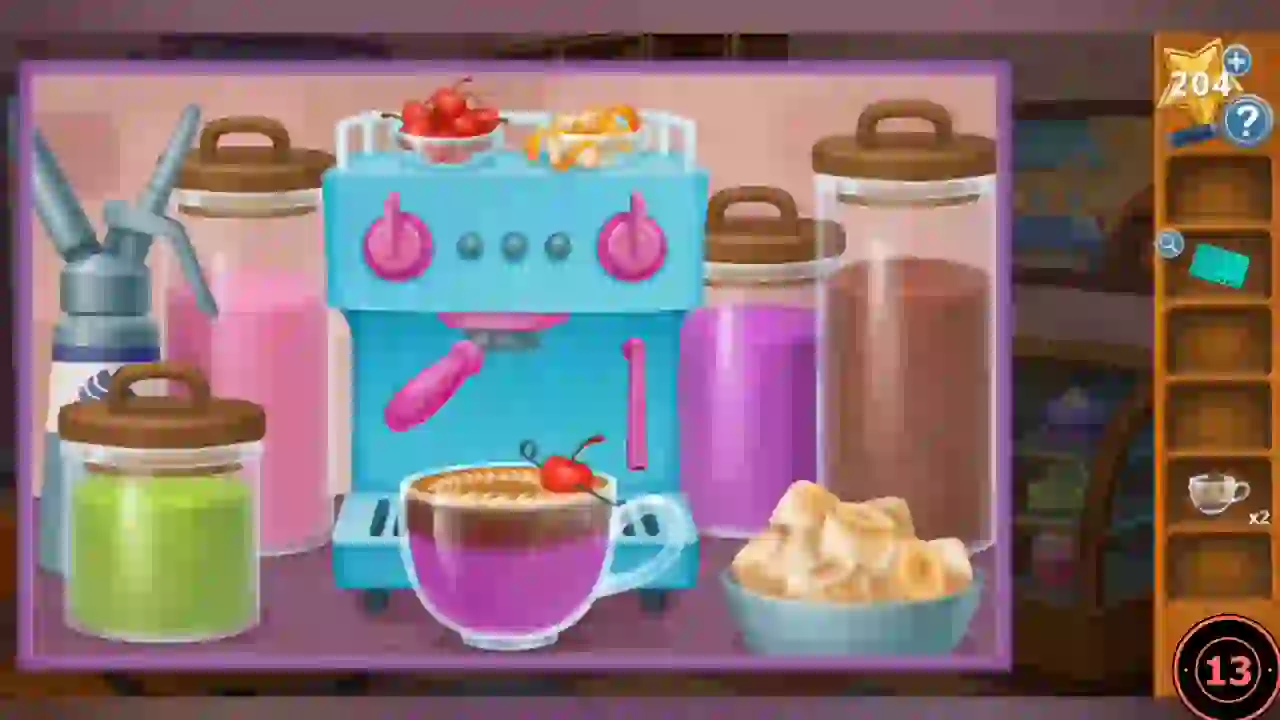
The finished drink for Clyde. - Give the drink to Clyde outside and pick up his Dirty Mug (your third).
Dishes, delivery and the closed sign
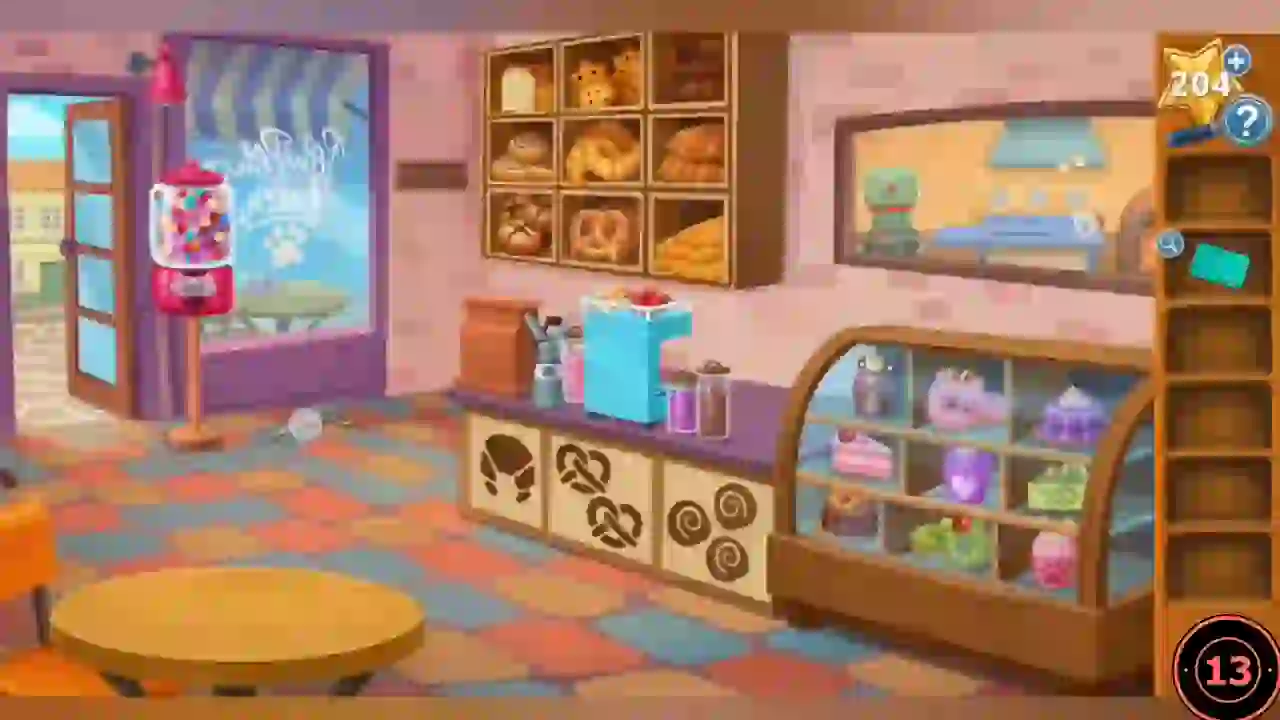
Finish the remaining tasks.
- Put all three Dirty Mugs in the dish cart inside the café (left, by the gumball machine).
- Take the Scissors from the floor.
- Cut open the bicycle basket outside for the Water Bottle and water the jellybean plant. The sea buns chase the jellybeans.
- Take the Closed Sign and hang it on the door.
Honey's moon chest
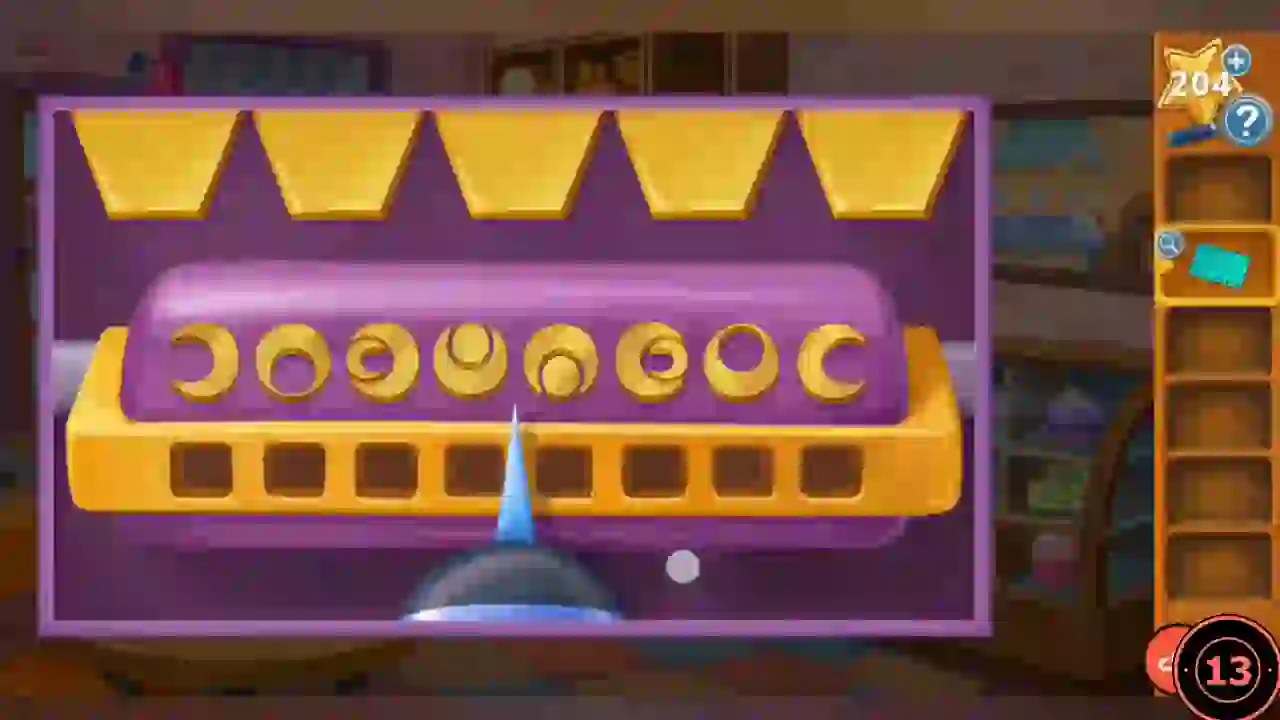
The back of the task list is PawPaw's punch card. Tracks on the back mirror the task icons on the front.
- Pair the tracks with the tasks: hoof = Help Customers, frog foot = Clean Pastry Case, duck foot = Collect Delivery, horseshoe = Put Dishes in Bin, bear paw = Hang Closed Sign. The holes punched 1–5 sit on duck, bear, horseshoe, frog, hoof.
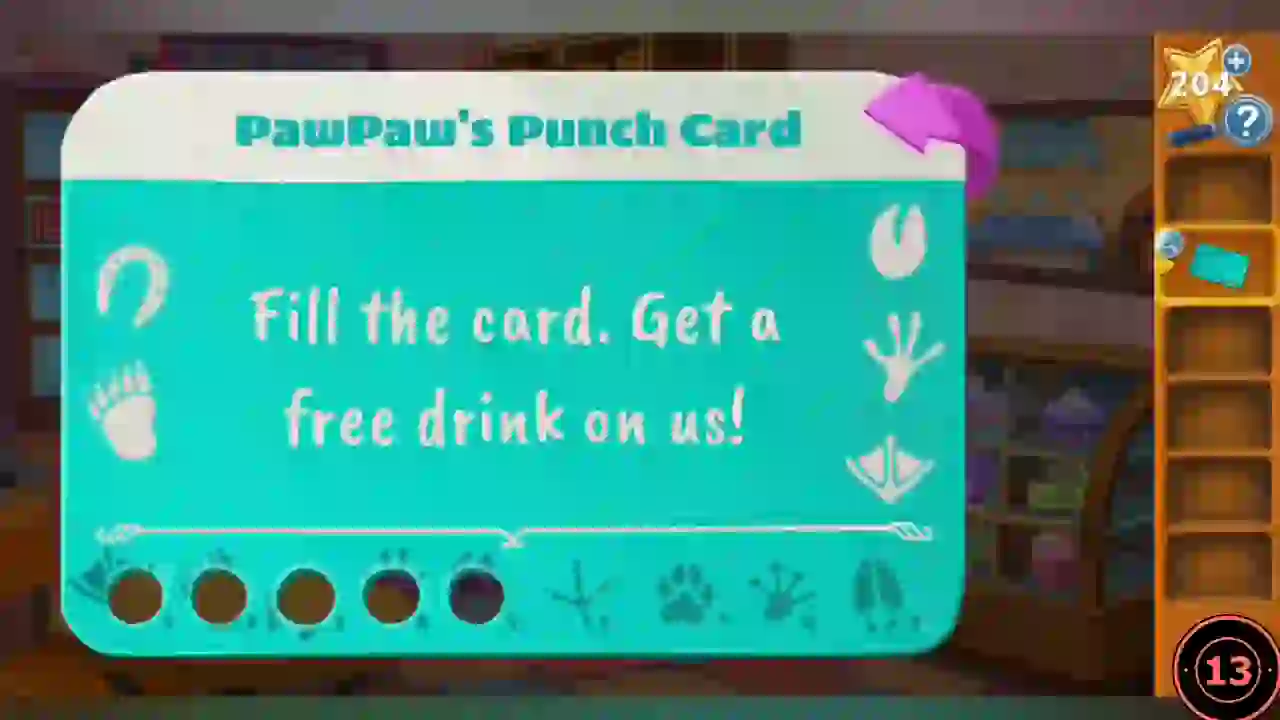
Back of the task list: PawPaw's Punch Card with the animal tracks. - Enter the moons: crescent (Collect Delivery), ring with low inner circle (Hang Closed Sign), swirl (Put Dishes), circle with low dot (Clean Pastry Case), circle with high dot (Help Customers).
- Take Honey's Heart and use it with the PomPom.
Honey's heart maze
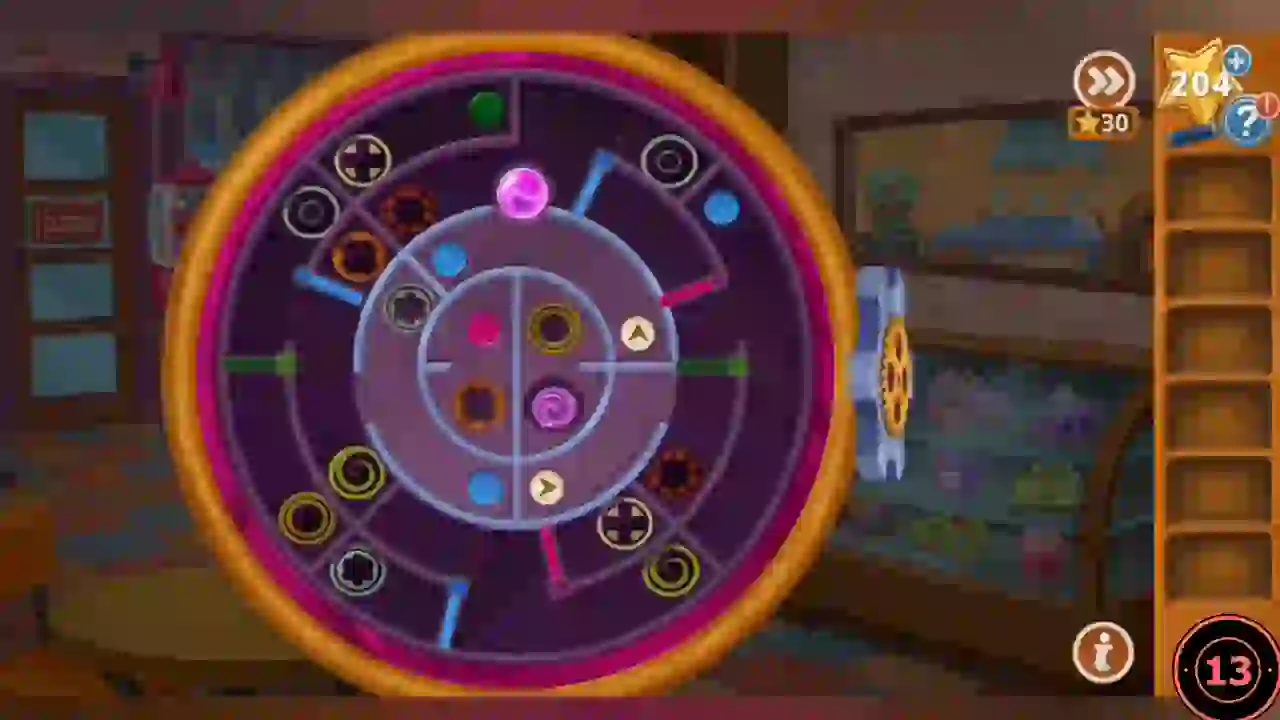
Drag Honey's heart to the swirling goal. Coloured dots move gates of the same colour, the arrow buttons on the centre disc rotate it, and the symbol rings are tubes: entering one brings the heart out at the ring with the same symbol. This guide gives the method rather than a move list.
- Find the swirling goal and the tube ring nearest to it, then find that ring's twin. Rotate the centre disc with its arrows until its passages connect the heart's side of the board to the twin, opening coloured gates on the way. If the disc turns the heart away from an exit, rotate it back before moving on.
- Watch the cutscene. Chapter 5 complete.