Unlocking NCIS: Final Fragment
Final Fragment is the VIP Bonus Chapter that continues the Shadow Strike story. Haiku Games includes it with the Shadow Strike VIP Bundle, and in this chapter hints and skips are free.
- Get the Shadow Strike VIP Bundle. Then, in the Adventure Escape Mysteries story carousel, find the NCIS: Final Fragment tile beside Shadow Strike ("VIP Bonus Chapter", difficulty Intermediate) and press Play Chapter.
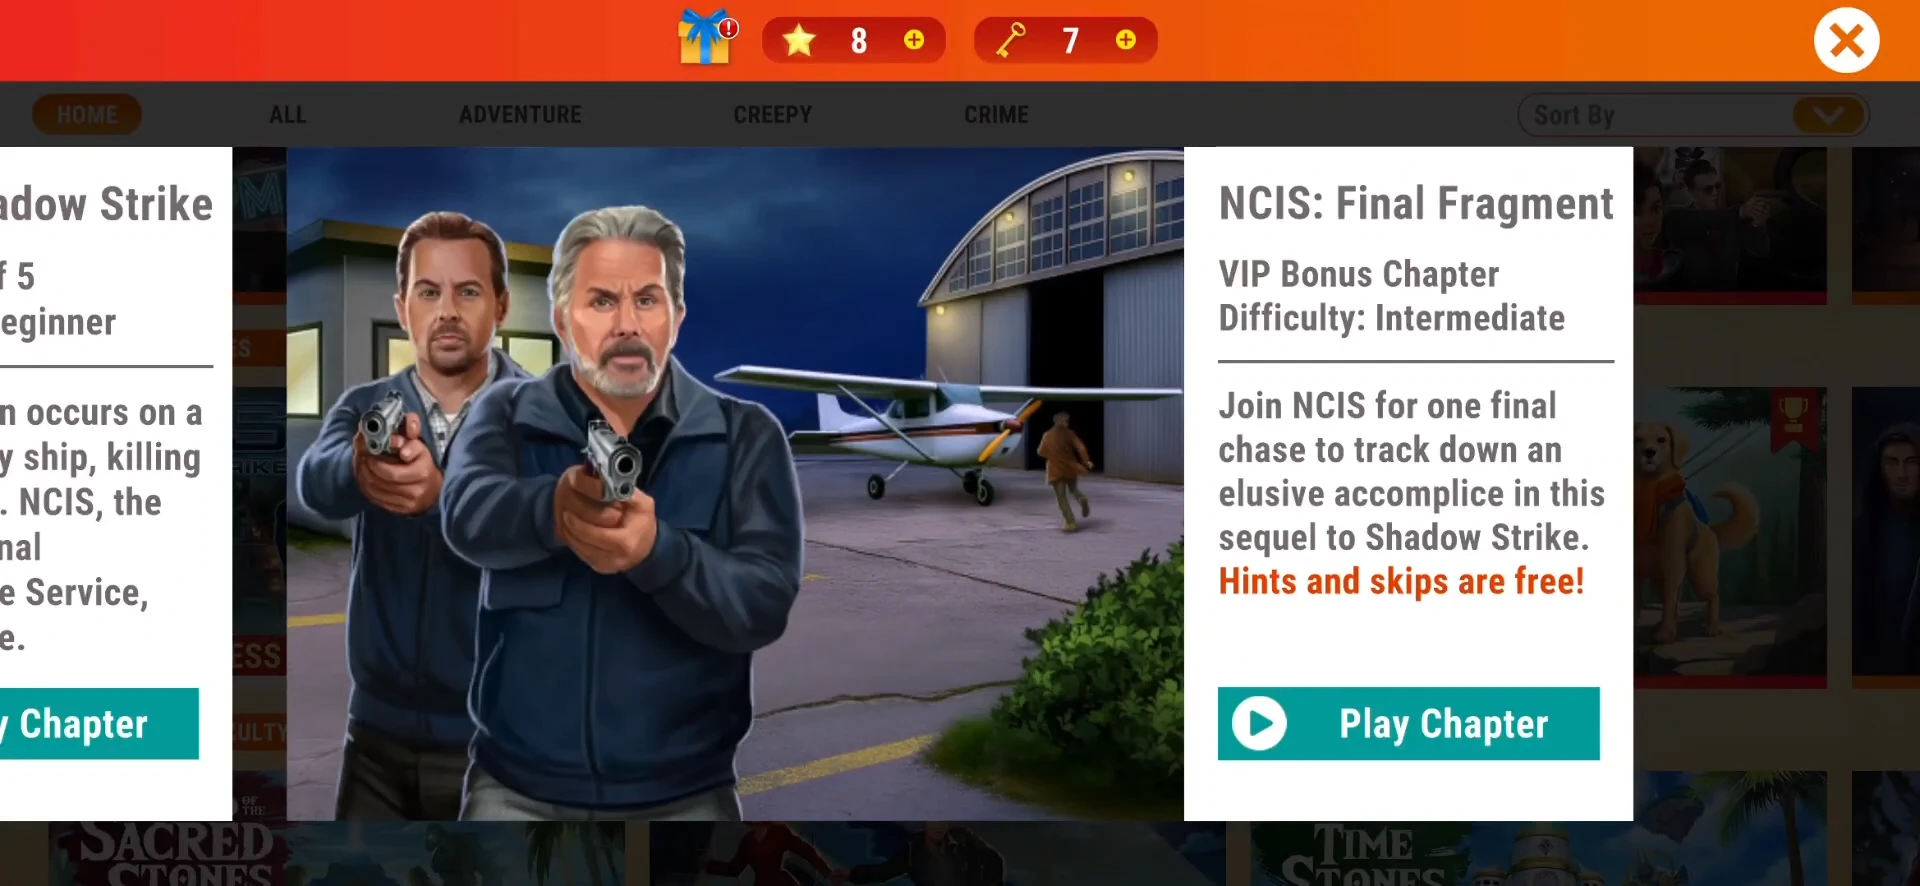
The Final Fragment tile in the story carousel. - Watch the briefing: Kasie was pulling data from Maria's phone when it was wiped remotely. Parker and McGee go to question Maria.
Locked In the Interrogation Room
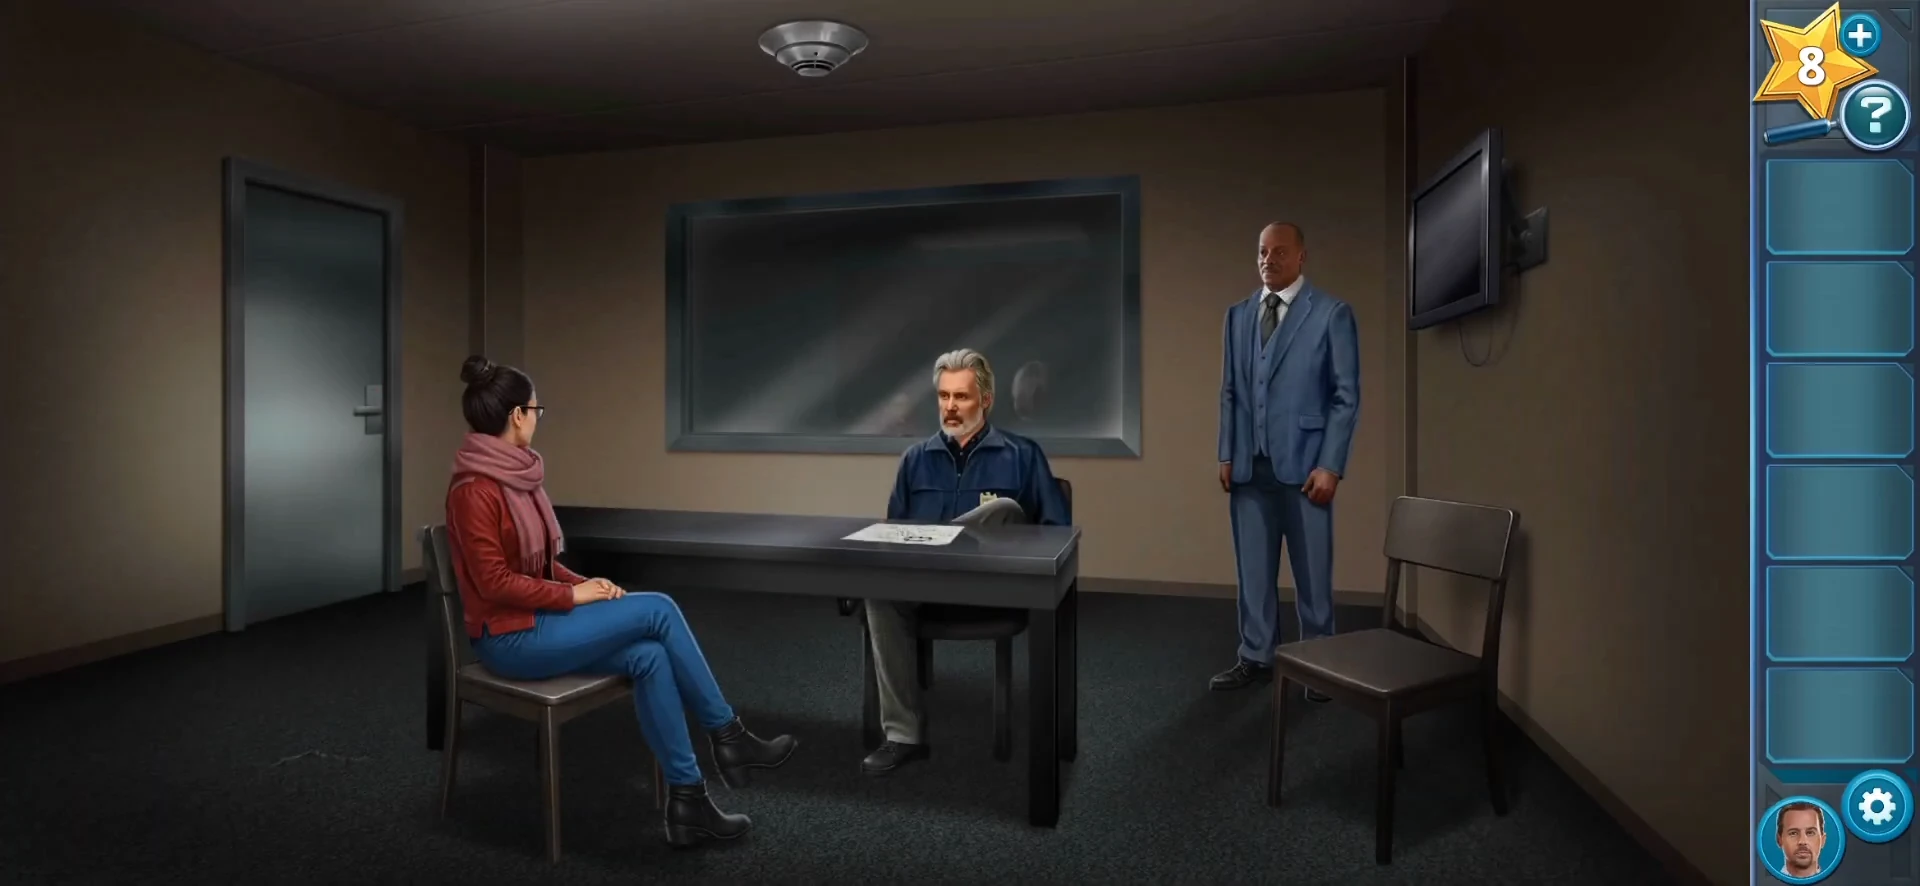
You play as Tim McGee. Shawn Sterling hacks NCIS HQ and the doors lock. Maria offers to help you build an EMP to open them.
- After the power cut, look at Maria's EMP sketch on the table. The parts are electrical tape, a boost converter, copper wire, a momentary switch (a push-to-talk microphone) and a 9-volt battery.
- The TV's back panel is screwed shut. Pick up the chair, throw it through the observation window and climb into the observation room.
Coloured Binder Toolbox Lock
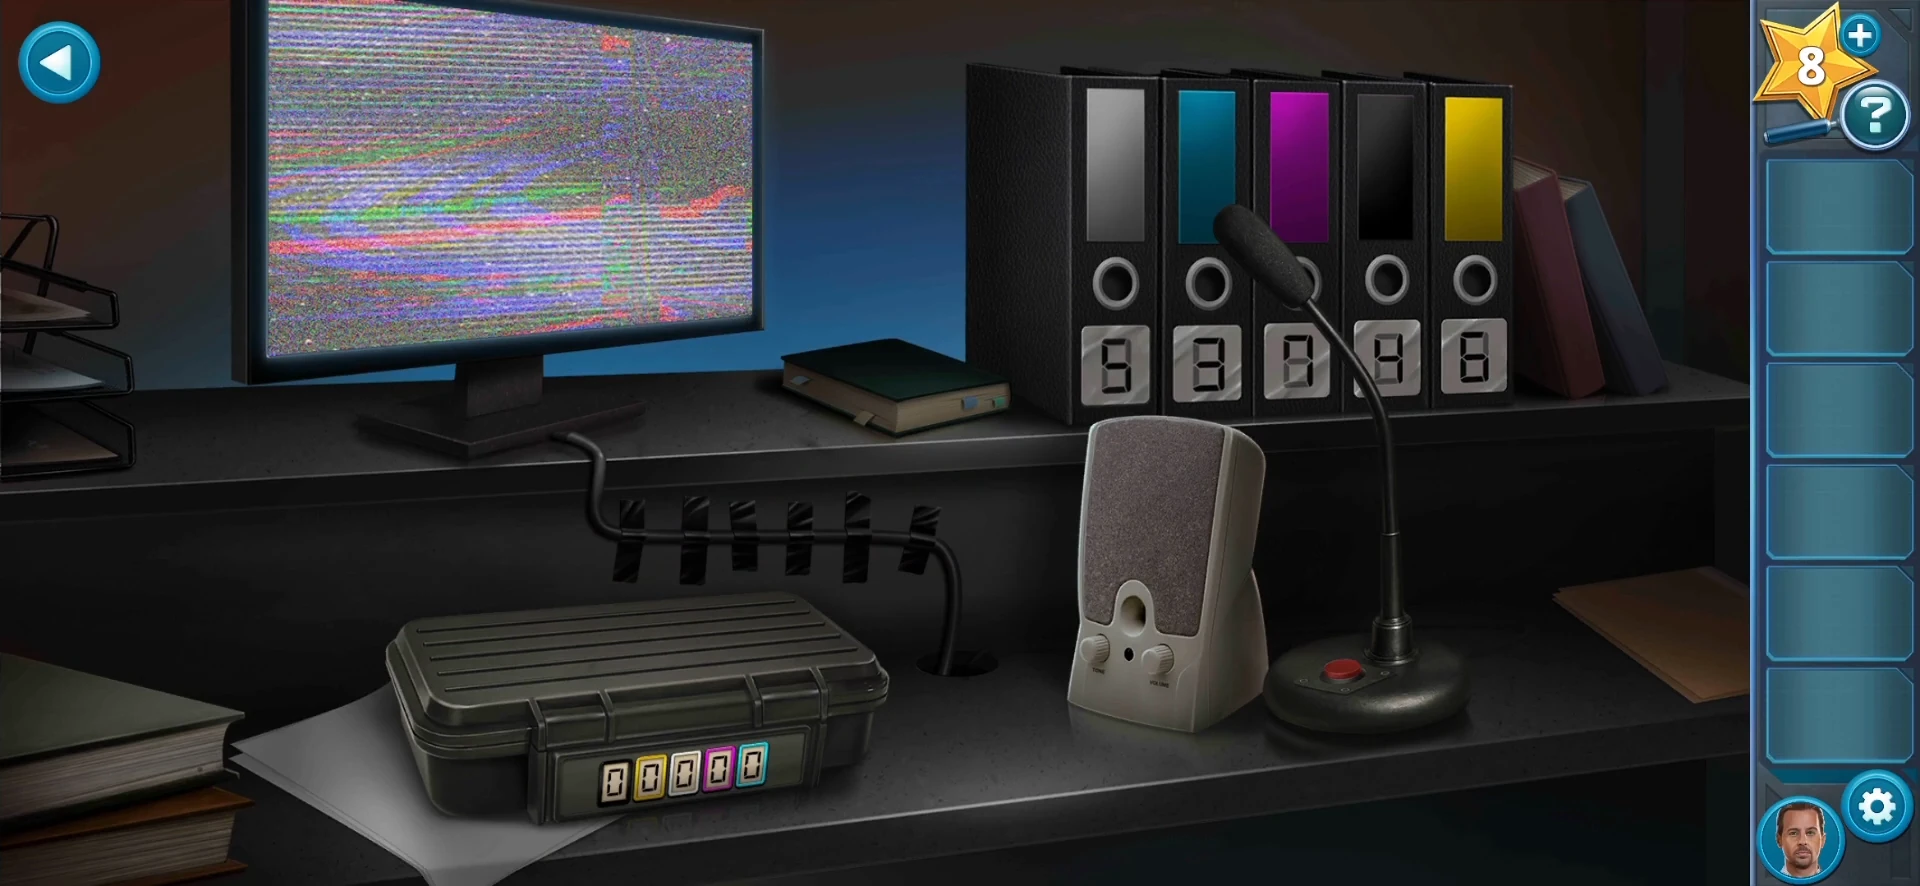
Each binder on the shelf has a number on it: white 5, blue 3, pink 7, black 4, yellow 6. The toolbox lock digits are framed in black, yellow, white, pink and blue.
- Enter 4 6 5 7 3 on the toolbox lock.CODE46573
- Take the Boxcutter and the Allen Wrench from the toolbox and the Push-to-Talk Microphone from the desk.
Building the EMP
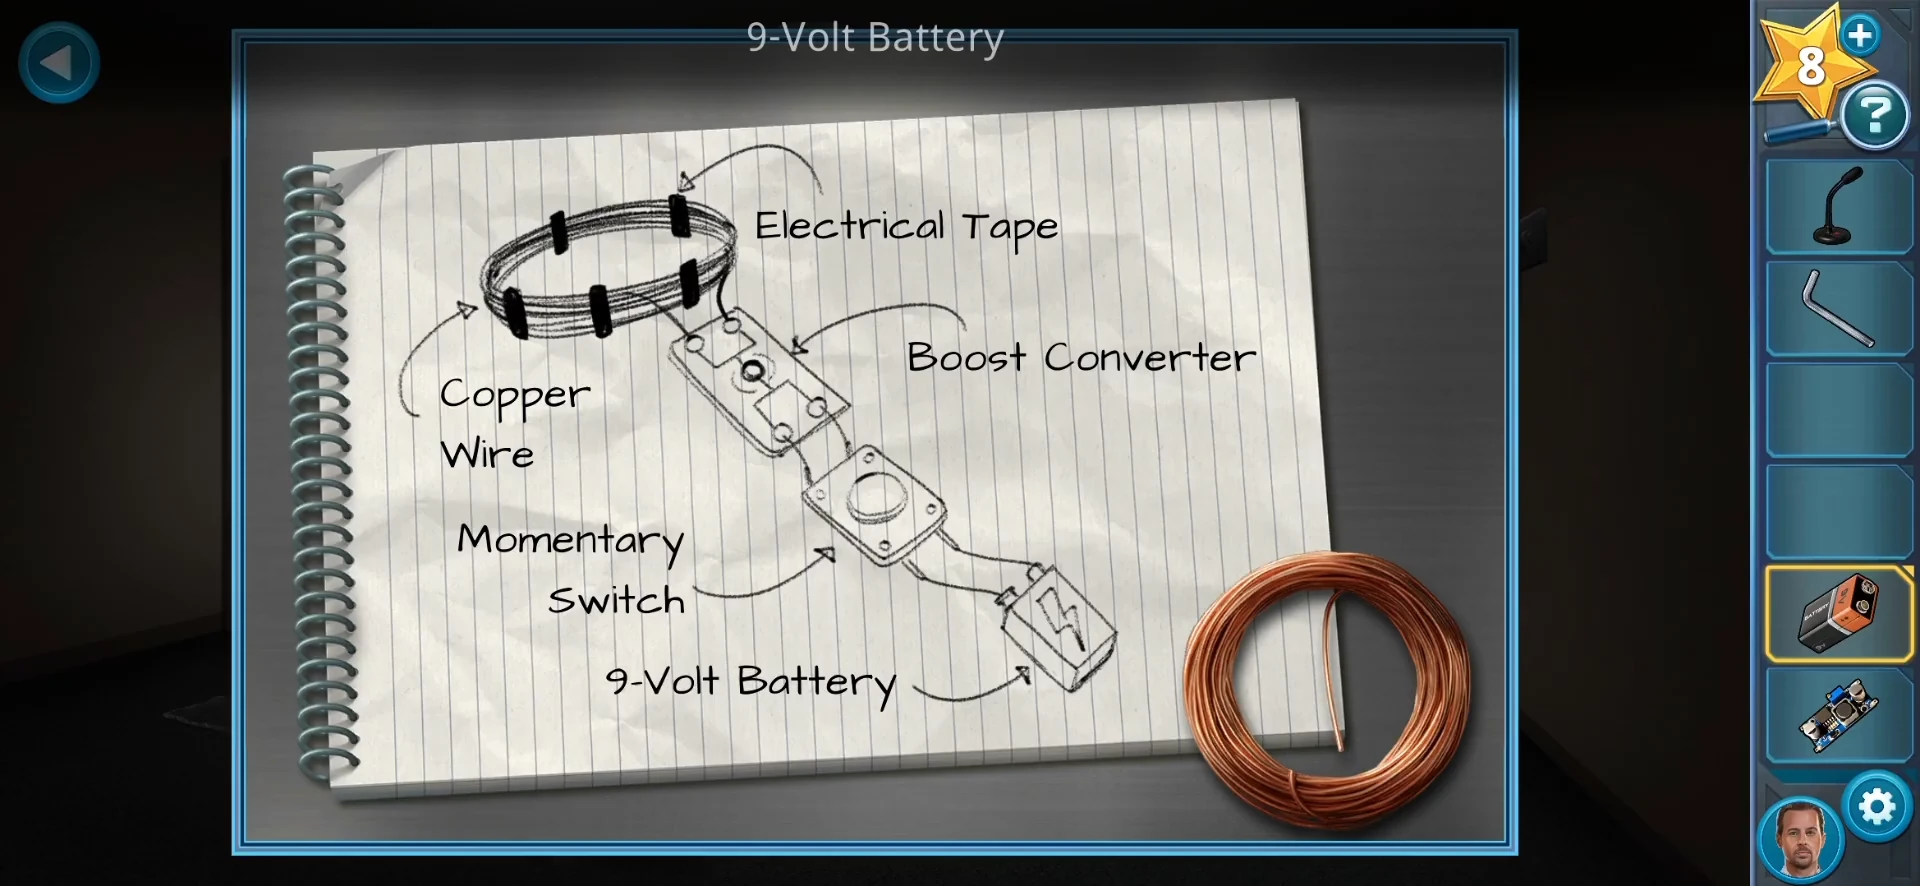
Collect the remaining parts in the interrogation room and put them on Maria's sketch.
- Back in the interrogation room, cut the carpet by Maria's chair with the Boxcutter and take the Copper Wire. Open the TV's back panel with the Allen Wrench for the Boost Converter, then open the smoke alarm with it for the 9-Volt Battery.
- Open the sketch and place the Copper Wire, 9-Volt Battery, Boost Converter and Push-to-Talk Microphone on it. Open the microphone with the Allen Wrench to expose its switch.
- Go back to the observation room, take the Electrical Tape from the toolbox and use it on the sketch to build the EMP Device. Use the EMP Device on the door.
Mercer Tech Lab: Door Camera
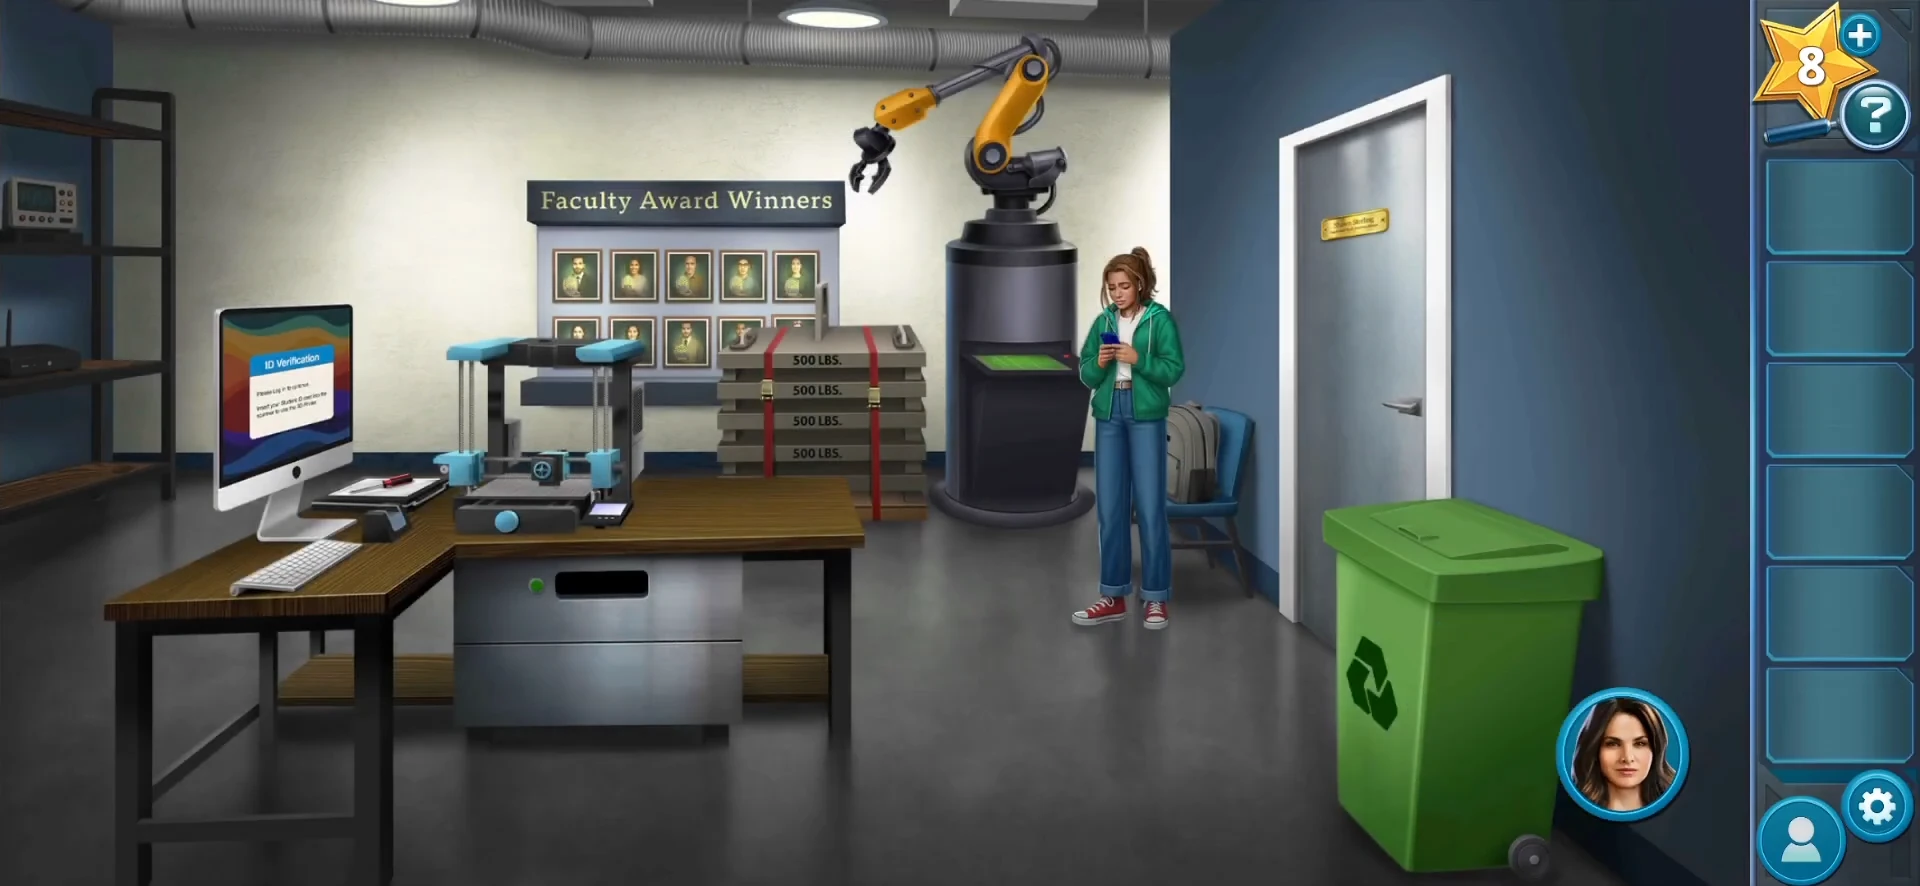
You now play as Jessica Knight with Torres at Mercer Tech University, where Shawn is a professor. A student, Melanie, cannot find her ID.
- Look at the recycle bin (a motherboard covered in wires) and the computer's ID Verification screen. Take the Screwdriver from the desk.
- Unscrew the Computer Science nameplate on the office door with the Screwdriver and take the Nameplate. A facial-recognition camera was hidden behind it.
- Ask Melanie about the robot arm by the Faculty Award Winners board. Put the Nameplate into the slot on the desk drawer, then take the Robot Arm Manual and the Wire Clippers from the drawer.
- Cut the wires off the motherboard in the recycle bin with the Wire Clippers to get Wires.
- Tap the robot arm to open its wiring board; only a yellow wire is laid. Place the Robot Arm Manual on the board to keep its rules on screen, then place the Wires on it so the plugs take their colours.
Robot Arm Rewiring Puzzle
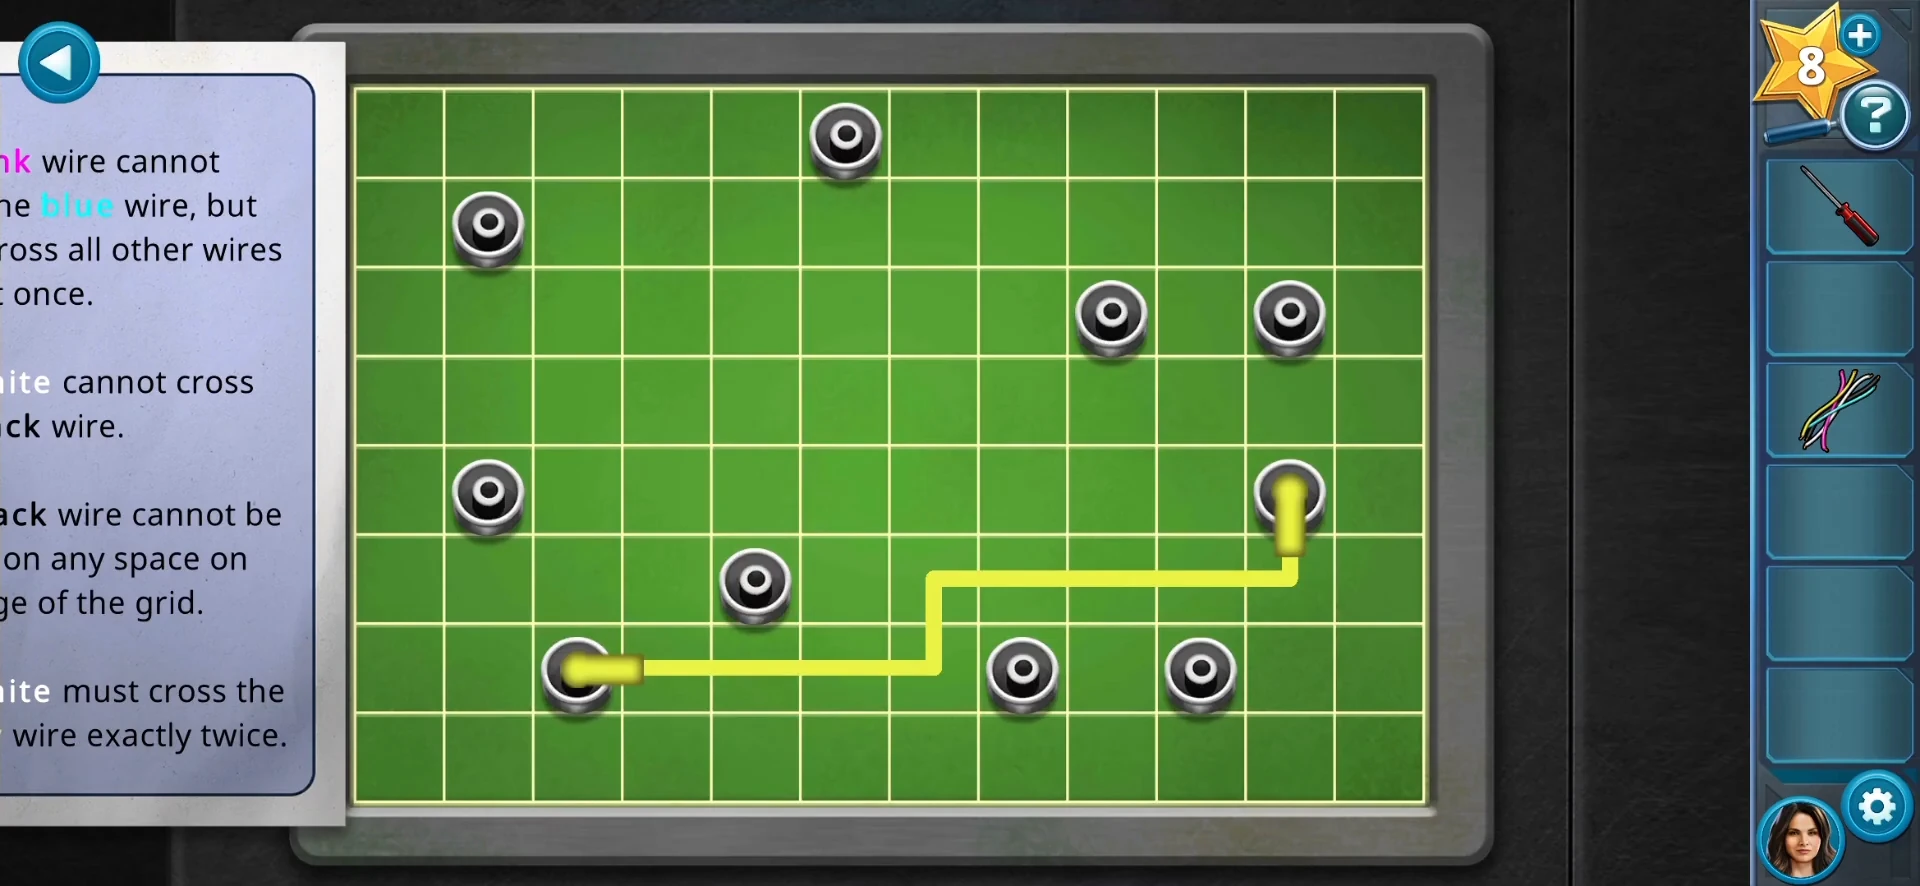
Drag from a plug to the matching plug to lay a wire. Wires may cross but may not share a square. The manual's rules: black is longer than yellow; pink cannot cross blue but must cross every other wire at least once; white cannot cross black; black may not use any edge square; white crosses yellow exactly twice.
- Count the board as 12 columns (1 = left) by 8 rows (1 = top). Pink, from its plug at row 2, column 2: down to row 4, right along row 4 to column 10, then down to the pink plug at row 7. Blue, from row 5, column 2: left to column 1, up to row 1, right to column 3, down to row 3, right along row 3 to column 8, up to row 1, right to column 11, then down to the blue plug at row 3. White, from row 1, column 6: left to column 4, down to row 6, left to column 2, down to row 8, right along row 8 to column 6, up to row 5, right along row 5 to column 8, then down to the white plug at row 7. This makes white cross yellow exactly twice, at row 7, column 6 and at row 6, column 8. Black, from row 3, column 9: right to column 10, up to row 2, left along row 2 to column 5, then down to the black plug at row 6. Yellow is already laid this way: from row 5, column 11 down to row 6, left to column 7, down to row 7, then left to the yellow plug at column 3. This is the finished board from our playthrough; it meets every rule in the manual, and the puzzle completes as soon as the last wire is in place.
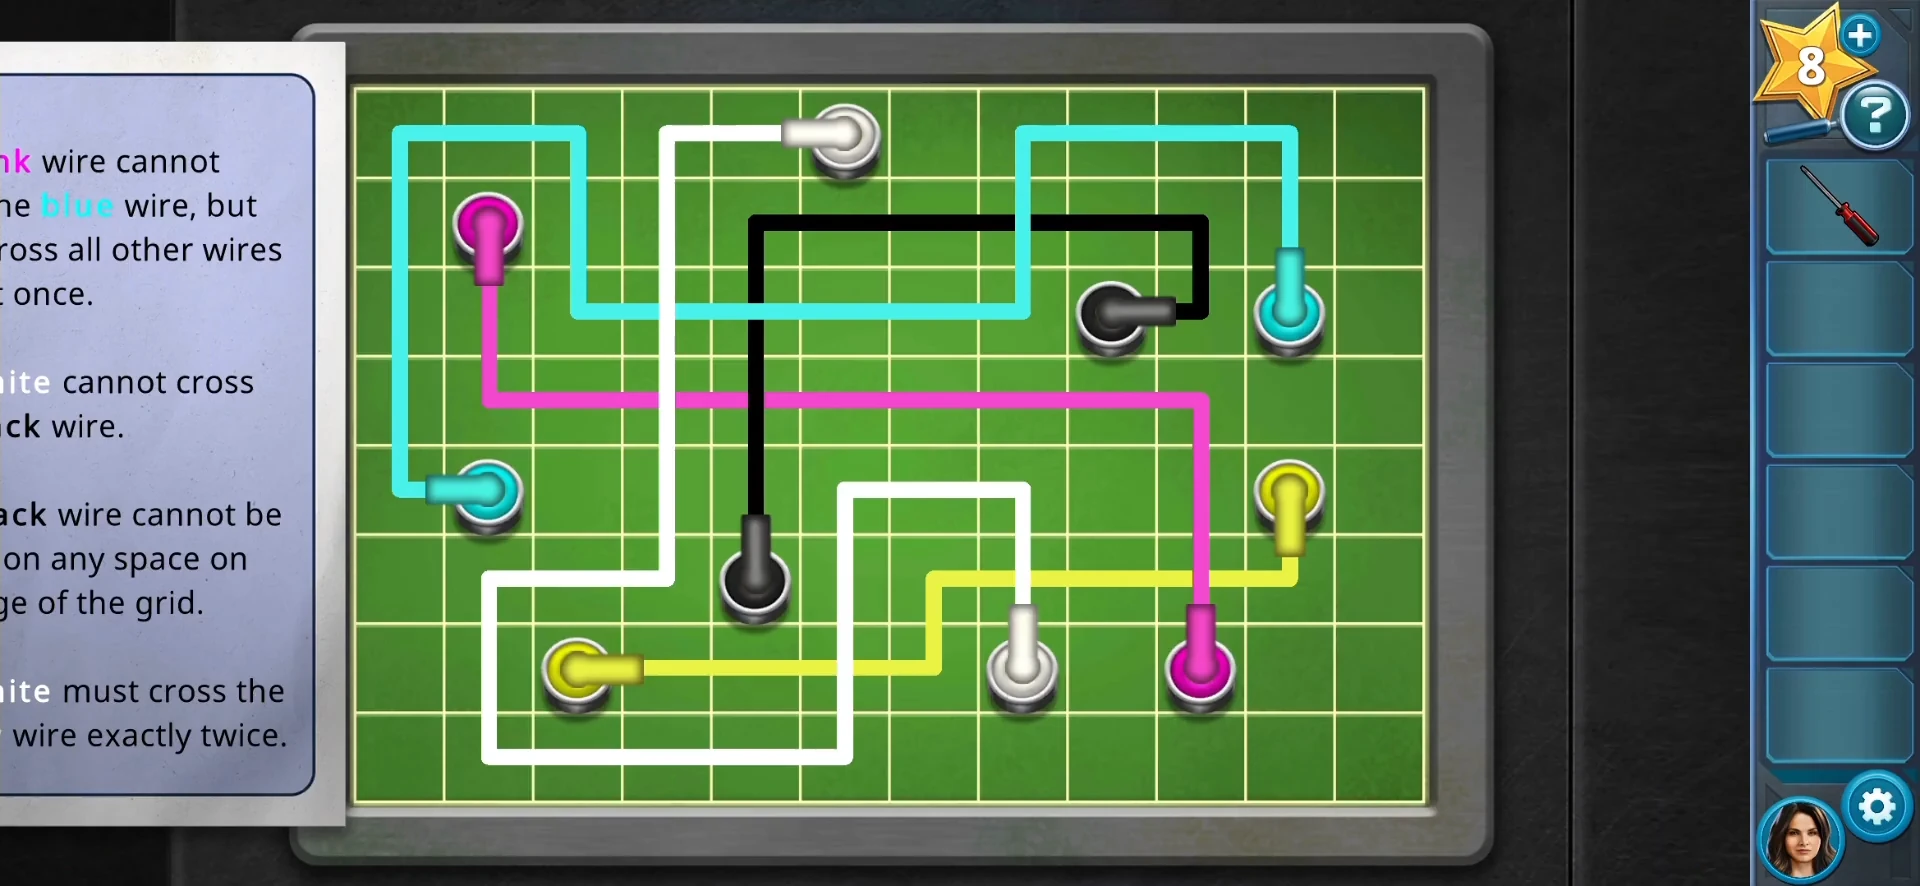
The finished wiring. The white wire crosses the yellow wire twice, as the manual requires. - Torres takes the controls and the arm lifts the weights in front of the award board. Take the Portrait of Shawn from the board.
- Use the Portrait on the door camera to enter Shawn's office.
Shawn's Office: 3D-Printed Award
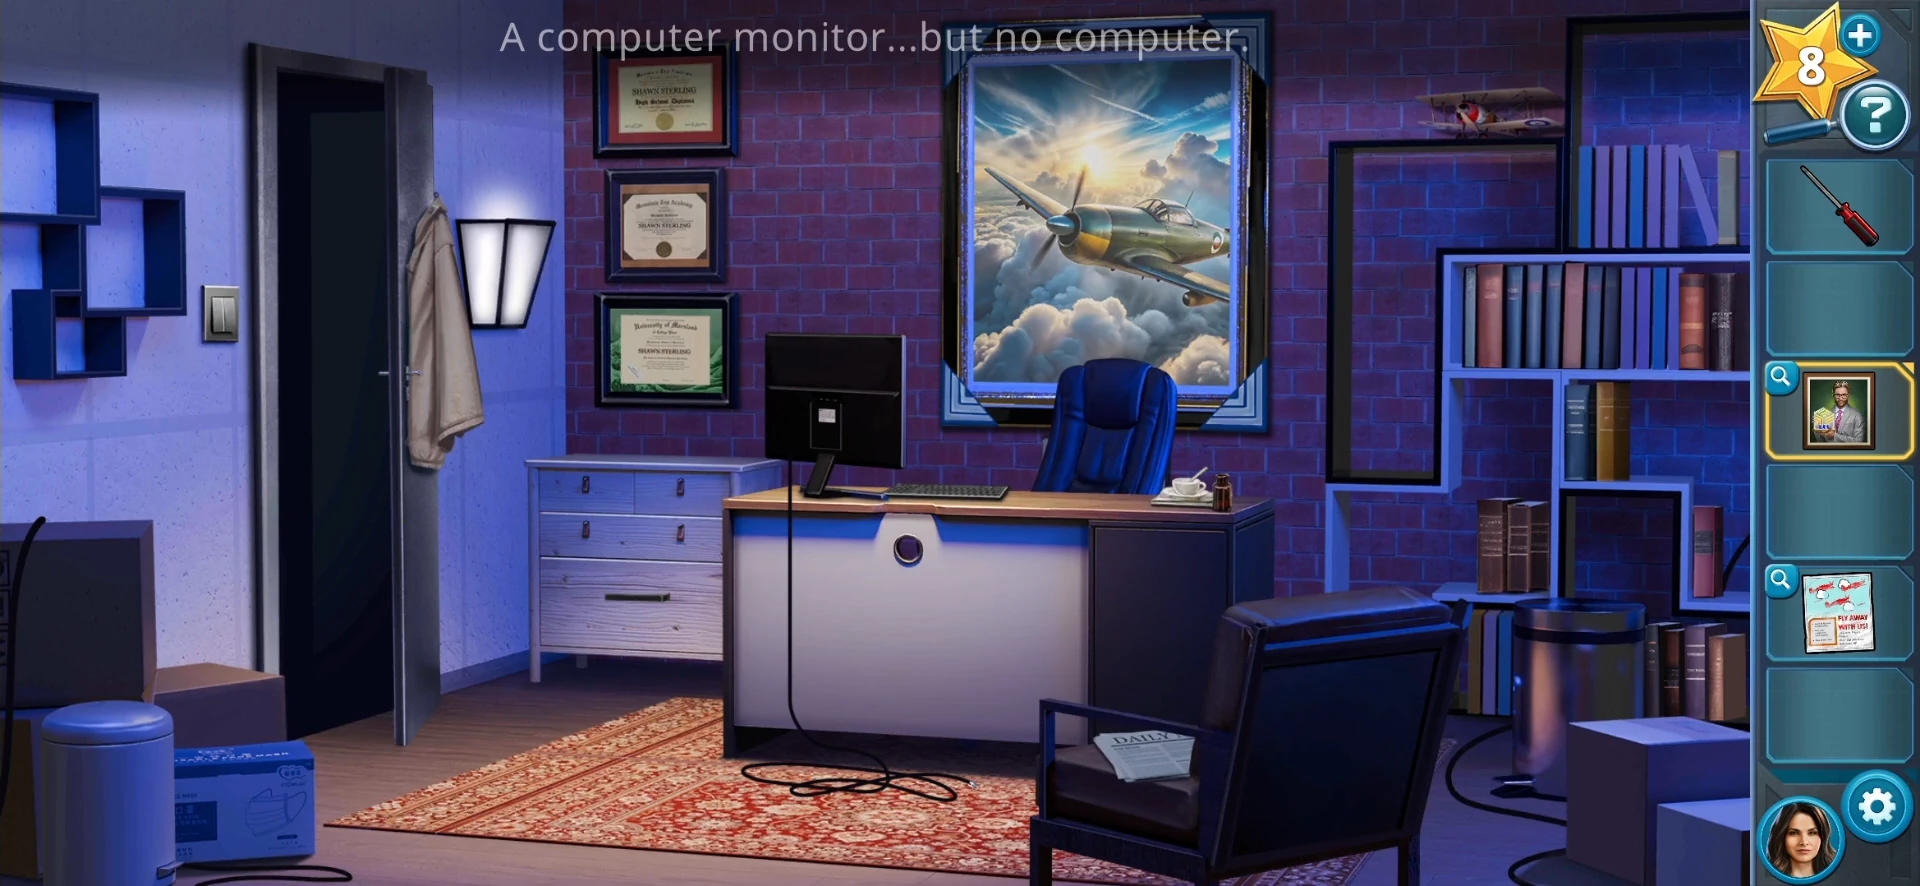
There is no sign of Shawn, but his office holds a hidden compartment.
- Take the 3D Printer Filament. Move the desk chair under the airplane painting aside to reveal a wall panel, then remove the panel with the Screwdriver: behind it is a slot shaped like the award in the portrait. Look at the "Fly Away With Us!" flier.
- Melanie comes in. Back in the lab, take Melanie's Student ID from her bag and load the Filament into the 3D printer.
- At the computer, insert the Student ID, scan the Portrait of Shawn and press PRINT. Take the Award Copy from the printer.
- Put the Award Copy into the office wall slot to reveal Shawn's computer. Knight plugs in the monitor.
Shawn's Computer Symbol Lock
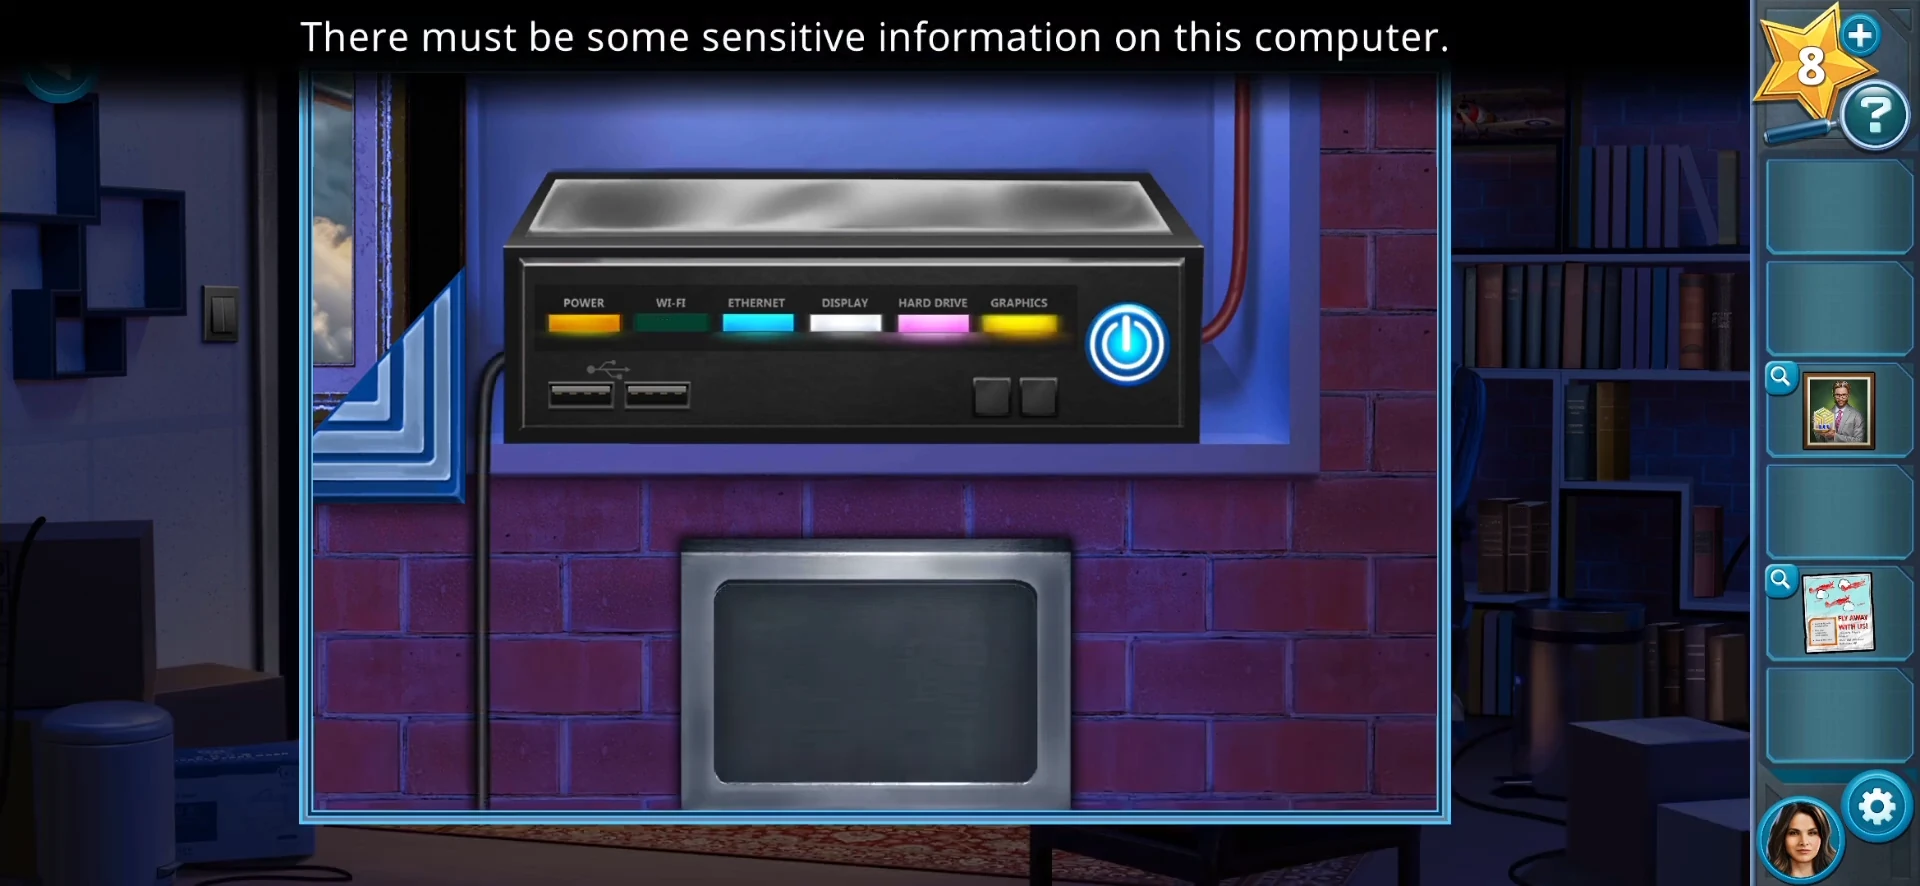
The computer lights flash orange, green, blue, white, pink and yellow. Each colour points to a symbol on something of that colour in the office or the portrait.
- Set the six dials in light order: orange = rounded square (flier), green = recycling triangle (recycle bin), blue = nested corner triangles (painting corners), white = cloud (flier clouds), pink = four diamonds (Shawn's tie in the portrait), yellow = layered cube (the award in the portrait).
- Read the cyber-attack spreadsheet and student hacker list: Melanie Paulson is one of them. Arrest Melanie, then use her phone to turn off the LOCAL CELL PHONE JAM PROTOCOL and read her texts from Shawn.
IT Department: Old Computer
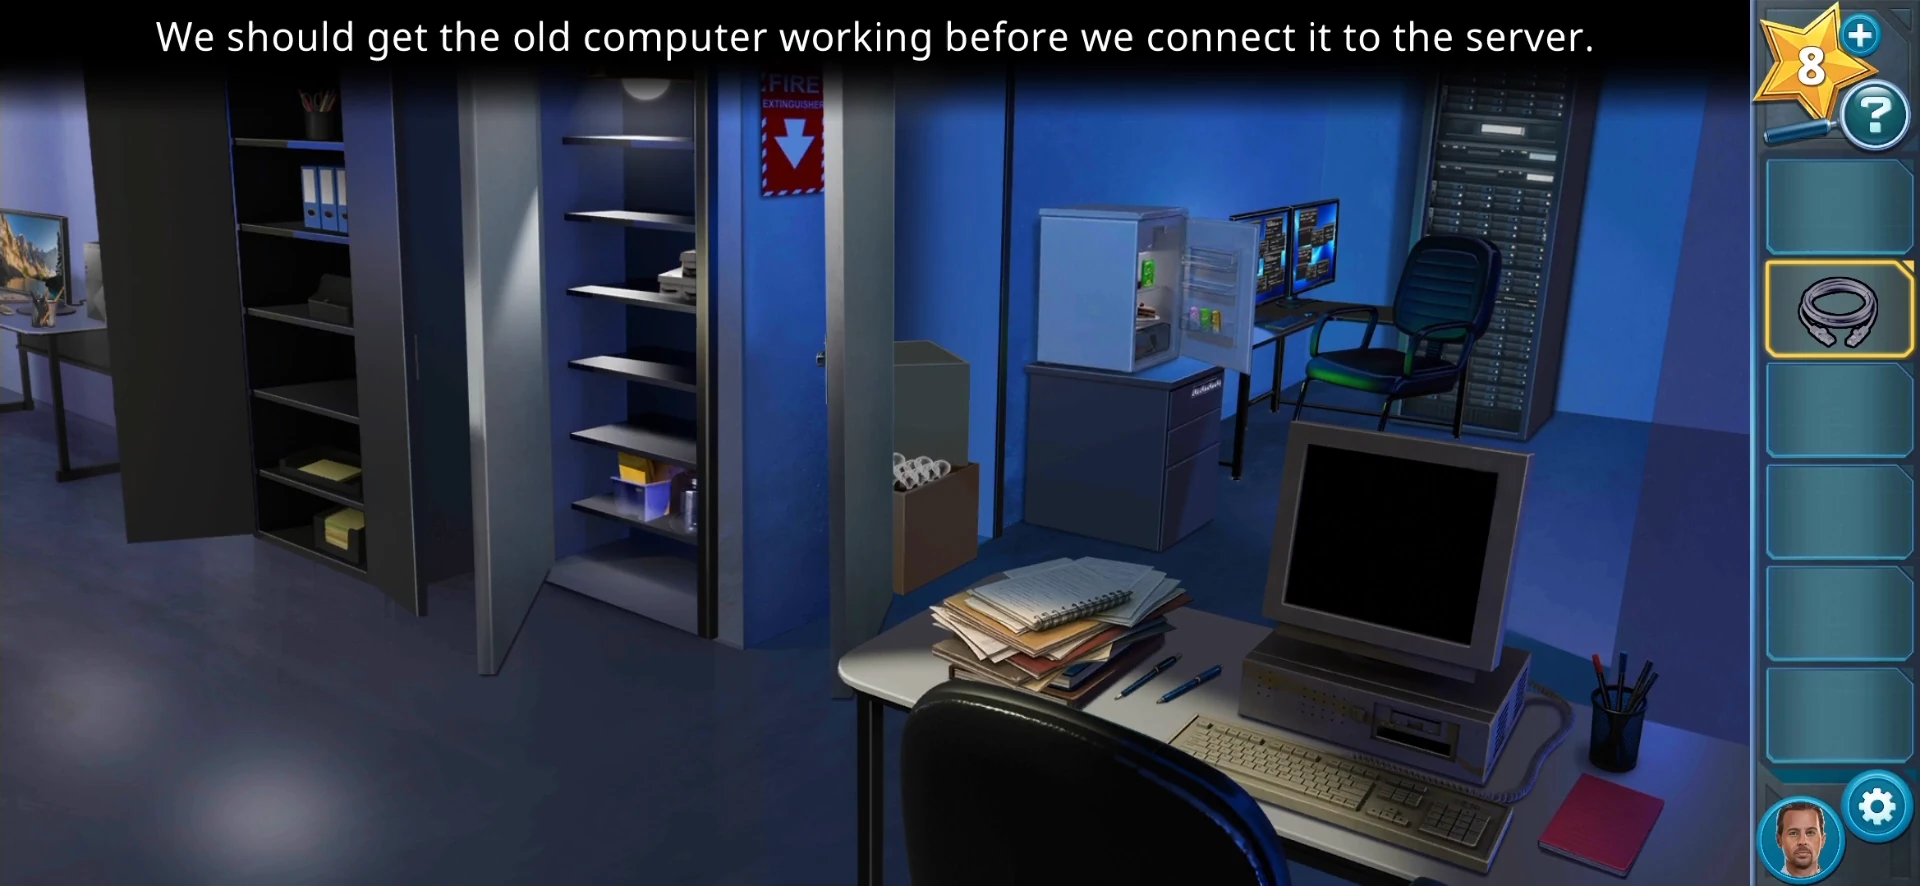
You play as McGee in the NCIS IT Department. Shawn's virus is in every modern machine, so you need an old offline computer.
- Take the Fire Extinguisher from the wall. The LAN cable in the left closet is held by zip ties. Break both closet doors open with the Extinguisher and carry the old computer to the desk; it needs a boot disk.
- The glitching screens show overloaded wires. Take the Light Bulb, use it to light the dark closet and take the Rubber Gloves. Use the Gloves on the loose wires and take the Key.
- Open the mini-fridge padlock with the Key and take the Knife. Cut the zip ties with it and take the LAN Cable.
- Count the cans in the fridge: lemon 3, cherry 2, kiwi 2, grape 4. Multiply by each fruit's value: 3000 + 600 + 40 + 8 = 3648. Enter 3648 on the drawer lock and take the Operating Disk.CODE3648
- Put the Operating Disk and the LAN Cable into the old computer. Maria shuts down the virus; Shawn is heading to an airfield and has hacked the traffic lights.
Traffic Jam Puzzle
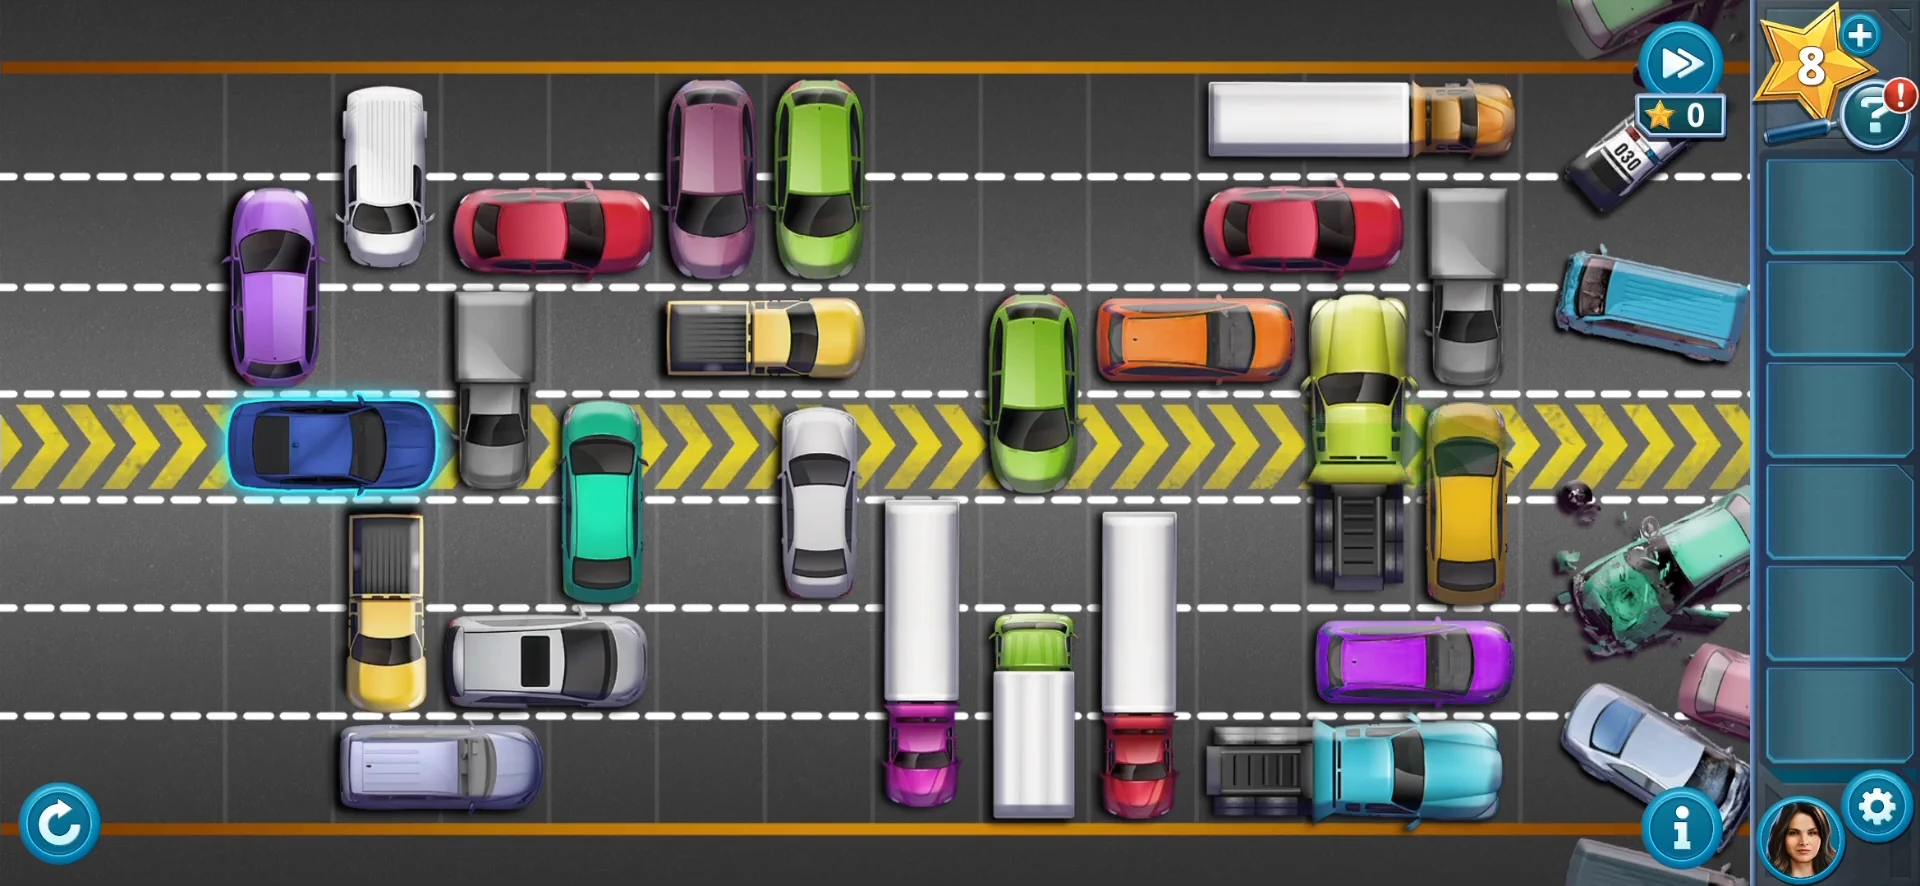
Drag Knight and Torres' blue car along the yellow-chevron lane to the green arrow at the right. Horizontal cars move only left or right, vertical cars only up or down. In these steps, lanes are counted 1 to 7 from the top (the yellow lane is lane 4) and "spaces" are road squares. Our recording solved it by trial and error; this is a checked 25-move order from the same start. If you lose your place, the circular-arrow button at the bottom left restarts the board. The idea is to move horizontal cars in the other lanes aside so the vertical cars standing in the yellow lane can slide up or down out of it.
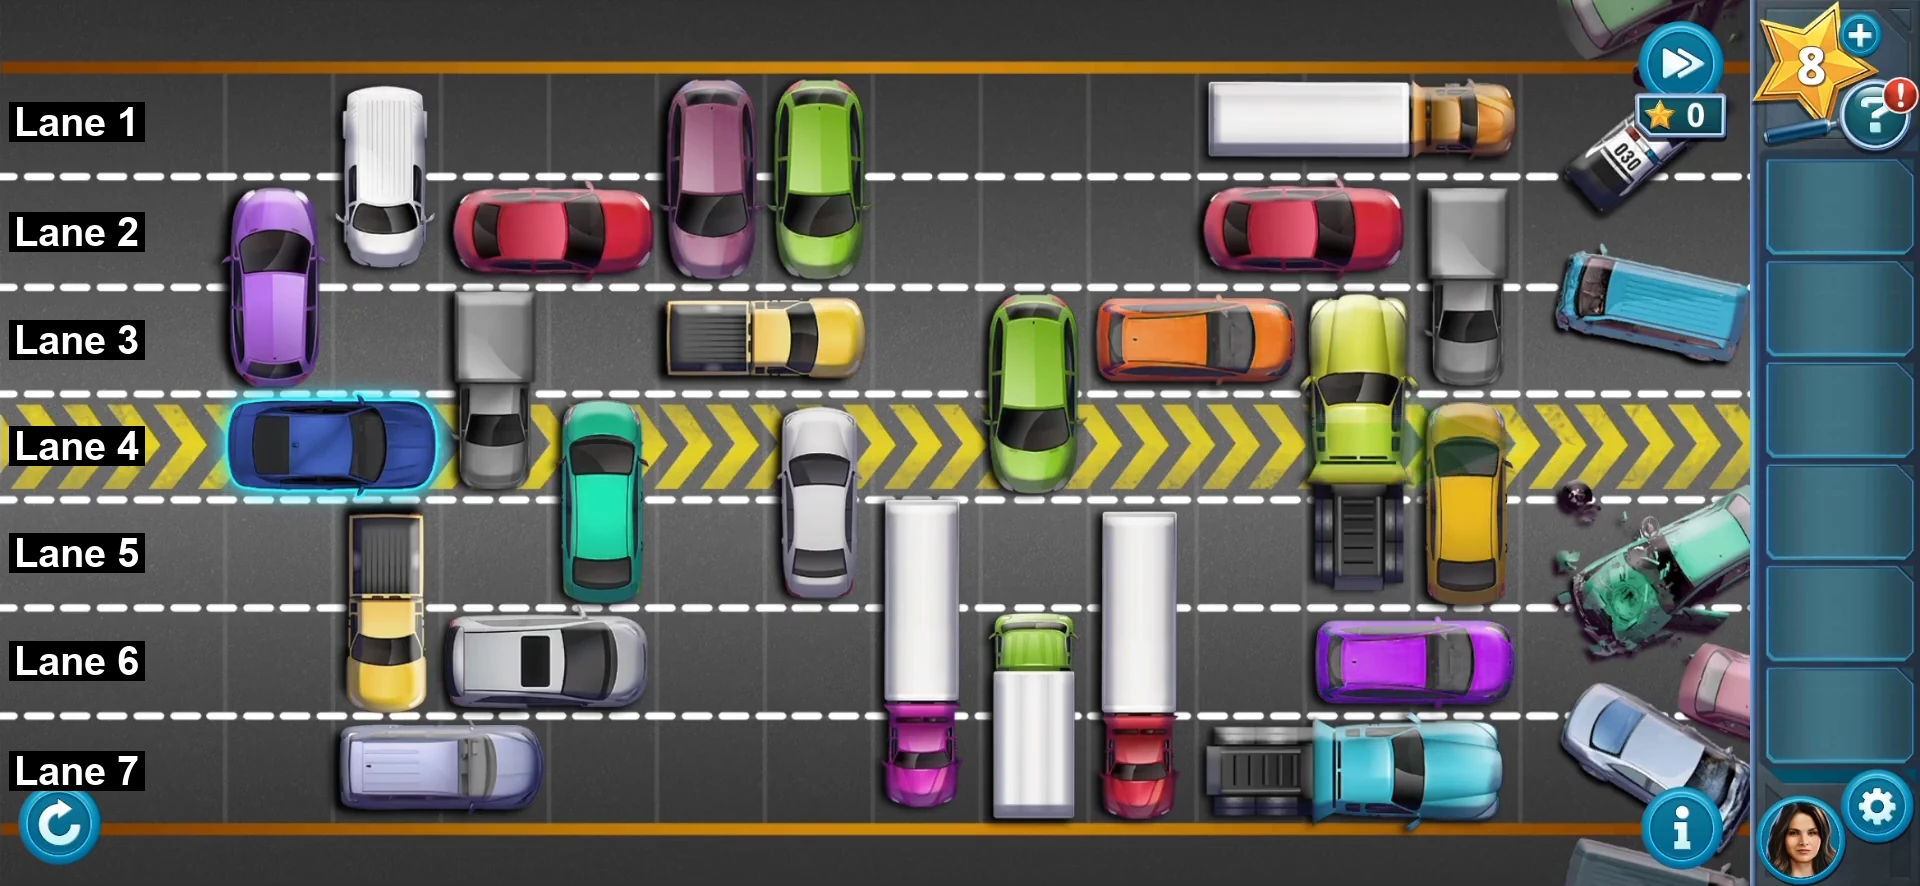
- Red car at the right of lane 2: left 1. Purple car at the far right of lane 6: left 1. Yellow car at the right end of the yellow lane: down 1. White car standing in the yellow lane in the middle: down 2.
- Yellow pickup lying in lane 3: right 1. Mauve car at the top: down 5, to the bottom. Red car in lane 2 next to the white van: right 1. Grey truck standing directly in front of your blue car: up 2, to the top.
- Yellow pickup in lane 3: left 4. Green car at the top, just right of where the mauve car was: down 2. White trailer truck with the orange cab: left 6. Lime-green truck at the right of the yellow lane: up 2, to the top.
- Left-hand red car in lane 2 (the one you moved away from the white van, not the red car at the right end): right 3. That green car: up 1. Teal car in the yellow lane: up 2. Blue car: right 4.
- Yellow pickup standing below the blue car's old spot: up 1. Silver car in lane 6: left 1. Teal car: down 3. Blue car: left 1.
- Green car: down 1. The same left-hand red car in lane 2: left 3. Green car: up 1. Green car standing in the yellow lane right of centre: up 1. Drive the blue car all the way right to the green arrow.
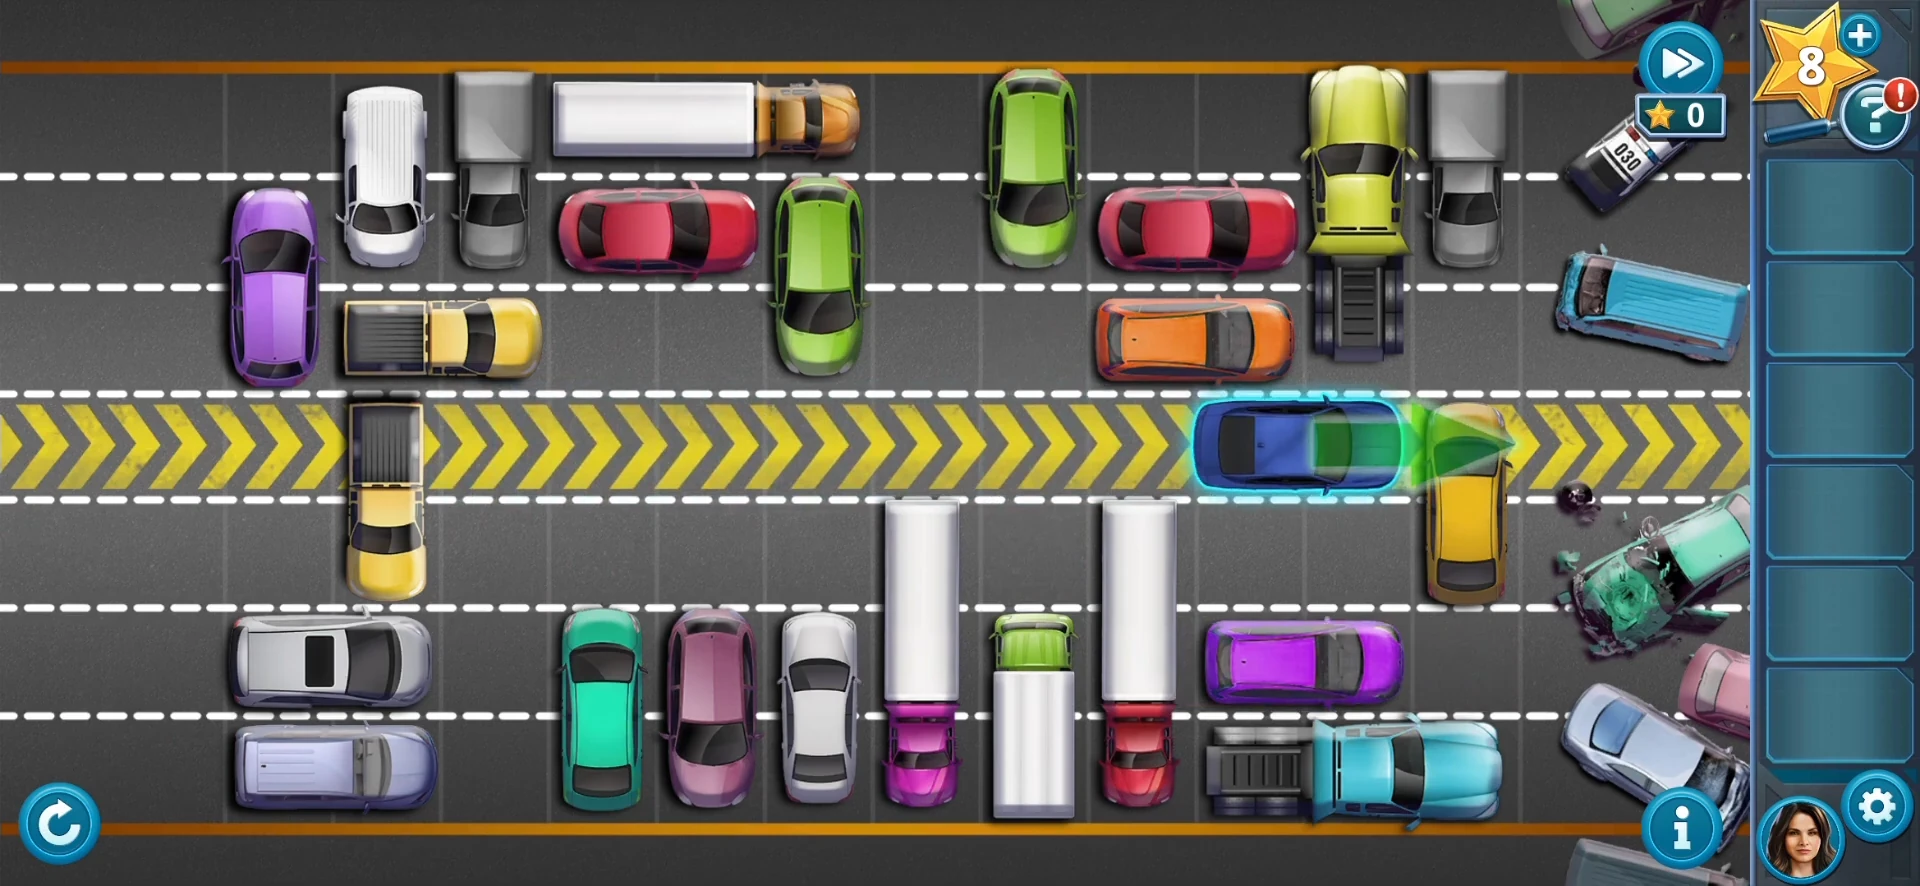
The blue car at the exit.
Airfield: Shawn's Car Passcode
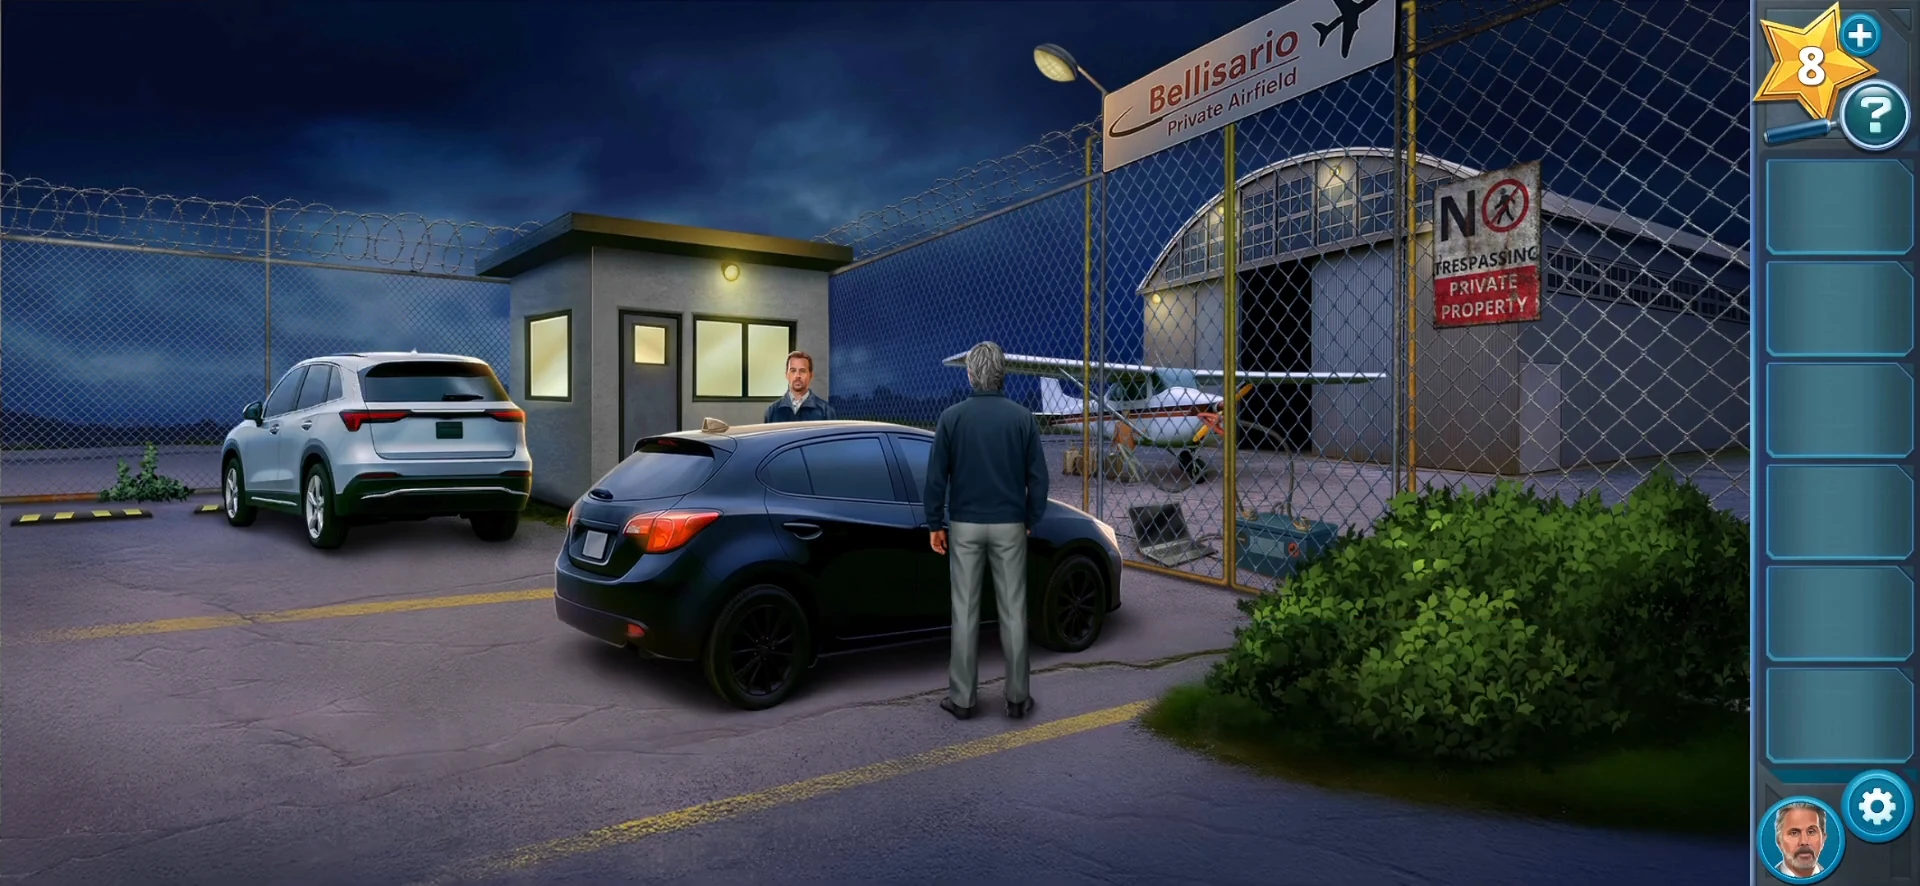
You play as Alden Parker at Bellisario airfield. Shawn has electrified the fence and is loading his plane.
- In the black NCIS car, open the metal case on the passenger floor and take the Battering Ram, then open the glove box and take the Fingerprint Kit. Shawn's white SUV has no keyhole, only a fingerprint lock.
- Break open the security booth door with the Battering Ram. Inside, the monitor won't turn on because Shawn cut its wires. Open the desk drawer and take the Maintenance Checklist, then peel the Tape off the checklist.
- The SUV's handle won't hold a print, so take the Wire Clippers from the bush, dust them with the Fingerprint Kit and lift Shawn's print with the Tape. Use the print on the SUV's door handle.
- In the SUV, press the trunk-release button to the right of the dashboard screen. Cut the coiled wires in the open trunk with the Wire Clippers to get Copper Wire.
- Repair the monitor wires in the security booth with the Copper Wire. Flip through cameras A to E: each shows one plane part with a symbol (A rudder, B wing, C fuselage, D cockpit, E propeller).
- On the dashboard lock, each empty number square is the sum of the checklist numbers for the symbols in its row and column. Enter 9 at the top, 3 on the left, 2 on the right and 8 at the bottom.
- Press TERMINATE to shut off the fence battery, then press the red GATE button in the security booth. Shawn runs into the hangar.
Hangar Chase and Ending
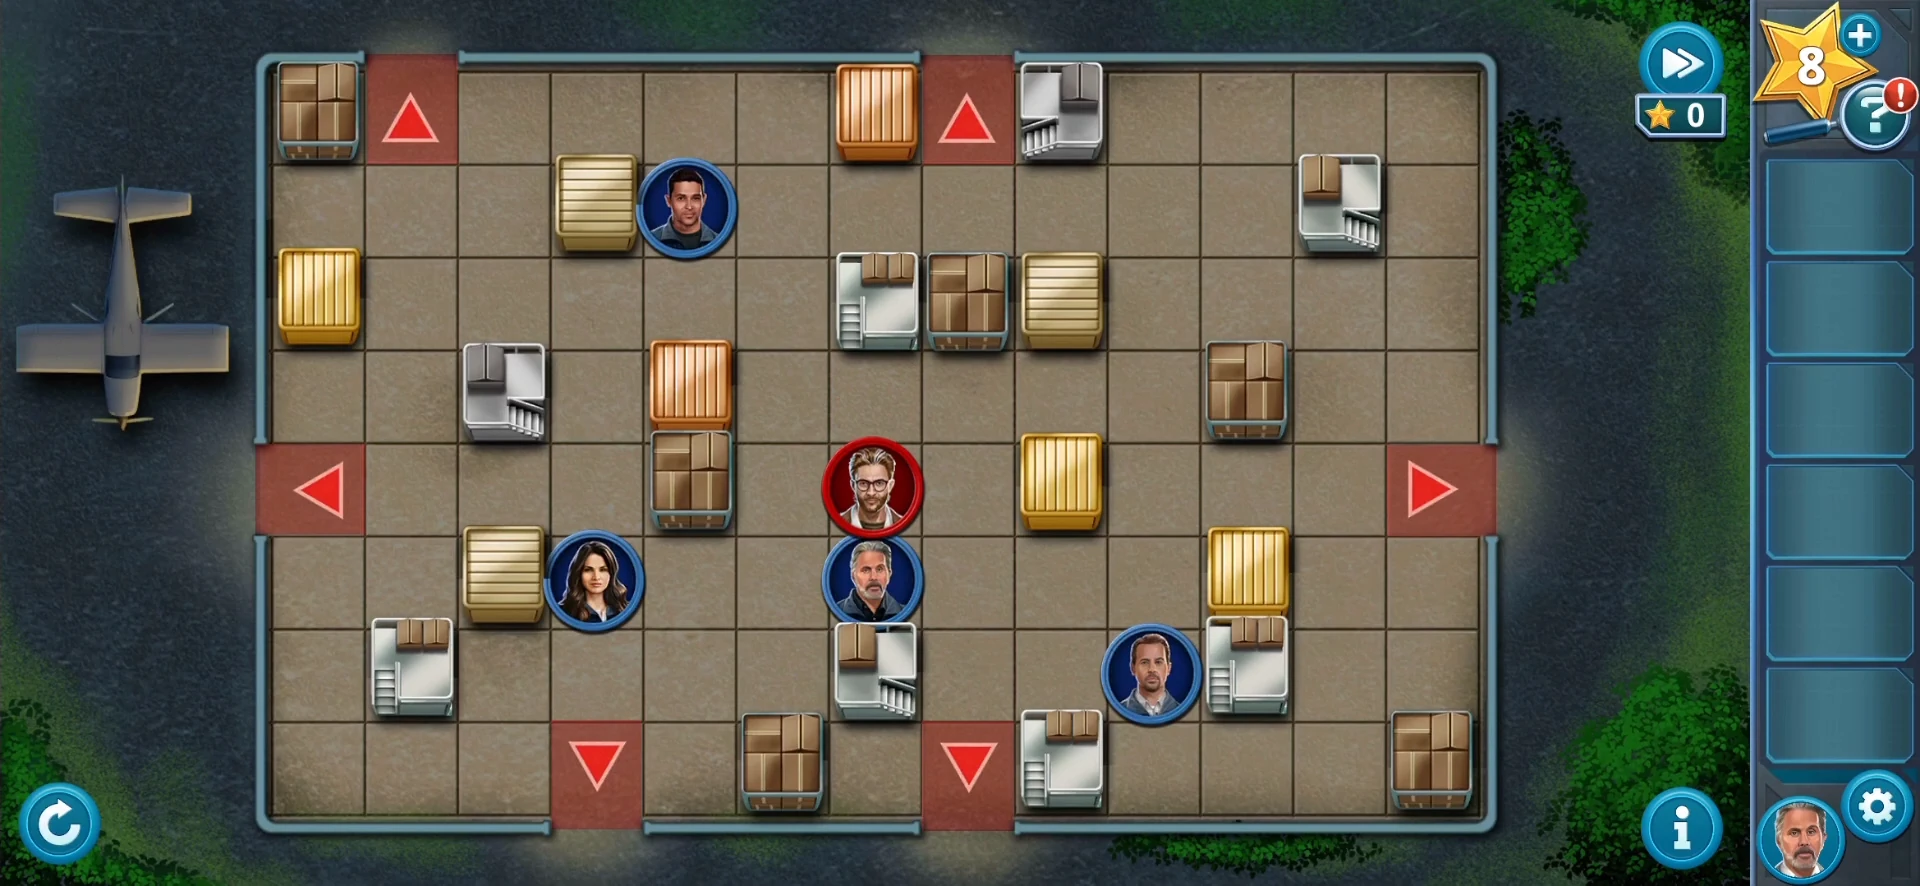
Each turn, tap an agent and then a blue arrow to move them one square; Shawn (red) then steps one square towards an exit (red arrows: two at the top, two at the bottom, one on each side). An agent standing on an exit blocks it. Box Shawn in on all four sides to arrest him. Knight and Torres join just before your first move, and the reset button restarts the board. This is the move order from our recording; Shawn's replies are noted so you can check you are on track. We have not checked whether Shawn always answers the same way. If he steps differently, press reset and start again, or keep to the same plan: as the in-game hint says, cover all the exits, parking agents on the ones nearest him, then close in until agents or crates stand on all four sides of him.
- Torres down (Shawn steps right). Parker right (Shawn steps back left). McGee up (Shawn left). Parker left (Shawn down). McGee left (Shawn down).
- Knight down (Shawn left). Parker left (Shawn down beside the bottom-left exit). Knight down onto that exit to block it (Shawn steps back up). Parker left twice. McGee left twice.
- Parker up, then McGee left. Parker left three times so he ends on the left exit, while Shawn runs into the bottom-left corner and back up.
- Torres left three times (Shawn comes back towards the centre). McGee up. Knight up. McGee down. Torres right. Knight down onto the bottom-left exit again.
- Torres right, then down (Shawn steps up each time). McGee left (Shawn left). Parker right off the exit (Shawn right). McGee left (Shawn left, between two crates). Torres down beside him to close the box.
- Watch the arrest and the squadroom ending to finish Final Fragment.