Surveillance Van
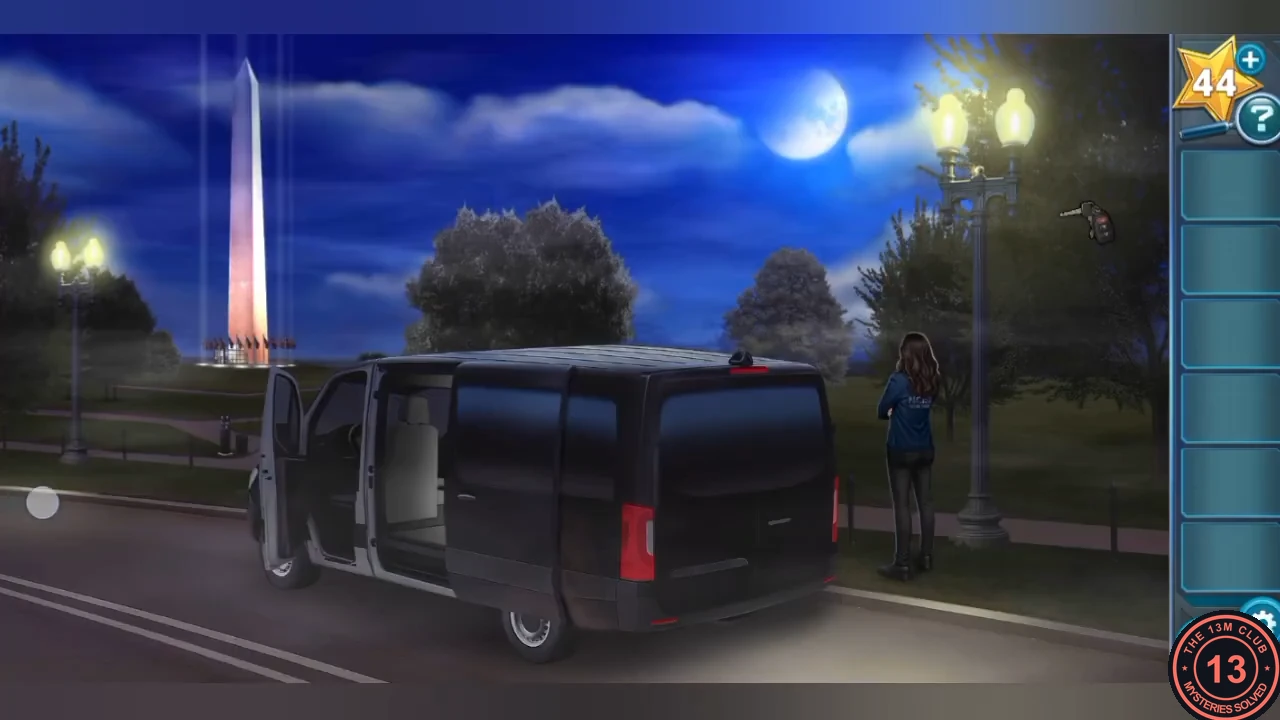
You play as Nick Torres beside the team van at the Washington Monument. Set up surveillance before McGee meets Maria.
- Open the van side door and take the Surveillance Camera from the desk; give it to Parker, who leaves to mount it.
- Open the front door and take the Keys from the cup holder. Use them on the small desk drawer in the back to get a Flashlight.
- Shine the Flashlight into the dark passenger footwell, then pull the lever at the side of the passenger seat to slide the seat back. Take Torres's Phone. Text McGee for the case combination; the reply arrives scrambled into five symbols.
- Robotaxis pull up. Unlock the lower desk cabinet with the Keys and take the Crowbar, then pry open a taxi door with it.
Audio Case Combination
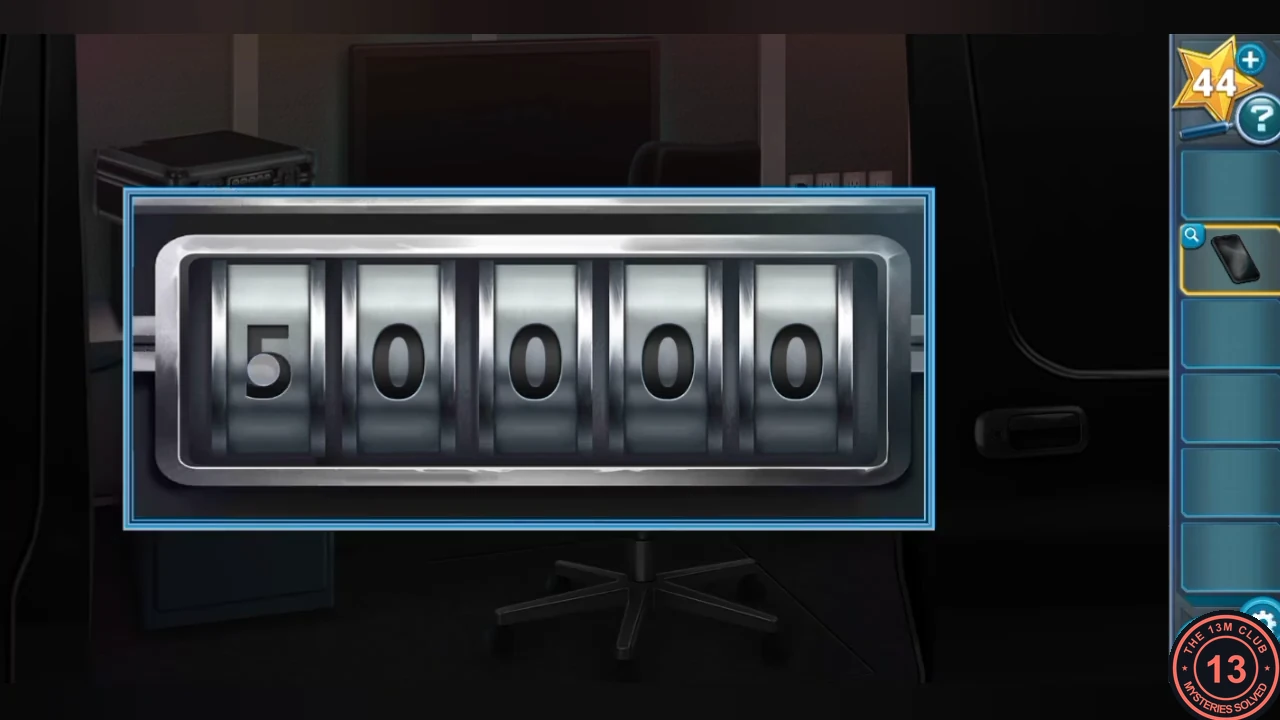
Tap the taxi screen to start it. Its grid keeps flickering between symbols and numbers, and each symbol from McGee's scrambled text sits where a number appears.
- Match the five phone symbols in order: stand symbol = 8, four inward arrows = 7, maze = 2, circle target on a stand = 6, boxed hourglass = 4. Enter 87264 on the case lock in the van.CODE87264
- Take the Audio Equipment and plug it in at the van desk. Parker returns; listen in until the feed is hacked, then take the Drone from the open lower cabinet and use it outside.
Drone Stealth Puzzle
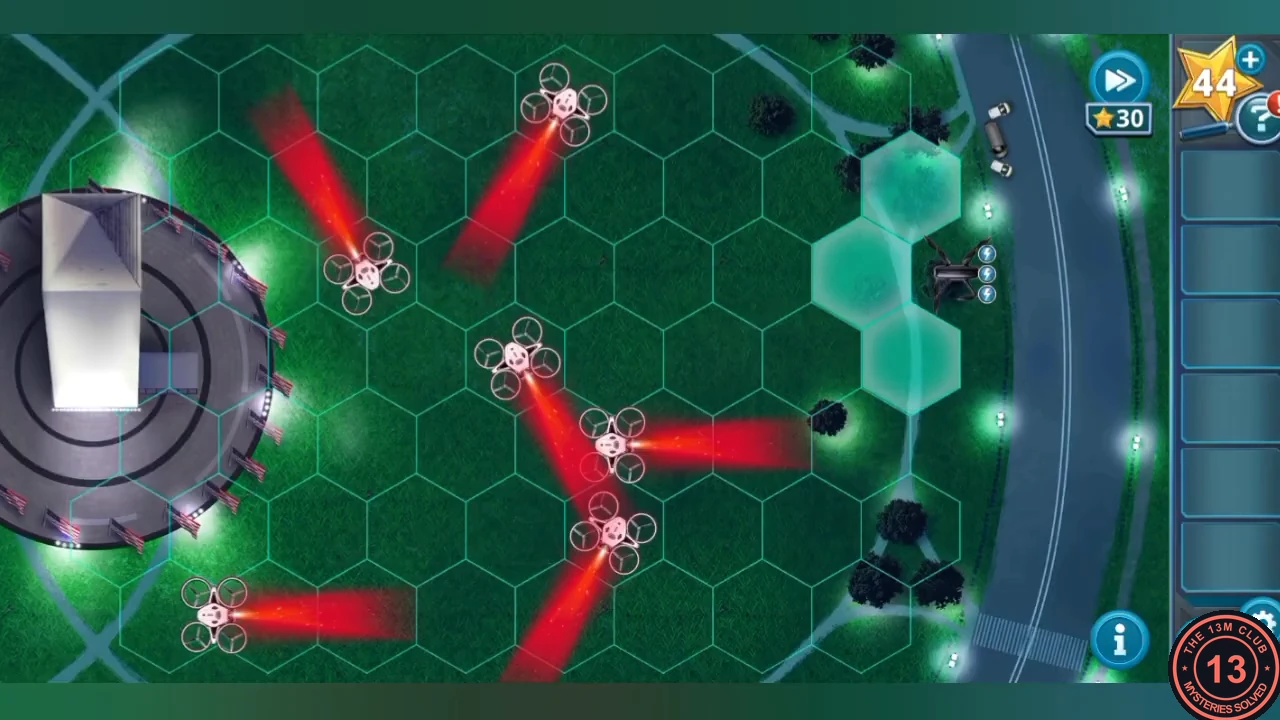
Tap a glowing tile to move your black drone one hex. White enemy drones patrol continuously and must never catch you in their red sight beams. When white drones are inside your ring of glowing tiles a lightning icon appears; tap it to fire. You have three shots, and in our run each shot removed two drones.
- From the start on the right, move left, left, then down-left. Wait until two white drones are inside your ring (to your right and lower right), then fire.
- Move down-right, then down-left, and fire at the two drones in your ring.
- Move up-right, up-right, up-left, then left. Wait until the last two drones drift into the upper left of your ring and fire.
Monument Lobby Trip Wire
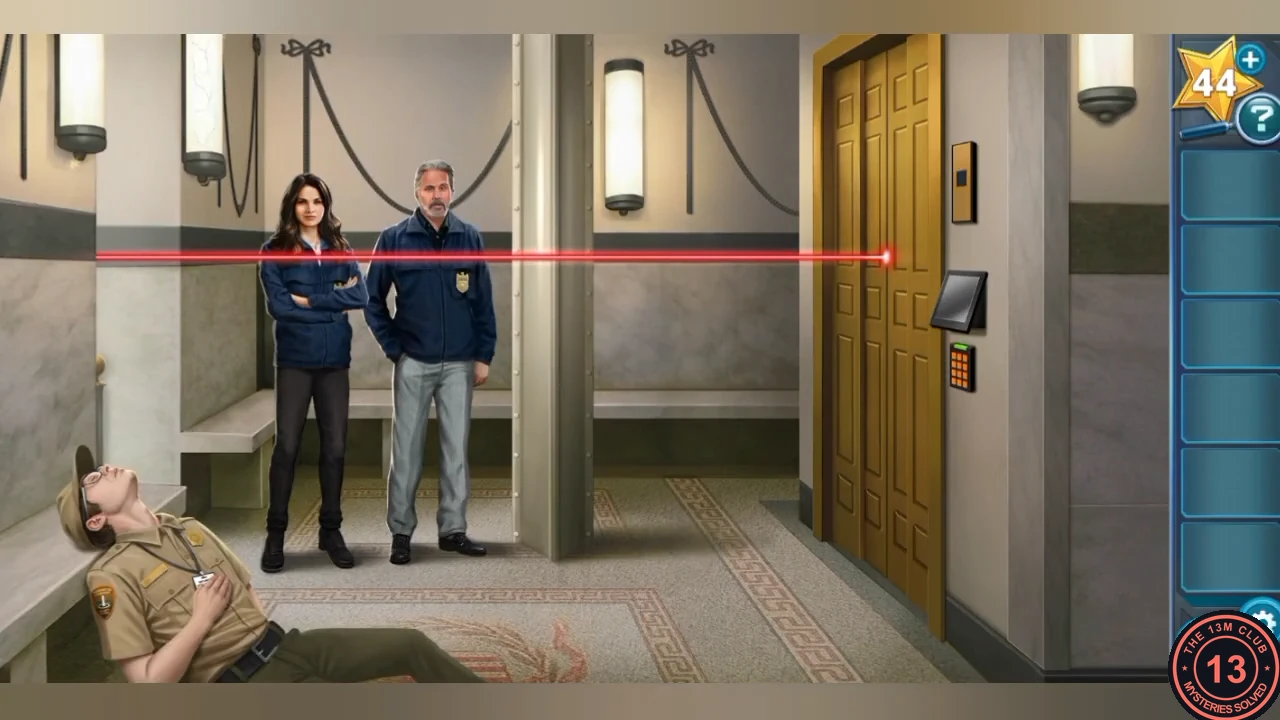
Inside, the guard has been tranquilised and a laser trip wire runs from the statue. Parker is hit by a dart while checking the stairs.
- Take the Keycard from the guard. Take the Pole from the barrier by the statue; the panel under the statue is taped over.
- After Parker is darted, search his jacket for the Pen, the Coin and the Dart.
- Use the Pole to break the wall light and take the Glass Shard. Cut the tape on the statue panel with it and unscrew the two screws (top left and bottom right) with the Coin.
- Check Torres's Phone: McGee sends the DISABLE PROTOCOL document.
Trip-Wire Device Protocol
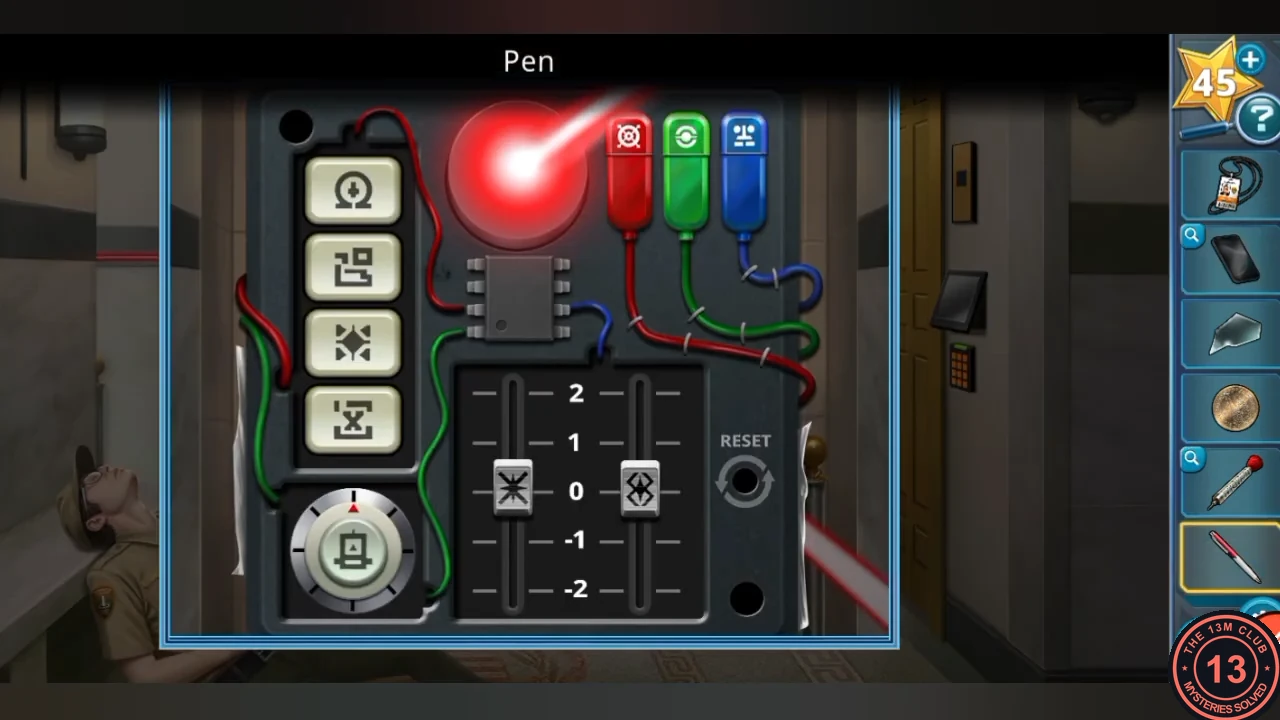
The protocol uses numbers, but the device shows symbols. The scale on the Dart translates them: 0 asterisk, 1 swirl circle, 2 maze, 3 X-diamond, 4 boxed hourglass, 5 bell, 6 omega target, 7 four inward arrows, 8 stand symbol, 9 crossed target.
- Use the Pen to hold down RESET. Slide the left (asterisk, 0) slider to -2 and press the maze (2) button.
- Turn the bell (5) dial to the south-west, detach the green swirl (1) plug and set the right (X-diamond, 3) slider to 1.
- Press the omega (6) button, detach the blue stand (8) plug, press the hourglass (4) button, then release RESET.
Stalled Elevator
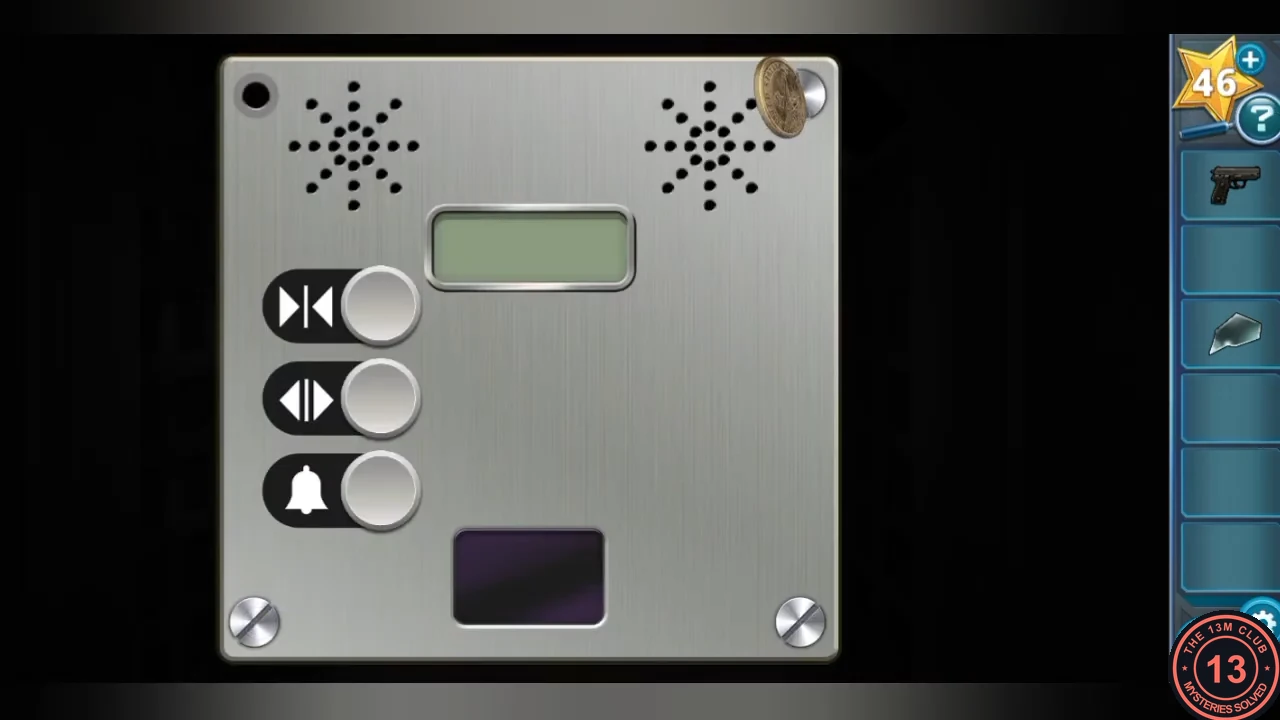
Use the elevator to chase Maria to the top. It loses power between floors.
- Use the Keycard on the elevator reader, take the Gun and ride up. When the power fails, use Torres's Phone as a light.
- Remove the four screws of the panel beside the doors with the Coin to reveal five wires. Text Kasie; she needs a serial number.
- Tap the Panatomic logo on the ceiling monitor to reveal its serial number (S/N a0172b3Vz4) and send it to Kasie. She replies with the wiring rules.
Elevator Wire Puzzle
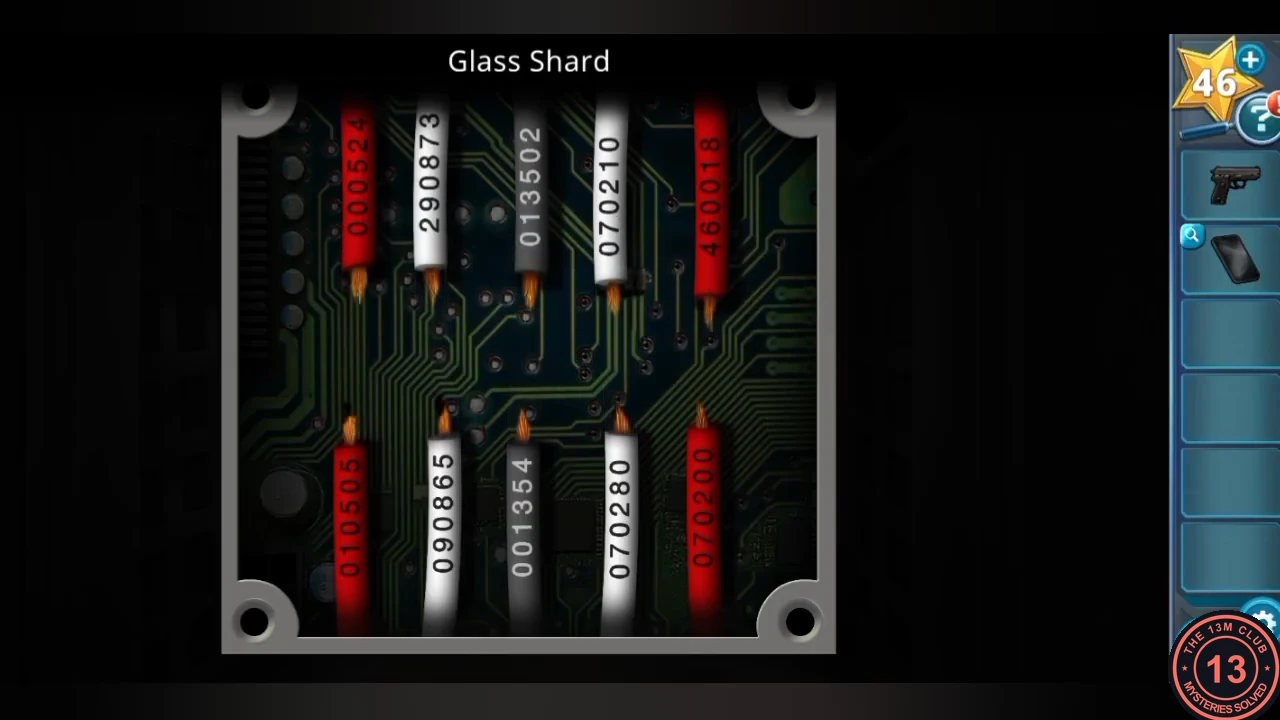
Cut the wires with the Glass Shard, then select a top wire and a bottom wire to join them. Top wires, left to right: 000524, 290873, 013502, 070210, 460018. Bottom wires, left to right: 010505, 090865, 001354, 070280, 070200.
- Connect 000524 to 001354, 290873 to 070200, 013502 to 070280, 070210 to 090865 and 460018 to 010505. Each pair then has five zeros, four odd and three even digits.
Climbing Out and the Drone Attack
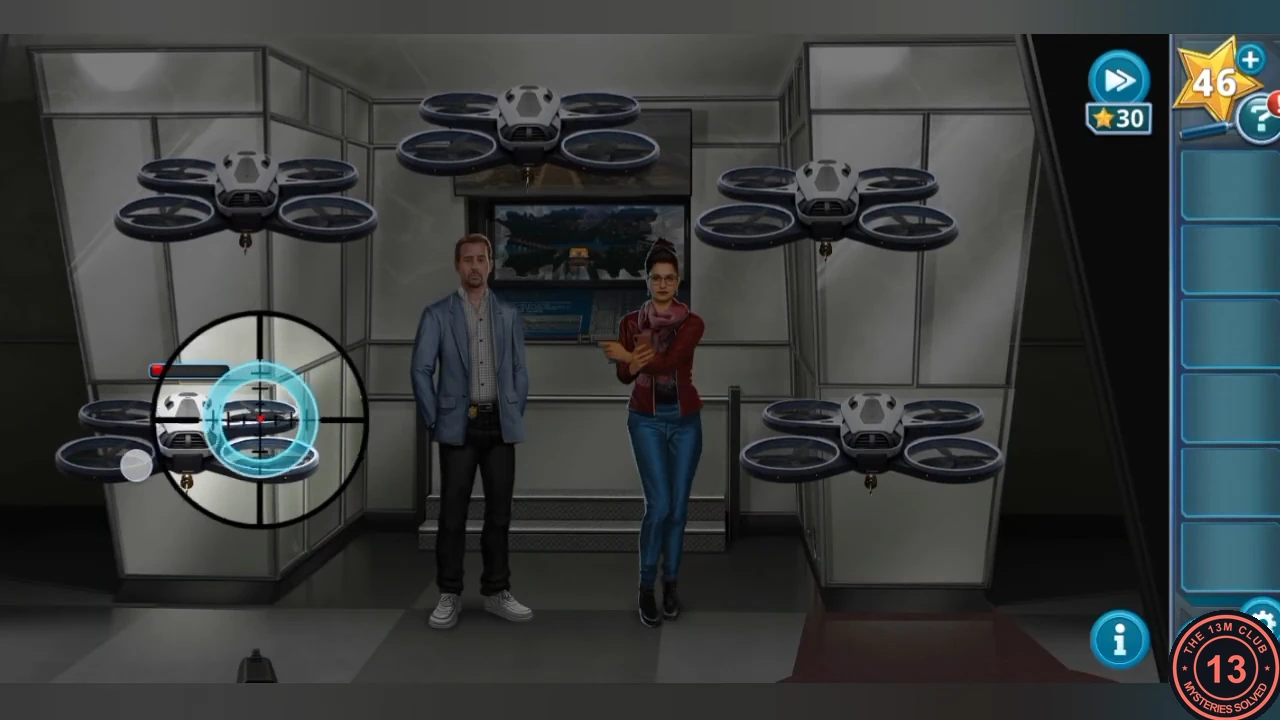
The doors open between floors with no way through.
- Take the Ladder and the Hammer from the gap behind the doors. Stand the Ladder under the ceiling hatch, knock it open with the Hammer and climb out.
- Aim the Gun at Maria. When her drones attack, a moving target circle turns green while it is over a drone; fire then, and repeat until every drone is down.
- McGee tackles Maria. Take Maria's Phone to open the bomb disarm program.
Bomb Disarm Box Puzzle
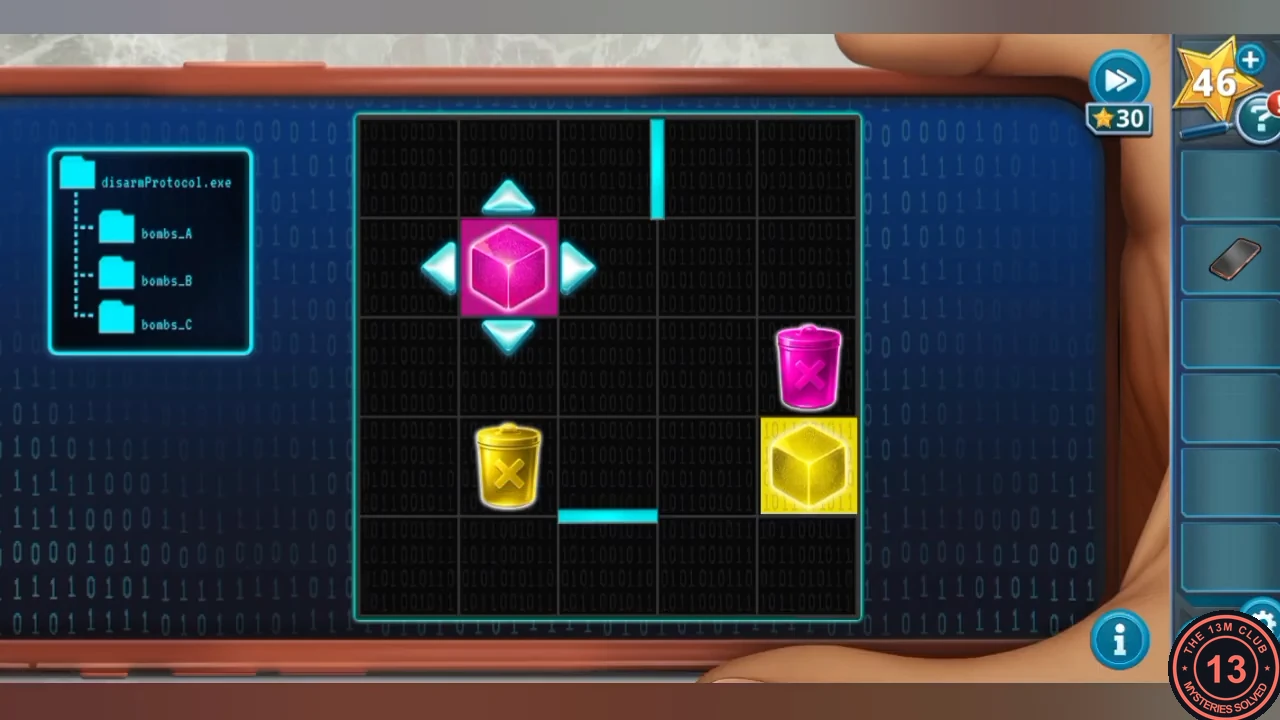
Move each coloured box into its matching bin. Select a box and tap an arrow: it slides until it hits the edge, a wall, a block or a filled square, leaving a coloured trail. Every square must end up filled, so follow these slides exactly.
- Level 1: pink box - left, up, right, down, right, up, right, down (into the bin). Yellow box - down, left, up, right, down.
- Level 2: pink - left, down, right, up. Yellow - down, right, up, right, down, left, up (into the bin). Pink - left, down, left.
- Level 3: pink - down, left, up, right, down, left. Yellow - right, down, left, up, right, up, left, down, left, up, left, up, right, down, right (into the bin). Pink - up, left, up, left, down, right, down, left, up.
- Watch the ending and the squadroom epilogue to finish Chapter 5.