Squadroom: Charging the Camera
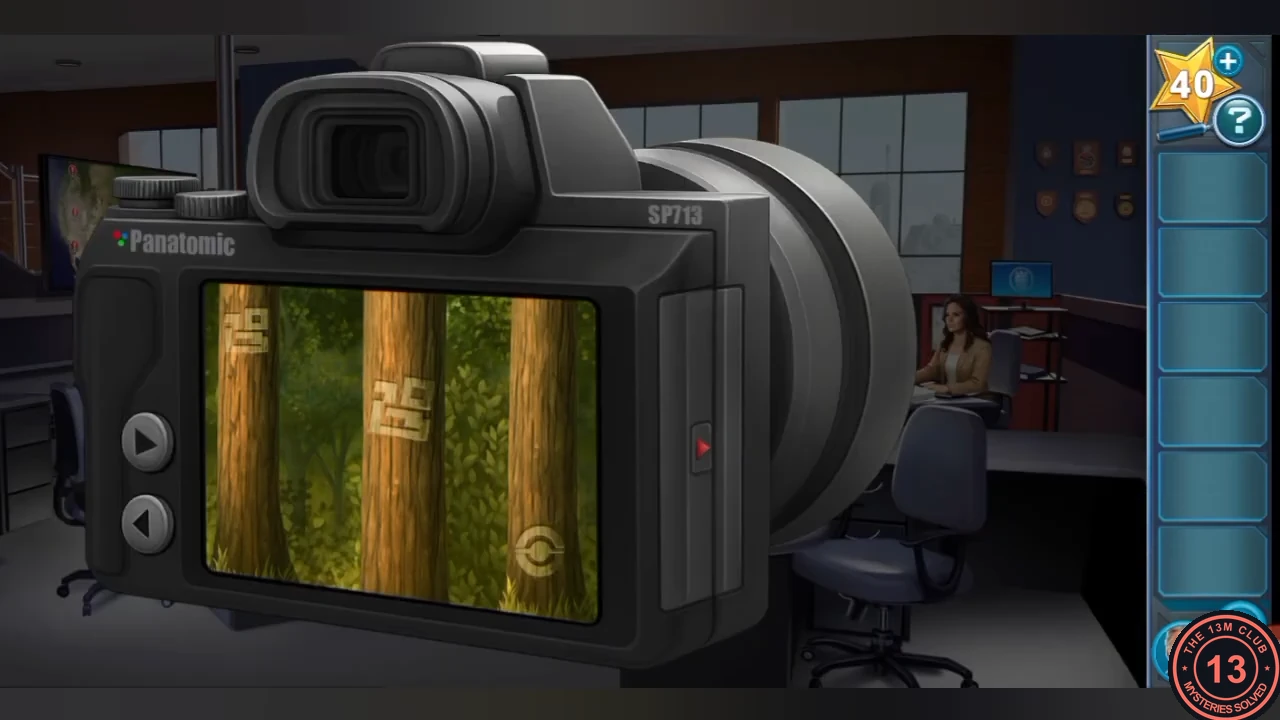
You play as Alden Parker. The hacker's laptop keeps looping a video and asks for a password, and the clues are on a camera with a dead battery.
- Tap McGee's laptop: it loops the hacker's video. Power-cycle it to reach a password keypad, then watch Knight's briefing on the TV.
- Tap the camera on Nick's desk (a Panatomic SP713); it dies. Eject its battery and take the Dead Battery.
- Use Parker's Phone to call Kasie and ask "Do you have a charger for a camera battery?". When she asks for the model, choose SP713. She brings a charger.
- Plug the charger into McGee's laptop, insert the Dead Battery, then put the charged battery back into the camera.
Hacker's Laptop Password
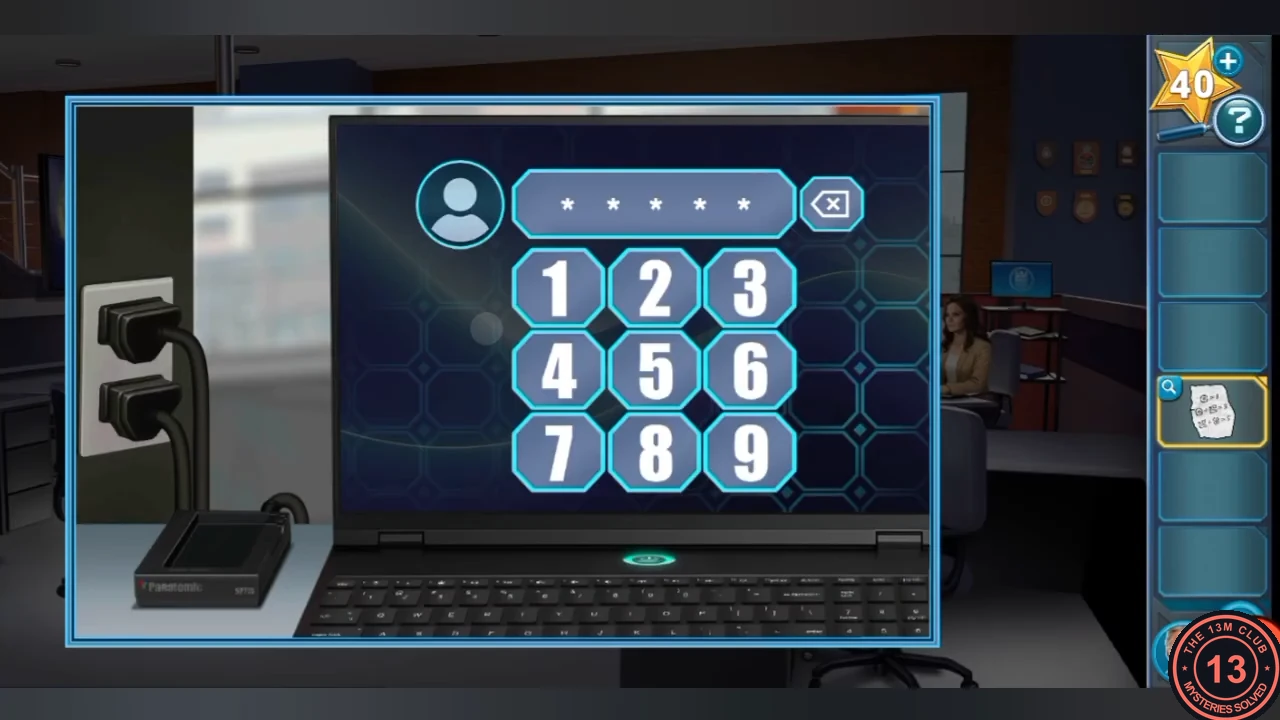
Knight hands you the Hacker's Note, which gives values for three symbols. The camera photos hide those symbols.
- Read the Hacker's Note: target circle = 1; circle + maze = 3, so maze = 2; maze + X-diamond = 5, so X-diamond = 3.
- Browse the camera photos and add the symbol values in each: doorway 3+3+3 = 9; two picture frames plus the wall symbol 3+1+2 = 6; trees 2+2+1 = 5; four drone-wing discs 3+2+3 = 8; plant pots 3+2+2 = 7.
- Order the photos by how many main objects they show (1 doorway, 2 frames, 3 trees, 4 discs, 5 plants) and enter 96587 on the laptop keypad.CODE96587
Forensics Lab: Finding the External Hard Drive
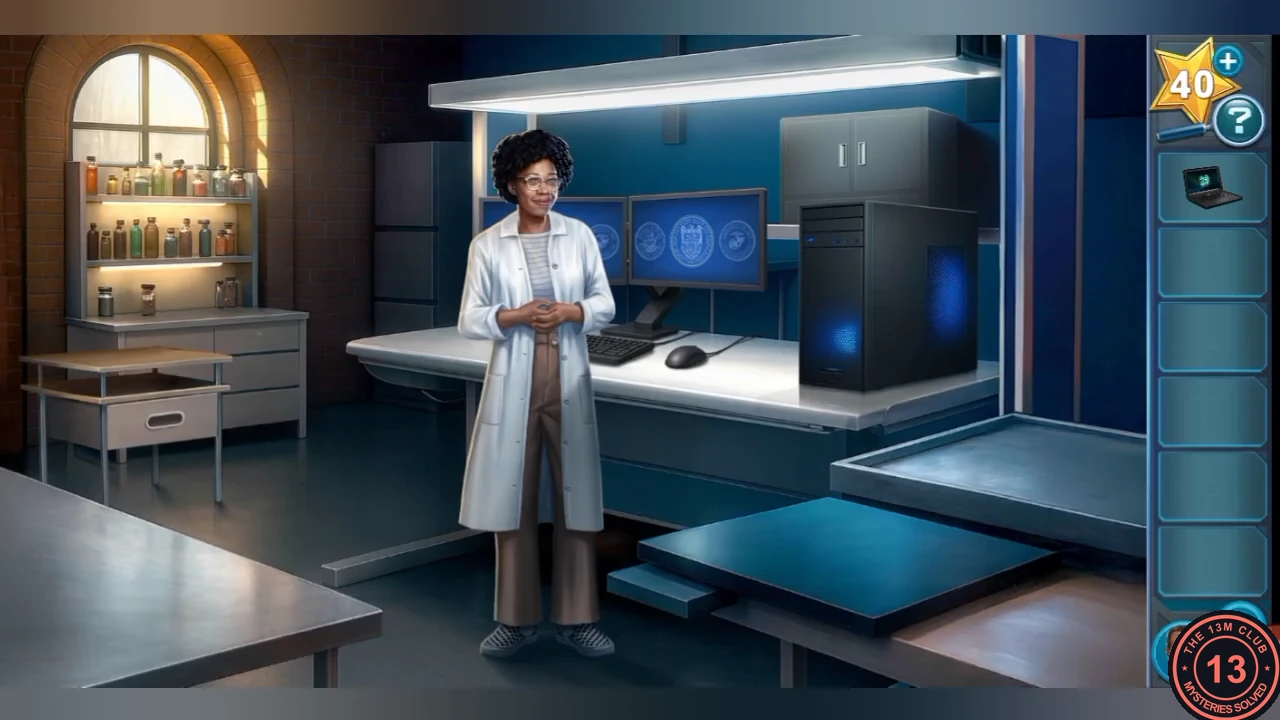
Now playing as Tim McGee, take the hacker's laptop to Kasie and search it for the raw video.
- Take the Hacker's Laptop from the squadroom desk and go to the Forensics Lab. Place the laptop on the table and tap its keyboard; Kasie's search finds one hidden video file.
- The small wheeled side table at the left stands in front of a drawer unit; push it aside to the left, then open the drawer unit (three drawers on each side). The top-left drawer holds a flashlight with no batteries. Take the Key from the middle-left drawer, unlock the top-right drawer with it and take the Boxcutter.
- Cut open the box in the bottom-right drawer with the Boxcutter and take the Screwdriver. Unscrew the TV remote in the middle-right drawer and the mouse in the bottom-left drawer to get two Batteries.
- Put the Batteries in the flashlight and take the Flashlight. Shine it under Kasie's desk to find the External Hard Drive, and take the USB-C Cable from the small compartment on top of her PC tower.
- Connect the USB-C Cable and External Hard Drive to the laptop to transfer the video, then use the drive (Video File) on Kasie's computer.
Audio Waveform Puzzle
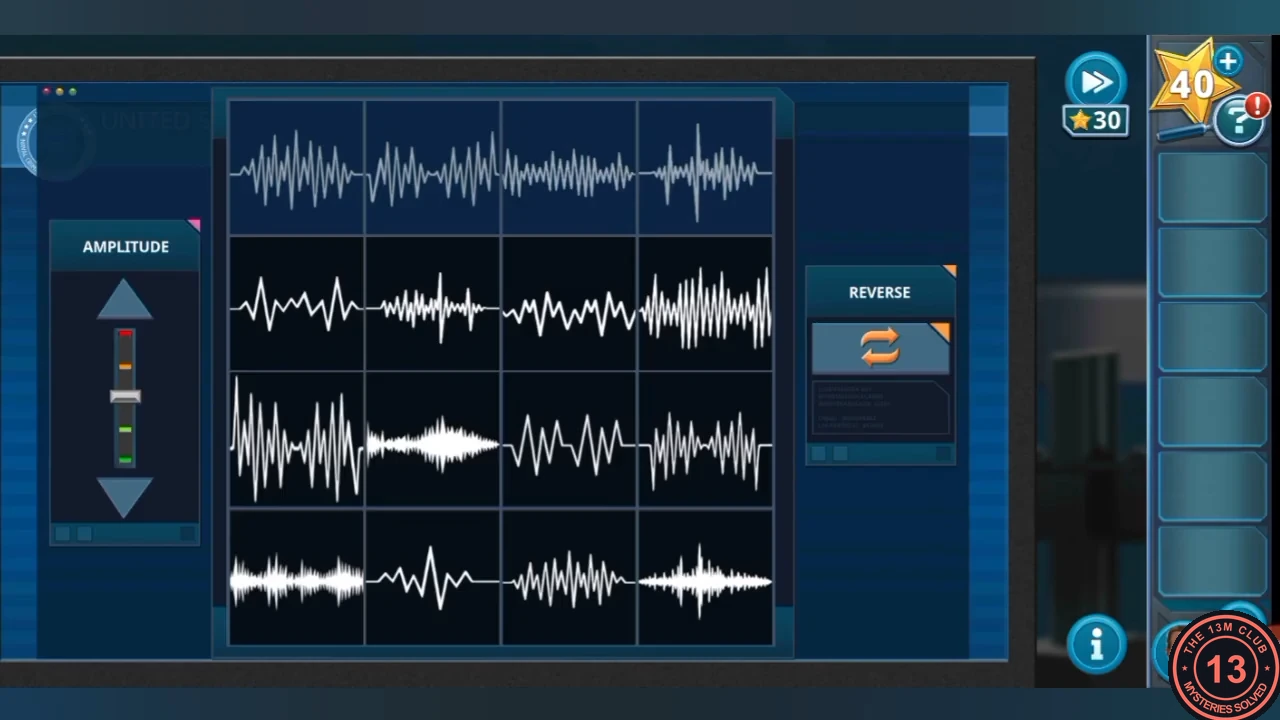
Drag four clips from the grid into the four grey slots at the top so each matches its waveform. Select a clip, then use the Amplitude arrows to change its height and Reverse to flip it; a matching clip turns green.
- In our playthrough every clip needed both Reverse and an amplitude change: slot 3 = fourth clip of the top clip row, reversed, with the amplitude lowered; slot 4 = second clip of the top clip row, reversed, with the amplitude raised; slot 2 = first clip of the middle clip row, reversed, with the amplitude lowered; slot 1 = third clip of the bottom clip row, reversed, with the amplitude raised. You can still select a clip after placing it and press Reverse or the amplitude arrows; a slot turns green once its clip matches the grey target. If your grid differs, match each slot by shape, then fix direction and height.
- Listen to the restored voice; McGee recognises her, and the story flashes back to his college days.
Campus Flashback: The Muddy Map
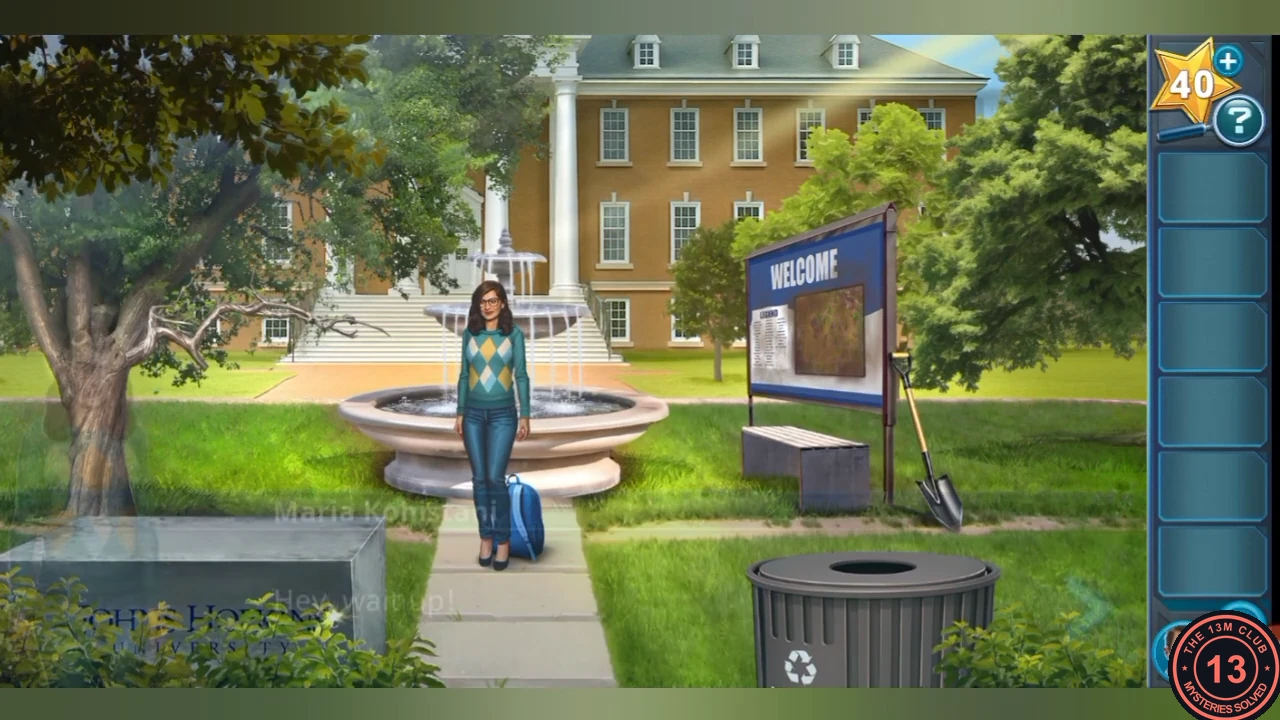
Young McGee needs to return Maria's backpack, but her map is caked in mud.
- Read the schedule. When the students leave, take Maria's Backpack. Take the Shovel and use it to break off a Tree Branch.
- Use the Tree Branch to fish Napkins out of the bin, wet them in the fountain and wipe the muddy map clean.
Campus Route Puzzle
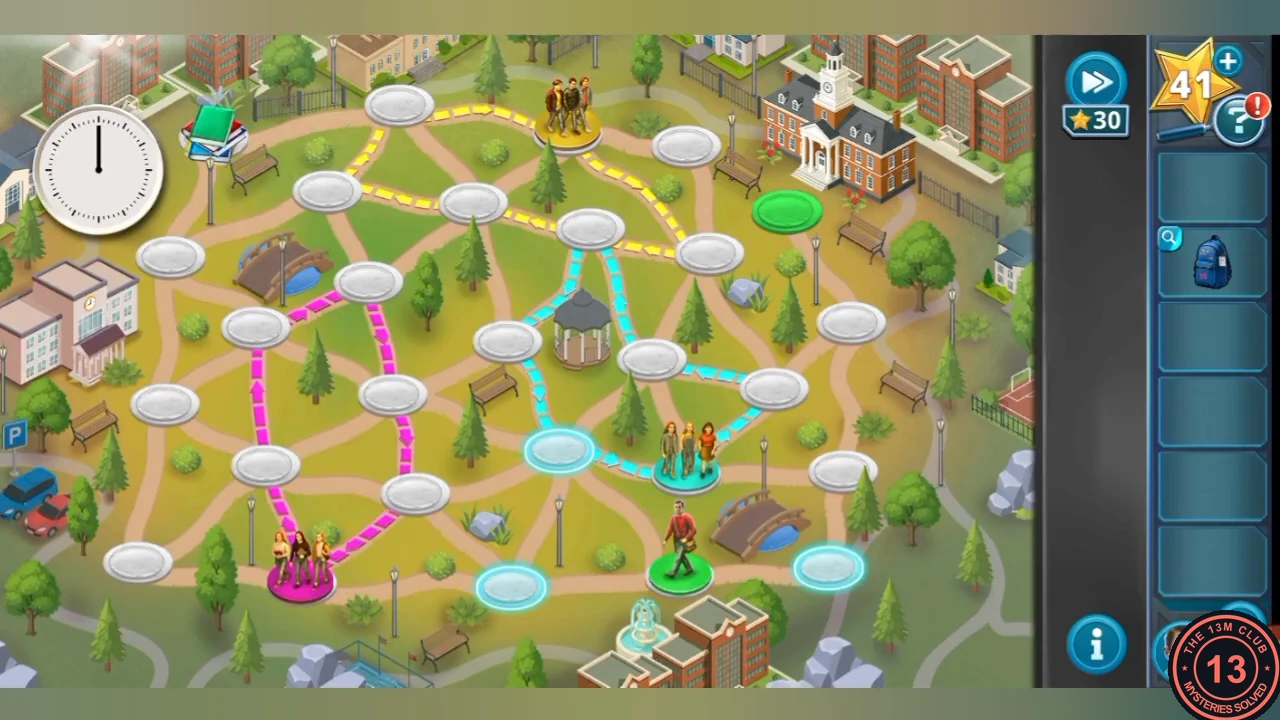
Reach the books in the top-left corner first, then the green reception building at the top right within 12 moves. Student groups walk fixed coloured loops after each of your moves; never end a move on a square they will step onto.
- From the start at the bottom right, move: 1 left, 2 up-left, 3 left, 4 up, 5 up-left, 6 up-right onto the books, 7 right, 8 right, 9 down-right, 10 down, 11 up-right, 12 up-left into reception.
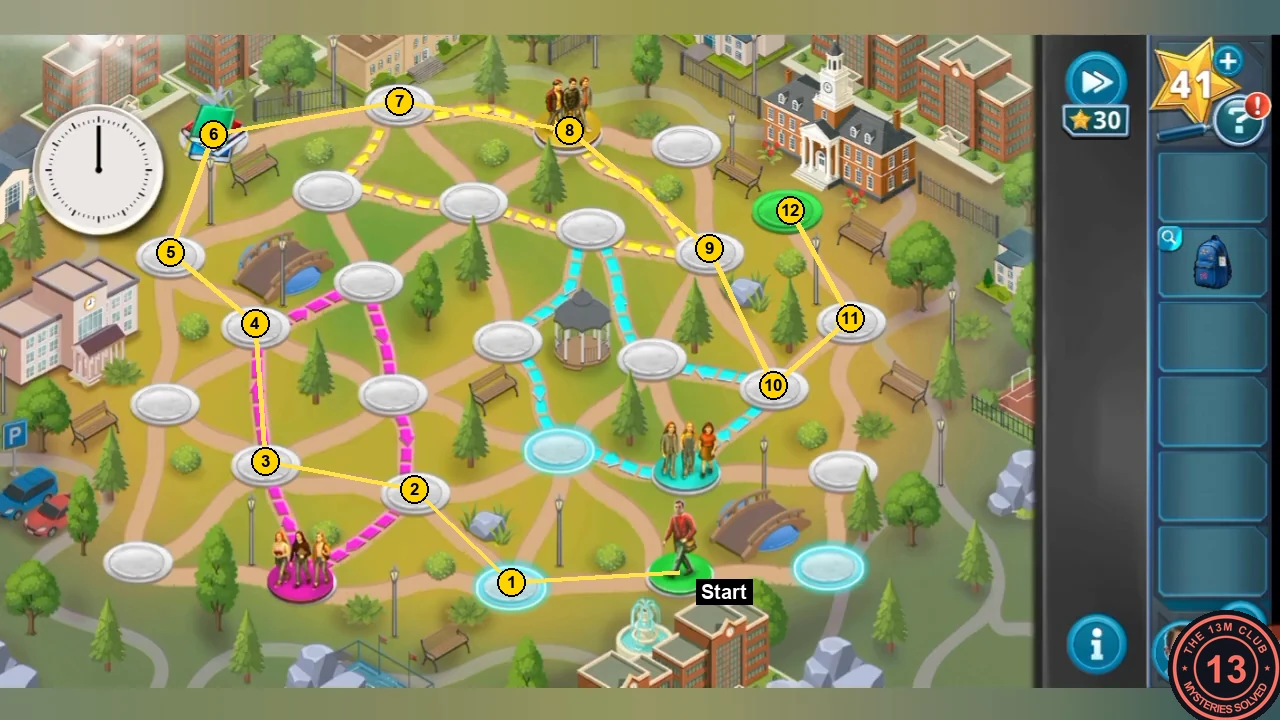
Our 12-move route, numbered in move order.
Reception: Light and Keyboard
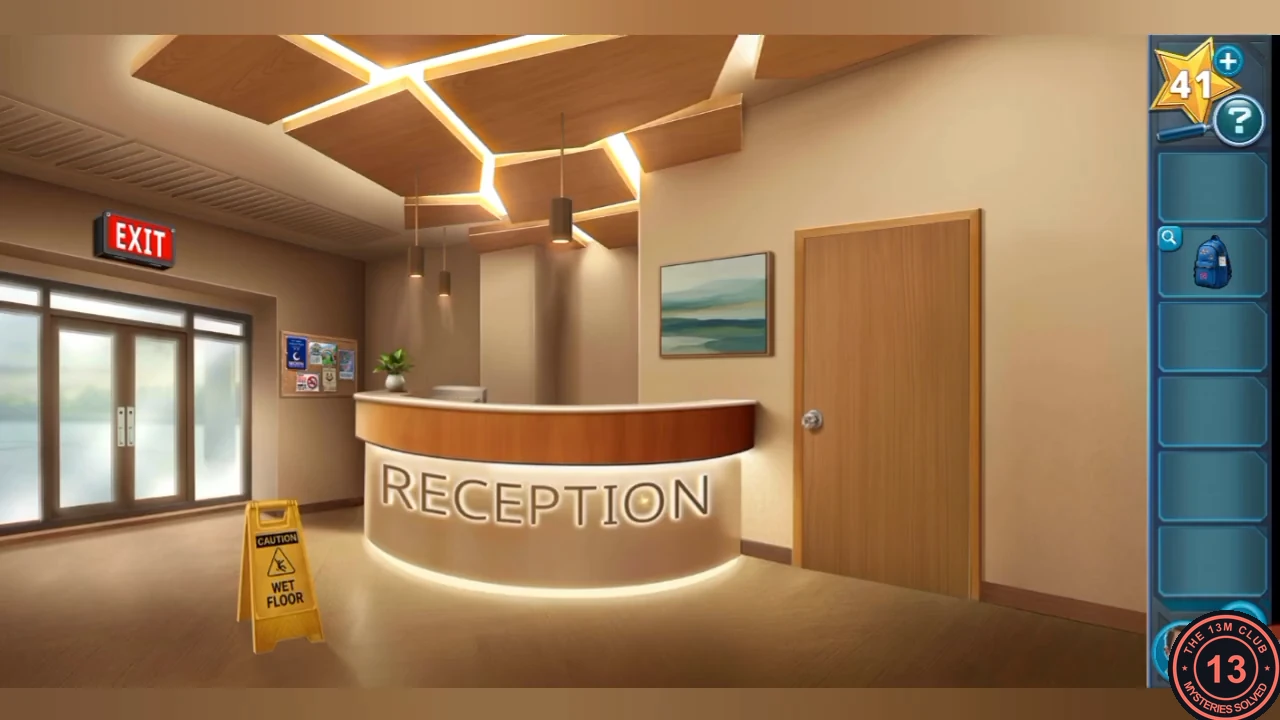
The receptionist won't take the backpack and steps out, leaving her computer locked.
- Take the Cloth behind the wet-floor sign. Clean the coffee spill on the desk with it and take the Key, then take the Allen Wrench from the desk drawer.
- Unlock the door with the Key and take the Step Ladder (the faulty light bulb breaks).
- Stand the Step Ladder under the EXIT sign and open it with the Allen Wrench to get a red bulb. Clear the broken bulb with the Cloth and fit the red bulb; with the light on, take the Keyboard and the Paperclips.
- Place the Keyboard on the desk and pick the drawer with the Paperclips to find the September and October 1998 calendars.
Reception Computer Password
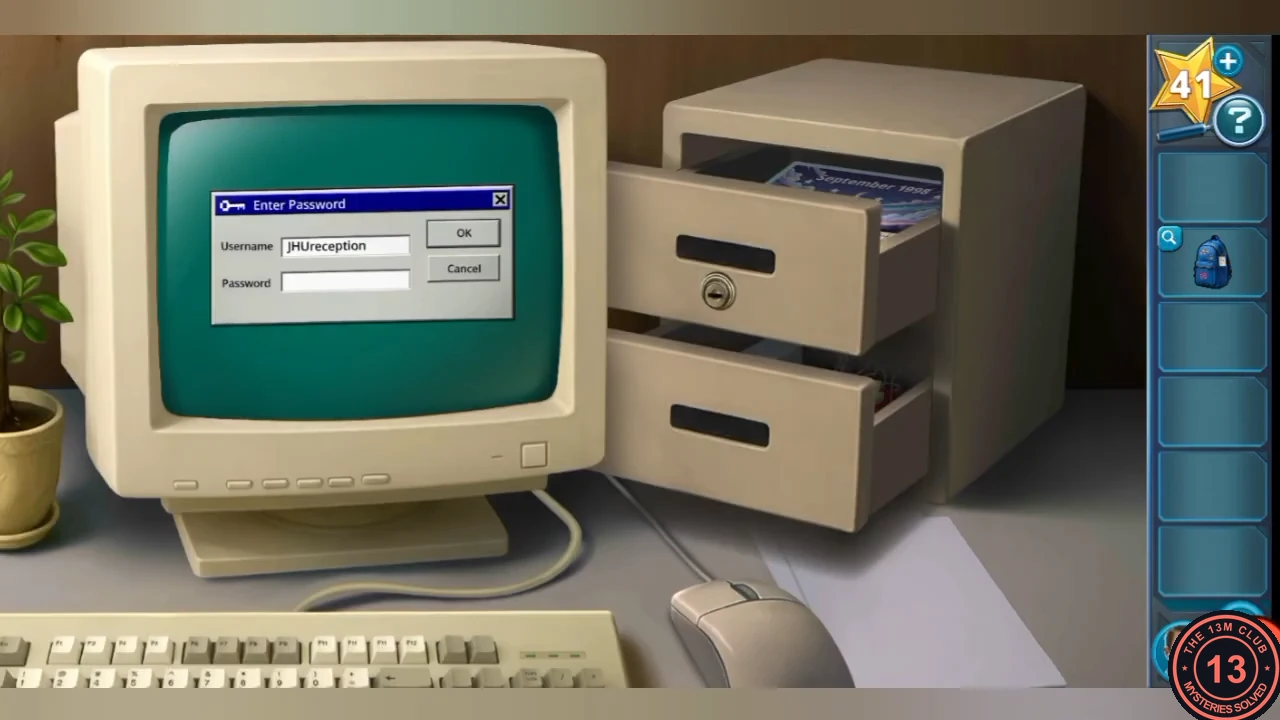
The pinboard numbers five event symbols: rainbow (Rainbow Ridge) 1, star (Astronomy) 2, horseshoe (Cowboy Ranch) 3, no-smoking sign 4, moon 5.
- Count each symbol across both calendars, including the header pictures: rainbow 8 (4 per month), star 6 (four white stars in the September sky plus the blue star stickers on Sept 20 and on the Cowboy Ranch badge), horseshoe 2 (Sept 24 and the Cowboy Ranch badge), no-smoking 4 (Sept 5, Sept 7, Oct 16, Oct 25), moon 3 (September sky, Oct 7, Oct 21). In pinboard order the password is 86243.CODE86243
- Read the schedule, check the backpack notebook and meet Maria; the scene ends with the GPS tracker from her friend Shawn.
Calling Shawn Sterling
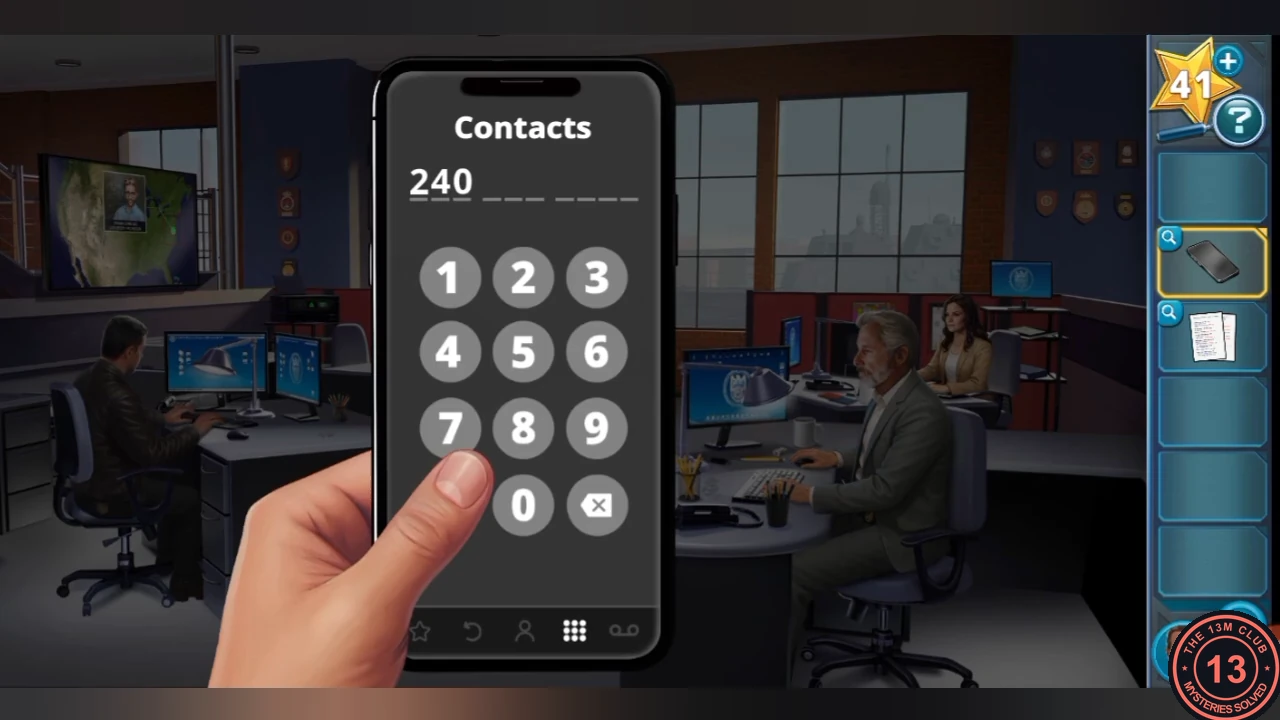
Back in the present, the team needs Shawn's current number. Torres has his job history and old numbers, and Knight has an area-code directory.
- Take McGee's Phone. Read Torres's documents: each old number's area code matches the city of one of Shawn's jobs, every prefix is 5 higher than the last (229, 234, 239, 244, 249) and they all end 4225.
- His current job is in Baltimore, MD; the directory lists (240) for MD. Call (240) 254-4225.CODE(240) 254-4225
- Call Maria at (240) 495-2957 from the sticky note to finish Chapter 4.CODE(240) 495-2957