The Alley Outside the Shelter
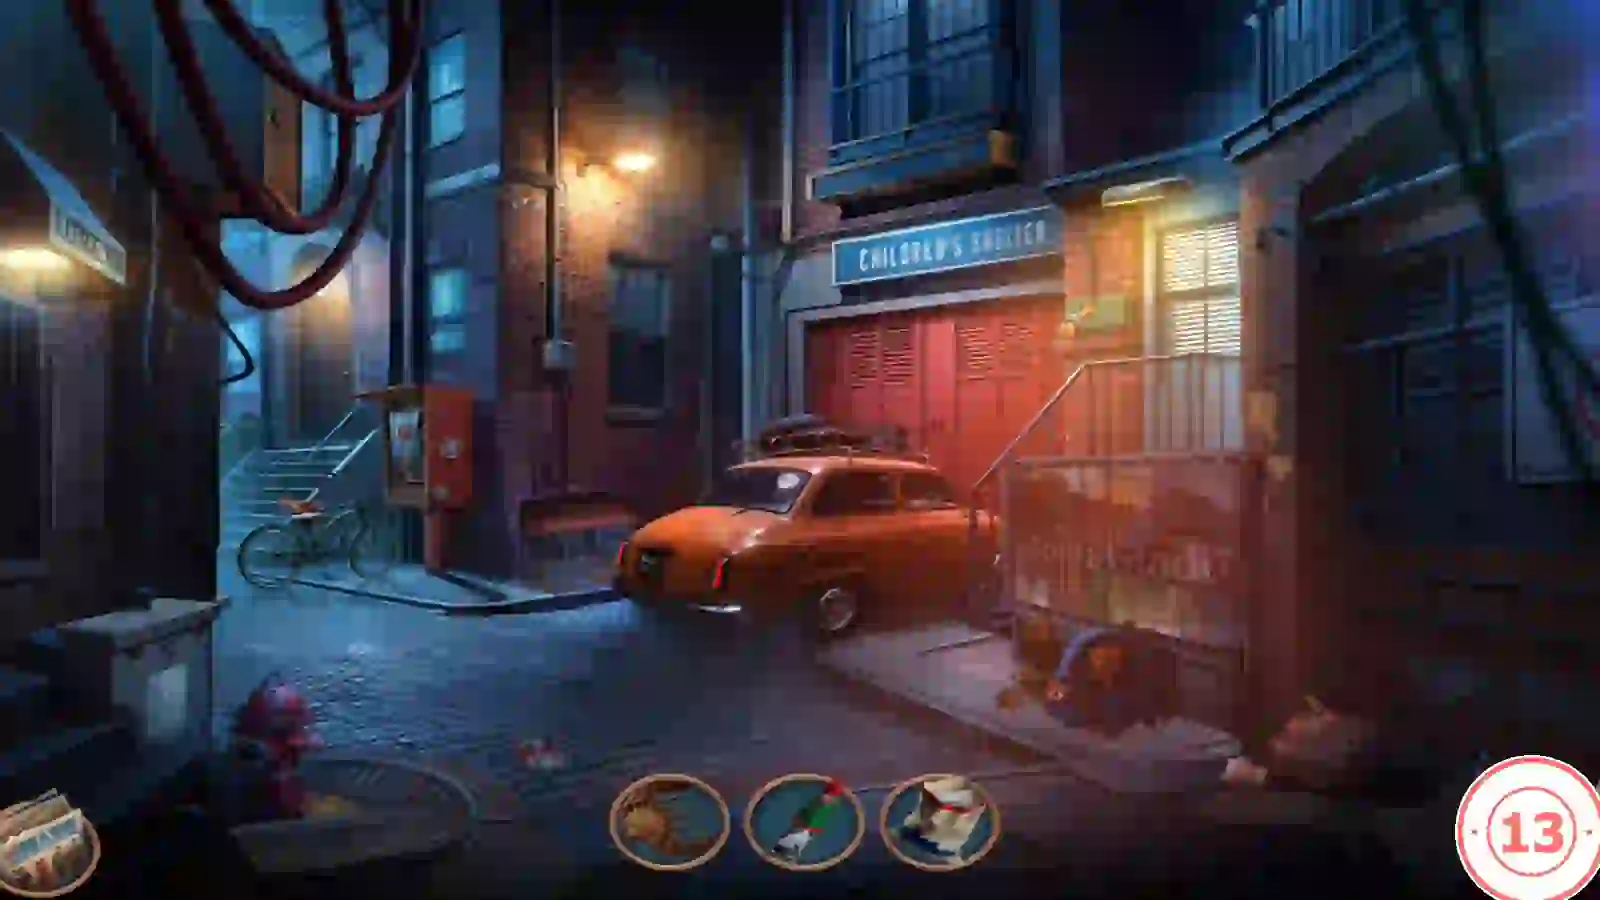
A car blocks the shelter door. Inventory: shell comb, glue tube and plaster sack.
- Zoom into the blue backpack and take the OWL STATUETTE. The backpack padlock stays locked.
- Zoom into the electrical box on the wall and take the DINER DELIGHT CARD from beside its padlock.
- Zoom into the orange car's dashboard and take the SPRAY CAN.
- Zoom into the glove box and take the red WIRES 1/2.
- Open the glove-box flap with the DINER DELIGHT CARD. The wires behind it are exposed and need to be made safe.
- Freeze the electrical box padlock with the SPRAY CAN, then smash it with the OWL STATUETTE. Take the BLUE ELECTRICAL TAPE. The panel inside needs wires and a tool before you can shut off the power.
- Wrap the car wires with the TAPE. The car starts and rolls away from the shelter's red door. Enter the shelter.
The Locked Room Choice
Inside, Sebille notices fresh handprints in the dust on a door.
- Decision 4: "Of course, we can't miss anything." costs one key and gives +6 decision points (Examine the Locked Room on the final summary). It opens the optional locked room, the bonus location behind the Lost Childhood achievement. "No time for that." is free and gives 0 points (Refuse to examine). The locked room is worth 6 of the episode's 13 points, so refusing caps your total at 7. This guide follows the examine route because both recordings checked chose it. The refuse route was not recorded, so any steps it skips or changes are not covered here.
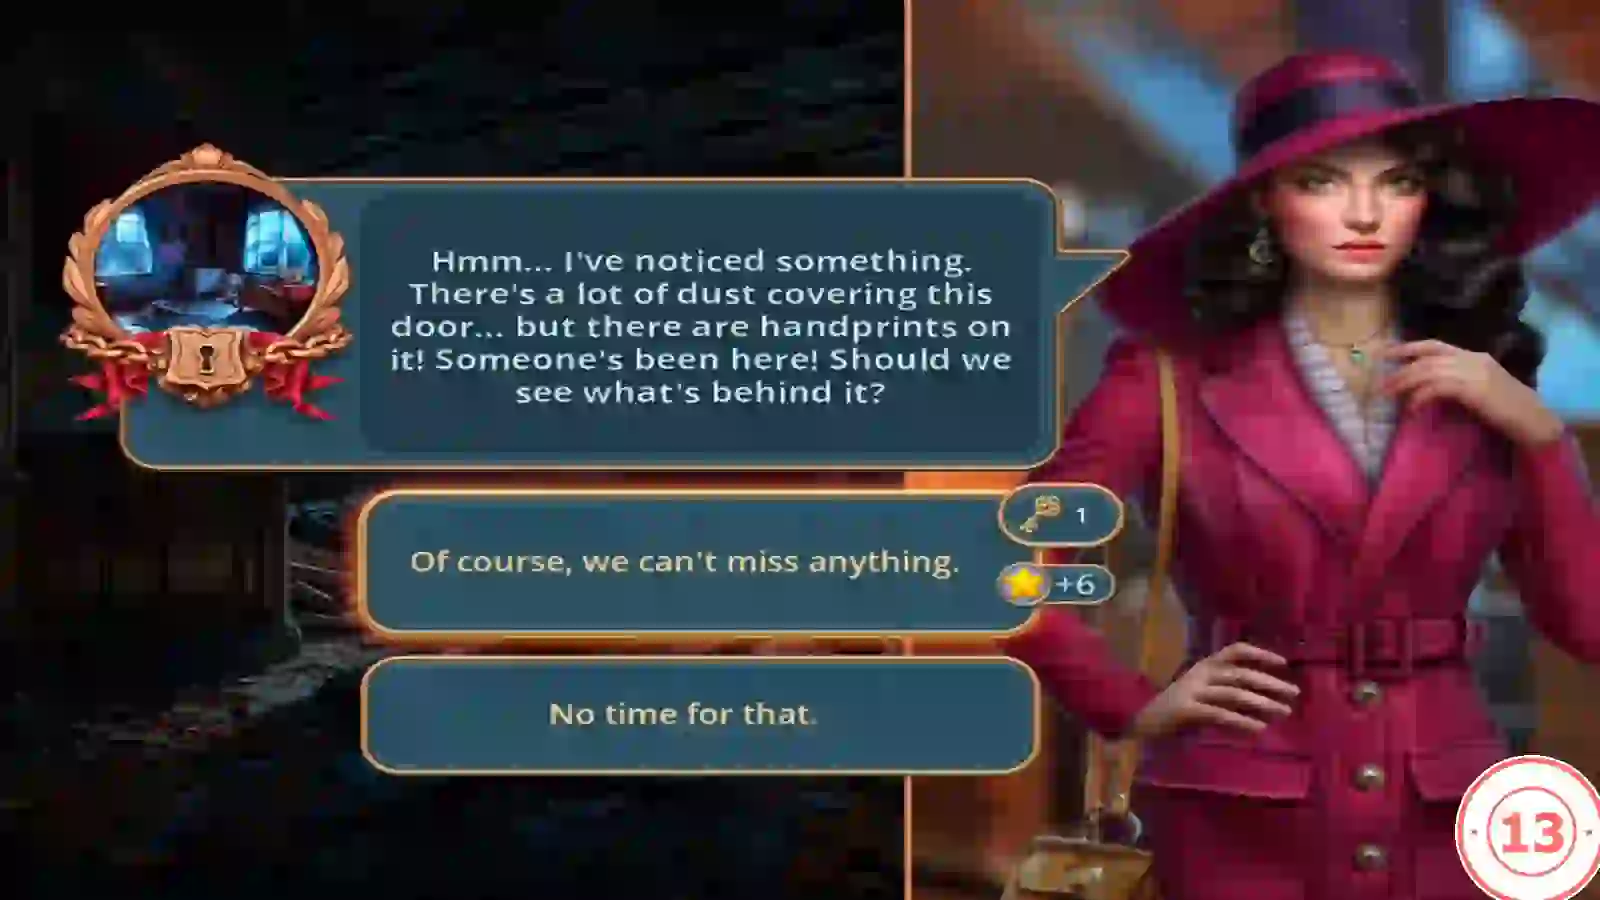
Decision 4: opening the locked room costs one key and adds 6 points; No time for that is free. - A new task begins: "Find the child". The office door at the back of the classroom is locked.
- Open the handprint door to enter the child's bedroom. The task "Search the locked room" begins.
Bedroom Search
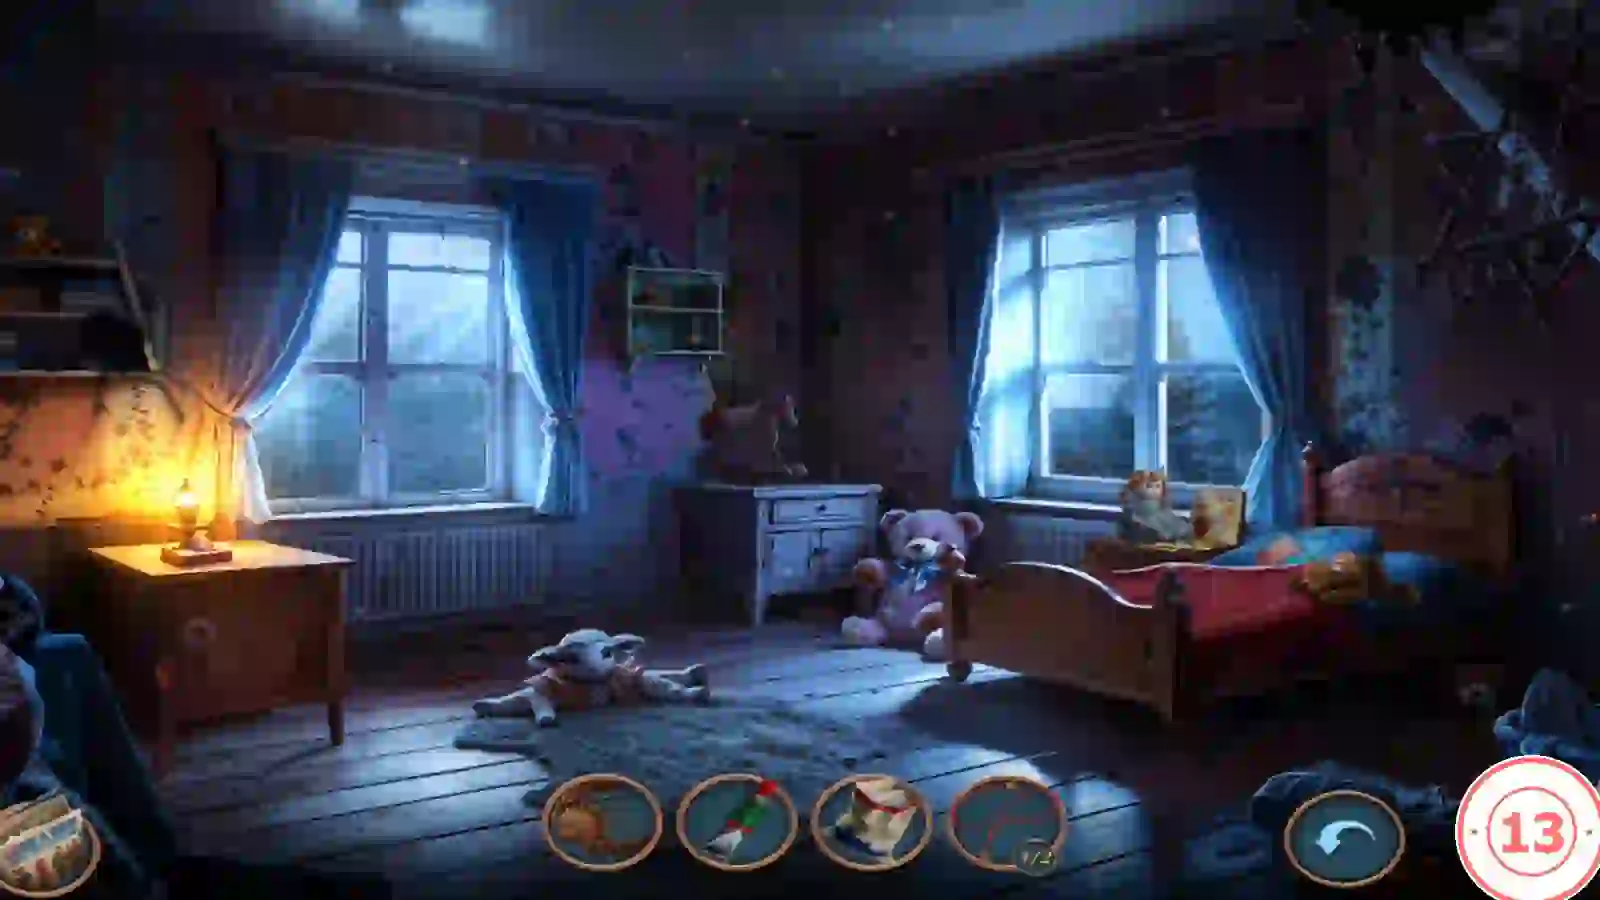
This is the optional locked room, open only if you chose to examine it at Decision 4. Its items also feed the classroom and office puzzles that follow.
- Check the nightstand to the right of the bed. A small door opens on an empty round socket because the spring is missing.
- Zoom into the wall shelf between the windows. Tear off the loose wallpaper strip to reveal drawings on the brick, then take the BAND-AID, the gold STAR KNOB and the RED BUTTON.
- Put the STAR KNOB in the star recess of the low cupboard on the left. Take the dinosaur JOURNAL and the metal SPRING.
- Fit the SPRING and then the RED BUTTON to the nightstand, press the button and take the red STAPLE REMOVER.
- Open the JOURNAL in the inventory. On the first page the words "Dad", "death" and "justice" are highlighted: tap the matching stickers on the right-hand page, the little man, the skull and the scales. The page then turns to a handprint and a blue symbol. Patch the torn edge with the BAND-AID; a page is still missing.
Classroom Desk, Pillow and Rug
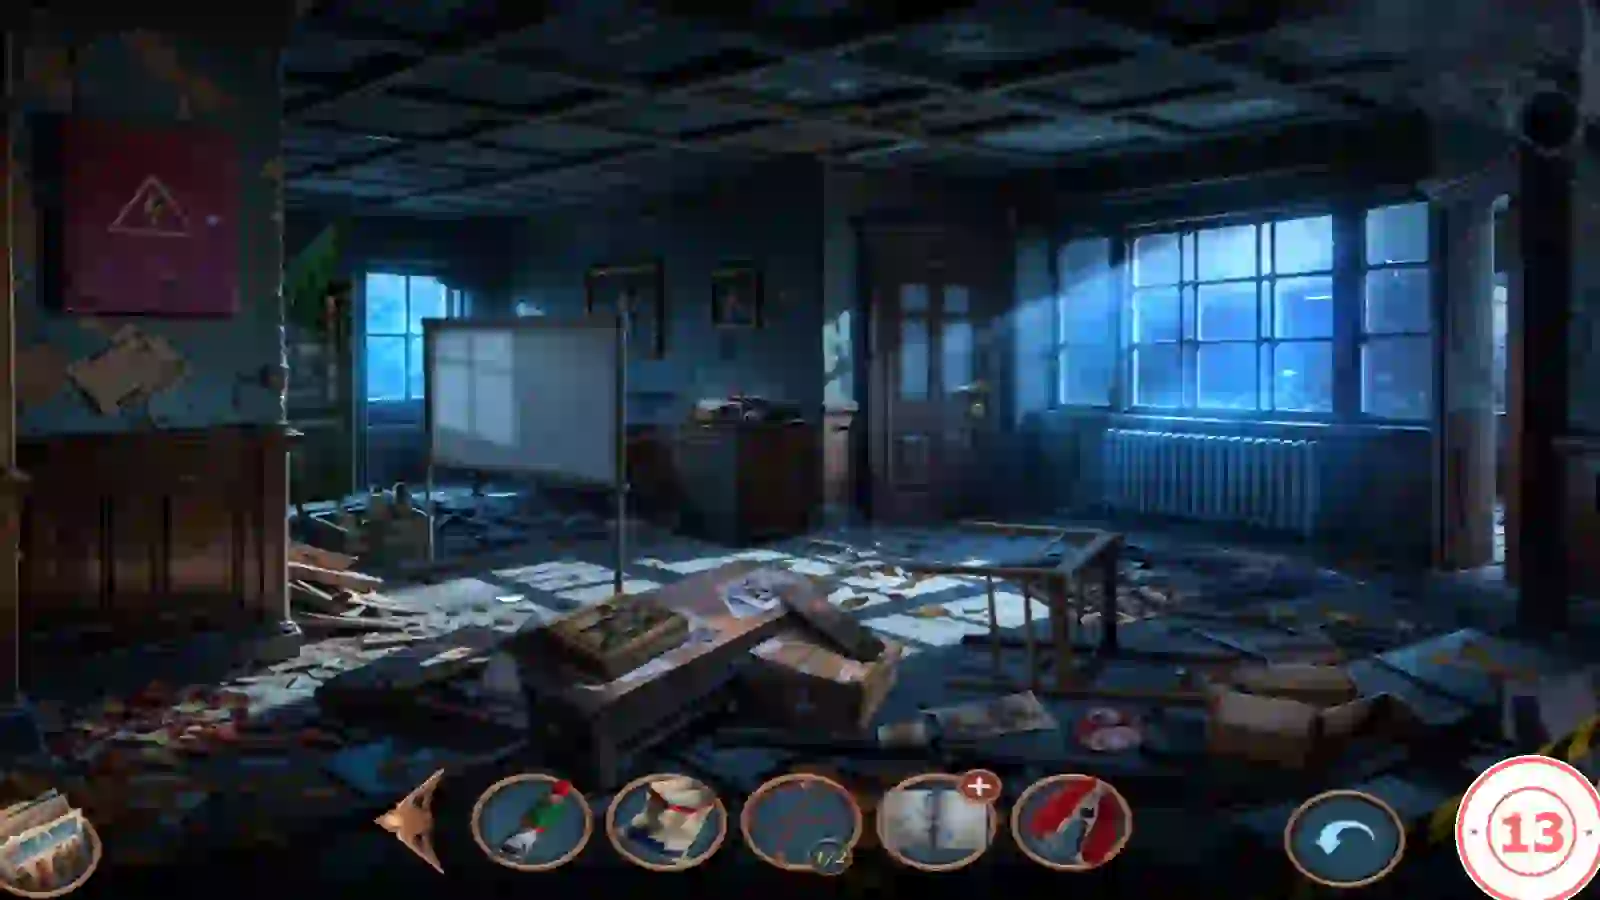
Work between the classroom and the bedroom.
- Remove the staples from the cardboard box on the classroom desk with the STAPLE REMOVER and take the safety RAZOR.
- In the bedroom, cut the patched pillow with the RAZOR and take the red KEY with the bear charm.
- Zoom into the rug at the front of the classroom. Take SLIDE 1/3, then use the SHELL COMB to pull the two blue pins. Lift the rug: a bolted floor hatch is underneath. Take the old brown BOOK.
- Place the BOOK in the gap on the classroom bookshelf to start its puzzle.
Bookshelf Steps
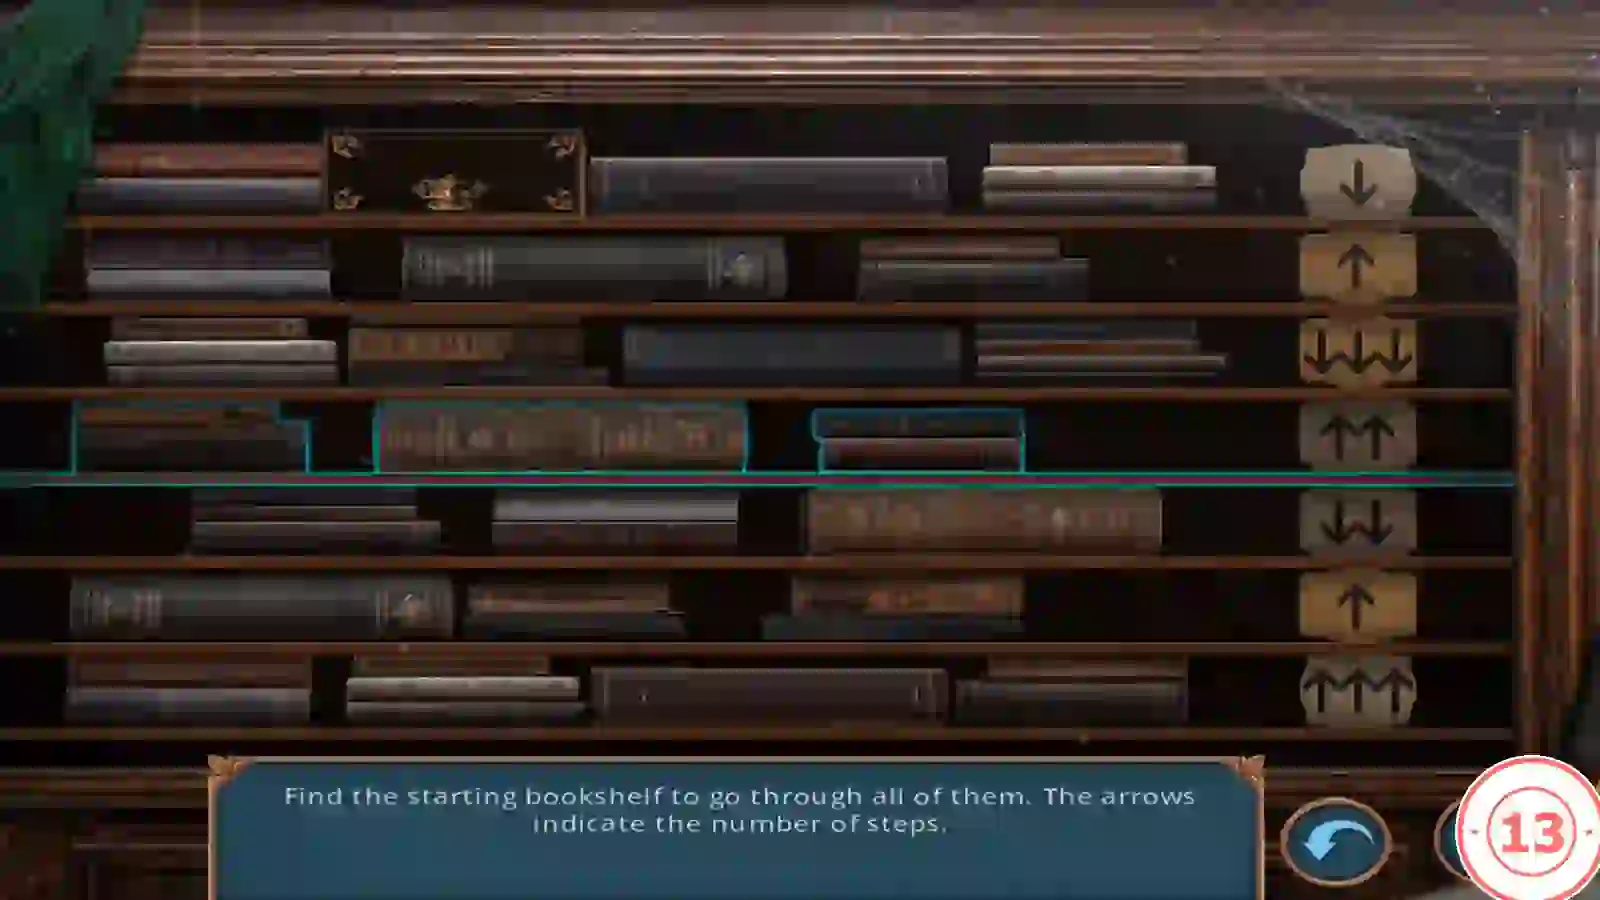
Task: "Find the starting bookshelf to go through all of them. The arrows indicate the number of steps."
- Each of the seven shelves points up or down a number of shelves. In the recording, from top to bottom: down 1, up 1, down 3, up 2, down 2, up 1, up 3. Starting at shelf 3 visits every shelf: 3, 6, 5, 7, 4, 2, 1. If your arrows differ, test each start shelf and follow the arrows until all seven are visited.CODEStart: shelf 3
- Take the GOLDEN KEY and SLIDE 2/3 from the blue book.
- Unlock the office door at the back of the classroom with the GOLDEN KEY.
Headmaster's Office and the Ornament Mould
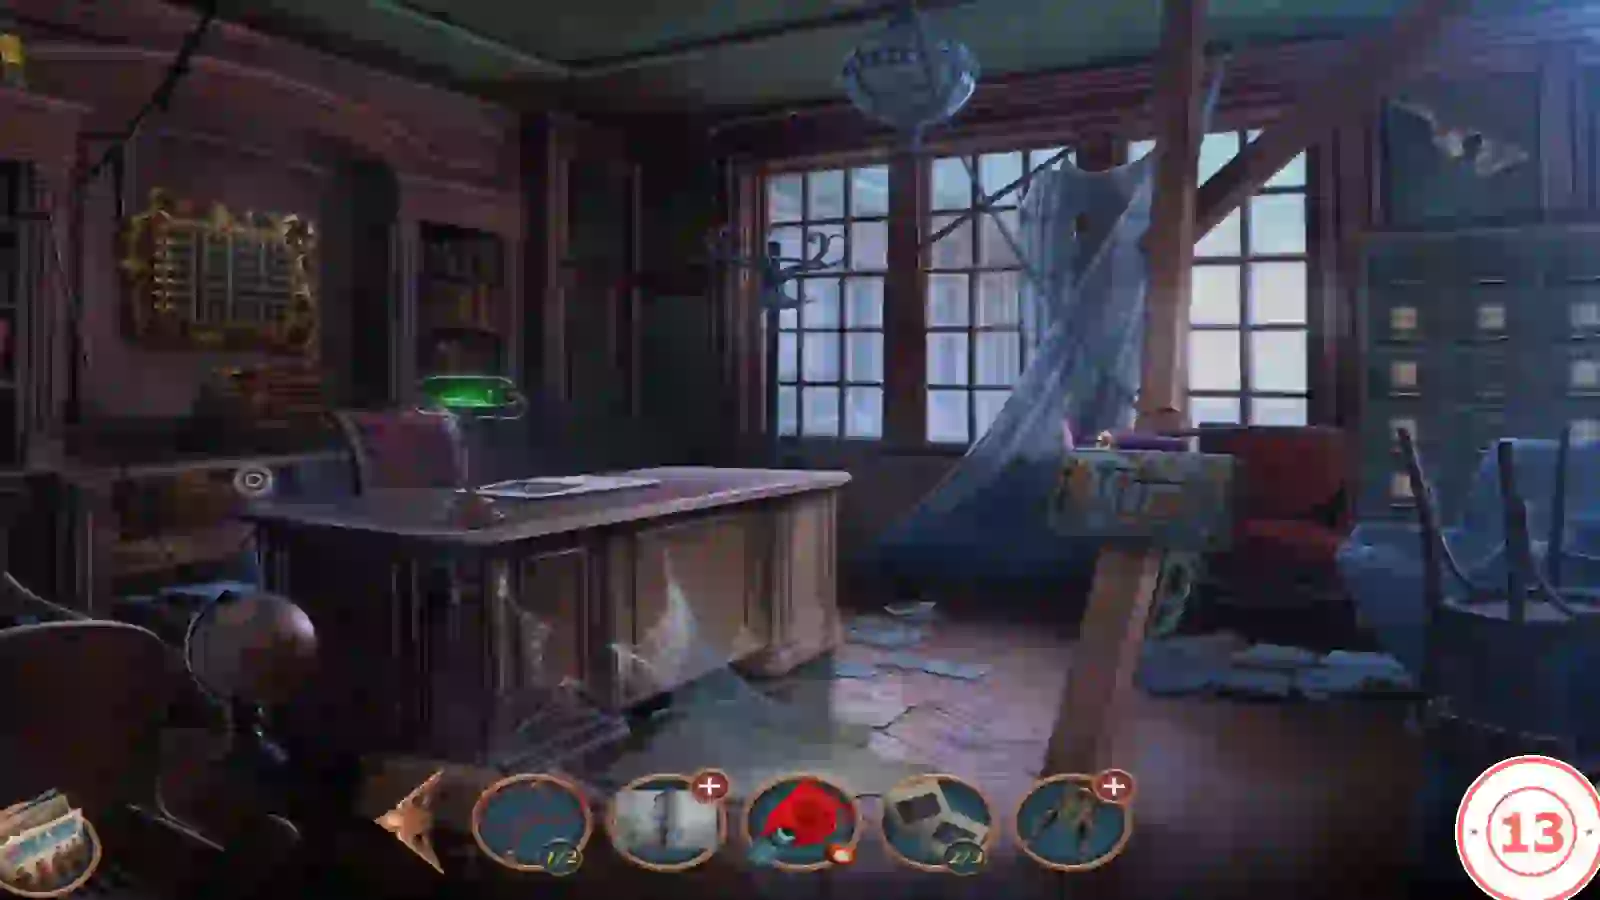
The headmaster's office holds the orphanage records.
- Decision 5: "Don't blame yourself. It's the killer's fault, not ours." (35 coins, +1 point; Stay confident on the final summary) or "There must have been something we could've done..." (free, 0 points; Reflect on a lost moment).
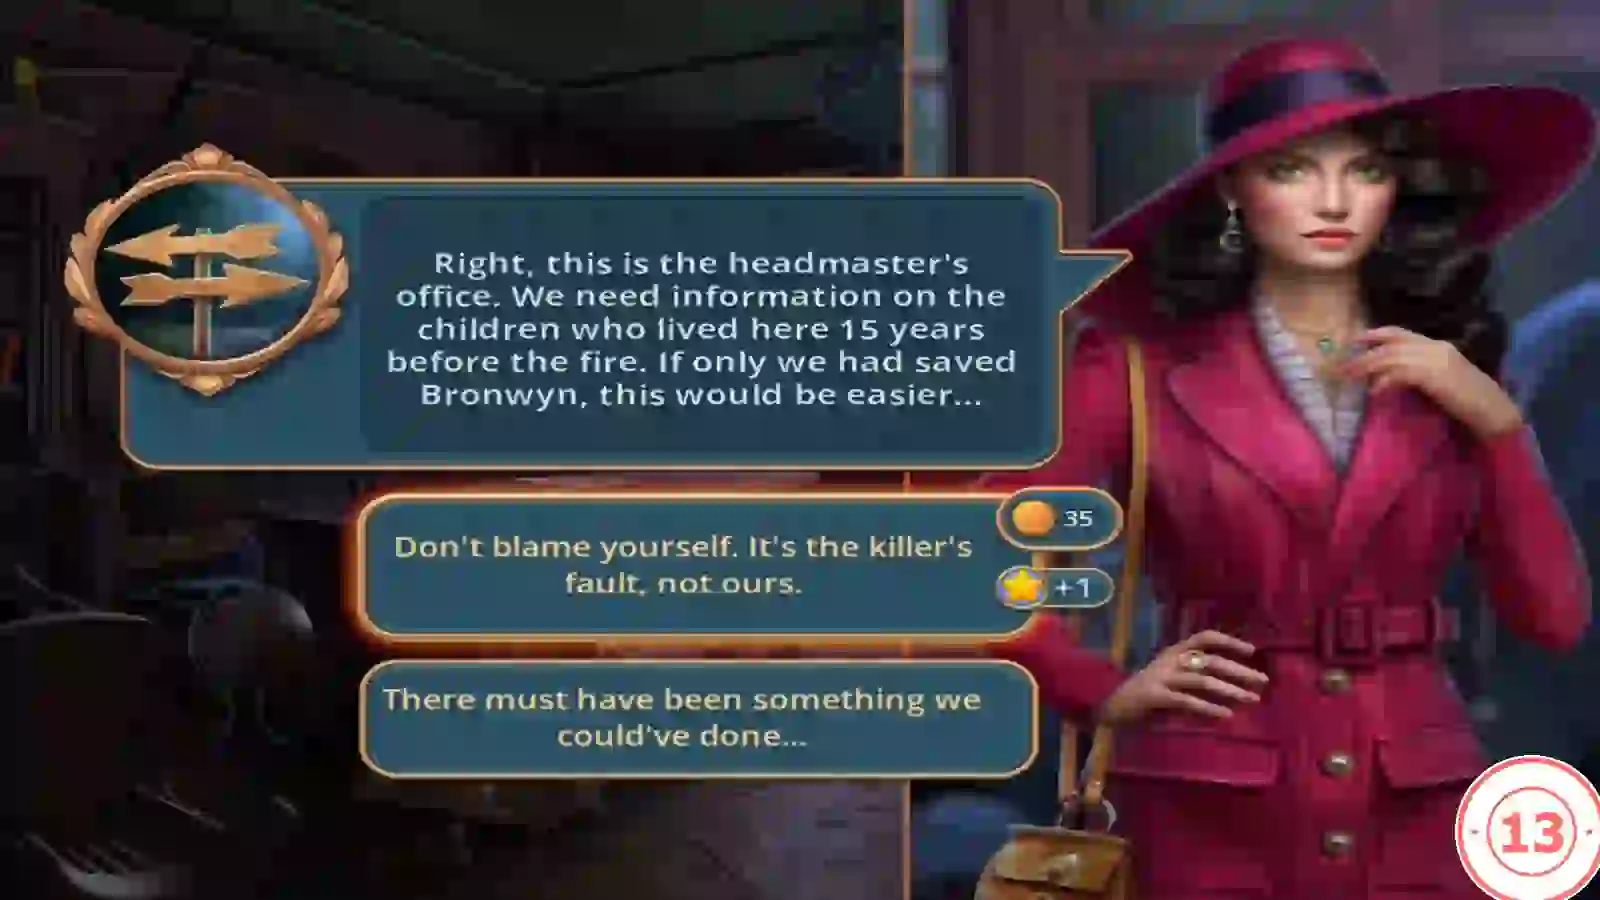
Decision 5: Don't blame yourself costs 35 coins and adds 1 point; the other reply is free. - In the classroom, take the WINGED FIGURINE from the projector.
- In the office, put the SACK OF PLASTER on the bureau to the left of the desk, where a red mug of water stands.
- Zoom into the metal sign on the central wooden beam and take the purple HAND PUMP, the ADJUSTABLE SPANNER and the blue ORNAMENT MOULD.
- At the bureau, place the MOULD, pour in the plaster and then the water from the mug. Take the silver FLEUR-DE-LIS ORNAMENT.
- Place the HAND PUMP at the stuck bureau flap. It needs something flat that can expand.
- Place the FLEUR-DE-LIS ORNAMENT on top of the gold picture frame on the office's left wall.
Painting Pins
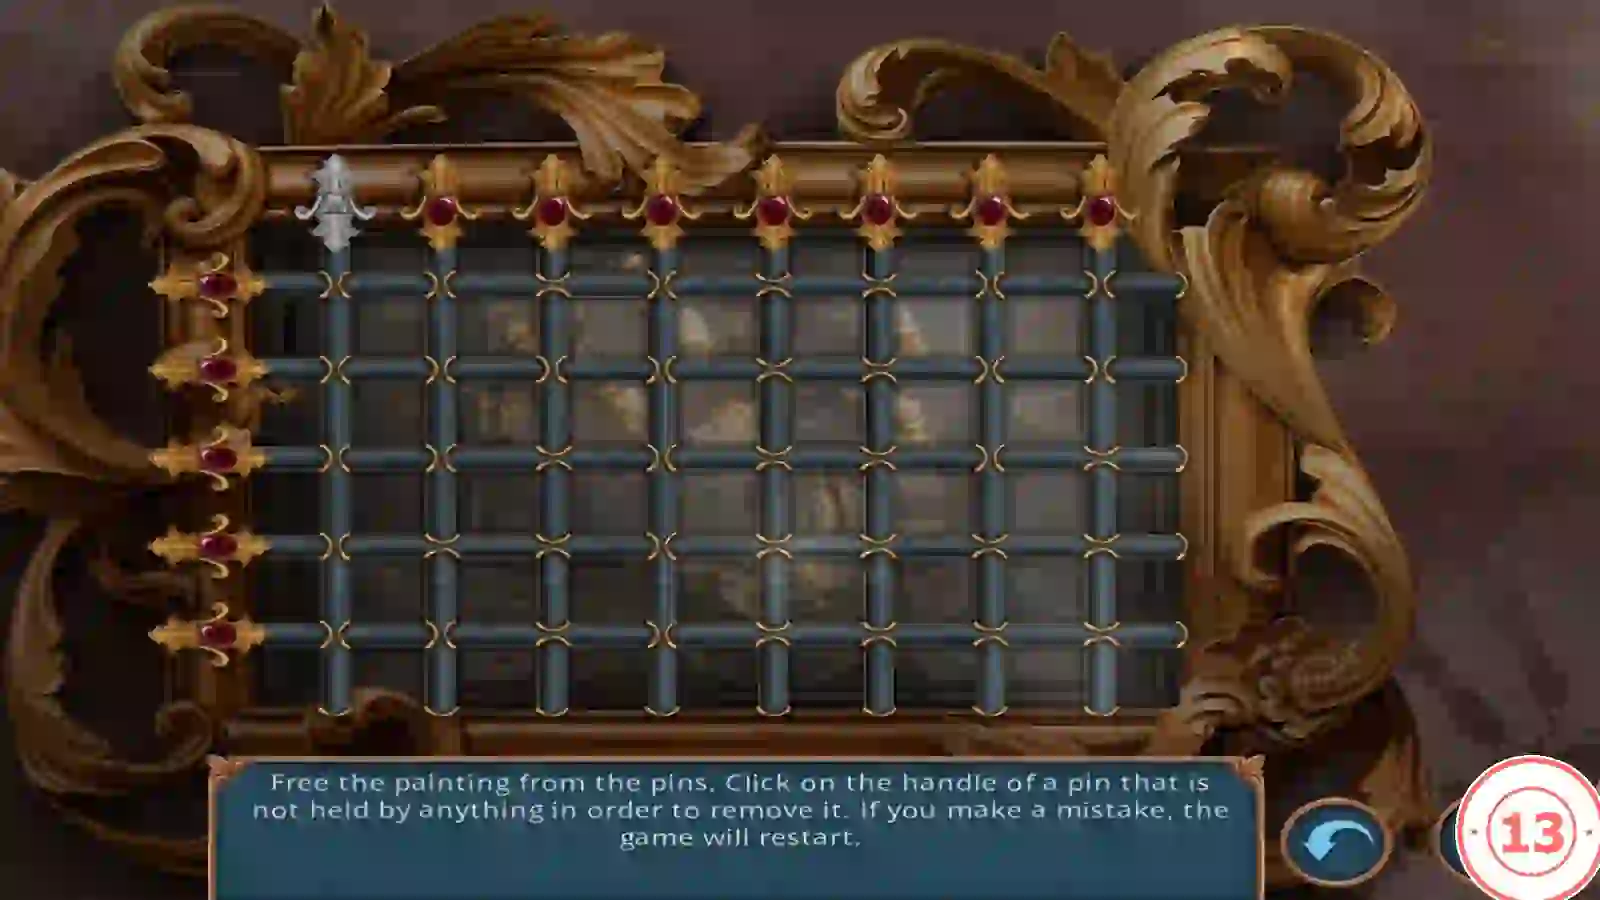
Task: "Free the painting from the pins. Click on the handle of a pin that is not held by anything in order to remove it. If you make a mistake, the game will restart."
- At each crossing, the pin on top holds down the one beneath. Remove only a pin that has nothing lying across it, working from the top layer down.
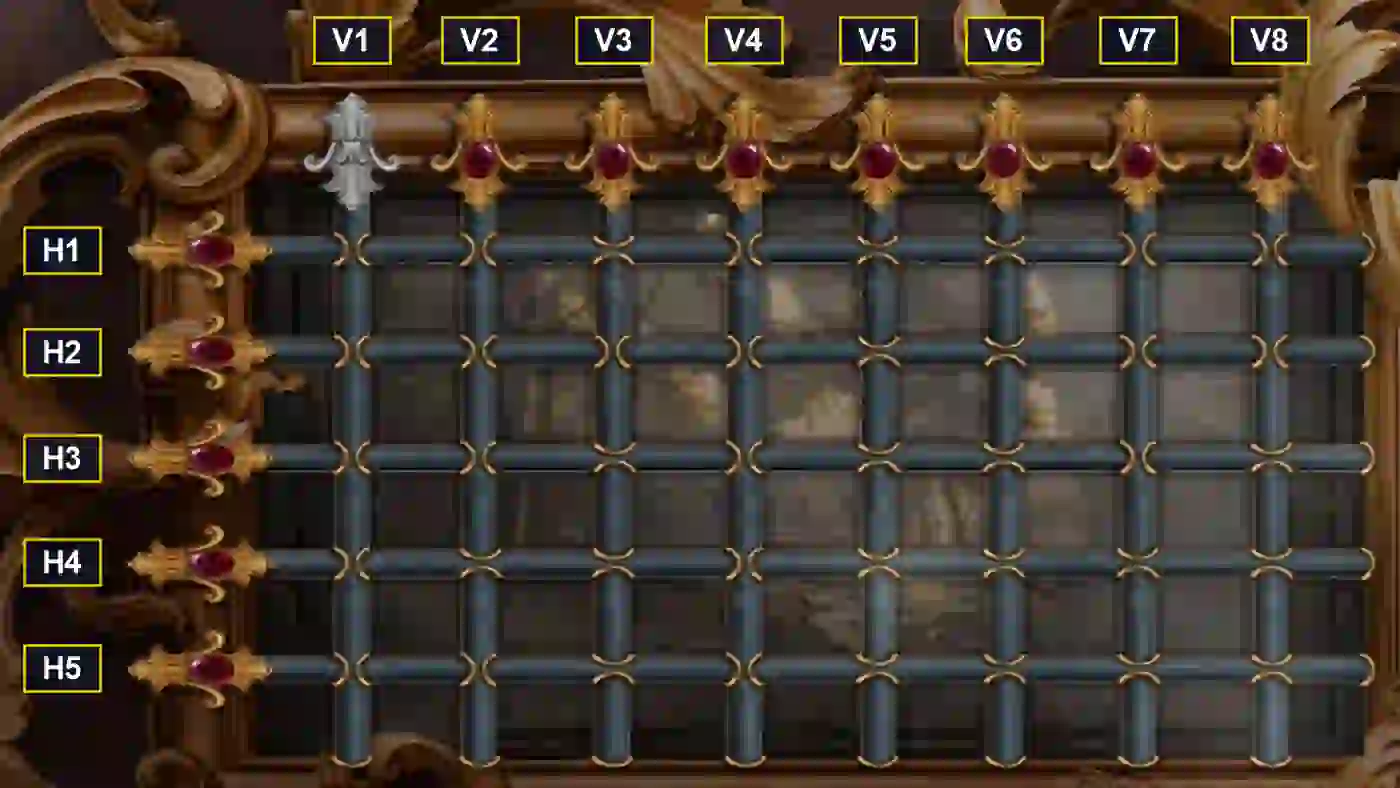
Pin labels used in the recording order below. V1 is the silver fleur-de-lis pin. - Recording order (vertical pins V1–V8 from the left, with V1 the silver fleur-de-lis; horizontal pins H1–H5 from the top; the starting layout matched in both recordings checked): V5, V6, H2, V3, H1, V8, H3, V7, H5, V2, H4, V1, V4.CODEV5, V6, H2, V3, H1, V8, H3, V7, H5, V2, H4, V1, V4
- Take WIRES 2/2 from the burnt hole behind the painting.
Torn Page and Symbol Wall
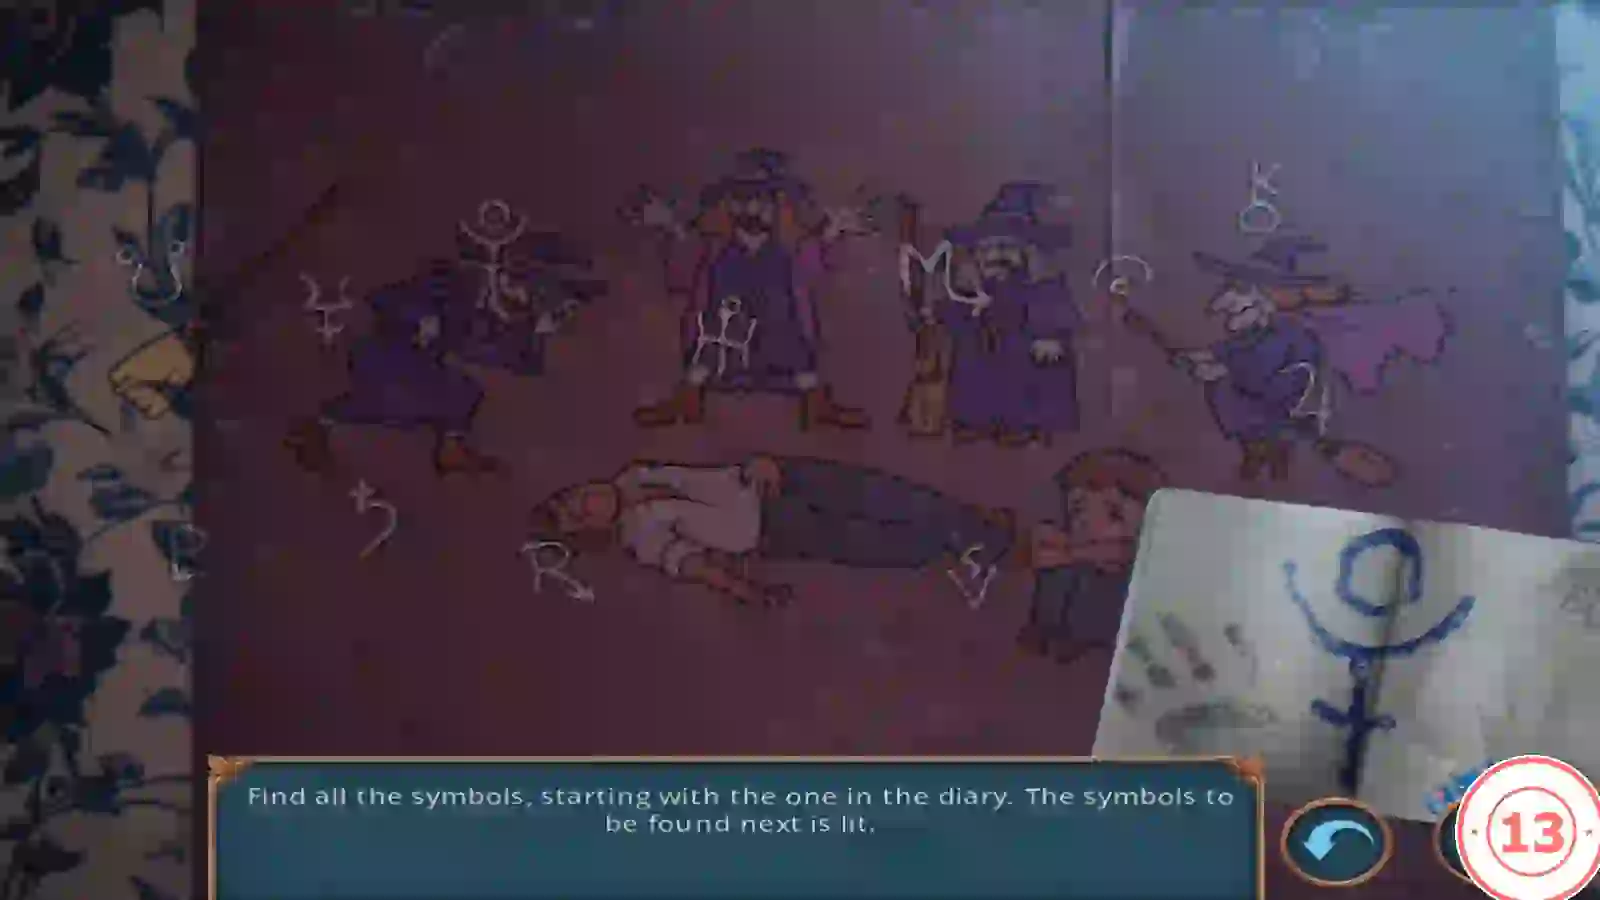
Complete the child's journal to finish the optional locked room and its task, "Search the locked room".
- In the alley, open the backpack padlock with the bear KEY, unzip the backpack and take the TORN PAGE.
- Add the TORN PAGE to the JOURNAL in the inventory.
- Use the JOURNAL on the torn wallpaper above the bedroom shelf to start the puzzle "Find all the symbols, starting with the one in the diary. The symbols to be found next is lit."
- Start with the symbol drawn in the diary, a circle over a cross: tap the matching chalk drawing on the wall. Each correct tap tears away a strip of wallpaper and lights the next symbol; find and tap its match among the drawings, and repeat. Order seen in the recording after the first symbol: 4, P, M, U, V, K, H, a 3-like symbol, ¥, an arch with a dot, R.
- Stubborn Soul unlocks for ten mini-games without skipping. "Search the locked room" completes and Lost Childhood unlocks.
Electrical Box Wires
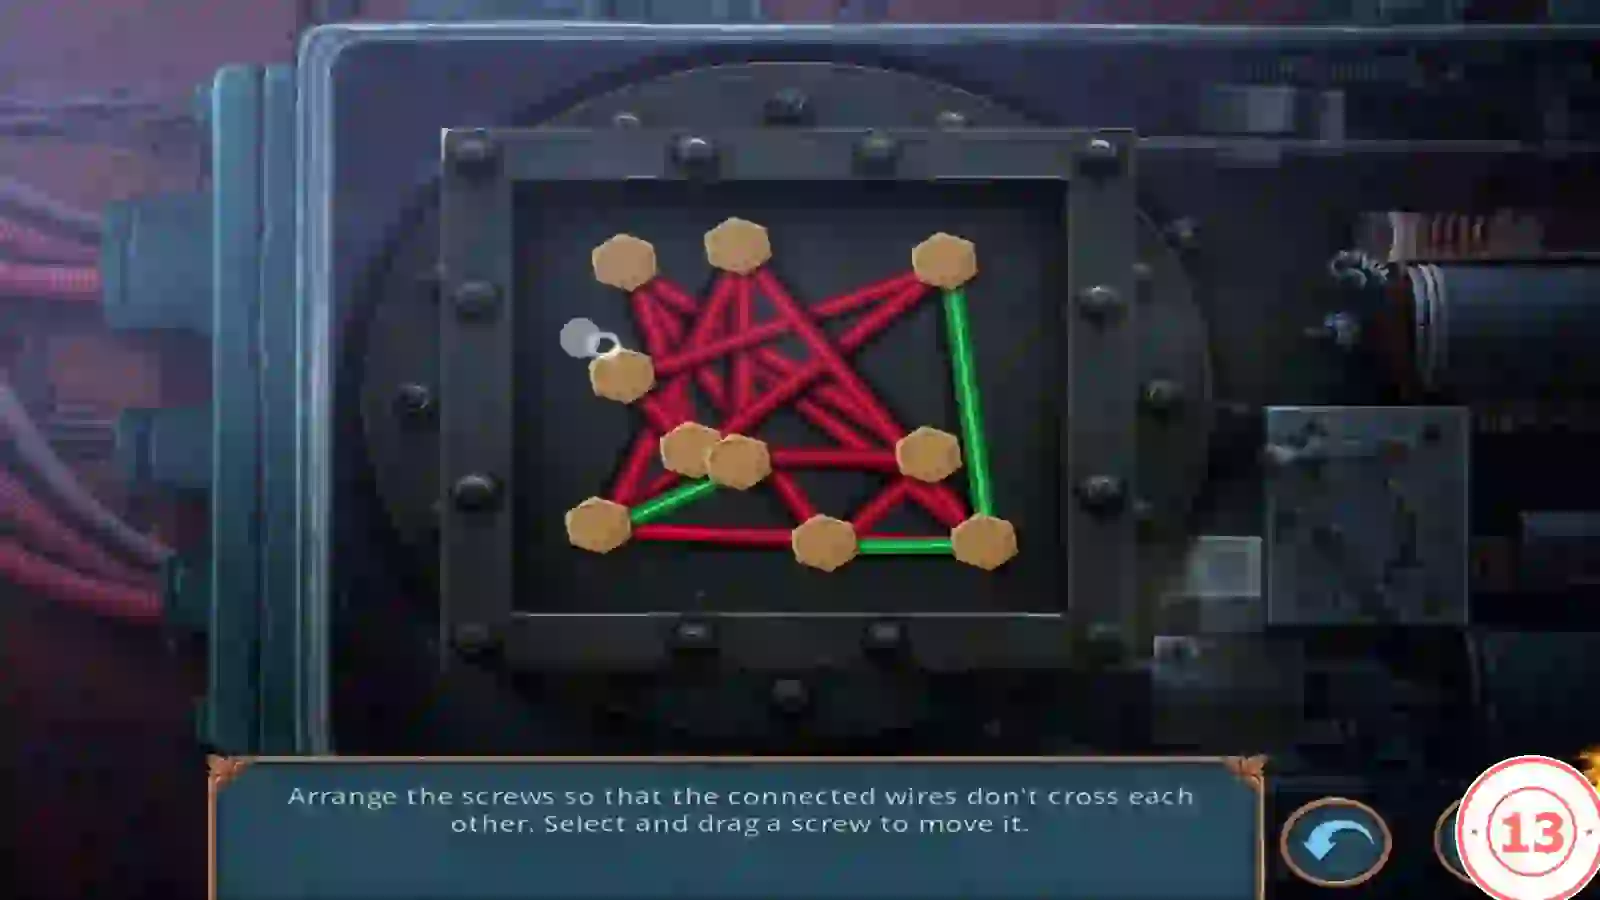
The open electrical box in the alley can now be repaired.
- Place the WIRES and then the ADJUSTABLE SPANNER in the electrical box panel.
- Task: "Arrange the screws so that the connected wires don't cross each other. Select and drag a screw to move it." A red wire crosses another wire and a green one is clear. This guide gives a method rather than a move list: drag the screws with the most red wires out towards the edges of the panel first, then move the rest one at a time until every wire is green.
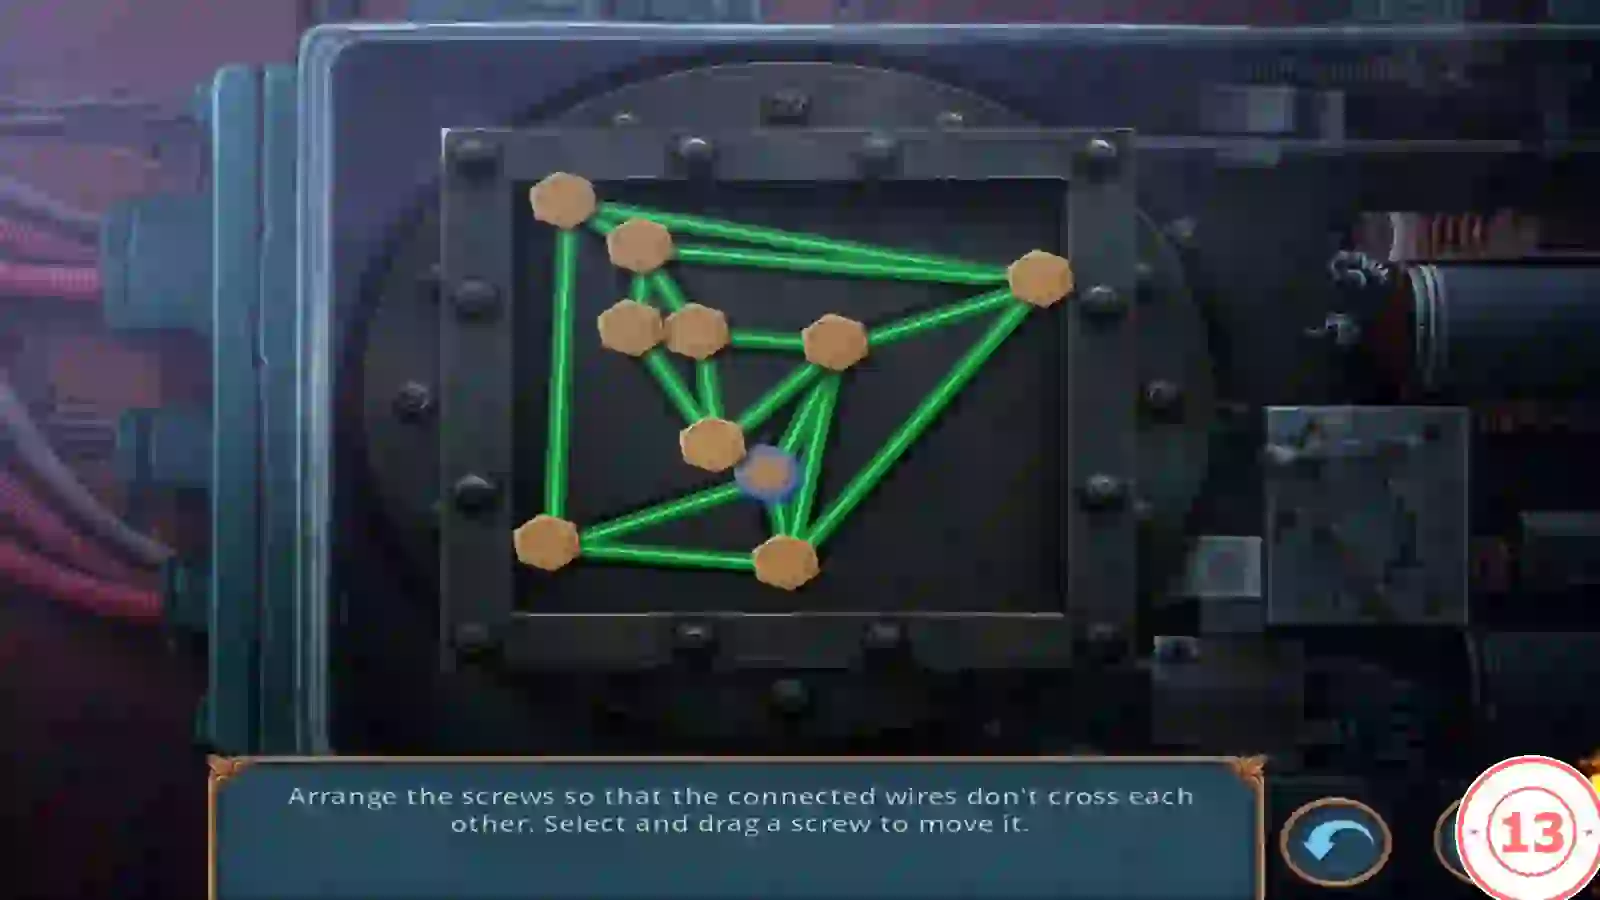
A finished layout from the recording. Yours can look different; the puzzle ends once no wires cross. - Reach through the fence by the Moon Glade stairs and take the GEAR.
- Place the GEAR on the mechanism behind the backpack. A panel opens; take SLIDE 3/3.