Diner Delight: Outside
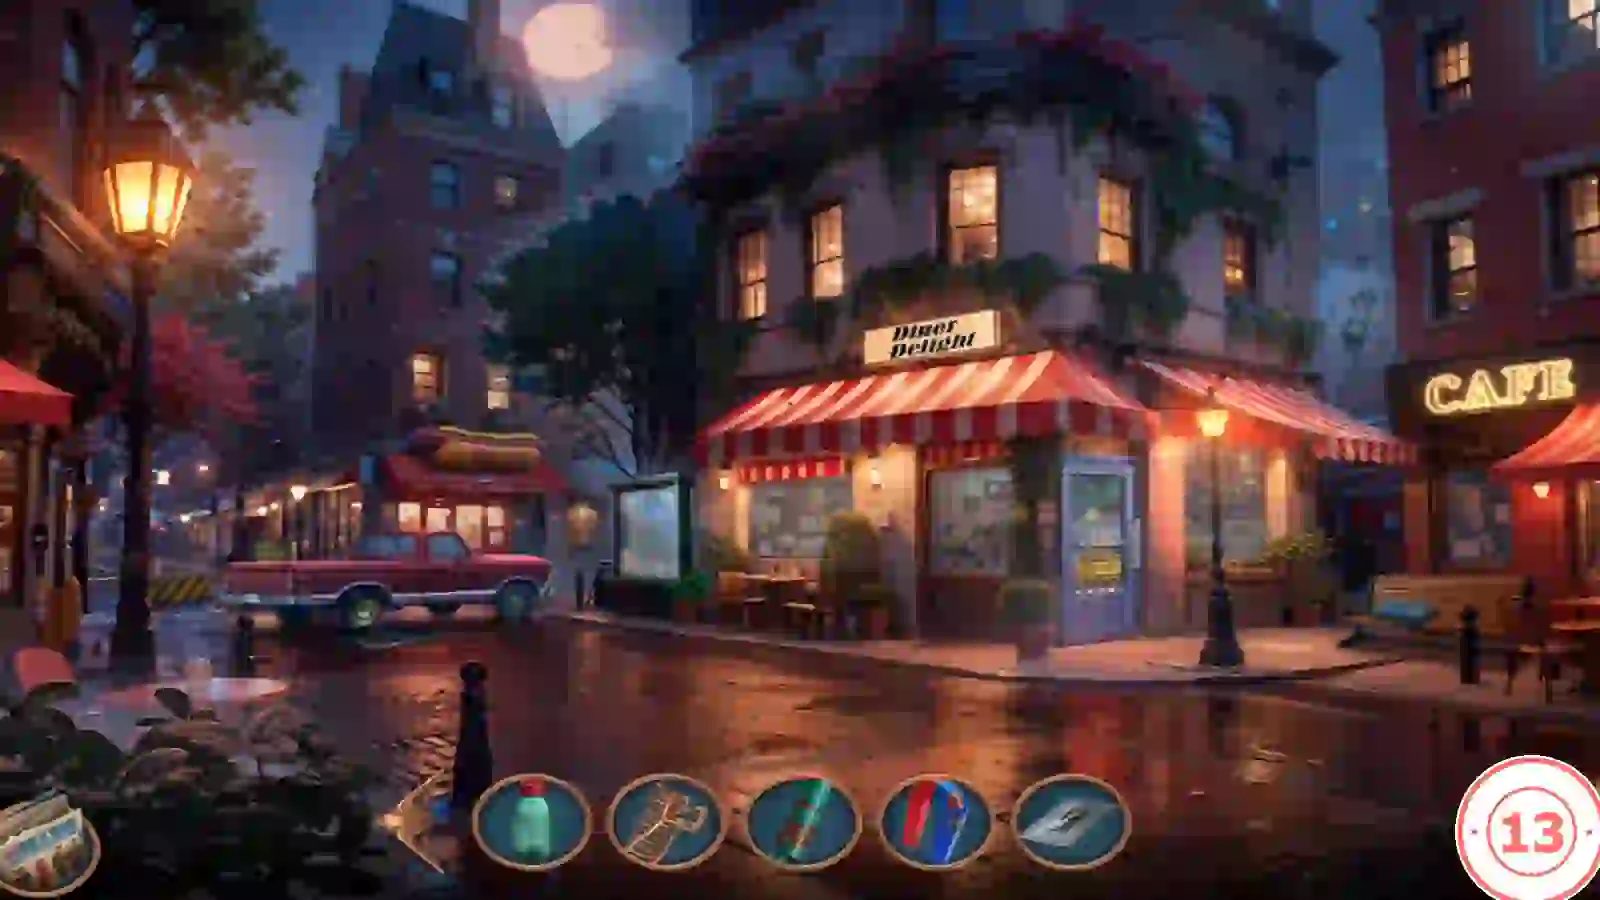
Start outside the diner. Inventory: rope, bottle and claw clip.
- Zoom into the window under the "Fresh Brewed Coffee" poster and take the MAGNET and the rusty TUBE.
- Zoom into the table at the left. Take the NEWSPAPER from beside the blue toolbox. The toolbox latch stays shut for now.
- Combine the ROPE and the MAGNET in the inventory.
- Lower the MAGNET ON A ROPE into the drain grate by the red car's wheel to fish out the KEYS with the burger key ring.
- Use the KEYS on the diner door to open the lock puzzle.
Diner Door Key Lock
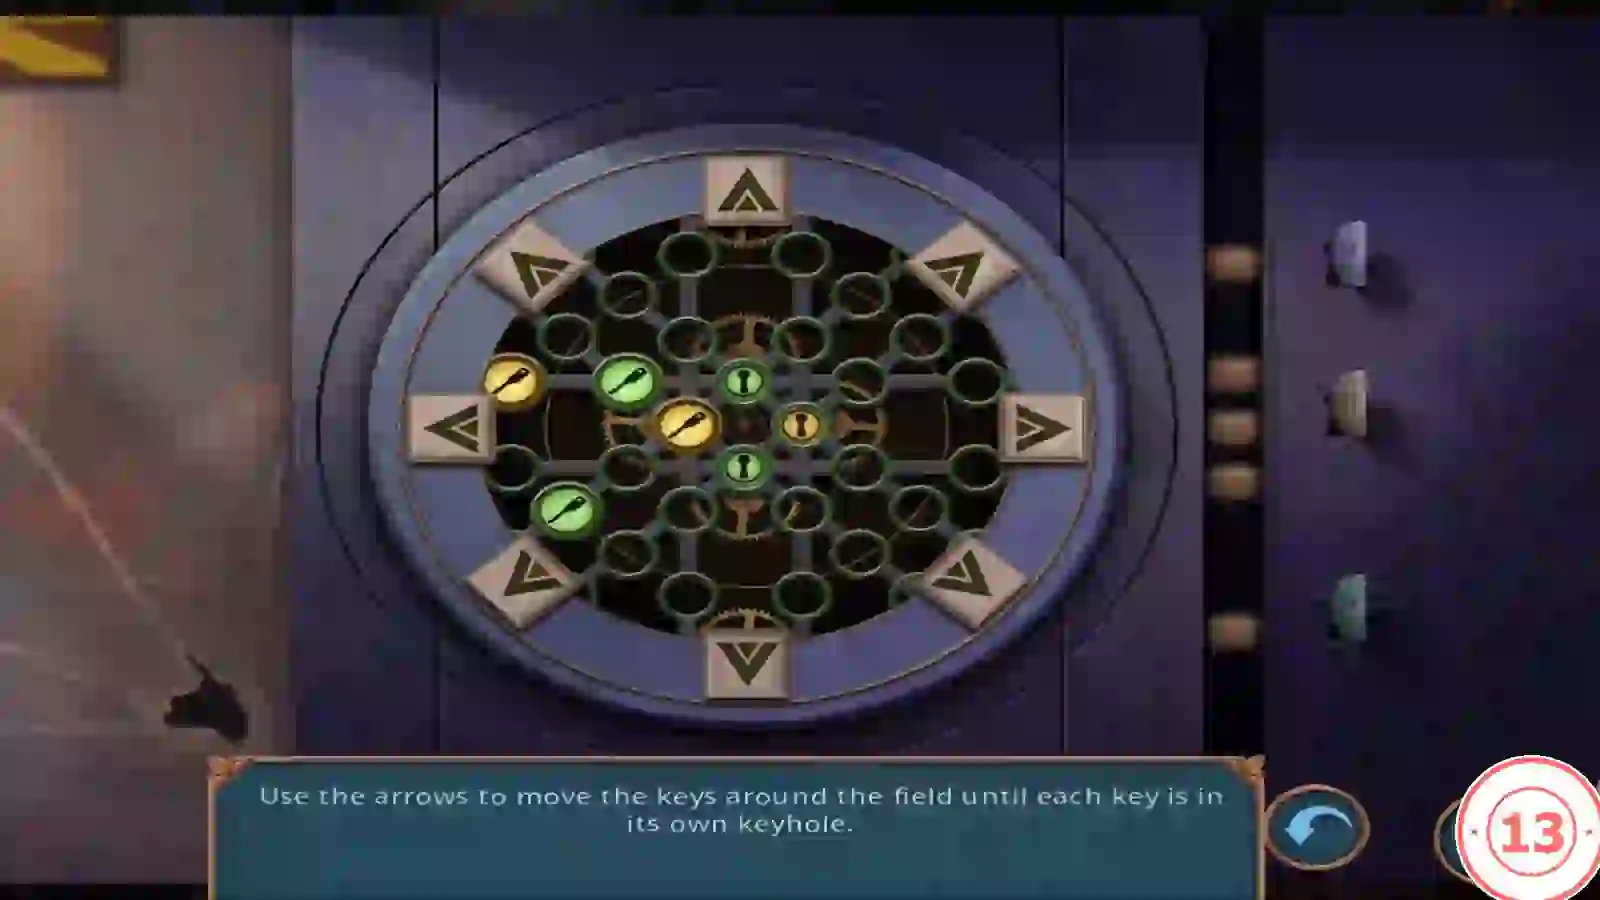
Task: "Use the arrows to move the keys around the field until each key is in its own keyhole." Every key moves one cell at the same time in the direction pressed, unless something blocks it.
- Each key has its own matching keyhole. Pressing an arrow moves every key one cell in that direction unless something blocks it, so use the field edges and blocked cells to hold some keys in place while the others move.
- Both recordings checked started from the same key layout. Main recording sequence: down-right, up-right, up-right, down-right, right, up-right, down-left. If your field differs, solve it with the method above.CODEDown-right, Up-right, Up-right, Down-right, Right, Up-right, Down-left
Inside the Diner
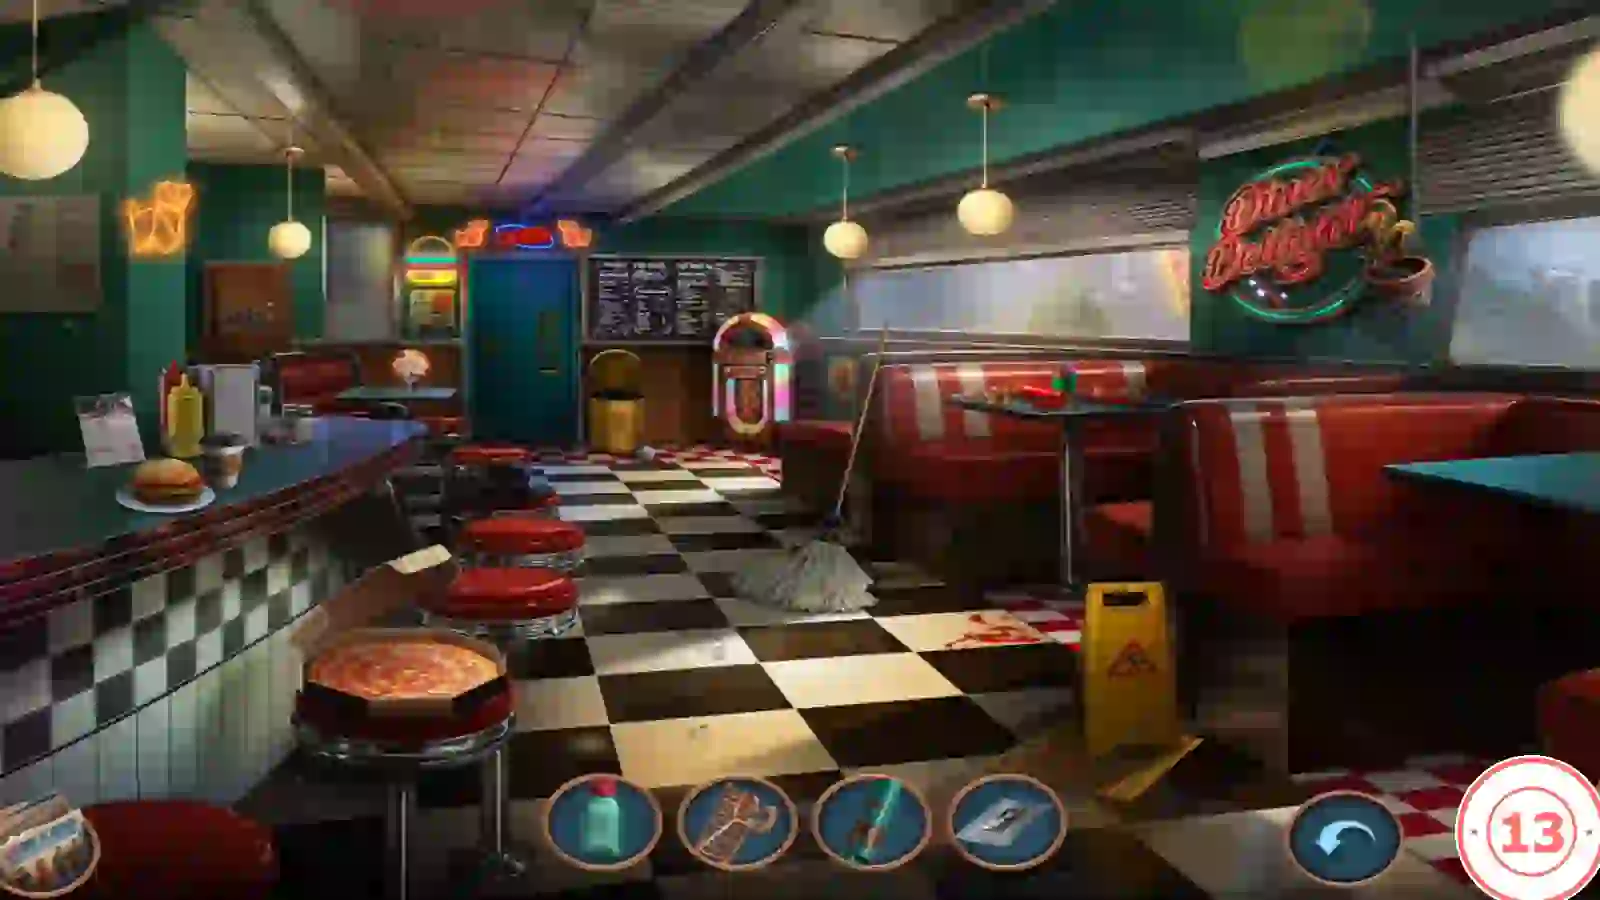
The diner is dark and the kitchen door is locked from the other side.
- At the jukebox wall, use the HAIR CLAW CLIP on the Domini Soda poster and take the RUBBER GLOVE from behind it. A small locked gold chest is also there.
- At the neon "Diner Delight" sign, use the RUBBER GLOVE to take the RED PEN from the sparking wiring.
- At the kitchen door, slide the NEWSPAPER under the door, push the key out of the keyhole with the RED PEN, pull the newspaper back and take the KEY with the pizza key ring. Unlock the door with it.
- Zoom into the booth table with the ketchup tray and take the golden LILY.
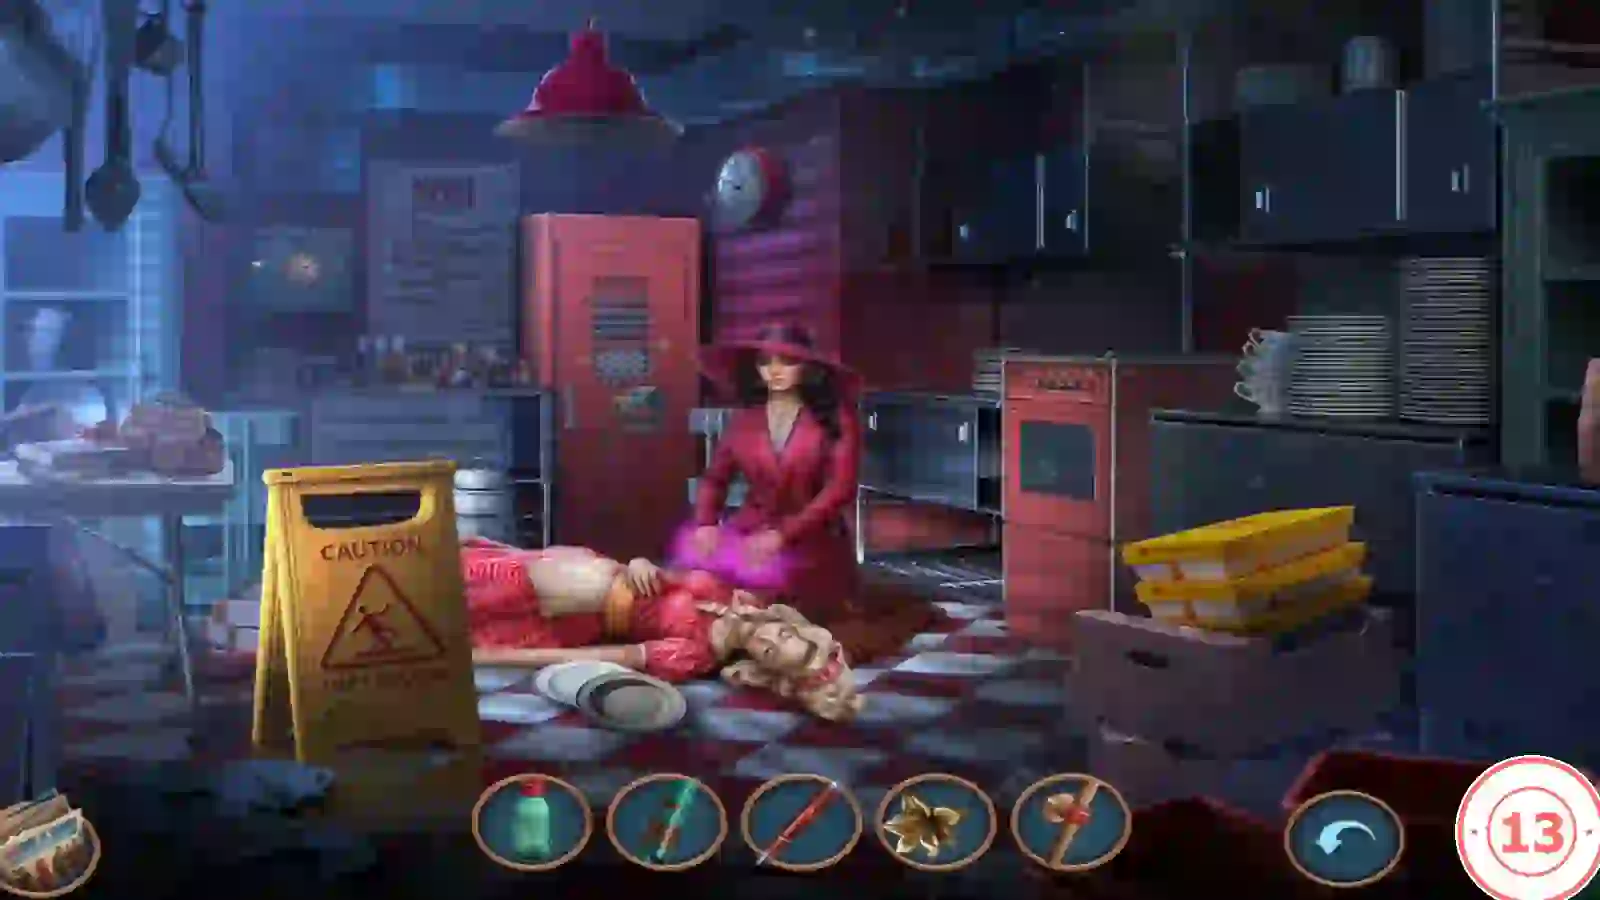
- Bronwyn lies hurt and the masked killer is in the kitchen. Decision 2: "Do nothing" (free, 0 points), "Push Sebille" (25 coins, +2) or "Use magic" (35 coins, +4). The task "Find Bronwyn" completes and a new one begins: "Perform a ritual to talk to Bronwyn".
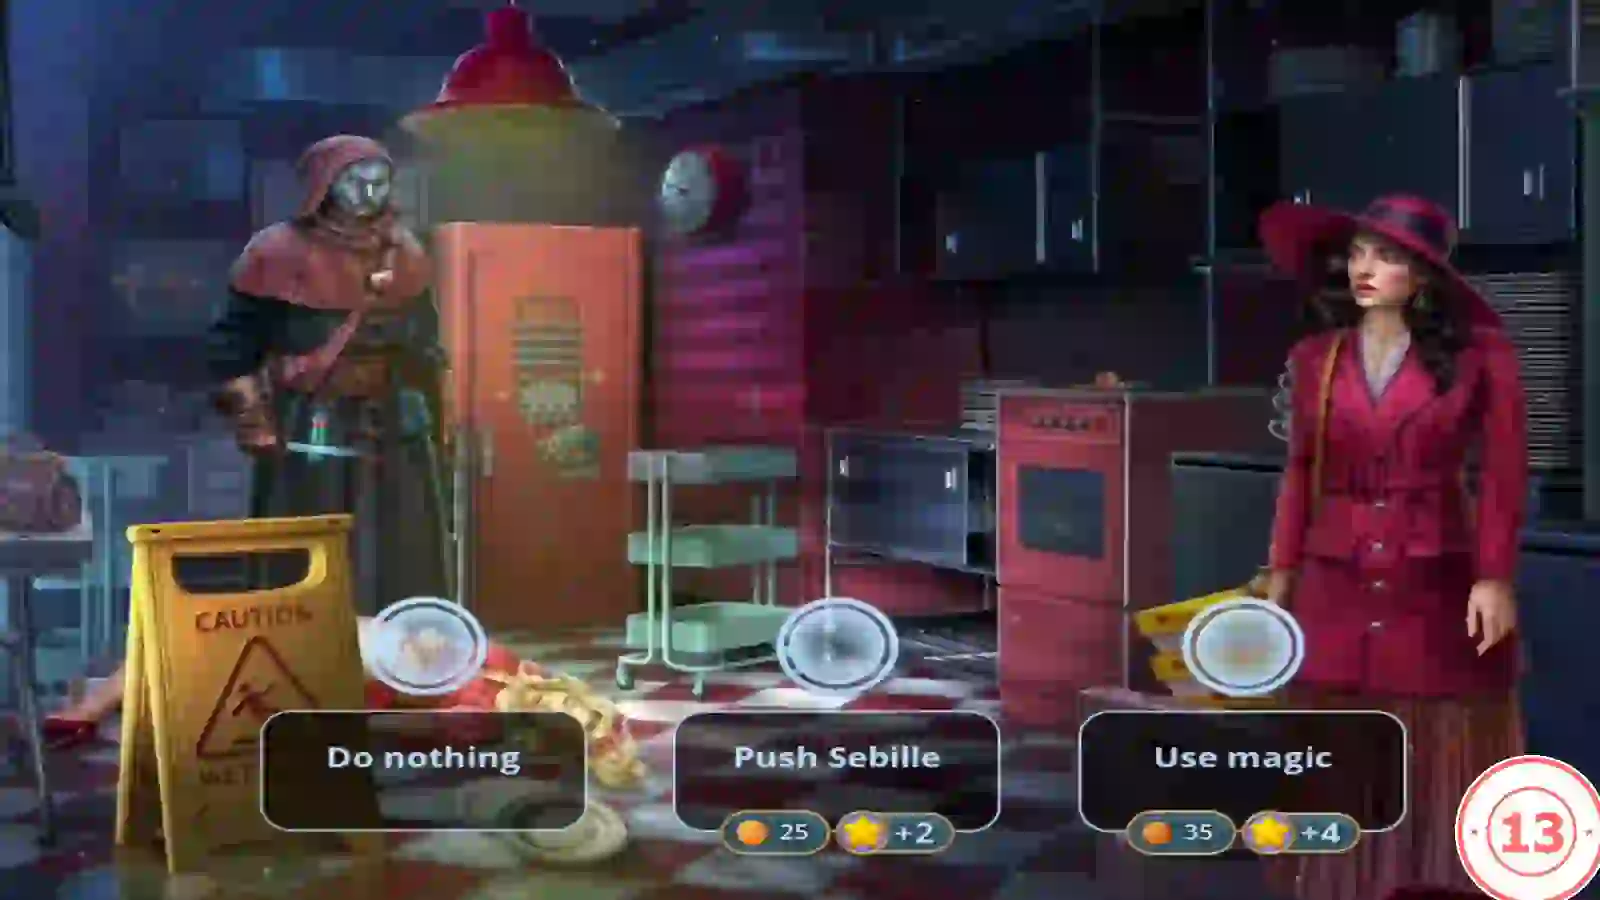
Decision 2: Do nothing is free, Push Sebille costs 25 coins (+2 points) and Use magic costs 35 coins (+4 points).
Kitchen: Safe Parts
The teal Domini Safes safe on the kitchen wall is missing its handle and dial.
- Zoom into the stove and take the COPPER SAFE HANDLE.
- Zoom into the satchel on the prep table and prise its clasp open with the RED PEN. Take the SAFE DIAL.
- Fit the HANDLE and then the DIAL to the wall safe to start its lock puzzle.
Domini Safe Lock
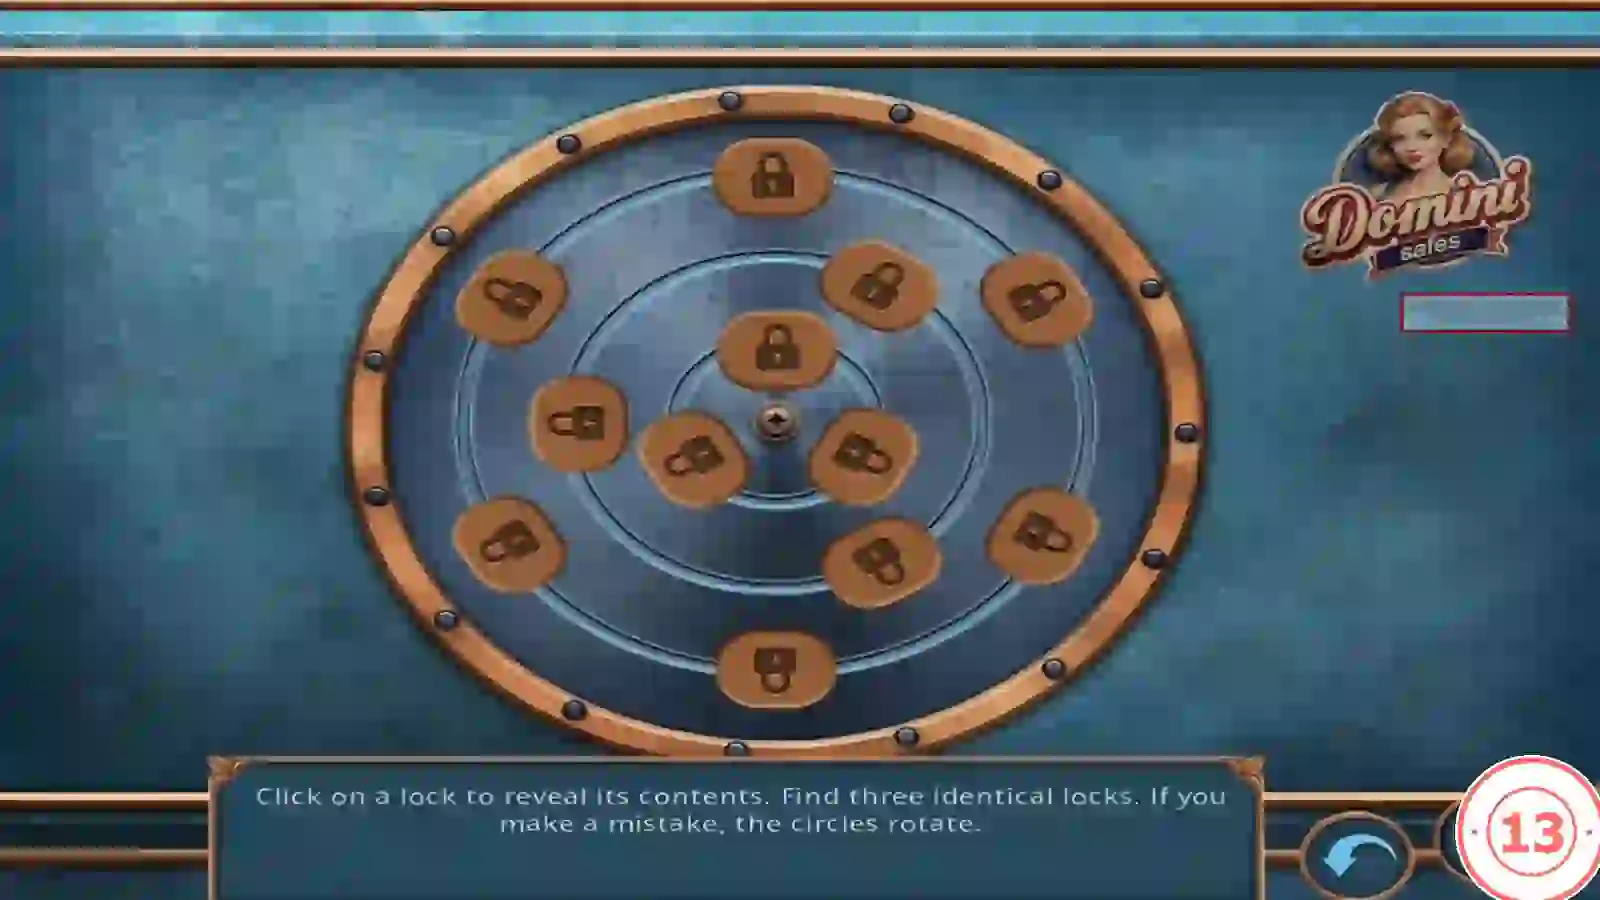
Task: "Click on a lock to reveal its contents. Find three identical locks. If you make a mistake, the circles rotate."
- Tap locks to reveal their coloured bar patterns and remember where each pattern sits. Reveal three identical patterns in a row of taps to clear them. A mismatch rotates the rings, so track positions relative to neighbouring patterns. Arrangements may differ between games.
- Take RUNE STONE 1/3 and the PURPLE SCARF.
Ketchup-Covered Booth
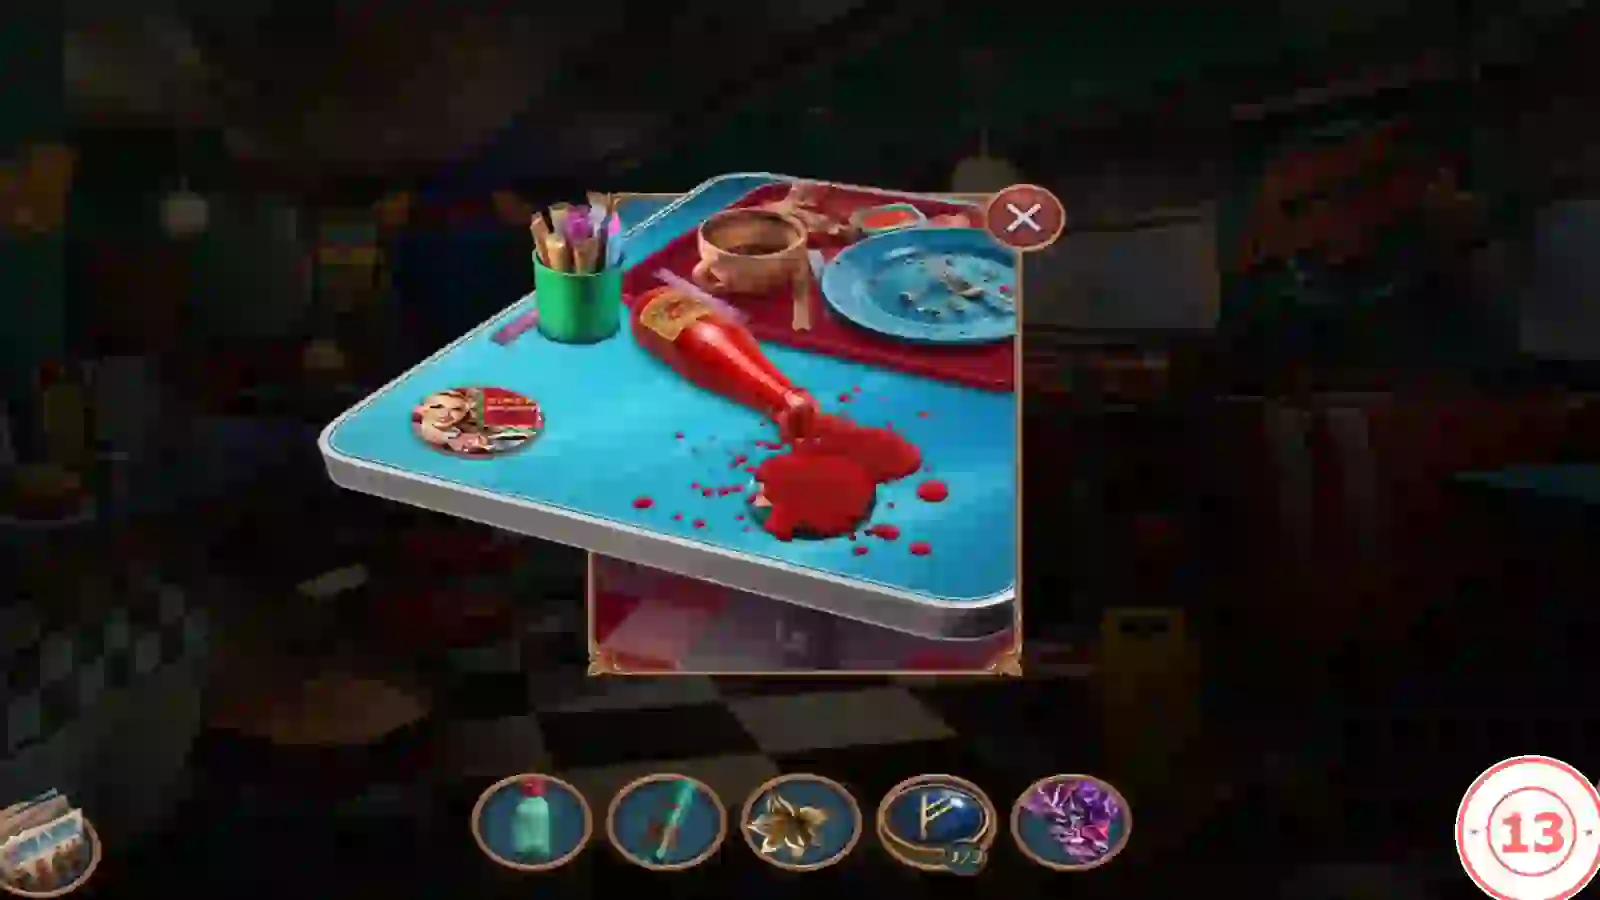
Something is stuck under the ketchup on the booth table.
- At the booth table, pour the BOTTLE's water onto the ketchup, wipe it with the PURPLE SCARF and take the DINER DELIGHT CHIP.
- Zoom into the wooden partition panel left of the jukebox. One chip is already in the upper slot; put the DINER DELIGHT CHIP in the lower slot.
Red and Green Chip Swap
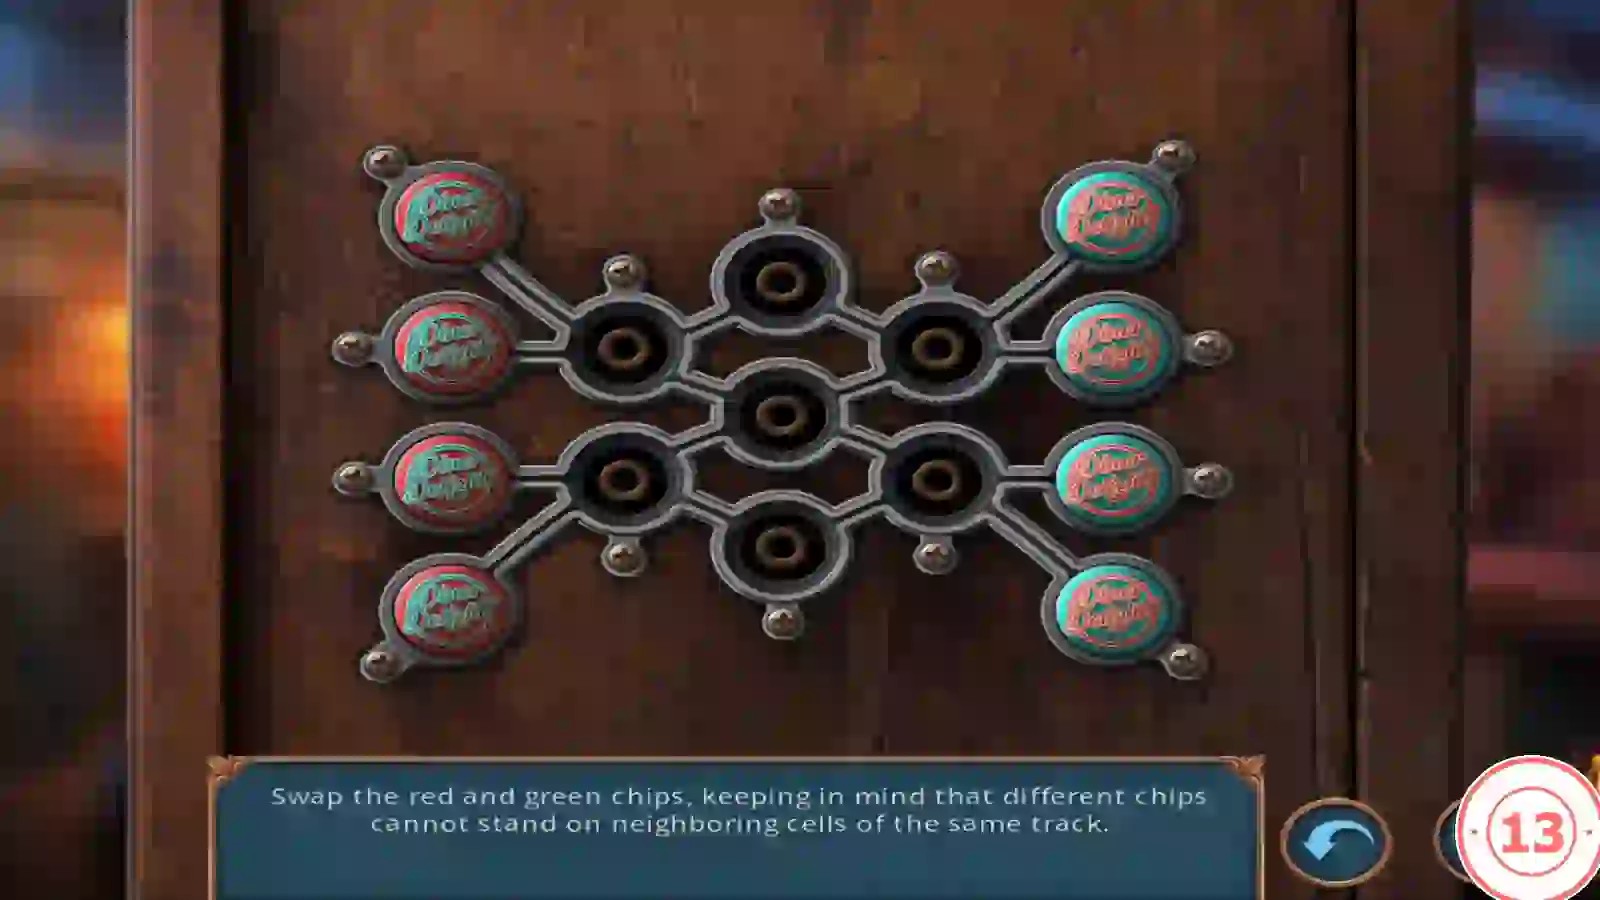
Task: "Swap the red and green chips, keeping in mind that different chips cannot stand on neighboring cells of the same track."
- Four red-rimmed chips start on the left and four green ones on the right, with seven empty cells between them: two on the left, a column of three in the centre and two on the right. Tap a chip to move it along a track into an empty cell. A move is blocked if it would leave a red and a green chip on neighbouring cells of the same track. Use the empty middle cells as waiting spots and move one colour a short way across before bringing the other through, until each side is filled with the opposite colour. This guide gives the method rather than every move.
- Take the CHALK and the teal OVEN HANDLE.
Oven, Parcel and Toolbox
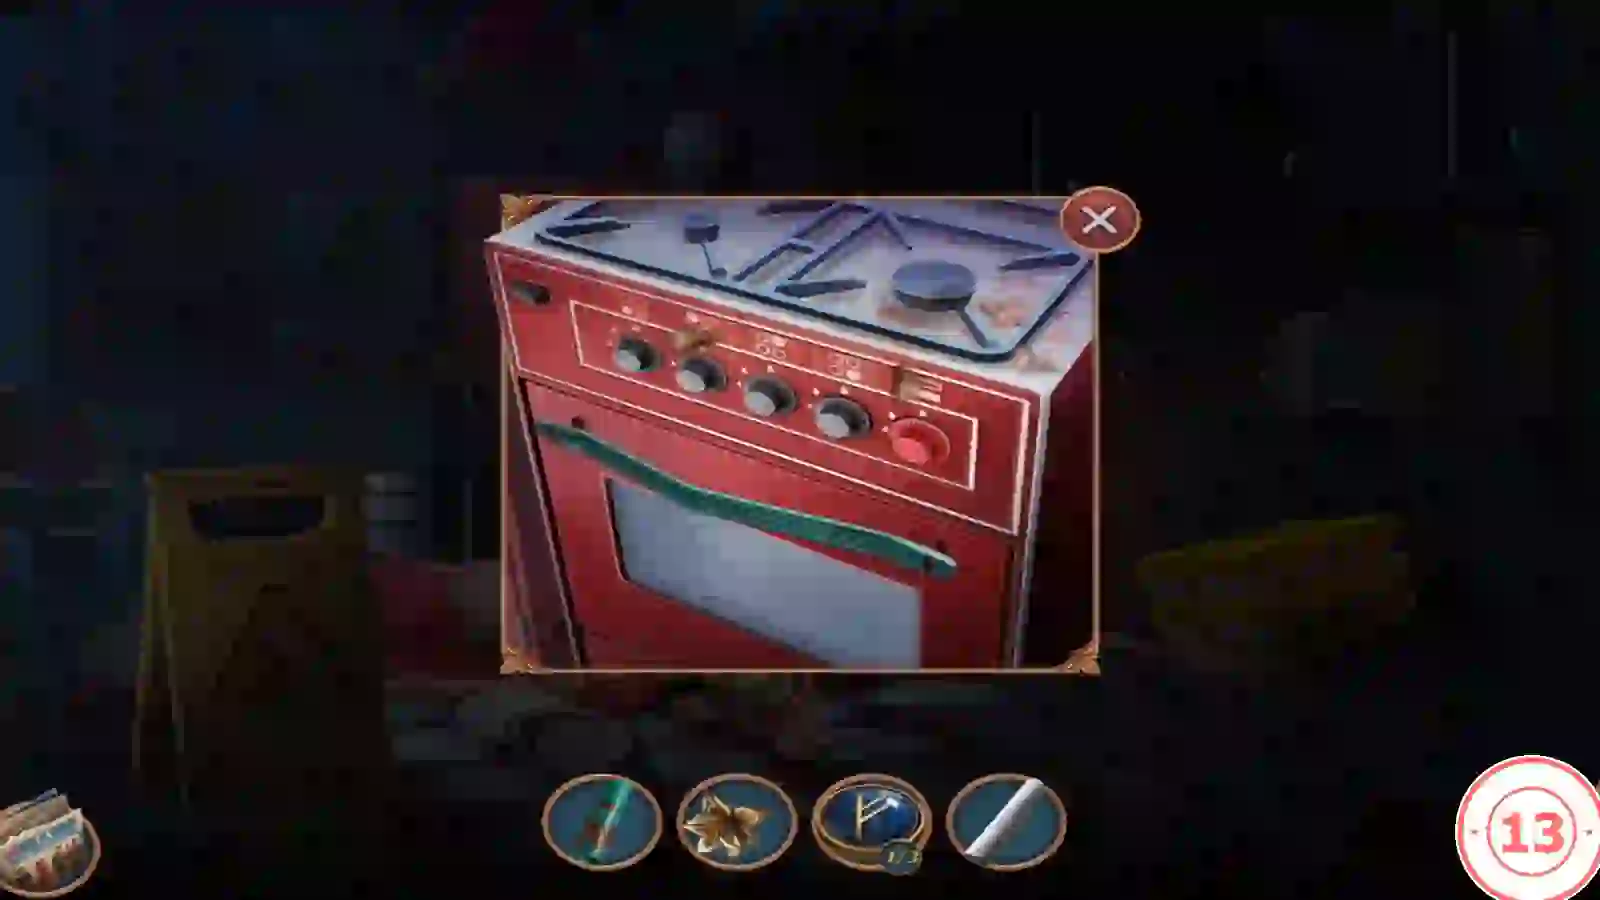
Work between the kitchen and the diner exterior.
- Attach the OVEN HANDLE to the kitchen oven and open it. Take RUNE STONE 2/3 and the small golden SCISSORS.
- Cut the taped parcel on the prep table with the SCISSORS and take the gold RING with a red stone.
- Go outside. Cut the glass of the "Fresh Brewed Coffee" poster case with the RING and take the CHISEL. Something on top of the case is out of reach.
- Zoom into the blue toolbox, place the rusty TUBE and use the CHISEL to force the latch. Take the SHELL COMB and the VINYL RECORD.
Jukebox Note Maze
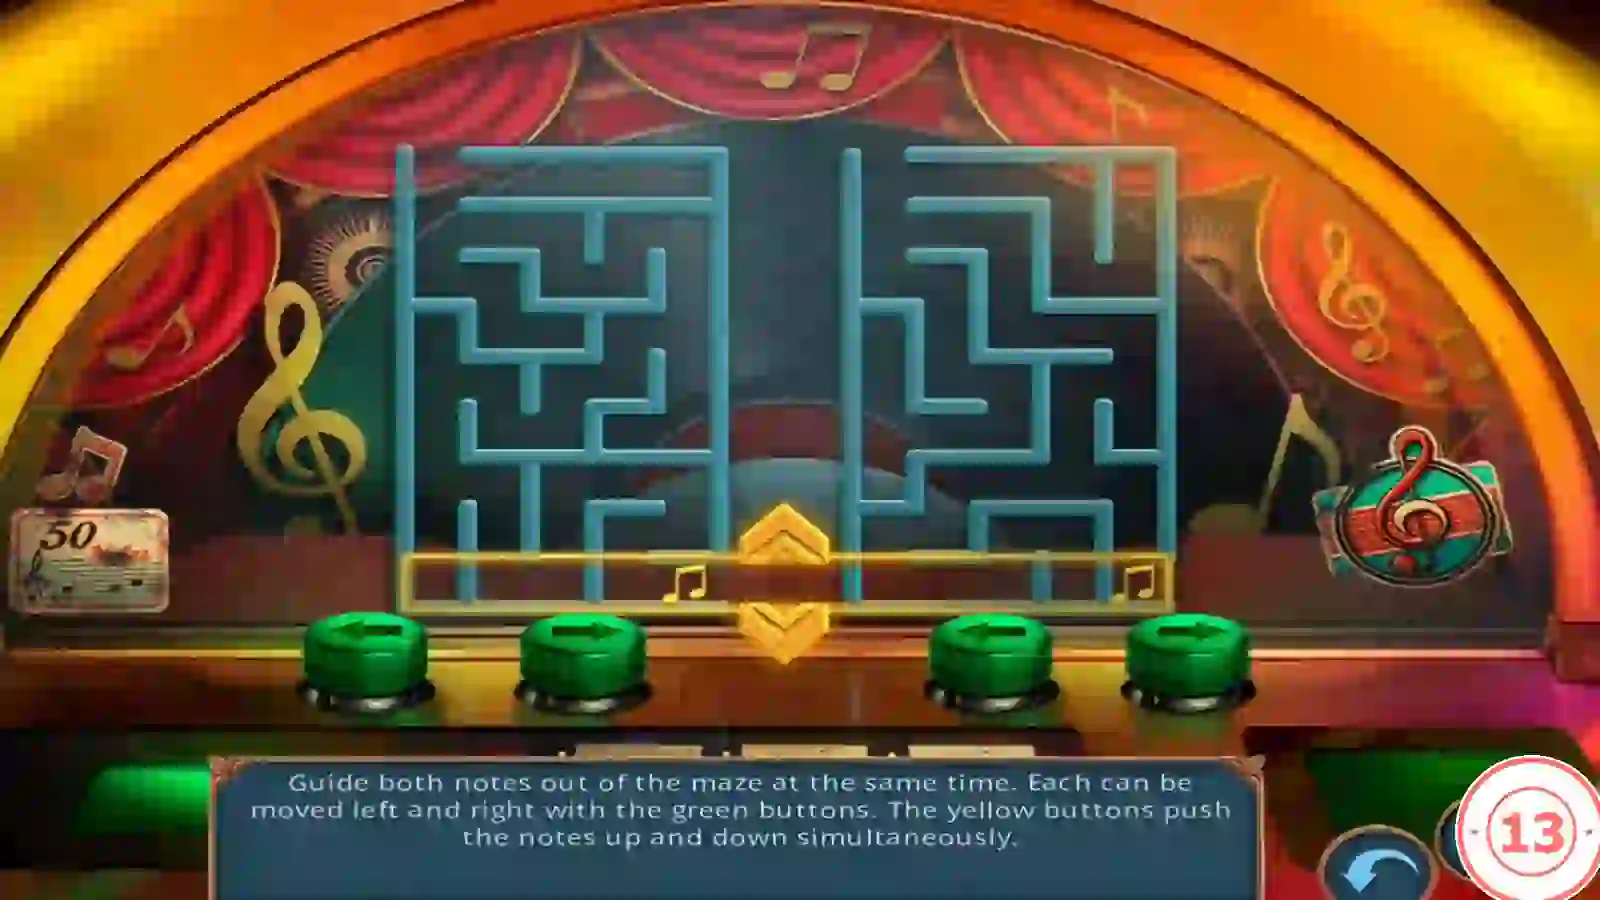
Task: "Guide both notes out of the maze at the same time. Each can be moved left and right with the green buttons. The yellow buttons push the notes up and down simultaneously."
- Back in the diner, zoom into the jukebox and put the VINYL RECORD on its turntable to start the maze. Line both notes up below openings first using their own left and right buttons, then use the shared up and down buttons. Both notes must reach the exits on the same move.
- Take the GLUE TUBE and the SPOON from the jukebox compartment.
Toy Gun and the Third Rune

The last rune stone sits on top of the poster case outside.
- Dig in the plant pot below the neon sign with the SPOON and take the TOY GUN.
- Outside, shoot the top of the poster case with the TOY GUN to pull down RUNE STONE 3/3. This earns the Bang-Bang! achievement.
- In the kitchen, place the three RUNE STONES in the empty sockets of the red "Delicious" machine to start its puzzle.
Rune Chip Path
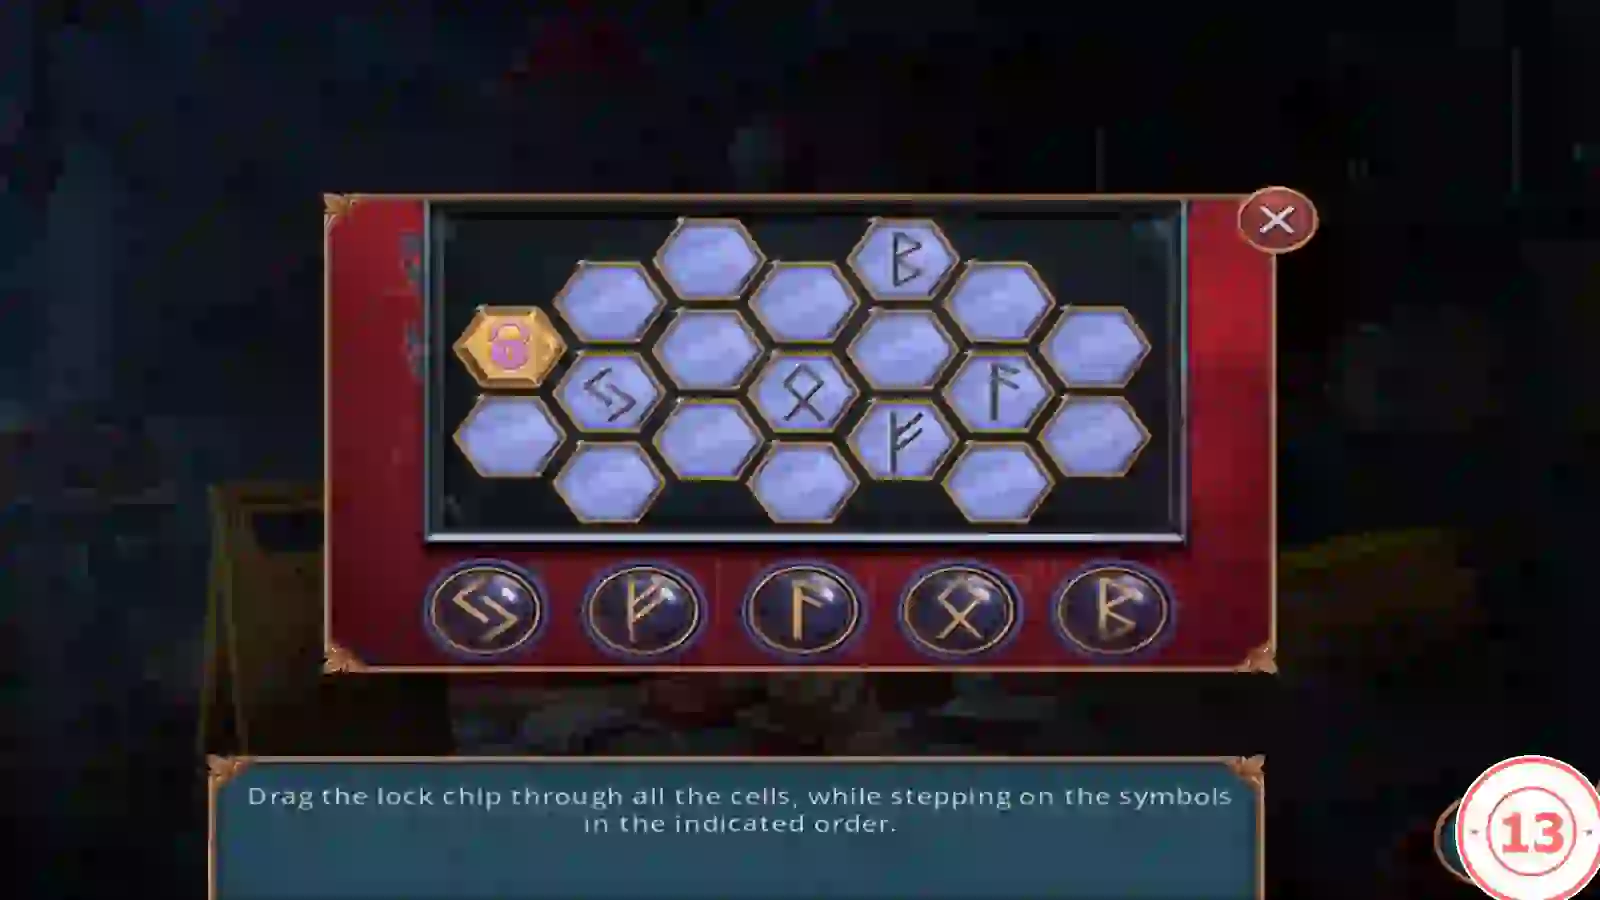
Task: "Drag the lock chip through all the cells, while stepping on the symbols in the indicated order." The hex board has seven columns: two cells in the outer columns and three in each inner column.
- Order shown in the recording: Sowilo (S), Fehu (slanted F), Ansuz (F), Othala, Berkana (B). Plan a route that visits every cell once and touches each rune only when it is next.
- Recording path (columns 1–7 from the left; t, m, b = top, middle, bottom): 1t, 1b, 2b, 2m (Sowilo), 2t, 3t, 3m, 3b, 4b, 5b (Fehu), 6b, 7b, 7t, 6m (Ansuz), 6t, 5m, 4m (Othala), 4t, 5t (Berkana). The board and rune order were the same in both recordings checked.CODE1t-1b-2b-2m-2t-3t-3m-3b-4b-5b-6b-7b-7t-6m-6t-5m-4m-4t-5t
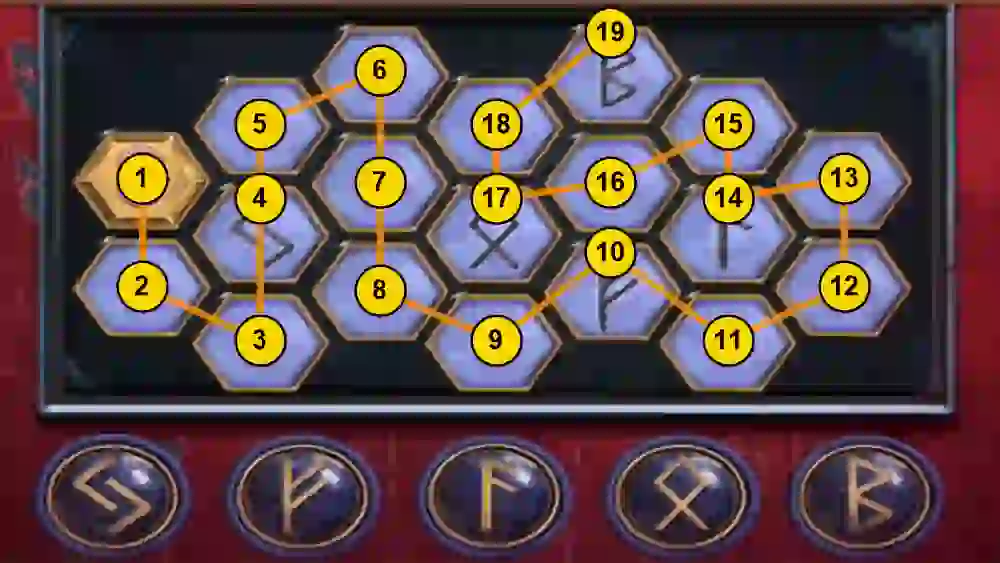
Recording solution: drag the chip through the cells in the numbered order. The runes fall on steps 4, 10, 14, 17 and 19. - Move the powder sack aside and take the PHOTO of the waitress and the paper SACK OF PLASTER.
Bronwyn's Ritual
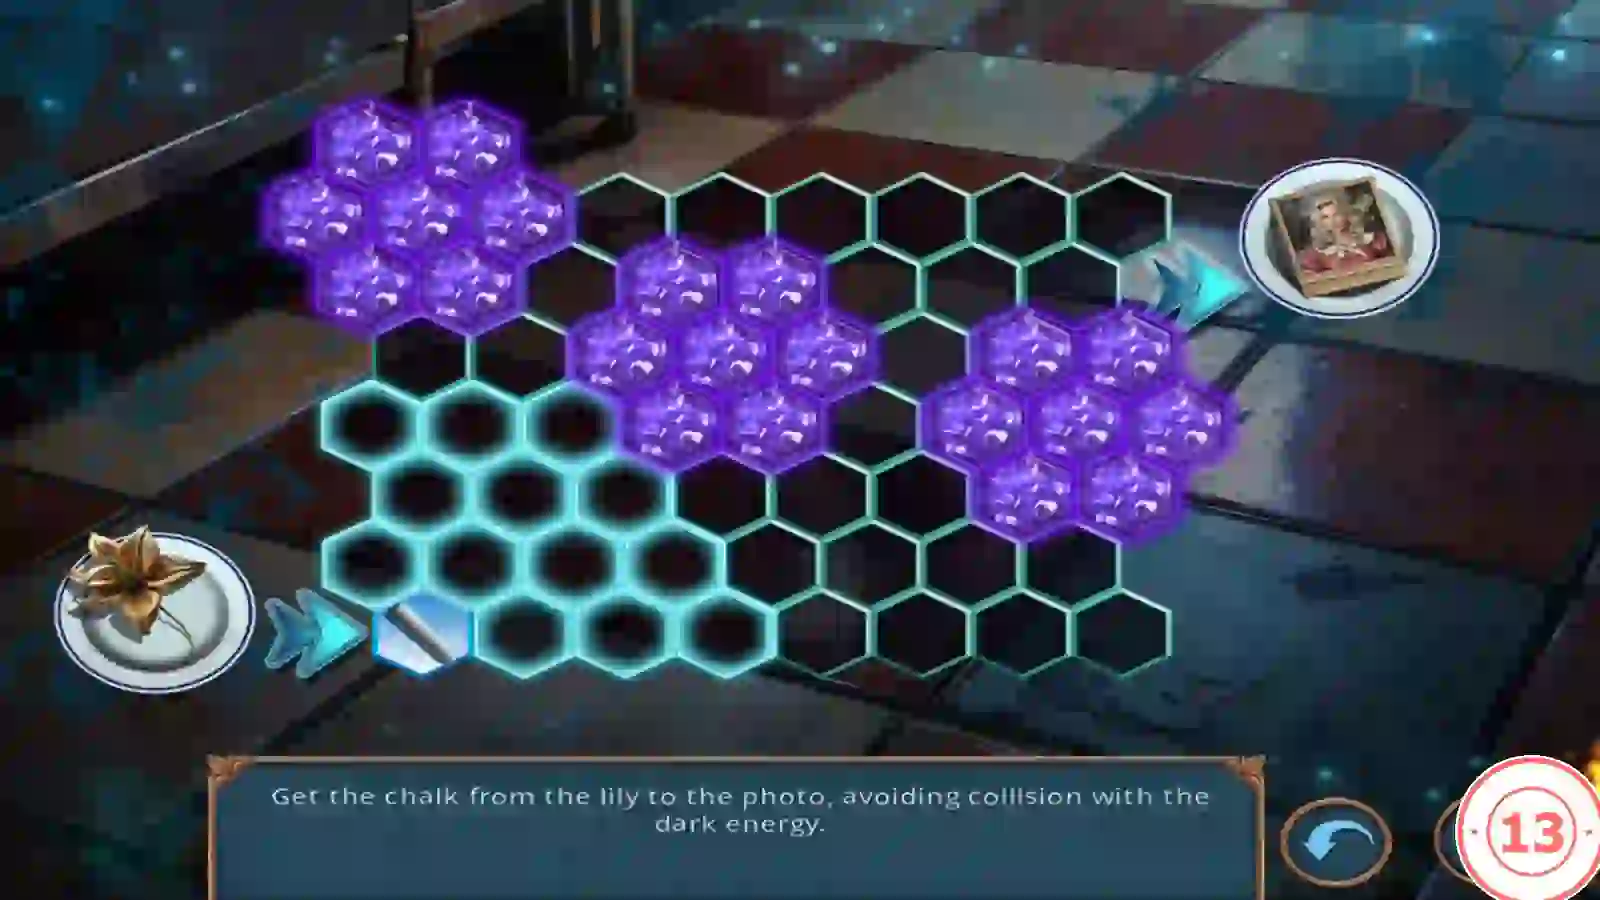
Sebille needs a lily, chalk and a photo for the ritual. Zoom into Bronwyn on the kitchen floor.
- Place the CHALK, the PHOTO and the LILY by Bronwyn.
- Task: "Get the chalk from the lily to the photo, avoiding collision with the dark energy." Move the chalk cell by cell from the lily plate at the left to the photo at the upper right. Wait for gaps as the purple clusters drift, then move in.
Bronwyn's Spirit and the Key Gate
Bronwyn's spirit is weak and can only talk briefly.
- Decision 3: "Ask about Mom" (35 coins, +1 point; Ask about mother on the final summary) or "Leave the spirit alone" (free, 0 points). Bronwyn sends you to the Moonlight Meadows Orphanage.
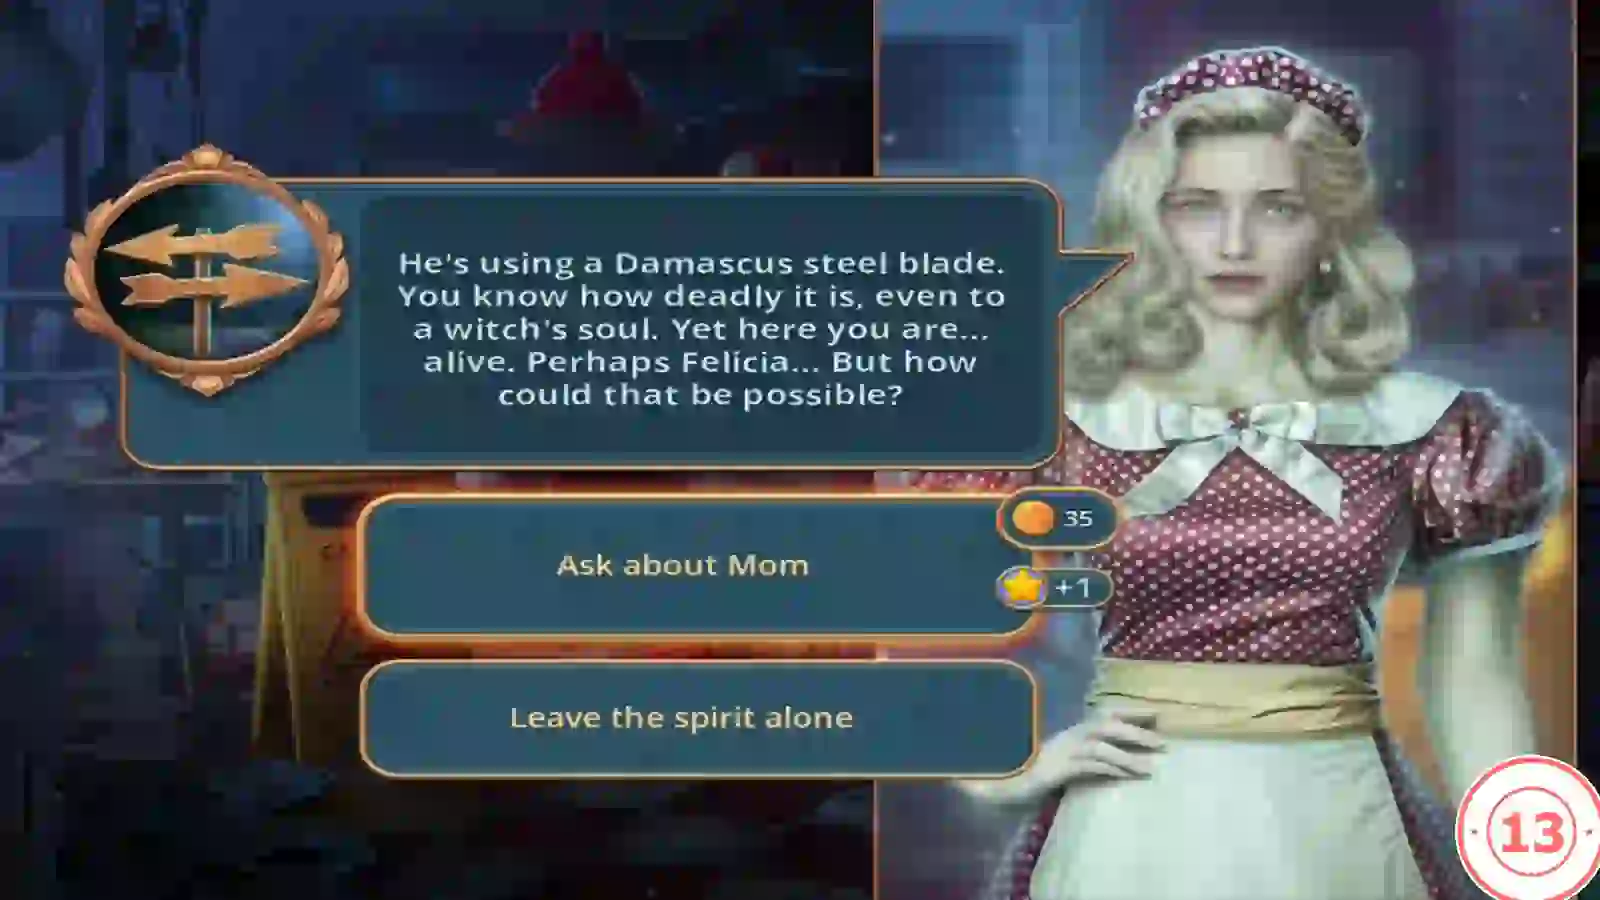
Decision 3: Ask about Mom costs 35 coins and adds 1 point; Leave the spirit alone is free. - A Mystery Files padlock appears: "Use the key to continue the adventure." Spend one key (the app's key currency) to unlock it. You travel to the alley outside the Children's Shelter.