HIDDEN OBJECTS
Fountain Coin Riddles
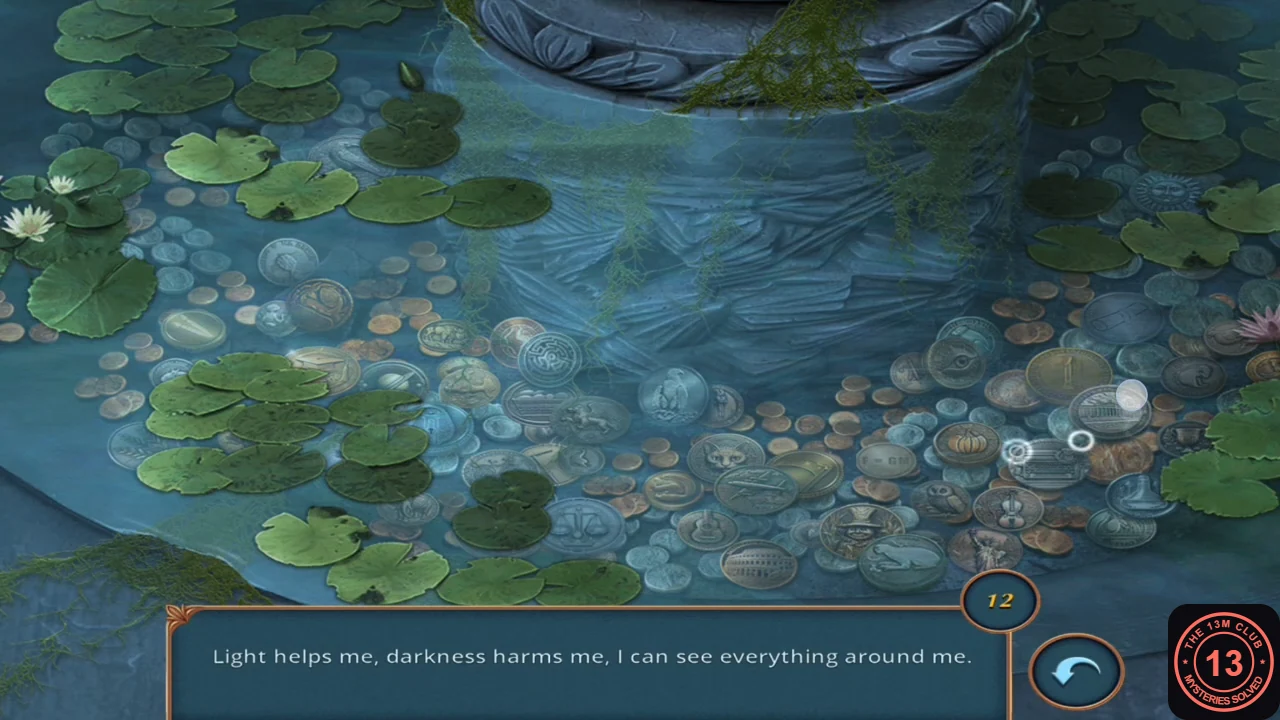
Both routes meet again here. The fountain in the town square is clogged with algae.
- Tap the fountain and pour in the Water Cleaner. The algae clear and a riddle hidden-object scene opens.
- Each riddle describes the picture on one coin; tap that coin. Answers: "Light helps me, darkness harms me, I can see everything around me" - eye; "I'm a puzzle made of paths, never clear, never straight" - maze; "I'm the top of the grain, the crown of the harvest" - ear of grain; "Fragile and clear, I hold liquids in here" - glass flask; "I bring warmth and chase away shadows" - sun (smiling sun face among the lily pads at the upper right); "I'm a hat that signifies wisdom and knowledge" - graduation cap; "I stand tall in the fields, keeping birds away" - scarecrow; "I swing, but don't hit, and harvest come after" - scythe; "I keep things safe, yet I'm not a guard" - lock; "I'm the symbol of Halloween, a famous festive face" - pumpkin; the wise bird - owl; justice weighing both sides - scales.
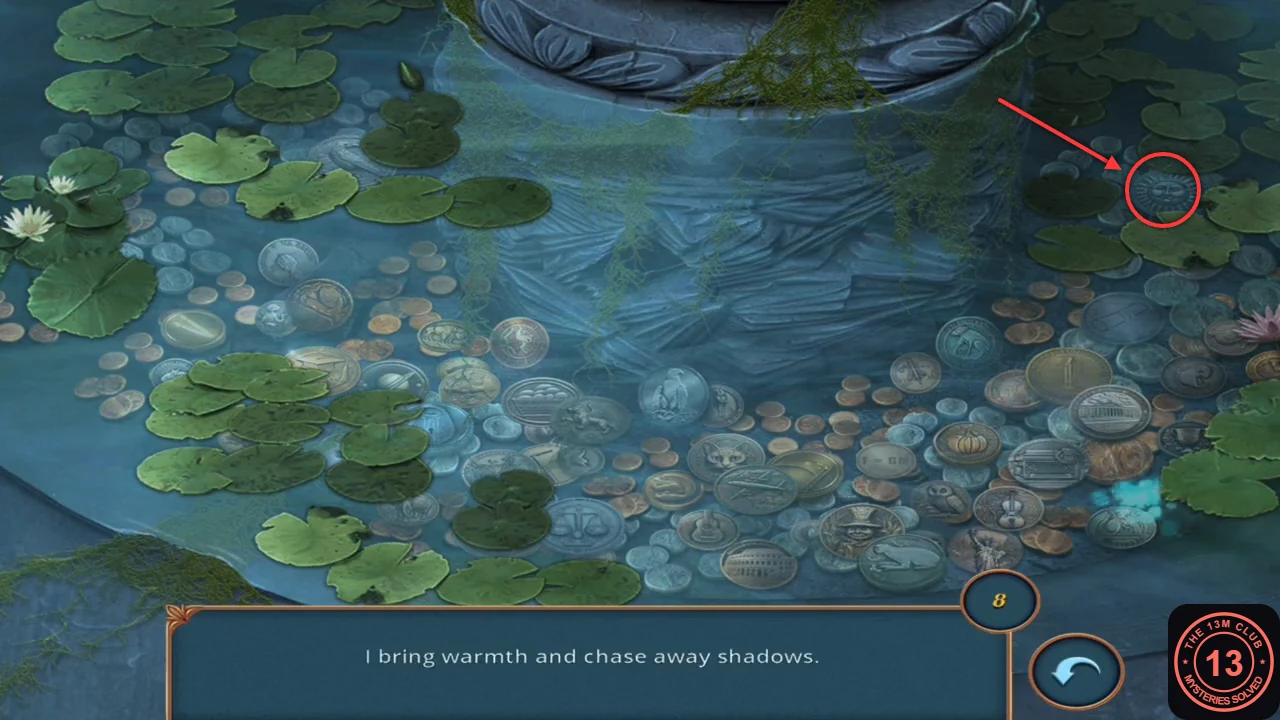
The sun coin for "I bring warmth and chase away shadows". - You receive the reaper figurine.
PUZZLE
Reaper Figures Puzzle
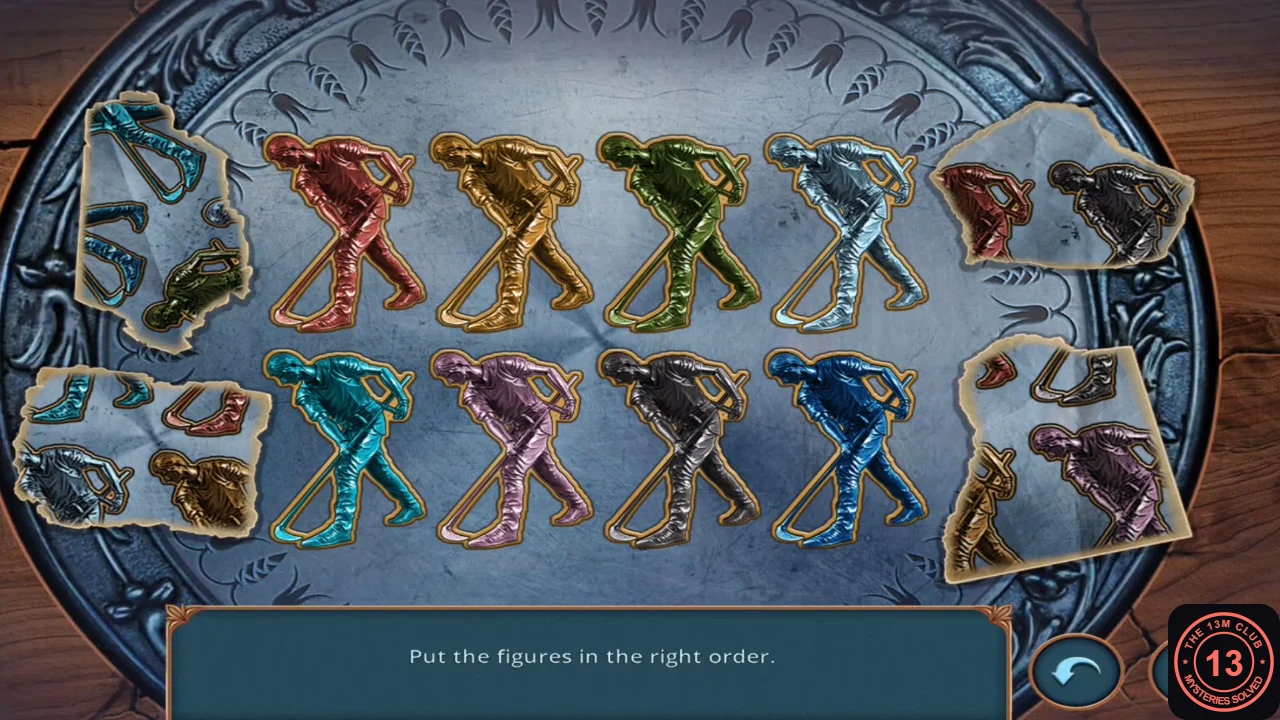
The box in the graffiti kiosk has a reaper-shaped recess.
- Tap the box in the kiosk and place the reaper figurine. "Put the figures in the right order."
- Eight coloured reaper figures stand in two rows of four. Tap two figures to swap them. The torn paper scraps at both sides show parts of the colour order. Final order in the recording: top row dark blue, teal, red, black; bottom row green, light blue, gold, pink.
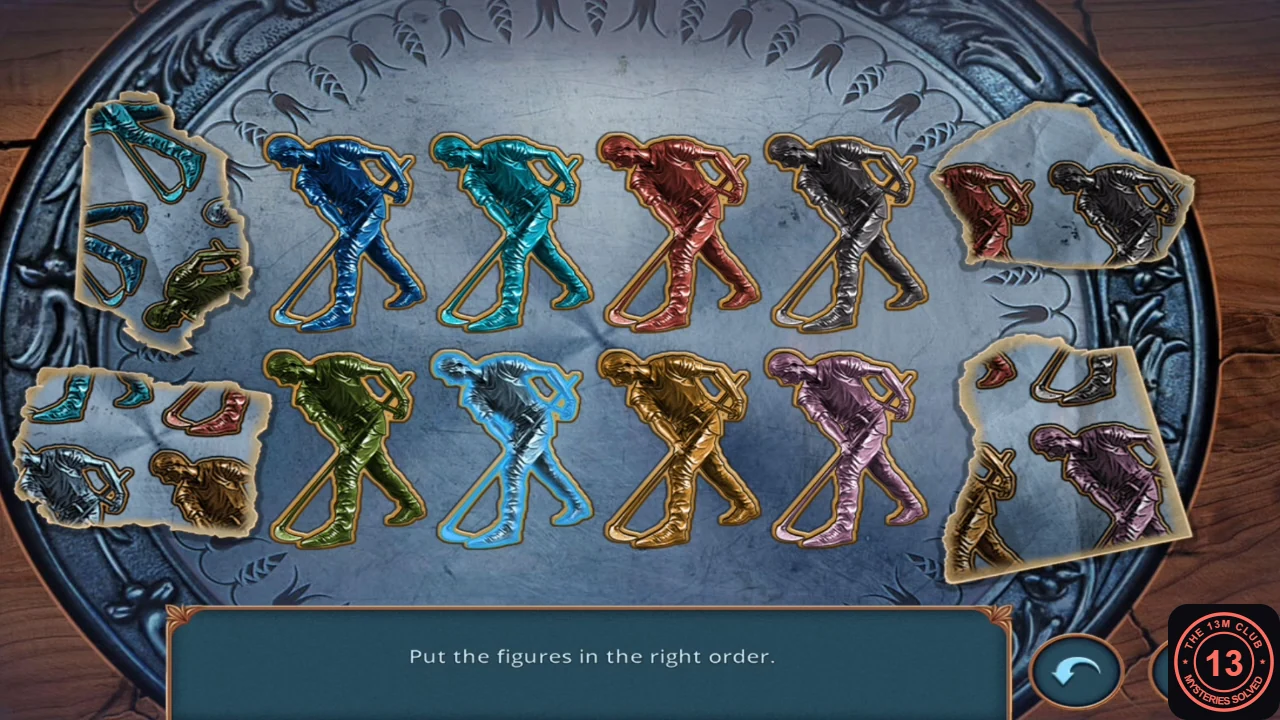
Final order from the recording. - The box opens. Take the long tool with orange bands on its handle.
UNIVERSITY
The Sun Stones
The last antidote component is hidden in the university hall.
- In the university hall, tap the green box under the hot plate. Use the long tool to unscrew its front panel. Read the torn note and take the red cloth.
- Pick up the second gold candlestick part from the floor on the left of the hall. It joins part 1/2.
- Put the completed gold part on the brass candlestick. Take the Sun Stones and drag them onto the Components list. The list is complete.
- Bring the components to Sterling in the laboratory. He says he needs more time to finish a mechanism that gives ghosts the power to take revenge.
DECISION 4
Decision 4: Activate the Machine
Ghosts from all over the city have gathered. Sterling asks someone to go down to the hall and activate the mechanism.
- Choose "Let's do it!" (35 coins, +1 point) or "I'm too young to die. You should go." (free, 0 points). Either way you receive a picture fragment item and must find the hidden mechanism parts. Paying only changes Sterling's reply.
PUZZLE
Photo Fragment Puzzle
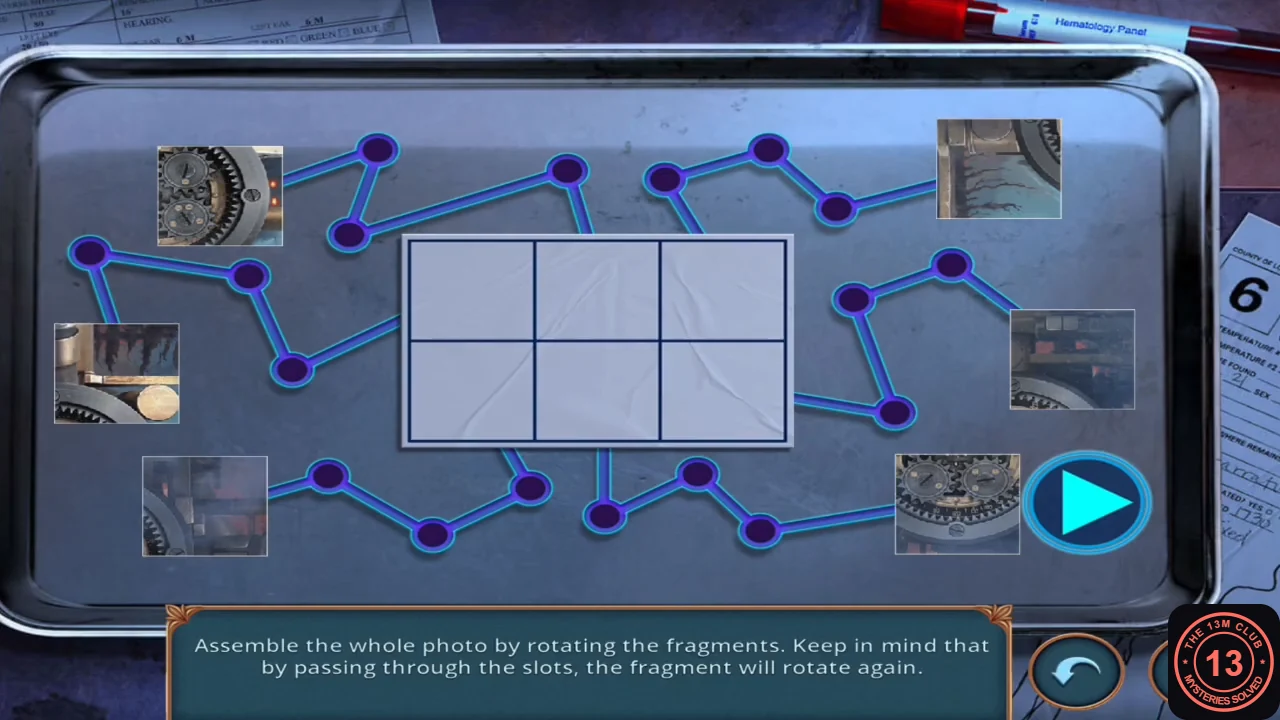
A metal tray beside the red jerrycans in the laboratory is missing a piece.
- Tap the metal tray on the lab floor and place the picture. The puzzle opens: "Assemble the whole photo by rotating the fragments. Keep in mind that by passing through the slots, the fragment will rotate again."
- Six fragments wait around a 2x3 frame, each on its own path with slots. Tap a fragment to turn it 90 degrees, then press Play to send all of them along their paths; each slot turns them once more. The finished photo shows a round safe dial with four small dials between pipes, trees in the background. Each fragment always follows the same path, so the orientations in the solution image (set just before the recording's single successful Play) are the target: turn every fragment to match its picture, then press Play. If an attempt fails, the fragments return to the edge (another recording needed several tries); note how far each one landed off, turn it back by that amount and press Play again.
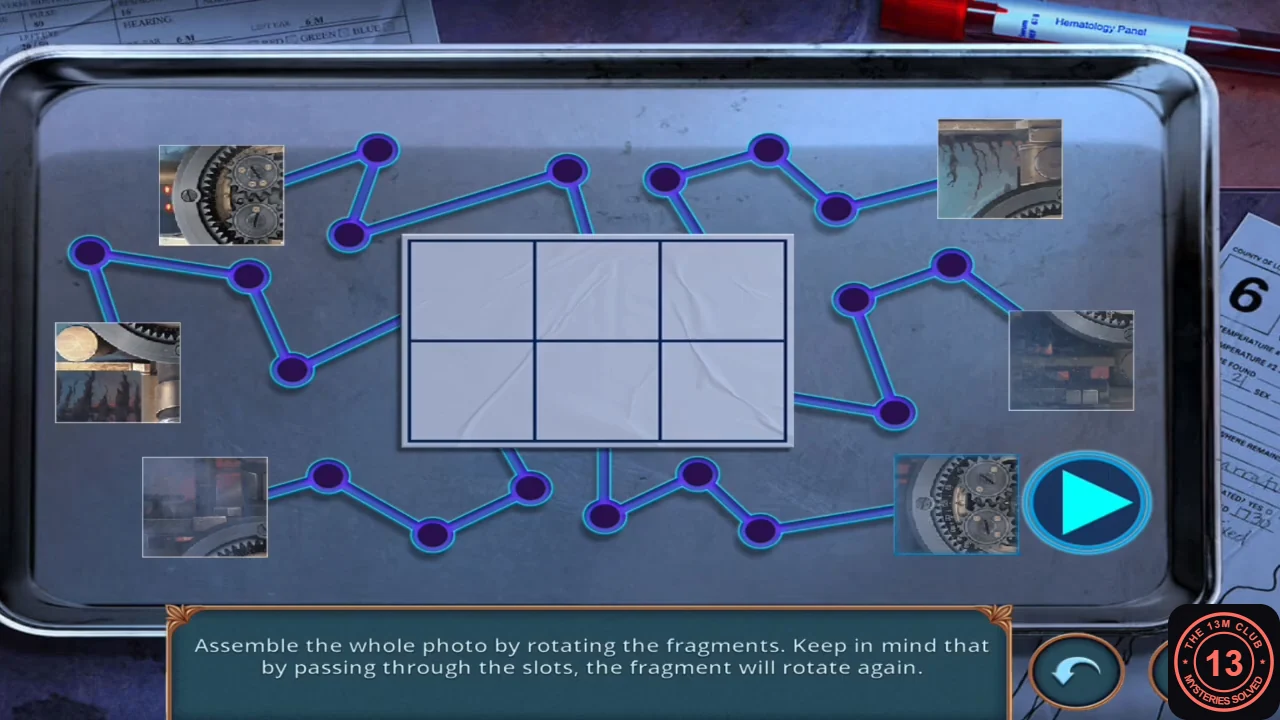
Recorded orientations just before pressing Play. 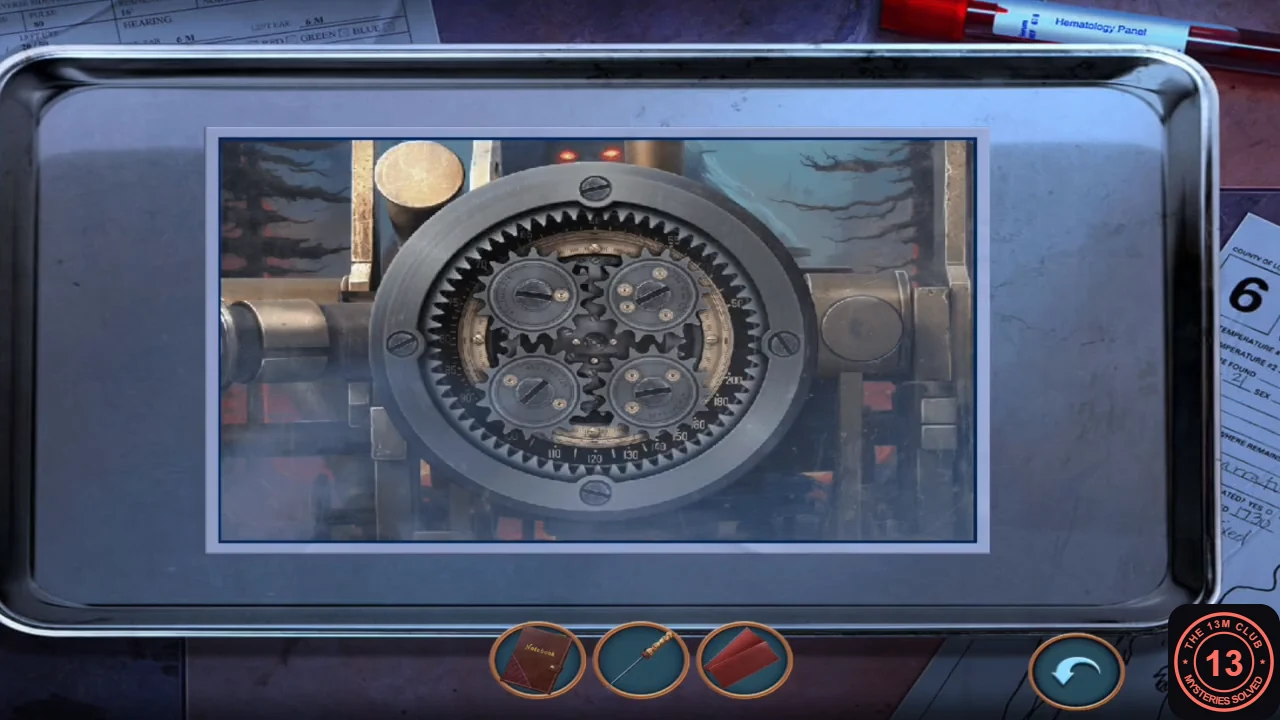
The finished photo.
HIDDEN OBJECTS
Gear Pile and the Red Fountain
The assembled photo shows which gear to take from the junk pile in the town square.
- In the town square, tap the pile of gears you dug up in front of the fountain and place the safe-dial photo. Take the gear (1/2).
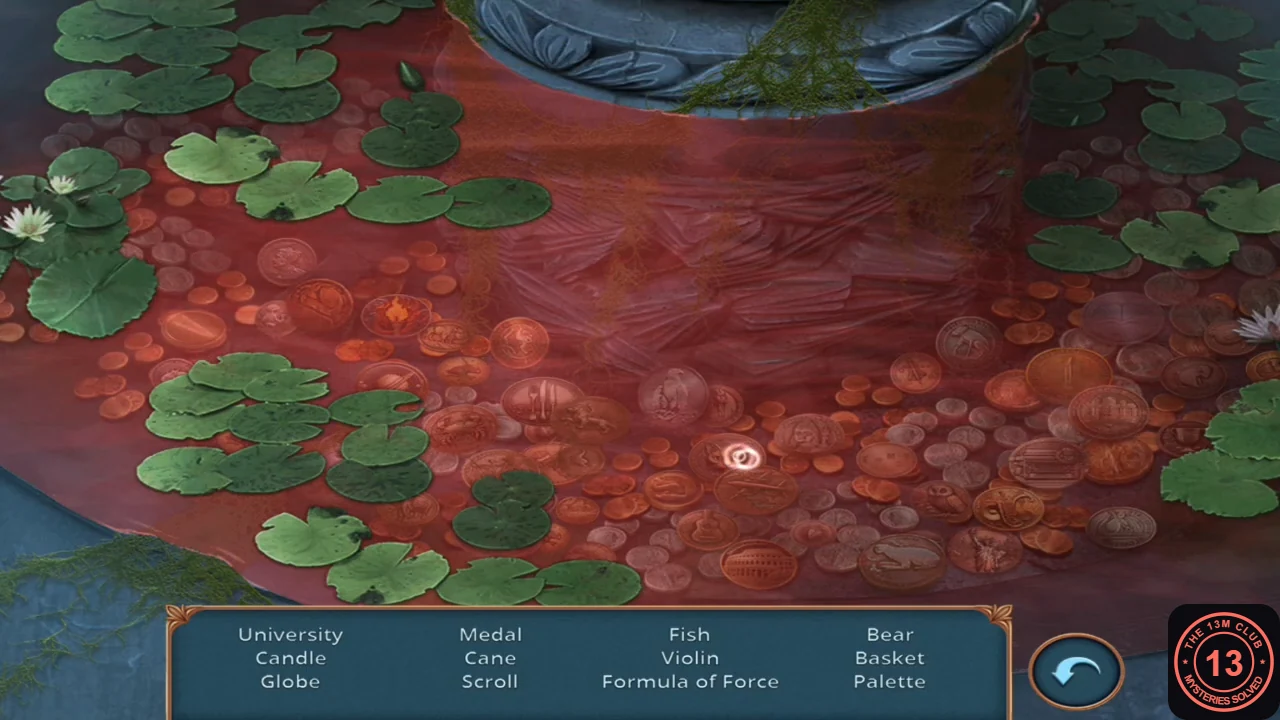
- Read Sterling's letter about the red rye. The fountain water turns red; tap the fountain to open a hidden-object scene.
- Find the 12 listed items: University, Candle, Globe, Medal, Cane, Scroll, Fish, Violin, Formula of Force, Bear, Basket and Palette. You receive the yellow paper folder.
PUZZLE
Gear Dial Puzzle
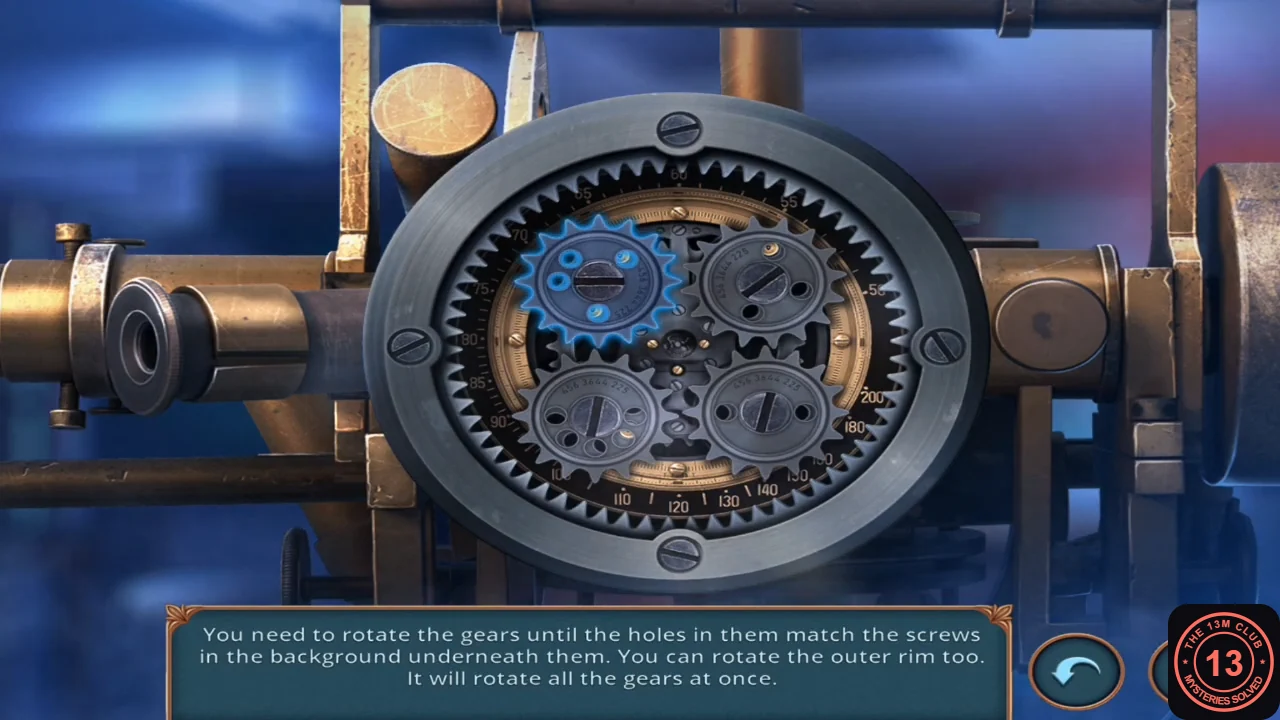
Vapours from the distillation apparatus hide a key in the laboratory.
- In the lab, tap the distillation apparatus and fan the vapours away with the paper folder. Take the ornate silver key.
- Tap the desk just right of Sterling (test tubes, books, small wooden box). Open the wooden box with the key, read Sterling's note about the blueprints and take the second gear (gears 2/2).
- In the university hall, tap the round mechanism at the right side near the doorway. It is the device from the photo. It already holds its four small gears; the two gears you collected stayed in the inventory in the recording.
- "Rotate the gears until the holes in them match the screws in the background." Each of the four small gears has four holes. Tap a gear to turn it; tap the toothed outer rim to turn all gears together. Use the rim to align the gear that is hardest to reach, then fix the others individually. The puzzle is solved when a gold screw head shows through all 16 holes.
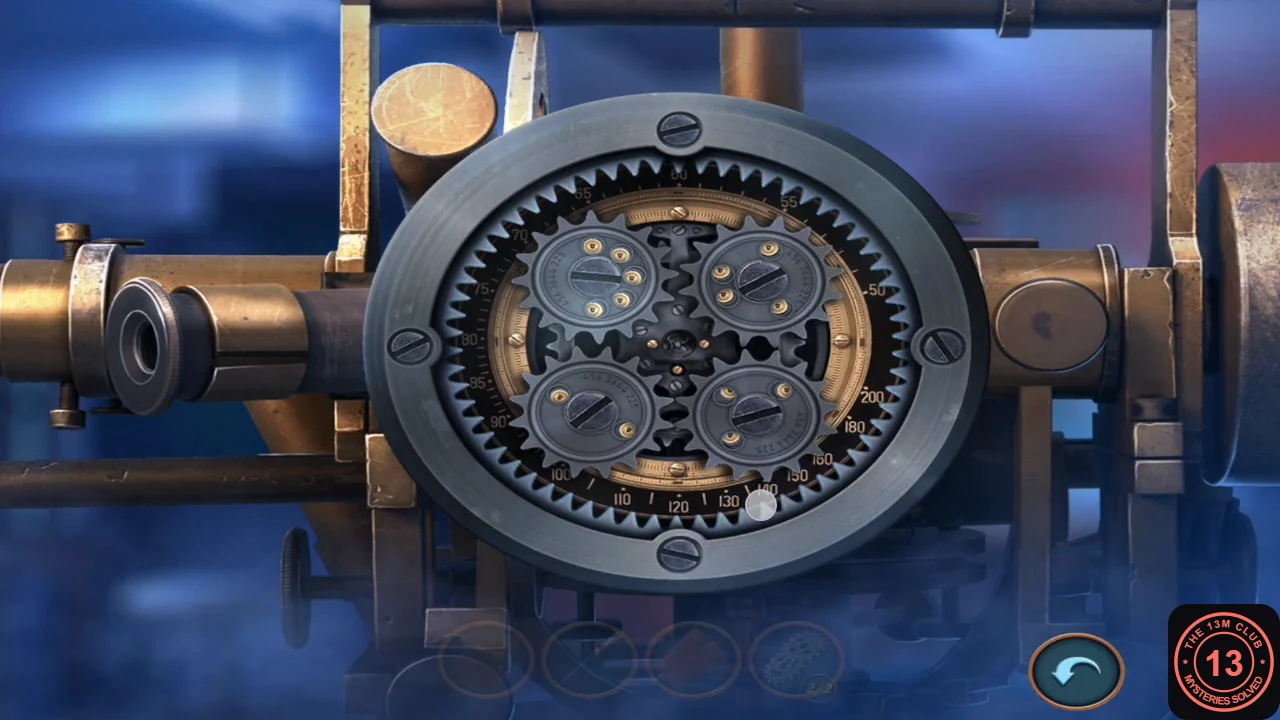
Solved: all 16 holes show screws. - The mechanism glows and the ghosts receive their power. The story moves to the helipad.