Lecture Hall: First Search (Key Route)
Only on the key route. Sterling's note on the lectern explains that ghostly objects return to their real form if you say their owner's name.
- Tap the rolled wall map on its stand at the upper right. Take the grey metal part (1/2) from the stand's bottom shelf.
- Tap the lectern in the centre. Read Sterling's note and take the empty reel.
- Look at the engraving on the lectern ("I need to copy this somehow") and place your notebook on it. A sheet of paper now lies over the engraving; you need a pencil to finish the rubbing later.
- Use the empty reel on the wall map to wind the film. Take the film reel.
- Tap the projector on the left desk and load the film reel. A hidden-object scene opens.
Projector Hidden-Object Scene (Key Route)
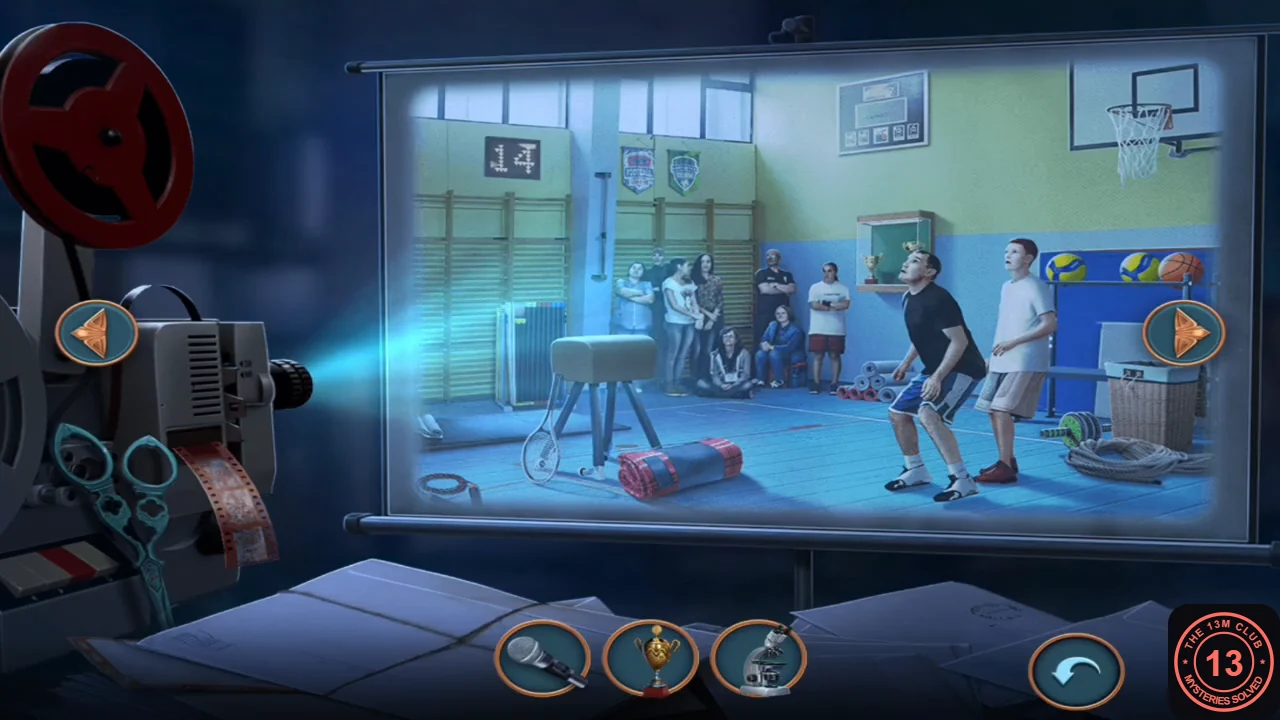
The projector shows three slides: a gym with students, a laboratory with a man in a cape, and the lecture hall. Silhouettes of the items to find appear at the bottom, three at a time.
- Switch slides with the left and right arrows and find each silhouetted item on the slide where it appears. When all are found you receive a film strip with the code 739.CODE739
Pencil Case Lock (Key Route)
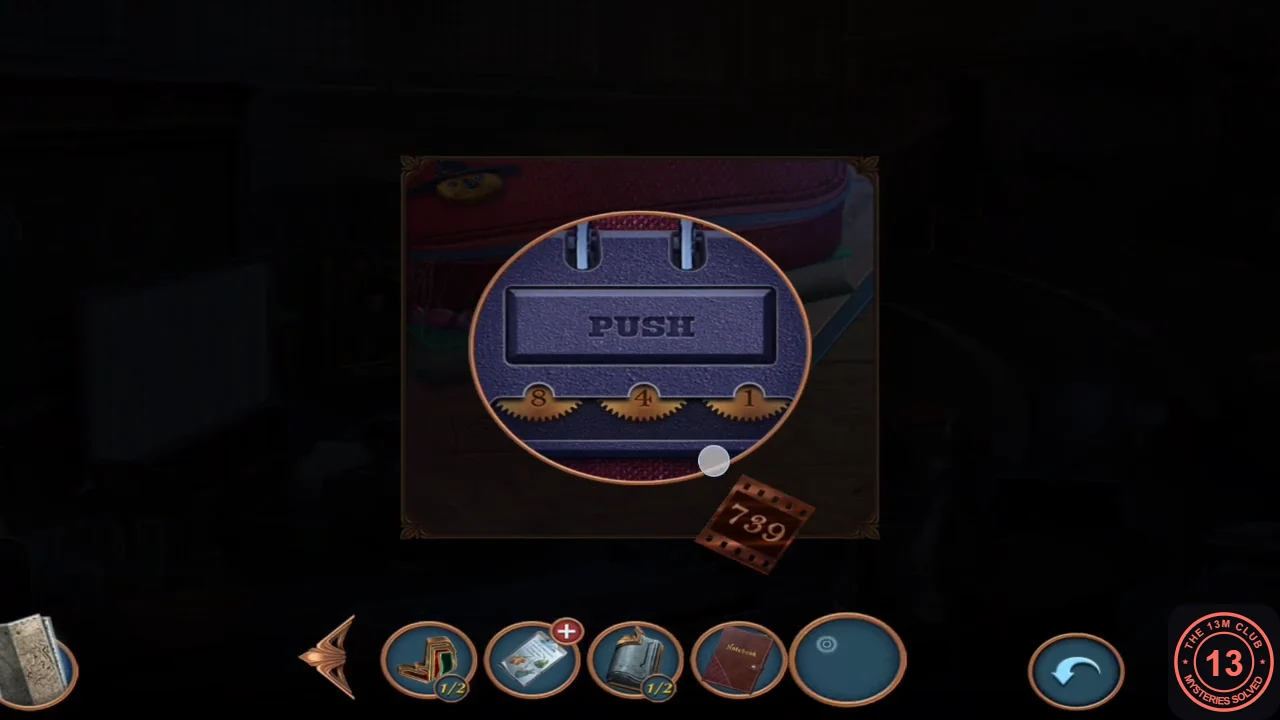
A red pencil case lies on books on the front right desk of the lecture hall, next to a heart carved with "E+S".
- Tap the pencil case and place the 739 film strip. Click the three gear dials until they read 7, 3 and 9 from left to right, then press PUSH.CODE739
- Read the note inside (Eldred won the students over) and take the nippers.
Laboratory: Acid Tube Puzzle
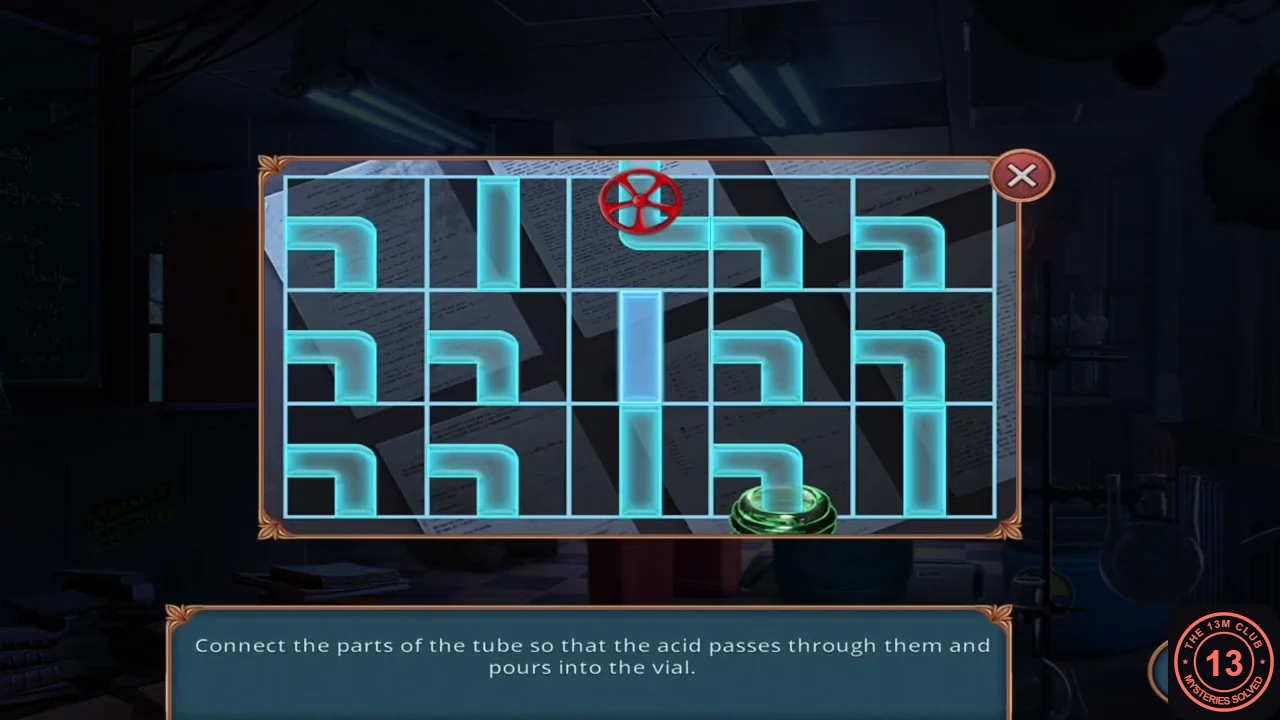
Both routes. Sterling's laboratory holds the apparatus for the antidote. Living Water is the first component.
- Tap the shelf on the left beside the window cabinet. Take the Living Water bottle and the small jar with a green skull label.
- Open the Components list in your inventory and drag the Living Water onto it. It is crossed off.
- Tap the distillation apparatus on the centre table (flask with green crystals). Place the skull jar on the blue mat, the dish under the flask and the metal coil on top. The tube puzzle starts.
- "Connect the parts of the tube so that the acid passes through them and pours into the vial." Tap tiles to rotate them. In the recorded layout (5 columns x 3 rows, valve above column 3, vial below column 4) the path is: column 3 top row turns right; column 4 top row goes down; column 4 middle row turns left; column 3 middle row straight across; column 2 middle row turns down; column 2 bottom row turns right; column 3 bottom row straight across; column 4 bottom row turns down into the vial. Columns 1 and 5 are not used. A second recording showed the same layout and the same path. If your grid ever looks different, trace one continuous pipe from the valve down to the vial and rotate only the tiles on that path.
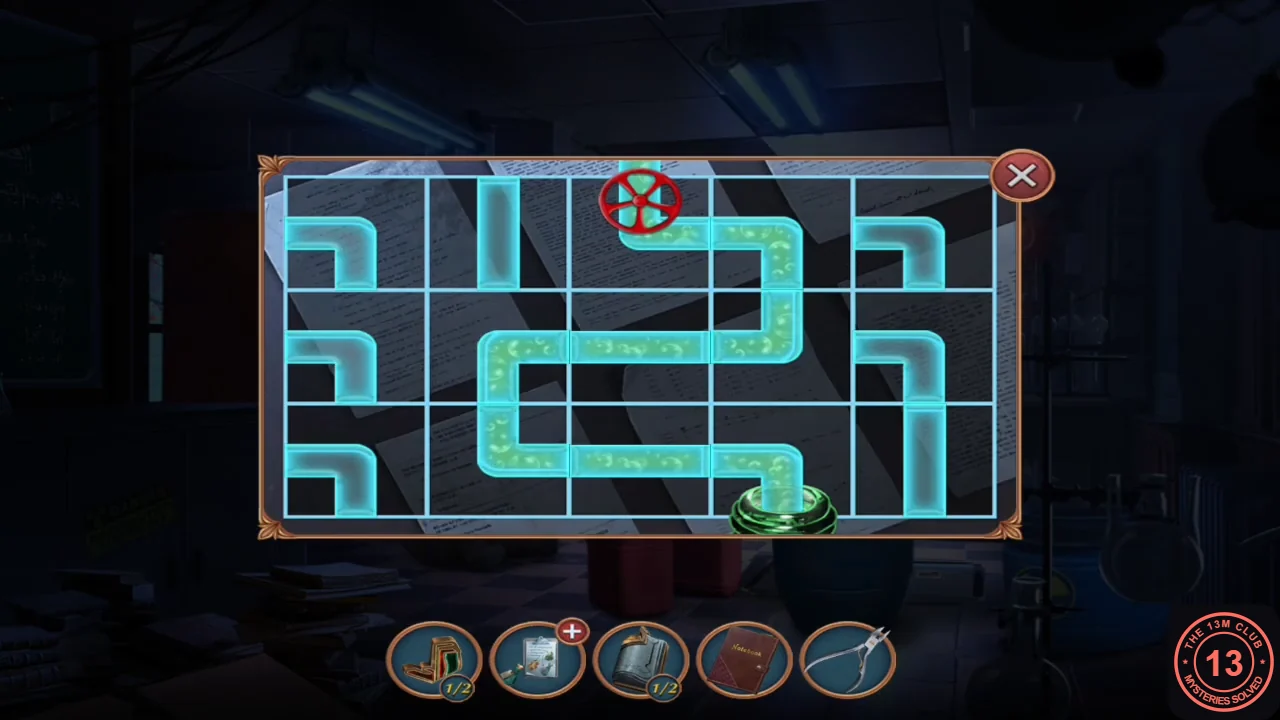
The completed path in the recorded layout. - The burner distils the acid into the skull jar. Take the jar of acid.
- Tap the metal box on the floor next to Sterling and pour the acid on its rusted lid. Take the sieve.
Atlas Map Puzzle (Key Route)
Only on the key route. A metal plate in the box holds the second part of a book emblem.
- In the metal box, use the nippers to cut the wire holding the plate. Take the emblem part; it joins the grey part to make the book emblem.
- In the lecture hall, put the book emblem into the slot at the front of the lectern. Take the atlas from the drawer.
- Place the atlas on the wall map stand. The atlas puzzle opens.
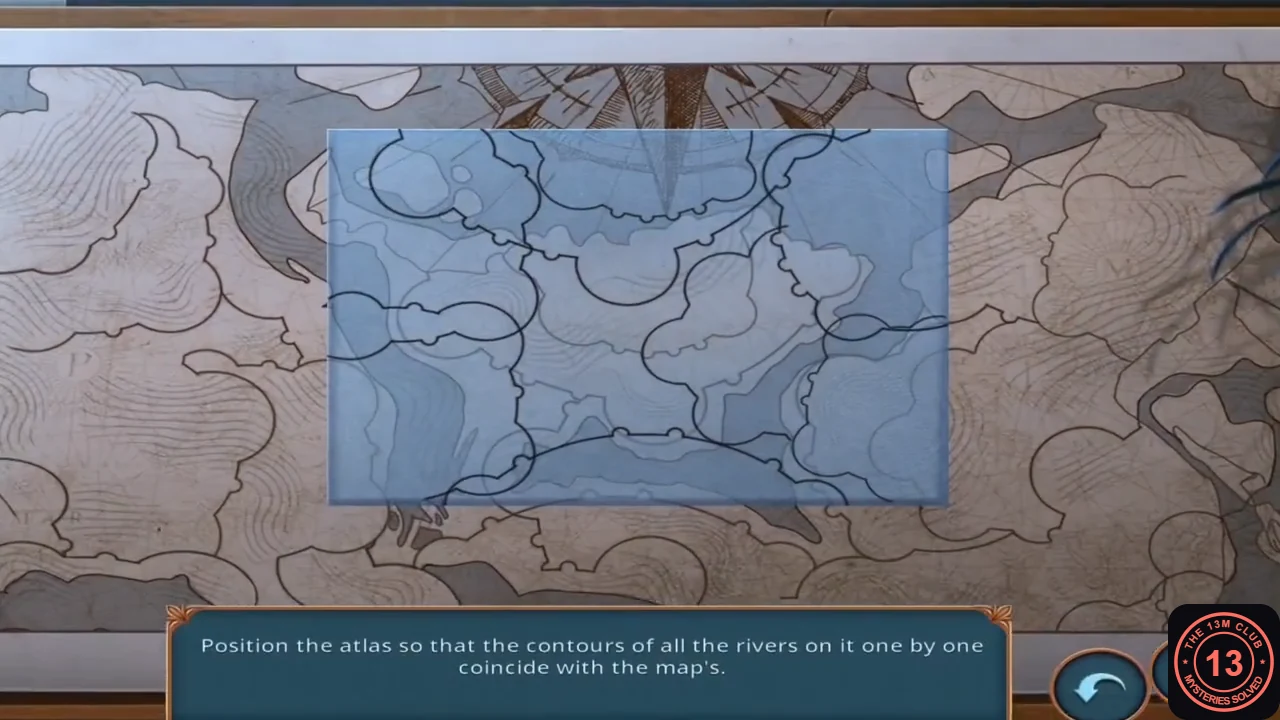
- "Position the atlas so that the contours of all the rivers on it one by one coincide with the map's." Drag the transparent atlas sheet over the map. Whenever one of its rivers lies exactly on a river of the map, that river glows blue and stays lit. The recording lit the rivers at the left and bottom left first, then the centre, the right and the top right. Keep moving the sheet until every river glows.
- The map rolls up. Take the silver ribbed cone from the wall niche behind it.
Laboratory: Green Ore and Water Cleaner
Both routes. The sieve gets you the second antidote component.
- Tap the blue bucket of stones beside the red jerrycans and use the sieve. Take the Green Ore and the yellow handle.
- Drag the Green Ore onto the Components list.
- Tap the closed case on the left shelf, attach the yellow handle and open it. Take the blue Water Cleaner canister. Free route: go straight to Fountain Coin Riddles in Part 4.
Ghost Diary (Key Route)
Only on the key route. Finish the rubbing on the lectern to learn the students' names.
- In the university hall, insert the metal cone into the base of the brass candlestick. A drawer opens; take the pencil.
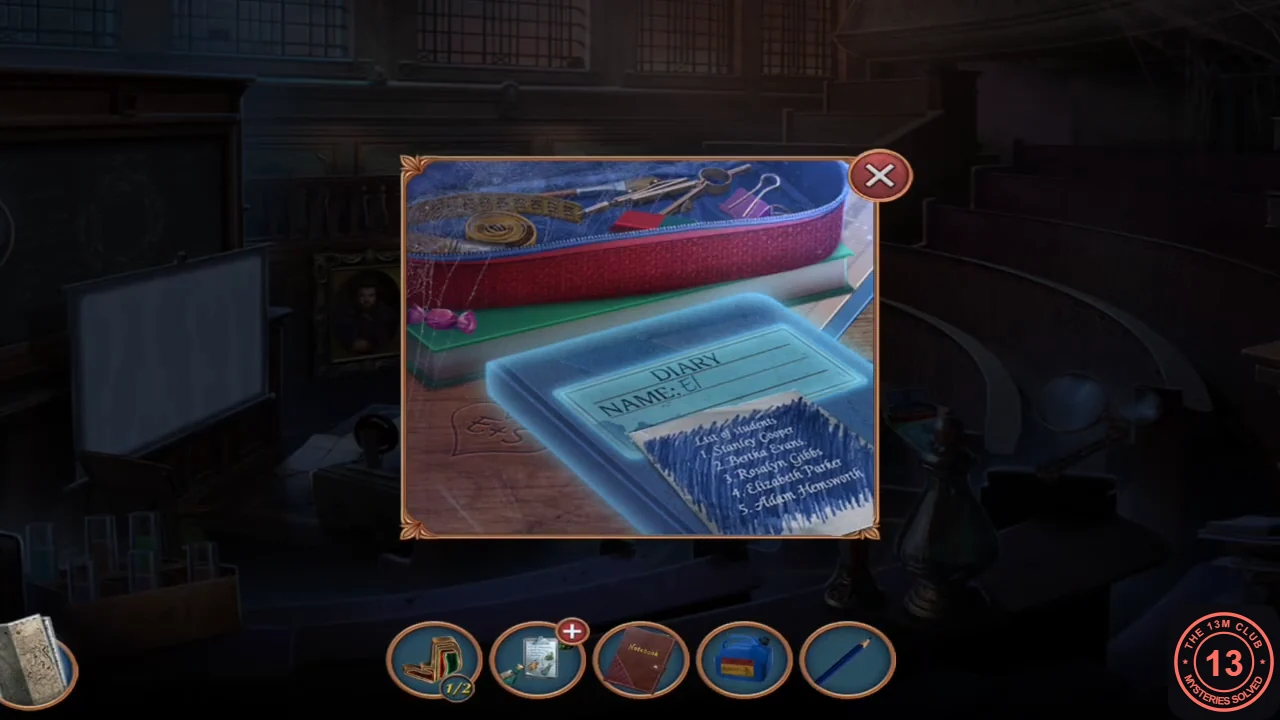
- In the lecture hall, use the pencil on the paper over the lectern engraving. Take the rubbing: a list of students (Stanley Cooper, Bertha Evans, Rosalyn Gibbs, Elizabeth Parker, Adam Hemsworth).
- A ghost girl appears. Tap the red pencil case: a ghostly diary labelled "NAME: El..." lies there. Use the list of students and the pencil on it; the name Elizabeth Parker is written in and the diary becomes solid.
- Read the diary: Elizabeth volunteered to help Eldred in his lab with the rye crops, and two students disappeared. Return to the projector for a second round.
Projector Hidden-Object Scene, Round 2 (Key Route)
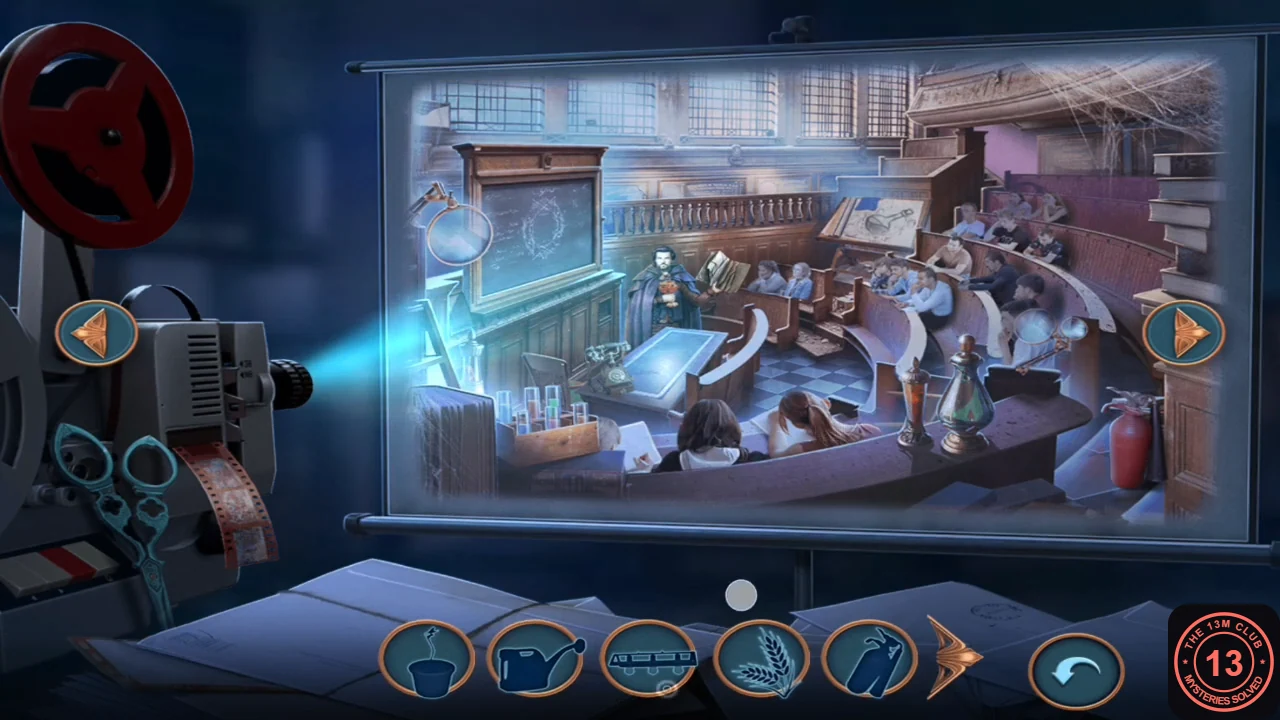
The projector shows new slides, including the gym and a storage room. Silhouettes appear at the bottom as before.
- Switch slides with the arrows and find every silhouetted item. The task "Find out how Eldred made the rye" is completed.
- Go back through the lab and outside to the town square fountain.