Town Square: Get into the University
Your next objective is to get into the university. The square has a fountain, a wheelbarrow, a graffiti kiosk with a shutter and scaffolding against the university.
- Tap the wheelbarrow by the fountain. Take the trowel and the metal coil.
- Tap the fallen metal pipe at the bottom left. Use the crowbar to lever it aside and take the orange-handled tool with a wire loop.
- Use the trowel on the patch of soil to uncover a pile of junk and gears. You cannot take anything from it yet; come back later.
- Tap the chain on the graffiti kiosk's shutter. Attach the carabiner, then pull the chain with the orange loop tool. The shutter rolls up.
- Tap the box inside the kiosk (it has a reaper-shaped recess you will use later). Take the small dish and the metal ball.
- Put the metal ball on the wheelbarrow as a wheel. Once it rolls away, take the red ladder from the fountain rim.
- Place the ladder against the scaffolding to the left of the university building. The hand puzzle opens.
Scaffold Hand Tokens Puzzle
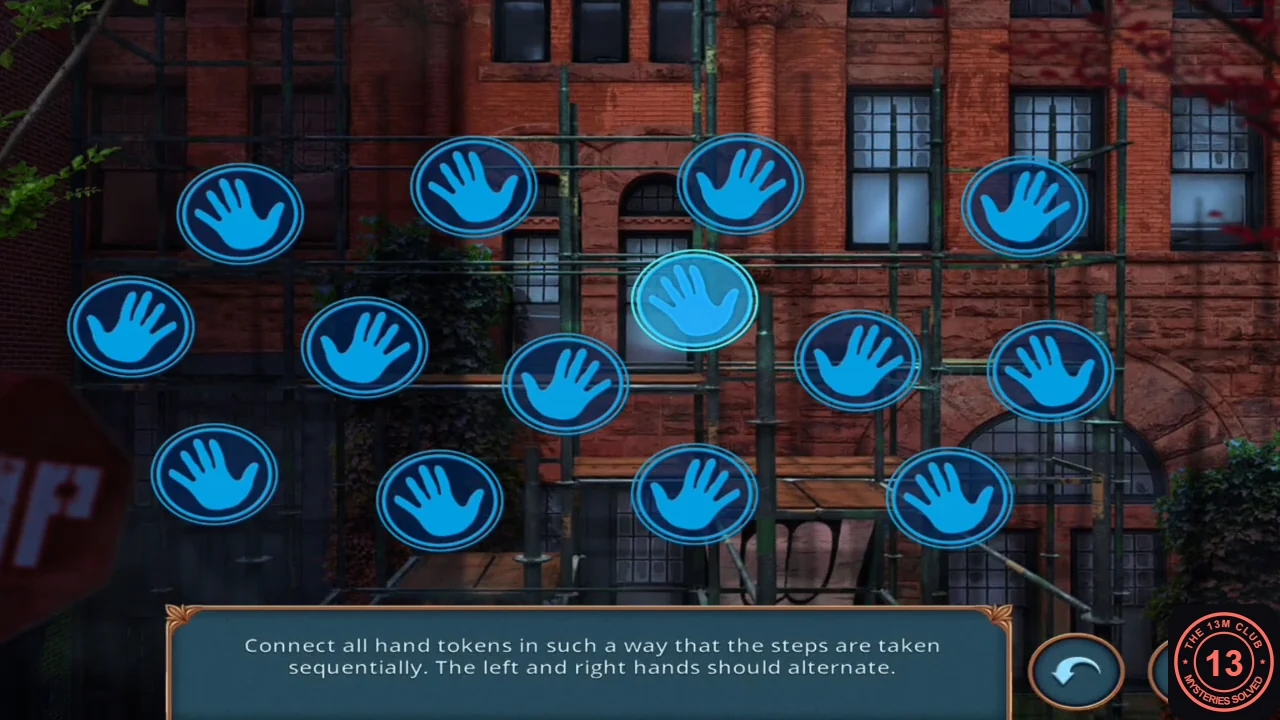
Fourteen hand tokens are spread over the board. Connect all of them one step at a time; left and right hands must alternate.
- The token layout was the same in both recordings checked. Start at the hand in the top right corner and go to the hand below it, then left, then to the lower hand at the bottom right, along the bottom to the middle and the left of centre, up to the centre, the centre-upper hand, the top centre-right, the top centre-left, down to the middle left, up to the top left, down to the far left and finally to the bottom left. If a step is refused, the hand type does not alternate; go back and choose the other neighbour.
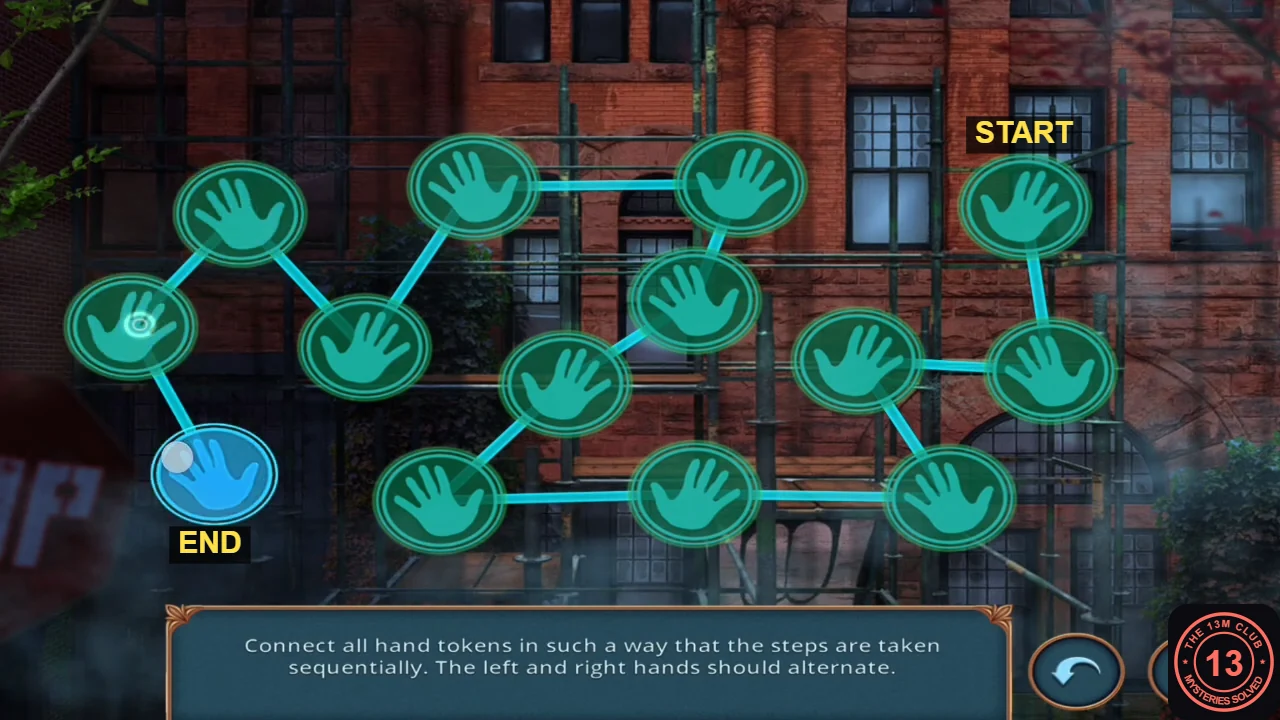
The full path, from START at top right to END at bottom left. - The way into the university opens. The recorded game then showed an Unlock screen asking for one key to continue (keys 2 to 1). Keys are the app's free-to-play currency and recover over time. Another recording did not show this screen, so it may depend on your app status.
University Hall: Get Past the Ghosts
Ghosts block the stairs of the university hall. "It's always good to follow the light."
- Tap the loose floorboards in the foreground and use the screwdriver you took beside the archive safe to lever them apart. Take the matchbox.
- Tap the clock mechanism on the right wall. Take the gold candlestick part (1/2) and the pink scraper.
- Tap the brass candlestick on the right table and use the scraper to collect the wax.
- Tap the hot plate on the green box. Put the wax in the pan, switch the plate on and dip the red cord in as a wick. Take the candle.
- Combine the candle with the matchbox to light it.
- Hold the lit candle towards the ghosts on the stairs. They retreat and Professor Malcolm Sterling appears. He asks you to solve three picture puzzles.
Sterling's Puzzle 1: Hexagon Picture
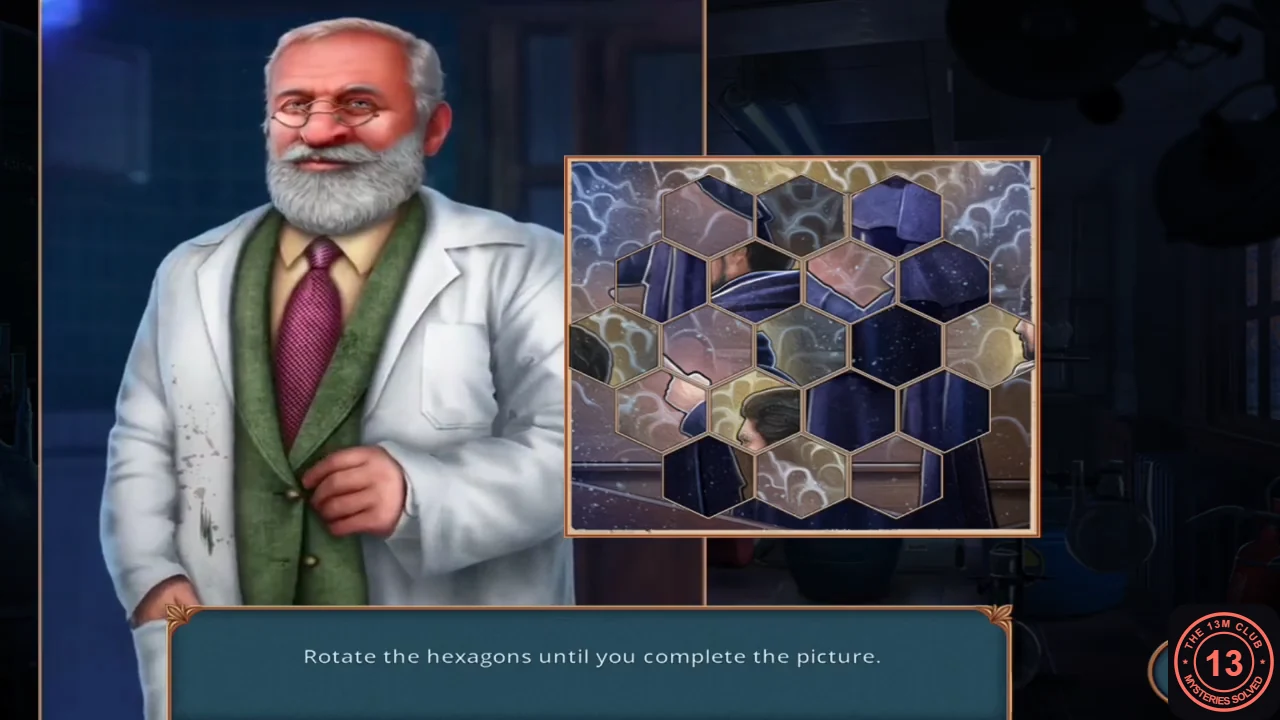
"Rotate the hexagons until you complete the picture." The finished picture shows a man in a dark coat pointing.
- Tap a hexagon to rotate it. Start with pieces that show clear features (the man's figure and coat edges) and line their edges up with the neighbours, then fill in the background. The puzzle completes automatically when every piece is upright.
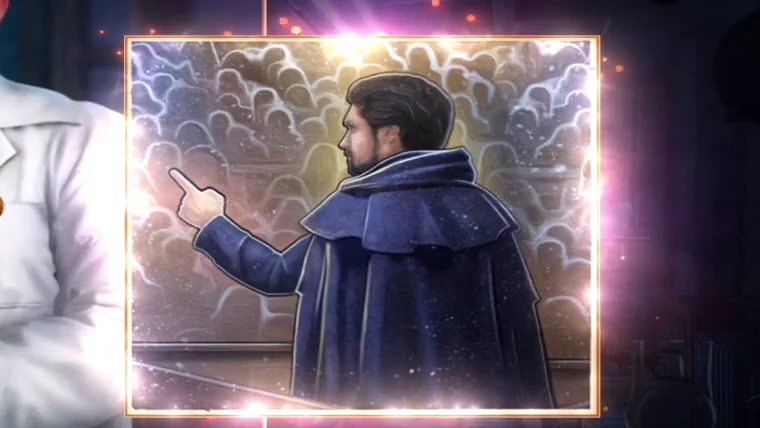
The finished hexagon picture.
Sterling's Puzzle 2: Round Pieces
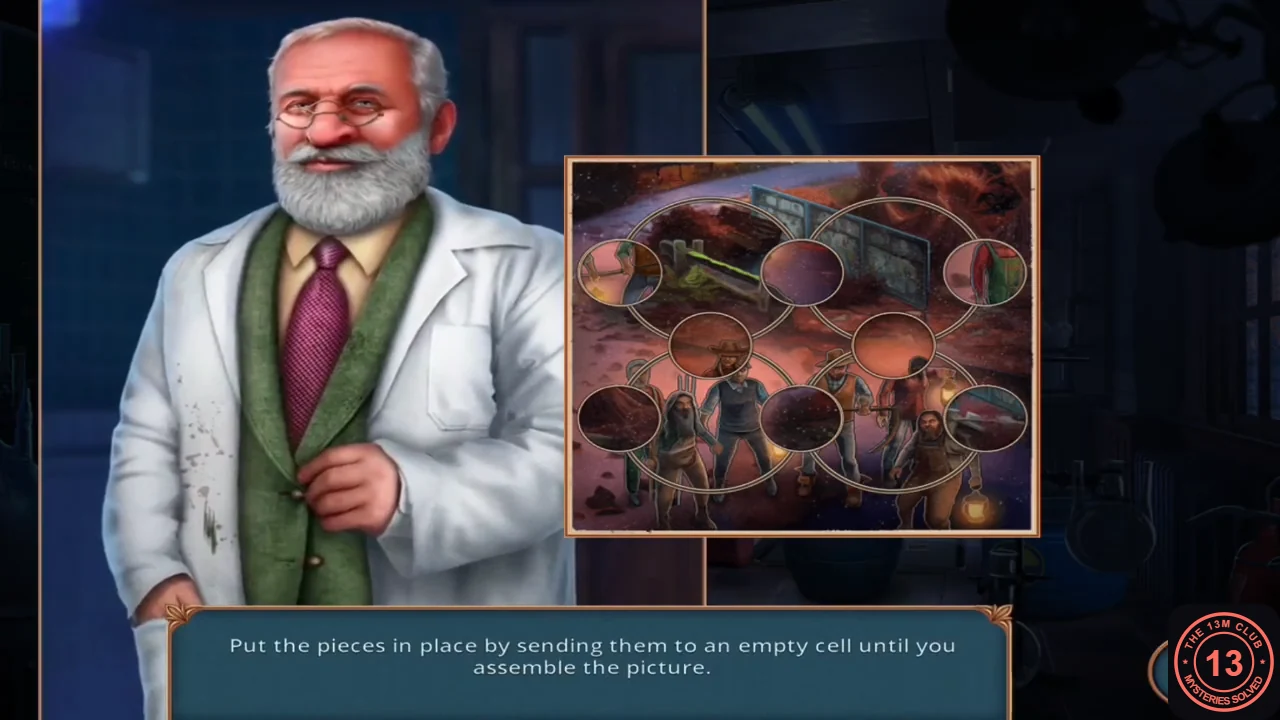
"Put the pieces in place by sending them to an empty cell until you assemble the picture." The picture shows a crowd of townsfolk.
- Tap a round piece next to the empty cell to move it there. Build the picture area by area: place the pieces of one corner first, then use the empty cell to bring the remaining pieces into position without disturbing finished areas. This is a lengthy rearrangement; there is no fixed move list.
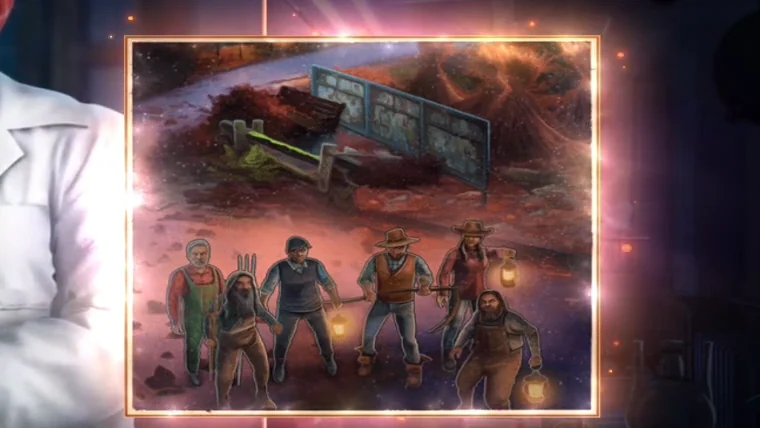
The finished round-piece picture.
Sterling's Puzzle 3: Square Tiles
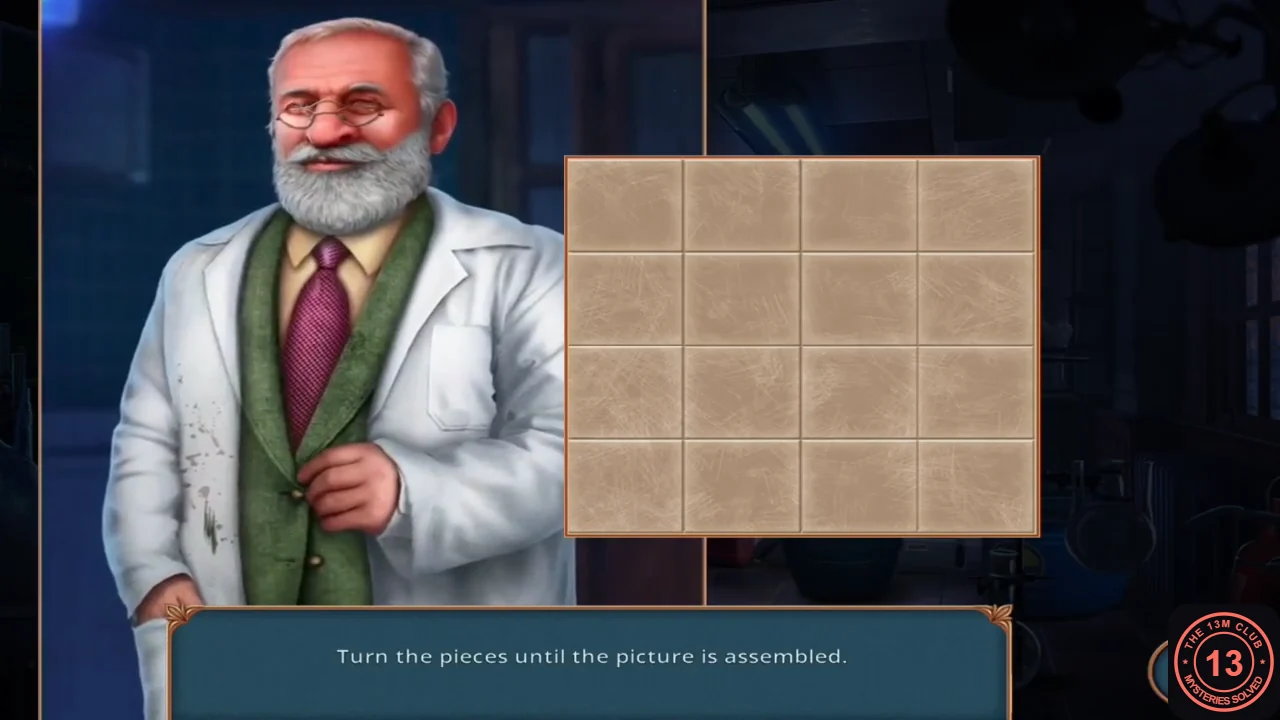
"Turn the pieces until the picture is assembled." The picture shows the lecture hall.
- All 16 tiles start face down. Tapping a tile turns it over together with the tiles directly above, below, left and right of it. The recorded run used four taps whose crosses fit together without overlap, turning over all 16 tiles: 1) top row, second tile; 2) third row, first tile; 3) second row, fourth tile; 4) bottom row, third tile. The revealed pieces are already the right way up, so the picture completes.
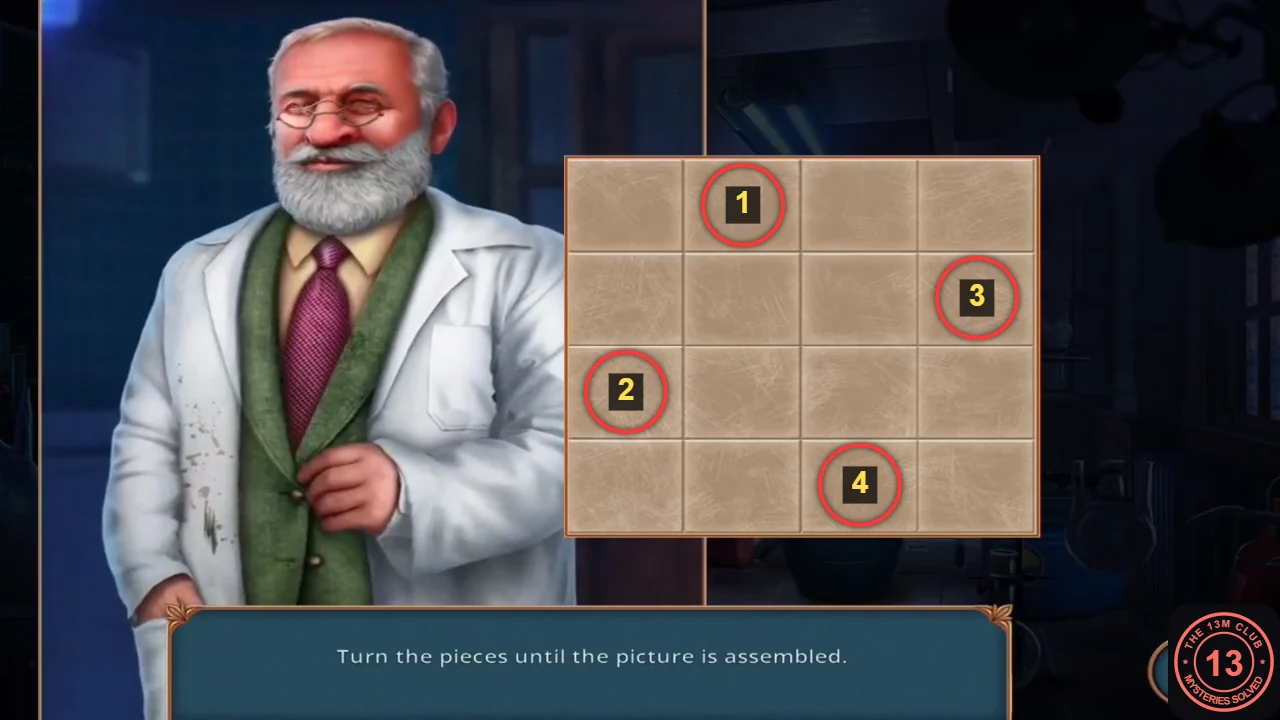
Tap these four tiles; each also turns over its neighbours.
Decision 3: The Lecture Hall
Sterling asks if you are interested in the red rye. A locked picture of the lecture hall shows the optional investigation this decision unlocks.
- Choose "I'll go! I can't miss a single clue!" (1 key, +6 points) or "Don't want to waste time on nothing." (free, 0 points). The key choice opens the lecture hall investigation (sections marked Key route in Part 3). It is also the biggest single source of decision points.
- Free route: Sterling explains he already finished the antidote formula and asks you to bring its components; the Components list (Green Ore, Living Water, Sun Stones) is in your inventory on both routes. The lecture hall stays shut and your task becomes "Bring the antidote's components". In Part 3, skip the Key route sections and steps: do Laboratory: Acid Tube Puzzle (all steps), then Laboratory: Green Ore and Water Cleaner, then continue with Part 4. The book-shaped part under the metal box lid stays where it is on this route.
- Key route: Sterling takes you to his laboratory. A Components list (Green Ore, Living Water, Sun Stones) is now in your inventory. Walk from the lab into the lecture hall. New task: find out how Eldred made the rye.