CHAPTER 2
Green Park Square and the figurine door
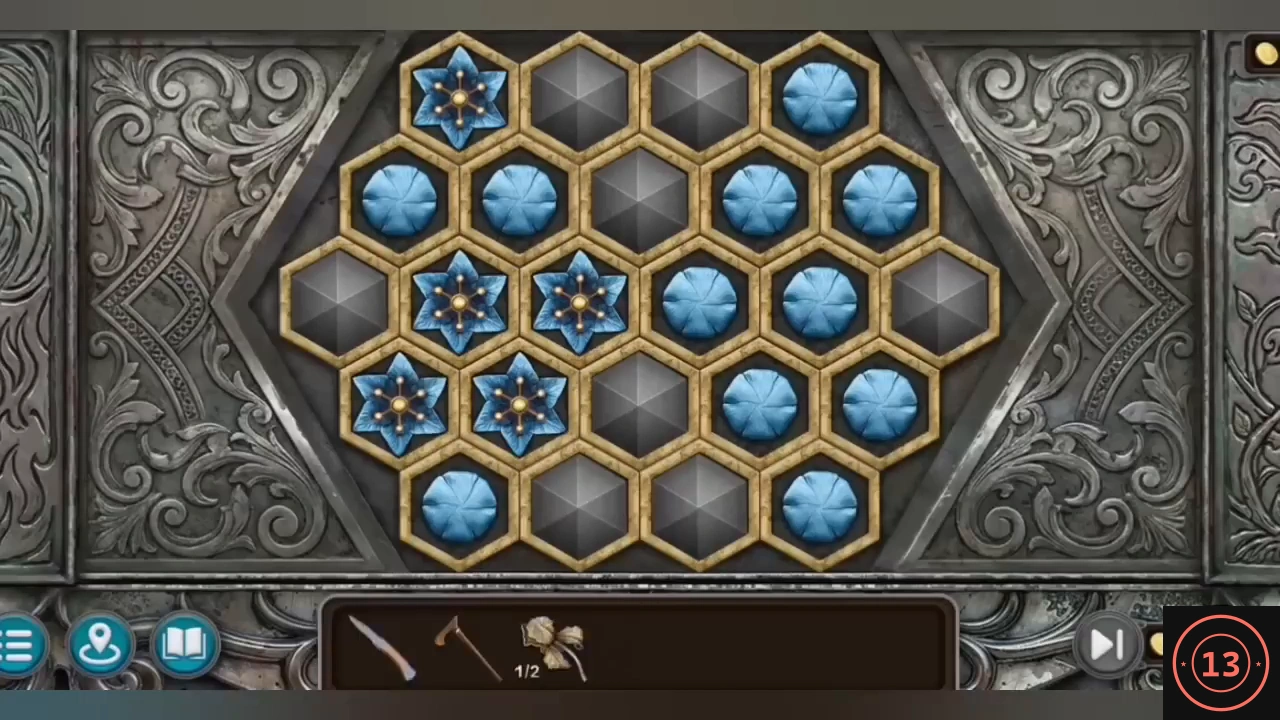
Harvey Sheppley asks John to find his father, Noel, who vanished from his airship. You start in Green Park Square with only the knife.
- Talk to the two ladies at the table. Open the blue door on the far left and take a figurine from the floor. Take the cane from the passage under the building on the left, then use it on the clock post to knock down a second figurine. Take the third from the fountain on the right.
- Climb to the seating area at the top of the stone structure on the right. Cut the sack on the barrow with the knife and take the flower.
- Place the three figurines on the doors under the seating area. On the honeycomb, tapping a blue tile flips it between a round gem and a star, together with the blue tiles touching it; the grey cells never change. Turn every blue tile into a star. Tap round gems that sit among other round gems, and avoid tapping beside a group of finished stars.
CHAPTER 2
The airship factory
Reach the factory beyond the park and examine the grounded airship. The case file counts six crime-scene clues.
- In the park, talk to the man on the bench. Follow the path straight on to the excavation site and talk to Edith Barrow in the tent. Take the road on the right to the factory yard and take the key from the gate post on the lower right. Unlock the small shed beside the ladies' table in the square, take the canned food from under the newspaper and open it with the knife.
- Give the meat to the guard dog. Take a part from the half barrel next to it and the screw from the switch box by the factory door. Pull down the fire ladder on the right with the cane. Repair the broken wire cutters in the toolbox at the top with the screw. Cut the wire on the green electrical cabinet and switch on the power.
- Inside, talk to the worker. Cut open the box on the floor and take the eraser. Talk to the director in the office through the doors on the left; he gives you the airship key. Note the drawing on the wall behind him: five symbols, a balloon, a clock, a hook, a propeller and a wrench.
- Unlock the airship door and go in. Collect the evidence: the symbols in the sand on the floor, the scarab inside the light fitting at the top left, the bandage in the open sarcophagus, the glasses on the red sofa and the canopic jars on the right.
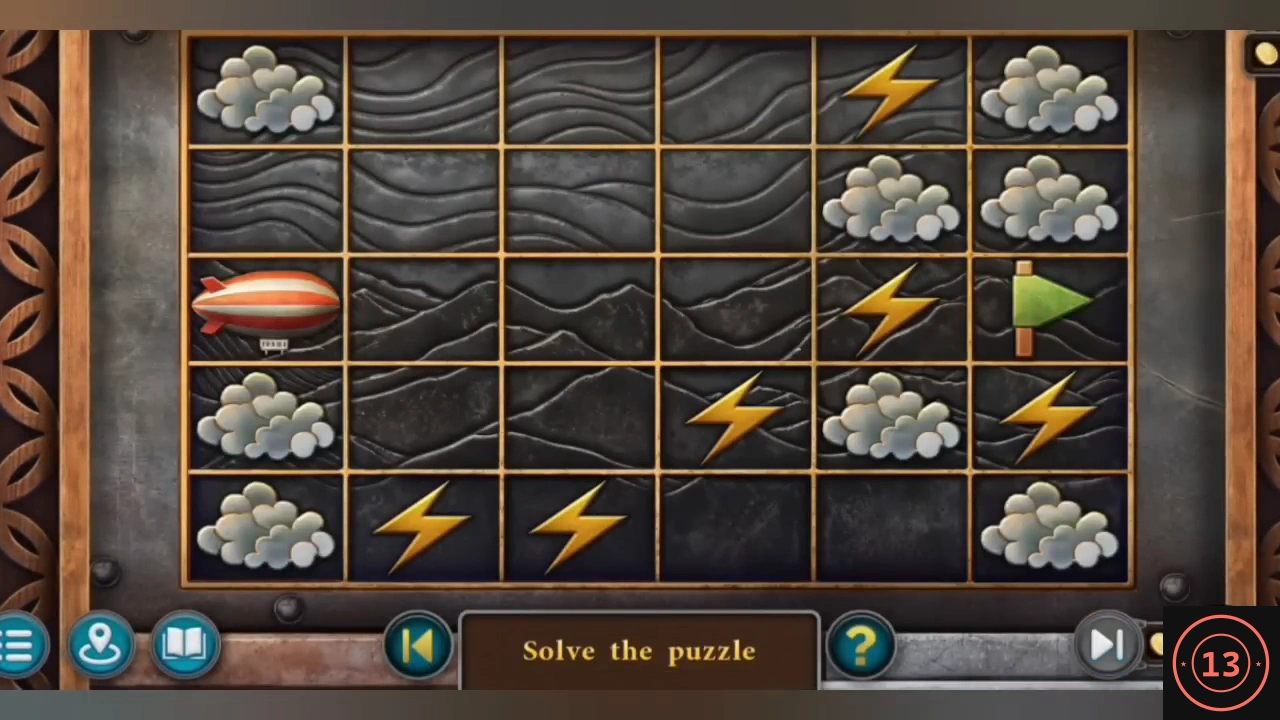
- Pry open the carved panels at the far end with the knife. Swiping moves every lightning bolt at once until each hits an edge, a cloud or another bolt. Clear a row for the airship and tap it to fly it to the green flag. Under seven moves earns the Virtuoso achievement. Take the part and tap the gas for the last crime-scene clue.
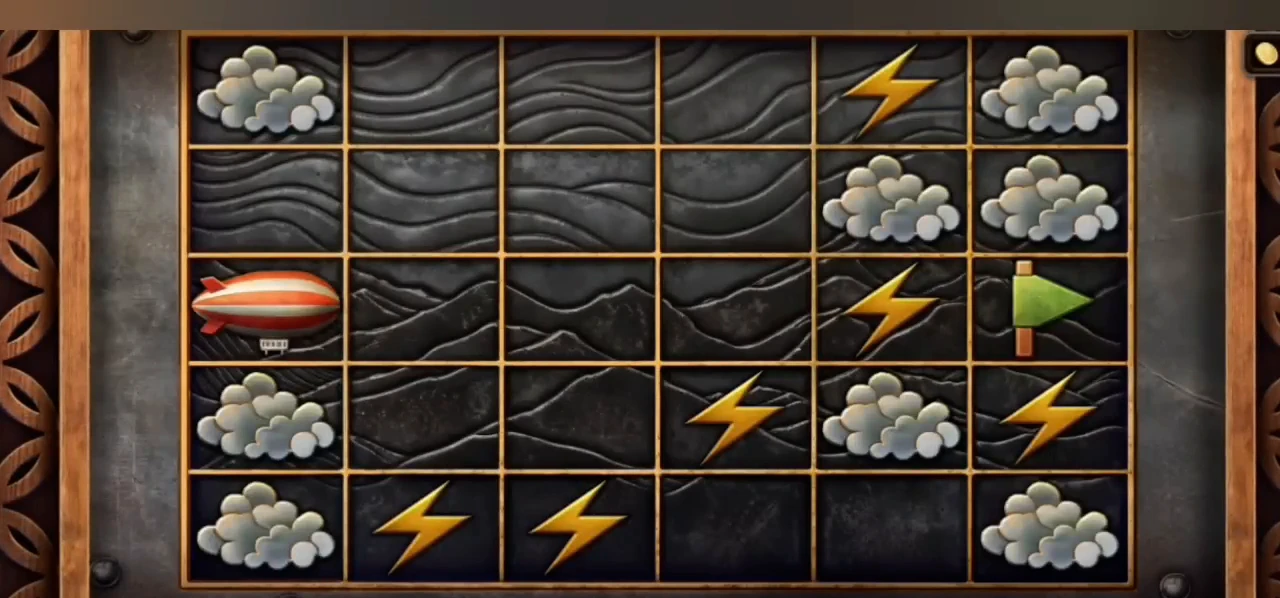
The airship cabinet before solving: swipe the bolts aside to open a row to the flag.
CHAPTER 2
Noel's office and the director's locker
The director lets you into Noel's office upstairs. Gather the four tool-box parts along the way.
- Talk to the director again for the office key and climb the stairs on the right. In Noel's office, rub the scrap of paper on the glass-case table with the eraser to read the code 371. Take a leaf and a toy airship from the coat pocket. Collect the four keys on and in the desk, plus an airship fragment and a lever from the drawers, and the key on the windowsill. Open the bookshelf's glass door with 371 and take the cross.CODE371
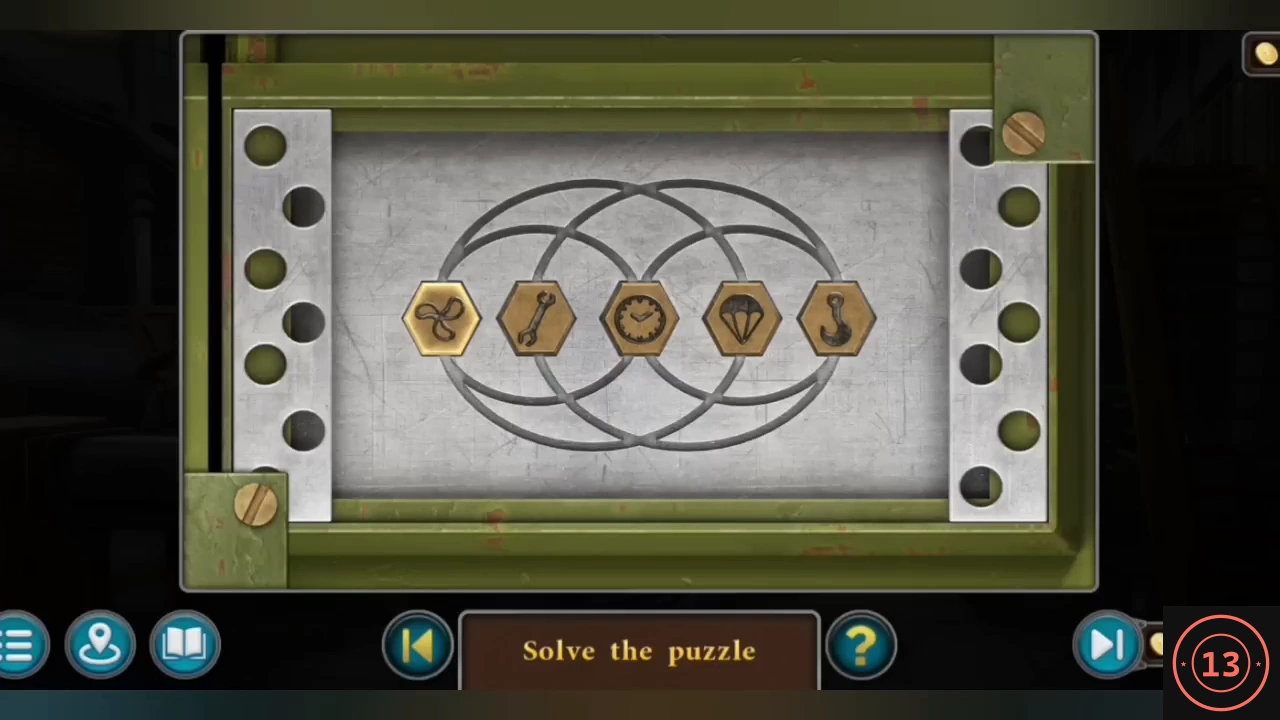
- Use the locker key on the green locker marked for the director. Swap symbols along the circles until they read like the drawing in his office: balloon, clock, hook, propeller, wrench. Take the tool box.
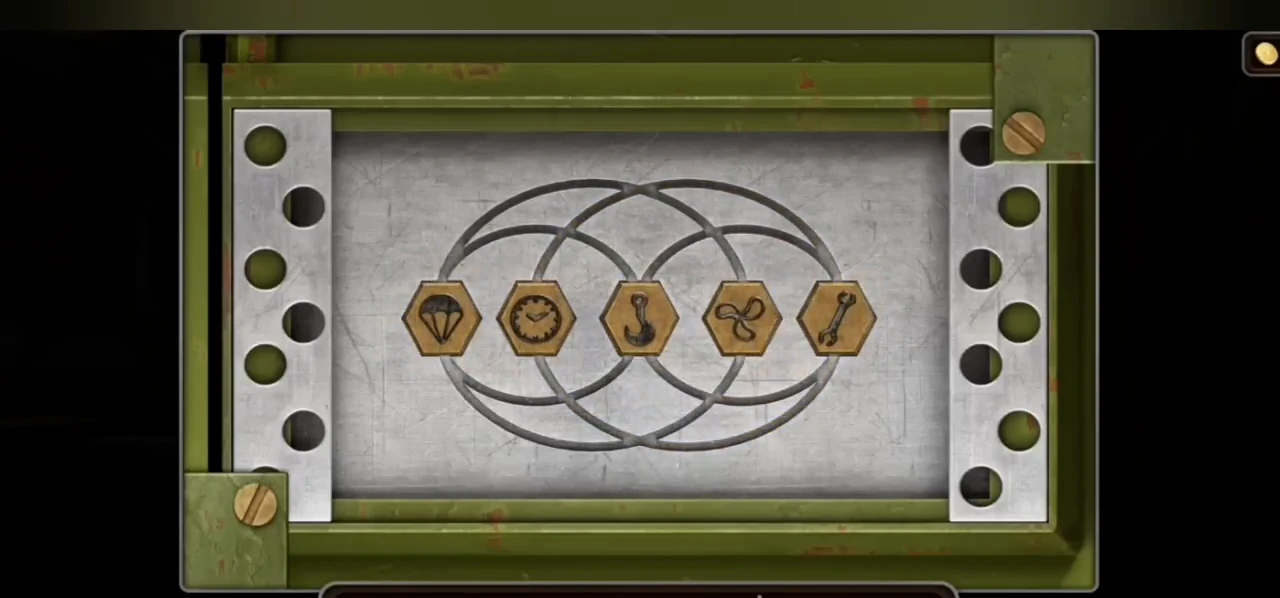
Director's locker solved, in the order of his drawing. - Open the red wagon in the yard with the lever and take the stepladder. In the excavation tent, take the sword from the shelves and the tweezers from the desk. Put the cross on the lion statue in the park and take the second flower.
- In the factory, pick a part out of the floor slot by the opened box with the tweezers. Stand the stepladder below the upper walkway on the right and take a part and the wrench. Open the big crate in the yard with the wrench and take a lever. Fit it to the green lathe beside the steps for the fourth part. Put all four parts into the tool box and take the crowbar.
CHAPTER 2
The park and the leaf gate
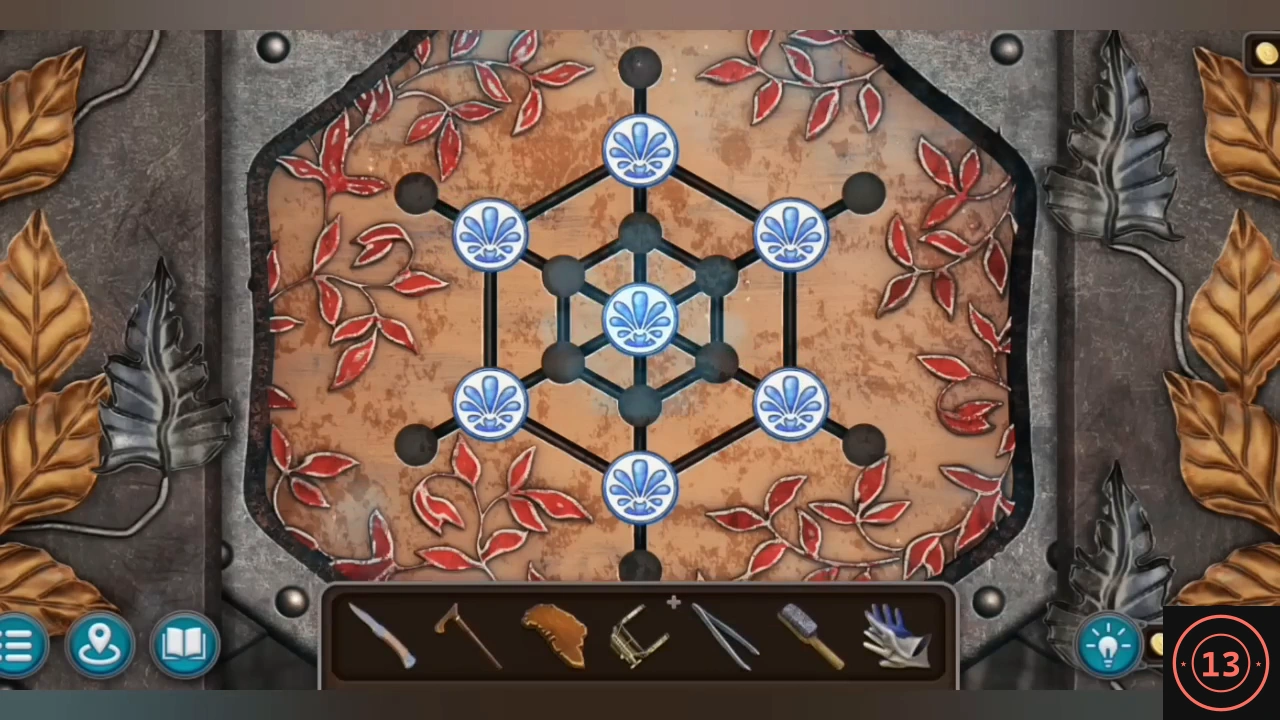
Three leaves and the clue on the statue open the gate to the Sheppley estate.
- At the excavation site, ride the wooden lift on the left. Take the mace from the open box and lever the other box open with the crowbar for a brush.
- Lift the metal cover below the tall statue in the park with the crowbar and turn the valve with the wrench. Take the leaf from the fountain that starts flowing. Put both flowers on the doors of the small building on the right and take a leaf and the gloves.
- In the airship, use the cane on the high shelf above the sofa to bring down a suitcase. It has a lock shaped like an airship.
- Clean the tall statue in the park with the brush to reveal a pattern of seven discs. Put the three leaves on the gate at the bridge. Slide the discs along the lines until they sit on the same points as on the statue.
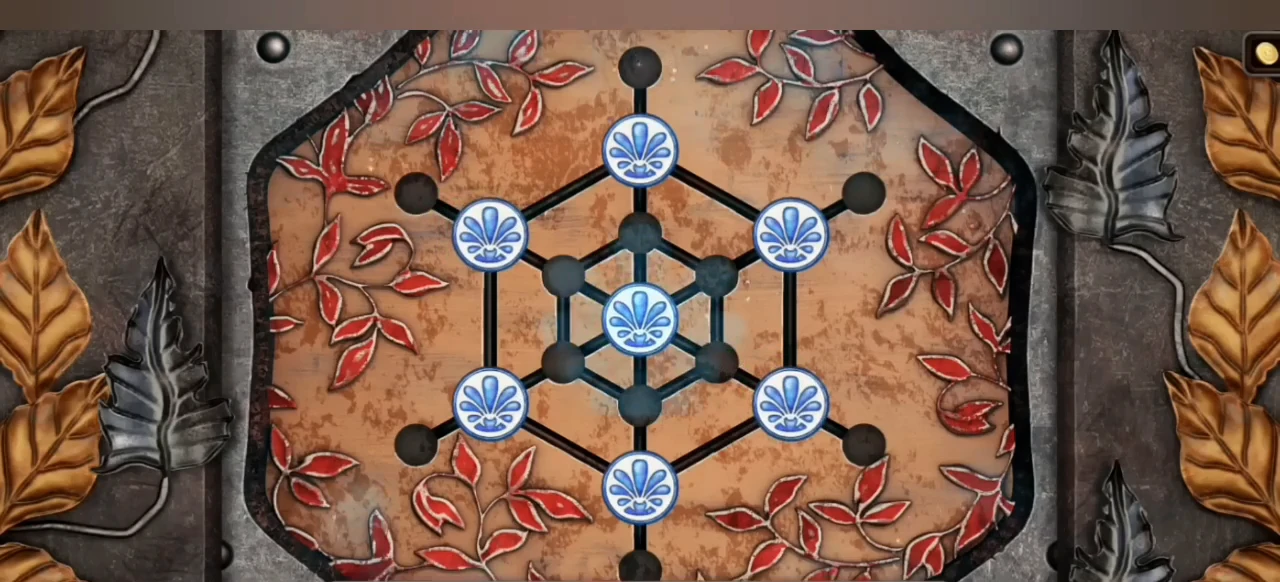
Leaf gate solved to match the statue.
CHAPTER 2
The Sheppley estate and the maze
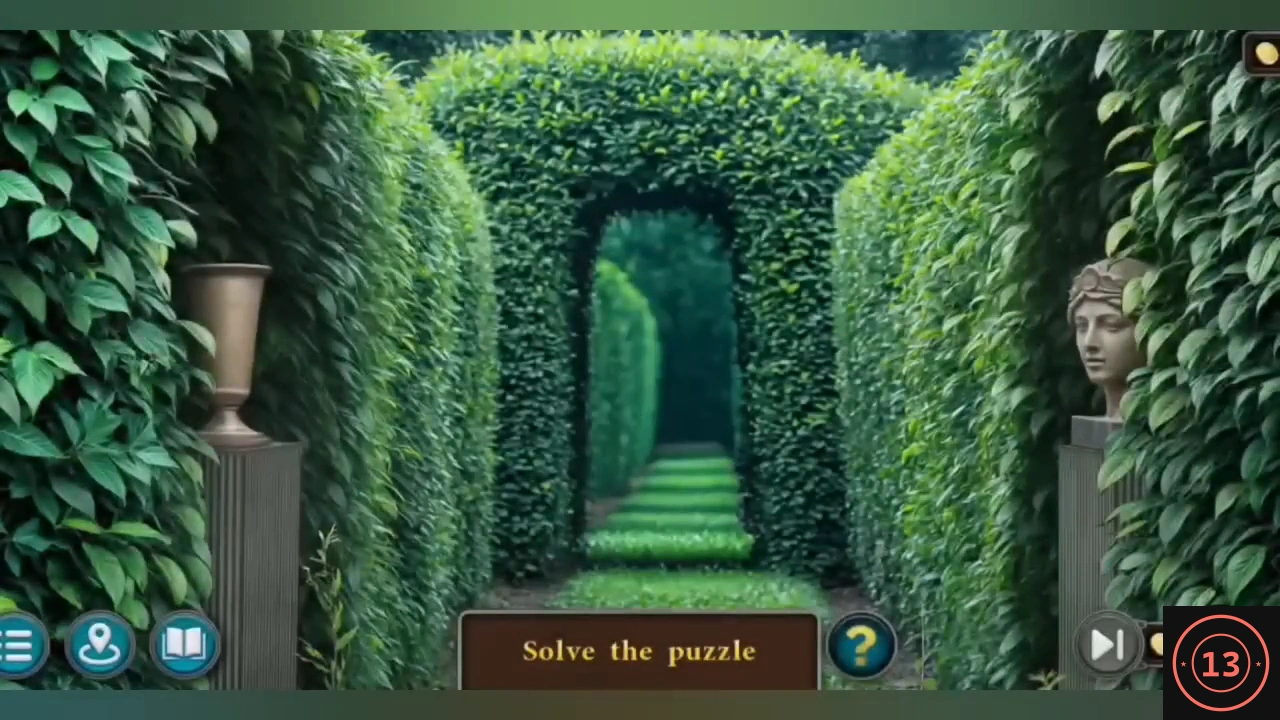
The butler is somewhere in the hedge maze behind the mansion gate.
- Talk to Edith in front of her house, then walk up to the Sheppley mansion. Take the grapes from the car seat, the grapes in the bush on the far right (wear the gloves) and the grapes by the sign on the front door. Put all three on the gate beside the car.
- In the maze, go right, straight, left, straight, left, right, straight. Talk to the butler, William Morris, on his bench and take the hand net from the fountain.
- Fish the deer out of the lake in the park with the hand net.
- Enter the mansion. Put the part from the airship cabinet on the globe at the back left of the lobby and take a small window and a key. Take another small window from the passage at the top of the stairs.
- Open the car's glove box with the deer and take the knocking handle and the metal stamps. Open the garage with the knocking handle and take the bass clef from the small blue box. Unlock the mailbox on the drive and take a fleur-de-lis and the glass shade.
CHAPTER 2
The secret closet and the butler's room
The butler's room upstairs holds most of the evidence against him. The case file counts seven pieces.
- Fit the glass shade to the brass figure left of the stairs. A secret closet opens: take the katana, a small window and a key.
- Unlock the door on the far left of the upper floor. In the butler's room, take the star from the suit pocket and open the trunk with it: read the lease and the ticket (evidence) and take a small window. Move the mattress on the top bunk to find a part. Note the time scratched beside the lower bunk: 7:15.
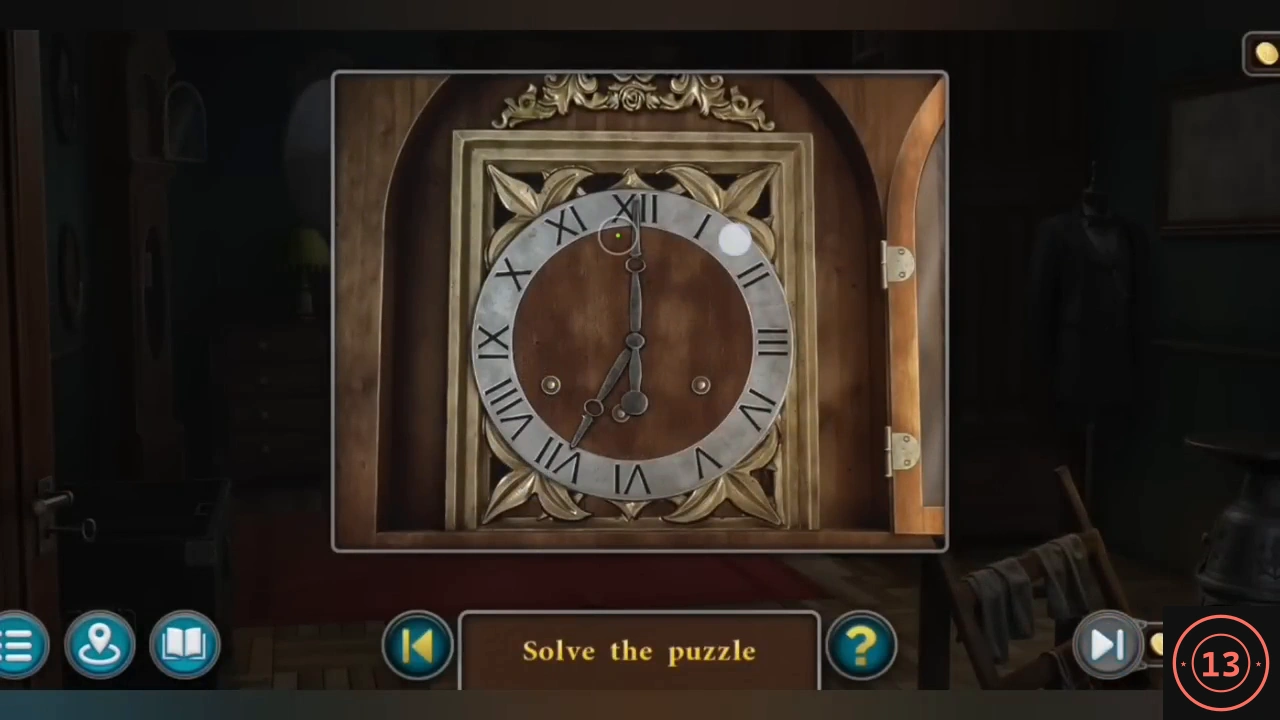
- Open the tall clock on the left and set it to 7:15: hour hand on VII, minute hand on III. Take the artifact (evidence) and a small pyramid. Look behind the oval mirror for a second pyramid. Fit the part into the slot in the second drawer of the chest of drawers. Note the watch (evidence) and take the fifth small window.CODE7:15
CHAPTER 2
The diorama and the model mansion
Six small windows complete the model mansion on the stairs.
- Fit the metal stamps to the glass case in Noel's office. Put the 15 loose fragments of the diorama back in their places: a dog, a stained-glass window, pumpkins, a duck and so on. Take the last small window, a pyramid and an airship fragment.
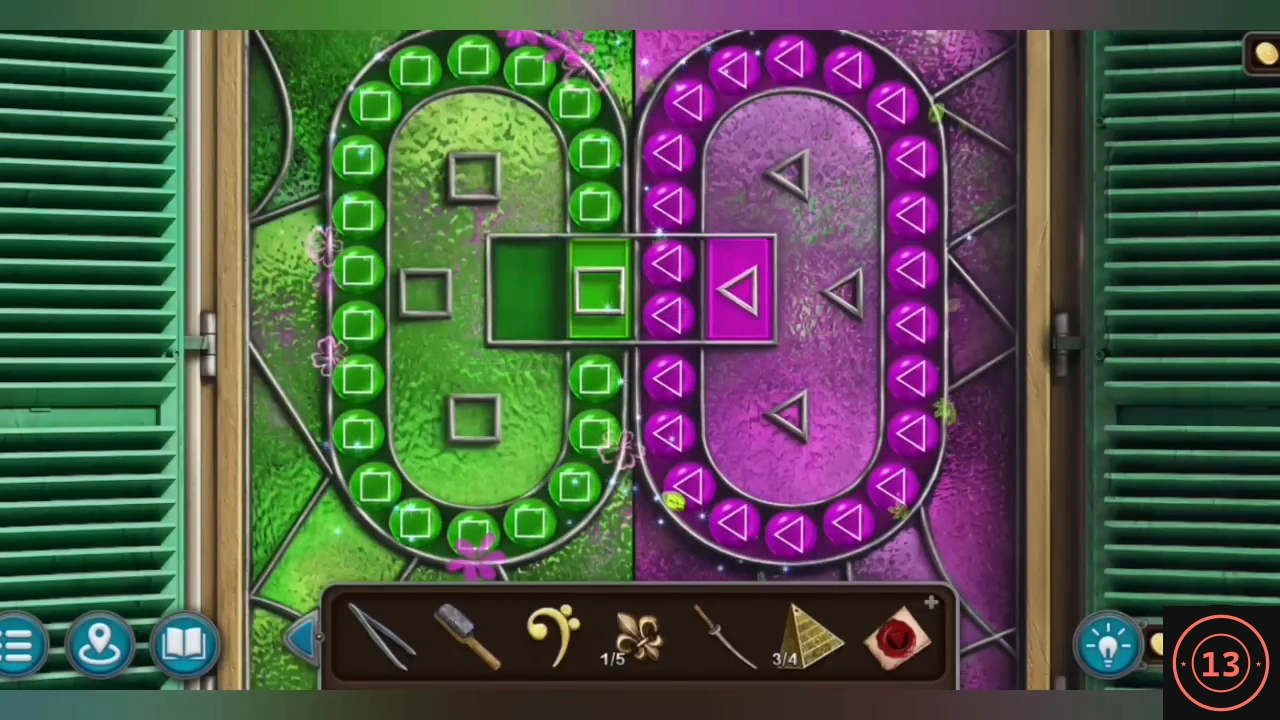
- Put the six small windows on the model house on the stairs. Gather all green beads in the left loop and all purple beads in the right loop. Drag the beads around a loop to turn it, in either direction. The bar across the middle holds a pair of bead spaces: tapping it slides the pair, with its two beads, out of one loop and into the other. Always turn the loop that holds the pair. There are 20 green and 22 purple beads, so the puzzle ends with the bar on the right carrying two purples. The moves depend on how the beads start, so here is the method rather than a move list. When two wrong-coloured beads sit side by side, turn their loop until both are on the pair and slide the bar across; bring two of the other loop's wrong beads back the same way. Each round trip sorts up to four beads. The pair can also carry one wrong bead with a correct one; the correct bead then becomes a wrong bead on the other side. Use this near the end: when each loop has one wrong bead left and the bar is on the right, put the green bead on the pair beside a purple and slide the bar left. The left loop now holds two purples. Close the gap between two separated wrong beads one space at a time. Put one of them on the pair, in the space nearer the other. Turn its loop one space so the other wrong bead comes one space closer; the bead on the pair moves to the far space. Slide the bar across, turn that loop one space to push the far bead off the pair, and slide the bar back. The pair normally returns with a bead of the same colour in the near space, and the gap is one space shorter. Repeat until the two wrong beads touch, then carry both across together. Finishing in under two minutes earns the Erudite achievement. Take the fourth pyramid and a wolf.
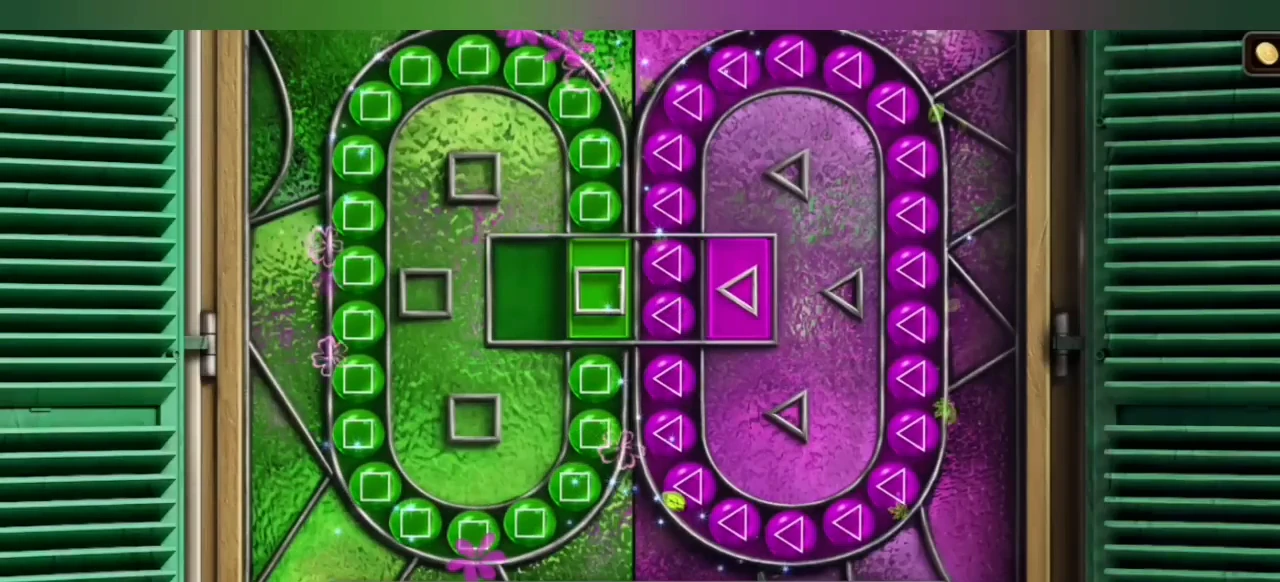
Model mansion solved: green left, purple right. - Put the four pyramids on the door next to the three paintings and enter the artifact room.