CHAPTER 1
The hotel room and Marjorie Mortimer
John is resting in a snowy seaside town when Marjorie Mortimer phones about her daughter. The first task is to find her. Morphing objects and collection items are listed in the last section of this chapter.
- In the hotel room, open the wardrobe on the left and take a feather. Check the coat on the stand by the door for a star and a small key. Open the suitcase on the far left with the small key and take the umbrella. Place the star on the base of the globe on the desk, then take the second star, a tagged key and the safe code.
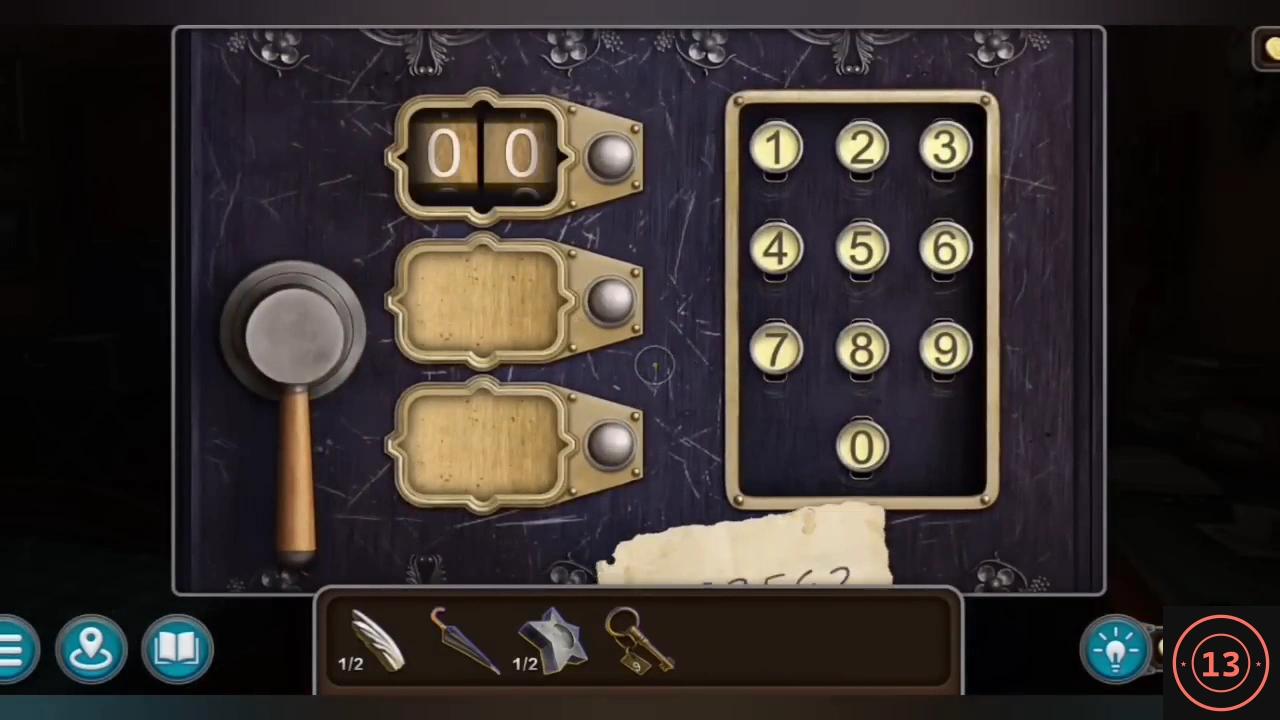
- Open the safe on the wall with the safe code. The note shows 493562; the keypad accepts it two digits at a time (49, 35, 62). Take the knife.CODE493562
- Unlock the room door with the tagged key and slide off the chain. Go down to the lobby and talk to Vicky at reception, then step outside. Ask the flower seller about Marjorie Mortimer; she points to the house behind her. Enter it and talk to Marjorie.
CHAPTER 1
Penelope's room and the first witnesses
Gather the evidence of Penelope's disappearance. The case file counts eight pieces.
- Take the silver figurine from the table in Marjorie's living room. Outside, cut the cloth over the covered stall past the police station with the knife and take the key. Unlock the glass notice board in the street, read the notices and take the first flower. Inside the police station, pick up the flower on the bench.
- Back in the house, go up the stairs and use the knife on the carved flower on Penelope's locked door to take a wooden flower. Place it on the left of the painting above the fireplace, take the key and unlock Penelope's door.
- In Penelope's room, open the wardrobe: tap the green dress for evidence and take the glass. Take the green figurine from the chair. Use the umbrella on the hatbox on top of the wardrobe to knock it down; it needs a bow. Tap the knotted rope and the footprints outside the window for more evidence.
- Talk to the flower seller again for her testimony. Go through the gate at the end of the street to the beach and talk to the two girls. Take the green figurine at the left pole of the swing and the flower by the round buoy on the rocks on the right.
- Put the two green figurines into the box on Marjorie's table and take the awl. In the hotel room, open the wallet in the safe and take the banknote. Buy a bouquet from the flower seller with it and give it to the girls on the beach. Their testimony says Penelope likes the pub.
- Enter the pub at the end of the street and talk to the policeman and the bartender. Put the glass into the missing pane of the back right window, open the window and take a horse figurine. Move the bar stool on the right under the clock on the ceiling, then open the clock with the knife and take a bow and a coin. Open the flap of the coffee stand left of the fireplace with the silver figurine.
- In Penelope's room, open the hatbox with the bow. Read the letter from Frances and take the second horse. At the police station, talk to the officer, Walker. The task changes to finding Frances Doyle.
CHAPTER 1
The piano and the flower gate
The sheet music in Penelope's purse opens the piano cabinet, and four flowers open the gate to the back alley.
- Open the purse on Penelope's chair with the awl and take the sheet music. Place it on the piano at the foot of the stairs. Each symbol on the sheet matches a key. Play: top hat, sun, note, witch hat, sun, butterfly, butterfly, fish, egg, egg, fish, witch hat, note, top hat.
- Take the palette and the flower from the opened dish cabinet. Place the palette in the slot on the easel in Penelope's room and take the crab and the tweezers. Use the tweezers on the crack beside the fountain in the street to take a coin.
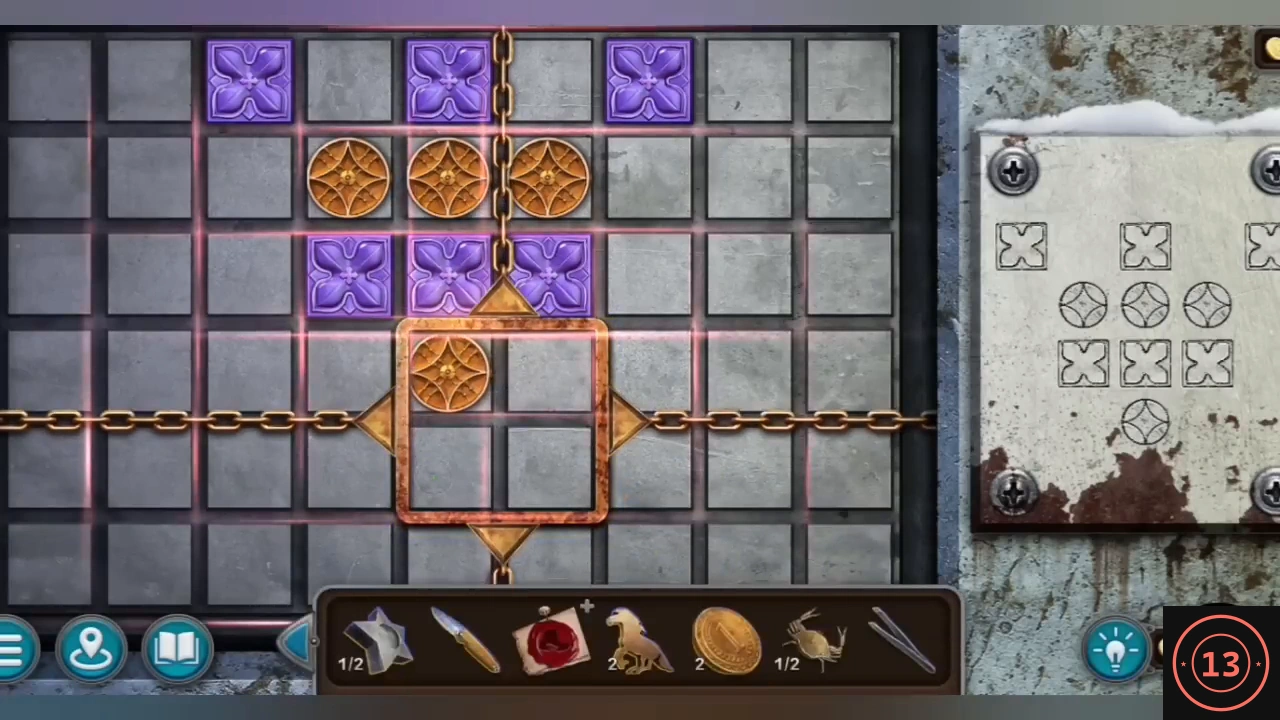
- Place the four flowers on the gate between Marjorie's house and the police station. Move the square frame with the arrows and tap to turn the four tokens inside it clockwise. Recreate the pattern on the plate at the right.
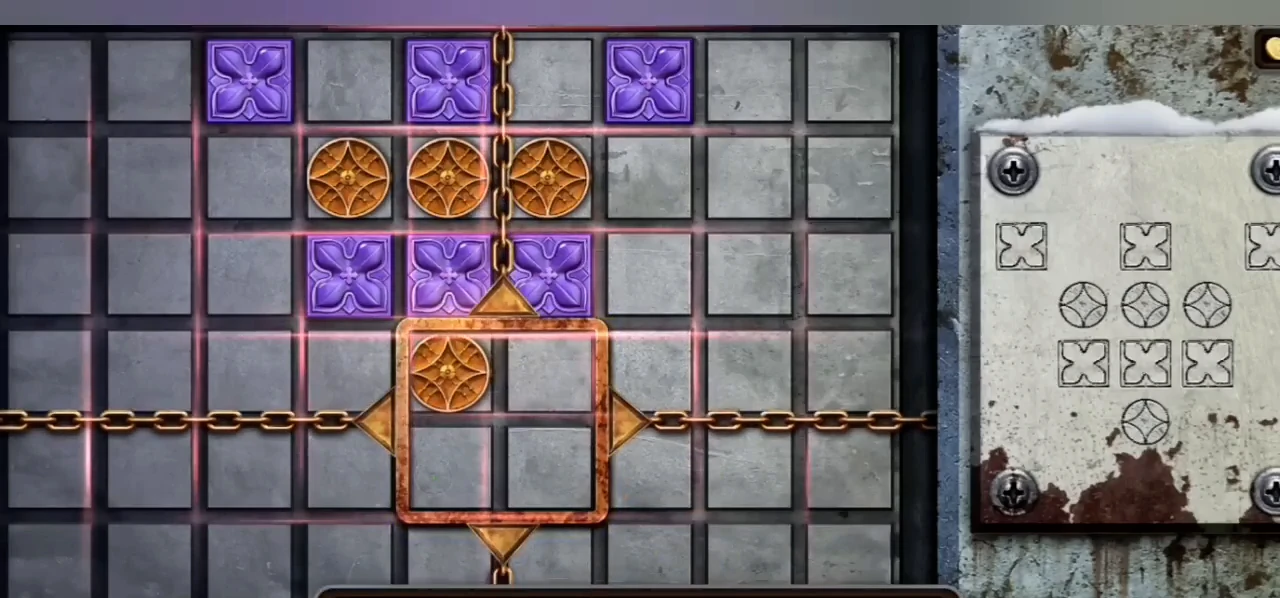
Flower gate solved. The pattern matches the plate on the right.
CHAPTER 1
The back alley and the bird mosaic
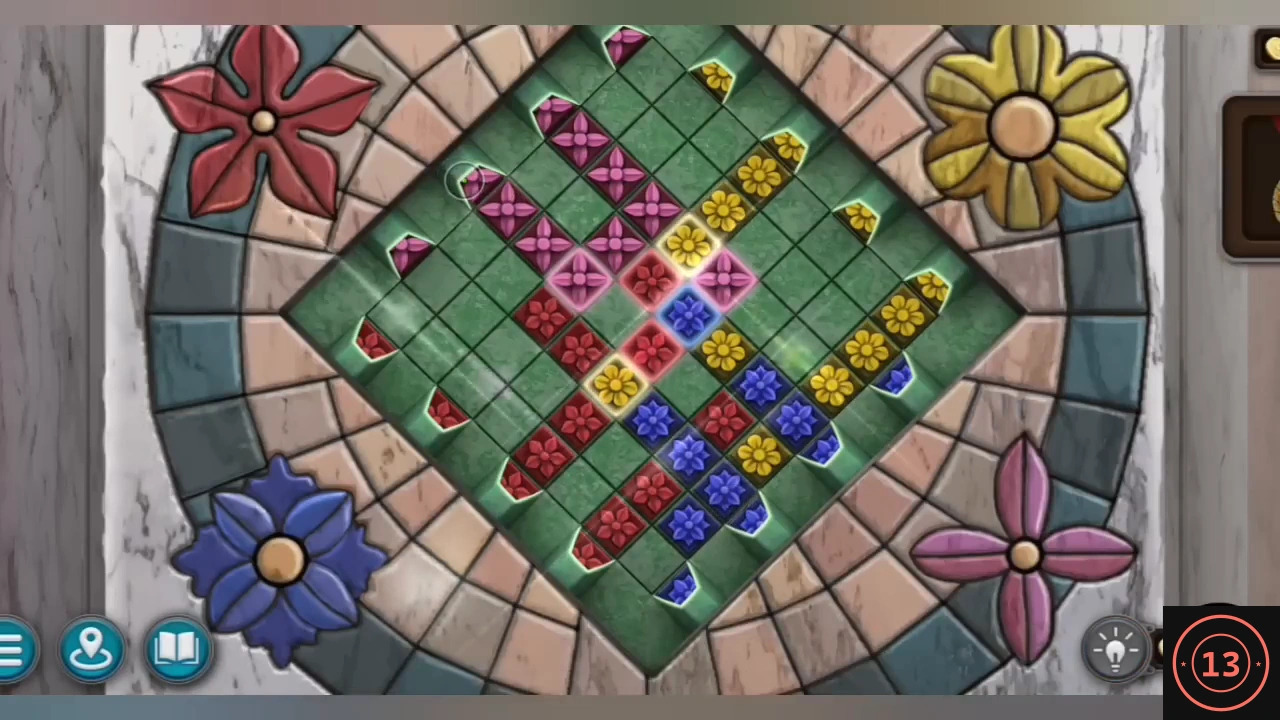
Gather what you can in the back alley, then open the mosaic in the hotel room.
- In the back alley, take the feather from the snow in front of the large gate. Use the tweezers on the drain in the road to take a key. Take the boards from the dark passage to the right of the gate.
- Place both feathers on the round bird mosaic on the right wall of the hotel room. Tap a slot on the edge to push its line of flowers onto the board; it shoves any tile in its way. Cover every printed flower with a tile of the same colour. The mosaic opens: take the second star and read the letter behind it.
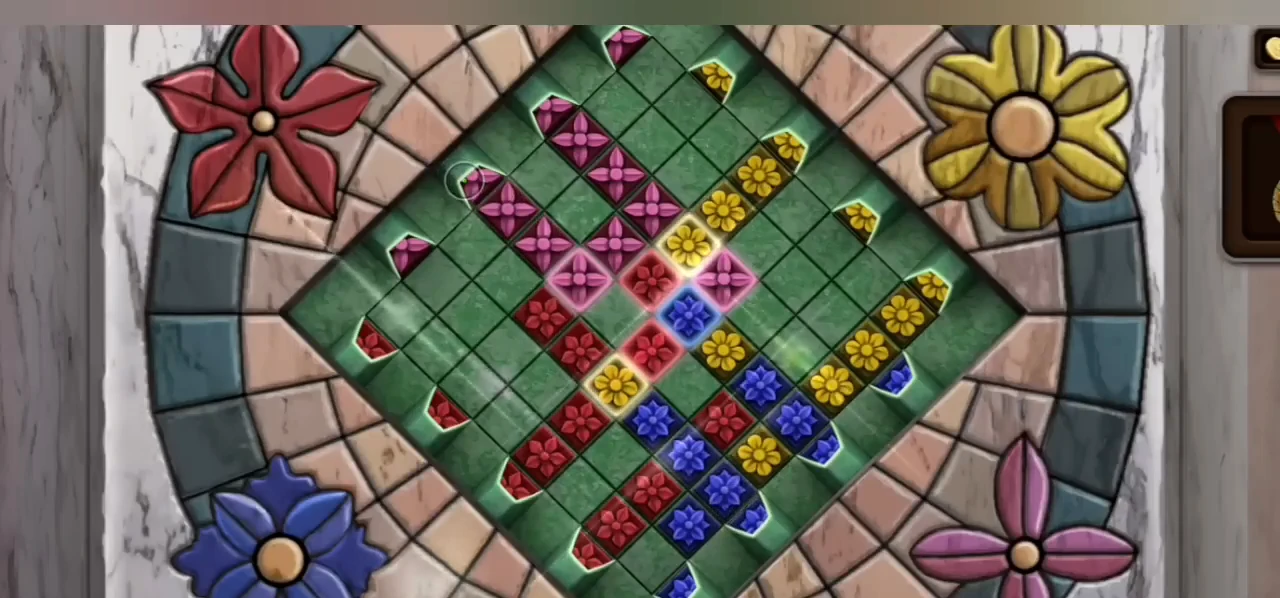
The solved mosaic: every printed flower covered by its colour. - In the lobby, put both stars on the green suitcase and take the flask. Fill it with boiling water from the urn in the pub's coffee stand.
- On the beach, pour the hot water on the frozen lock of the shed at the far end and unlock it with the key from the drain. Take the screwdriver and the small key from the bench. Unscrew the lens from the telescope in the street. Look at the painting on Penelope's easel through the lens to see the numbers 5, 2 and 4.
CHAPTER 1
Frances Doyle's room
The cabinet behind reception holds the key to the staff room where Frances lived.
- Open the cabinet behind the reception desk with the small key and take the key inside. Unlock the door at the back left of the lobby. In Frances's room, take the nails from the table. Lift the loose floorboard with the screwdriver and use the tweezers in the hole for a cheque (evidence) and a handle.
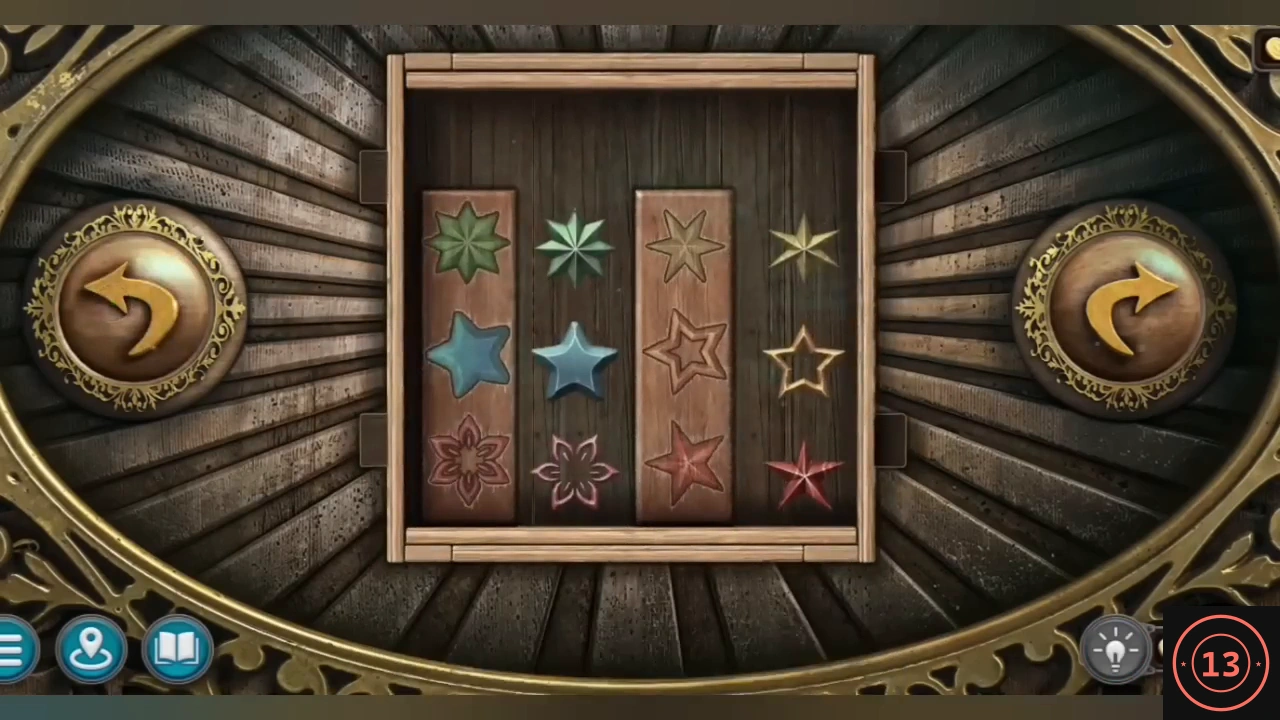
- Put the two horses on the bedside table drawer. Turn the box with the arrow buttons so the loose stars fall into place: each must sit next to the fixed star of the same shape and colour. Take the newspaper (evidence) and the single handle.
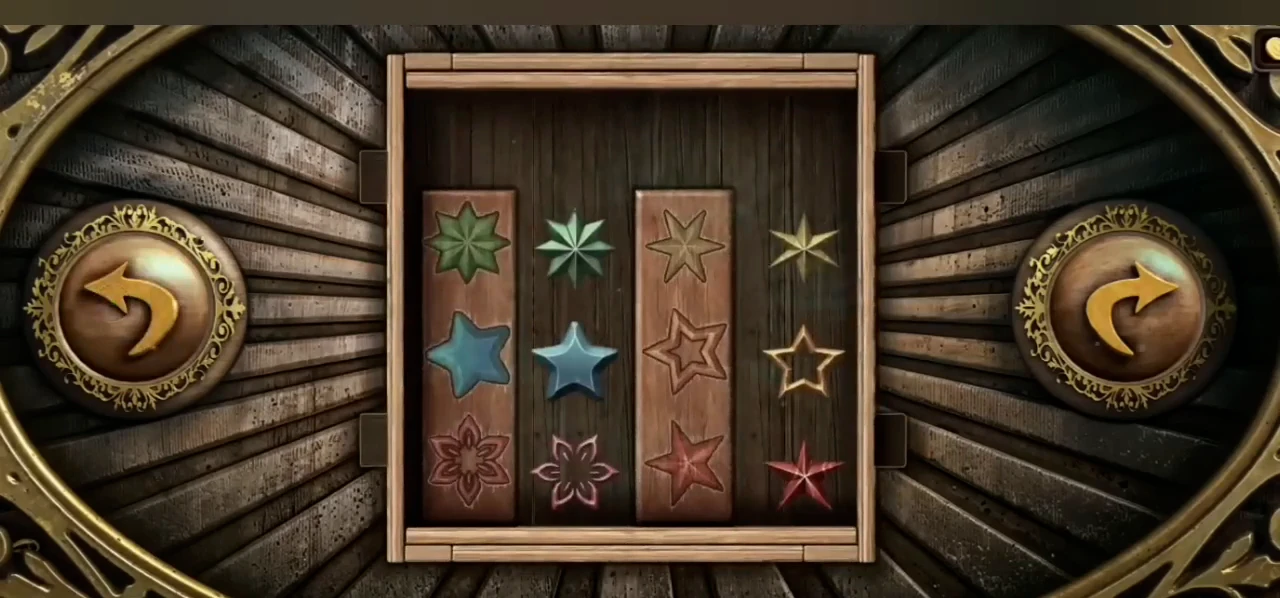
Bedside drawer solved: each loose star sits beside its twin. - Reach under the bed with the umbrella to get a dial. Fit it to the small box on the bedside table and enter 524, the numbers from the painting. Read Penelope's letters (evidence) and take the second cabin handle.CODE524
CHAPTER 1
The fan, the engine room and the cable car
A fan panel in the house and a lock on the beach lead to the cable car to the fisherman's shack.
- Put the single handle on the door of the carriage in the back alley. Take the fan piece from the seat, cut the two straps on the seat back with the knife and take the oil can.
- Oil the bolt of the cupboard in Frances's room. Tap the pills for evidence and take the hammer from under the shoes. Pull the top-left nail from the tapestry by the bed with the hammer and take a butterfly and a leaf from the hole.
- Repair the broken stairs to the left of the swing on the beach with the boards, nails and hammer. Climb up and take the shovel and a lighthouse piece from the table.
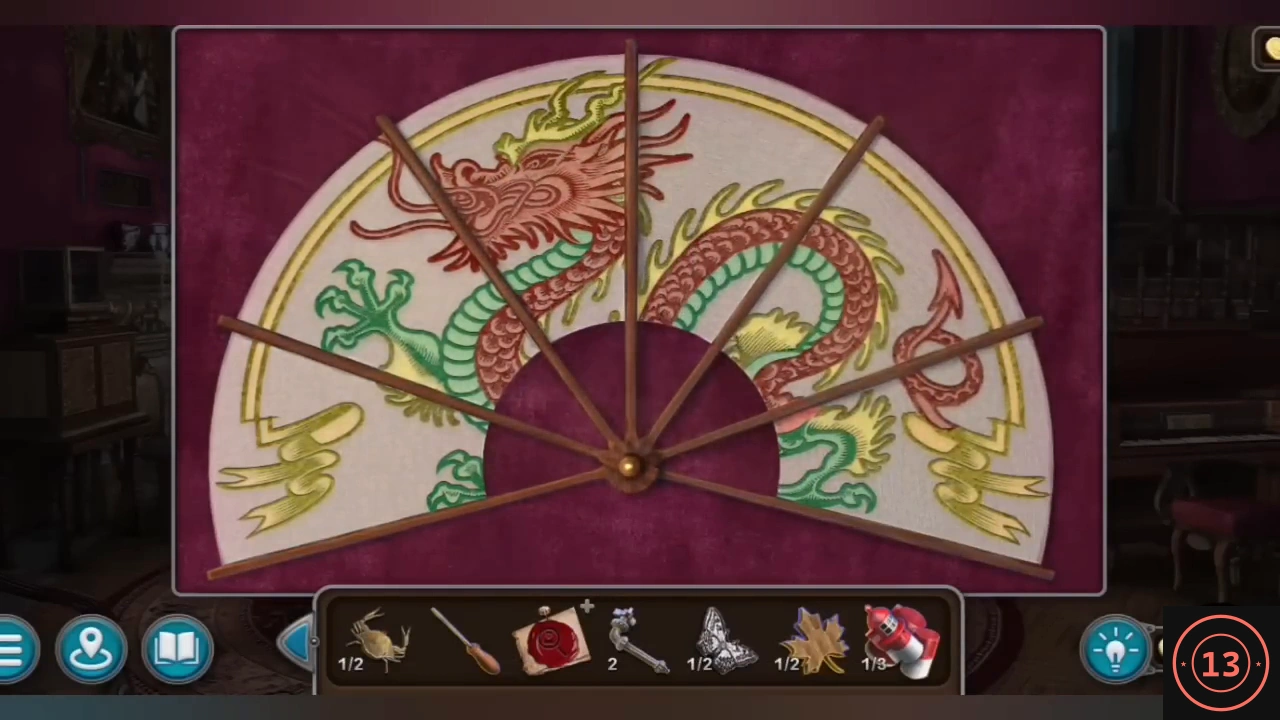
- Place the fan piece on the fan beside Penelope's door. Swap pairs of panels until the red-and-green dragon is complete. Take the leaf from the panel that opens.
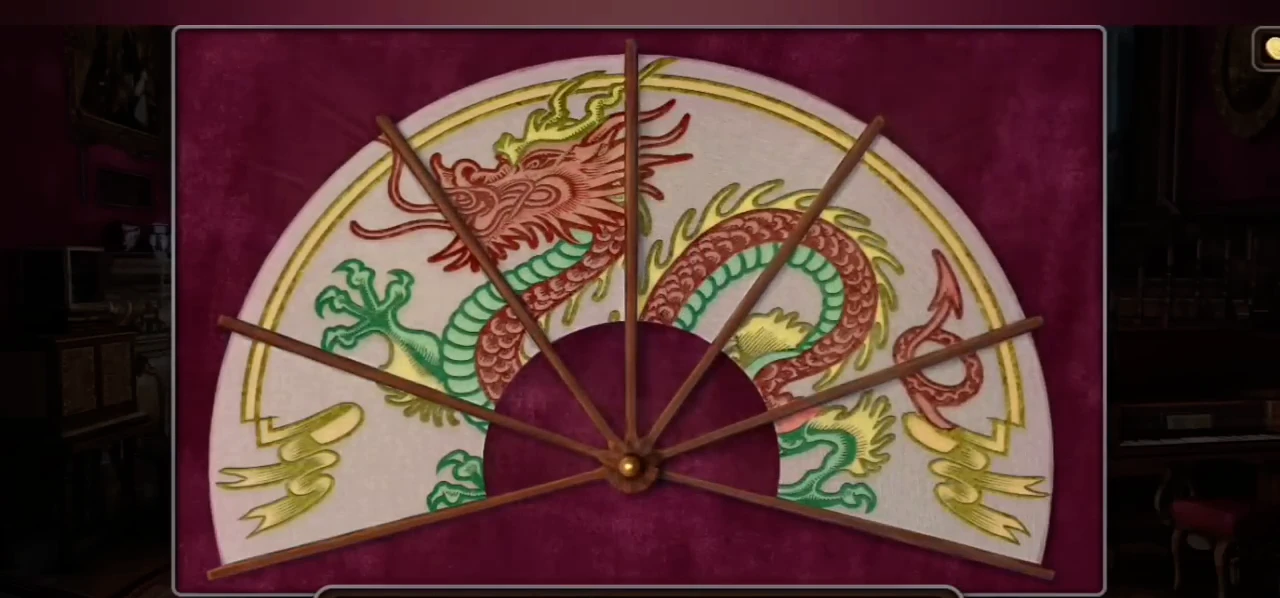
The completed dragon fan. - Put both leaves on the cabinet above Frances's bed. Read the note (evidence) and take the hint plate with four garden tools.
- Climb the steps on the far left of the beach to the engine-room door and add the hint to the lock. Rotate the ring and slide the lower chain so that the four slots under the tools hold what each tool works with: grapes under the pruning shears, seeds under the trowel, the sprout under the watering can and the leaf under the rake.
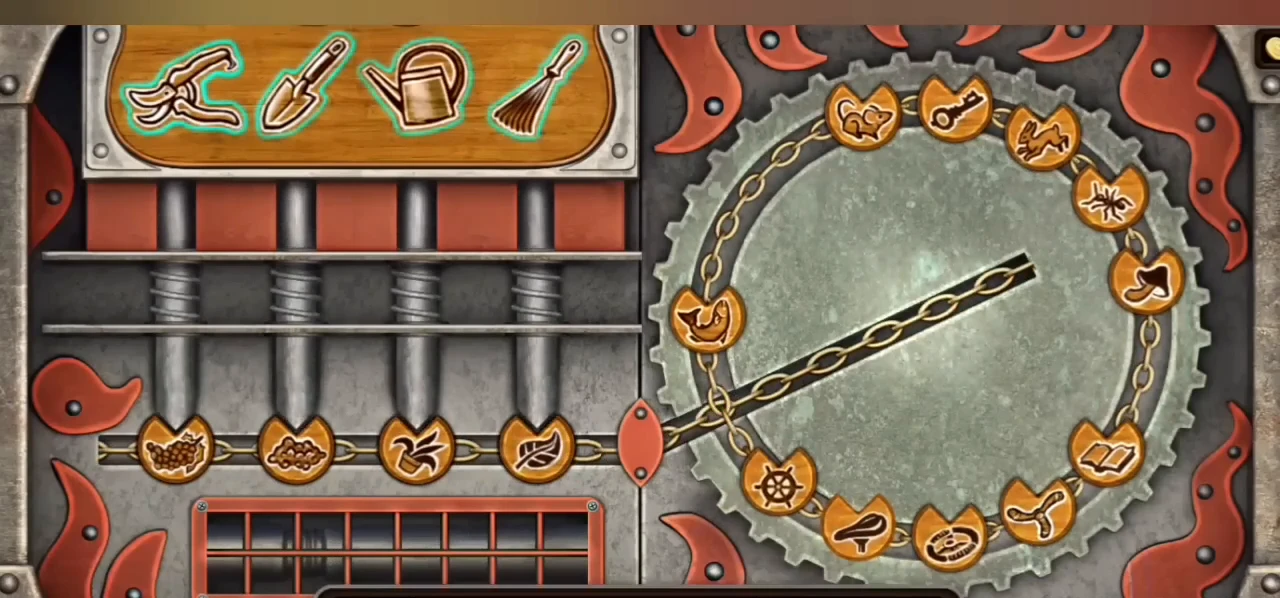
Engine-room lock solved: each tool has its matching symbol below it. - Take the hacksaw from the engine-room floor and cut the chain from the buoy on the beach. Fit the chain to the engine and pull the red lever. Remove the rope from the green cable car, open its door with the two handles and tap Penelope's hat (evidence). Get in and use the lever to ride to the fisherman's shack.
CHAPTER 1
Penelope at the fisherman's shack
Penelope is found, but Frances is still missing. Her story sends John to the town mystic.
- Open the shack door and talk to Penelope (the last piece of her evidence). Take the butterfly on the ground to her left and the lighthouse piece from the bed inside the shack. Take a symbol plate from the far wrecked boat. Unscrew the wheel from the broken cart in the sand.
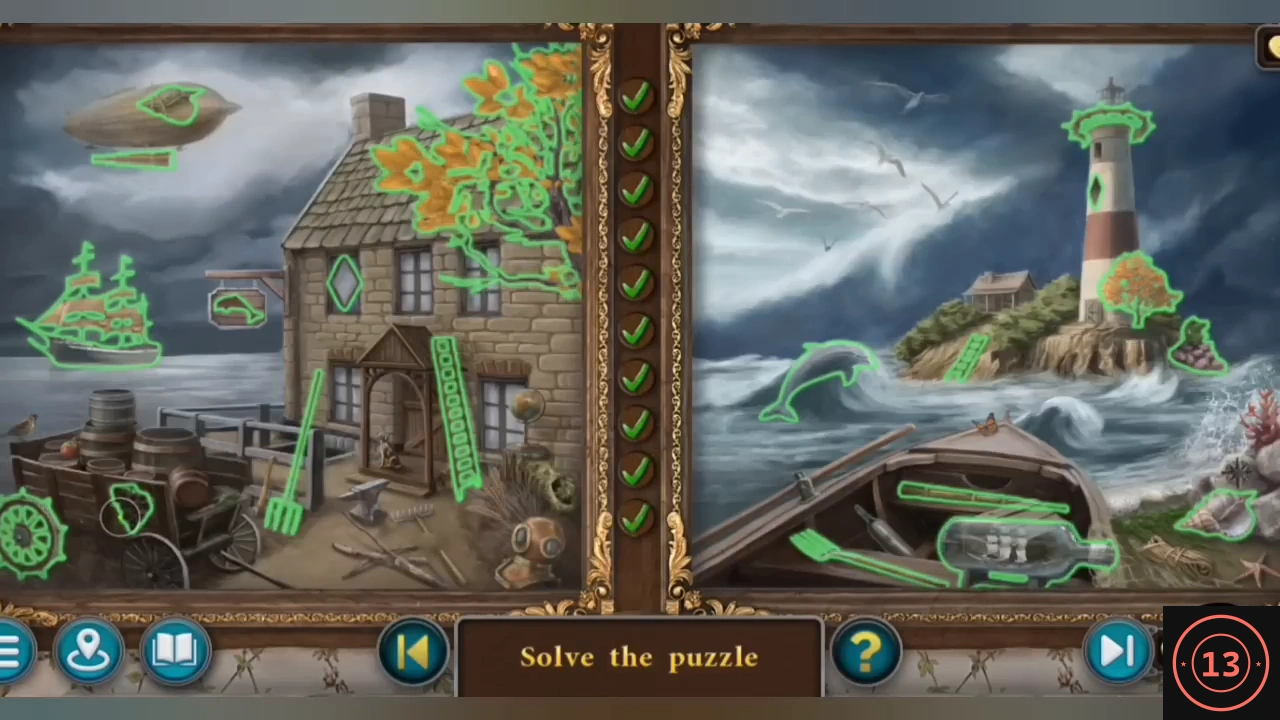
- Put both butterflies on the side of the chest of drawers in Penelope's room and take the second crab. Place both crabs on the case over the pub fireplace. Find ten things that appear in both paintings, even at a different size or position, such as the airship, the sailing ship and the lighthouse. Take the ballerina and the lamp.
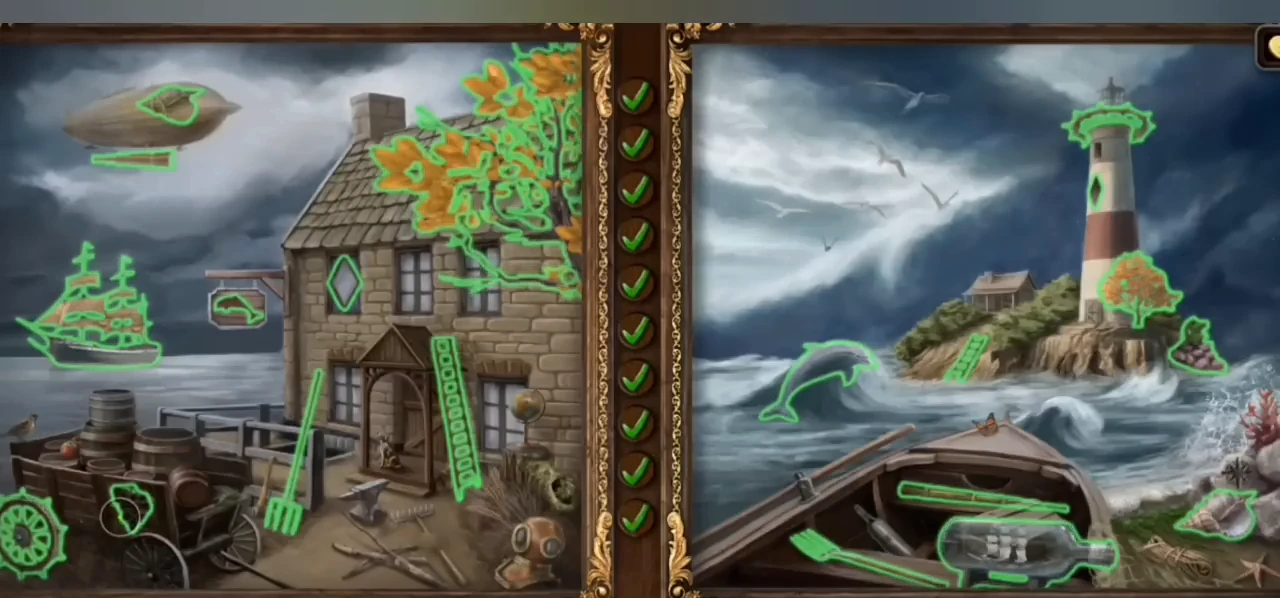
The ten items found in both paintings. - Put the ballerina in the glass case on the left of Marjorie's living room and take the record. Play it on the gramophone at reception and take a seashell and the telephone directory. Dial 08915 on the telephone in the hotel room. Take a coin and the last lighthouse piece.CODE08915
- Put the three lighthouse pieces on the red box on the shack wall. Tap a ship, then an arrow to move it. A red line marks a ship that touches a rock. Move all six ships to squares where no red lines remain, then take the lockpick.
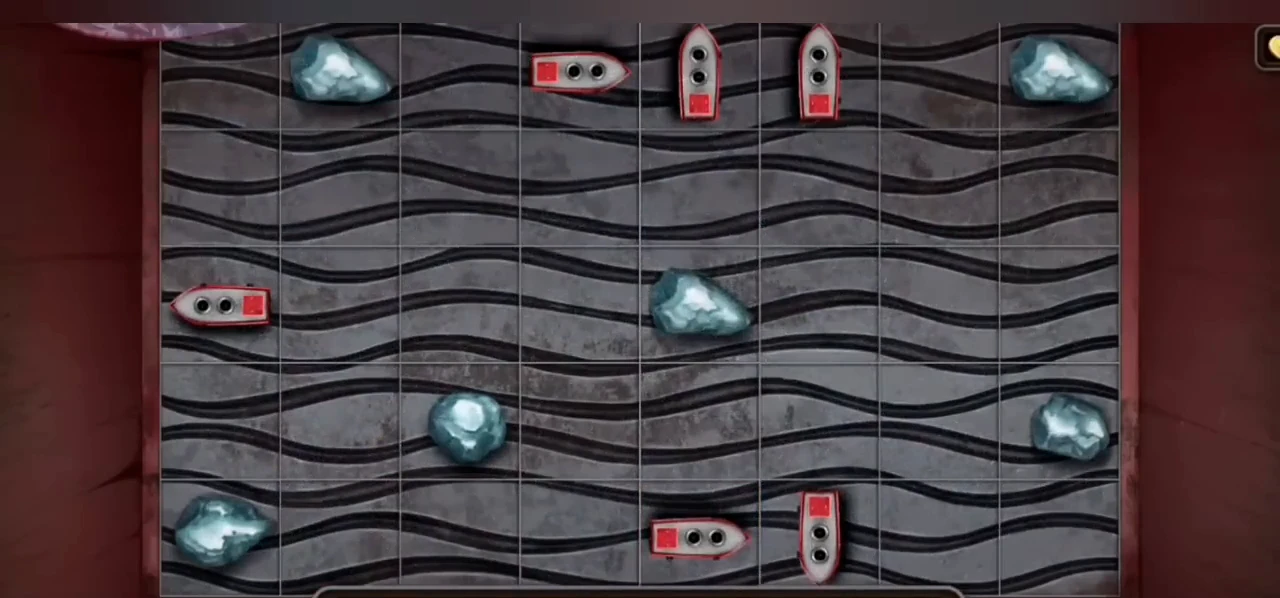
One solved ship layout from the recording. - Put the wheel on the cart in front of the blue door in the back alley and roll it aside. Use the lockpick on the lock. Swap pairs of gold blocks, then tap the arrow to test them against the notches above. When every block fits, the door opens. Finish within a minute for the Craftsman achievement.
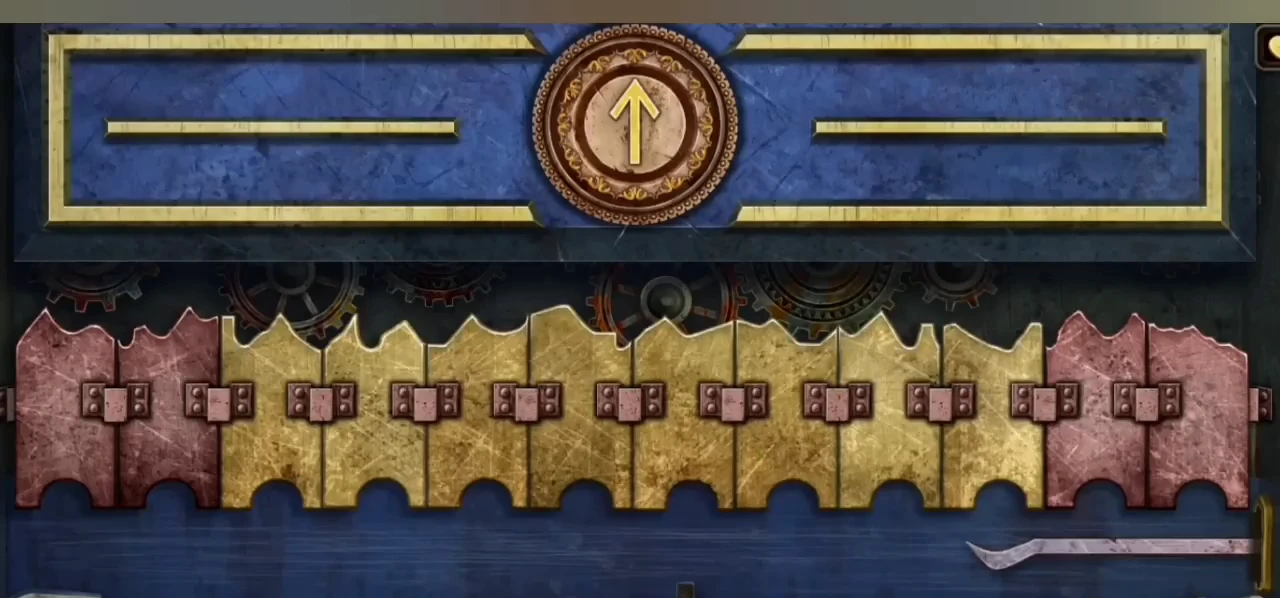
Lockpick solved.