Gate Controller Gear Chain
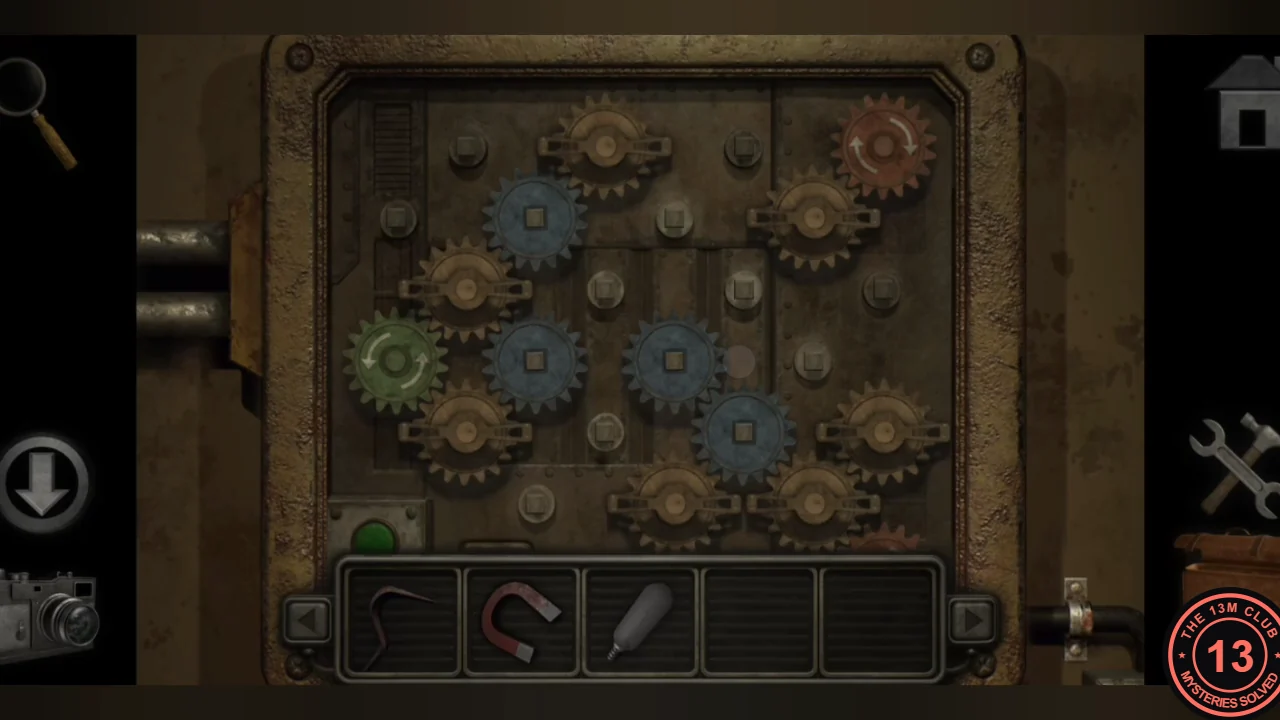
With all three small gears, finish the Gate Controller so the green drive gear turns the red gear.
- Back in the GATE CONTROLLER booth, place the three small gears on the empty pegs.
- Drag the blue gears between the square pegs to make an unbroken chain from the green drive gear (left) to the red gear (top right). In the recording the chain runs from the green gear to the fixed brown gear above it, then across four blue gears in an arch (two along the top row, then two stepping down to the right), to the fixed brown gear next to the red gear. When the red gear turns, the lamp goes green and the chain-link gate beside the booth opens.
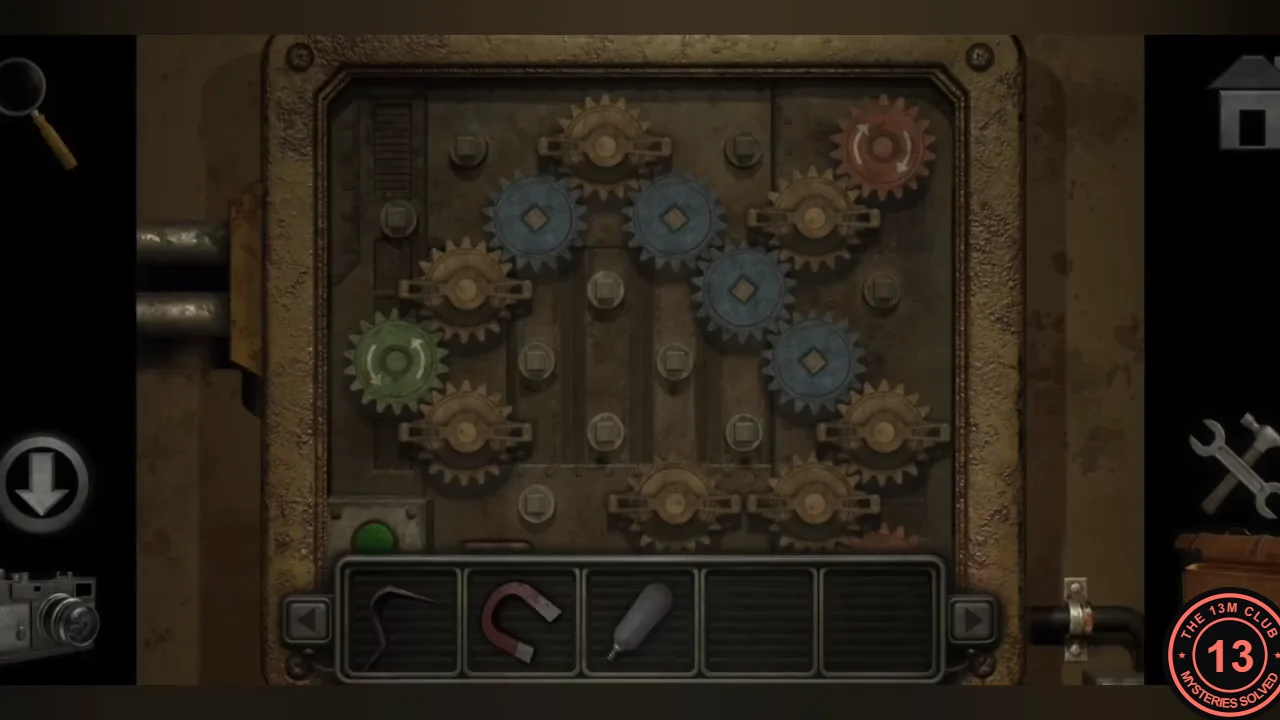
The working gear chain from the green drive gear to the red gear; the lamp at the bottom left is green.
Manhole Cover Bolts
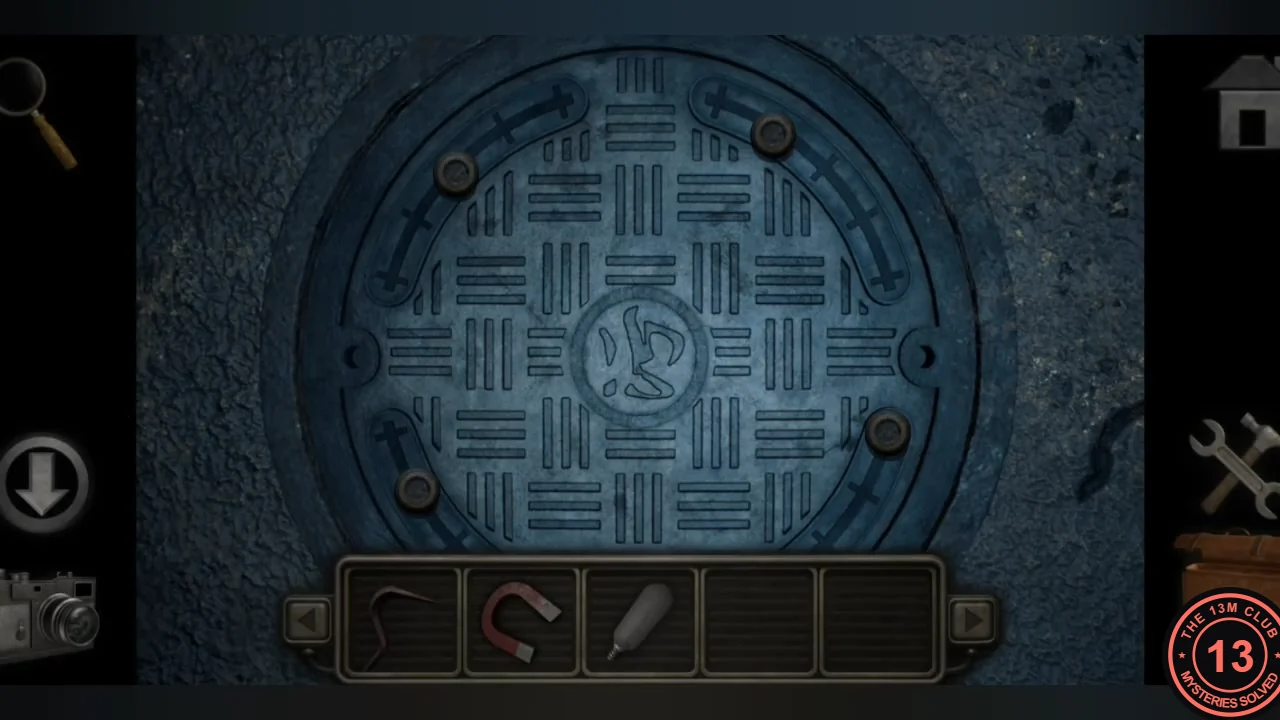
The round manhole cover has four bolts in curved notched tracks. The UV map photo from the tunnel office shows where each must stop.
- Go through the opened gate to the rubble chamber. Compare the four arcs on your UV map photo with the four tracks, and slide each bolt to the notch marked by the circle on its arc. Each track has five notches. The working positions are: top-left bolt on the top end notch, top-right bolt on the middle notch, bottom-left bolt on the second notch from the bottom end, and bottom-right bolt on the bottom end notch. The cover slides aside; climb down.
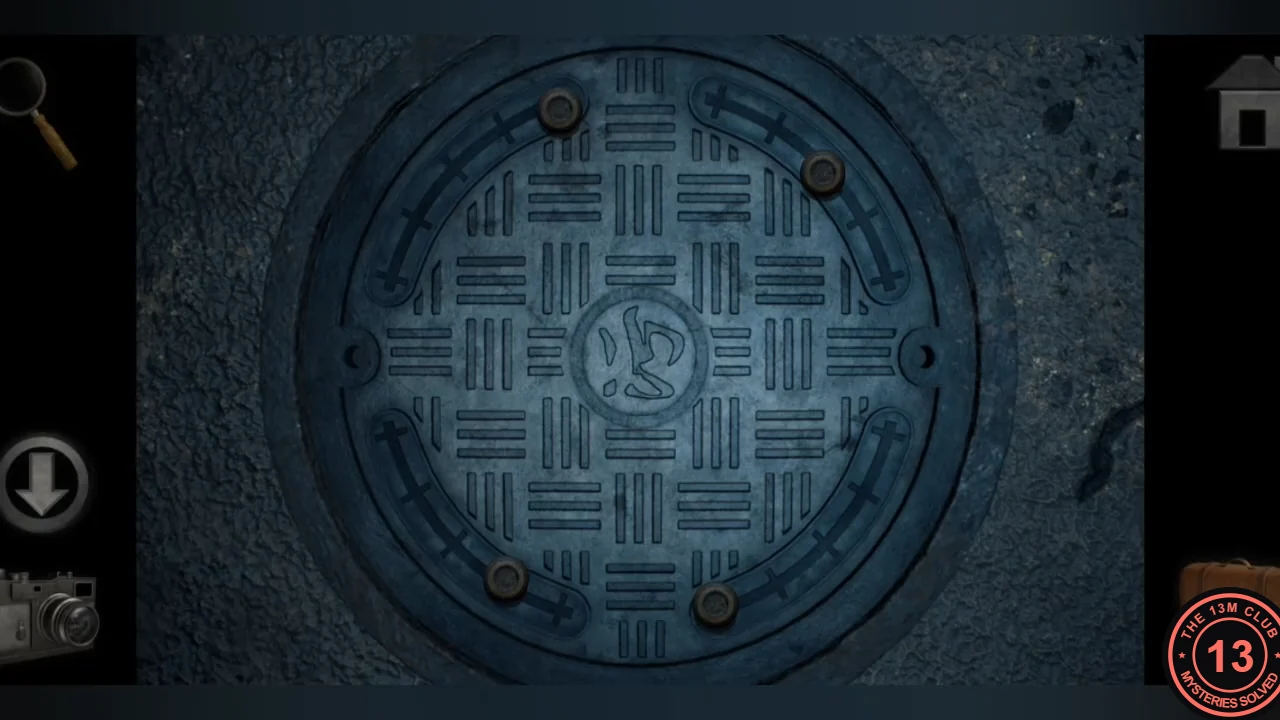
Bolts in the working notches: top-left at the top end, top-right in the middle, bottom-left second from the bottom, bottom-right at the bottom end.
Sewer Tunnels and Drain Valve II
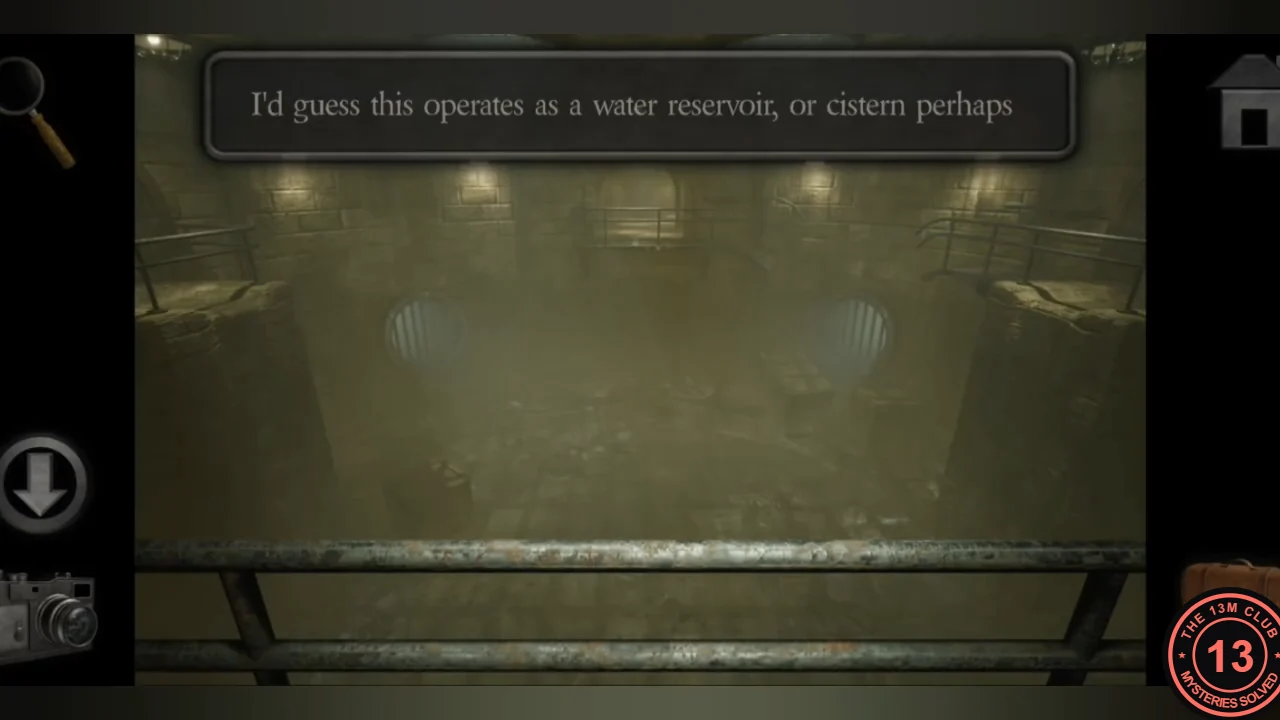
Explore the brick sewers. The Drain Valve II door shuts before you can reach it, and its carving is a clue for the next puzzle.
- Follow the brick corridor (note the side door on the right) to the cistern overlook. The walkway across the reservoir has a gap you cannot cross yet.
- In the left passage, pull the wall lever. The DRAIN VALVE II door at the tunnel end opens but closes again before you can reach it. Photograph its carving: KITE → RECTANGLE and HEXAGON → TRIANGLE.
Number Bar Box
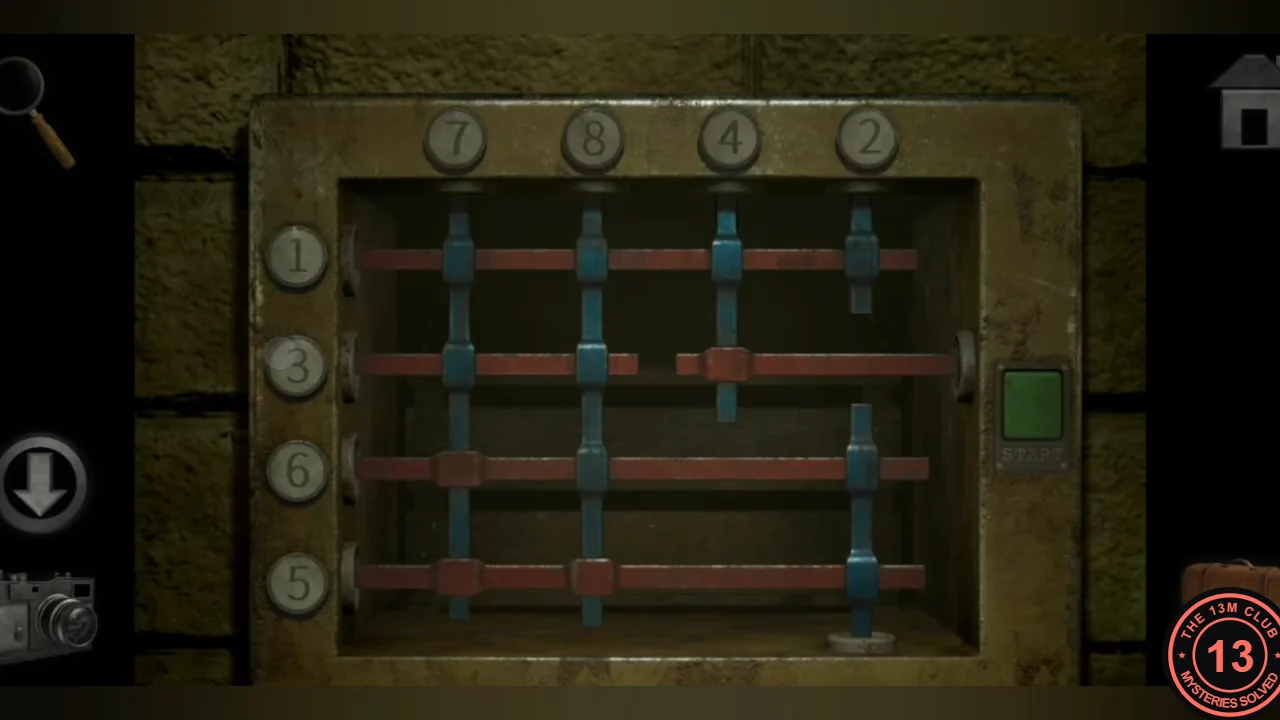
In the side tunnel off the cistern, a wall box is locked by overlapping red horizontal and blue vertical bars. The number buttons above and beside the bars set the order in which the bars withdraw when you press the green button.
- Tap the number buttons to change them until the top row reads 4 6 2 8 (left to right) and the left column reads 1 3 5 7 (top to bottom). Press the green button; the bars retract one by one and the box opens.CODETop 4 6 2 8 / Left 1 3 5 7
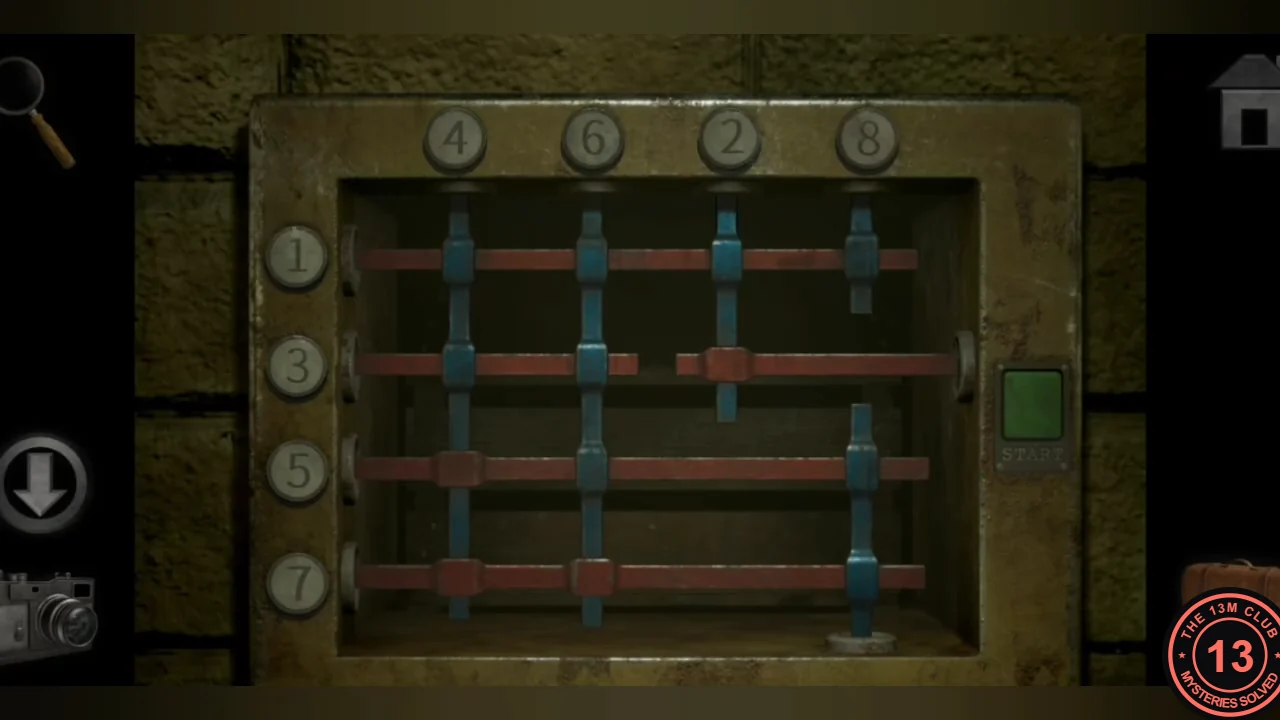
Top row 4 6 2 8 and left column 1 3 5 7; after pressing the green button the bars start to withdraw. - Take the hammer. Read and photograph the geometry textbook: KITE → TRIANGLE and HEXAGON → SHIELD (a house-shaped pentagon).
Drain Valve I Shape Lock
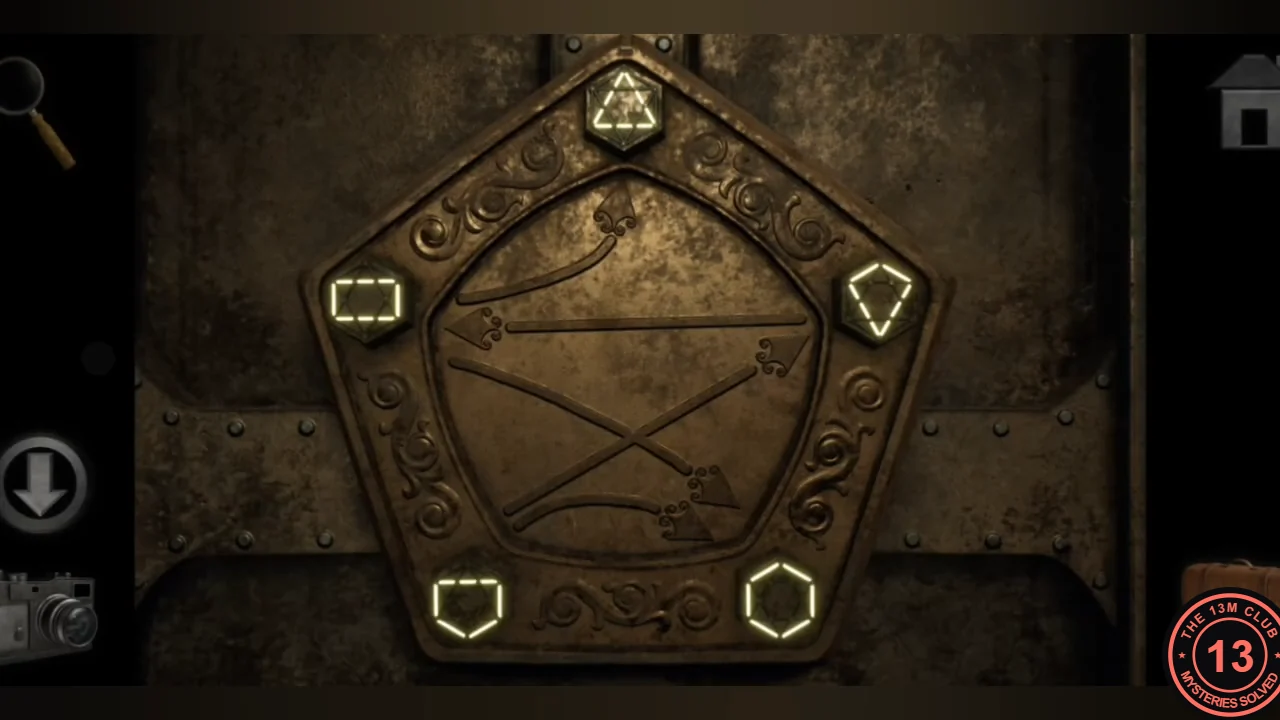
The DRAIN VALVE I door has a pentagon dial with five shape slots. Tap a slot to change its shape and combine the transformations from the door carving and the textbook.
- Set the slots to: top shield, left hexagon, right rectangle, bottom-left kite and bottom-right triangle. The gate opens.
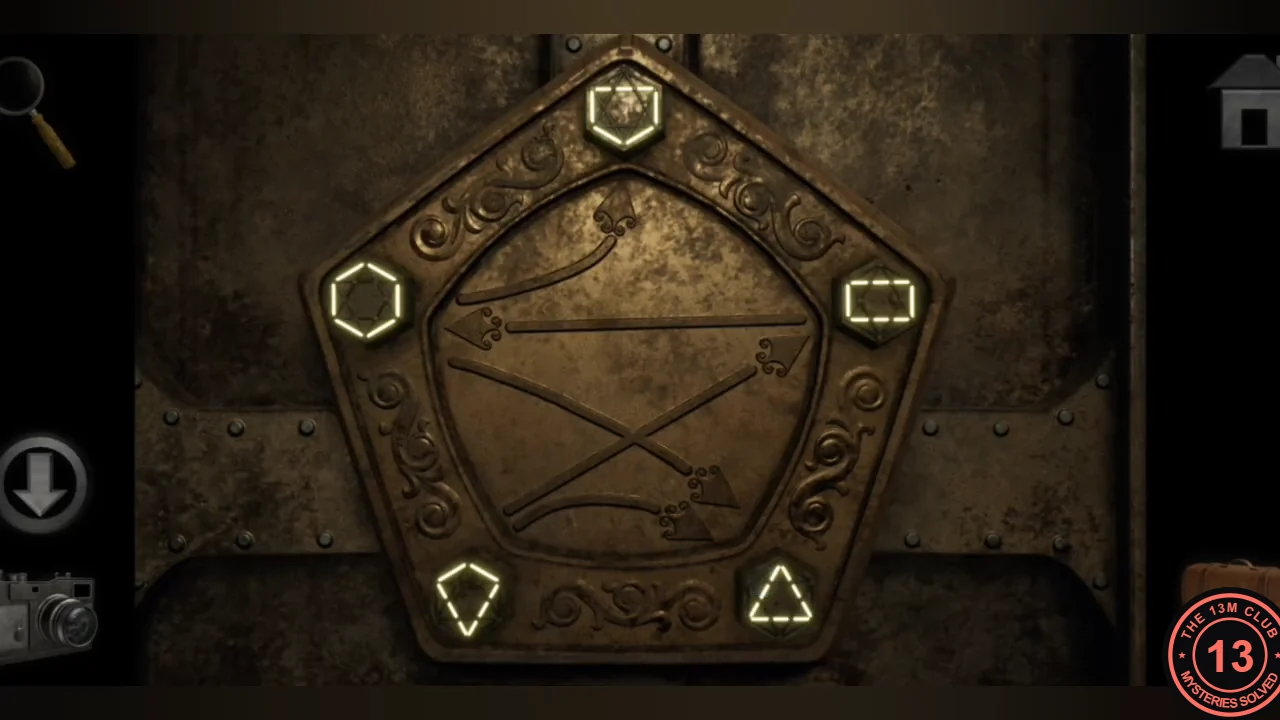
Shape lock set: shield at the top, hexagon left, rectangle right, kite bottom-left and triangle bottom-right. - Inside, leave the valve wheel on and pick up the rusted chisel.
Prop Open Drain Valve II and Flood the Reservoir
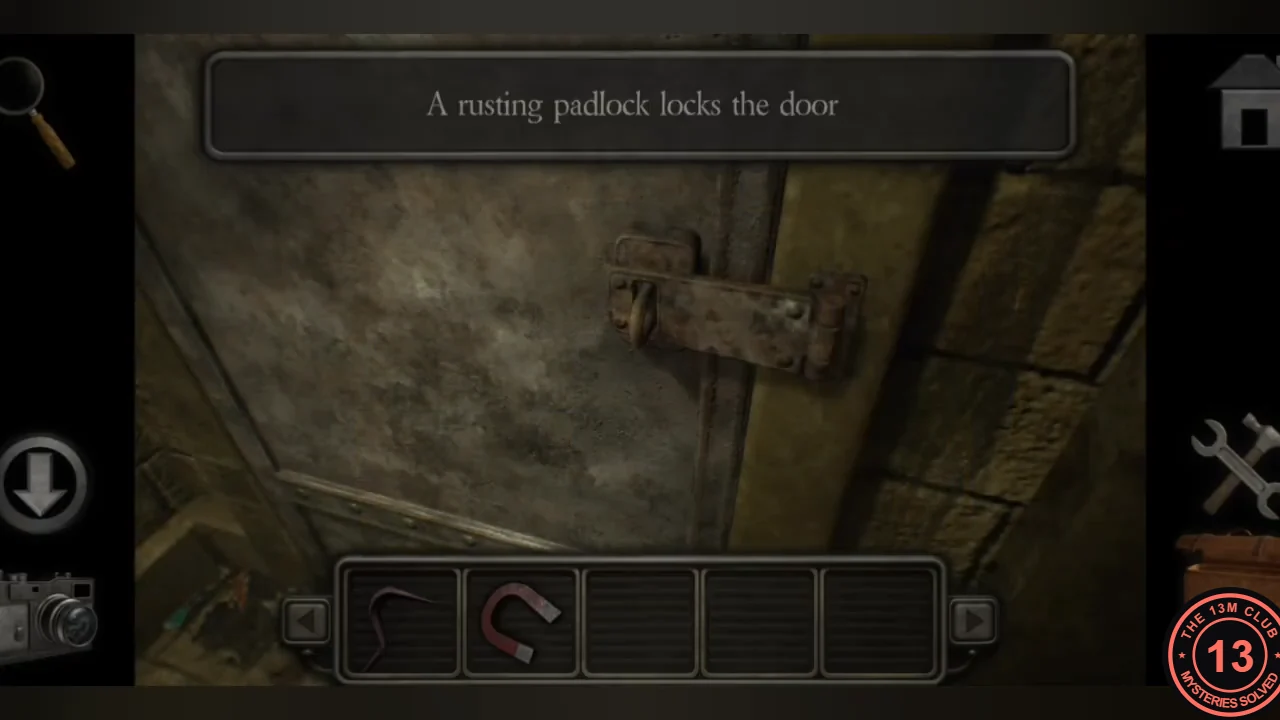
Break into the padlocked storeroom, wedge the lever and raise the water level to cross the reservoir.
- At the side door in the brick corridor, use the chisel and then the hammer on the rusting padlock. Inside the storeroom, pick up the broken ladder.
- Use the broken ladder on the wall lever before DRAIN VALVE II. The ladder wedges under the lever and props it up, so the door stays open. Walk through.
- Turn the large valve wheel in the room beyond. The reservoir fills with murky water and wooden crates float up beside the broken walkway. Step from the end of the walkway across the floating crates to the exit arch, then follow the tunnel out into the forest.