Storage Room Stone Tile Boards
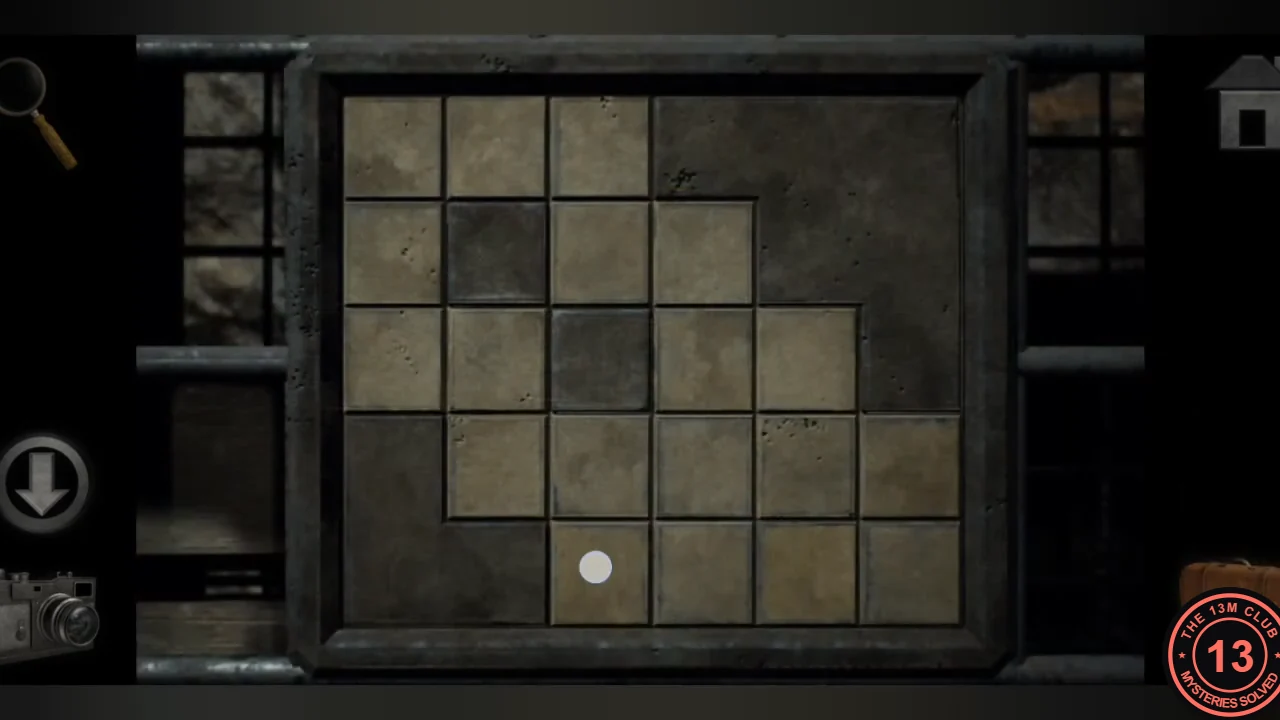
A wire grille on the storage-room shelf hides three stone tile boards. Sink every raised tile on each board in one continuous path.
- Note the blue door with a 3 by 4 colour button panel in the corridor. Upstairs in the storage room, pick up the wood saw from the box on the floor.
- Solve the three boards on the shelf. Tap any raised tile to start, then keep tapping a raised tile directly next to the last one (no diagonals). Each tapped tile sinks. Sink every raised tile without getting stuck; tapping a non-adjacent tile resets the board. Tip: start in a corner or a dead-end tile and sweep row by row.
- The grille drops. Take the wrench.
Broken Pipe and Nightstand
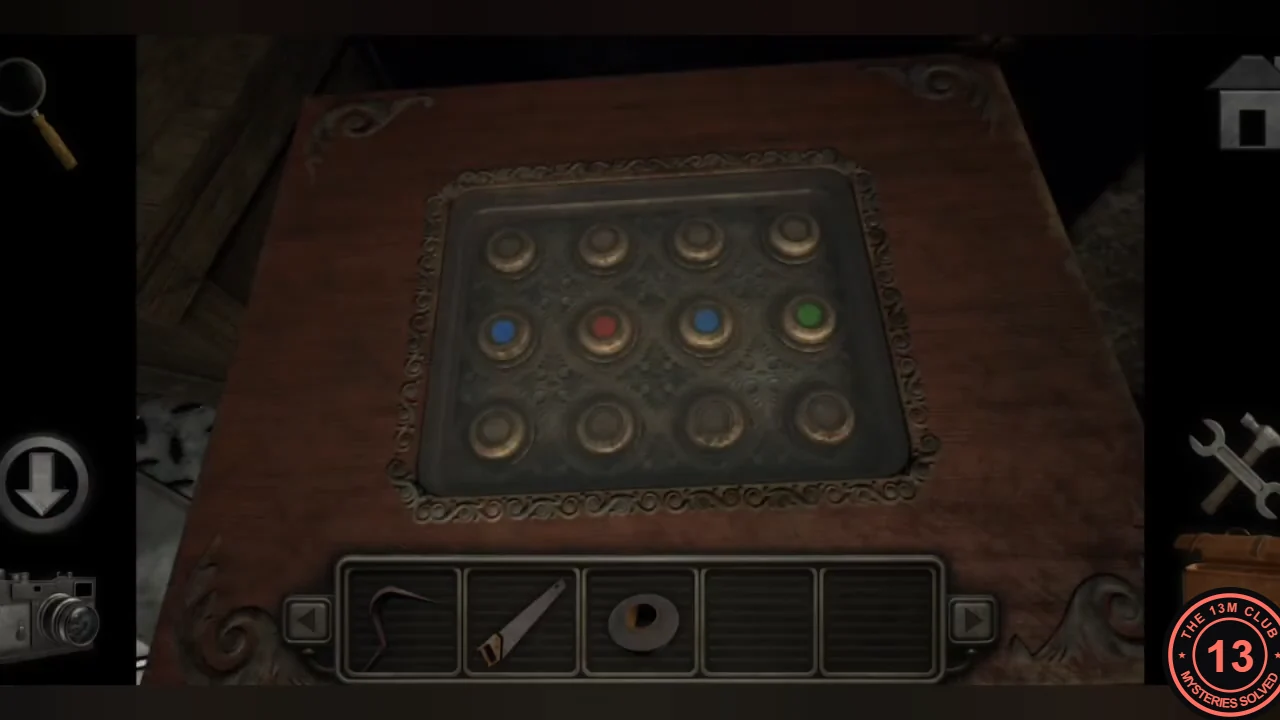
The boiler valves cannot be used yet. Remove the broken pipe, open the nightstand and read its coloured dial rows.
- Downstairs, the sliding door warns that the flow pressure must be set first, and its switch does not work yet. In the valve room, the valve panel has a defective valve and the pipe below it is broken.
- Use the wrench on the broken pipe to remove it. An ornamental key falls out.
- Unlock the nightstand drawer with the ornamental key and take the roll of duct tape.
- Open and close the drawer to change which row of dials on the nightstand lights up. Record all three rows: top red, red, green, blue; middle blue, red, blue, green; bottom green, green, red, red.
Blue Door Colour Buttons
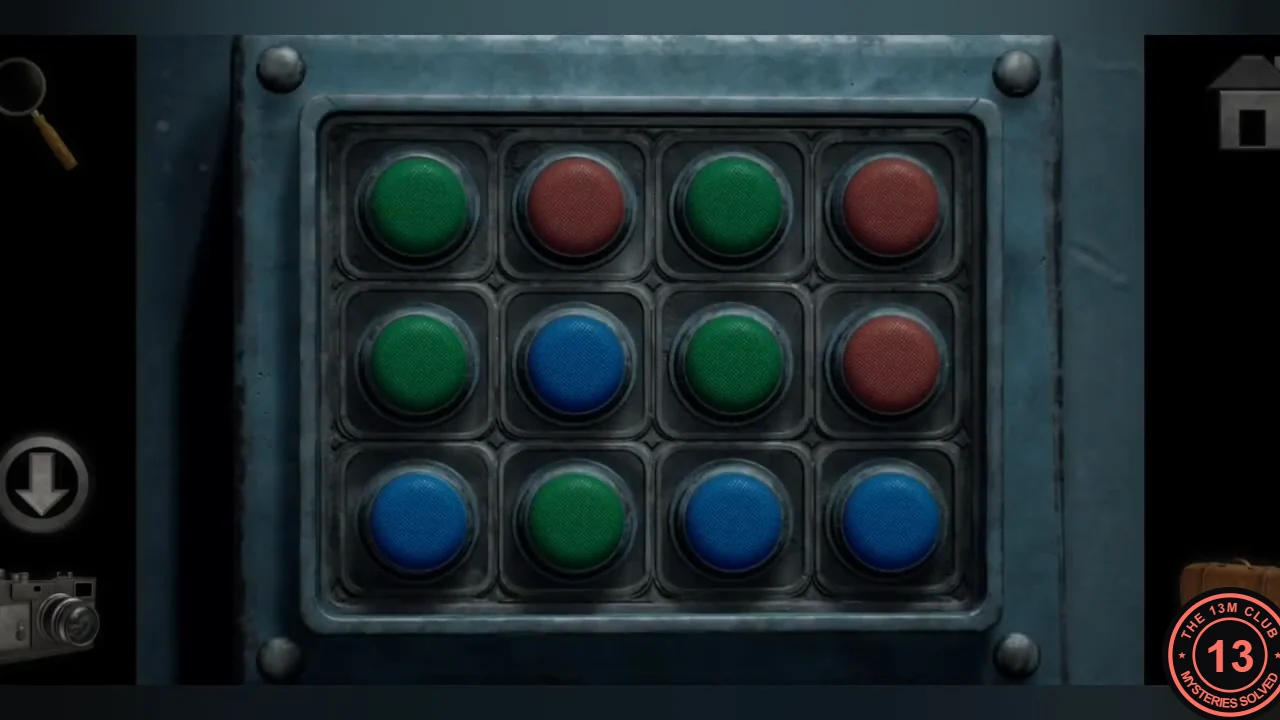
The blue door in the first corridor has three rows of four buttons. Tapping a button cycles its colour.
- Set the buttons to the nightstand rows: top red, red, green, blue; middle blue, red, blue, green; bottom green, green, red, red. The door opens.
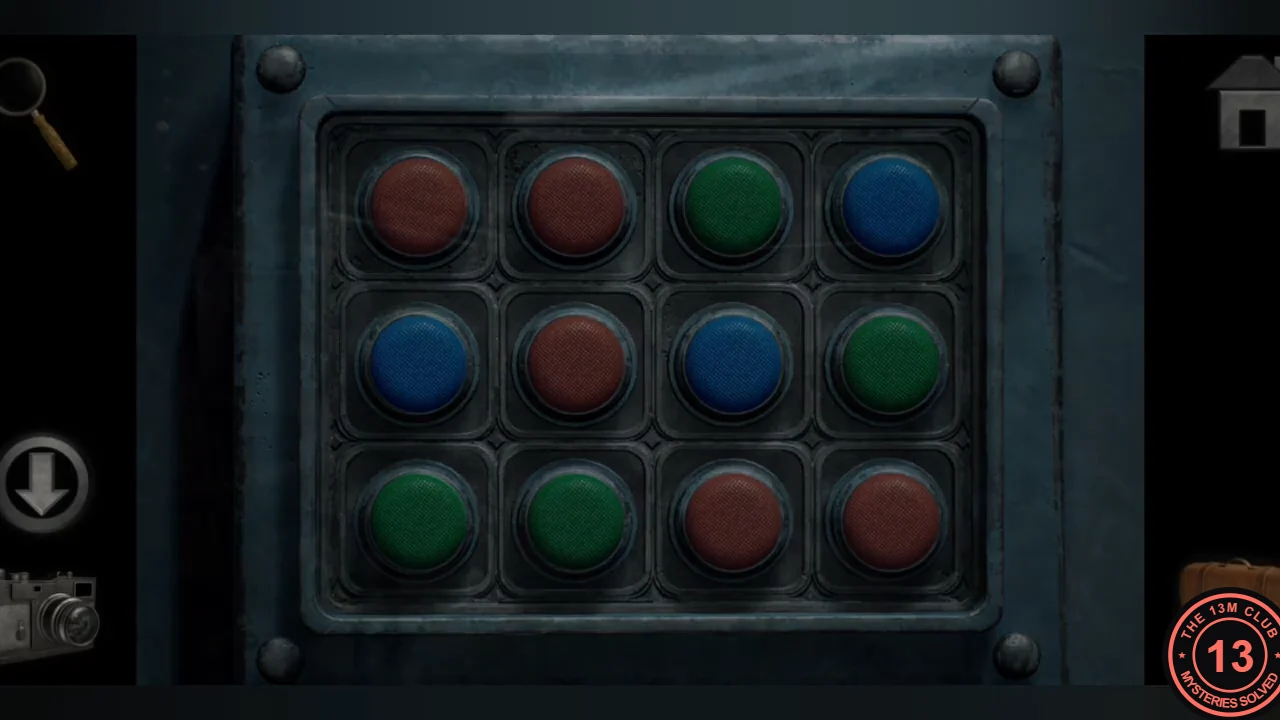
Correct button colours: top red, red, green, blue; middle blue, red, blue, green; bottom green, green, red, red.
Spotlight Room and Blue Gear
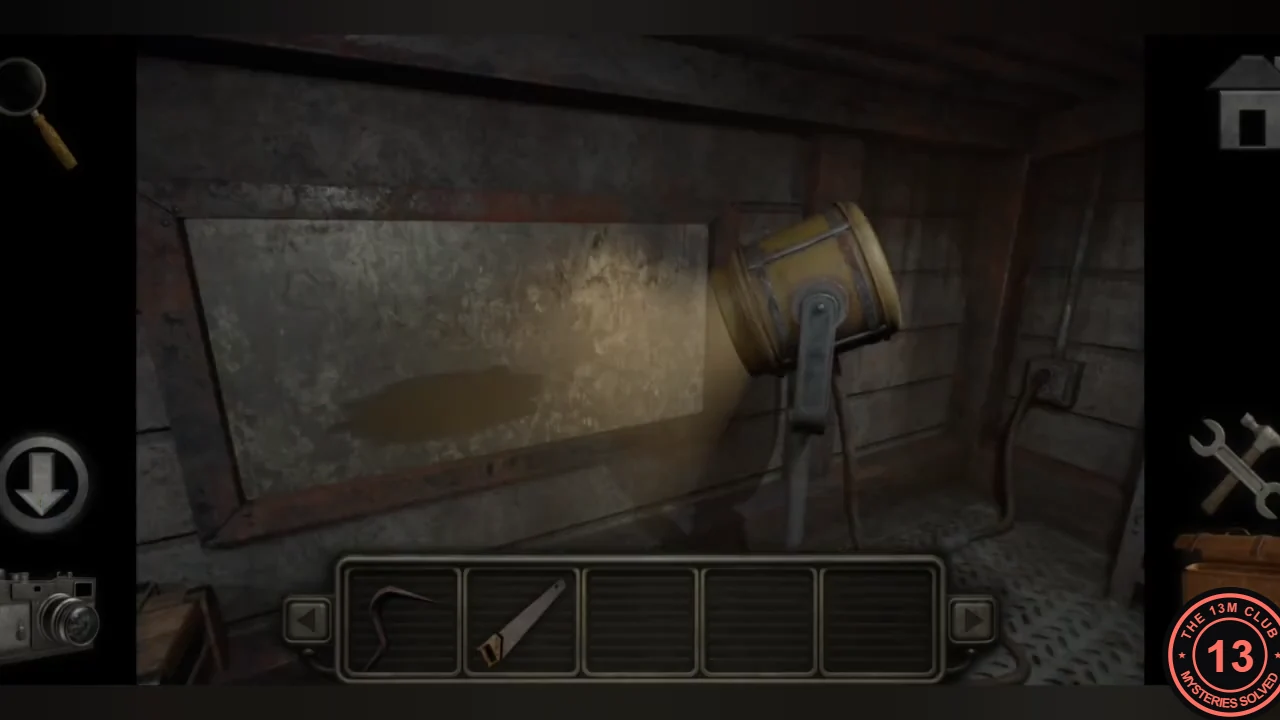
Beyond the blue door, repair a spotlight cable and collect a gear.
- In the small room with the very dirty window, use the duct tape on the cut cable. The spotlight turns on, but grime still blocks the light.
- Take the blue gear from the shelf, then take the stairs down into the large arched hall.
Barricaded Room and Wall Panel Lines
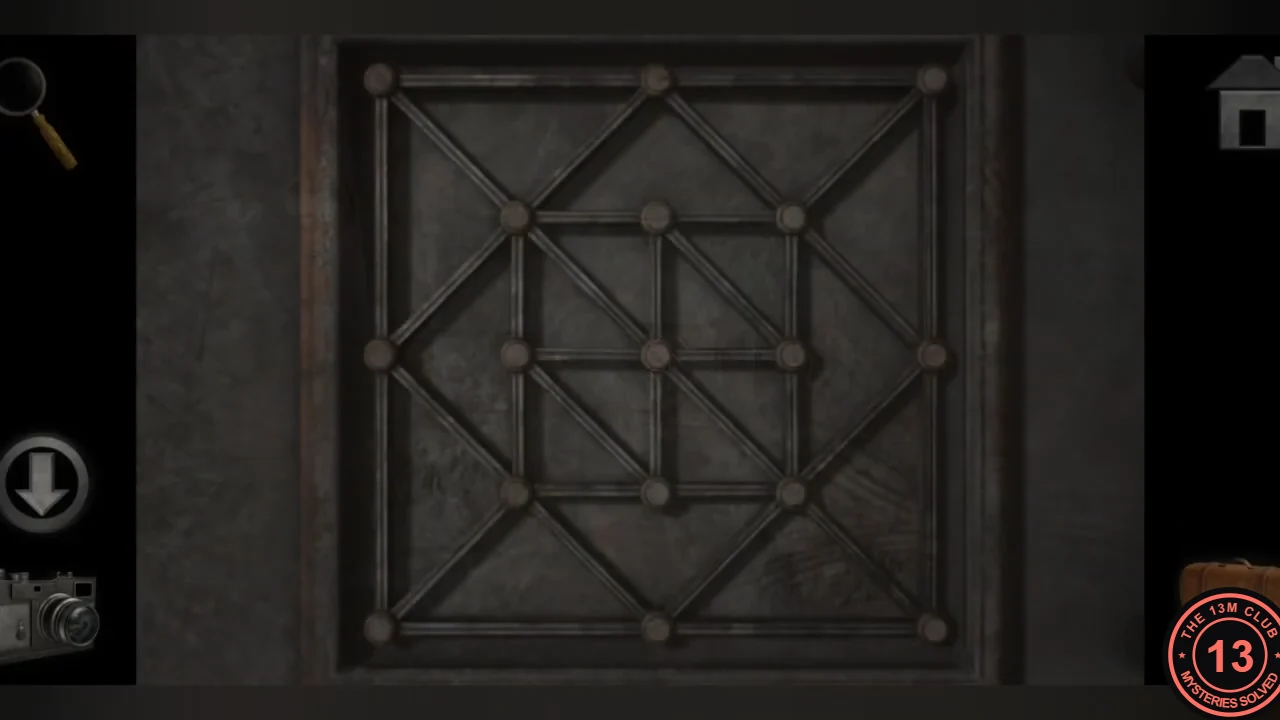
Saw through the barricaded door, photograph the carved shapes and recreate them on the wall panel.
- At the barred door at the end of the ground-floor corridor, use the wood saw (shown as Hand Saw when selected) to cut through the barricade. Inside, photograph the three shapes carved into the wooden table. Your camera memory may be full; delete old photos if needed.
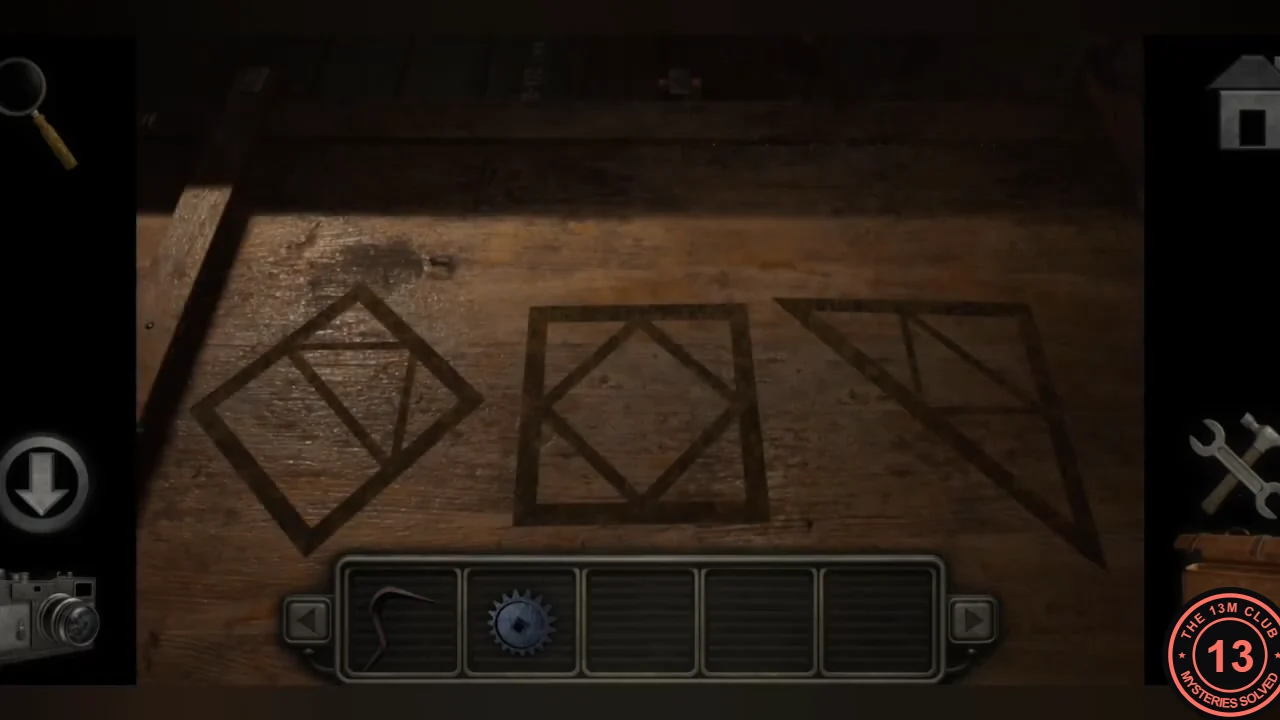
The three shapes carved into the table in the barricaded room. - At the wall cabinet in the corridor, tap the line segments between the nodes to light them until the panel shows all three carved shapes drawn on top of each other: the whole outer square, the diamond joining the middle of each outer side, and the remaining inner lines from the carving. The cabinet opens when the pattern is exact.
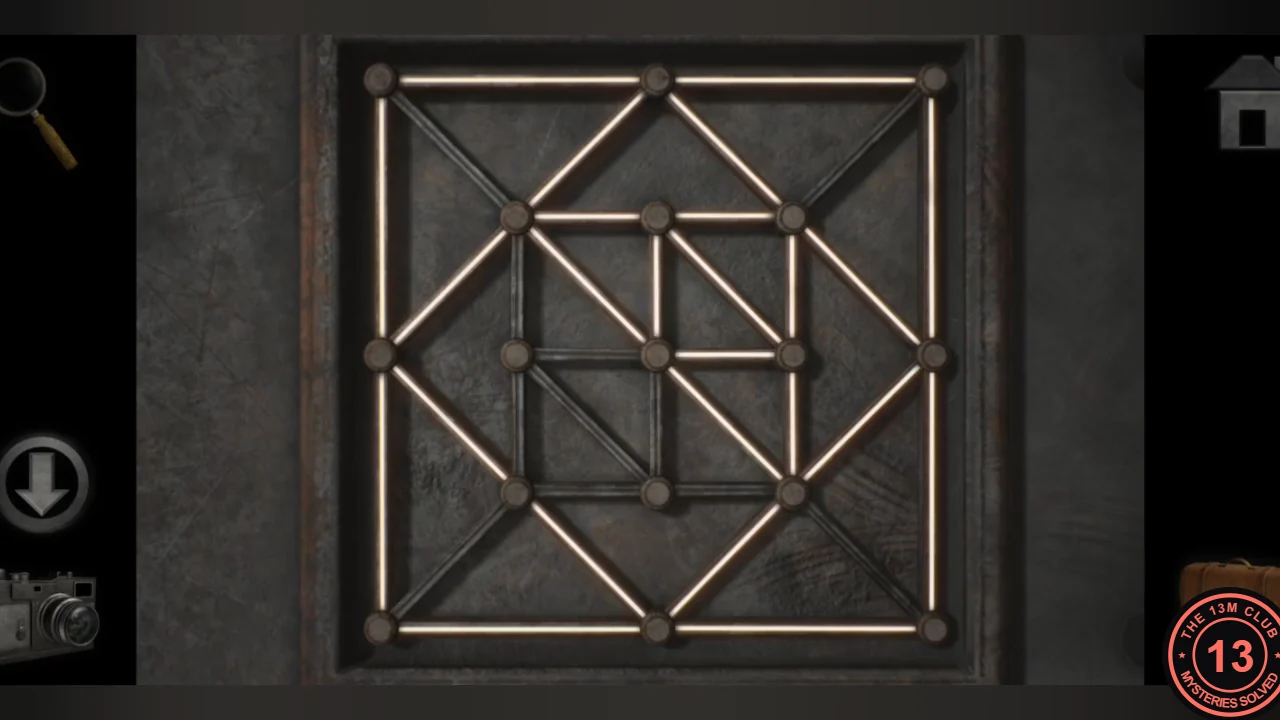
Wall panel with all three carved shapes lit on top of each other. - Take the spray bottle with cleaning solution.
Clean the Window and Find a Pipe
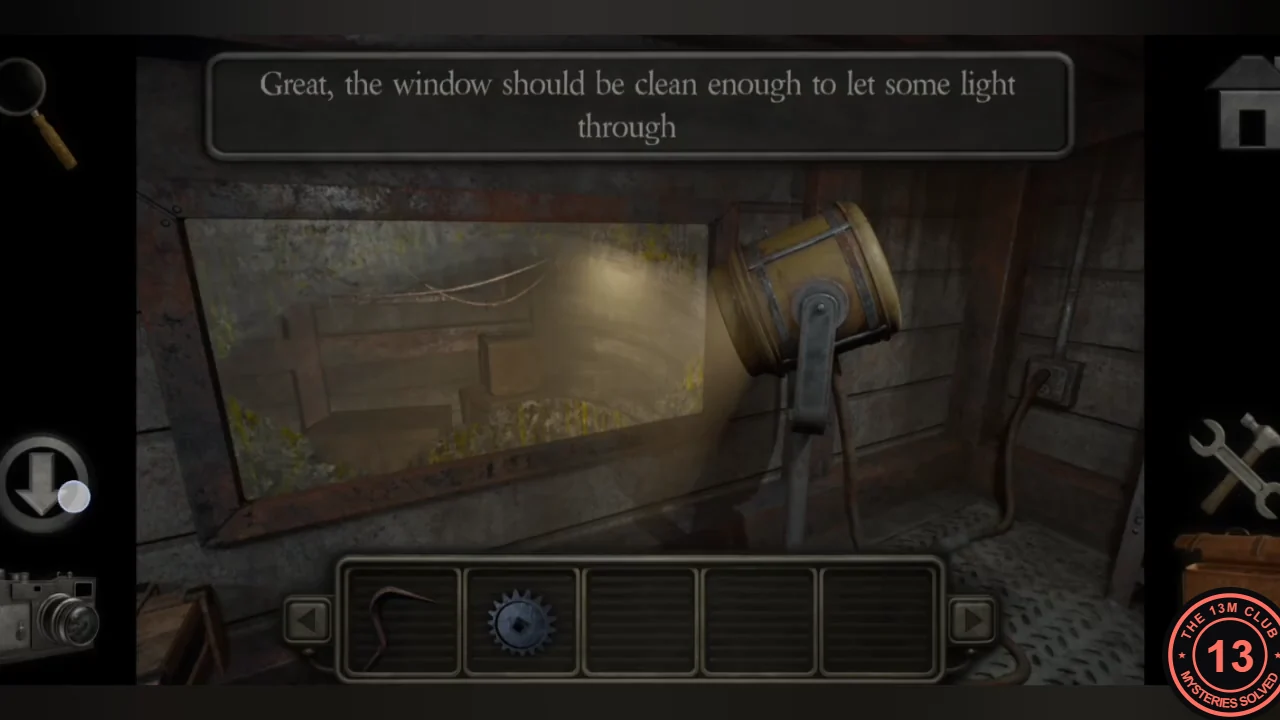
Clean the grimy window so the spotlight can light the ransacked room, then pick up a replacement pipe.
- Climb the ladder to the upper catwalk (the broken walkway is too wide to jump) and pick up the old rag.
- In the spotlight room, use the spray bottle and then the rag on the dirty window.
- Go back down to the formerly dark, ransacked room, now lit, and step out onto the balcony. Take the pipe lying on the crate.
Boiler Valve Pressure
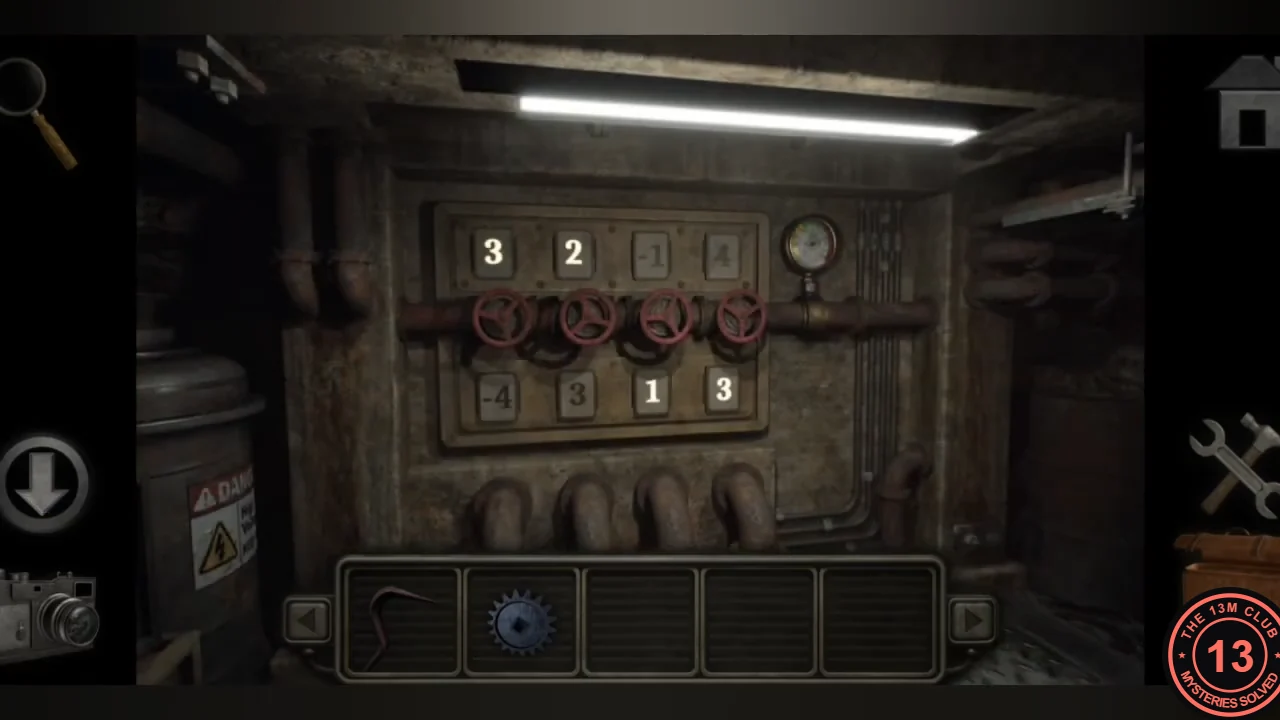
With the new pipe in place, set the four valves so the pressure gauge is in the green zone.
- In the boiler room, use the pipe piece on the gap below the valve panel.
- Each valve lights either its top number (3, 2, −1, 4 from left to right) or its bottom number (−4, 3, 1, 3). The gauge shows the total of the lit numbers. Turn the valves until the needle sits in the green zone. In the recording, lighting top 3, top 2, top −1 and bottom 3 gave 7, which was accepted.
- Press the green button beside the blue sliding door in the boiler corridor. The shutter rises to a service tunnel; the wire cage there is padlocked for now.
Explore the Tunnels and Gate Controller
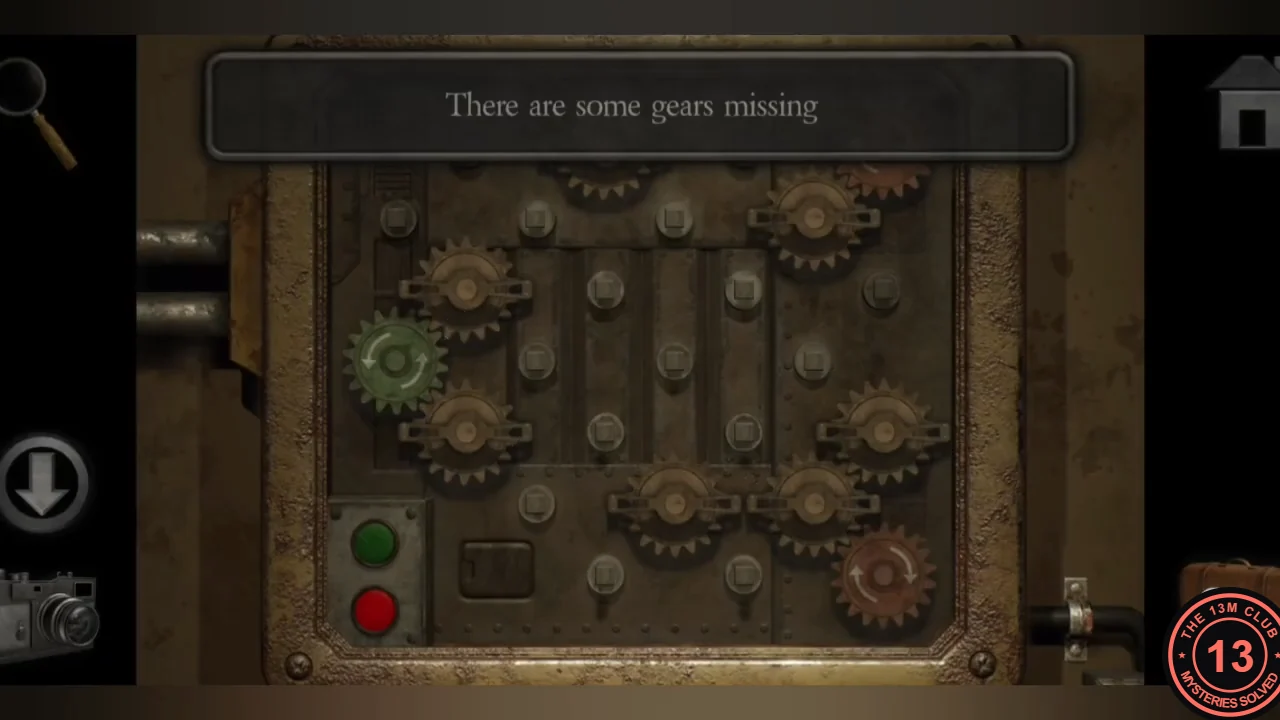
Scout the unfinished road tunnels and start repairing the Gate Controller.
- At the end of the service tunnel there is a dark opening and a wall switchboard with coloured plugs. At the fork, a traffic light carries the plate 31 / 757. The right fork ends at a collapsed bridge and passes a rusted office door; the left fork has an oil leak and a GATE CONTROLLER booth beside a locked chain-link gate.
- In the booth, place the blue gear on an empty peg of the Gate Controller gear board. More gears are still missing.
Sequence Console
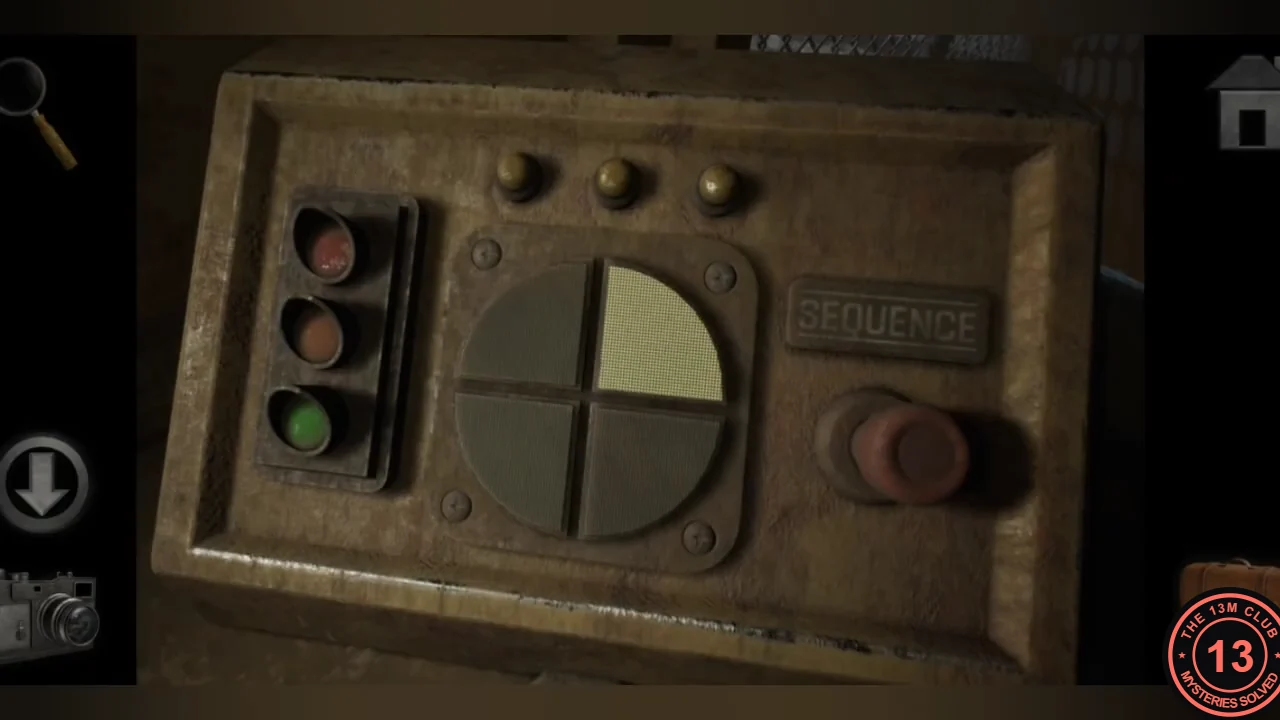
The desk console is a memory game: it flashes a pattern and you repeat it. The sequences seen in the recording are listed for reference, but always repeat what your console shows.
- Press the red button. The four quadrants flash a sequence; tap them in the same order. Complete three rounds, each longer than the last; every success lights one of the three lamps. In the recording (TL = top left, BR = bottom right, and so on) round 1 was TL, TR, BR, TR, BR; round 2 was TL, BR, TL, BL, TR, BR; round 3 was BL, BR, TL, TR, BR, TL, BL. When the third lamp lights, the console's mini traffic light changes from red to green, and the traffic light at the fork starts cycling through three symbols. The chain-link gate beside the booth stays shut for now.
Traffic Light Symbols and Tunnel Switchboard
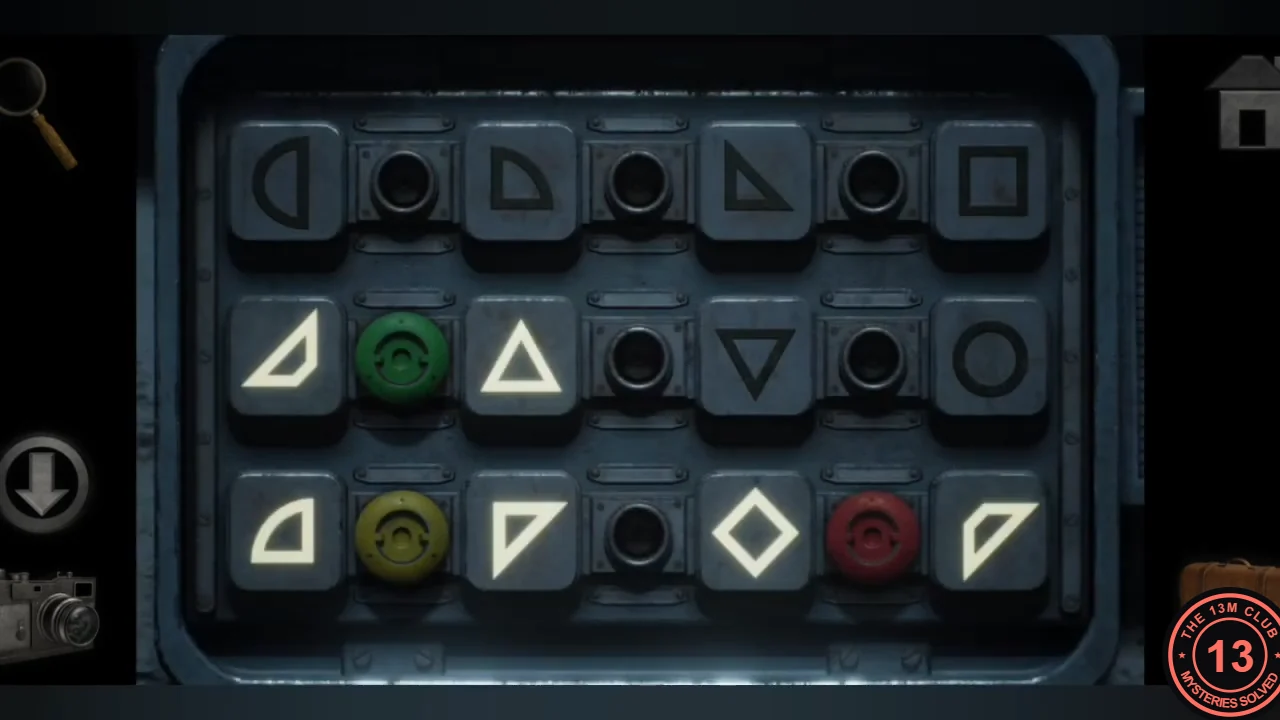
The traffic light now shows three symbols. Use them on the switchboard at the end of the service tunnel to switch on the tunnel lights.
- Watch the traffic light at the fork and photograph each symbol: red shows two stacked triangles (an hourglass) with a bar, yellow a diamond inside a diamond, and green a circle with a crosshair.
- At the switchboard, each plug lights the two shape tiles on either side of its socket. Drag the plugs into these sockets: red between the upward and downward triangles in the middle row; green between the first two tiles of the bottom row; yellow between the diamond and the last tile of the bottom row. Leave the top row unlit.
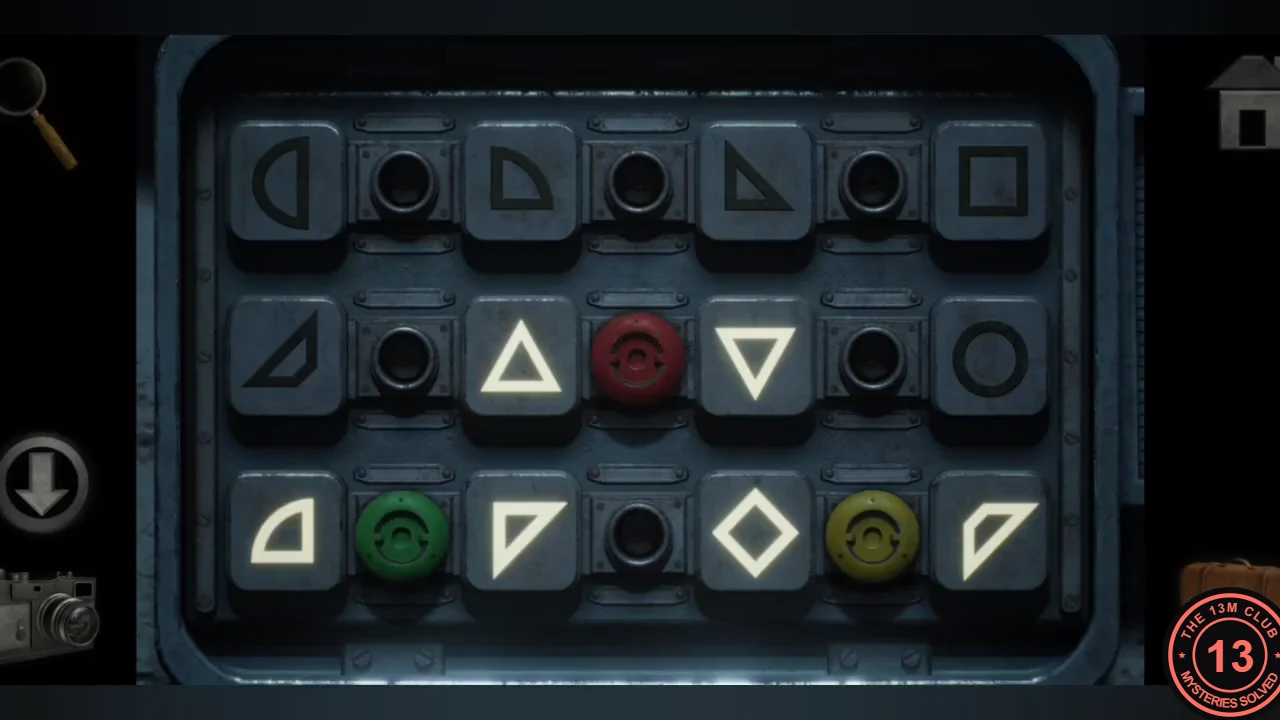
Switchboard solved: red between the up and down triangles, green between the first two bottom tiles, yellow between the diamond and the last bottom tile. - Walk into the lit excavation cave. Pick up the bucket on the floor, then take the set of keys from the excavator cab. The panel on the excavator's side is a dice puzzle for later.
Binoculars, Licence Plate and Oil
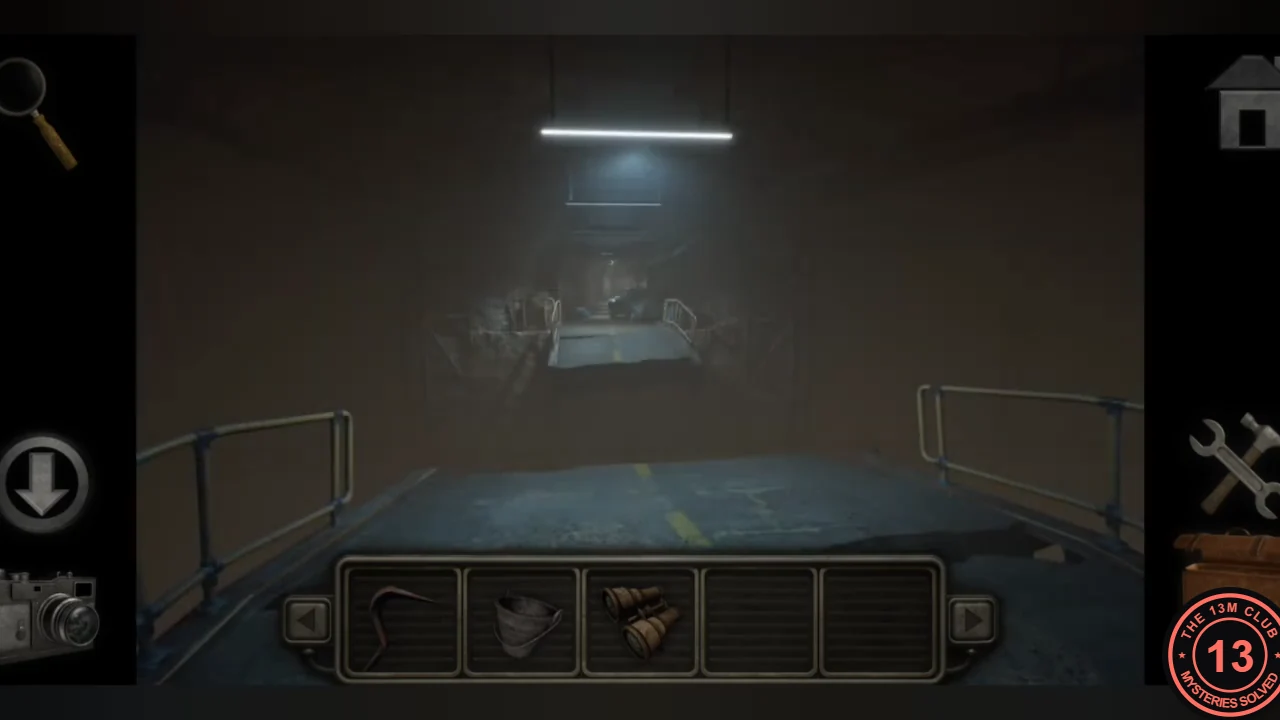
Open the wire cage, spot a licence plate across the collapsed bridge and collect oil.
- Use the set of keys on the padlocked wire cage in the service tunnel and take the binoculars.
- At the collapsed bridge on the right fork, use the binoculars to look across. The car on the other side has the licence plate BUGGY.
- On the left fork, place the bucket under the leaking pipe to fill it with oil.
Rusted Office, BUGGY Lock and Magnet Hatch
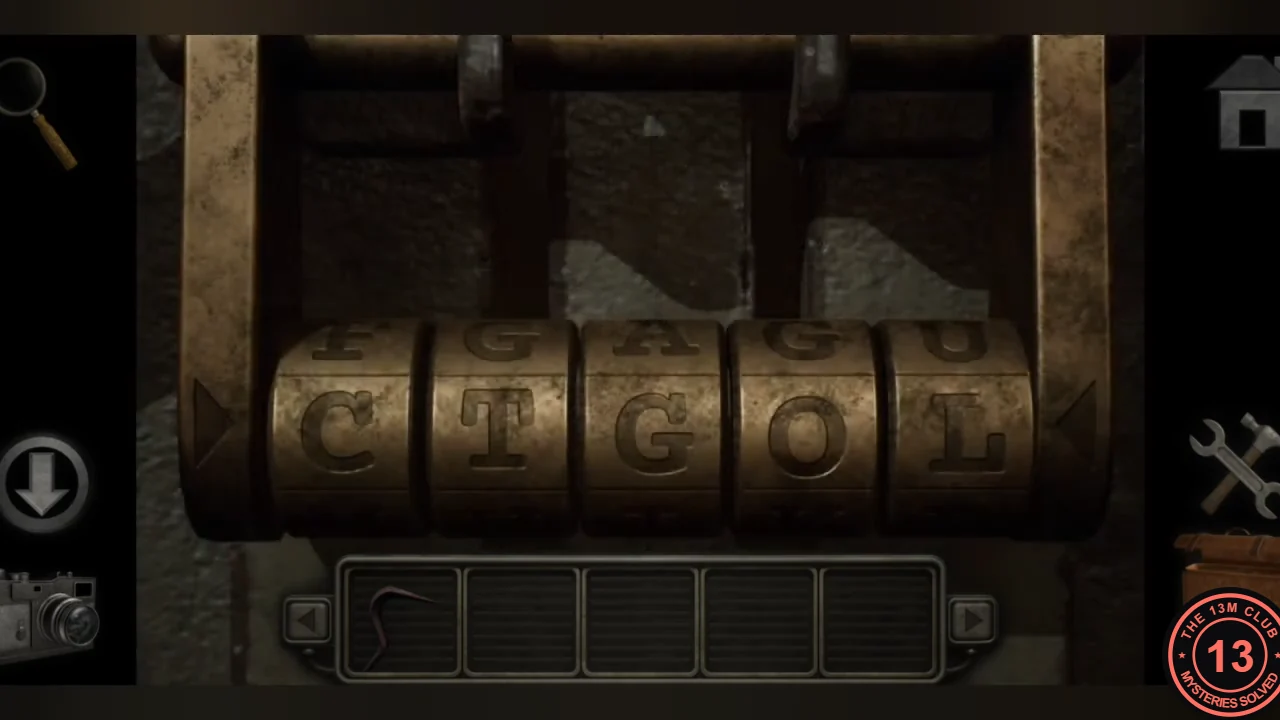
Free the rusted office door, open the letter cabinet, reveal a hidden map and open a magnetic hatch.
- On the right fork, use the bucket of oil on the rusted door handle and enter the small office.
- The mesh cabinet asks for the old pickup's nickname. Set the five letter wheels to BUGGY. Take the small gear and the dark light bulb.CODEBUGGY
- Take the strong magnet from the desk. Tap the desk lamp to remove its normal bulb, then insert the dark light bulb. The ultraviolet light reveals four tick-marked arcs, each with one circled mark, on the wall map. Photograph the map.
- Outside the office, use the magnet on the curved slot of the small wall hatch and drag it along the slot to open it. Keep the magnet. Take the second small gear and photograph the red and blue numbered pipe diagram inside.
Excavator Dice Panel
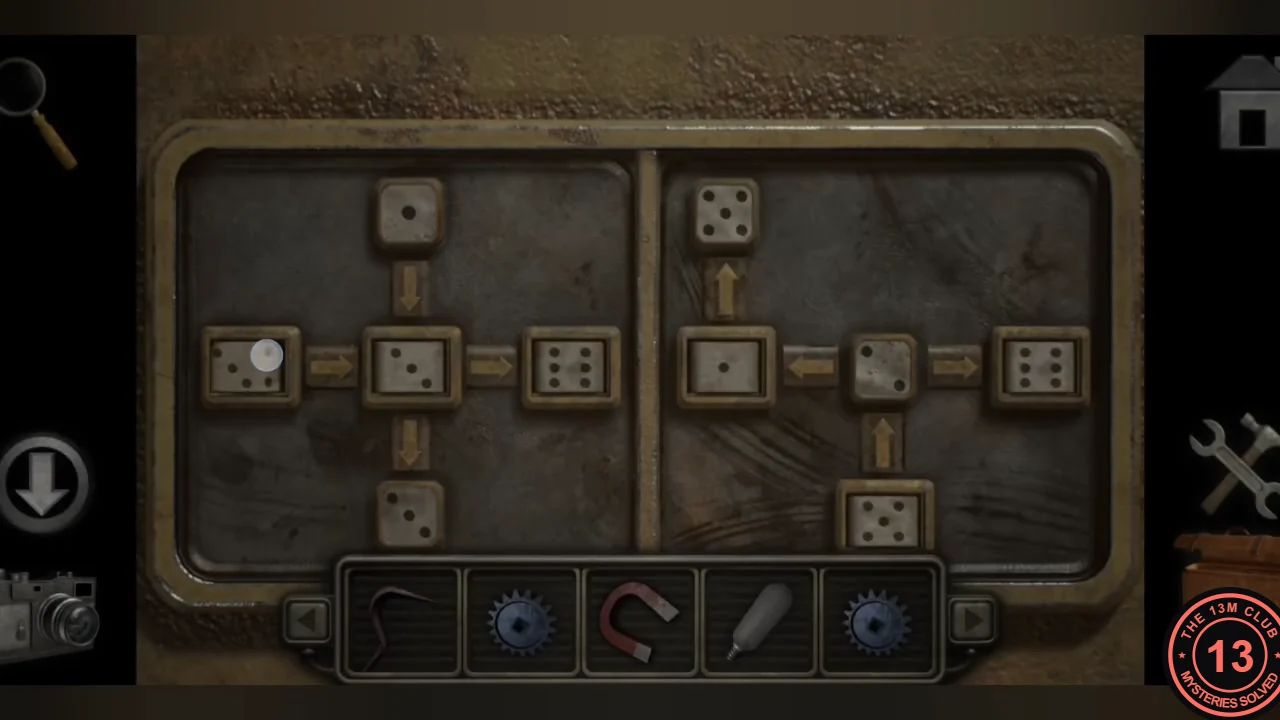
The excavator side panel holds two crosses of five dice joined by arrows, like the pipe diagram in the hatch. Tap a die to change its value; the centre die of the right cross is fixed at 2.
- Set the left cross to top 1, left 5, centre 2, right 4, bottom 3, and the right cross to top 5, left 4, centre 2, right 3, bottom 1.
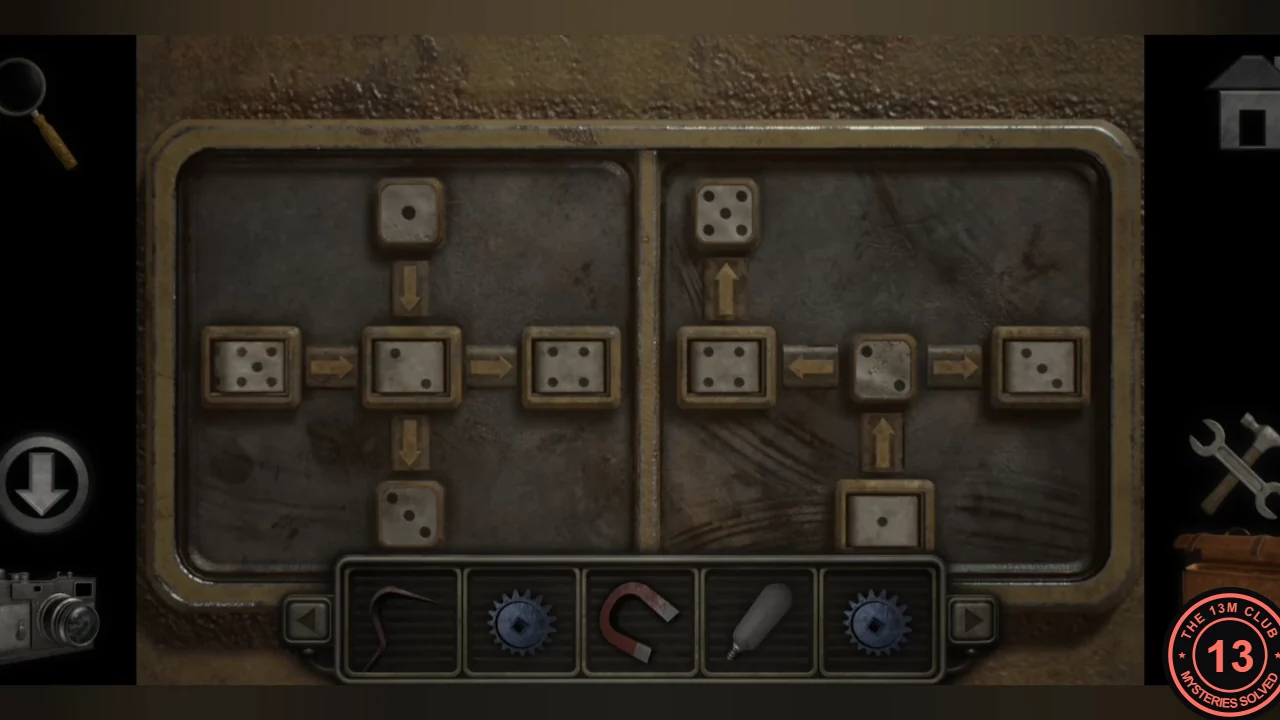
Dice set as listed: left cross 1, 5, 2, 4, 3 (top, left, centre, right, bottom) and right cross 5, 4, 2, 3, 1. - Take the third small gear from the compartment.