The Forest Clearing
Chapter 2 opens in a forest clearing with a hooded skeleton statue on the right, an ivy bush on the left and a hollow tree at the back left. The task "Find information about the portal" completes.
- Zoom in on the hooded skeleton statue and take the orange paper packet tucked into its elbow. The lantern on the statue is for later.
- Zoom in on the ivy bush and take the slingshot. The weeds there need something strong; you will make herbicide later.
- Zoom in on the hollow tree and put the green crawling hand inside. It brings out an orange tin and a purple battery; take both.
- Open the purple case in your inventory: it is a camera that does not work. Insert the purple battery and attach the flashlight to the front.
- Use the camera on the misty spot on the right of the stone path, just left of the statue, to start the differences scene.
Camera Differences
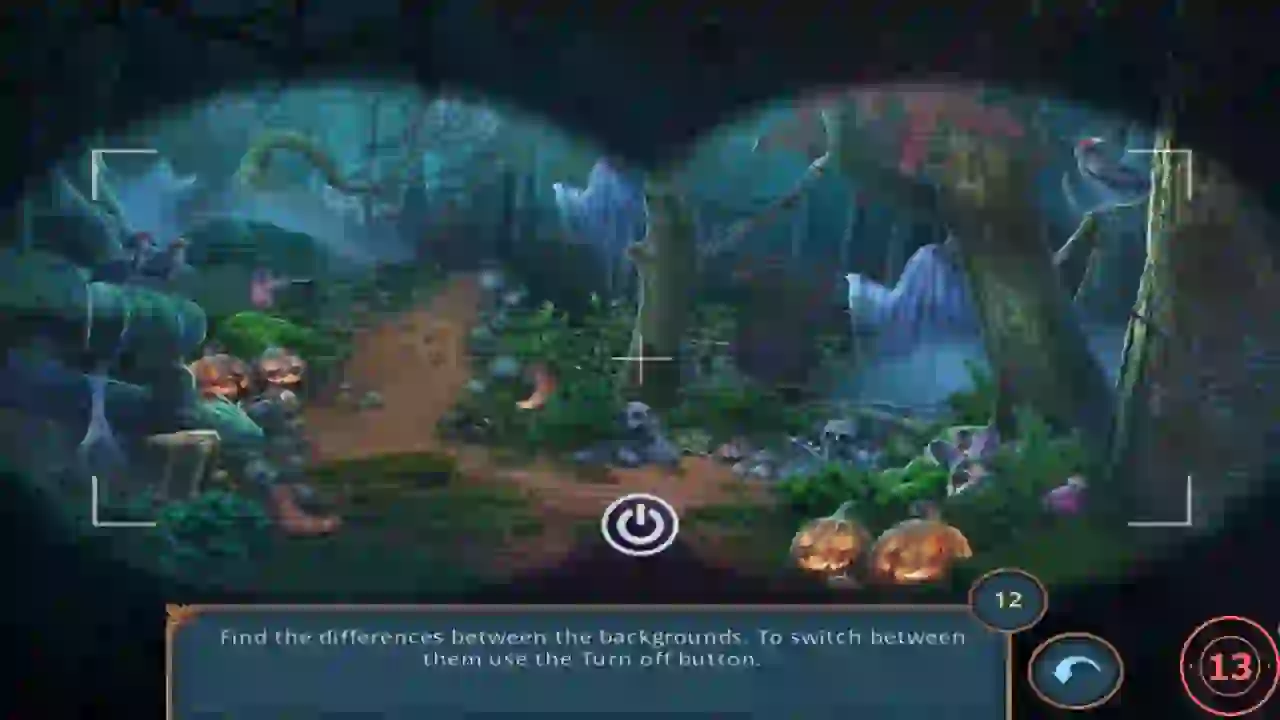
In-game hint: "Find the differences between the backgrounds. To switch between them use the Turn off button." There are 12 differences.
- Press the power button to switch views and click each difference: the twisted branch at the top left, the ghost at the top centre, the wooden board behind the central tree, the branch linking the central tree to the tree on the right, the crow at the top right, the round stone on the path, the footprints on the path, the red boot right of the path, the box beside the pumpkins on the left, the tree stump at the far left, the skull pile at the lower right and the flower at the lower right. You receive the sign.
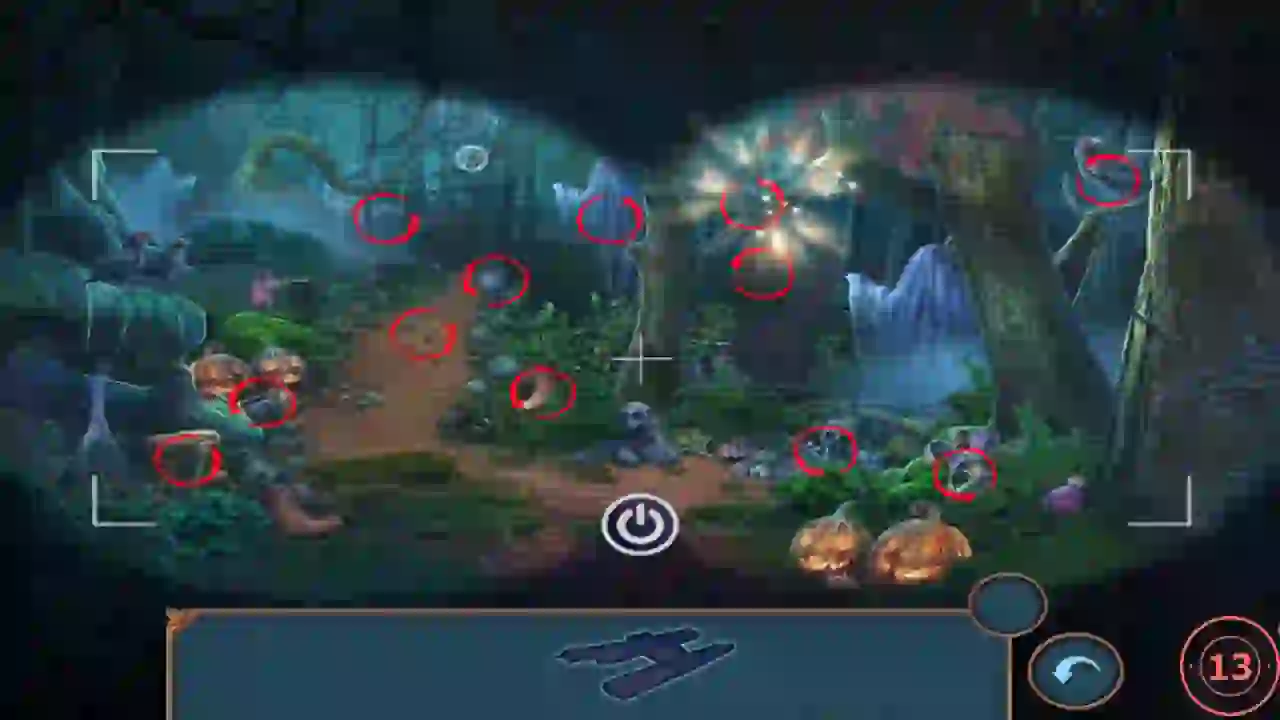
All 12 differences circled; the last one, the branch linking the central tree to the right tree, is sparkling. - Place the sign on the empty signpost at the top of the stone steps in the centre. The path to the ruins opens.
- Decision 4: in the ruins Vlad suggests searching Abraham's tent. "It might turn out to be fruitful." costs 1 adventure key and gives +6 decision points; "We don't have time for this." is free and gives no points. Both recordings chose the tent search, and this guide marks the tent steps as tent route. No later main-route step uses an item from the tent, but what the game shows after the free option was not observed.
Abraham's Tent
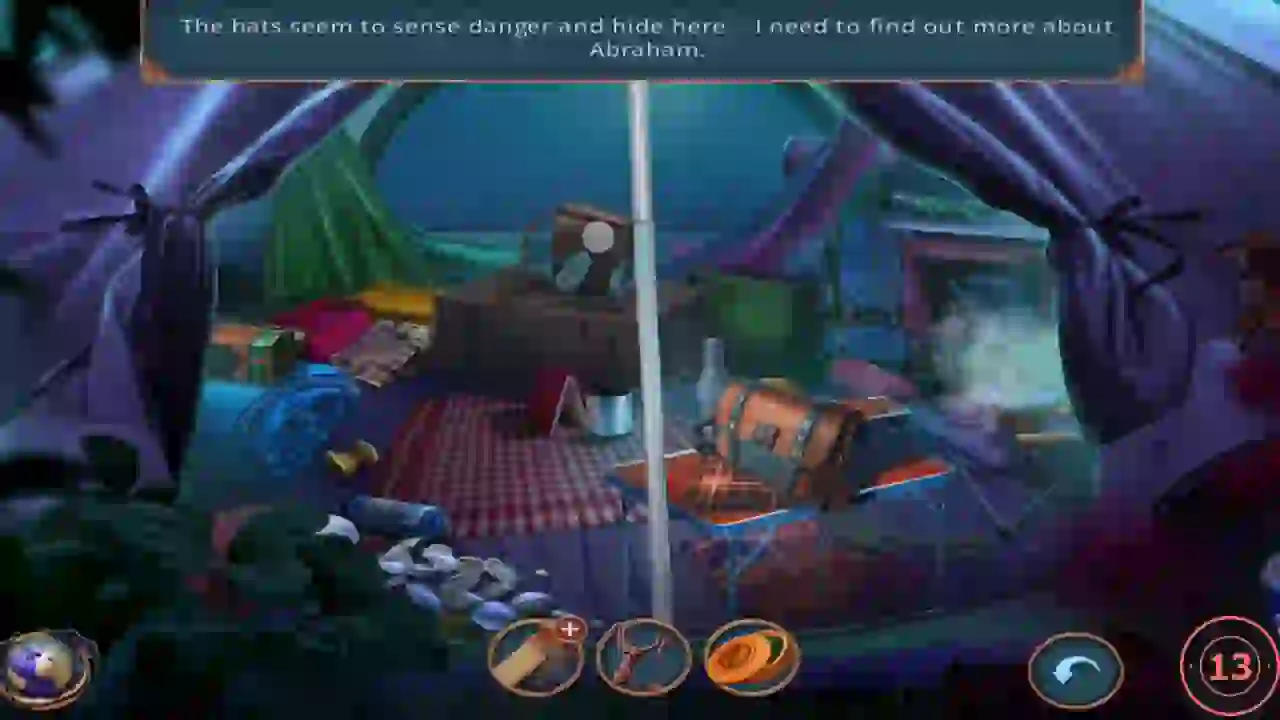
Tent route only (decision 4: "It might turn out to be fruitful."). Enter the tent to the right of the stone arch in the ruins and collect the two loose clues.
- Take Abraham's business card from the front of the brown leather case on the dark box in the centre. The card lists the phone number 4589. The case lock stays shut for now.
- Take the small red-and-green box from the blue sleeping bag on the left.
Abraham's Satchel Keypad
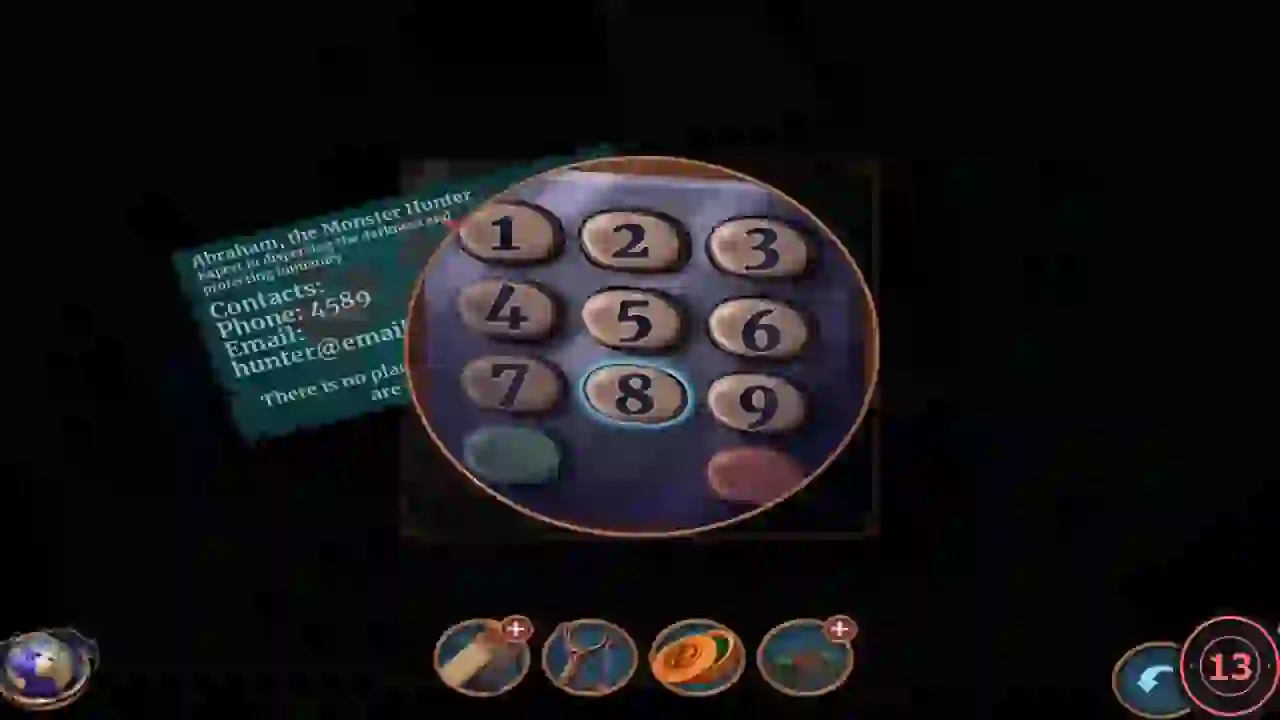
Tent route only. The orange satchel on the right of Abraham's tent is closed with a number keypad. Abraham's business card gives the code.
- Use the business card on the keypad of the orange satchel on the right and enter 4589. Read the letter, then take the grey clue plate and the silver lid.CODE4589
- Put the silver lid on the steaming kettle at the right. Take the wooden rod from the kettle base.
Dream Catcher Branch
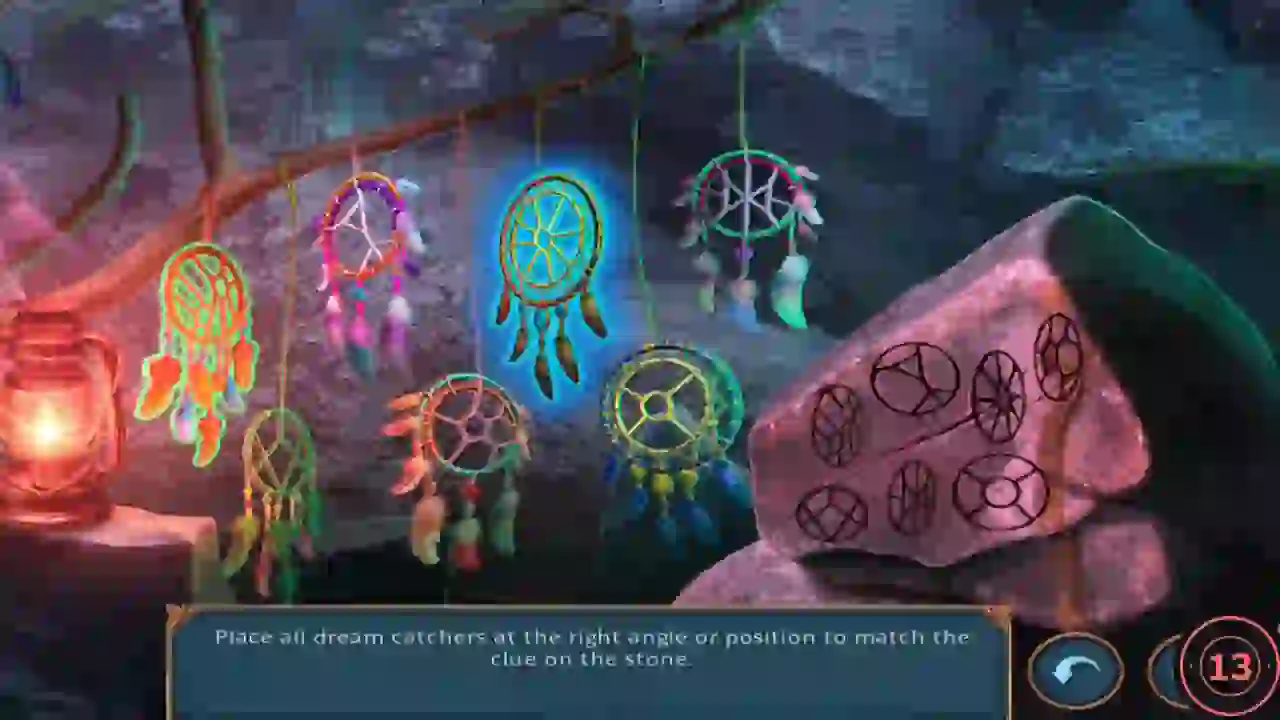
In-game hint: "Place all dream catchers at the right angle or position to match the clue on the stone." A branch under the arch holds seven dream catchers, four above and three below. The pink stone on the right shows seven carvings laid out the same way.
- In the ruins, take the dream catcher hanging on the left post of the well, then the second one on the rock by the stream.
- Place both dream catchers on the branch beside the red lantern under the arch to start the puzzle.
- Click a dream catcher to select it (it glows blue). Swap it with another catcher or rotate it until its pattern matches the carving in the same spot on the stone; a correct catcher turns green. Repeat until all seven are green.
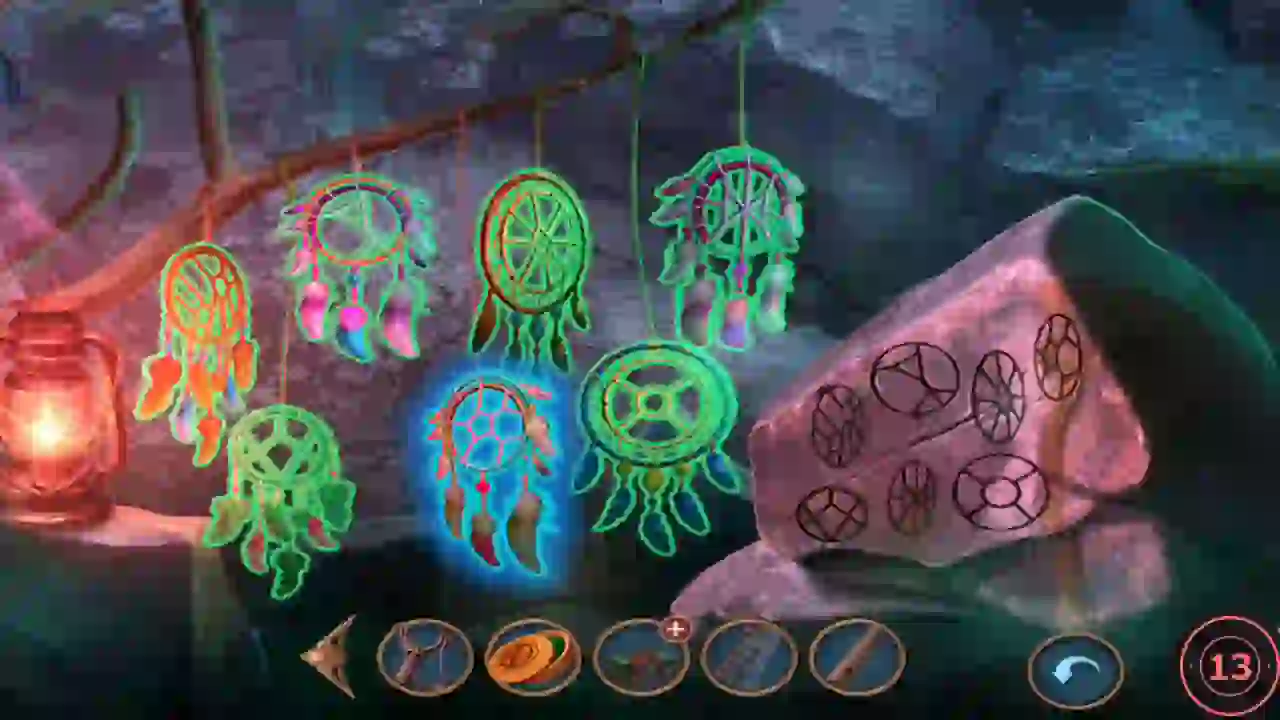
Solved: every catcher matches the carving in the same spot on the stone (the last one moved is still highlighted blue). - The stone slides aside to reveal a basin; take the rope.
Treehouse and Herbicide
Return to the forest clearing and climb into the treehouse.
- Use the rope on the hollow tree; it hangs down from the treehouse. Climb up and take the wooden handle (1/2) and the vinegar jug. The pink toy box lid will not open yet.
- Tent route: use the wooden rod on the hasp of the old trunk behind the toy box. Take the green bottle from inside.
- Open the paper packet in your inventory. It holds a jar labelled TORNADO HERBICIDE (vinegar + weed killer). Add the vinegar jug and the orange tin to make the herbicide.
Tent: Sleeping Bag and Kettle
Tent route only. Go back into Abraham's tent.
- The strap knot on the blue sleeping bag is too tight. Pour the green bottle on the knot, unroll the bag and take the wooden mannequin hand.
- Use the wooden hand to lift the hot kettle away from the burner, then take the silver skewer lying beside the burner.
Tangled Vines
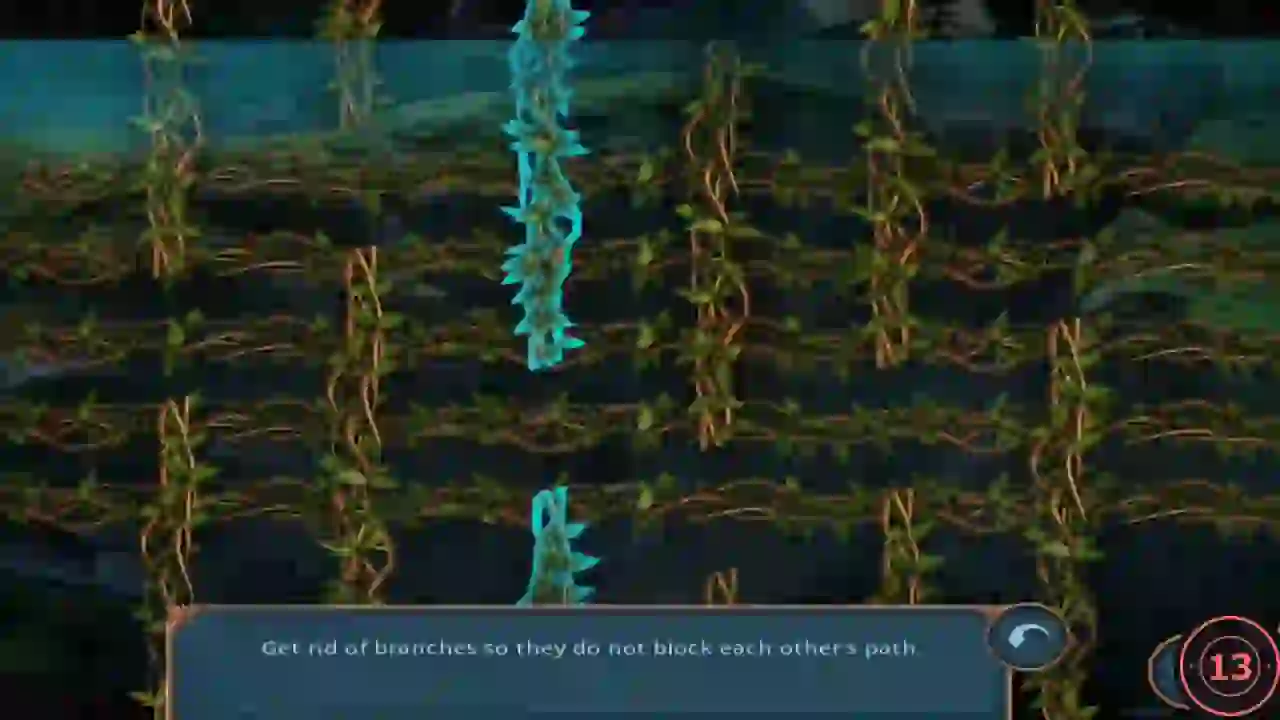
In-game hint: "Get rid of branches so they do not block each other's path." The board is a tall, scrolling tangle of vines, so the guide gives the method rather than every click.
- In the clearing, use the herbicide on the weeds at the ivy bush to start the puzzle.
- Click a vine to pull it out in the direction it points. A vine only comes free when no other vine crosses its exit path; a blocked vine stays put. Start with vines at the edges whose way out is clear, then work inward. Scroll up and down to check the whole board, because freeing one vine often unblocks several others.
- Take the gear (1/2) and the well crank from the cleared hollow.
The Well and the Buried Chest
In the ruins, someone broke the handle of the well to hide what is inside.
- Fit the crank on the well post and turn it. When the bucket comes up, take the pumpkin box and the red trowel.
- Zoom in on the sandy rock by the stream (where the second dream catcher was) and dig with the trowel. Open the green wooden chest you uncover and take the red-and-grey battery box and the light-blue bottle.
- Tent route: use the silver skewer to lift the loose board in the bottom of the chest and take the key.
Abraham's Ring Lock
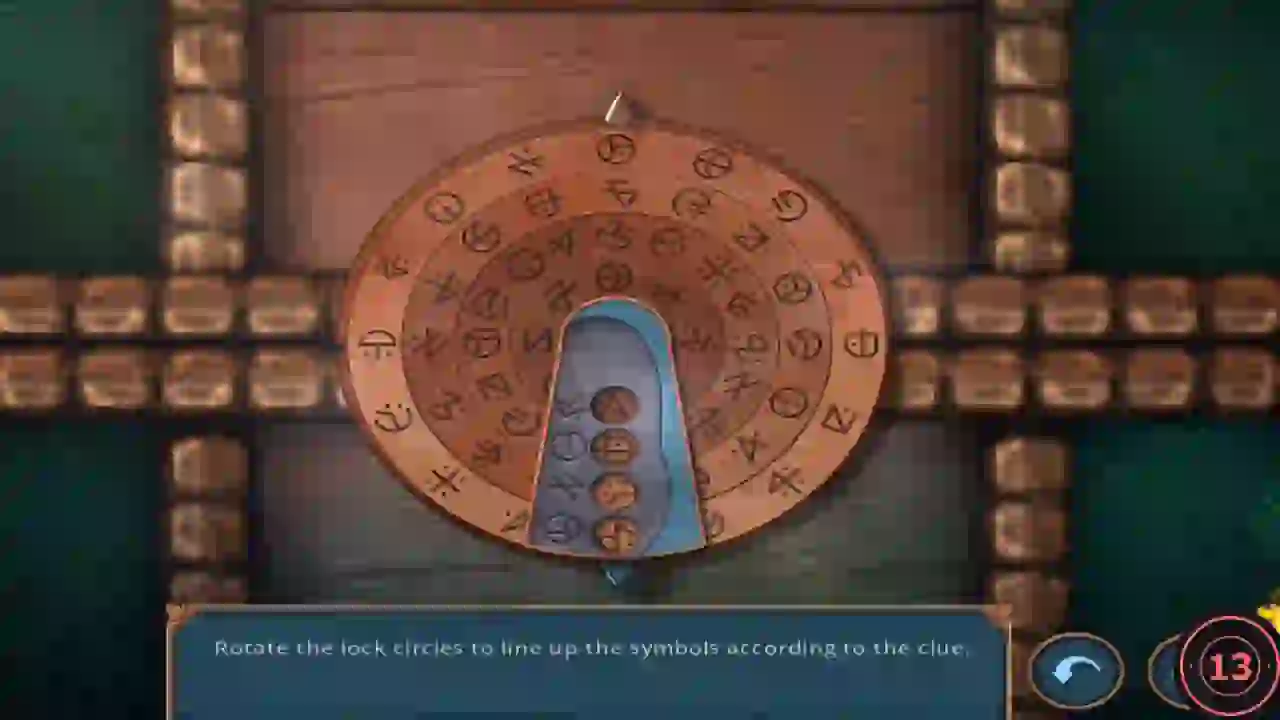
Tent route only. Open Abraham's leather case, then solve the ring lock on the red-and-green box. In-game hint: "Rotate the lock circles to line up the symbols according to the clue."
- In the tent, unlock the brown leather case with the key and take the copper symbol disc.
- Open the red-and-green box in your inventory. Place the copper disc in the round recess, then the grey clue plate on top, to start the ring lock.
- The clue plate has four windows, each with a printed symbol beside it (top to bottom: arrow fan, circled exclamation mark, crossed lines, sad face). Select a ring (it glows) and rotate it until the symbol showing in its window matches the printed symbol beside that window. Do this for all four rings and the box opens.
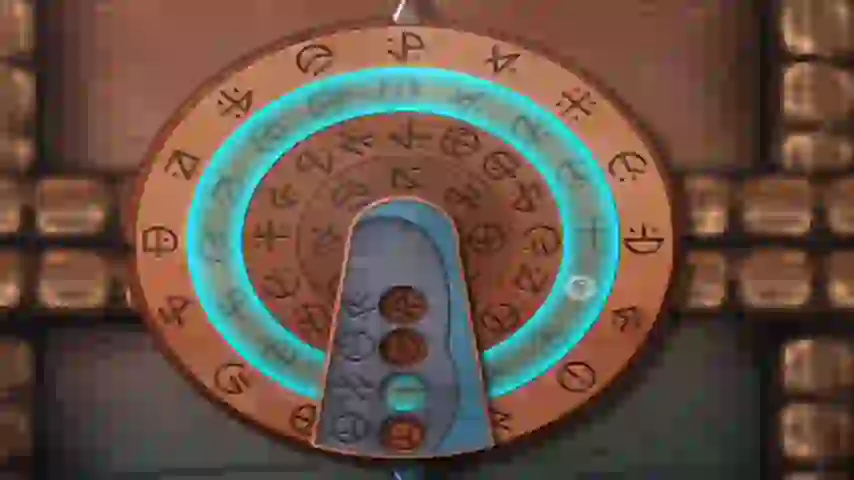
Solved: each window shows the symbol printed beside it (arrow fan, circled mark, crossed lines, sad face).
Abraham's Diary
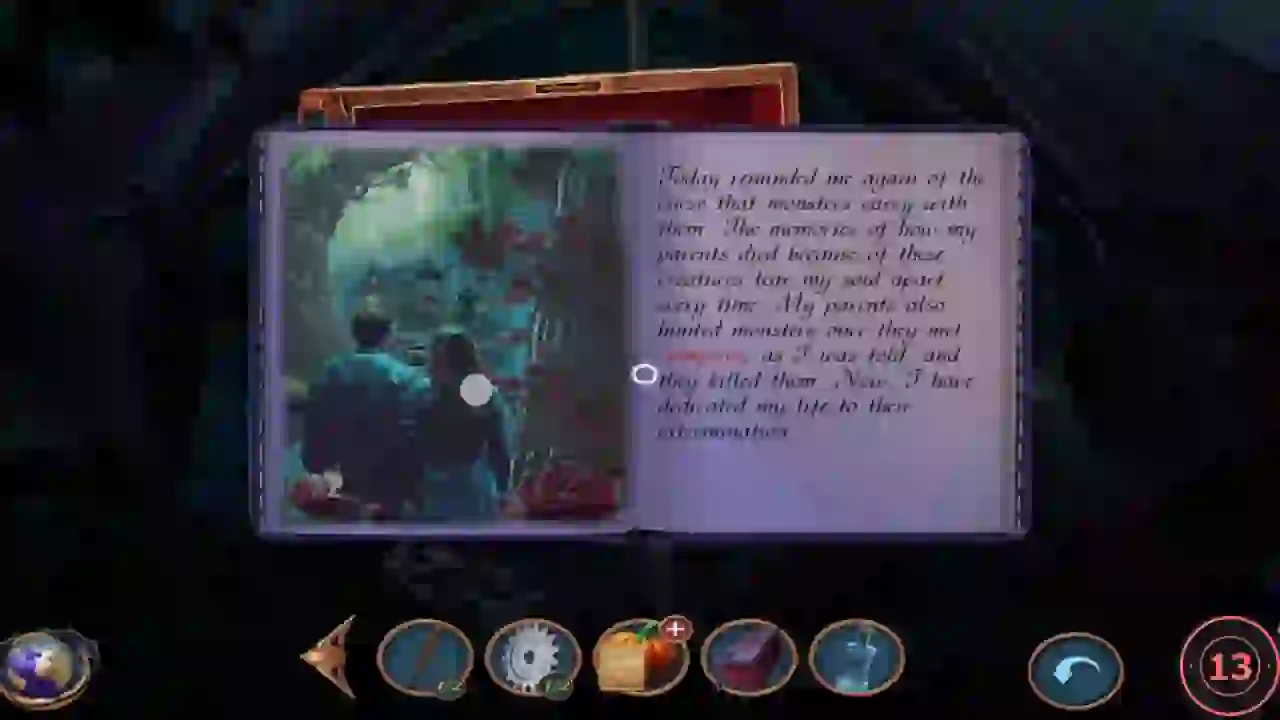
Tent route only. The opened red-and-green box holds Abraham's diary. In-game hint: "Find objects on the image based on highlighted words."
- On each diary page click the object in the picture named by the highlighted word: the vampire, the Frightsylvania Hotel and the silver bullets. The task "Search Abraham's tent" completes.
Pumpkin Bomb and the Temple
Make a pumpkin bomb to break the crumbling wall in the ruins.
- Open the pumpkin box in your inventory. Remove the instruction paper, pour the light-blue bottle into the pumpkin and add the slingshot. You now have a slingshot loaded with a pumpkin bomb.
- Use the loaded slingshot on the crumbling wall right of the arch. The wall explodes; go through the new doorway.
- Decision 5: Abraham holds Annabelle at gunpoint. "Do nothing" is free (0 points), "Distract Abraham" costs 25 coins (+2 points) and "Blind Abraham" costs 35 coins (+4 points). With Do nothing, Vlad tackles Abraham; with Blind Abraham, Vlad first throws soil in his face and then tackles him. After both of these choices the task "Get inside" completes and a new task to stop Abraham begins. The Distract Abraham choice was not recorded, so what happens after it is not covered here.