The Flooded Crypt
You begin in a flooded crypt beneath Vlad's castle with an empty inventory. Your task is "Get out of the tunnels". The green door at the back is the exit.
- Look at the bull-skull brazier on the left wall. Take the purple owl figurine from the coals, then the key lying beside it.
- Open the brick niche on the right. Clicking the stone slab under the ornate frame tells you something is stuck beneath it. Place the owl figurine on that slab.
- Open the casket in the centre. Take the wooden crate from the lid, then the medallion piece (1/2) from under the gold shell ornament. The key does not fit until the piece is removed.
- Use the key on the heart-shaped padlock of the casket. The chain falls away and the lid opens to reveal a knight's skeleton.
- Take the sickle from the knight's hands.
- Zoom in on the gold relief disc beside the green door. Cut away the moss with the sickle and take the red gem.
- Back at the bull skull, put the red gem into its empty eye socket. The eyes glow green and a horn drops out; take the horn.
- In the niche, use the horn on the stone slab under the owl. A lever flips and the owl flies up. Take the round gold gem disc and the owl figurine.
- Place the gem disc on the knight's breastplate to start the gem puzzle.
Knight's Gem Disc
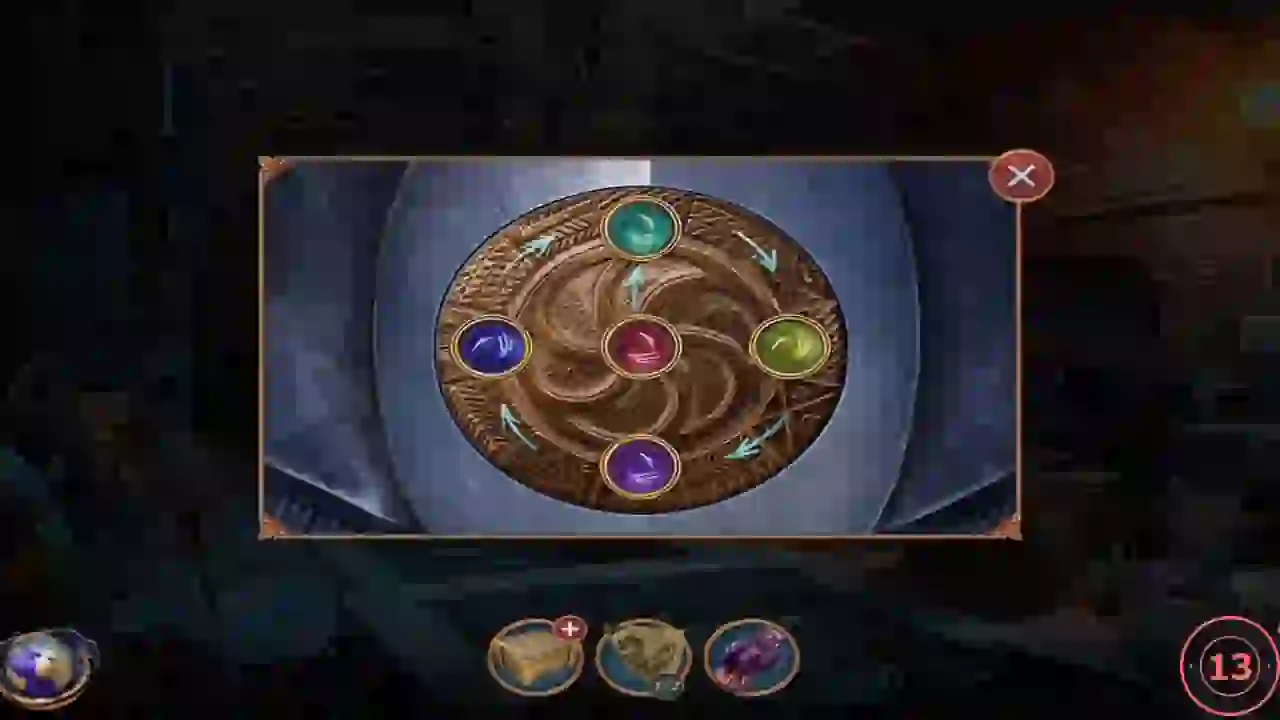
Five coloured gems sit on the disc, joined by arrows. Light them by following the arrows from gem to gem.
- Click the gems in arrow order: red (centre), teal (top), yellow-green (right), purple (bottom), blue (left). All five light up.CODERed → Teal → Yellow-green → Purple → Blue
- Take the octopus figurine that the solved disc releases.
- Place the octopus in the ornate frame in the niche. A compartment opens; take the green vial.
- Pour the green vial on the brazier coals. The fire turns green and the bull skull drops a gold wedge from its mouth; take the wedge.
- Insert the medallion piece into the relief disc by the green door to start the plate puzzle.
Green Door Plate Jigsaw
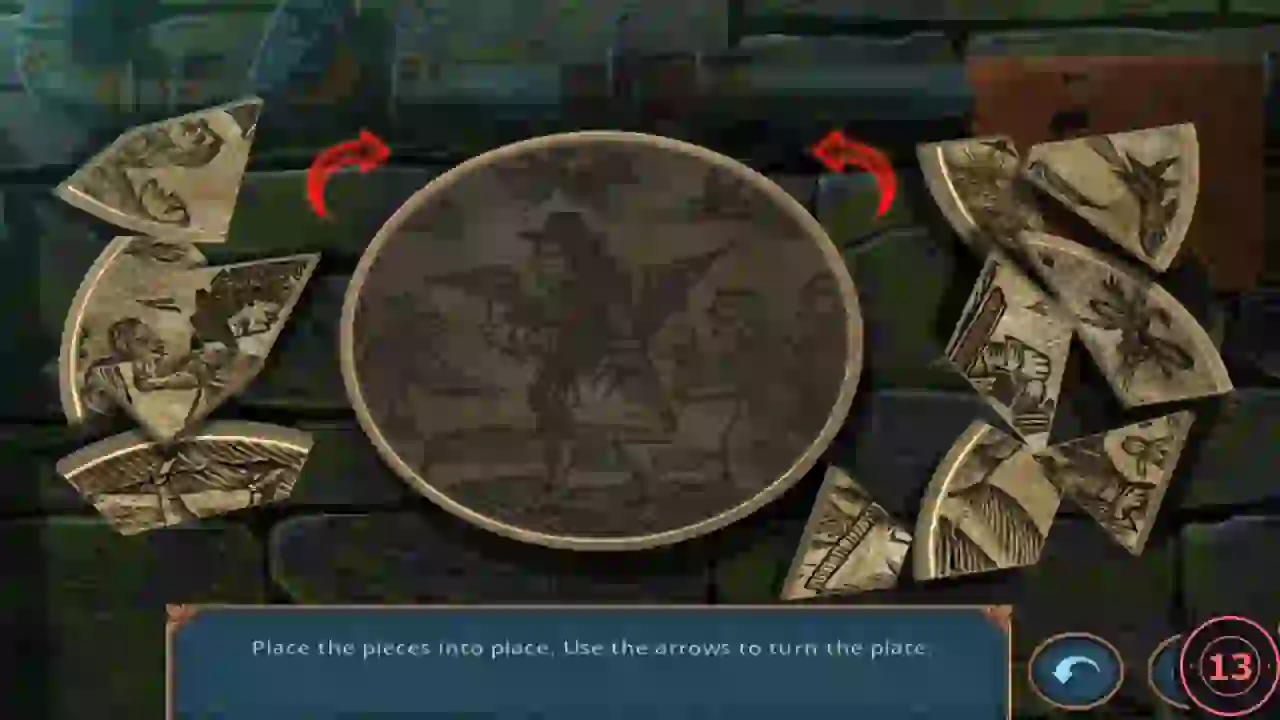
In-game hint: "Place the pieces into place. Use the arrows to turn the plate." This is a jigsaw on a turning plate, so the guide gives the method rather than every move.
- Drag each loose piece onto the gap whose outline and picture continue the design around it. Use the arrows to turn the plate so the next gap faces the loose pieces. Start with pieces that have distinctive edges or a large part of the picture, then fill the rest. A spare piece can remain on the left when the plate is complete. The green door opens.
Confronting Abraham: Hexagon Picture
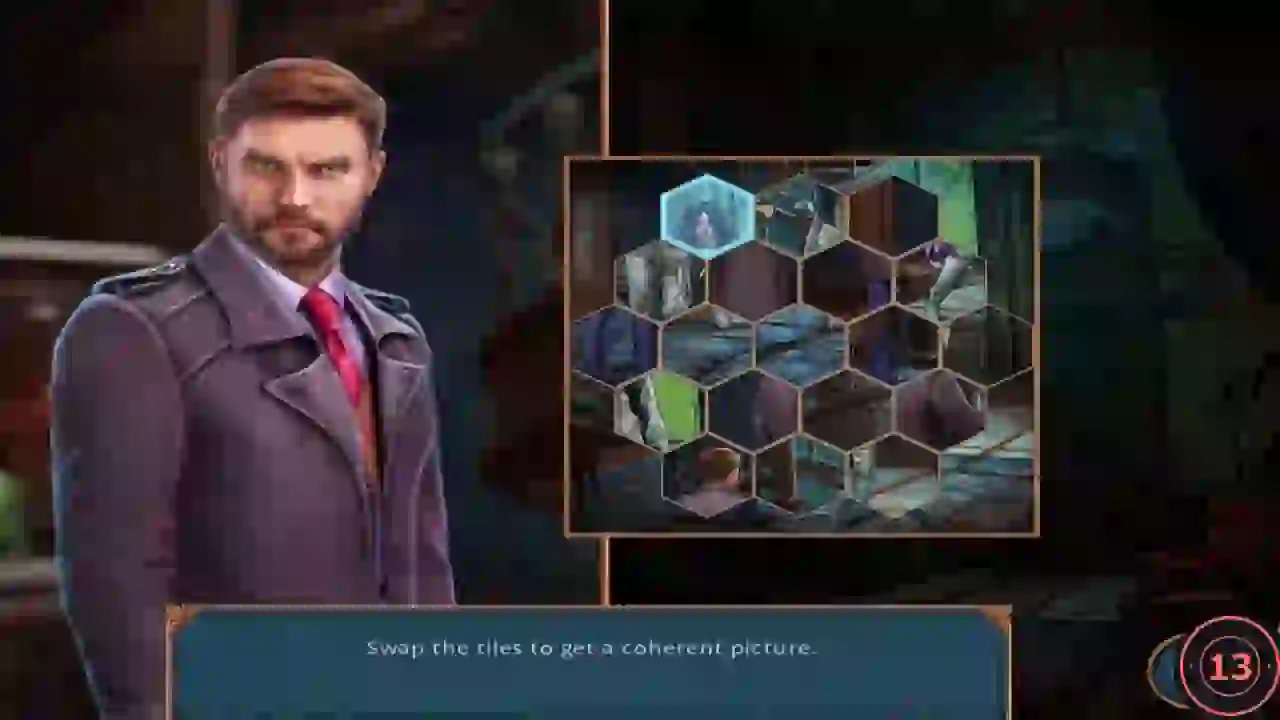
Beyond the green door you meet Abraham, the monster hunter. During the conversation two short picture mini-games appear; each must be completed to continue the story. In-game hint for the first: "Swap the tiles to get a coherent picture."
- Click a hexagonal tile, then click another to swap them. The finished picture shows Abraham from behind on the left, pointing a pistol at Annabelle (long black hair, pale bandage-like outfit, white boots) on the right. Build it from fixed landmarks: the spiral staircase belongs at the top centre, the green stained-glass window at the top right and the blue patterned carpet along the bottom edge. Then join Abraham's coat and trousers on the left and Annabelle's body and boots on the right. Place tiles by these landmarks rather than memorising positions. The picture flashes when complete.
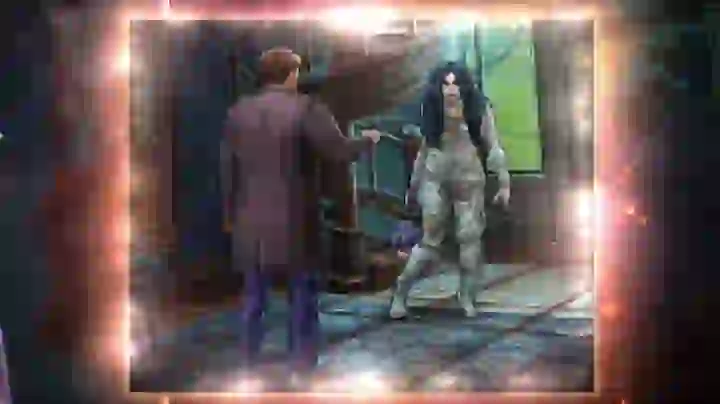
Completed picture: Abraham on the left, Annabelle on the right, the staircase at the top centre and the green window at the top right.
Confronting Abraham: Rotating Picture
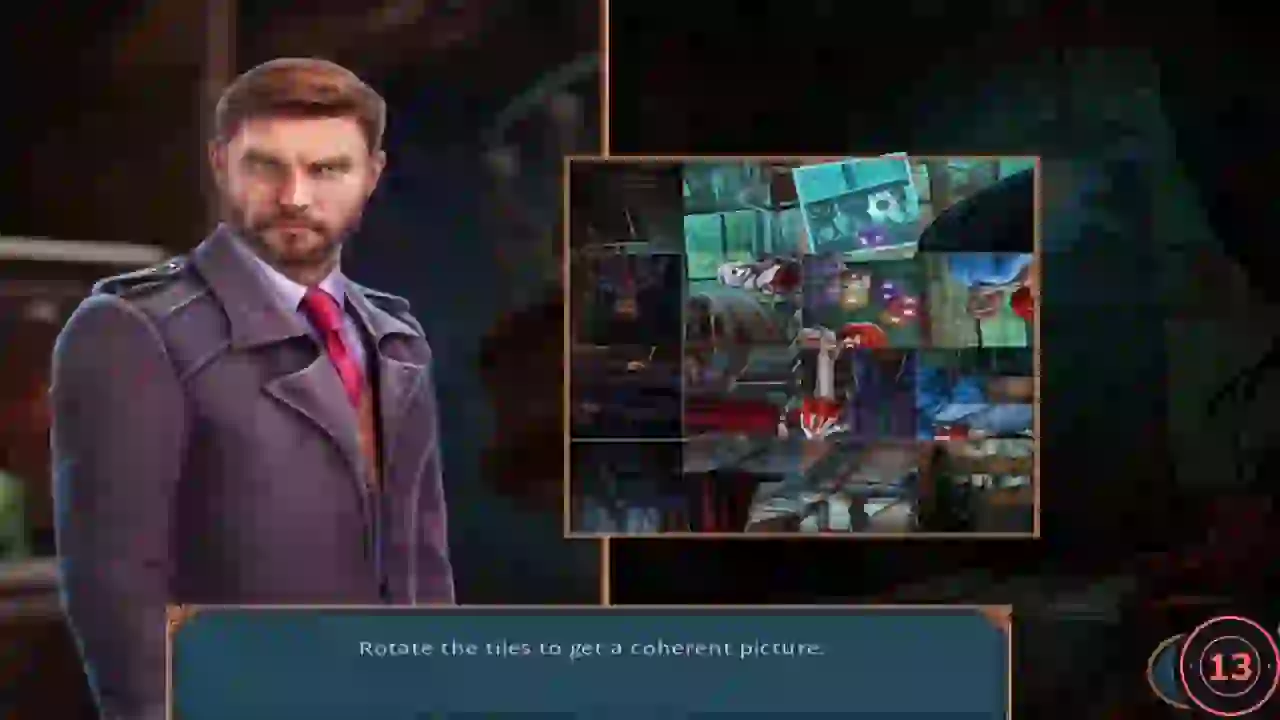
The second picture mini-game follows straight after the first. In-game hint: "Rotate the tiles to get a coherent picture."
- The picture is a 4 x 4 grid of square tiles; click a tile to turn it a quarter turn. The finished picture is a party scene: the spiral staircase at the upper left, Abraham in his long grey coat at the far left, then a skeleton lady in a red gown, a man in a purple jacket, a red-haired clown girl in a red-and-white striped dress with balloons above her head, and a man in a blue shirt seen from behind at the far right. Turn each tile until its floor edge is at the bottom and the teal stained-glass wall is at the top; the balloons must float upward and every figure must stand upright. Abraham then takes Annabelle hostage and threatens to kill her if you follow. "Get out of the tunnels" completes and you arrive in the library.
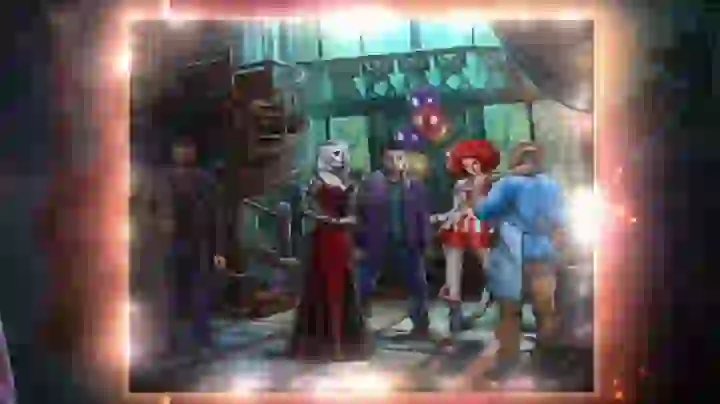
Completed picture: every figure upright, balloons floating up, staircase at the upper left.
The Library and the Symbol Box
The library has a piano on the left, a spiral staircase in the middle and the main door under a stained-glass window on the right.
- Open the piano. A green crawling hand scuttles away. Take the red stair board and the symbol hint paper. Note the gap in the keyboard for later.
- Zoom in on the spiral staircase. Place the owl figurine on the bottom step and the red stair board into the missing step. The staircase still cannot be climbed.
- Zoom in on the small case on the shelf left of the piano and use the symbol hint paper on it to start the symbol lock.
Symbol Box Lock
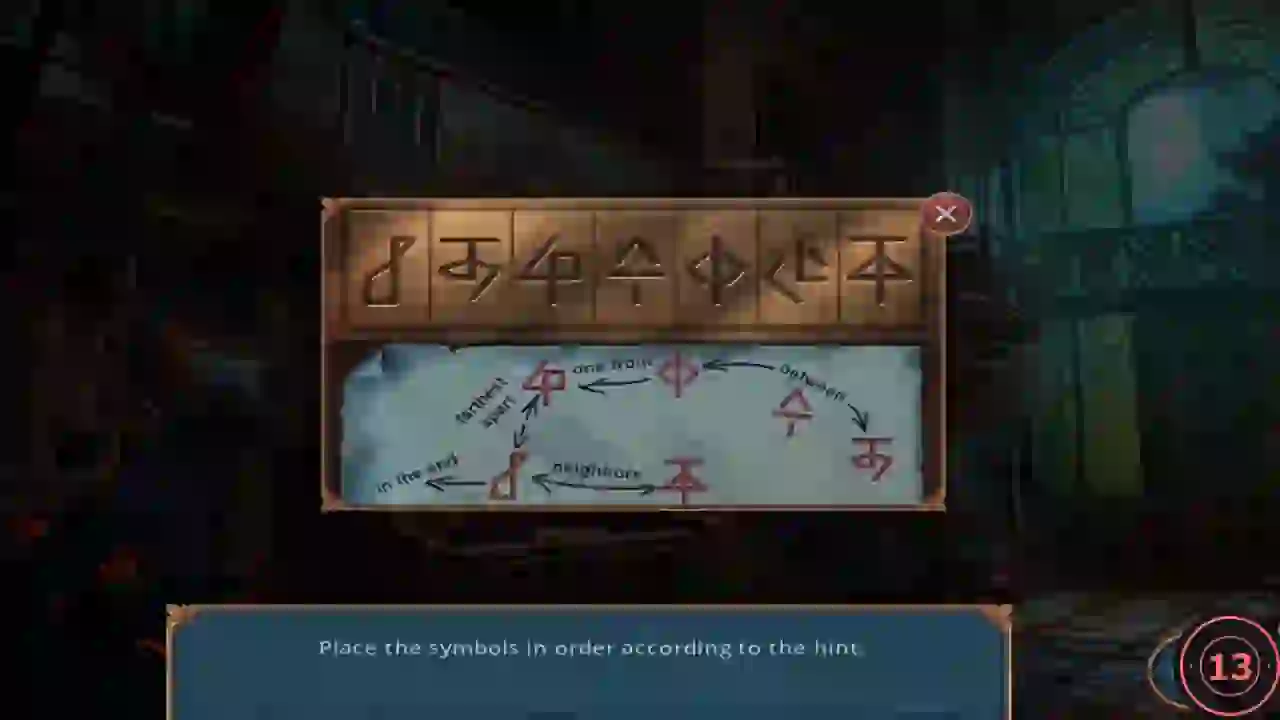
In-game hint: "Place the symbols in order according to the hint." The hint paper lists five rules about seven symbols.
- Read the rules on the paper: the double-hook symbol and the d-shaped symbol are farthest apart; the d-shaped symbol is last and sits next to the book-like symbol; the bracket symbol <|> has exactly one symbol between it and the double-hook symbol; the arrow symbol sits between <|> and the curly symbol. That gives this order from left to right: double-hook, angled symbol, <|>, arrow symbol, curly symbol, book-like symbol, d-shaped symbol. Arrange the symbols in that order.
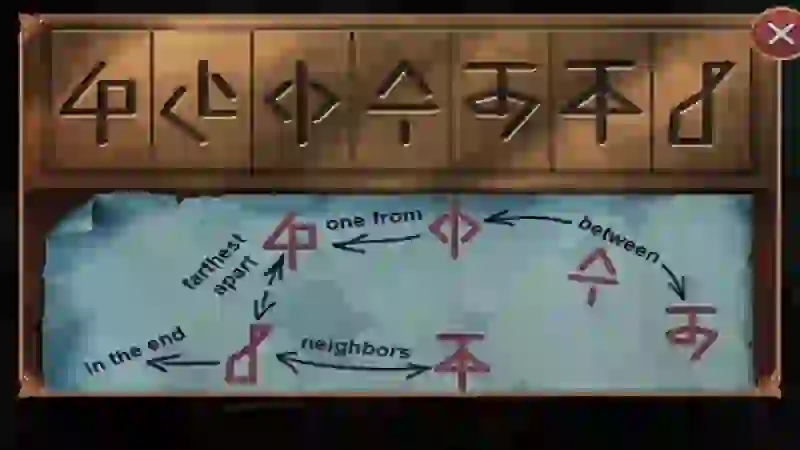
Solved: the seven symbols in the order given in step 1. - The case opens to show a battered toy bat. Take the purple dragonfly wing it is holding.
- Click the main door: the dragonfly emblem on it is missing a wing. Place the wing to start the stone puzzle.
Dragonfly Door Stones
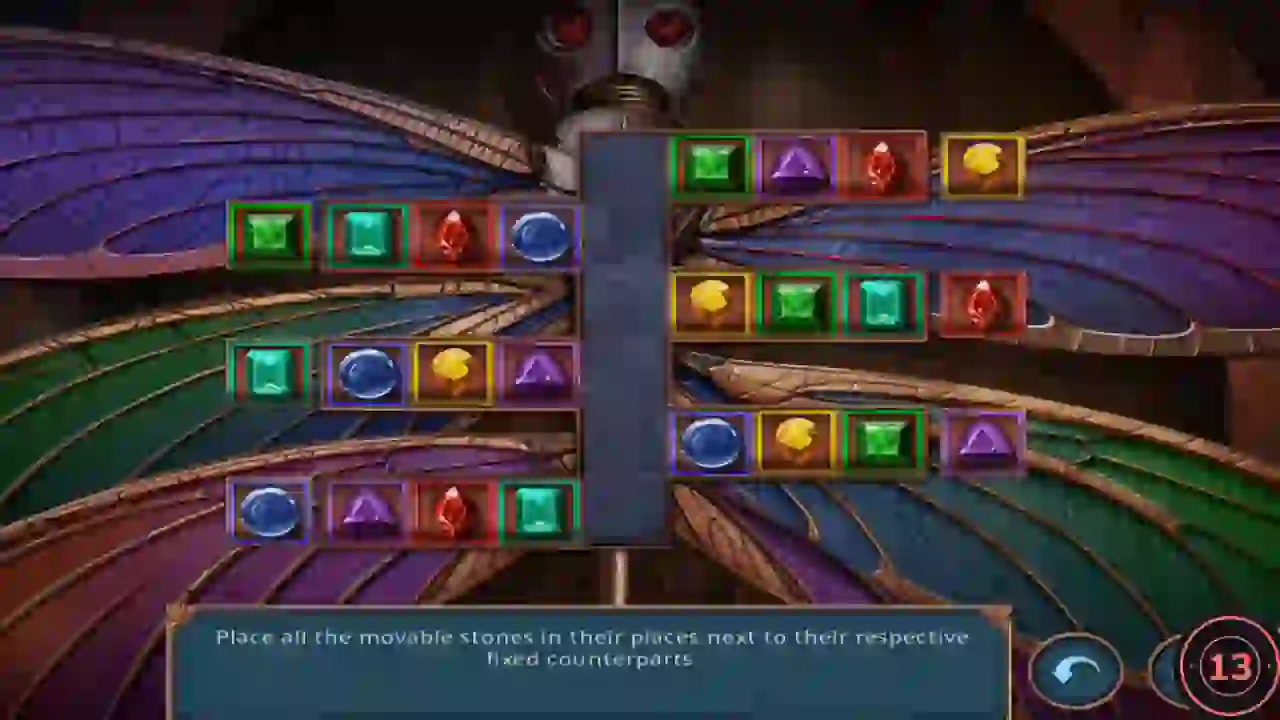
In-game hint: "Place all the movable stones in their places next to their respective fixed counterparts." Several fixed stones sit at the ends of the side rows, and each row must be filled with movable stones of the same colour. This is a long sliding puzzle, so the guide explains the method rather than every move.
- Stones can only slide into empty cells. Use the central vertical channel as your corridor: bring a stone into the channel, move it up or down to the row whose fixed stone matches its colour, then slide it in as far as it will go. Fill the deepest cell of each row first. If a stone blocks the channel, park it temporarily in an empty cell of another row. When every row matches its fixed stone, the dragonfly's wings glow and the door becomes a portal to the party hall.
The Monster Party
The portal leads to a monster party hall with a long banquet table, a werewolf guest by the stairs and a hatch in the floor.
- Click the jack-o'-lantern on the floor at centre-left; it is holding a purple book in its mouth. Its eyes glow and it drops the book. Take the I-beam piece (1/3) that lies on it, then the purple book.
- Place the purple book on the banquet table to start the riddle scene.
Banquet Riddles
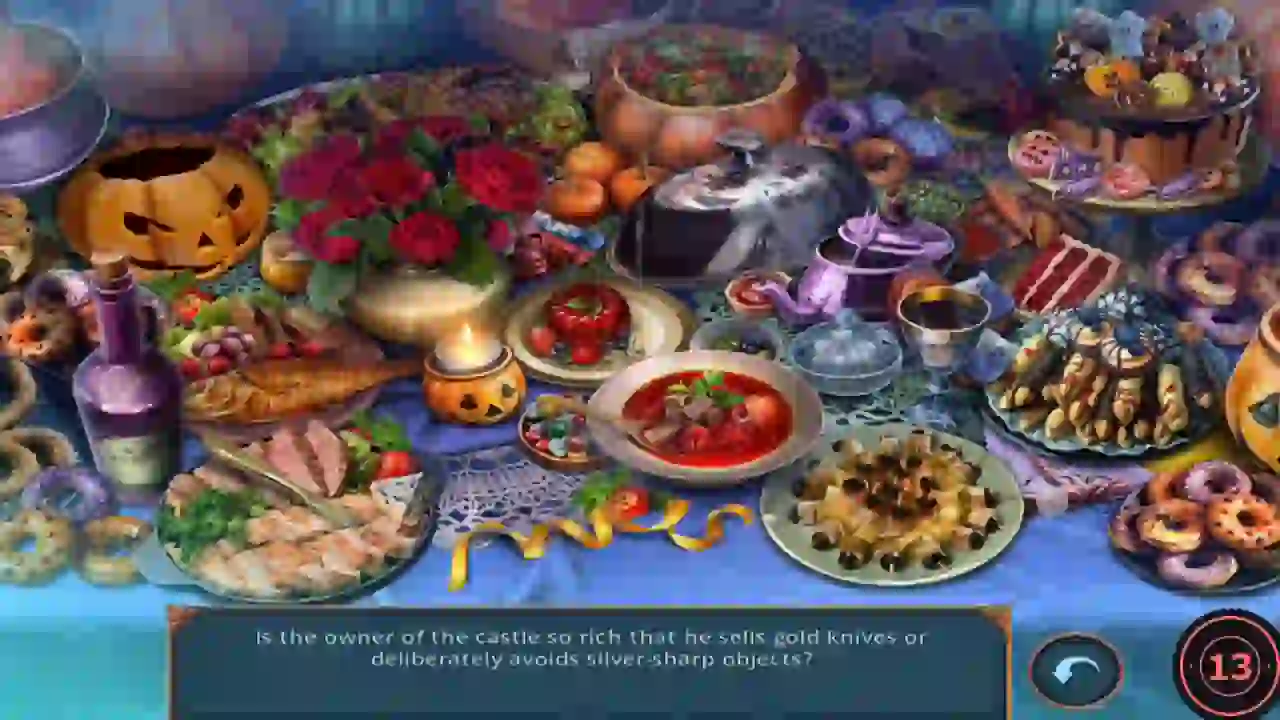
A riddle appears at the bottom of the screen. Click the object it describes. Some answers only appear after you move or use something on the table. There are 12 riddles, shown in the order below.
- Gold knives instead of silver: click the gold knife on the cold-meat platter at the bottom left.
- Roses of a colour never seen before: click the red rose at the front right of the bouquet. A black rose appears in the bouquet; click it.
- Green pearls that make edible beads: click the bowl of green peas behind and right of the purple teapot.
- The castle you are in: click the red jelly mould left of the soup. It disappears and reveals a plate painted with the castle; click the plate.
- A pumpkin lantern that lacks a spark: take the candle from the small jack-o'-lantern cup and put it inside the big carved pumpkin at the top left.
- A bottle that might hold real blood: the wine bottle needs a corkscrew. Take the pink corkscrew from the finger-biscuit platter on the right, use it on the bottle, then click the filled wine glass.
- A dish for people who like birds for more than their singing: lift the silver cloche and click the roast chicken underneath.
- A dessert for those who like it bloody: click the red velvet cake slice right of the teapot.
- Something that will not cure a lack of intelligence: click the purple brain-shaped pastry behind the doughnuts. The sugar bowl is a wrong answer.
- Something for a seabed enjoyer: click the fish on the platter at the left.
- As orange as a pumpkin but a lemon's cousin: click the tangerine right of the bouquet.
- Treats you can now get without saying "trick or treat": click the plate of sweets at the bottom centre. The scene ends and you receive the chopsticks.
The Werewolf and the Hatch
The werewolf guest by the stairs has a jug hanging from a rope around his neck.
- Use the chopsticks on the werewolf's jug to fish out the skull key.
- Use the skull key on the skull lock of the floor hatch near the cauldron. The hatch opens onto a stairway.
- Decision 1: Vlad phones and asks whether you trust him. "I'm still not sure if I can trust you." is free and gives no points. "We have to save Annabelle!" costs 35 coins and gives +1 decision point. The main recording chose the free option; the other recording chose the paid one. Gameplay continues the same way. The task "Hide the monsters" completes and "Find information about the portal" begins.
- Go down the hatch stairs. Take the green crawling hand and the pair of piano keys.