First cemetery visit
The cemetery opens because of the key reply to Igor. It has a dirt mound, a headless statue, a dead tree with a hanging skeleton and a shuttered niche by the mausoleum. In this route, the only cemetery items needed outside the cemetery are the green flashlight and yellow screwdriver from the Wonder Bag; everything else found here is used in the cemetery itself.
- Tap the dirt mound right of centre, near the statue. Take the painted fan and the rope.
- Open the Wonder Bag in the inventory and take the yellow screwdriver and the green flashlight.
- Tap the headless statue on the right and set the Gorgon head on its neck. The statue glows; take the bat-winged goblet.
- Use the goblet on the dirt mound to scoop the earth away. A coffin appears; take the wooden bow from it. Note the star-shaped recess next to the skull.
- Open the bat emblem in the inventory and use the screwdriver on it ("Poor thing, so broken! Let me fix you right away."). The screwdriver waits beside the bat until you find its plan.
- Tap the dead tree in the centre; its ladder is not safe. Lay the rope at the foot of the tree, then use the bow to shoot it up into the branches.
- Climb into the branches. Thorns guard something pink for now; take the skeleton hand.
- Tap the wooden shutter niche beside the mausoleum steps on the left. Put the skeleton hand in the empty slot at the top right, then tap each skeletal hand to pull it back. The shutter opens; take the red-handled hook.
- Tap the chest inside the niche; it is thick with dust. Wipe it with the fan to uncover its lock plate, which you cannot open yet. Return to the hallway through the portal.
The Aquamarine Mermaid door
Spiders and cobwebs cover the Aquamarine Mermaid door in the upstairs hallway.
- Tap the door handle. Shine the green flashlight on it to chase the spiders away, then burn the cobwebs with the Bengal Fire.
- A padlock screen appears: "Use the key to continue the adventure." Tap Unlock to spend one key. If you have no keys left, wait for them to recover; the screen offers key-recovery notifications.
- Open the terrarium drawer on the left and take the matchbox, the brass rifle cartridge and the thermometer dial.
- Tap the inner door with the ornate padlock and put the matchbox on the side table next to it. It stays there for later.
- Tap the frozen cooler by the plant and insert the thermometer dial. A snowflake puzzle starts.
Cooler snowflake
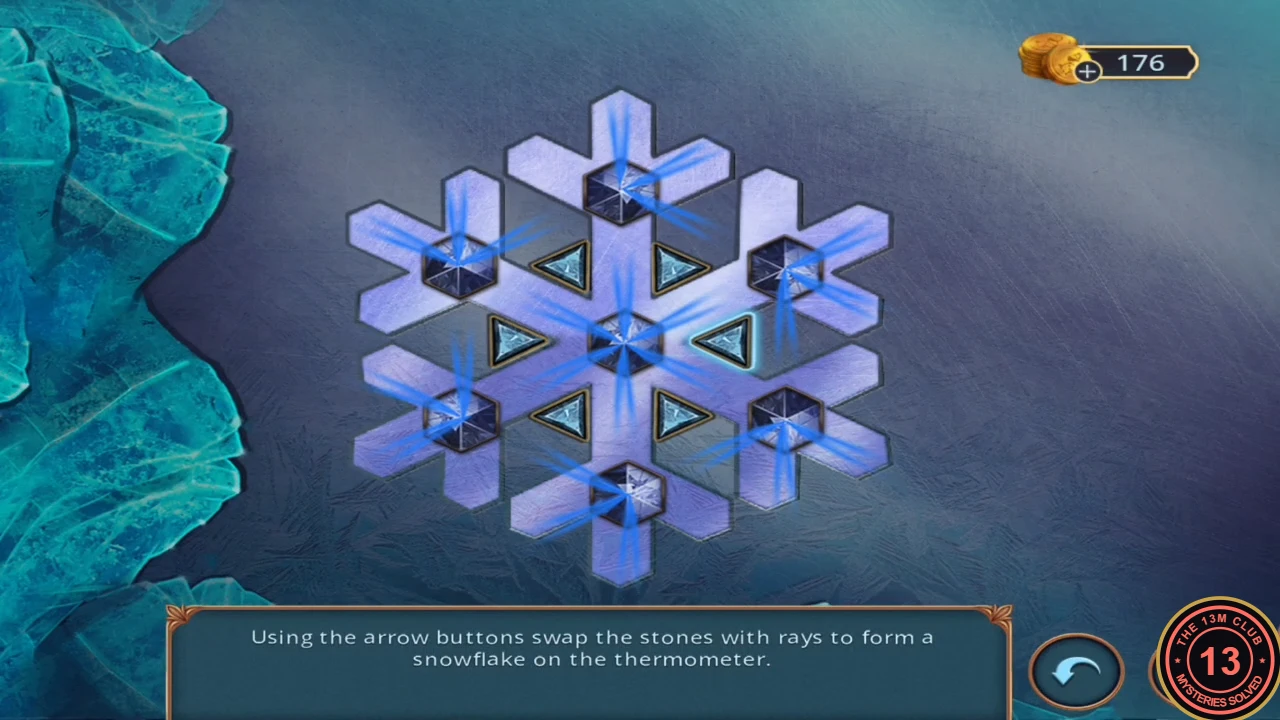
"Using the arrow buttons swap the stones with rays to form a snowflake on the thermometer." Seven hexagonal stones (one in the centre, six around it) carry ray markings. Each of the six triangular arrow buttons sits between the centre stone and two neighbouring outer stones; tapping it moves those three stones one place around the triangle.
- Keep turning triangles until the rays of the six outer stones join into a closed ring and the centre stone's rays reach all six outer stones. The recording solved it in about ten taps, but the individual stone moves cannot be followed reliably, so no fixed tap list is given. The Solve 10 mini-games without skipping achievement appears.
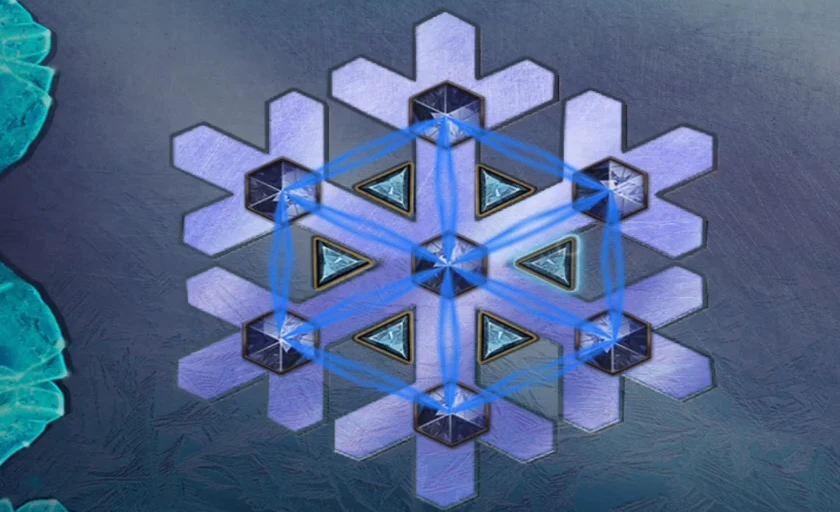
The solved snowflake you are aiming for. - The cooler opens; take the bottle of sea salt water.
Bathtub tentacles and the merman portrait
Tentacles fill the bathtub, and a merman portrait hangs on the right wall.
- Pour the sea salt water on the tentacles in the bathtub. They lift; take the second copper octopus piece.
- Tap the merman portrait and place both octopus pieces in the sockets at its base. The portrait slides aside; take the Medusa portrait token and the golden twisted Paper Wick.
- Use the red-handled hook in the niche to pull out the star emblem.
Star emblem and the raccoon
The star fits the recess in the coffin you uncovered.
- Go through the hallway portal to the cemetery. Place the star emblem in the star-shaped recess beside the skull in the coffin. The skeleton turns into an unconscious man; take the candy from his hand.
- Give the candy to the raccoon with the "Trick or treat" basket at the bottom left. While it eats, take the axe shaft from its basket.
Portrait chain
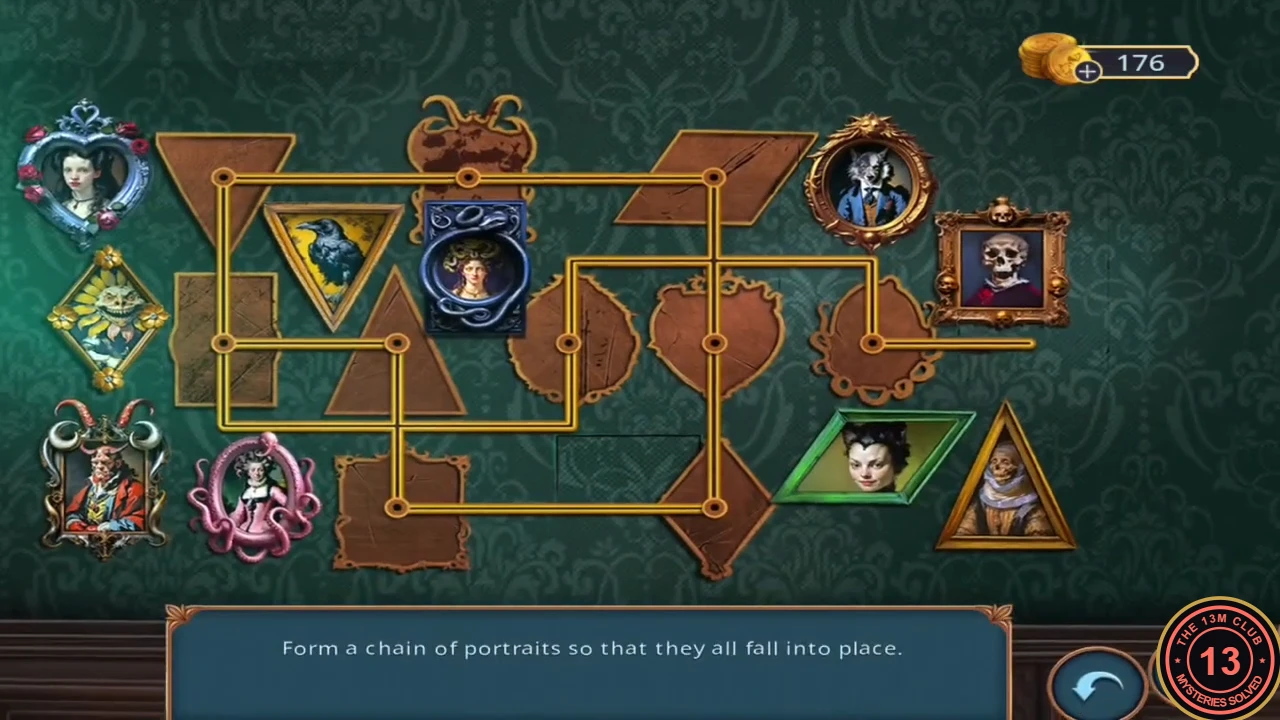
"Form a chain of portraits so that they all fall into place." Ten framed portraits lie around a gold track on the hallway wall panel, and each slot on the track shows the outline of one frame shape. The track works like a train: drag a portrait onto the open end of the track at the far right and it enters the slot there, pushing every portrait already on the track one slot further along a fixed route. That route runs: the right-hand (octopus) slot, the round slot, round the bottom-left loop and up the left edge to the top-left downward triangle, the horned frame at top centre, the green parallelogram at top right, down to the heart, down to the diamond at bottom right, left to the skull rectangle at bottom left, up to the upward triangle and finally left to the rectangle on the left. The first portrait you add travels furthest, so add them in the reverse of that route.
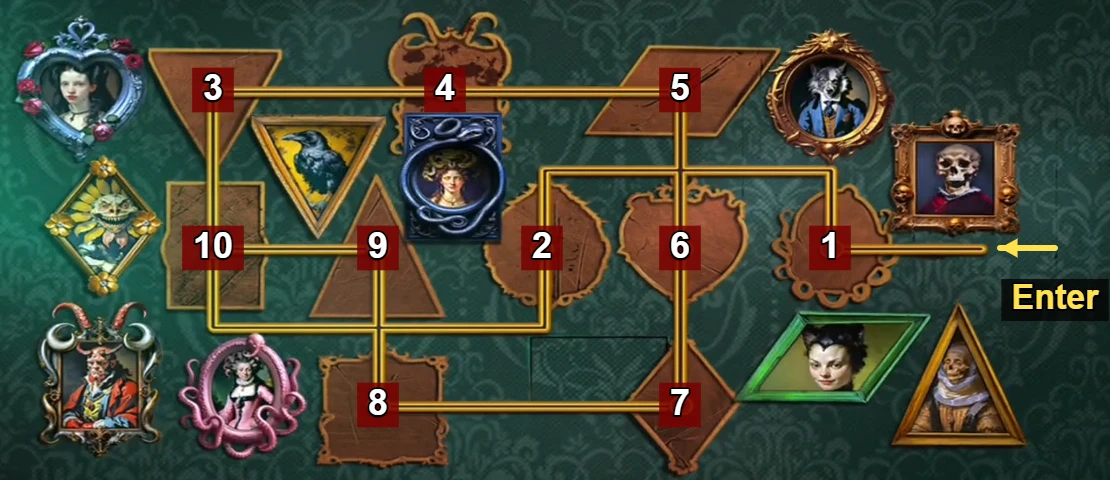
- Back in the upstairs hallway, tap the wall panel left of the door and place the Medusa portrait token in the empty space at the top of the panel. It becomes the tenth loose portrait and the puzzle starts.
- Drag these portraits, one at a time, onto the open track end at the far right: Medusa (blue snake frame), the old lady (upward triangle), the skull portrait (gold rectangle), the pumpkin-sunflower (diamond) and the girl in the heart frame. Wait for the chain to stop moving before adding the next one.
- Continue in the same way with the cat woman (green parallelogram), the horned devil, the raven (downward triangle), the wolf (round frame) and finally the lady in the octopus frame. With the tenth portrait, every frame is pushed into its matching outline: top row raven, devil, cat woman; middle row Medusa, old lady, wolf, heart girl, octopus lady; bottom row skull portrait and pumpkin-sunflower. The recording used exactly these ten placements, with no corrections.
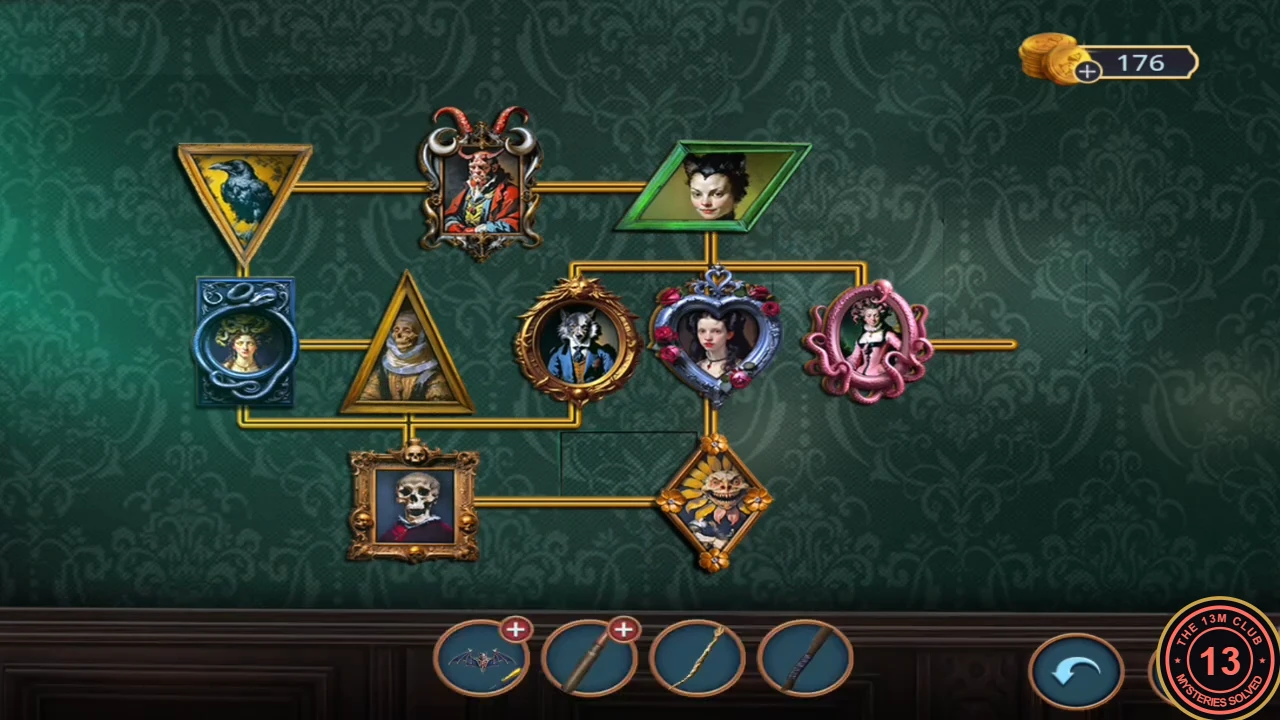
The completed portrait layout. - A compartment opens between the skull and sunflower slots. Take the green gem coil, the silver figurine and the pliers.
Blast the inner padlock
The ornate padlock on the Aquamarine room's inner door needs a small explosion.
- Open the brass cartridge in the inventory and use the pliers on it to pull out the bullet, leaving an open cartridge of gunpowder.
- In the Aquamarine room, tap the padlock on the inner door. Pour in the gunpowder, insert the Paper Wick and light it with the matchbox on the side table. The padlock blows off and the door opens onto the terrace.