Exploring the Chapel
The chapel connects everything. From the altar view, the blue door on the LEFT leads back to your cell and the blue door on the RIGHT leads to Eld's room. Turn round to face the entrance; the right arrow shows a corner with a wooden door on the left side of the screen, which is the study.
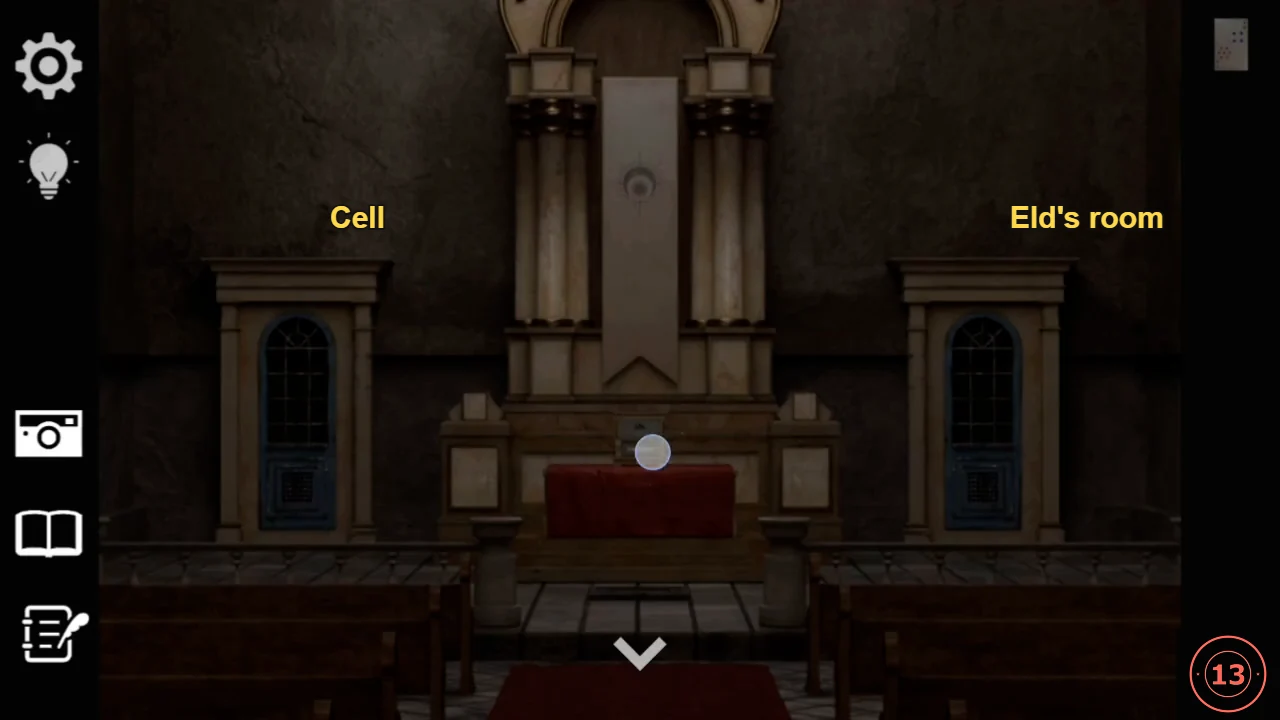
- Optional: talk to Eld in the chapel.
- Go up to the altar and read Pastor's Journal 3 lying beside the box on it. It is dated the 25th and says the pastor must confine the girl.
- Go through the right-hand blue door beside the altar into Eld's room and take the Knife from the ledge in front of the lattice.
- Return to the chapel, turn to the entrance, press the right arrow and enter the wooden door on the left: this is the study. Take the Camera from the chair.
The Clocks and the Red Building
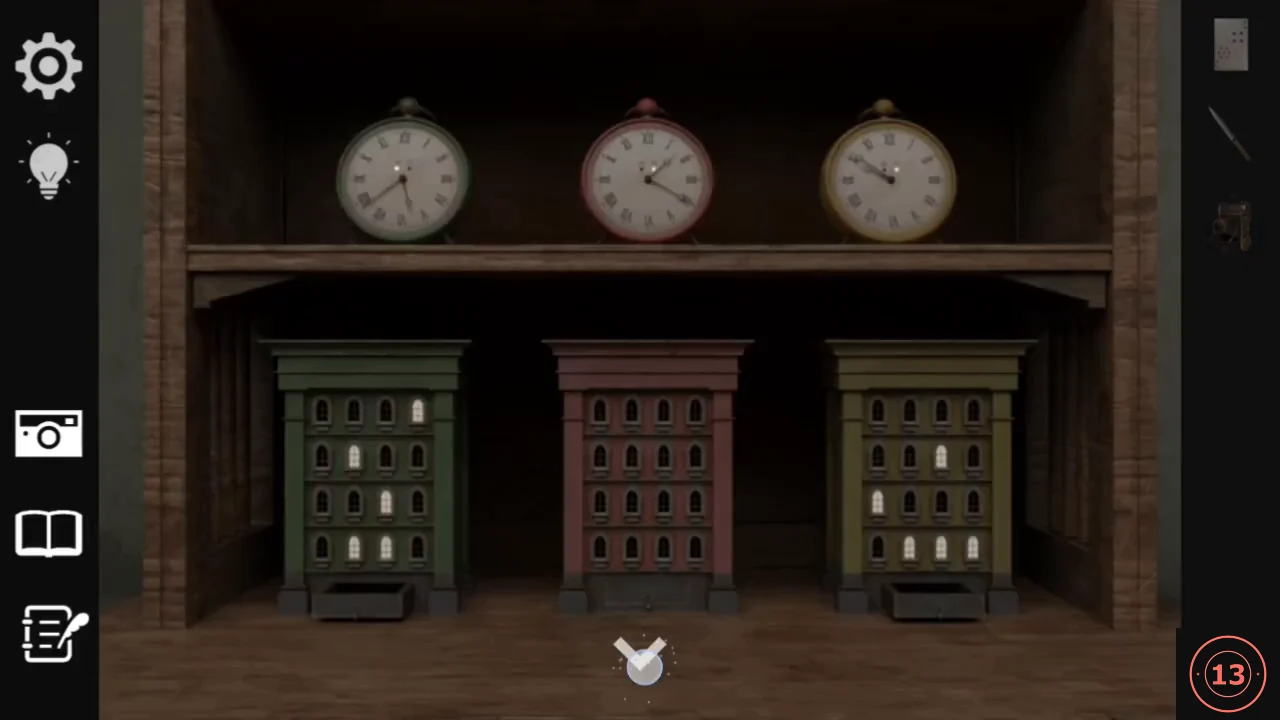
On the study cabinet three clocks stand above three small model buildings, each with a 4 x 4 grid of windows. The left compartment holds a key: the four columns are the four digits of a 24-hour time (h h m m), and the rows from top to bottom are worth 8, 4, 2 and 1. Light the windows in each column that add up to that digit.
- Look at the clocks and buildings on the study cabinet, and open the left compartment to see the +8 / +4 / +2 / +1 key. The green building already shows the green clock's 5:38 as an example. The red clock reads 13:20.
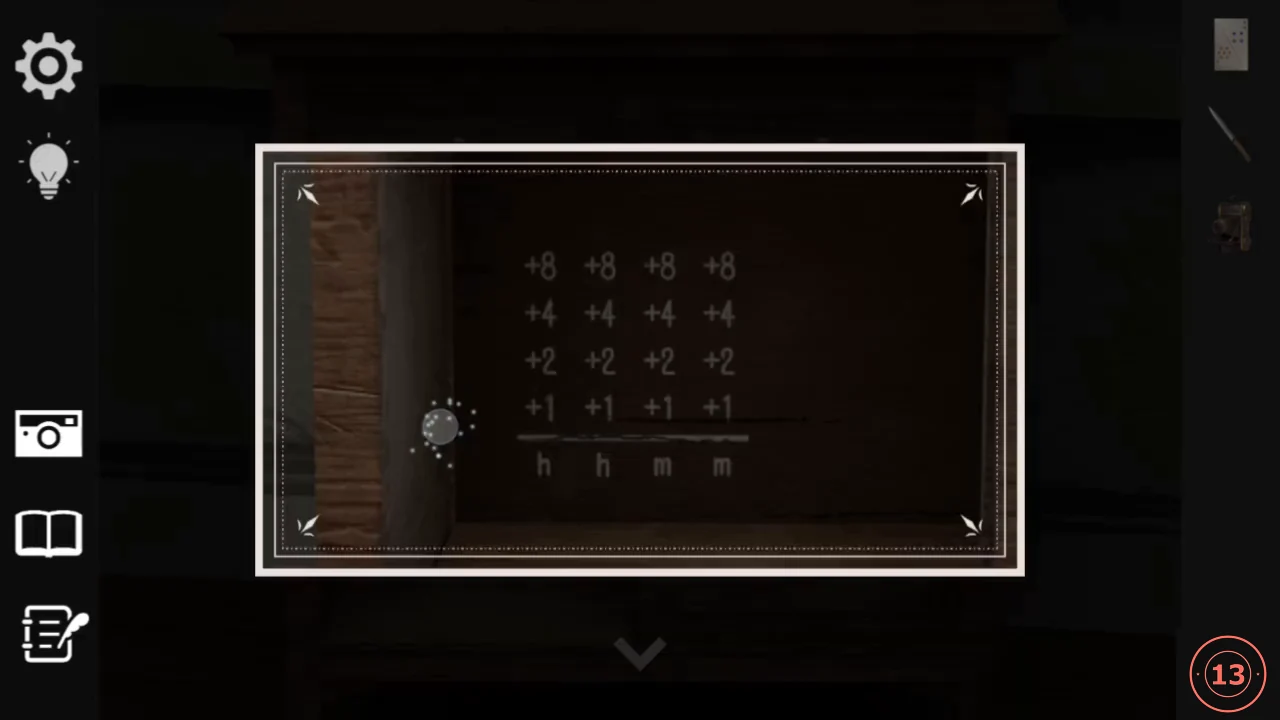
The key in the left compartment: rows are worth 8, 4, 2 and 1; columns are the hour and minute digits. - Light the red building's windows for 13:20: column 1 (digit 1) only the bottom window; column 2 (digit 3) the bottom two windows (2 + 1); column 3 (digit 2) only the third window from the top; column 4 (digit 0) none. Its drawer opens and you get a Memo reading 5842.CODE13:20
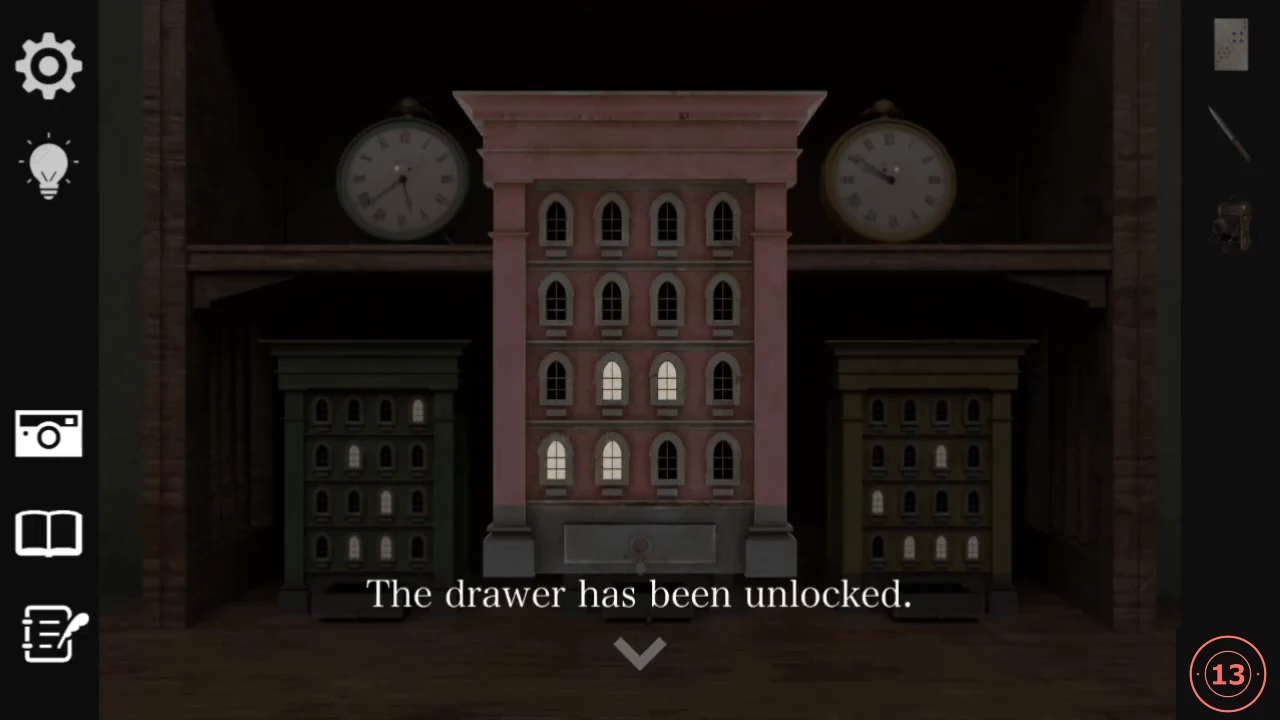
Solved for 13:20: one window in column 1, two in column 2, one in column 3 and none in column 4.
The Telephone Melody
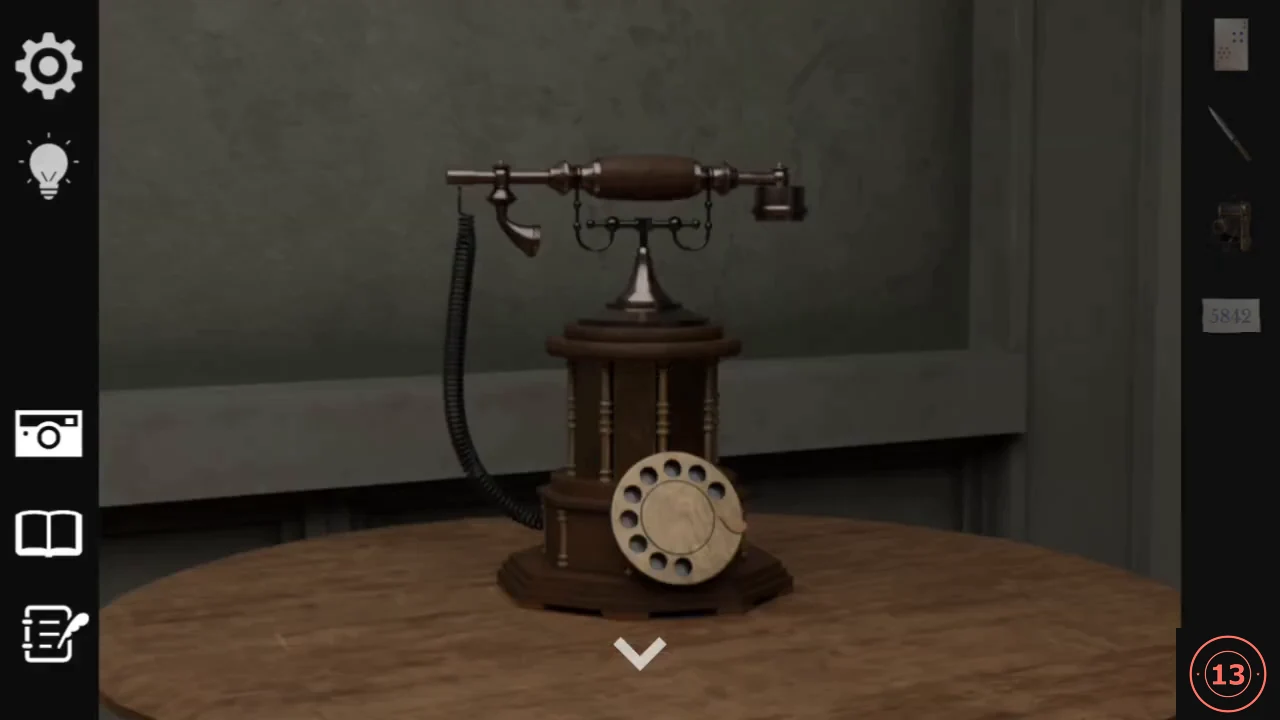
This puzzle depends on sound. Turn your device volume up before dialling.
- Use the rotary telephone on the round table in the study and dial 5842. After the ringing you hear a short tone and then five notes. They are three different pitches: high, low, middle, high, low (G, C, E, G, C). Remember this pattern.CODE5842
- Read Pastor's Journal 2 on the desk. It says the typewriter ink is kept in the right-hand drawer of the shelf and has the code 7 2 4 written at the bottom.
The Slider Box
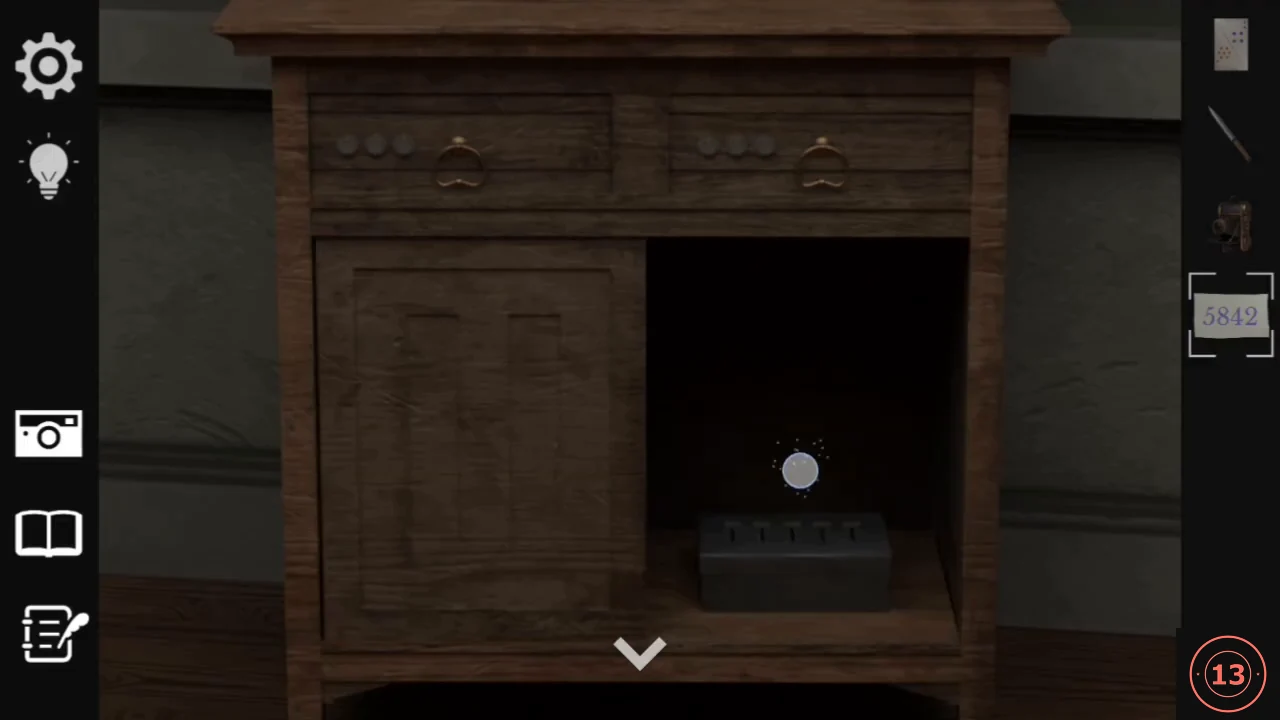
The right compartment of the study cabinet holds a box with five vertical sliders, each with top, middle and bottom positions. The telephone melody gives the positions.
- Open the right compartment of the study cabinet and set the five sliders to match the melody: high = top, middle = middle, low = bottom. From left to right: TOP, BOTTOM, MIDDLE, TOP, BOTTOM. "The box has been unlocked." appears and you get the Book.CODETop, bottom, middle, top, bottom
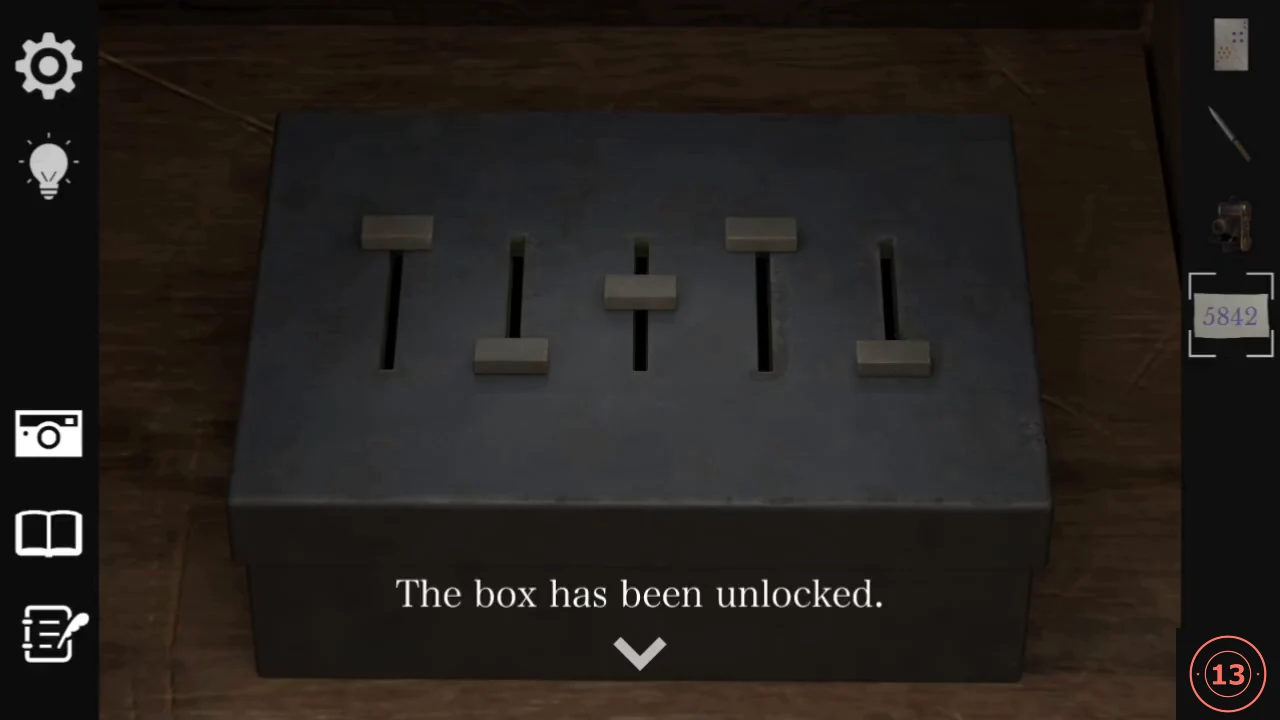
Solved: top, bottom, middle, top, bottom. - Examine the Book. Its cover is printed with a row of dancing stick figures and it has a keyhole, so you cannot open it yet. Optional: you can talk to Eld in the chapel now.
The Three-Dial Drawer and the Ink Ribbon
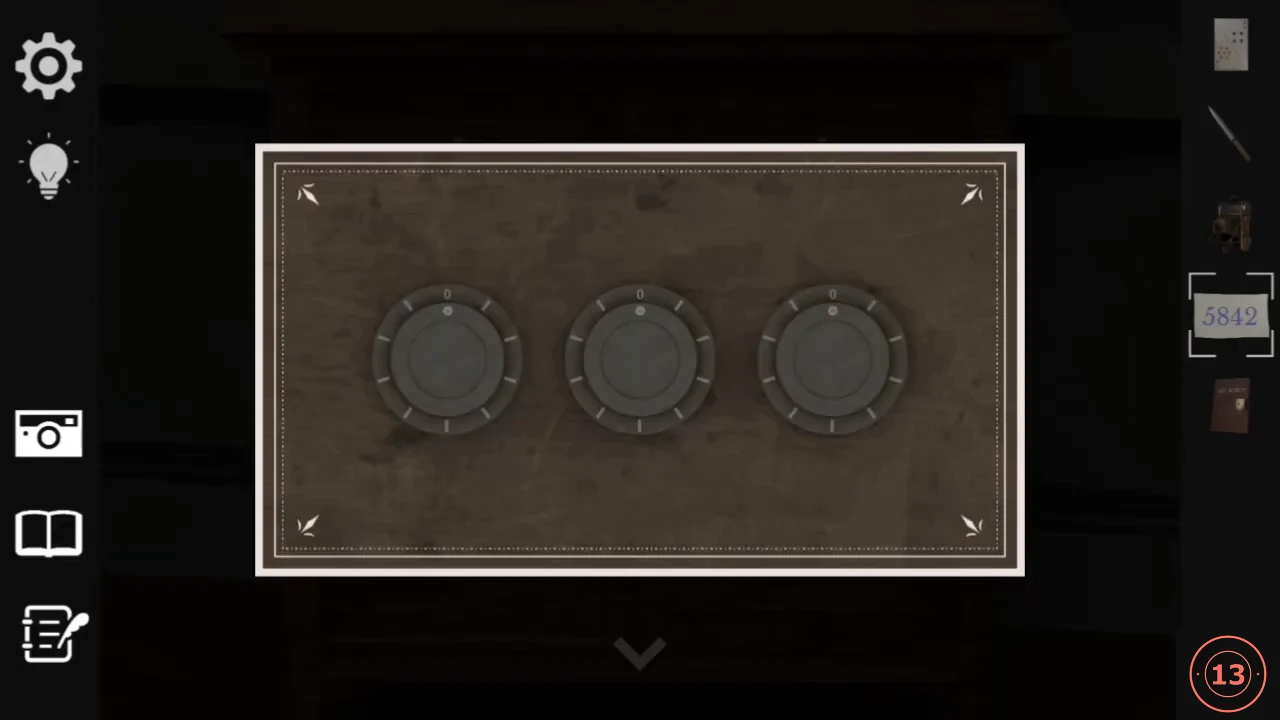
The study sideboard under the clocks has two top drawers, each with three round dials. The dials have ten ticks numbered clockwise from 0 at the top.
- Open the RIGHT top drawer's dials and turn each one so its dot points to Journal 2's numbers: left 7, middle 2, right 4. "The drawer has been unlocked." appears and you get a Can.CODE7 2 4
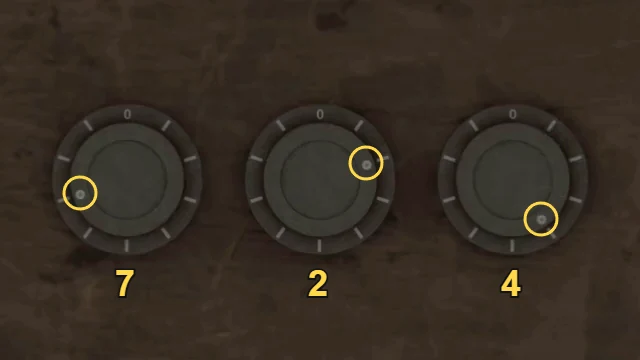
The dots set to 7, 2 and 4, counting clockwise from 0 at the top. - In the inventory, combine the Can with the Knife to pry it open. You get an Ink Ribbon.
- Tap the typewriter on the desk ("I need a new ink ribbon.") and use the Ink Ribbon on it. The keyboard of dancing-figure keys appears.
The Dancing-Figure Typewriter
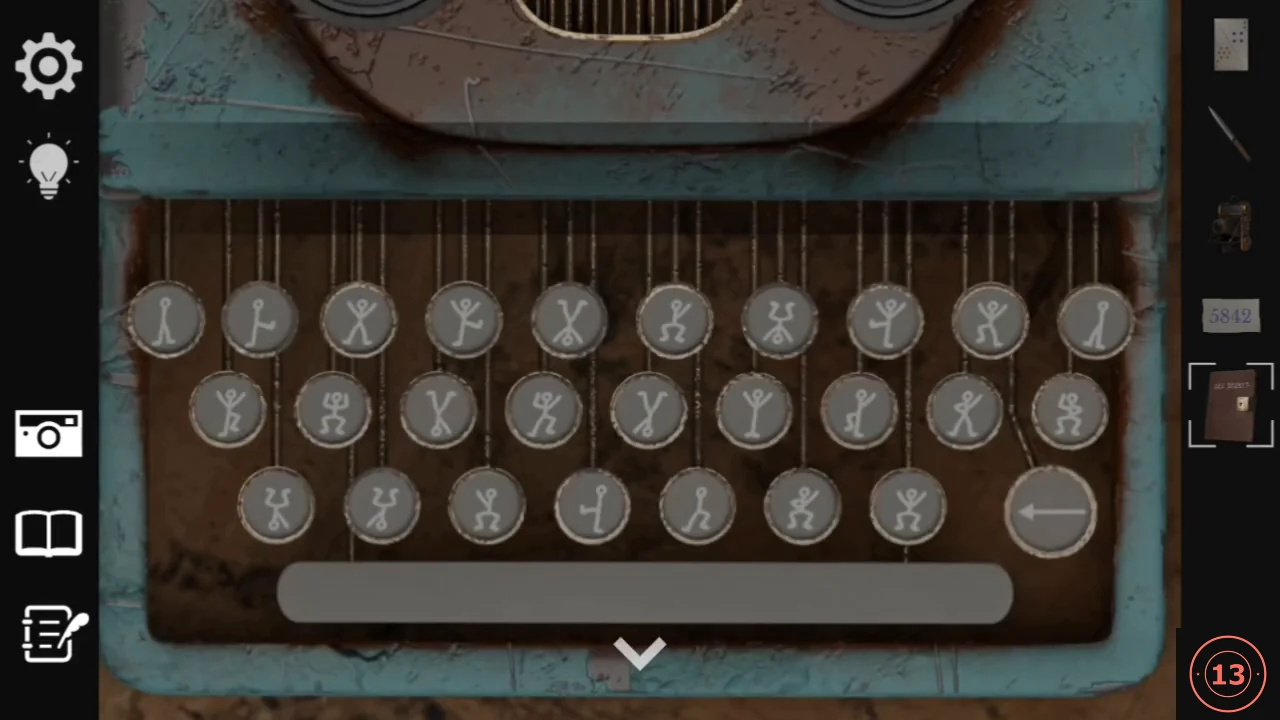
Each typewriter key shows a stick figure, and the keys follow the usual QWERTY layout. Typing a figure prints its letter on the paper.
- Type the figures from the Book cover in order. The paper reads "cut antler". Use the backspace key if you make a mistake. Nothing is handed to you; the message is the clue.CODEcut antler
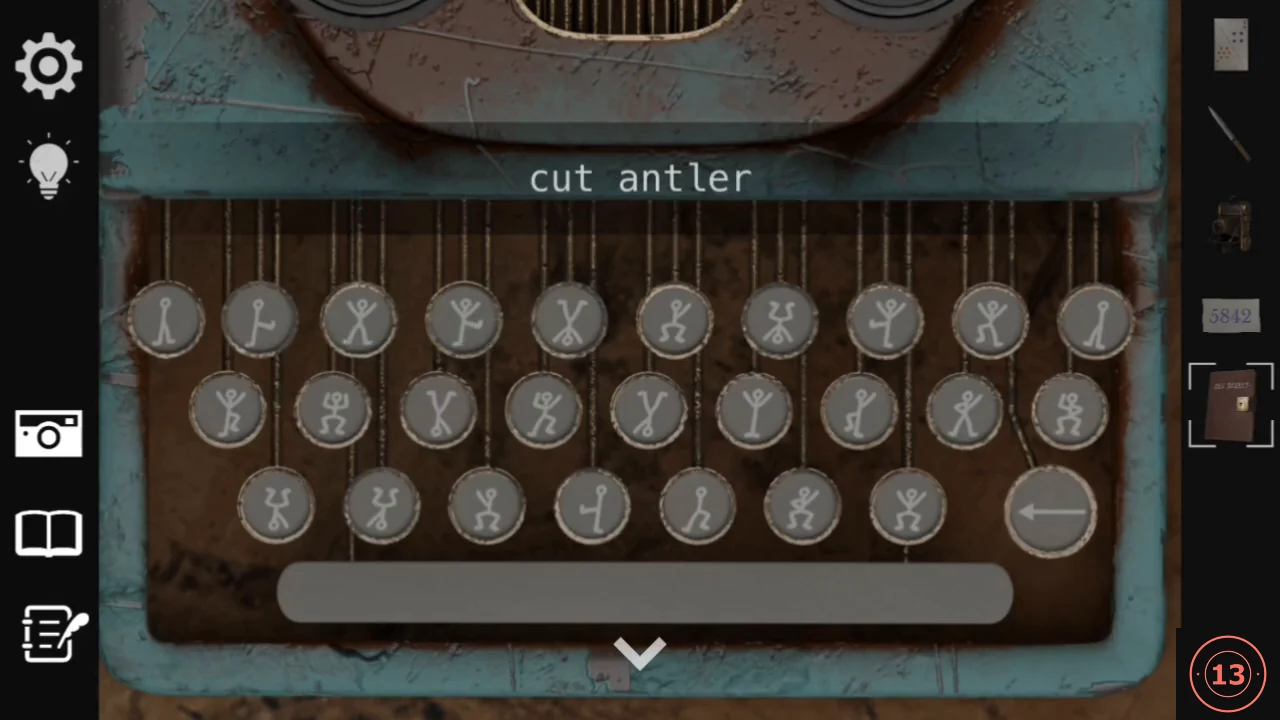
The typed message: "cut antler".
Cutting the Antler Picture
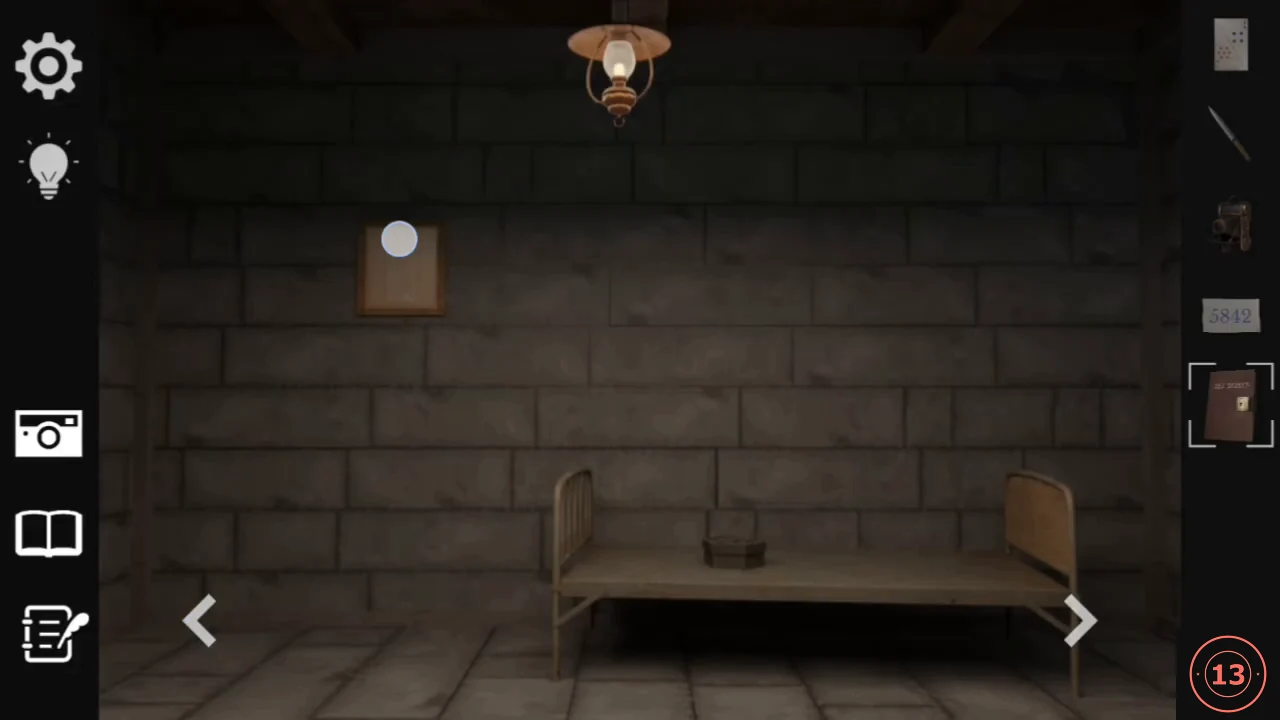
The ANTLER picture in your old cell hides something behind it.
- Go back to the chapel and through the left blue door beside the altar into the cell. Zoom in on the ANTLER picture above the bed, select the Knife and tap the picture. The paper tears and you find a Book Key.
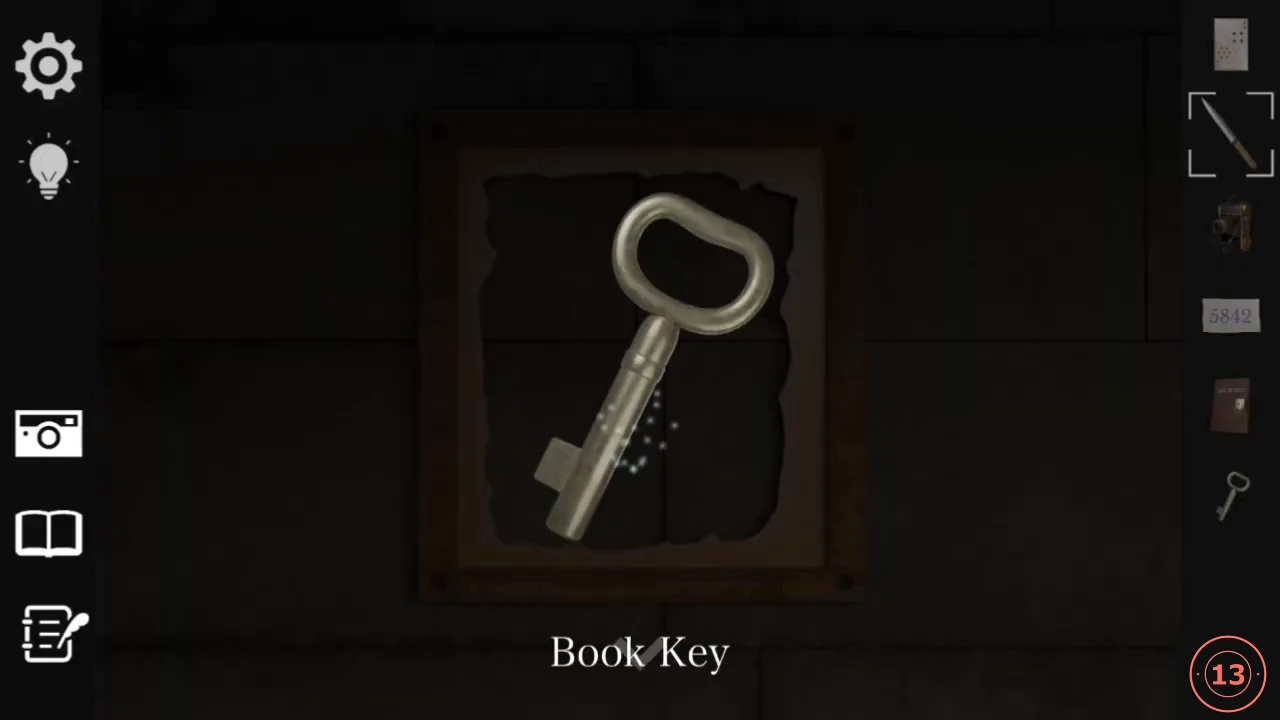
Cutting the picture reveals the Book Key. - Use the Book Key on the Book. Page 1/3 shows four numbers arranged like the gauges: 70 top, 45 left, 90 right, 25 bottom. Page 2/3 has half a card taped to it, which is added to your Cards: 5 orange diamonds in the top-right and 3 green clubs in the bottom-left. Page 3/3 shows two pages of dancing figures in three rows, which you will need in Chapter 4.
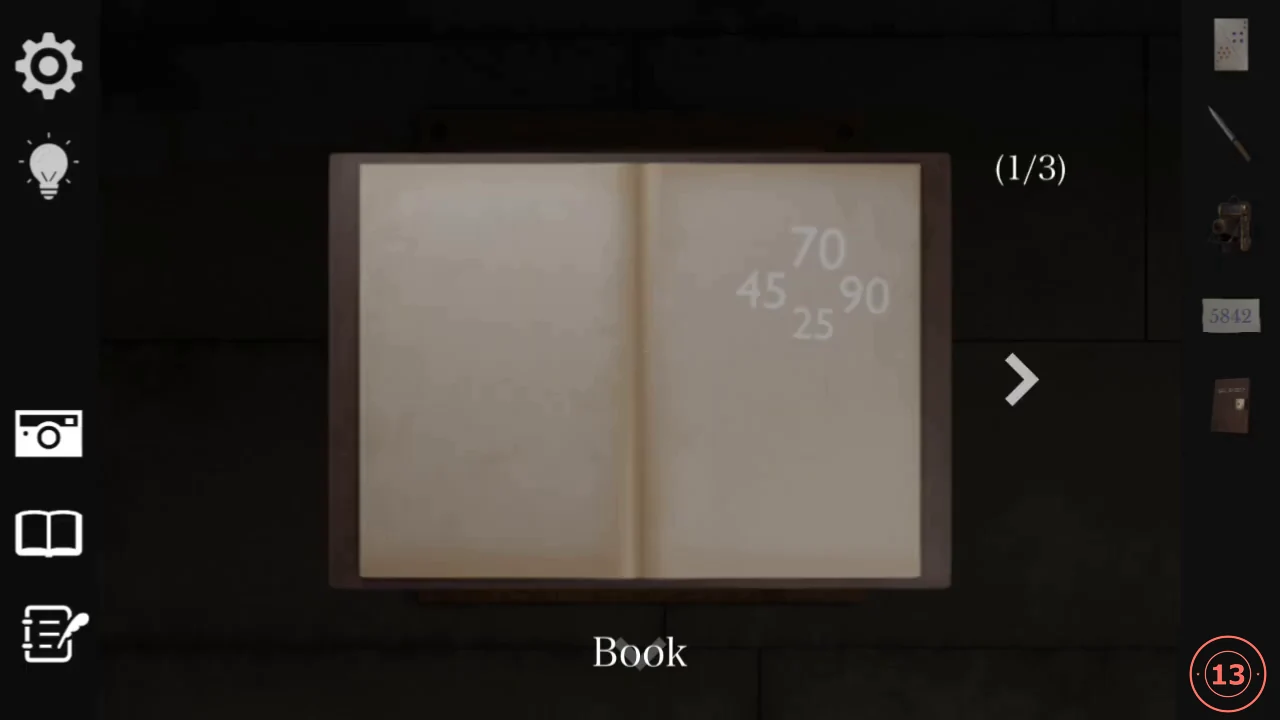
Book page 1/3: 70 top, 45 left, 90 right, 25 bottom.
The Card Dials, Second Column
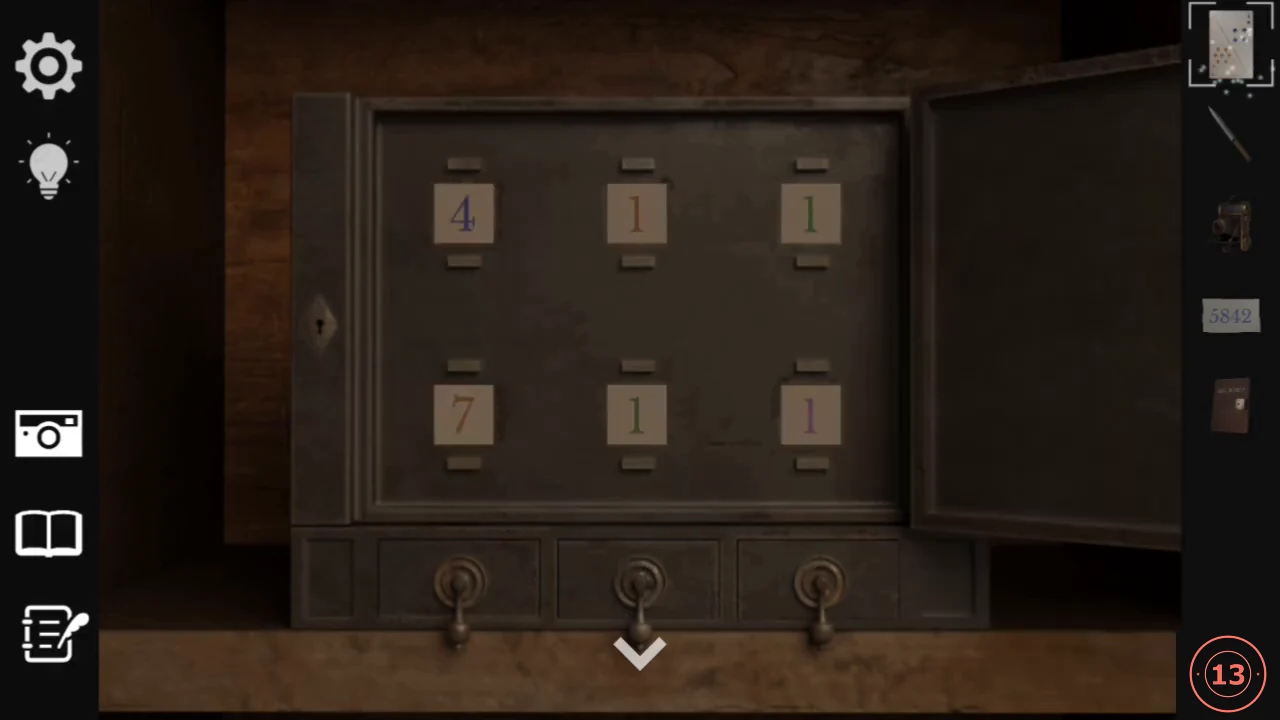
Return to the metal cabinet in the cell. The new card unlocks the middle column.
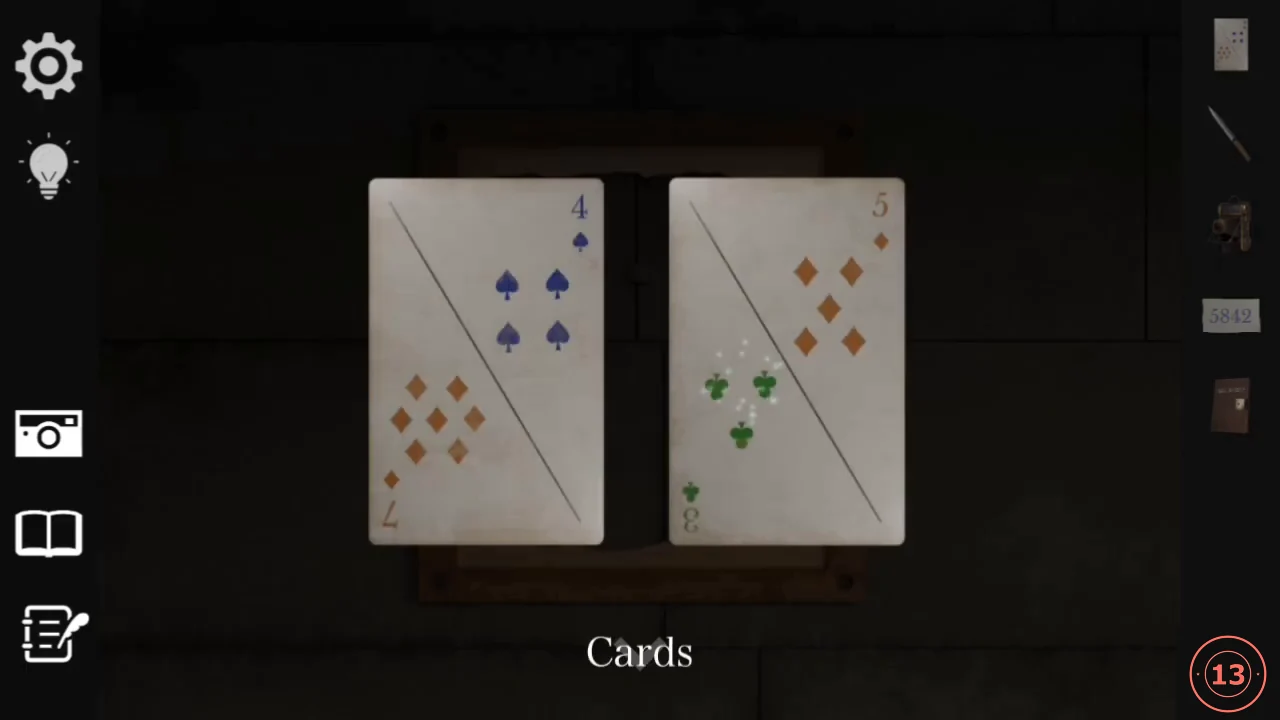
- Keep the left column at 4 / 7 and set the MIDDLE column to 5 on top and 3 below. "The drawer has been unlocked." appears and you get a Switch.CODE5 / 3
The Four Gauges
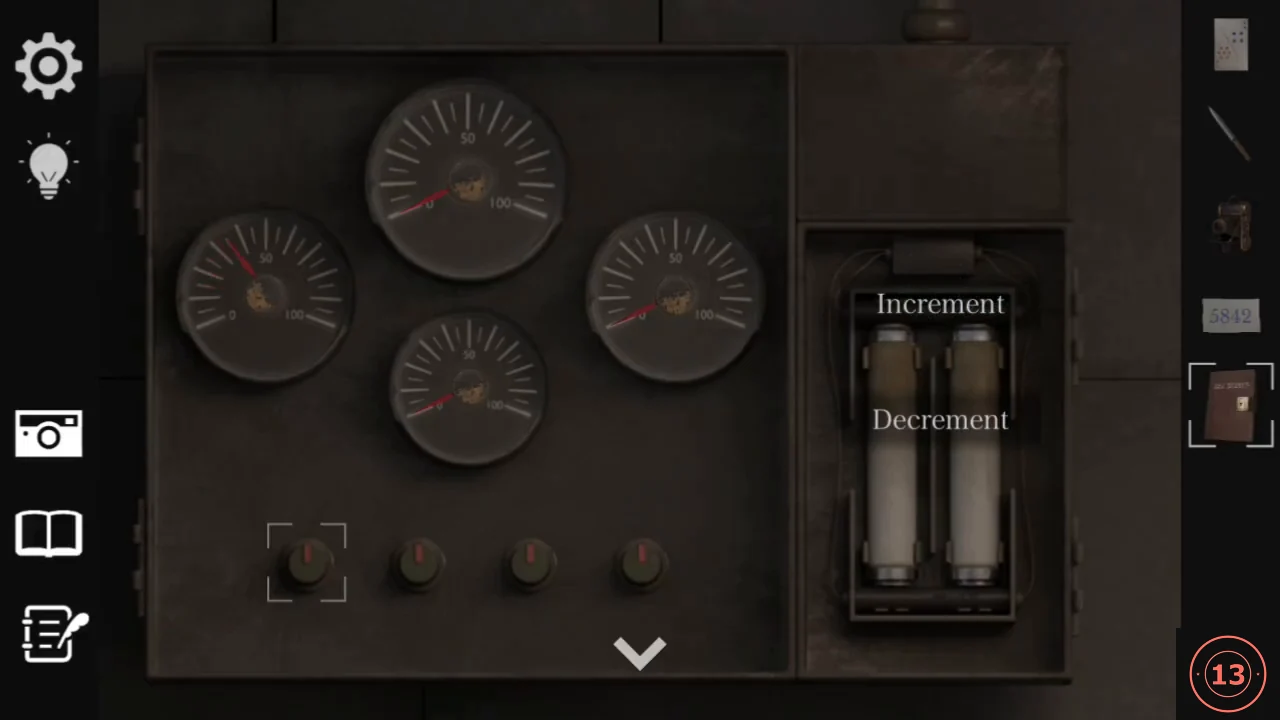
The Switch fills the empty fourth knob on the gauge panel in the cell.
- Put the Switch into the empty fourth knob slot on the gauge panel. Using the Book's page 1/3, set the first knob to move the left gauge to 45, the second to move the top gauge to 70, the third to move the right gauge to 90 and the fourth to move the bottom gauge to 25. You hear "I heard the light turn on somewhere."CODELeft 45, top 70, right 90, bottom 25
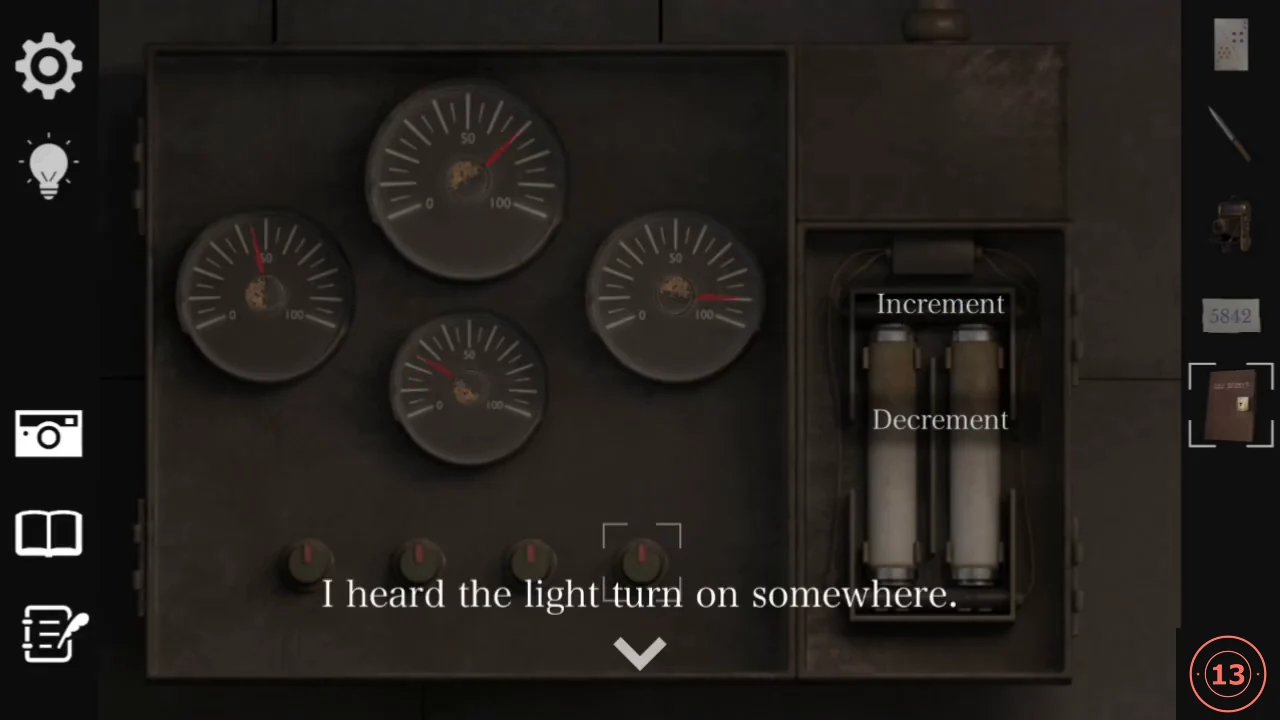
Solved: left 45, top 70, right 90, bottom 25. - Return to the chapel and face the entrance doors. Eld says "...Oh, the west door is open!" When two answers appear, choose "Is this your first time here too?" On the "Next Chapter: Exploring the Western Corridor" card, press and hold anywhere on the card ("Press and hold to Chapter") until the next chapter loads.