CHAPTER 1
The Six-Letter Dial Lock
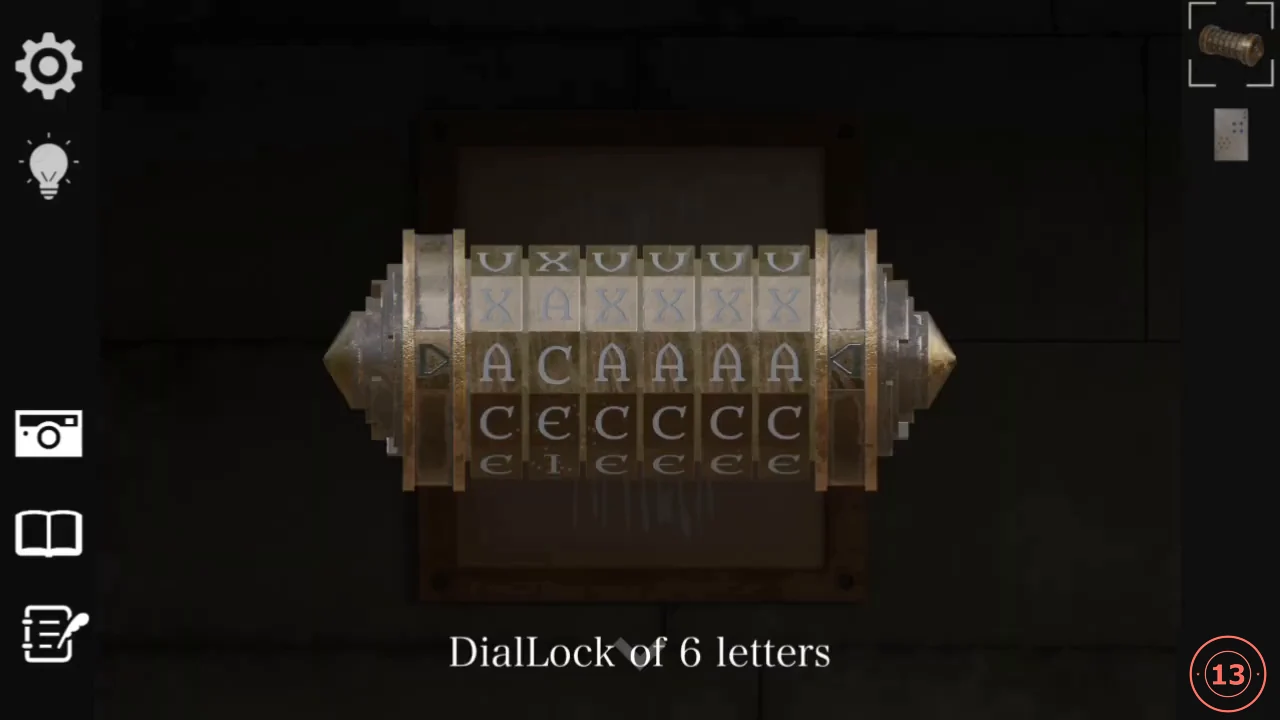
You wake up in a stone cell. A hooded girl speaks to you through the wooden lattice in the wall, and she has something that might help.
- Tap the wooden lattice and talk to the girl on the other side. When the conversation ends she passes you a DialLock of 6 letters.
- Look at the chair to the right of the lattice and take the Cards. The first card is split diagonally: four blue spades in the top-right half and seven orange diamonds in the bottom-left half.
- Turn to the wall above the bed and zoom in on the picture. Its pale vertical streaks are tall, stretched capital letters; read across, they spell ANTLER.
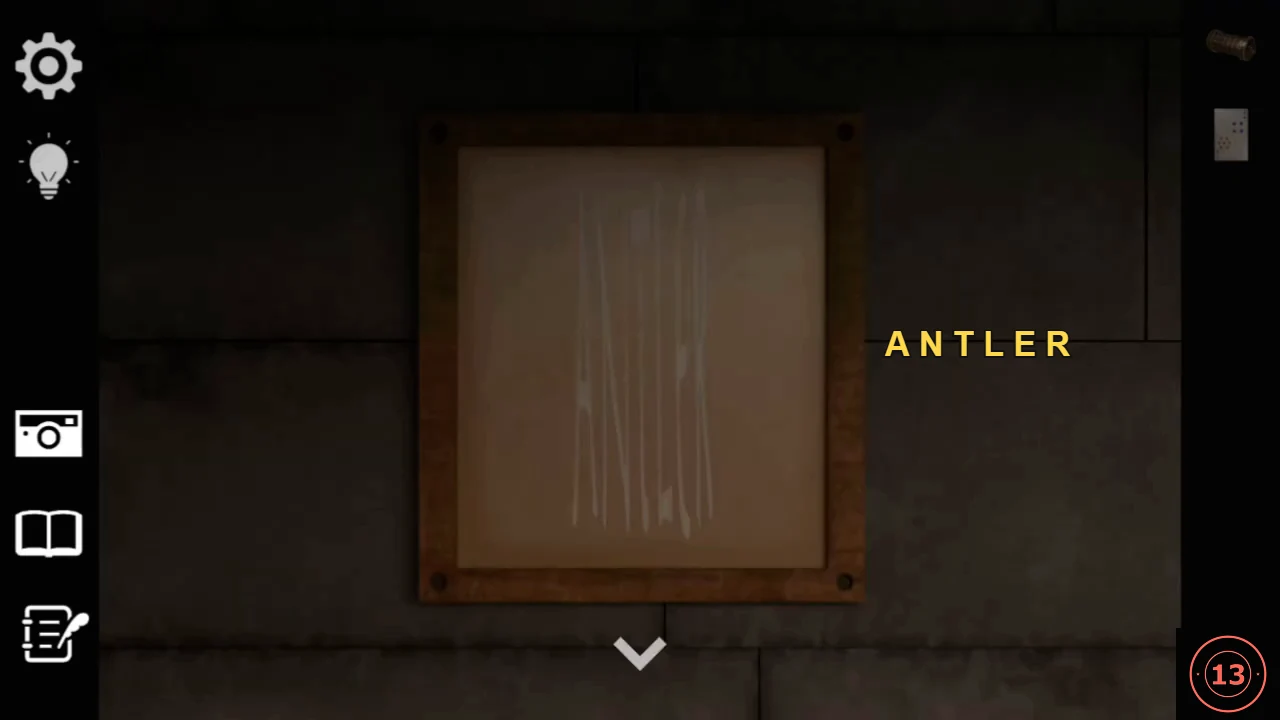
The pale streaks in the picture are stretched letters spelling ANTLER. - Open the DialLock from your inventory and turn its six rings to ANTLER. It opens and you receive a Small Key.CODEANTLER
CHAPTER 1
The Card Dials in the Metal Cabinet
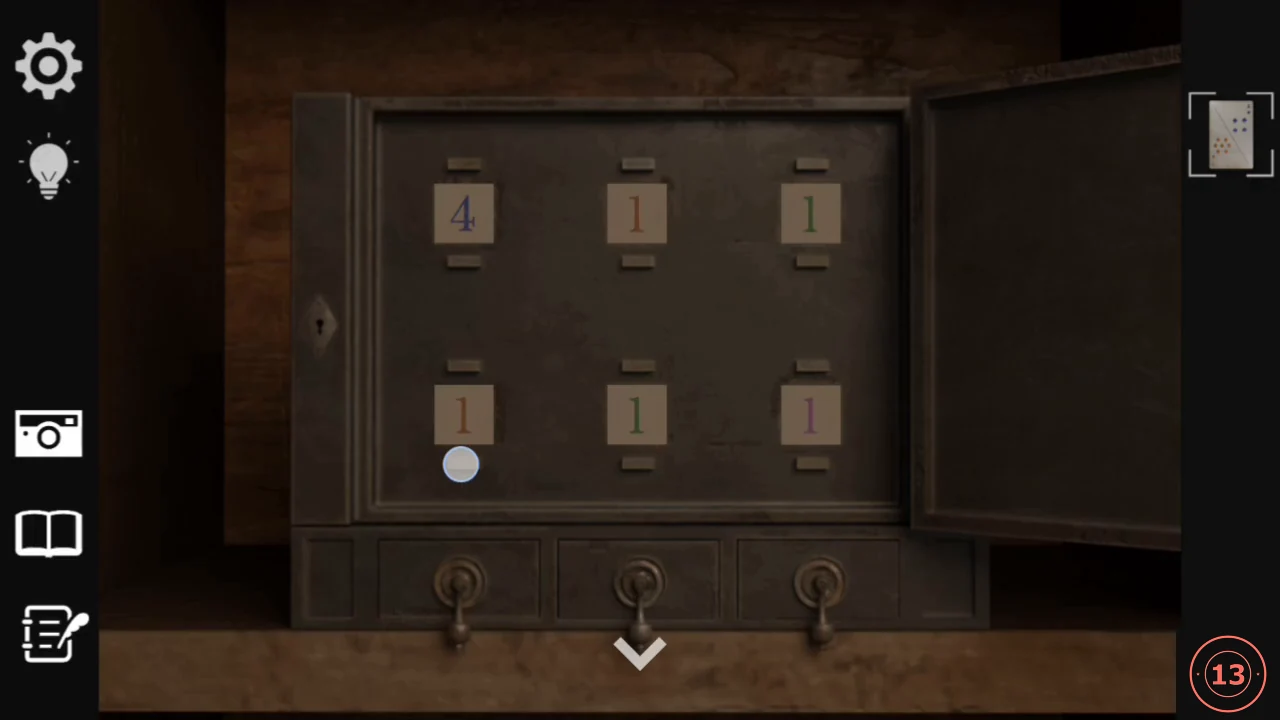
A small metal cabinet sits on the cell shelf. Inside are six number dials in two rows of three; each column is solved with one of the split playing cards you will collect over the game.
- Use the Small Key on the metal cabinet on the shelf. The door opens to show six dials (two rows of three), all set to 1.
- Check the first card: the top half shows 4 (spades) and the bottom half shows 7 (diamonds). Set the LEFT column to 4 on top and 7 below. The message "The drawer has been unlocked." appears and you get a Battery. Leave the other two columns for now.CODE4 / 7
CHAPTER 1
The Wall Gauges
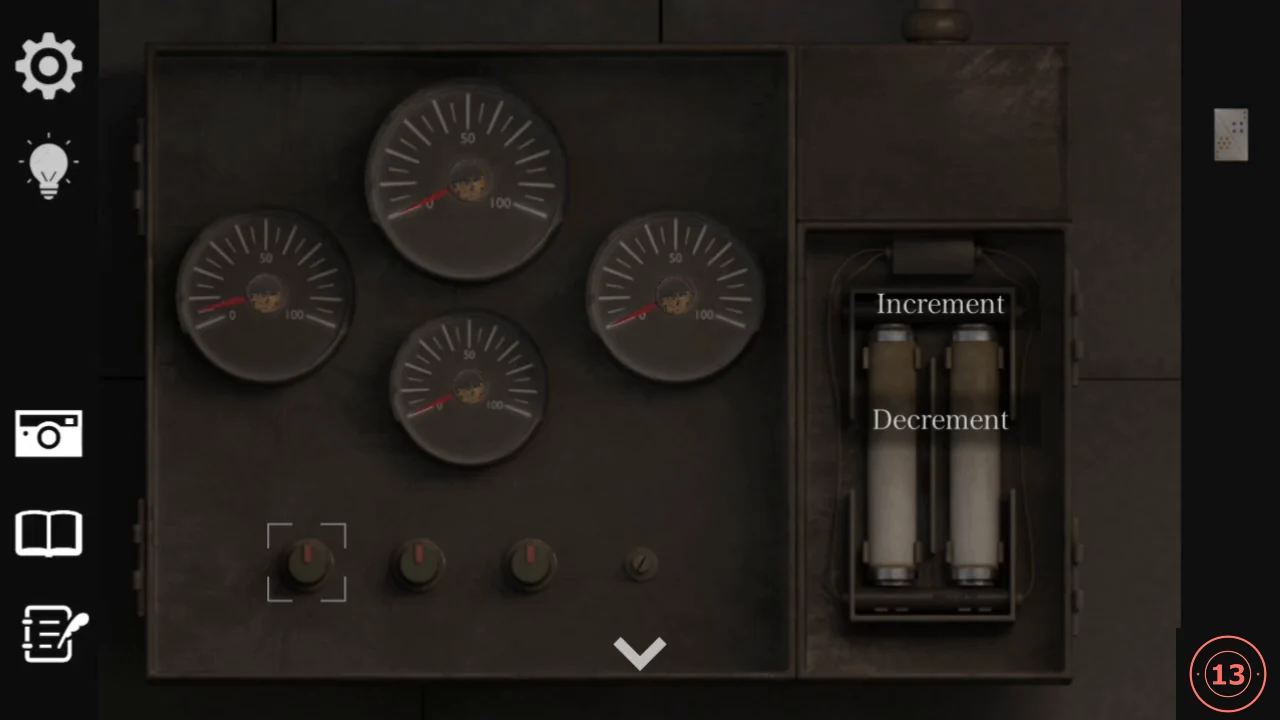
A panel with four gauges hangs on the wall to the left of the three unlit lamps. Only three knobs are fitted in this chapter.
- Insert the Battery into the gauge panel on the wall between the lattice wall and the bed wall. Increment and decrement buttons now work.
- Look inside the upper compartment of the shelf. Four numbers are arranged like the gauges: 35 at the top, 40 on the left, 55 on the right and 0 at the bottom.
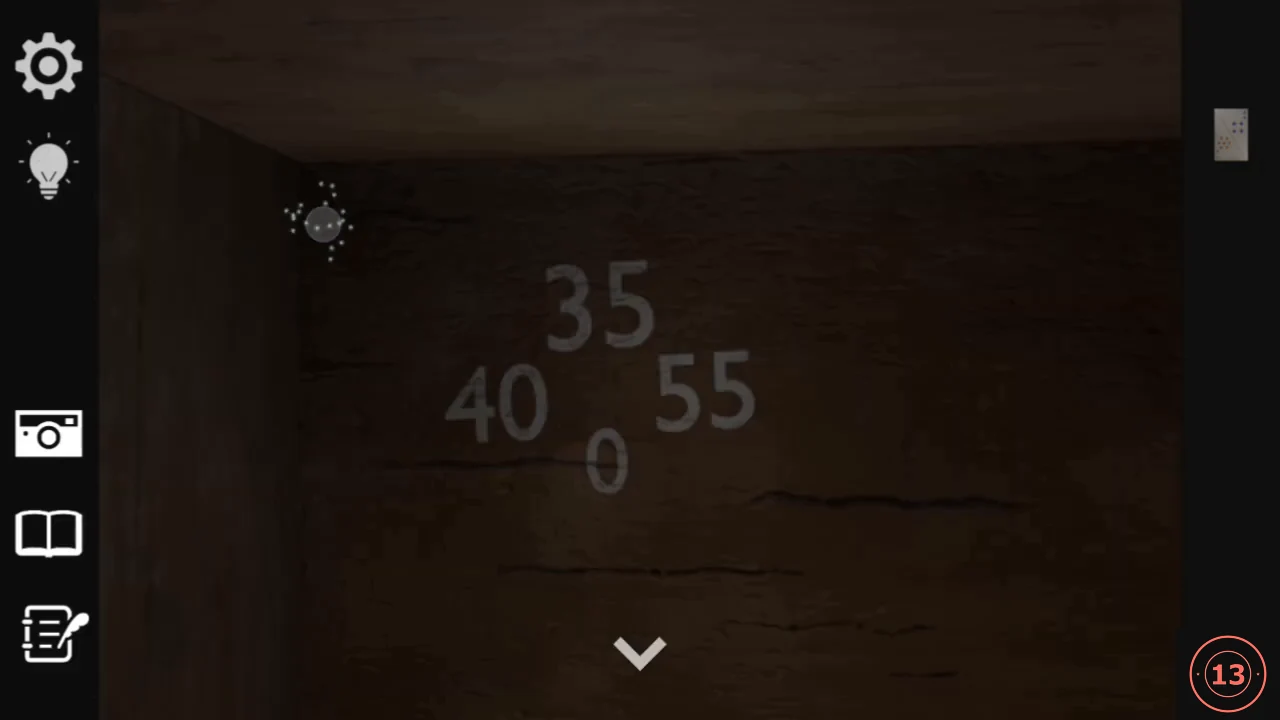
Inside the upper shelf compartment: 35 at the top, 40 on the left, 55 on the right and 0 at the bottom. - Back at the panel, use the knobs to move each needle to the number in the same position: the first knob sets the left gauge to 40, the second sets the top gauge to 35 and the third sets the right gauge to 55. The bottom gauge stays at 0. You hear "I heard the light turn on." and the three wall lamps light up purple, green and yellow from left to right.CODELeft 40, top 35, right 55, bottom 0
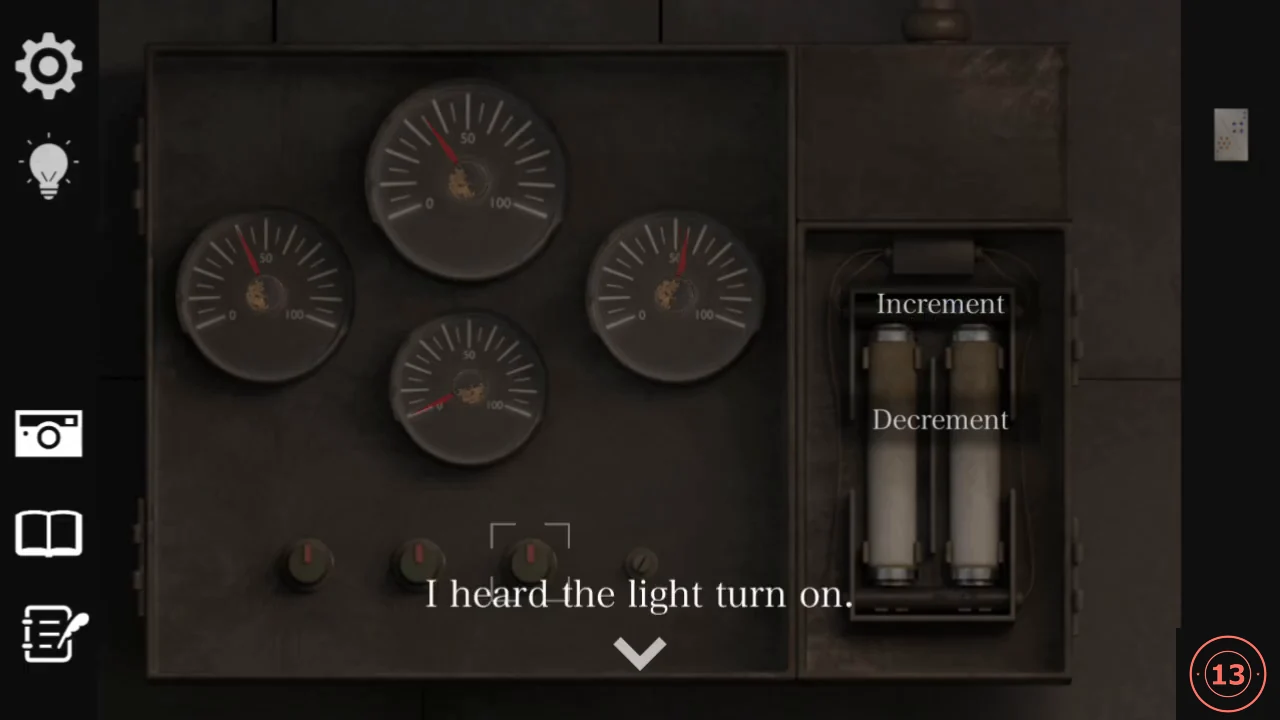
Solved: left 40, top 35, right 55 and bottom 0.
CHAPTER 1
The Colour Cube Box
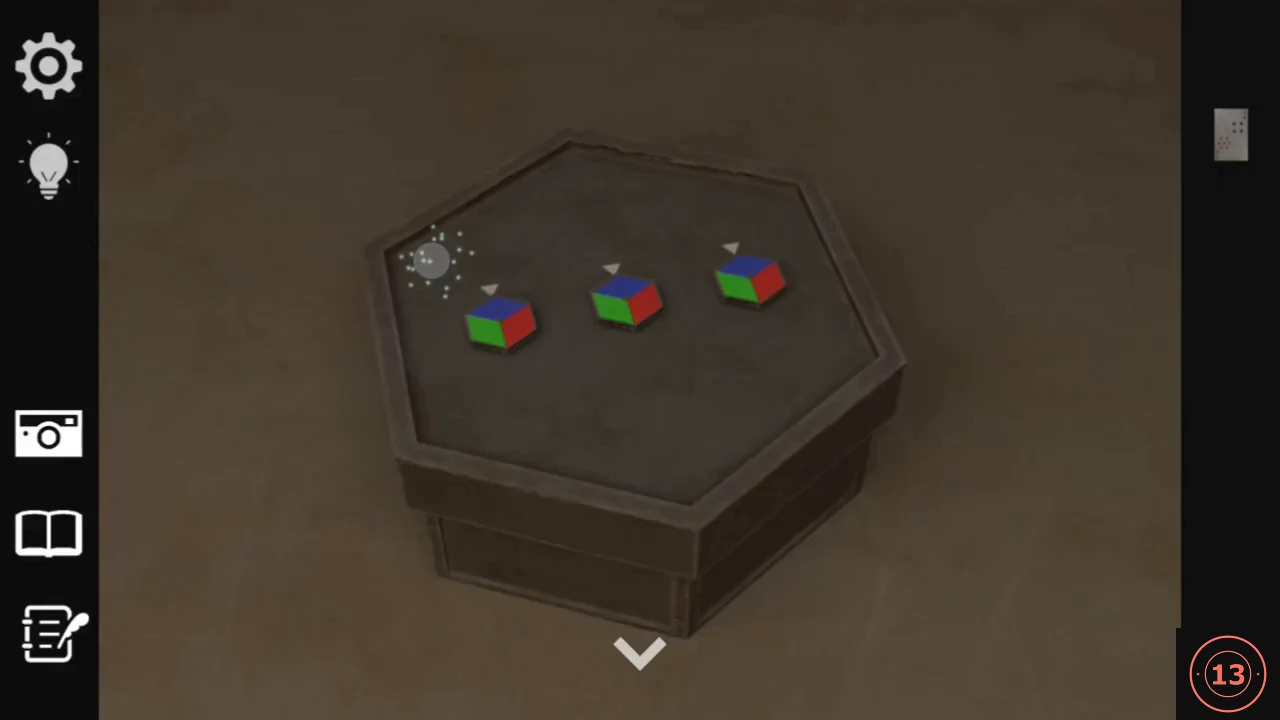
The hexagonal box on the bed has three coloured cubes, each under an arrow. The lit lamps give the target colours, and the cube faces next to each arrow mix like light.
- Tap the hexagonal box on the bed. Rotate the three cubes so the faces touching each arrow mix into the matching lamp colour: LEFT cube shows blue and red at the arrow (purple), MIDDLE cube shows its green face at the top, RIGHT cube shows red and green at the arrow (yellow). "The box has been unlocked." appears and you take the Keys (a key ring).CODEPurple, green, yellow
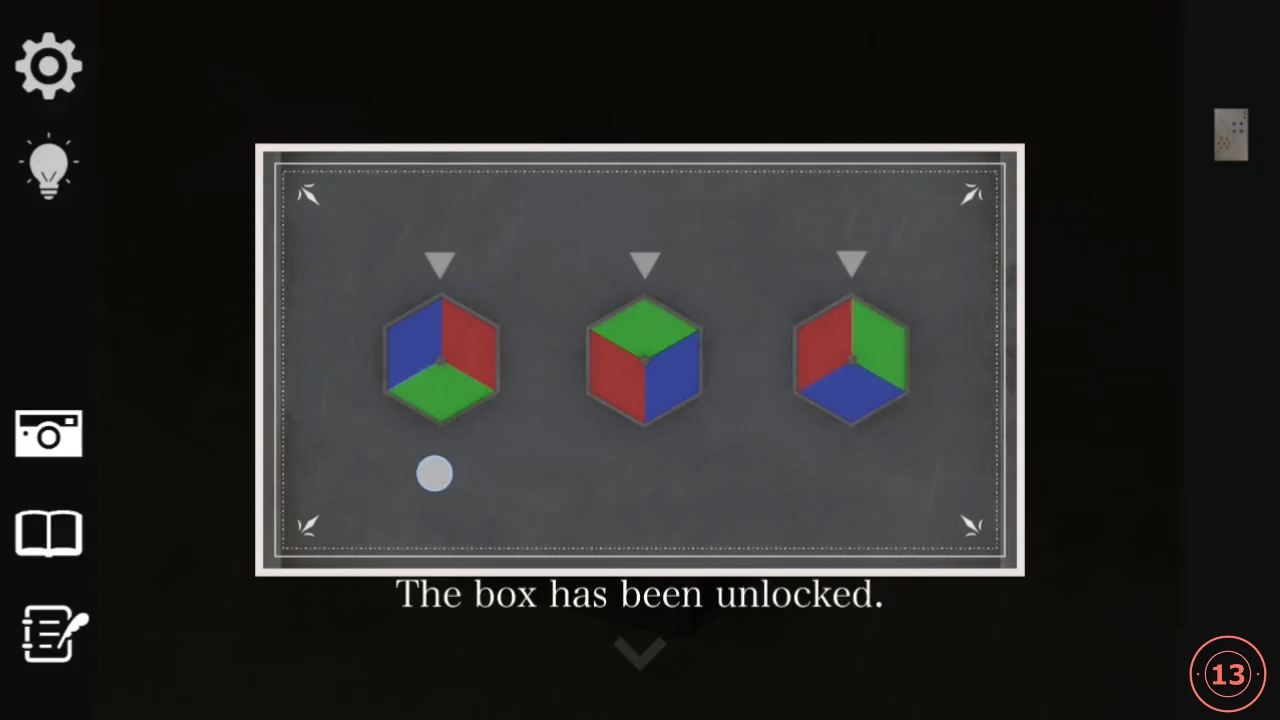
Solved: blue and red (purple) on the left, green in the middle, red and green (yellow) on the right.
CHAPTER 1
Leaving the Cell
With the Keys you can open the cell door. Talking to the girl again is optional.
- Optional: talk to the girl again through the lattice. She answers questions such as "What do you mean by cursed?" and "Who did this?". None of the puzzles depend on these answers.
- Use the Keys on the arched wooden cell door and go through into the chapel. The girl speaks to you there; when two answers appear, choose "Let's get out together." She tells you her name is Eld. On the "Next Chapter: Explore the Chapel" card, press and hold anywhere on the card ("Press and hold to Chapter") until the next chapter loads.