The Docks
You arrive at the docks. Gather what you can and open the chained gate to board the ship.
- Zoom in on the crate left of the pier. Take the TOY GUN (it is incomplete), the SATCHEL and the heavy GEAR.
- Zoom in on the overturned red boat and put the satchel on the sand underneath it. It will be used as a pivot later.
- Put the gold bolt into the barrel screw press on the left pier. The press still lacks a lever, so you return later.
- Zoom in on the gear and pipe panel on the right side of the left building. Take the RED STICK (dynamite) and the decorated LIGHTER (incomplete), then put the gear on the empty centre spindle. The gears turn and the panel closes.
- Click the chained gate. Opening it costs one of the app's adventure keys ("Use the key to continue the adventure"); keys come back over time. Press Unlock to get on the ship.
Ship Deck: Build the Hammer
On the ship deck, finish the hammer and use it to repair the broken stairs.
- Zoom in on the luggage pile on the right and take the WOODEN HAMMER HANDLE. The trunk there has a 3x3 rune lock that you cannot solve yet.
- Open the piano hammer in your inventory and attach the wooden handle to finish the HAMMER.
- Zoom in on the broken stairs near the left railing. Place the nails and the hammer to start the stairs puzzle.
Fix the Stairs
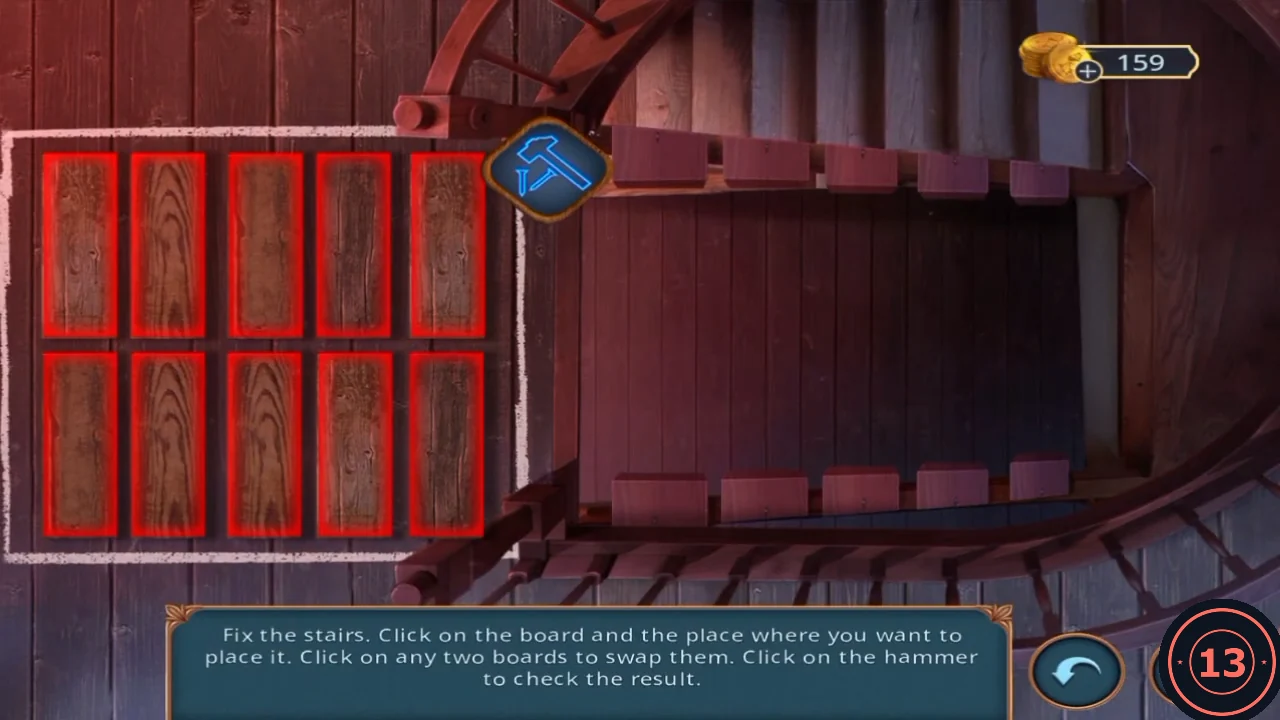
Ten boards (two rows of five) must go in the right places. Click any two boards to swap them, then click the hammer to check: correct boards turn green and wrong ones turn red.
- Swap only the red boards with each other and check again with the hammer. Repeat until every board is green. The recorded player needed four checks.
Choose to Examine the Captain's Cabin
This choice is worth 6 of the 13 decision points and costs one adventure key. This guide follows the route where you enter the cabin. It does not cover refusing.
- Climb the repaired stairs to the upper deck. When Charles asks "Should we take a look inside?", choose "Yes! What if the captain's in there?" (costs 1 key, +6 points, Examine the cabin) rather than the free "Do we really have time to spare?".
- In the casino lounge, click the door with the anchor emblem on the left to enter the Captain's cabin. The new task "Examine the ship replica" starts.
- Zoom in on the ship replica on the centre table and take the SAIL piece marked "7" (1/2).
- Zoom in on the desk on the left and take the SCALES and the blue MOSAIC PIECE. The drawer has a blue gear-shaped padlock that you open later.
- Zoom in on the fish plaque and mosaic picture on the right wall. Fit the mosaic piece into the gap; the picture swings aside to reveal a compartment. Take the gem-studded WEIGHT.
- Put the scales in the hand of the Lady Justice statue beside the sofa, then put the weight on a pan to start the balance puzzle.
Lady Justice Scales
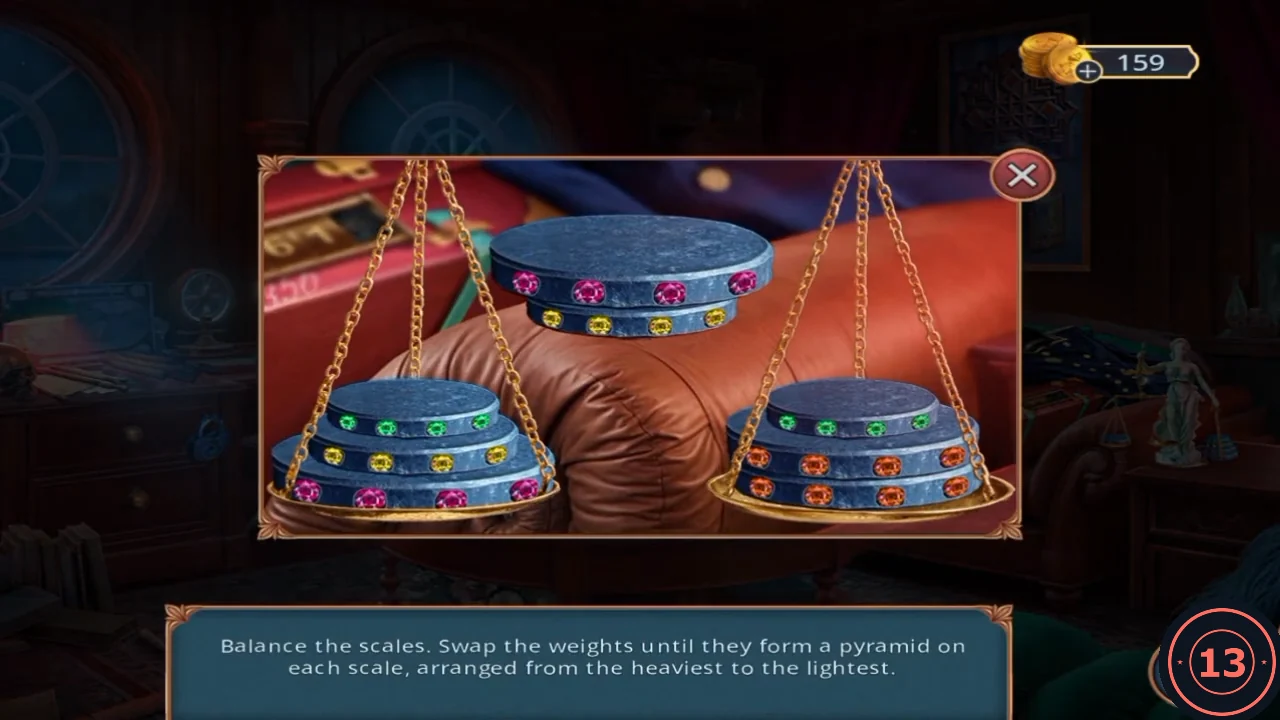
Eight weights come in four sizes, with gems from largest to smallest: pink, orange, yellow, green. Build a pyramid on each pan with the heaviest weight at the bottom and the lightest on top. Click a top weight to lift it and click where to drop it. The centre stand can hold weights while you rearrange.
- Finish with each pan holding, from bottom to top: pink, orange, yellow, green. In the recording it started as left pan green/yellow/pink (top to bottom), centre pink over yellow, and right pan green/orange/orange. Use the centre stand as a buffer so you never put a larger weight on a smaller one.
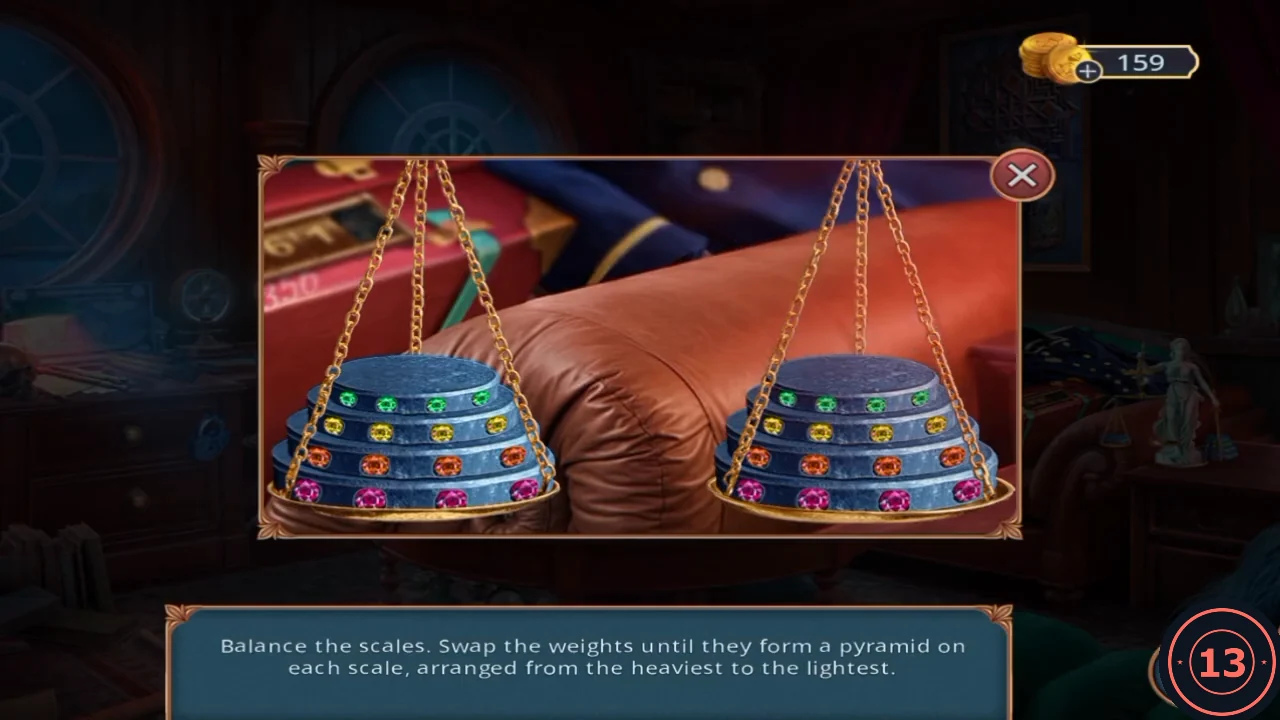
Solved: on each pan, pink at the bottom, then orange, yellow and green at the top. - The scale tilts and reveals a gold three-pronged FORK tool at the statue's base; take it. The Tireless Investigator achievement (ten mini-games without skipping) can appear here.
Casino Lounge: Load the Cork Gun
From the Captain's cabin, head into the casino lounge and get the toy gun working for the shooting gallery.
- Leave the cabin. In the casino lounge, zoom in on the carved cabinet with the tripod on the right. Take the teal HANDLE PIECE (1/3) and the CORK BULLETS. The tripod legs need unscrewing first.
- Open the toy gun in your inventory and load the cork bullets.
- Place the gun in the shooting booth against the purple back wall of the lounge to start the shooting gallery.