CHAPTER 5
The ship deck
Move the cannon and lever up the loose deck board.
- At the rope spool behind the cannon, take the ROPE and the WOODEN WHEEL.
- Fit the WOODEN WHEEL on the cannon carriage. The cannon rolls back; take the BLUE FIGURINE. The padlock under it needs a key you find later.
- Place the GOLDEN SHIP beside the loose board as a pivot and use the FLUTE as a lever. Take the HOOK ON A CHAIN from under the board.
- At the double-doored deck cabinet, put the BLUE FIGURINE on the figurine bar.
LATCH
Lighthouse figurine latch
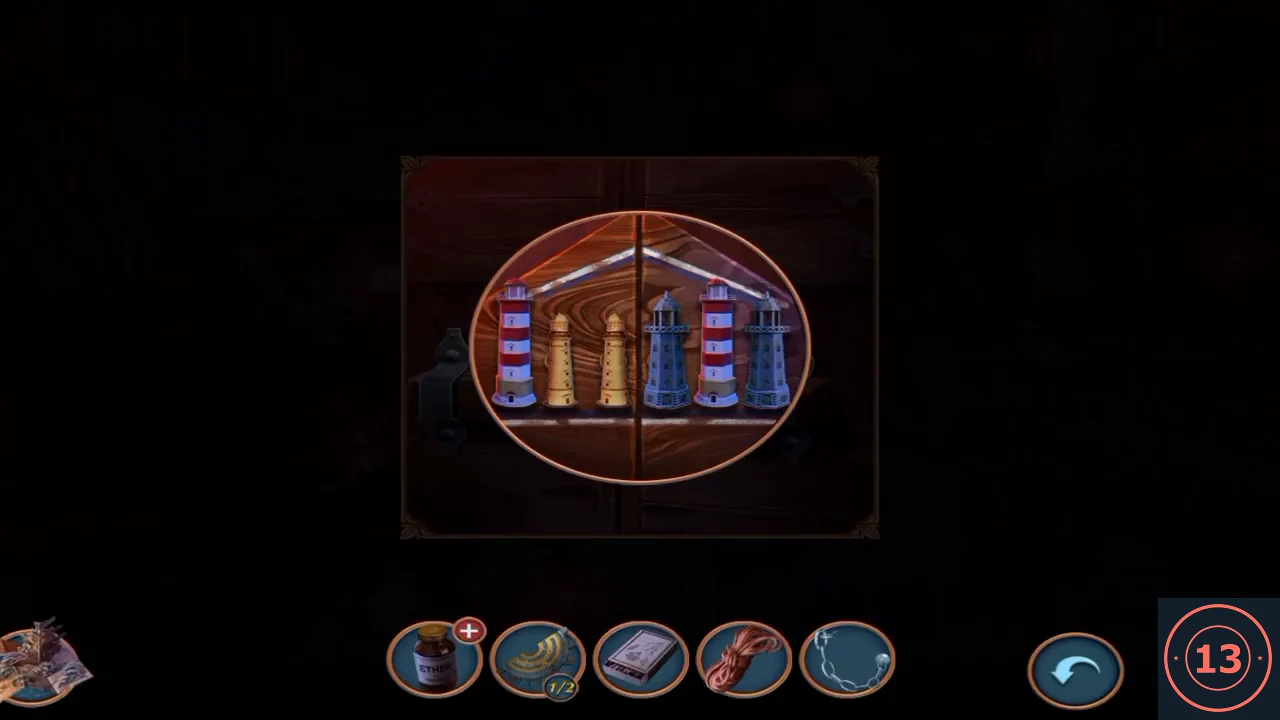
With all six lighthouse figurines on the bar, the latch arranges itself; there are no puzzle controls.
- A close-up of the six figurines opens without any instructions or controls. In the recording they stood red-striped, gold, gold, blue, red-striped, blue (left to right). Tap the figurines once (the recording tapped the leftmost one): they rearrange themselves into the mirror-symmetric order gold, blue, red-striped, red-striped, blue, gold, the latch releases and the cabin doors open.
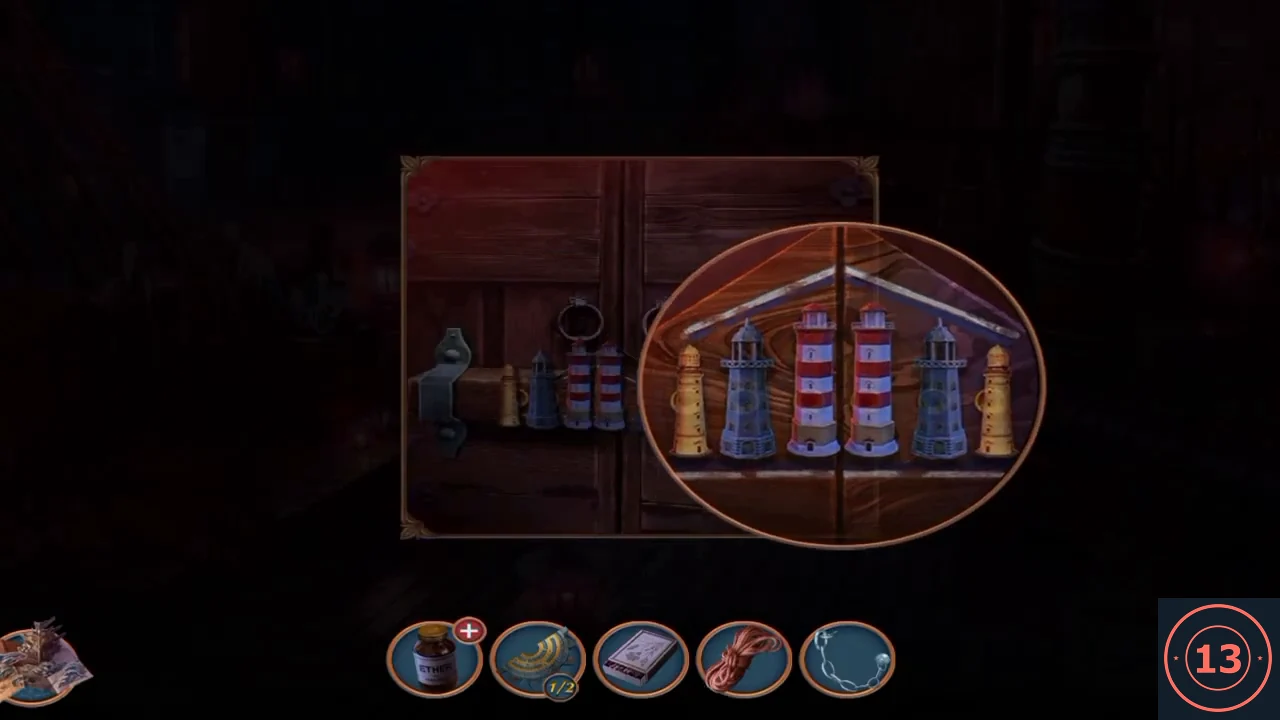
After one tap the figurines form a mirror-symmetric order and the latch opens.
CHAPTER 5
The hold and the guard
Put the guard to sleep and question him.
- Enter the hold. Take the ATOMIZER from the floor left of the bench.
- Open the ETHER (+) and add the ATOMIZER to make an ETHER SPRAY.
- Use the ETHER SPRAY on the kneeling man, then tie him up with the ROPE.
- He says Silas is on the ship and that his friend Lewis is lost in the sewers. Choose "If he really needs help, we'll find him ourselves." (costs 1 key, +6 stars) or "You'll remain restrained until the constable arrives." (free). The recording chose to find Lewis, which opens the sewer through the hull; the free option's continuation is not shown in the recording.
SEWER
The sewer: jacket, board and canal
Only reached after choosing to find Lewis. Task: Find Lewis.
- Click the lit passage at the end of the hold to enter the sewer. A newly built wall suggests a hidden passage.
- At the jacket on the left walkway, take the CHEF'S HAT and the COMB.
- At the board leaning on the new brick wall, take the WHETSTONE (+), use the COMB to pull out the nails and take the PLANK.
- At the canal on the right, lay the PLANK across the water and take the BROKEN POLE (+).
CHAPTER 5
Lamp, bench box and purple chest
Back in the hold, prepare the lamp and open the purple chest.
- Return to the hold. In the oil-lamp close-up, place the MATCHBOOK beside the lamp; it is too dark to see more yet.
- From the front corner of the checkerboard box on the bench, take the "3" TOKEN and BRASS FAN PART 2/2.
- At the purple chest right of the guard, put the FAN in the gear socket and hook the HOOK ON A CHAIN onto the gear centre. The lid opens to a riddle scene. The ANCHOR AMULET also appears in your inventory at this point.
HIDDEN OBJECTS
Purple chest riddle scene
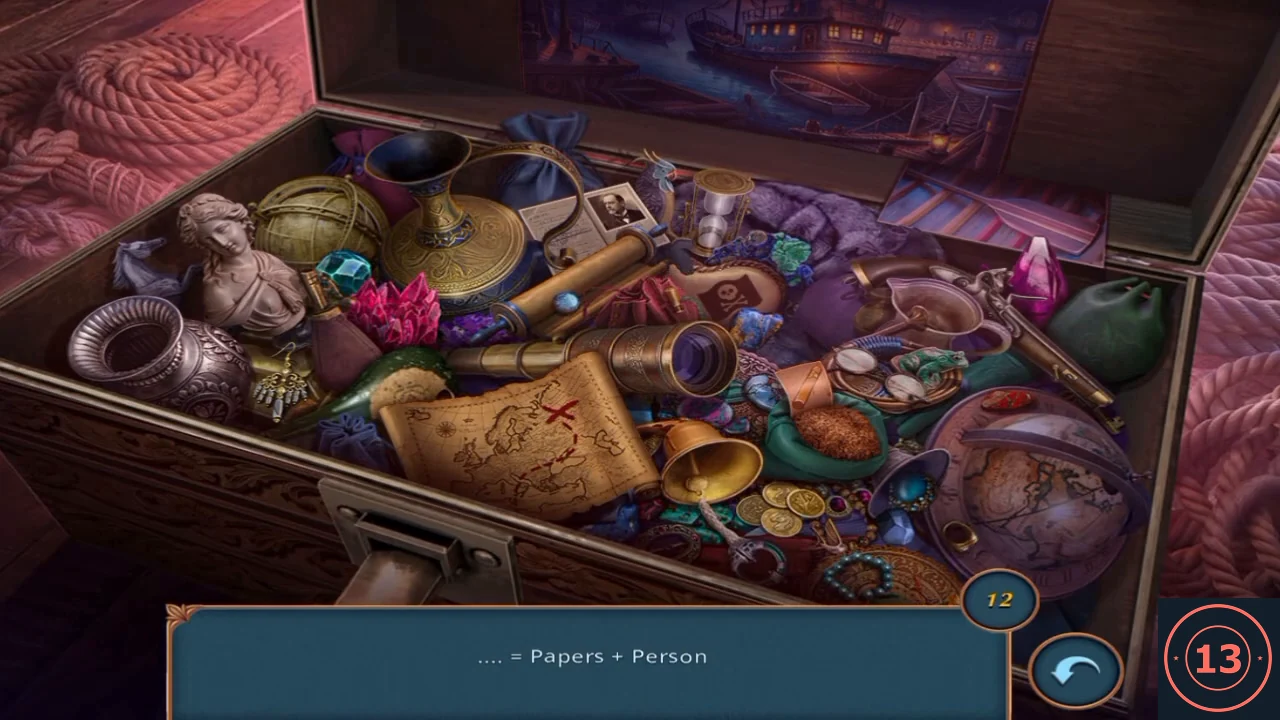
Each riddle combines two words; find the object that matches.
- Answers: Papers + Person = ID card; Coordinates + Route = treasure map; Flag + Skull = Jolly Roger patch; Cartridge + Shot = flintlock pistol; Steering Wheel + Boat = boat picture; Time + Sand = hourglass; Swamp + Jump = frog figurine; Ear + Hook = earring; Cigar + Paper = tobacco pouch; Vessel + Silver = silver jug; Figure + Marble = marble bust; Banknotes + Metal = gold coins. Then tap the KEROSENE can by the telescope eyepiece.
CHAPTER 5
The oil lamp and the chef figurine
Light the lamp to reveal the figurine and its items.
- Pour the KEROSENE into the oil lamp; the matchbook then lights it.
- Put the CHEF'S HAT on the chef figurine. Take the golden SPOON, the BRUSH and the CRANK HANDLE.
- At the satchel on the floor (rusty slot on the flap), use the BRUSH. The slot is still too rusty to open.
- Open the WHETSTONE (+) and sharpen the SPOON on it.
- In the sewer, use the SHARPENED SPOON on the embroidered stitches of the jacket and take GREEN GEM 1/2.
- Go up to the deck. Fit the CRANK HANDLE in the rope winch.
PUZZLE
Sail winch puzzle
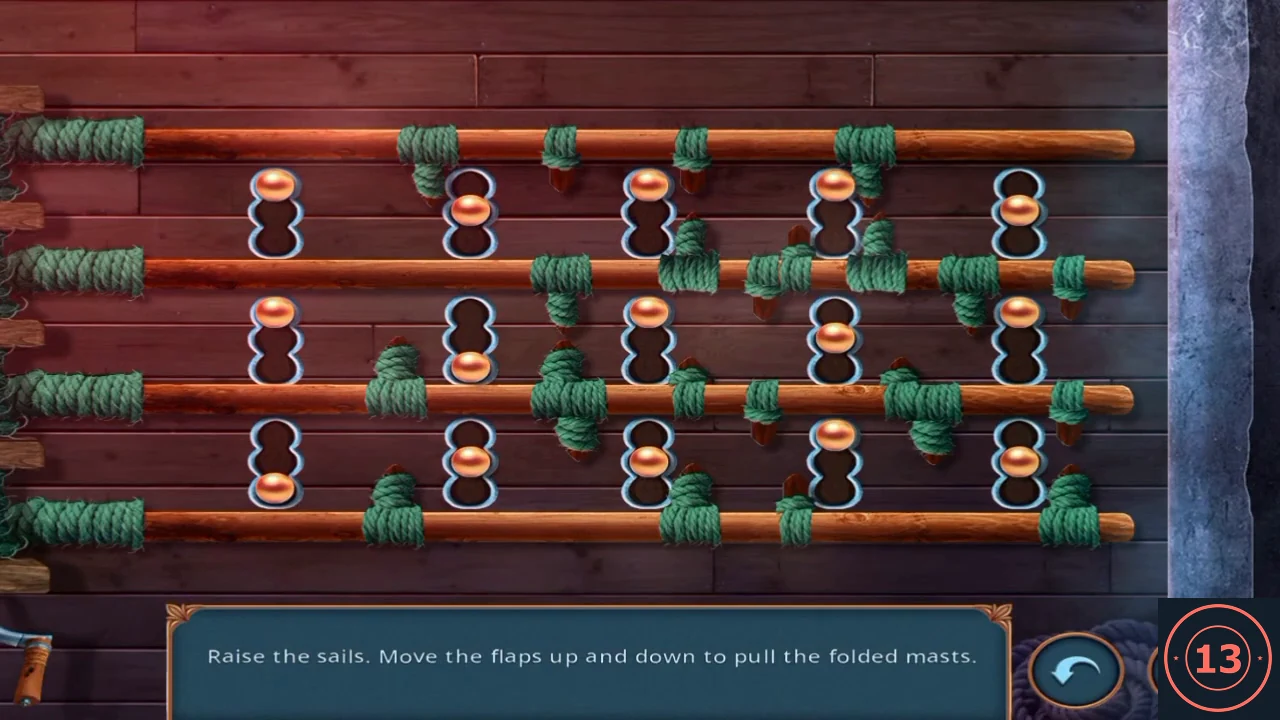
Move the copper flaps until a folded mast is free, then drag that mast out to the left.
- The puzzle needs two kinds of action. First click the flaps to move each copper knob up or down its three-position slot. The rope pegs on each mast point up or down into the slots; a knob in the end of a slot next to a mast catches the pegs of that mast. Then, once no knob catches any of a mast's pegs, grab that mast by its left end and drag it fully to the left, off the board. A mast that is still caught only lights up when you try to drag it. Free the masts in this order, as in the recording: top mast (move the knobs between the top two masts away from it, downwards), then the bottom mast (knobs between the bottom two masts all up), then the third mast, then the second, which is easiest last because the knobs around it can then move freely. Exact knob positions depend on how far the masts have already slid, so check each peg rather than copying a pattern.
CHAPTER 5
The clam, the padlock and Silas's office
Get the deck key and search the office.
- At the winch, take the TWEEZERS lying on the rope.
- At the octopus carving on the rail, use the TWEEZERS to open the clam. Take the ORB and the KEY.
- Use the KEY on the padlock where the cannon stood and go down the hatch into Silas's office. New task: find evidence of Silas's crimes.
- At the globe, take the CROSSED BAR.
- At the book press on the desk, fit the CROSSED BAR as the handle and press the ORB. Take the GOLD DISC (+).
- Take the AWL (a pointed tool with a brown wooden handle) lying on top of the small wall safe; the game's item label calls it "Bullets". Put the "3" TOKEN in the round slot on the safe; the code is still unknown.
- Open the GOLD DISC (+) and use the AWL on it to punch a hole in its centre.
CHAPTER 5
The aquarium
Raise the toy boat to reach the second gem.
- Use the PUNCHED DISC on the red valve of the aquarium and turn it. Take MODEL SHIP 1/2 and FLAG 1/2 from the floating boat.
- Use the TWEEZERS on the green gem stuck in the boat. GREEN GEM 2/2 is complete.
HIDDEN OBJECTS
Fragment hidden-object scene
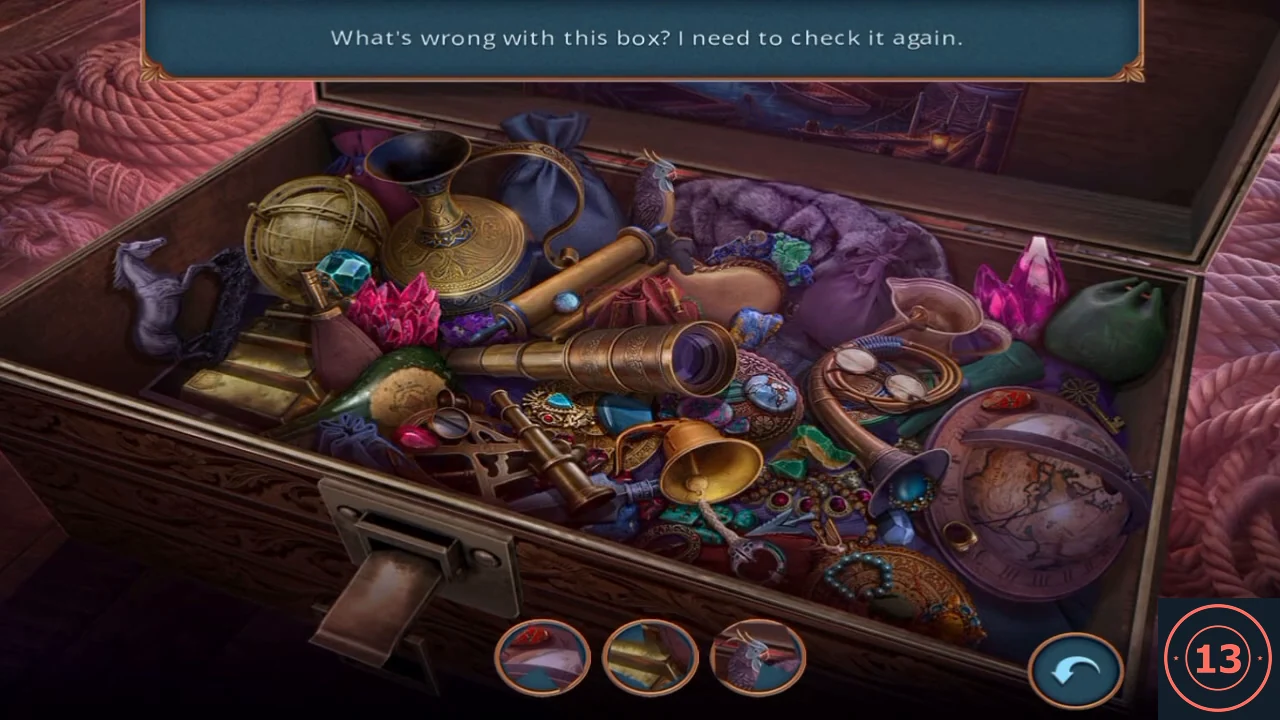
Revisit the purple chest and find the items shown as fragments.
- Back in the hold, click the purple chest again. Find: horse statuette, gold ewer, red crystals, gold bars, parrot figurine, gems on purple cloth, big spyglass, pink crystals, small brass telescope, gold bell, brass horn and the key on the globe. Then tap the RUST REMOVER between the horse statuette and the red crystals.
PUZZLE
Gargoyle statue puzzle
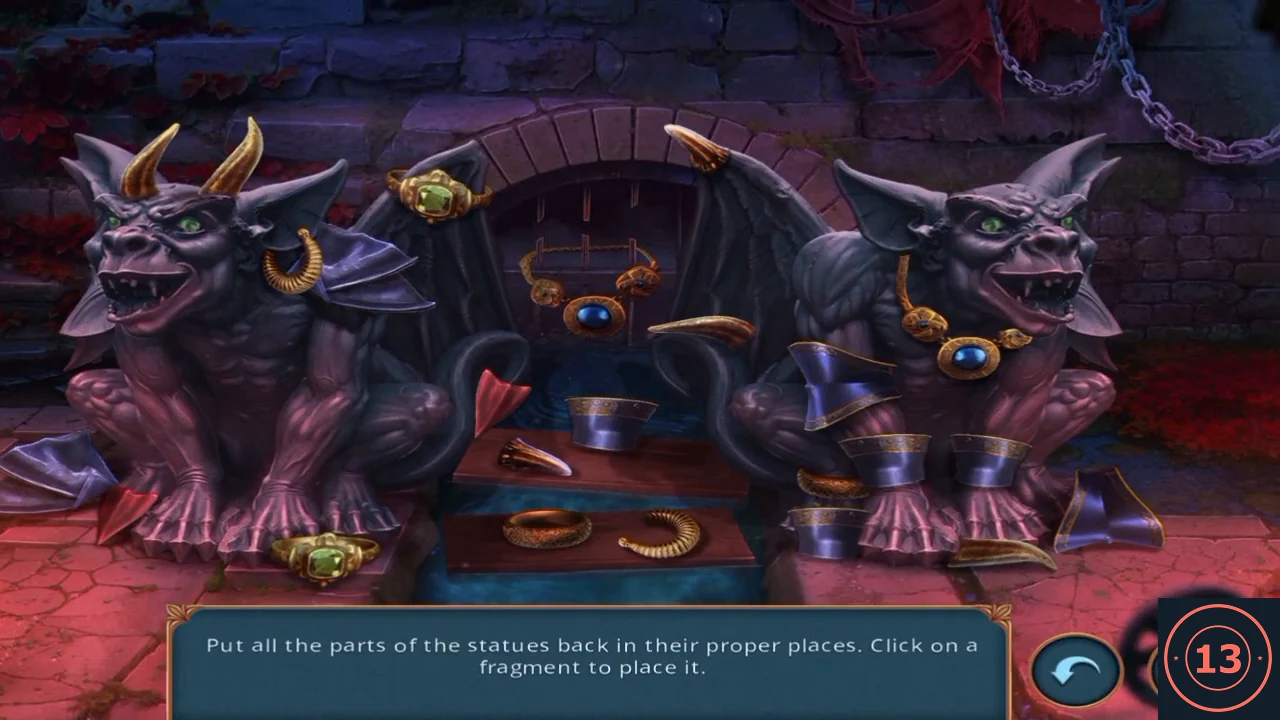
Rebuild two mirror-image gargoyles.
- In the sewer, put GREEN GEM 2/2 in the empty eye of the gargoyle statue on the left.
- Click each loose fragment and it flies to its place; pieces hidden underneath appear once the top ones are placed. Continue until both gargoyles are complete and mirror each other.
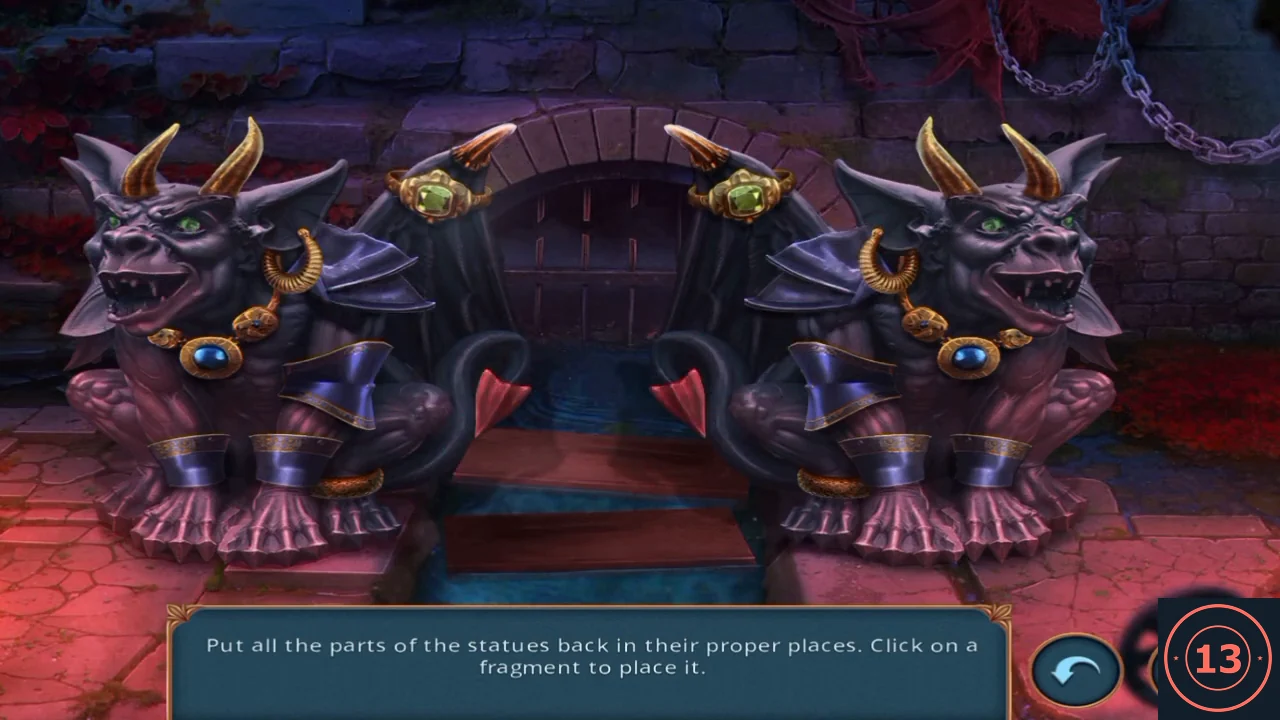
Both statues restored. - Take the PICK HEAD from the statue.