Courtyard: metal detector and sharpened knife
The courtyard has a fountain, Vlad standing by a statue on the left, a vine-covered niche, a barred cellar window and a path blocked by a fallen tree. The recording also collected a few coins near the red-robed figure on the right.
- Zoom into the statue base beside Vlad, left of the fountain, and take the metal detector. It has a plus badge because it needs parts later.
- Zoom into the statue pedestal with three grindstones ("This is good for sharpening knives."). Use the knife on the red grindstone to get a sharpened knife.
- Zoom into the vine-covered niche on the left wall, above the barrel with the lantern, and use the sharpened knife on the vines to start the vine puzzle.
Vine knot puzzle
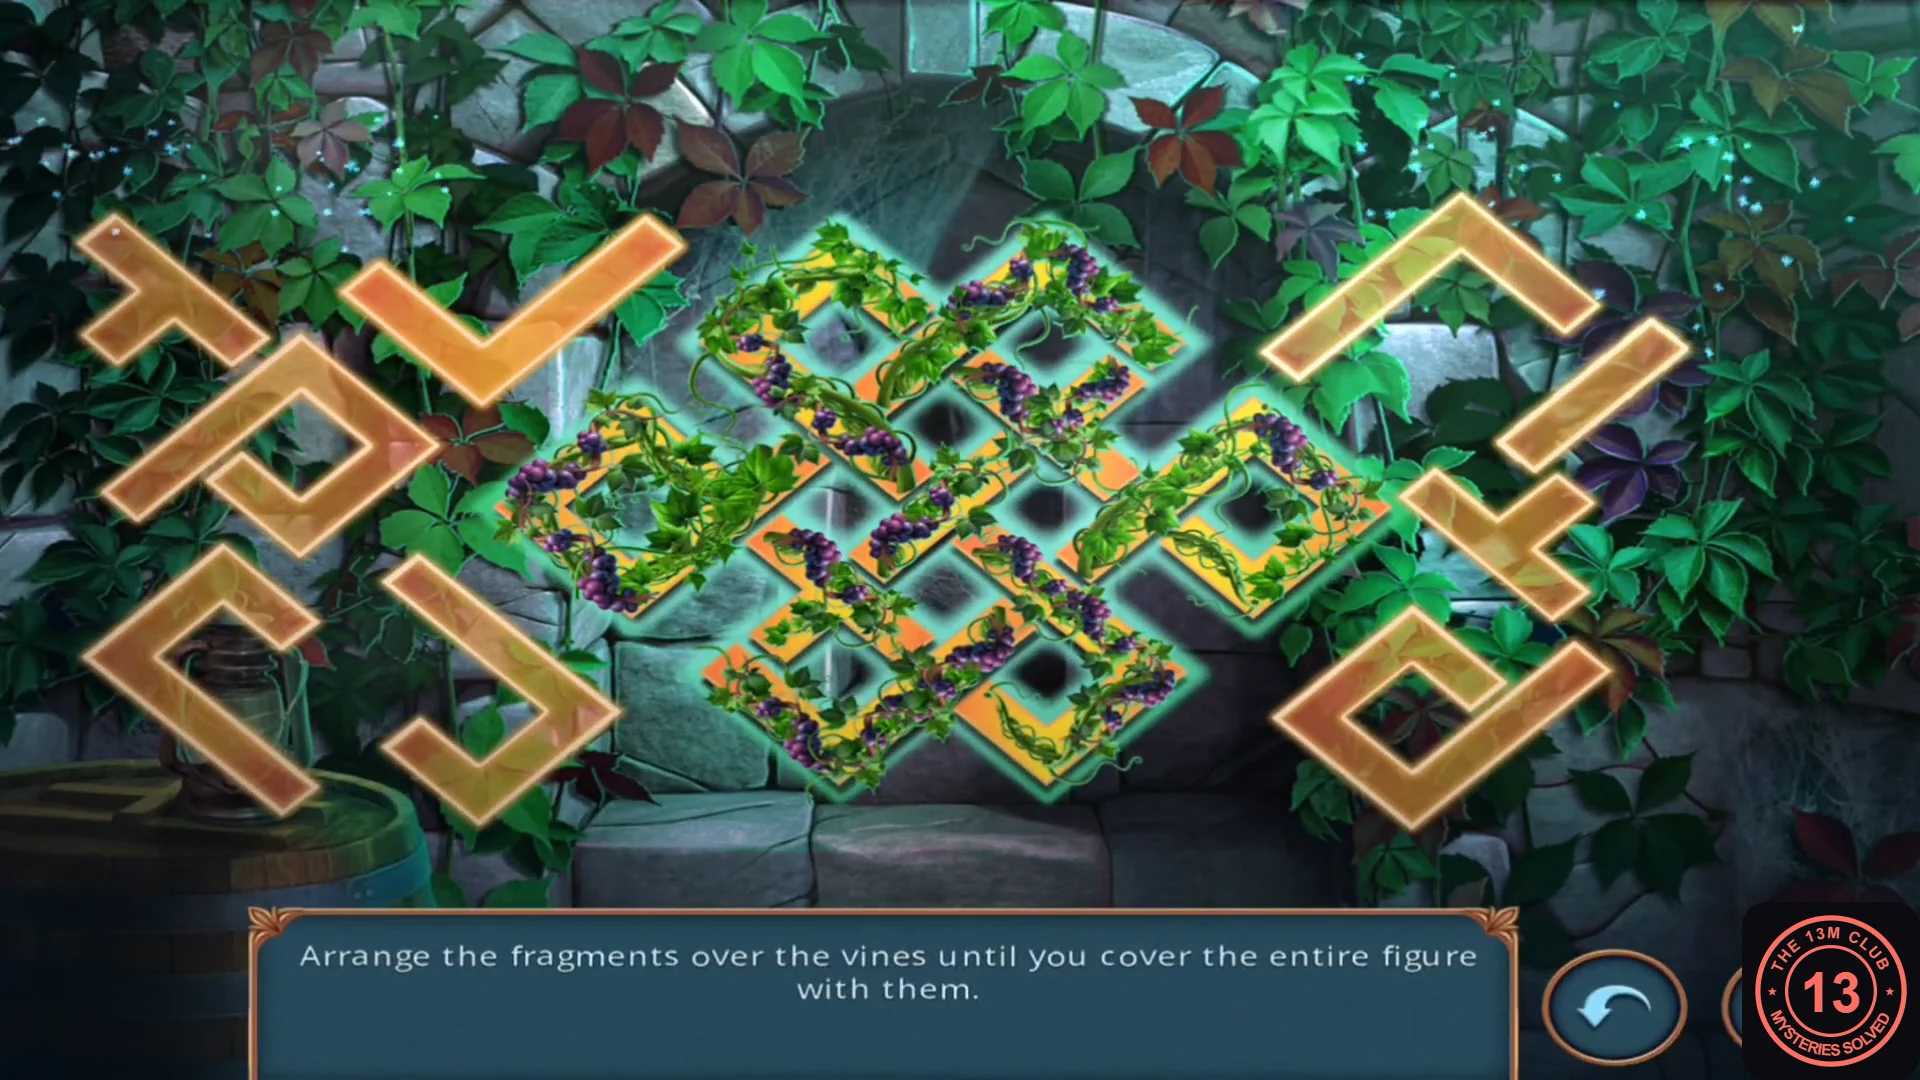
"Arrange the fragments over the vines until you cover the entire figure with them." About a dozen orange angular fragments surround the knot.
- Drag each fragment onto the vine section with the same shape. The fragment turns white while you hold it, and it locks in place when correct. The order does not matter; finish the longest, most distinctive pieces first to narrow down the rest.
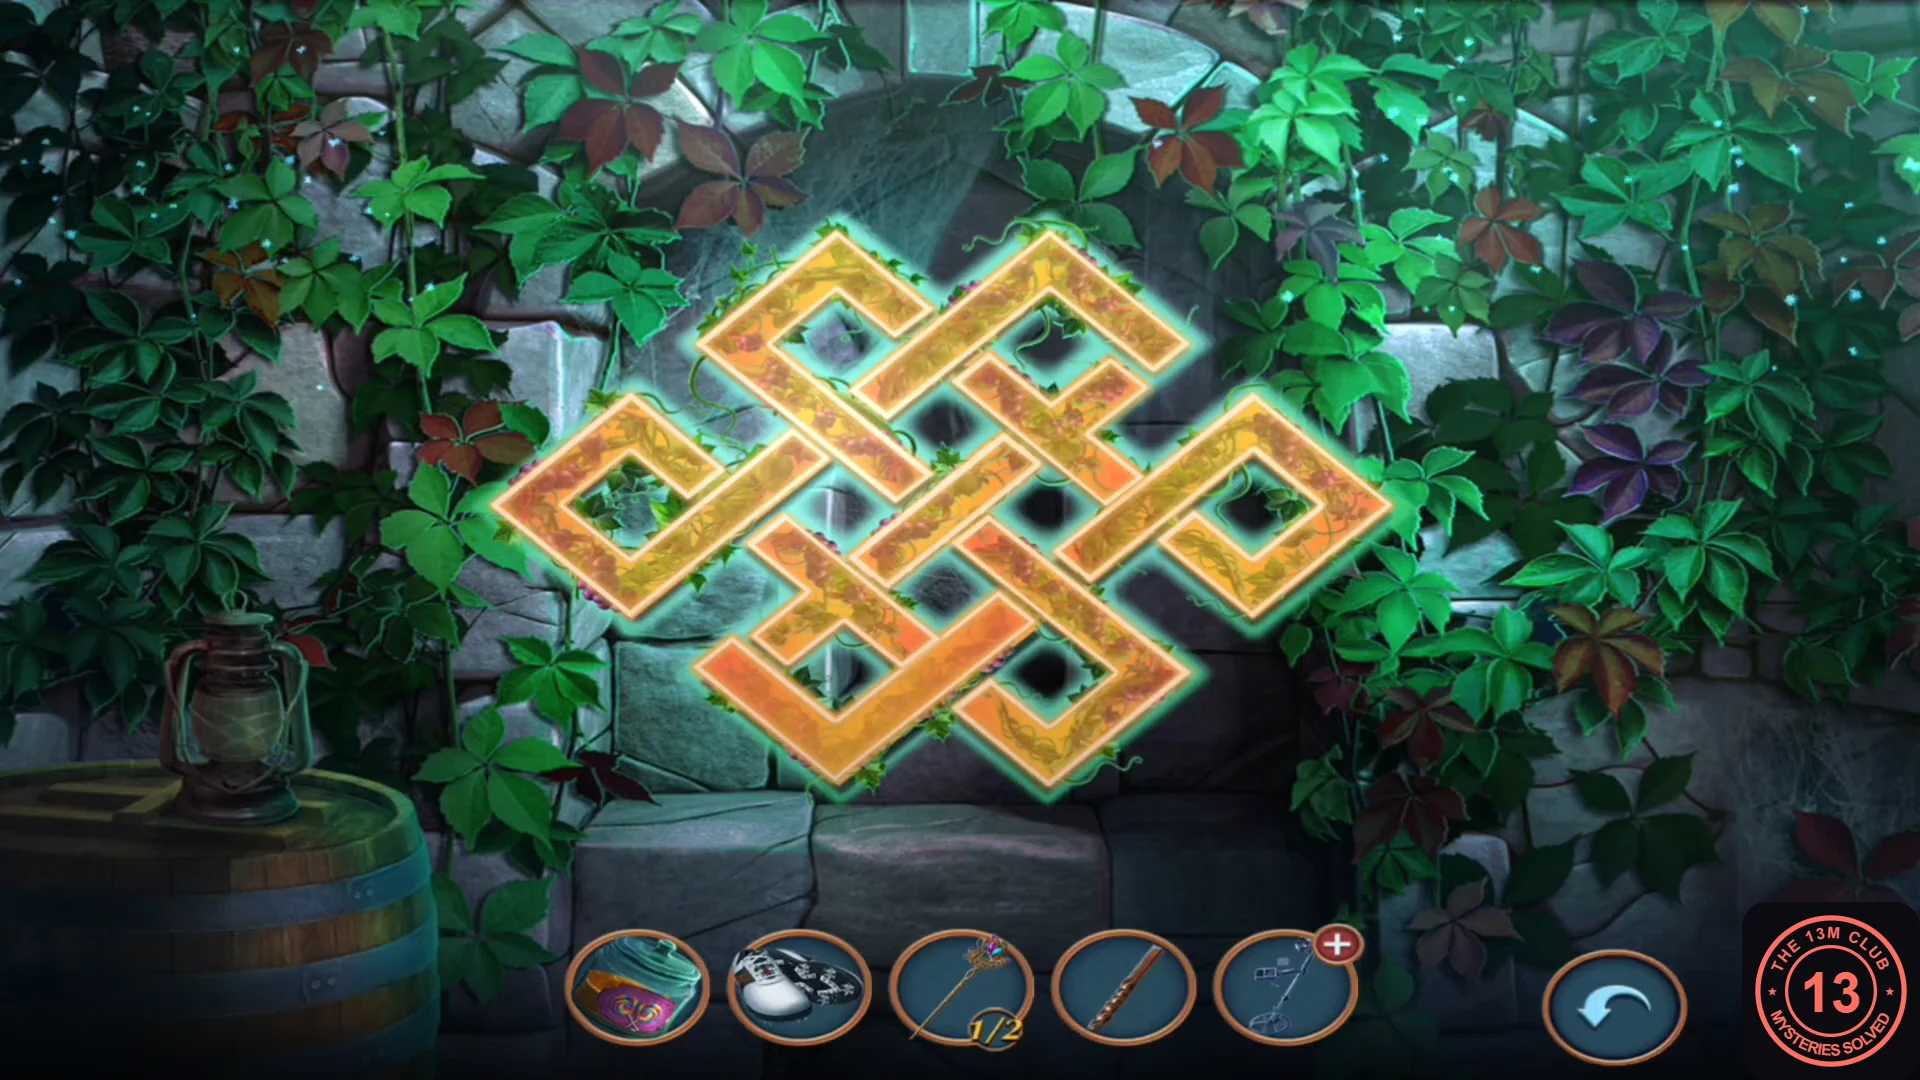
Completed: the whole knot is covered. - Take the plaid cloth from the ledge in the opened niche.
Barred window, fallen tree and choice 3
The flute from the gargoyle's mouth doubles as a lever for the cellar bars.
- Zoom into the barred cellar window beside the wooden barrel at lower left. Wrap the plaid cloth round the bars, push the wooden flute through it and twist. The bars bend; take the axe. The flute returns to your inventory.
- Use the axe on the fallen tree branches blocking the path on the right, behind the red-robed figure.
- On the mountain trail, Vlad suggests checking the cave where Demetrius camped. Choice 3: "That's a good idea." costs 1 key in Mystery Files and earns 6 points; "We haven't got much time." is free and earns none. Both Mystery Files recordings paid the key, and the cave opened as an optional area with its own puzzles and Demetrius's diary (chapters 24, 27 and 28).
- With the free answer, the cave mouth stays overgrown and you skip the cave. Continue with the rock wall, anthill and car trunk (chapters 25 and 26); the briefcase then hands over the items you would otherwise get through the cave (chapter 27, step 8). This branch was seen in a recording of the original Gloomy Tales release, where the paid answer costs 45 coins instead of a key.
Demetrius's cave: first visit
Cave route only: this chapter applies if you chose "That's a good idea." at choice 3. The cave mouth is on the left of the mountain trail, and entering starts the task Examine Demetrius's cave.
- Enter the cave. Beside the chest on the ledge at left (its lid has a tile puzzle you cannot do yet), take the flashlight, the work glove and the tuning fork.
- Zoom into the purple crystal cluster in the centre. Place the wooden flute at its base, then strike the crystal with the tuning fork. The crystal shatters; take the rope.
- Zoom into the small pool at the front centre. Place the flashlight on the rock and tie the rope to the post. In the recording nothing was collected from the pool afterwards.
- Zoom into the bedroll and sacks at the lower right. Take the gold tube. The tied sack needs cutting later.
Mountain trail: rock wall, anthill and car trunk
Back on the trail there is a rock wall to climb, an anthill and a blue car.
- Zoom into the rock wall in the centre background and use the spiked shoes on it ("It's a good thing that I go rock climbing quite regularly!"). You still need a pickaxe before you can climb.
- Zoom into the anthill at the centre-left foreground. Take the purple battery and the car key. Something else is still buried there.
- Use the car key on the bat-shaped lock of the blue car's trunk (plate GT-03-04). The trunk opens on a riddle hidden-object scene.
Car trunk riddle hidden-object scene
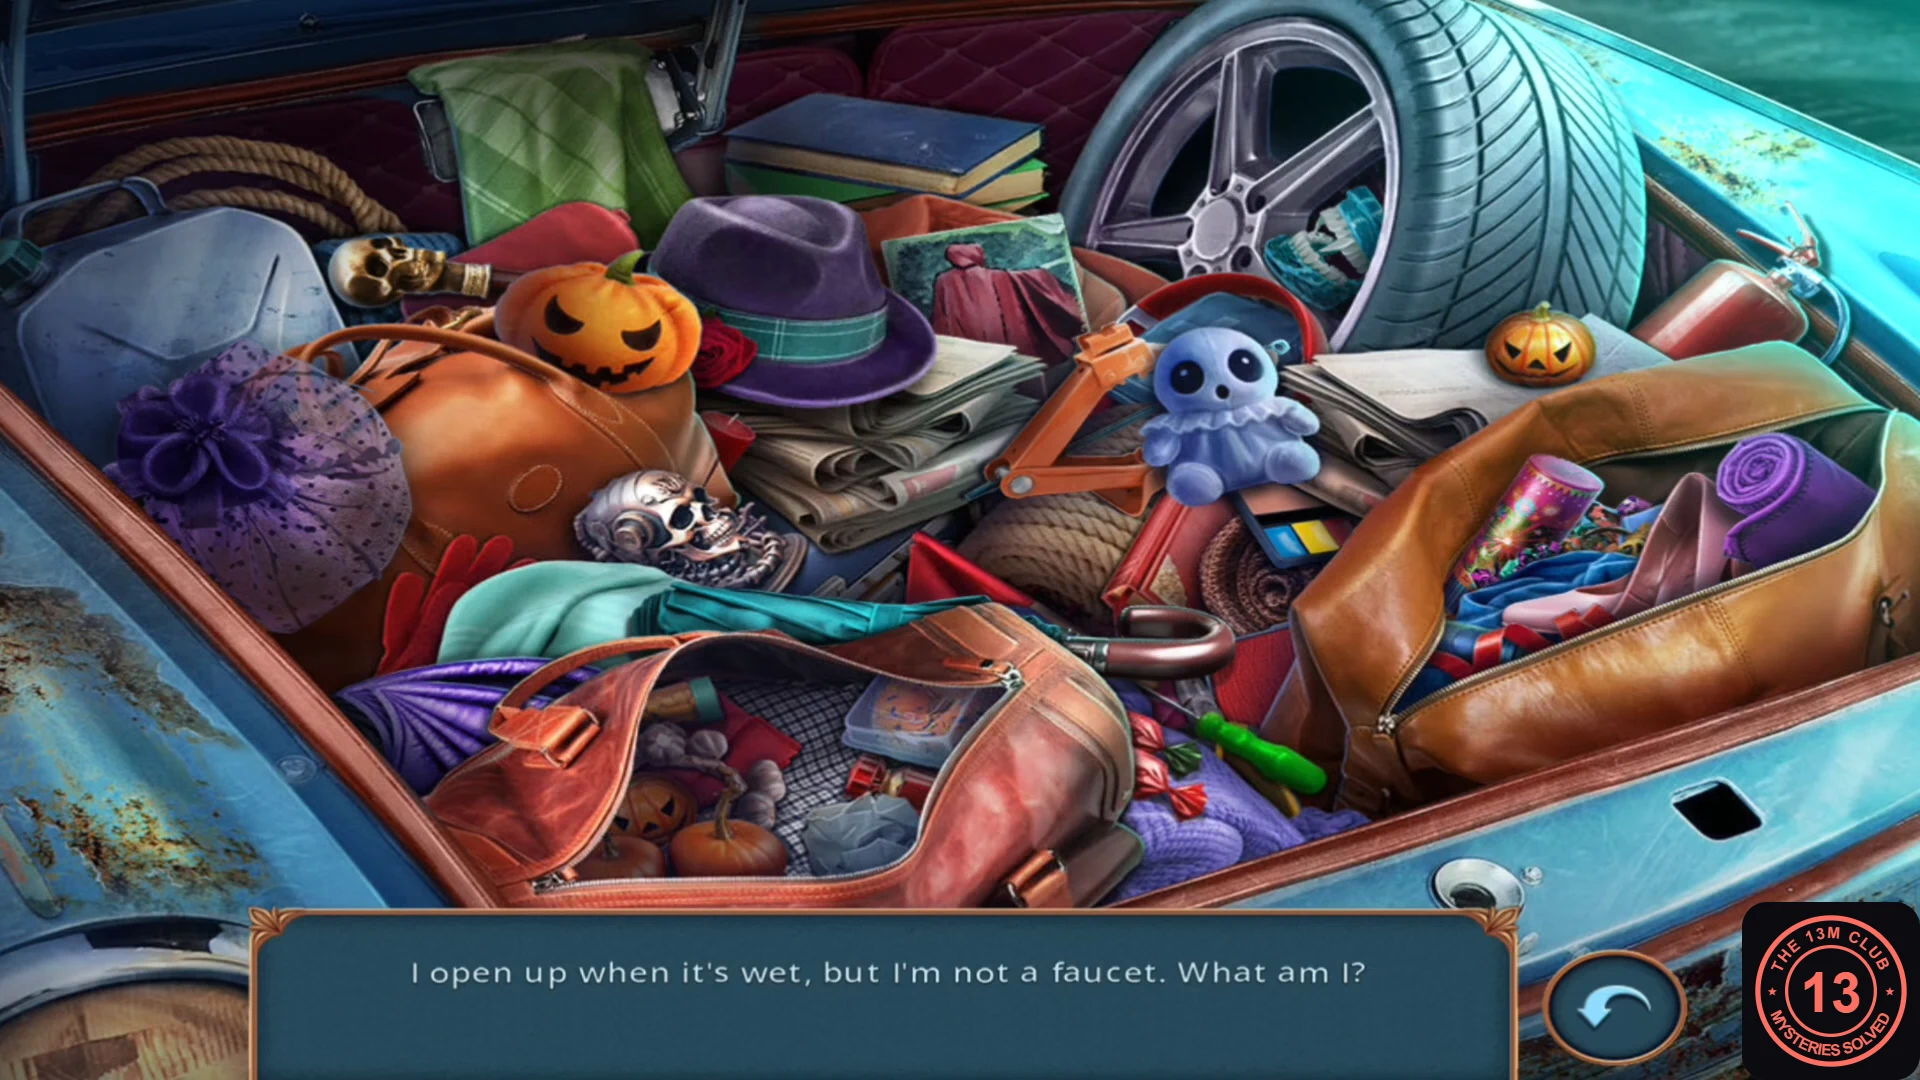
One riddle appears at a time in the bottom bar. Tap the object in the trunk that answers it.
- Answer the riddles: "I open up when it's wet..." umbrella (purple, left); "I billow in the wind..." teal scarf on the folded clothes; "I help with a tire change..." car jack near the octopus plush; "I burst with celebration..." party popper; "I'm strong-smelling but not a flower" garlic in the open bag at lower centre; "I help you soar..." kite at lower left; "I put out flames..." fire extinguisher at upper right; "I transform faces..." makeup kit on the right; "I come in pairs..." sunglasses in the rolled mat at lower right; "I hide your face..." wide-brim hat on the brown bag at left; "I tap the ground..." cane near the pumpkin at left.
- The last item is shown as a silhouette: tap the skull in the centre of the trunk to collect it.
Briefcase, fire pit, magnet and scissors
On the cave route this section shuttles between the trail, the cave and the courtyard to collect the chips for the cave chest (steps 1 to 7). If you skipped the cave at choice 3, do step 8 only.
- On the trail, zoom into the brown briefcase next to the raven. Place the skull in the skull-shaped clasp and take the green cable.
- Use the gold tube as a pull on the briefcase zipper. Take the spiral tool and the golden hand fan.
- In the cave, zoom into the smouldering fire pit at lower right. Fan away the smoke, then use the work glove ("Still quite hot") to take the round brush.
- Zoom into the debris of the shattered crystal and sweep it with the round brush. Take the horseshoe magnet.
- In the courtyard, zoom into the plaque slot on the statue base beside Vlad and use the magnet. Take the scissors.
- Back in the cave, cut the stitched seam of the tied sack by the bedroll. Take the coloured chips.
- Place the chips on the chest on the ledge to start the chain puzzle.
- Skipped the cave? Zoom into the brown briefcase next to the raven and place the skull in the skull-shaped clasp. The flap opens and you can take the green cable and the spiral tool straight away; the zipper, fan and cave steps above are not needed. Continue with chapter 29.
Cave chest chain puzzle
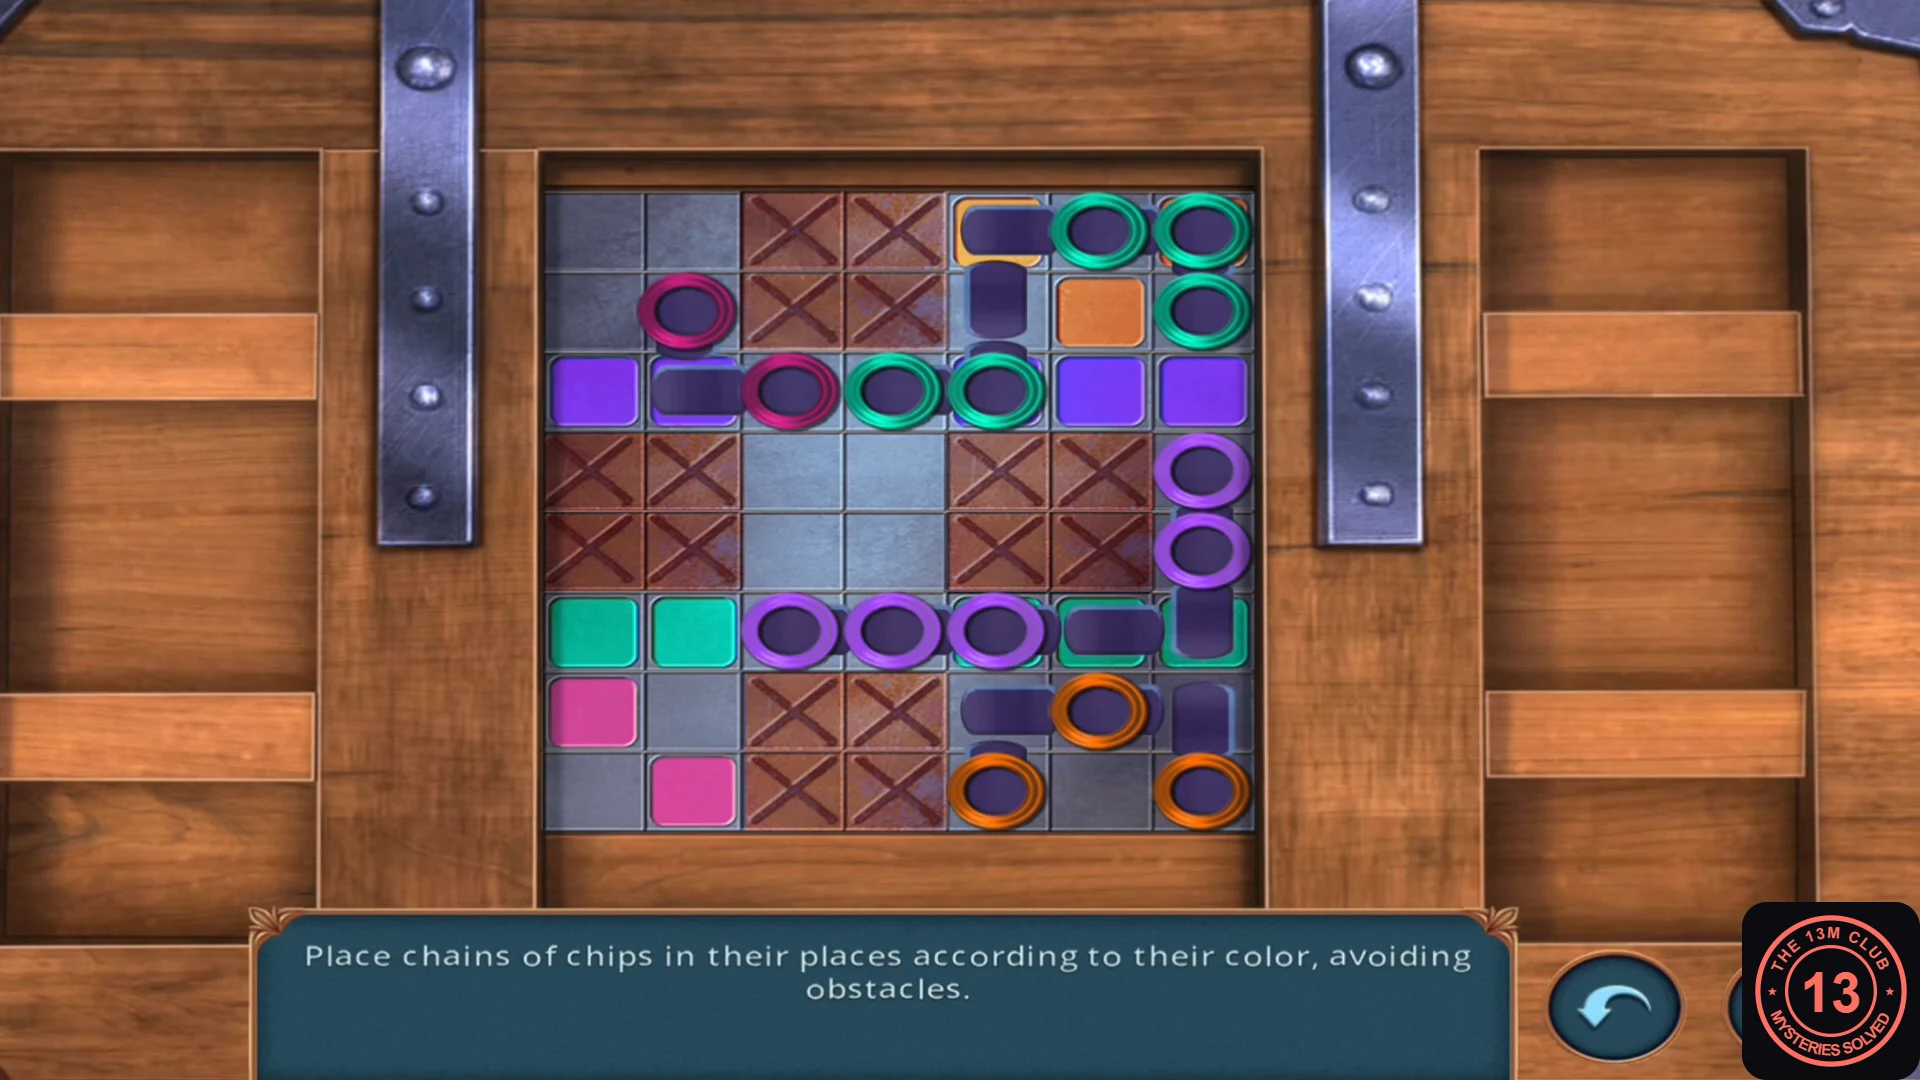
Cave route only. "Place chains of chips in their places according to their color, avoiding obstacles." The grid is 7 columns by 8 rows, and crates marked X are obstacles. Each chain is a set of coloured rings joined by links; drag a chain end through open cells.
- Fit each chain onto its coloured tiles. In the solved layout: the purple chain fills row 3 and the teal chain fills row 6 (rings in columns 1, 2, 5, 6, 7 with links in columns 3 and 4); the orange chain sits at the top right (rings at row 1 column 5, row 1 column 7 and row 2 column 6); the magenta chain sits at the bottom left (rings at row 7 column 1 and row 8 column 2). Place the long purple and teal chains first so the corner chains have room.
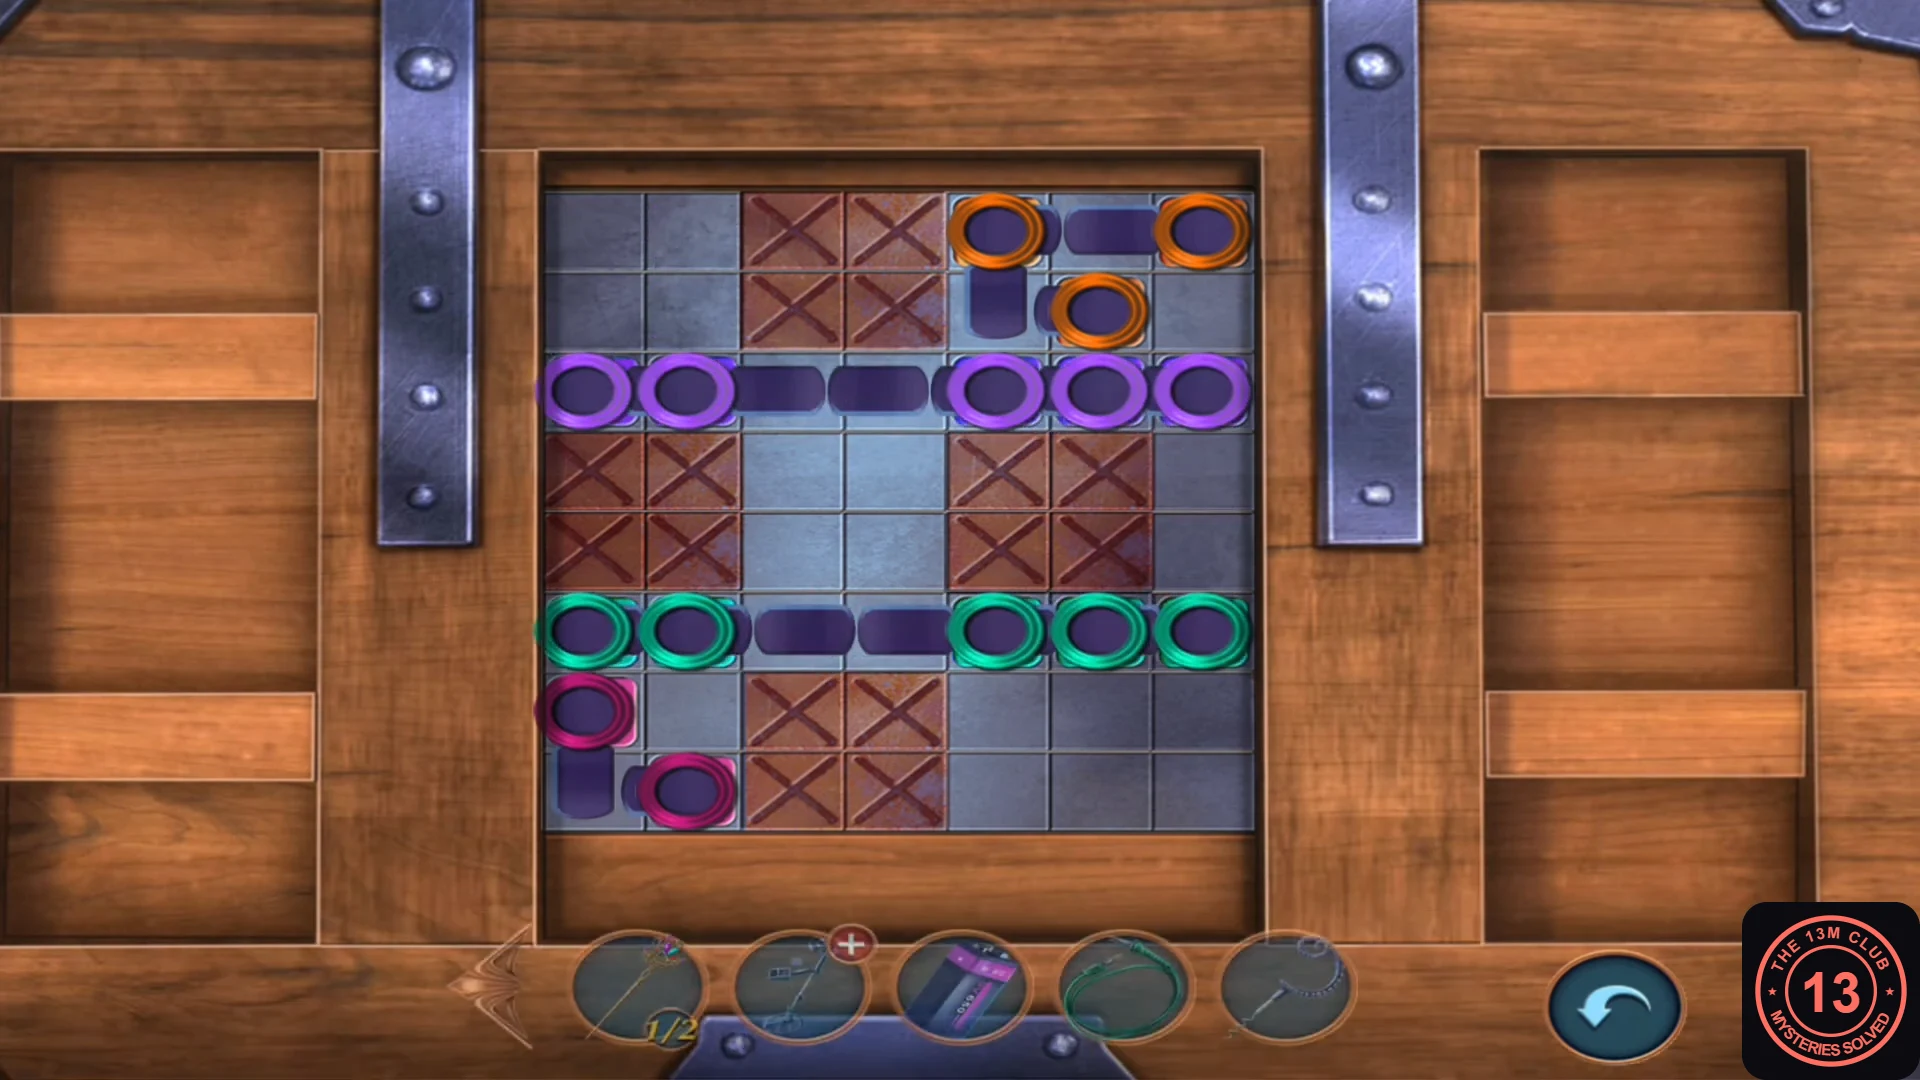
The solved layout described in step 1. - Read Demetrius's diary from the chest: his parents were killed by people and he plans to spread the virus. Examine Demetrius's cave completes.
Barrel, metal detector and pickaxe
The spiral tool drains the courtyard barrel, and the detector finally gets its parts.
- In the courtyard, use the spiral tool on the bung of the barrel beside the bent bars. The barrel drains and shifts; take the wolf figurine (1/2) and the duct tape.
- Open the metal detector in your inventory and add the duct tape, the battery and the green cable.
- On the trail, use the metal detector on the anthill and take the hex nut and the pickaxe that are dug up.
- Use the pickaxe on the rock wall (the spiked shoes are already there) to start climbing.
Rock climbing
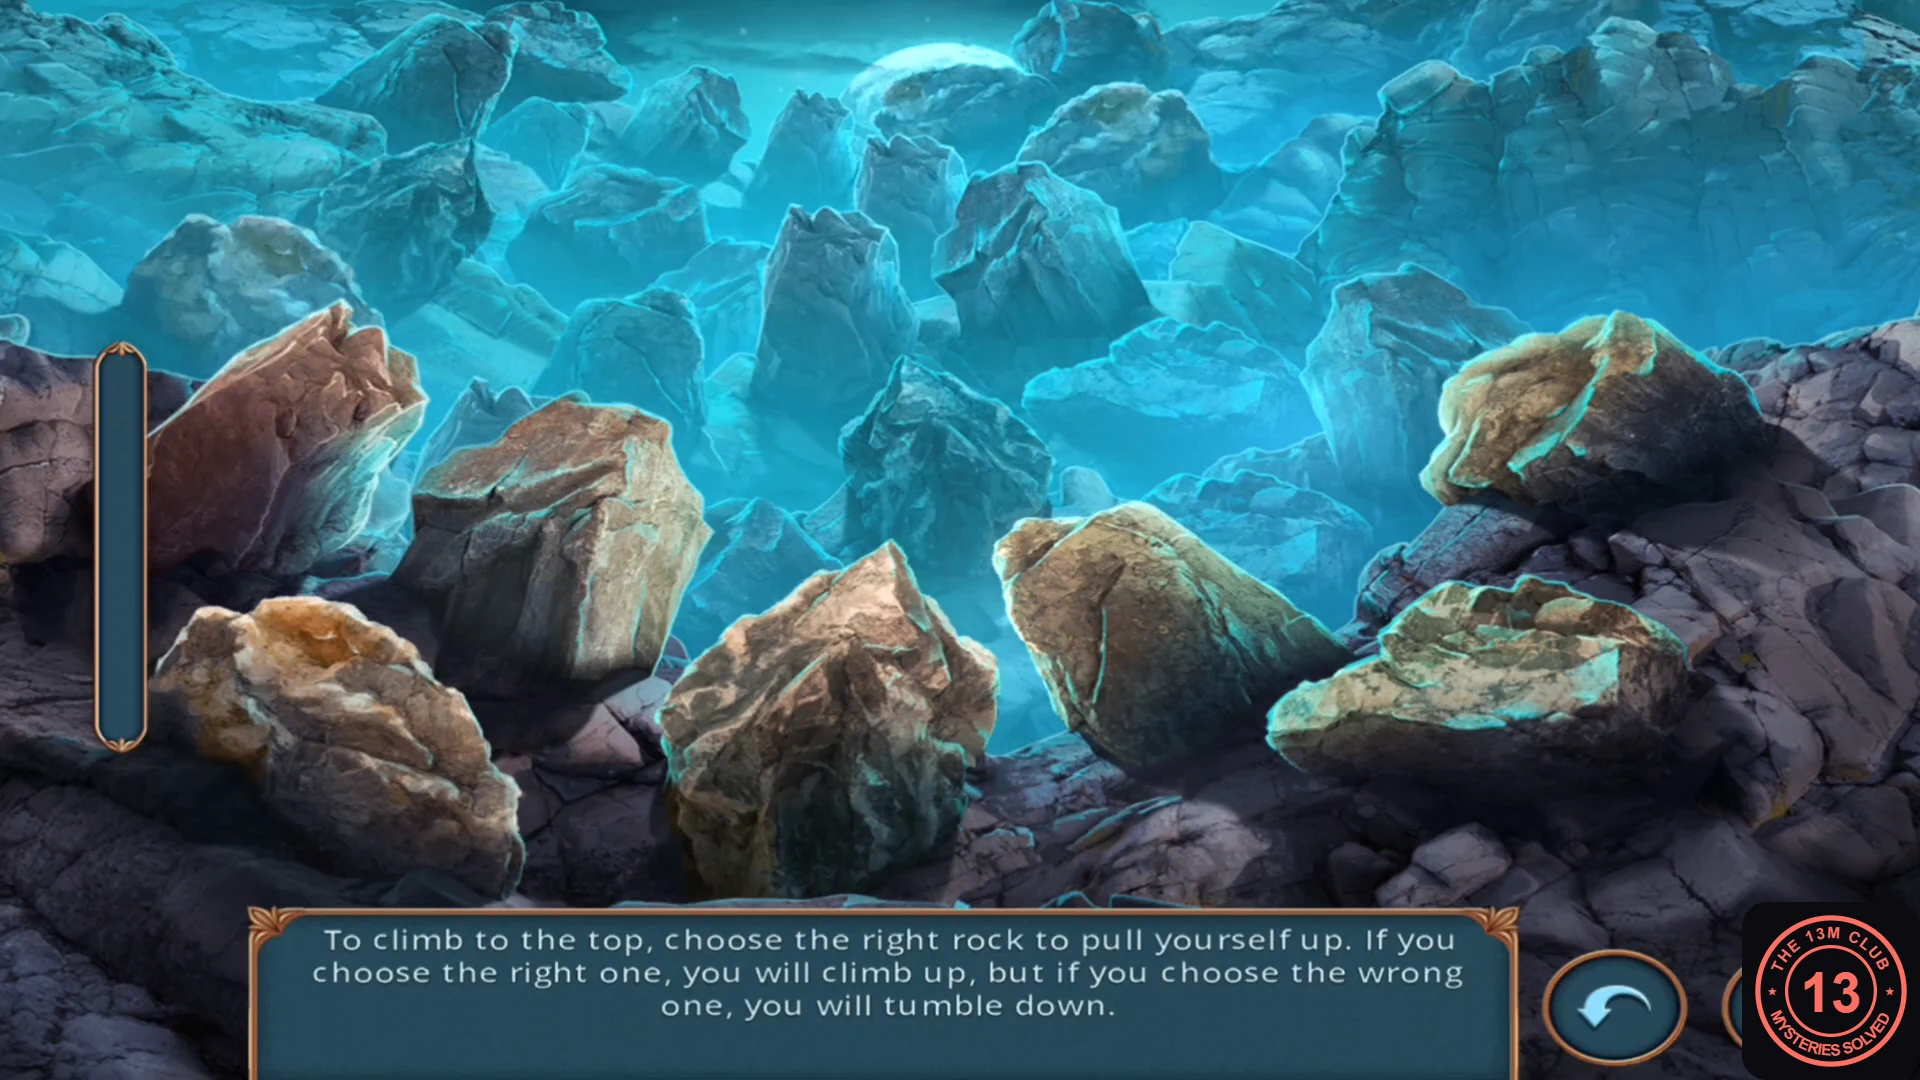
"To climb to the top, choose the right rock to pull yourself up. If you choose the right one, you will climb up, but if you choose the wrong one, you will tumble down." The bar on the left fills as you climb, and a tapped rock glows cyan.
- No visual cue marking the right rock was found, so try the rocks within reach one at a time, starting with the nearest. If you tumble, you lose progress; pick another rock on the retry. Example from the recording, which reached the top without a fall: the centre front rock; then the lower-centre rock between a reddish and a beige rock; the flat rock at lower right; the lower-right rock; and finally the mossy rock at the far upper right.