The lobby: first items
After Vlad's phone call you arrive in the hotel lobby. Igor stands at the foot of the staircase, tangled in blue cords, and your first task is Stop Igor.
- Climb to the door at the top of the staircase (blue card reader, green gargoyle handle). Take the purple crystal, the green skull poison bottle and the wrench lying beside it.
- Zoom into the tall clock on the right side of the lobby. Take the gold medallion piece at its lower right (1/3).
- Use the wrench on the four corner bolts of the clock's ornate grille. The grille opens on the clock face; take the gear from behind it.
- Zoom into the octopus statue on the reception desk. Take the bowl, then place the gear in the mechanism in its right tentacle to start a mini-game.
Octopus symbol mini-game and tying up Igor
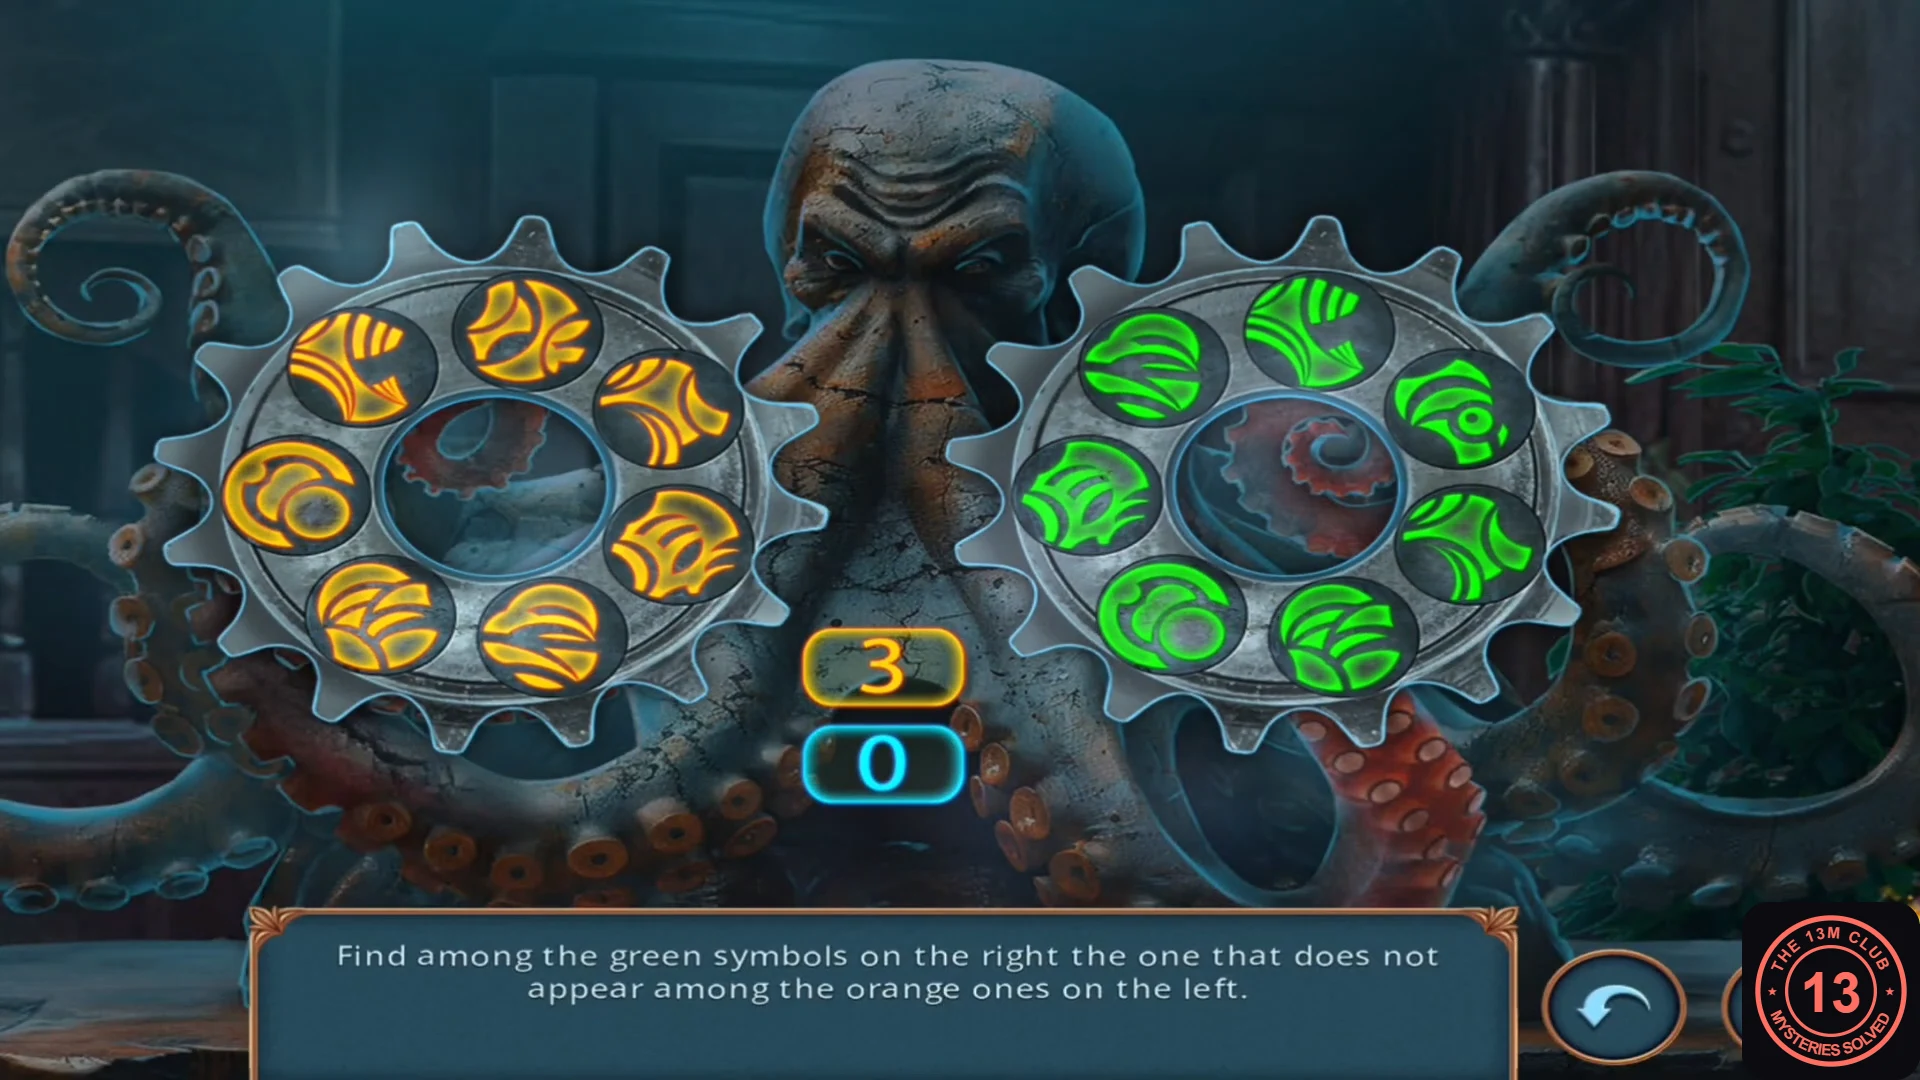
The octopus mini-game has three rounds. In each round the left side shows orange symbols and the right side shows green symbols; tap the one green symbol that does not appear among the orange ones. The symbols are rearranged every round, so compare shapes rather than memorising positions.
- Play the three rounds. In each round, check every green symbol against the orange set and tap the odd one out. If a tap does not advance the round, compare the shapes again and try another green symbol. The recording's answers were in different positions each round, so they are not given as a fixed sequence.
- Take the rope from the octopus's open mouth.
- Use the rope on Igor at the foot of the stairs to tie him up.
Picture puzzles with Abraham, choice 1 and Vlad's key
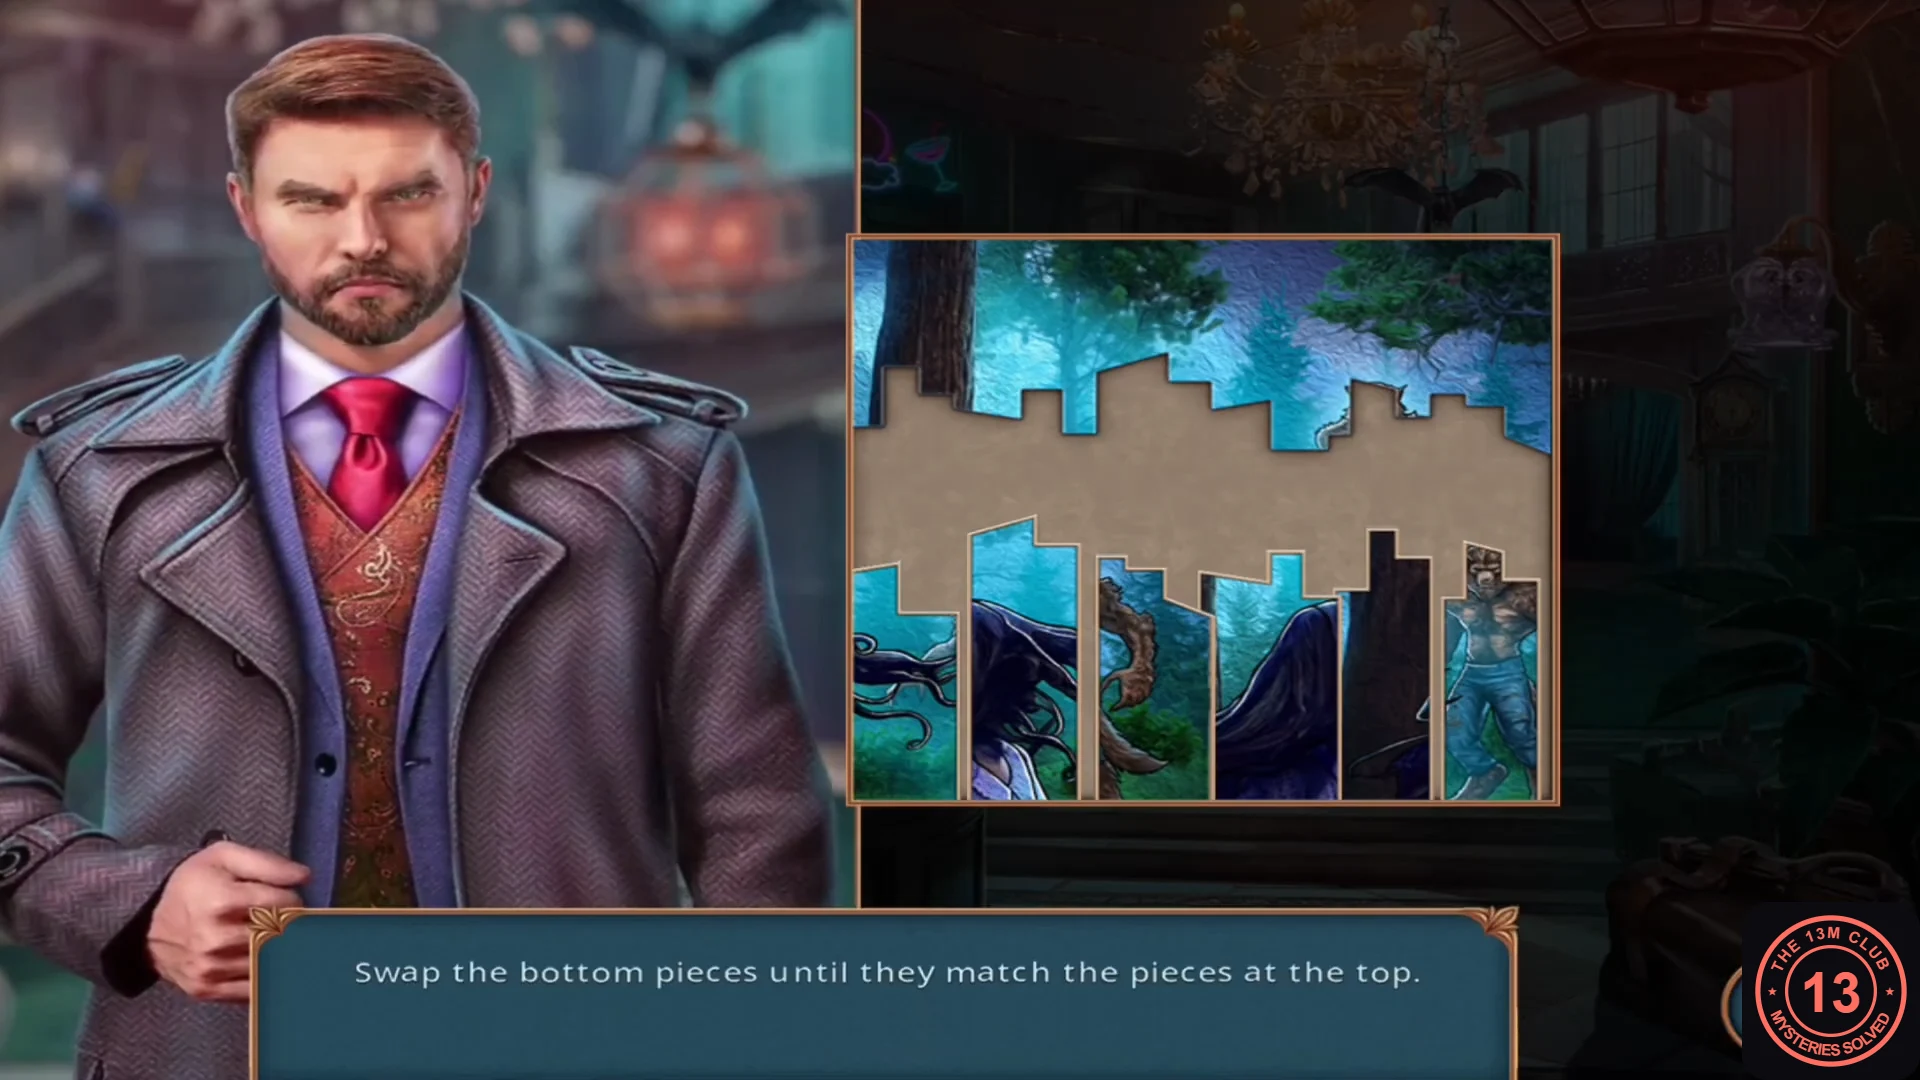
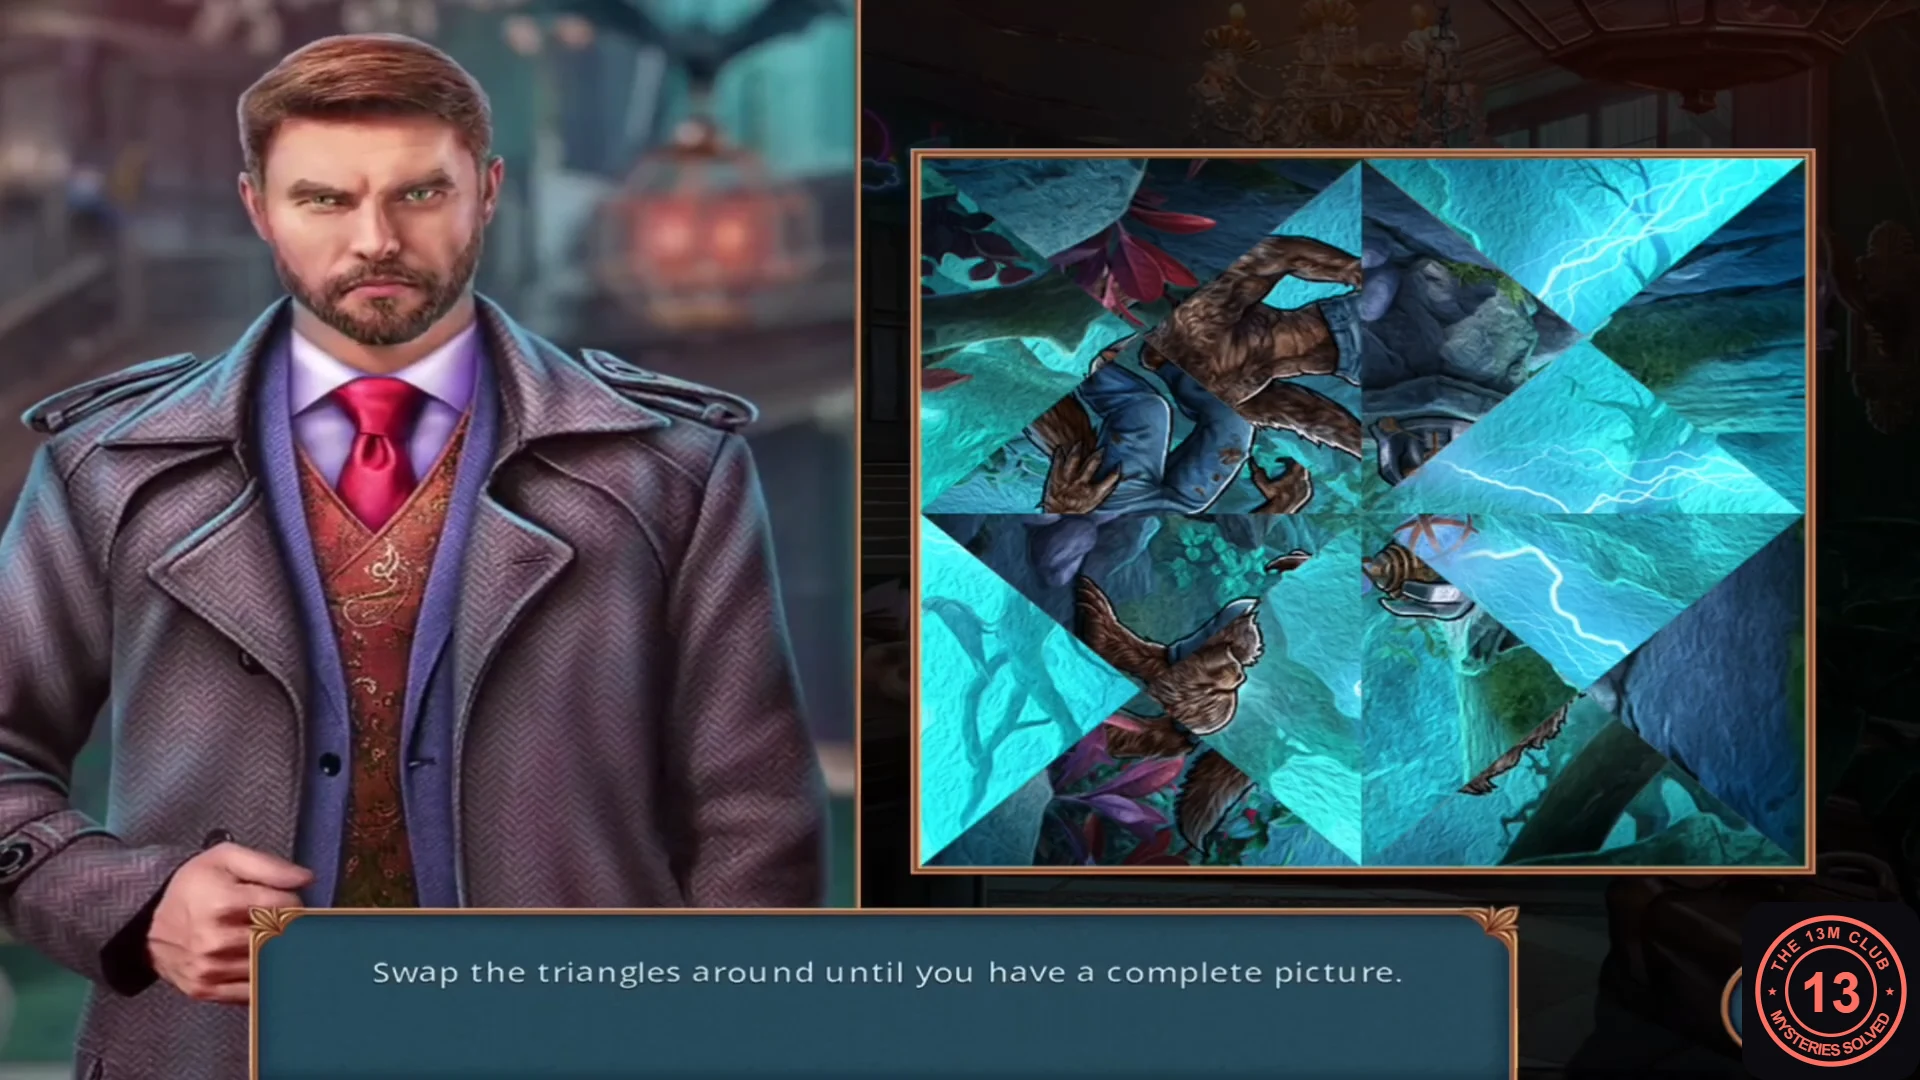
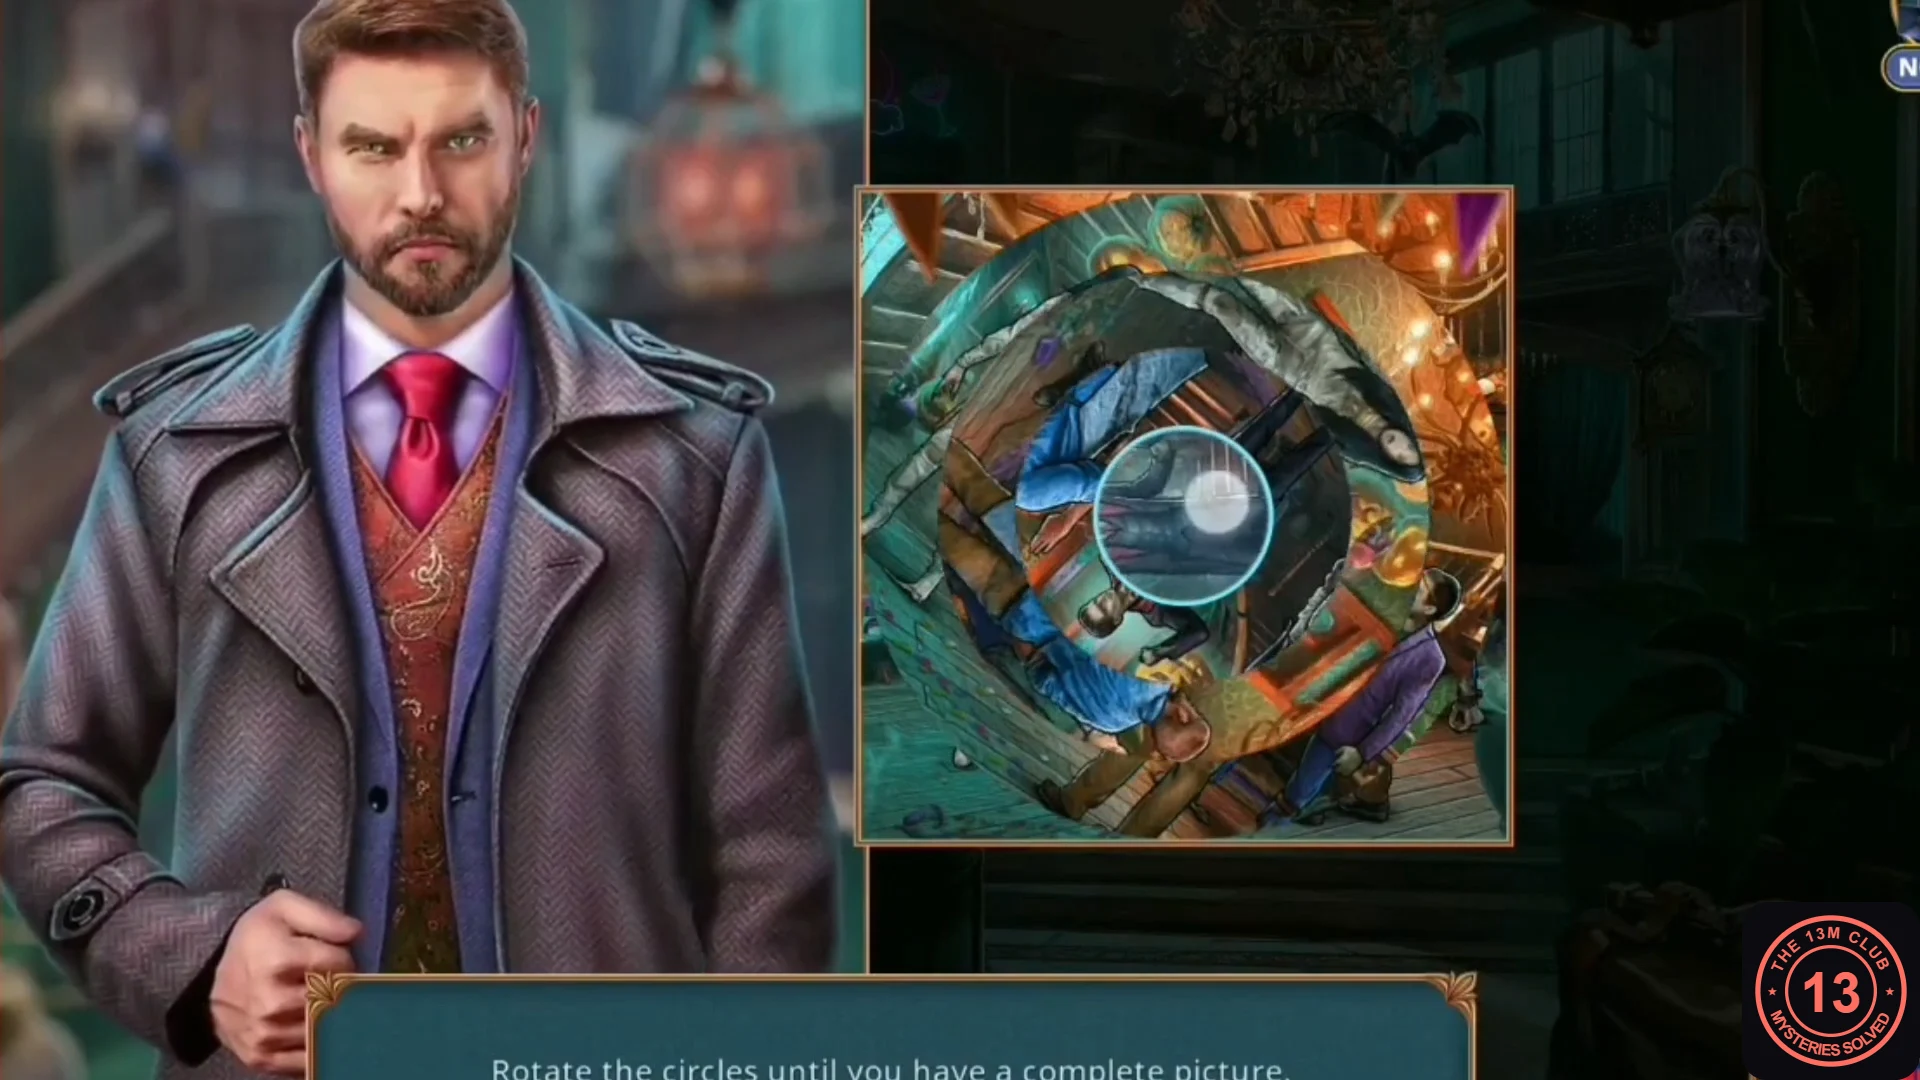
Abraham, the man in the trench coat, joins you. Three short picture puzzles play out during the conversation, followed by the first dialogue choice.
- Strip puzzle: "Swap the bottom pieces until they match the pieces at the top." Tap two vertical strips in the bottom row to swap them, and repeat until the bottom picture (a girl and a monster in a forest) matches the top one.
- Triangle puzzle: "Swap the triangles around until you have a complete picture." Swap the eight triangles until the werewolf-like monster and the lightning machine form one picture.
- Ring puzzle: "Rotate the circles until you have a complete picture." Turn each concentric ring until the picture of people in the lobby lines up.
- Choice 1: "I think someone attacked him." costs 35 coins and earns 1 decision point; "Maybe he's just busy." is free and earns none. The recording chose the free answer (Abraham replies "It's like you don't even care about him!"). Either answer continues the story.
- Abraham hands you Vlad's Key. The task Stop Igor completes and the next task is to find Vlad.
Vlad's room: droplet puzzle
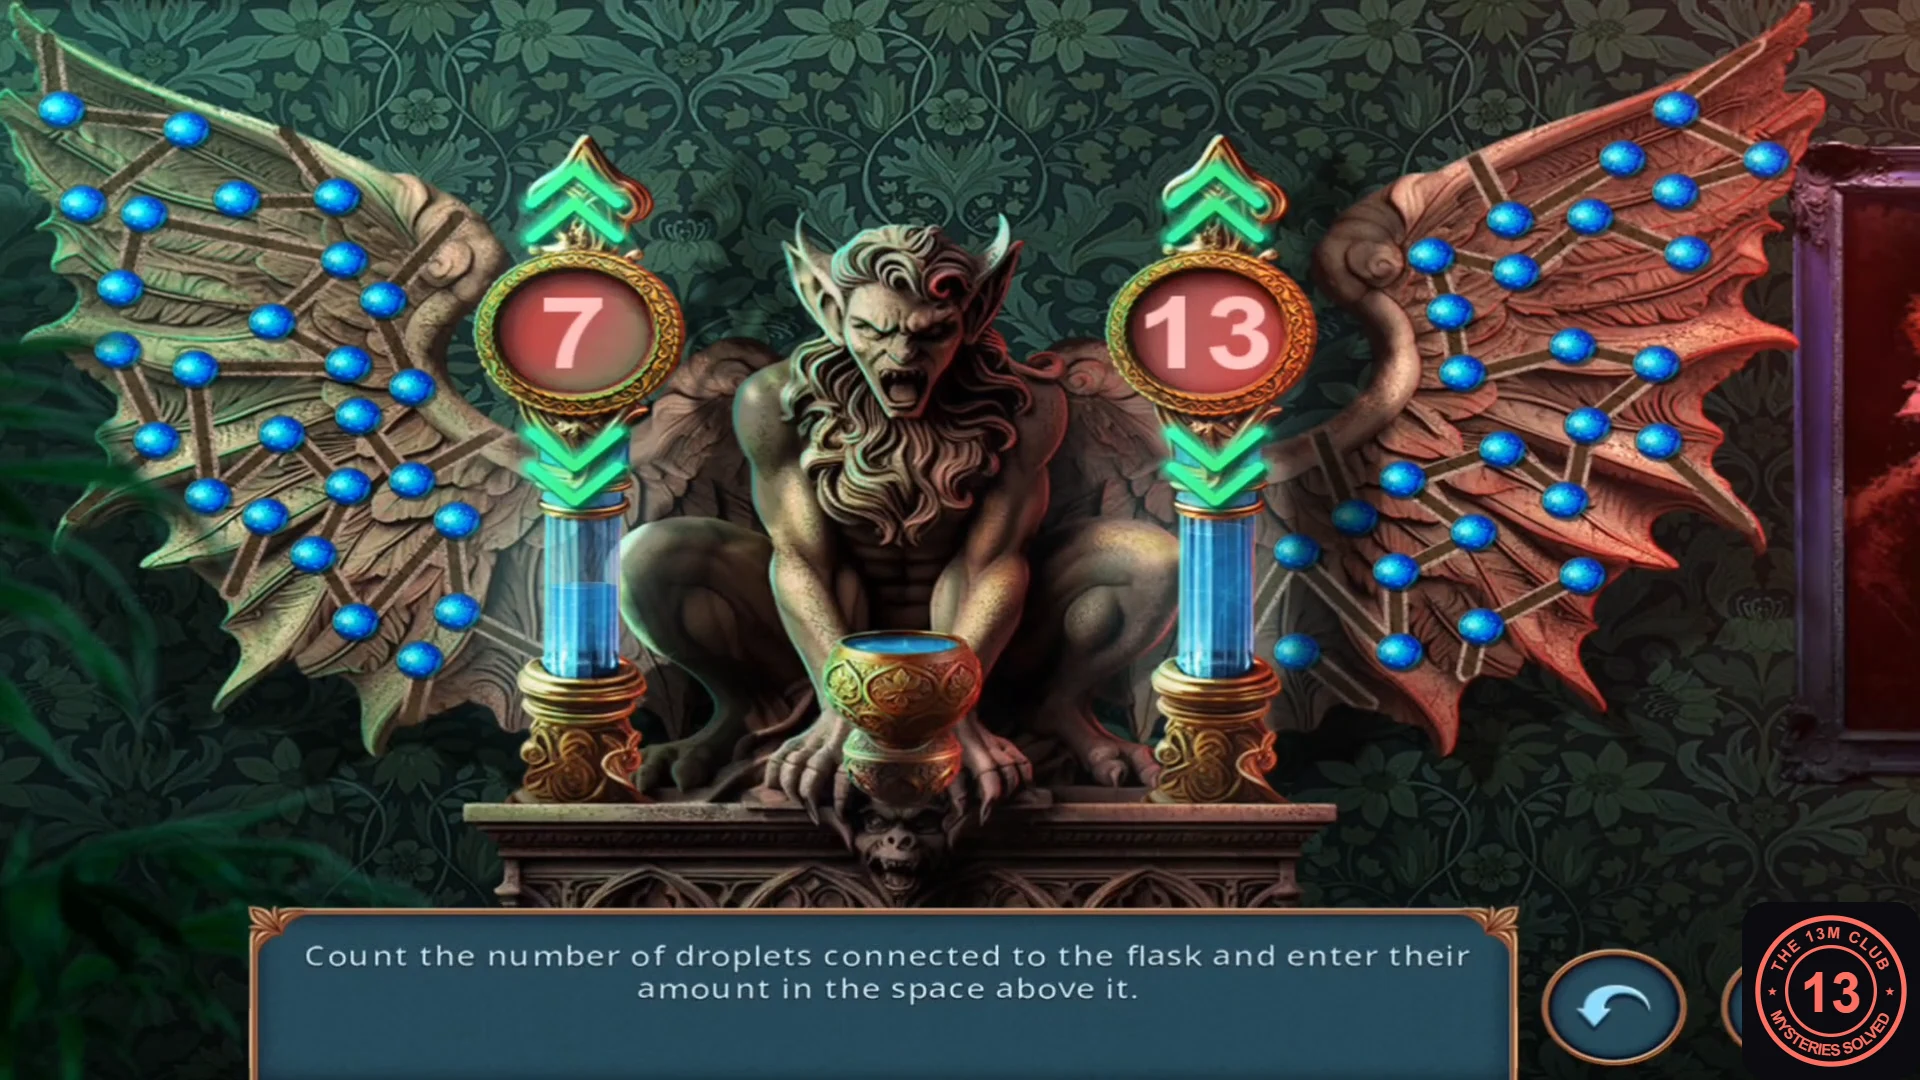
Vlad's Key opens his room. A gargoyle on the mantelpiece holds a counting puzzle.
- Use Vlad's Key on the door on the right side of the lobby (behind the round table) to enter Vlad's room.
- Zoom into the satchel on the chair at the lower left and take the silver flask. The satchel itself is locked with a gold padlock for now.
- Zoom into the gargoyle on the mantelpiece. Place the bowl in its hands and pour the silver flask into it to start the droplet puzzle. The flask stays in your inventory.
- "Count the number of droplets connected to the flask and enter their amount in the space above it." Count the blue droplets joined by lines on each wing and set the counters with the arrows above and below them: left 13, right 16. Both checked recordings showed the same droplet layout.CODE13 / 16
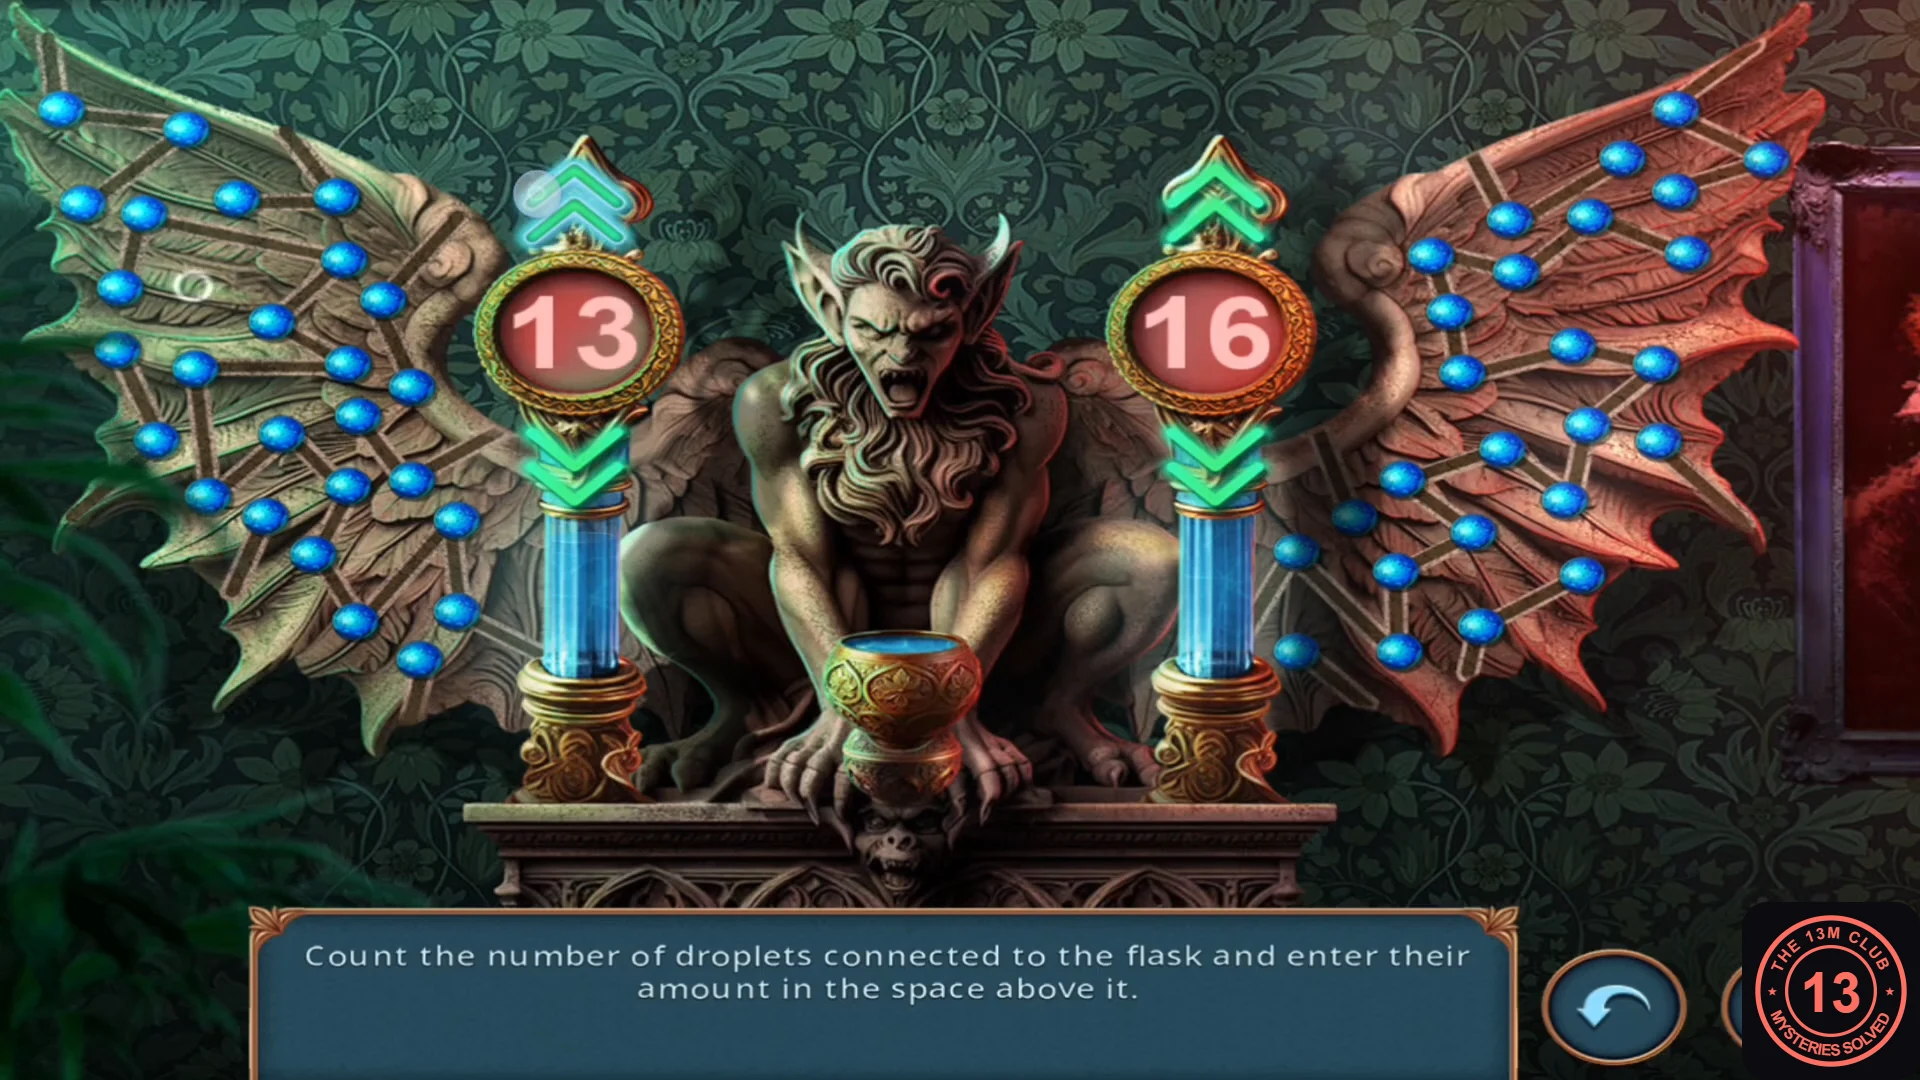
The accepted answer: 13 on the left wing, 16 on the right. - Take the long red needle the gargoyle releases.
The pumpkin emblem and the bar doors
The globe on Vlad's desk hides a narrow crack, and what you fish out of it opens the bar off the lobby.
- Zoom into the crack in the desk behind the globe and take the dark-blue skull bottle (1/2).
- Use the red needle on the crack to fish out the pumpkin emblem.
- Return to the lobby and place the pumpkin emblem in the lock of the double doors under the neon sign, on the back wall left of the stairs. The doors open into the bar.
Bar hidden-object scene: the stun gun
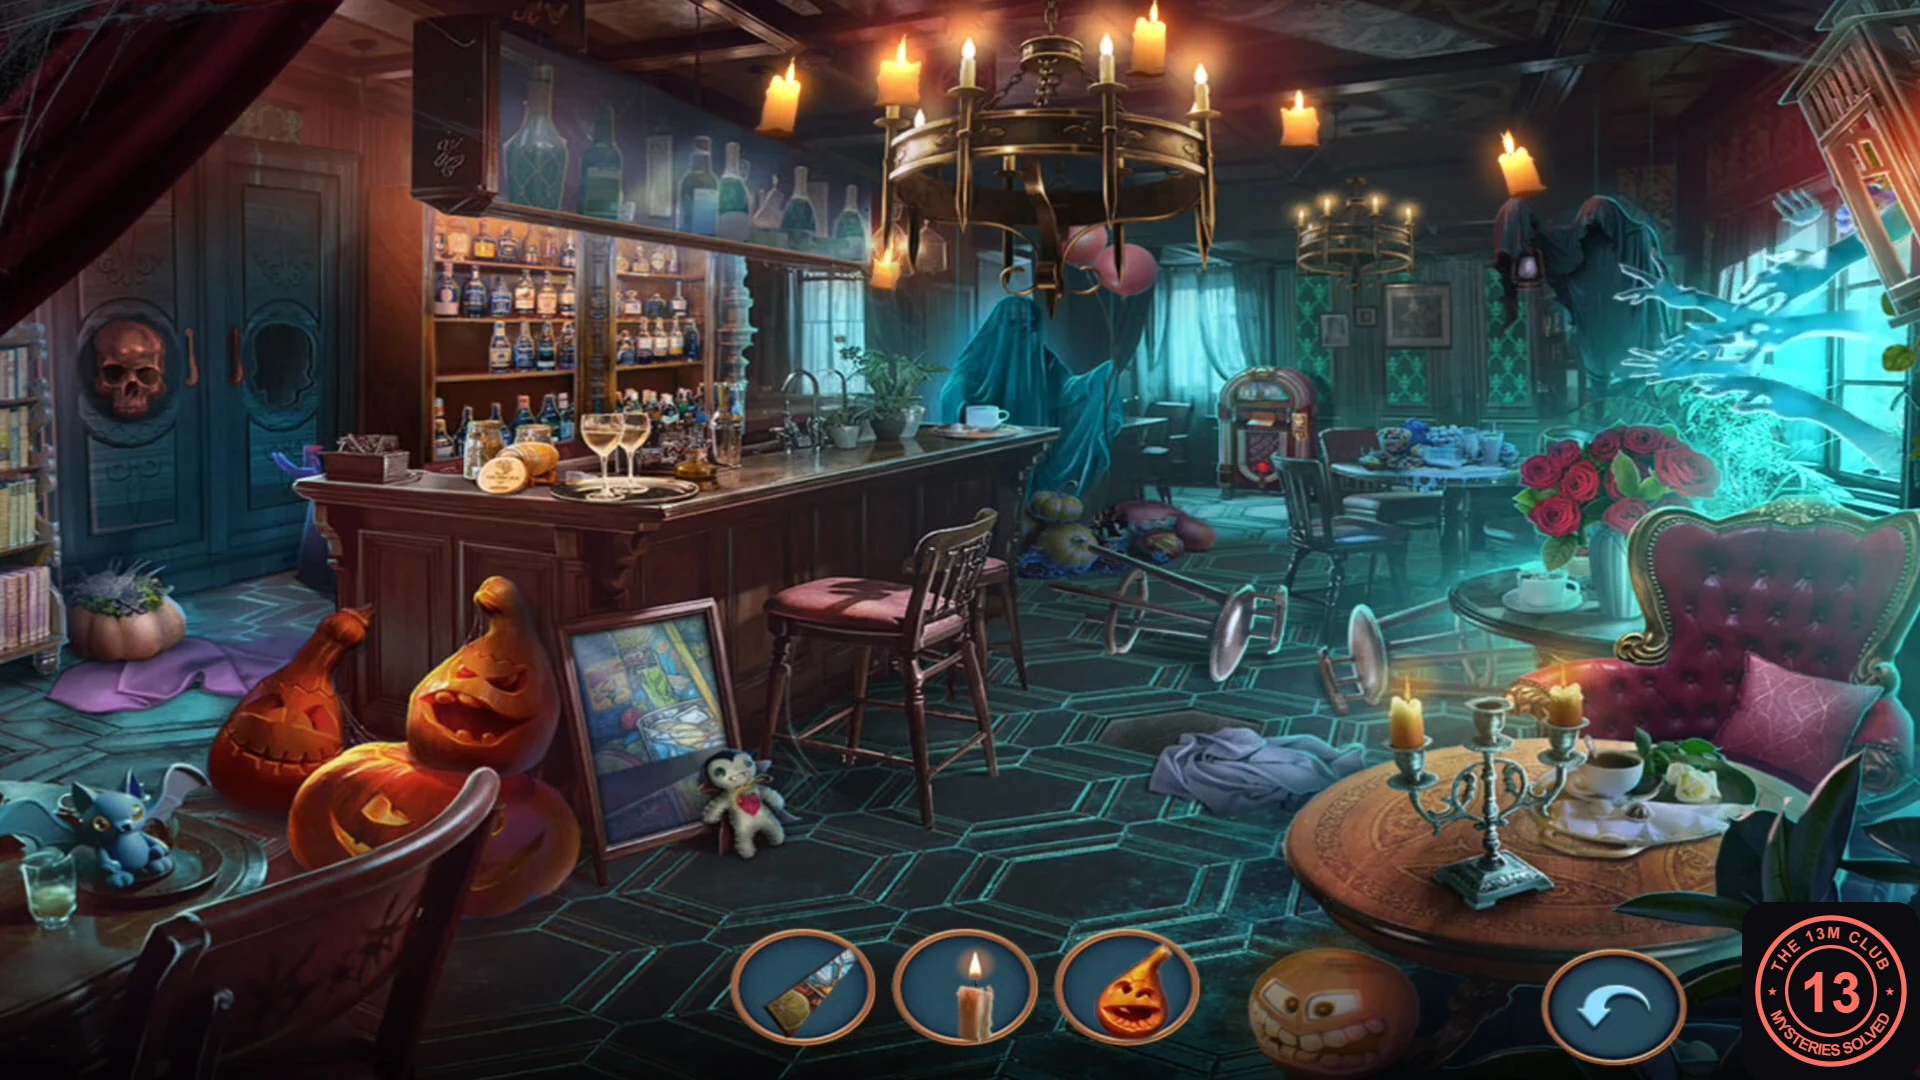
The bar is a put-back scene. The tray at the bottom shows a few objects at a time; tap the spot in the room where each one is missing, and it pops back into place. The tray refills until all are done.
- Put each object back where it belongs. In the recording they came up in this order: the candle goes in the empty holder of the candelabra on the round table (right foreground); the skull on the empty skull plaque of the right-hand cabinet door; the red rose in the vase on the right; the carved jack-o'-lantern face in the pumpkin pile at lower left; the red balloon under the chandelier; the glass on the bar counter; the dark bottle on the shelf behind the bar; the dark stick on the fallen bar stool in the centre (the stool stands back up); the duster at the lower-left corner of the leaning painting; the pink cushion on the right armchair; and the gold hoop on the chandelier.
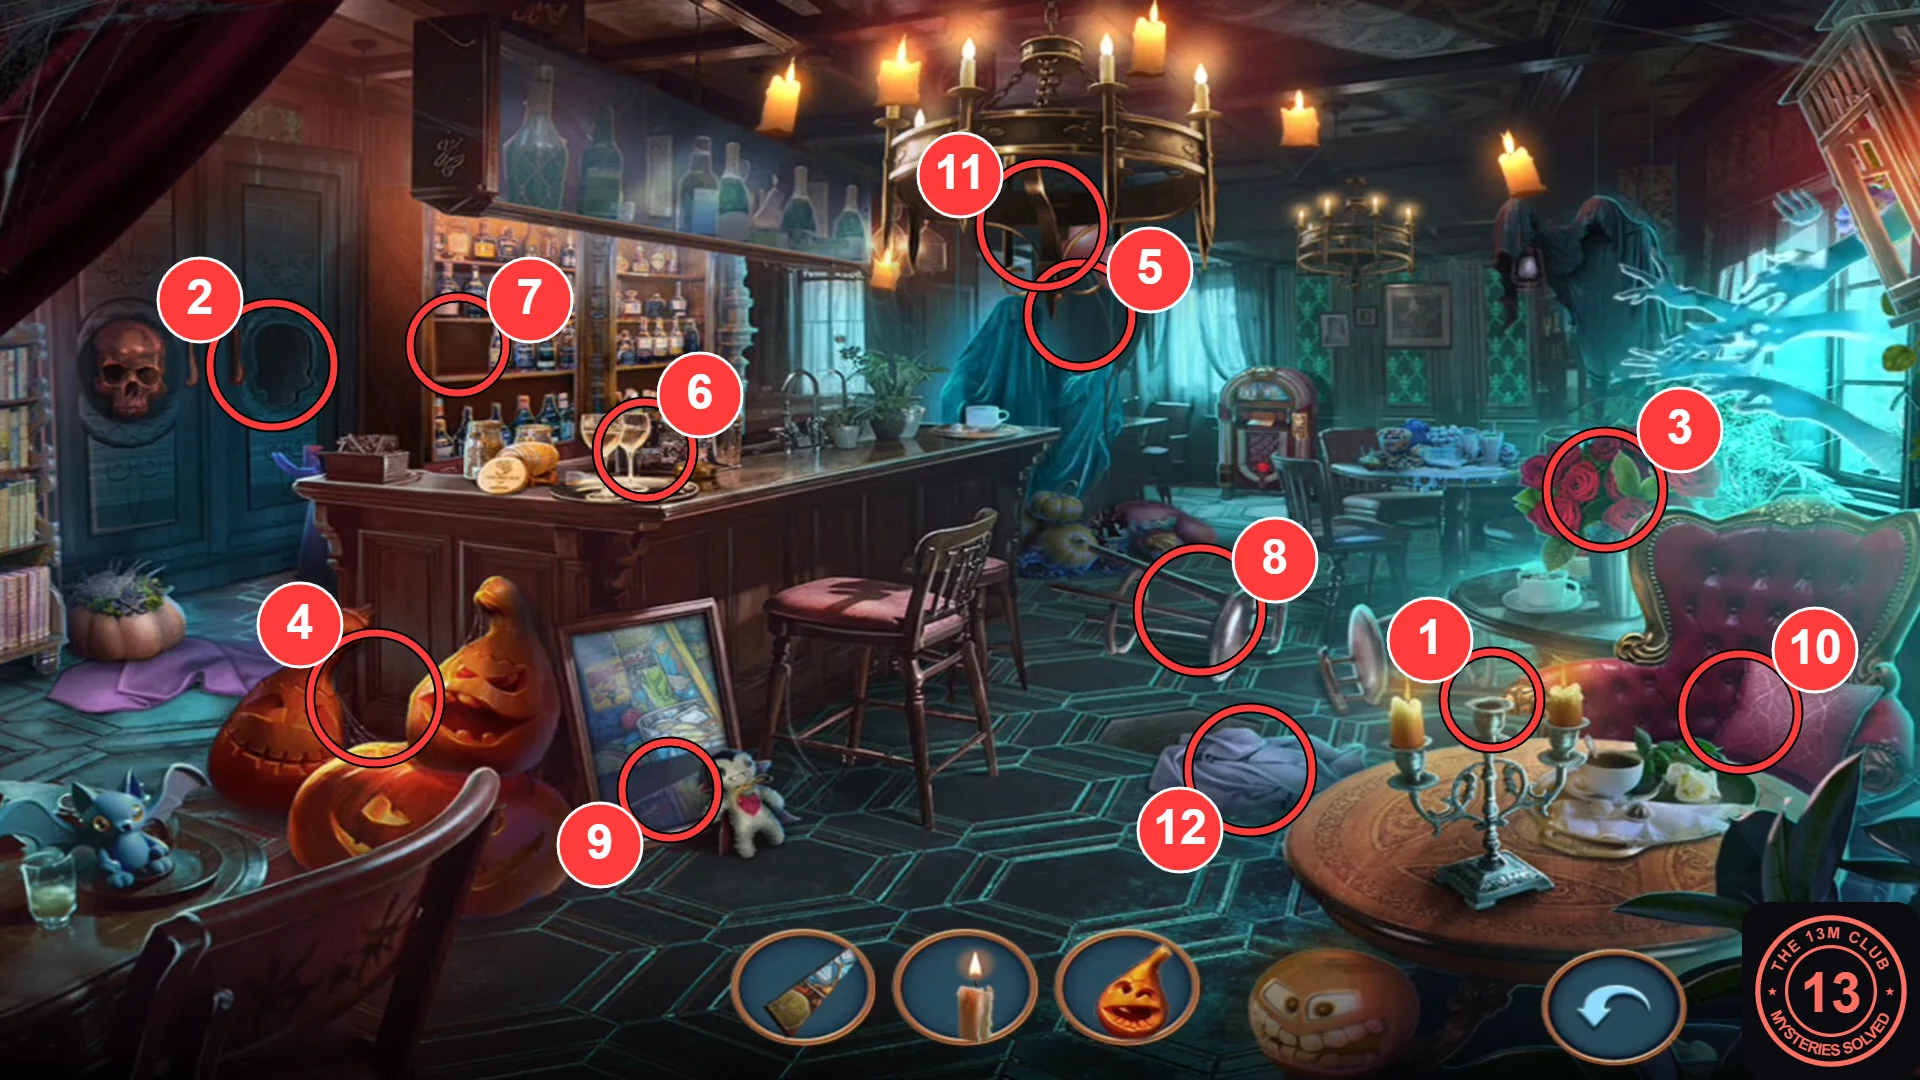
Where each object goes, in the order the recording found them: 1 to 11 match the list in step 1; 12 is the blue cloth from step 2. - The last outlined object needs an extra step: tapping near the stool says "Something is missing here". Tap the blue cloth on the floor in the centre to collect the stun gun.
Upstairs hallway: hexagon floor panel
The stun gun short-circuits the card reader at the top of the stairs. The hallway beyond has a skeleton in an armchair, a portrait on the left wall and a hexagon panel in the carpet.
- Use the stun gun on the card reader of the door at the top of the staircase to enter the upstairs hallway.
- Zoom into the table beside the skeleton and take the gold medallion piece (2/3).
- Zoom into the portrait and take the medallion piece at the bottom of its frame (3/3).
- Zoom into the hexagon panel in the carpet. Take the gold rod lying there, then place the completed medallion to start the puzzle.
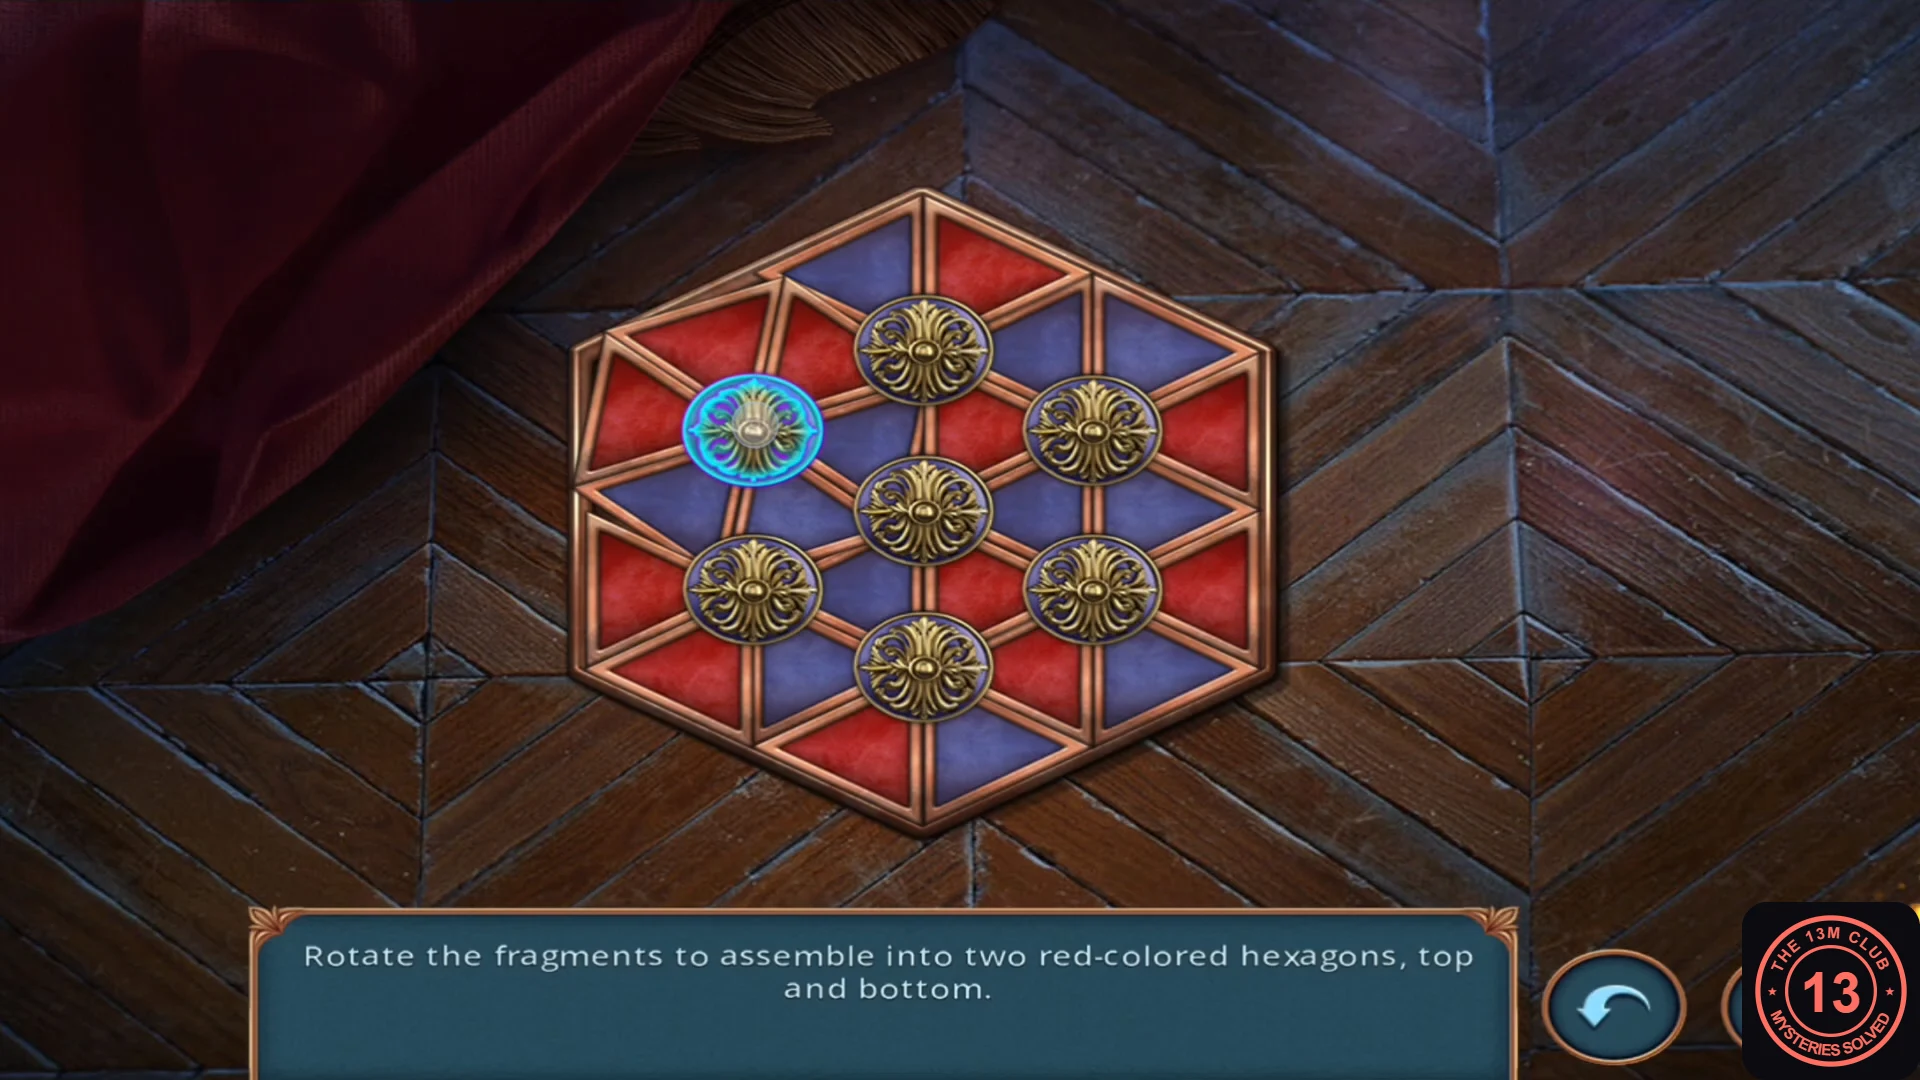
- "Rotate the fragments to assemble into two red-coloured hexagons, top and bottom." Each of the seven knobs turns the six triangles around it. Collect the red triangles round the top knob and round the bottom knob; use the centre and side knobs to ferry red pieces up or down without breaking a finished hexagon. The recording needed about 13 turns with no fixed sequence.
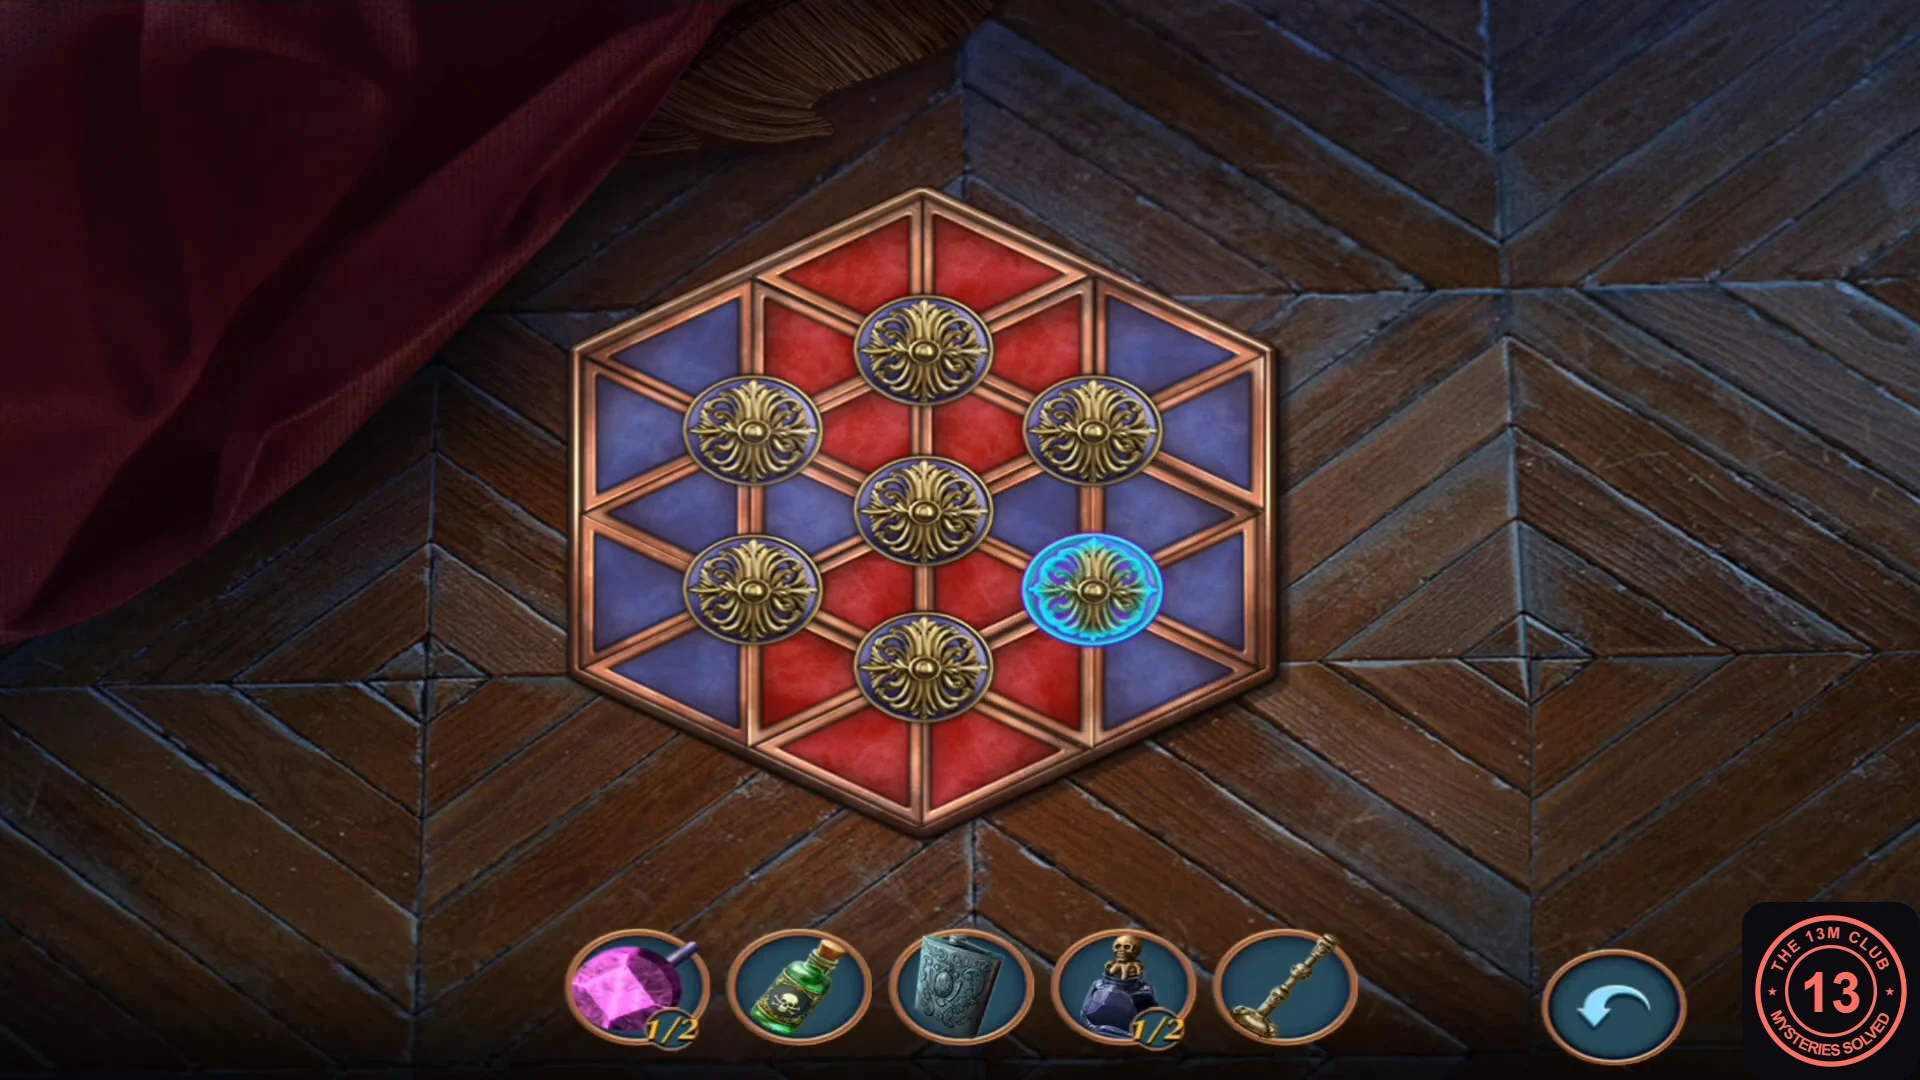
Solved: one red hexagon round the top knob and one round the bottom knob. - Take the pliers and the purple rag from the opened compartment.
Blue gem, carved panel and the chandelier
The carved wooden cabinet below the hallway portrait hides the second crystal, and the pliers bring down the lobby chandelier.
- Zoom into the carved wooden cabinet below the hallway portrait. Pour the silver flask on the red stain, then wipe it with the purple rag. A slot opens; take the blue gem (crystal 2/2).
- Place the gold rod in the slot on the left side of the same carved panel. The knob in the centre is still stuck for now.
- Go down to the lobby and zoom into the chandelier. Use the pliers to pull it down: a gargoyle head appears between the candles, but its mouth stays shut. Take the thin rod from the crystals below the head.
Skull mirror frame colours
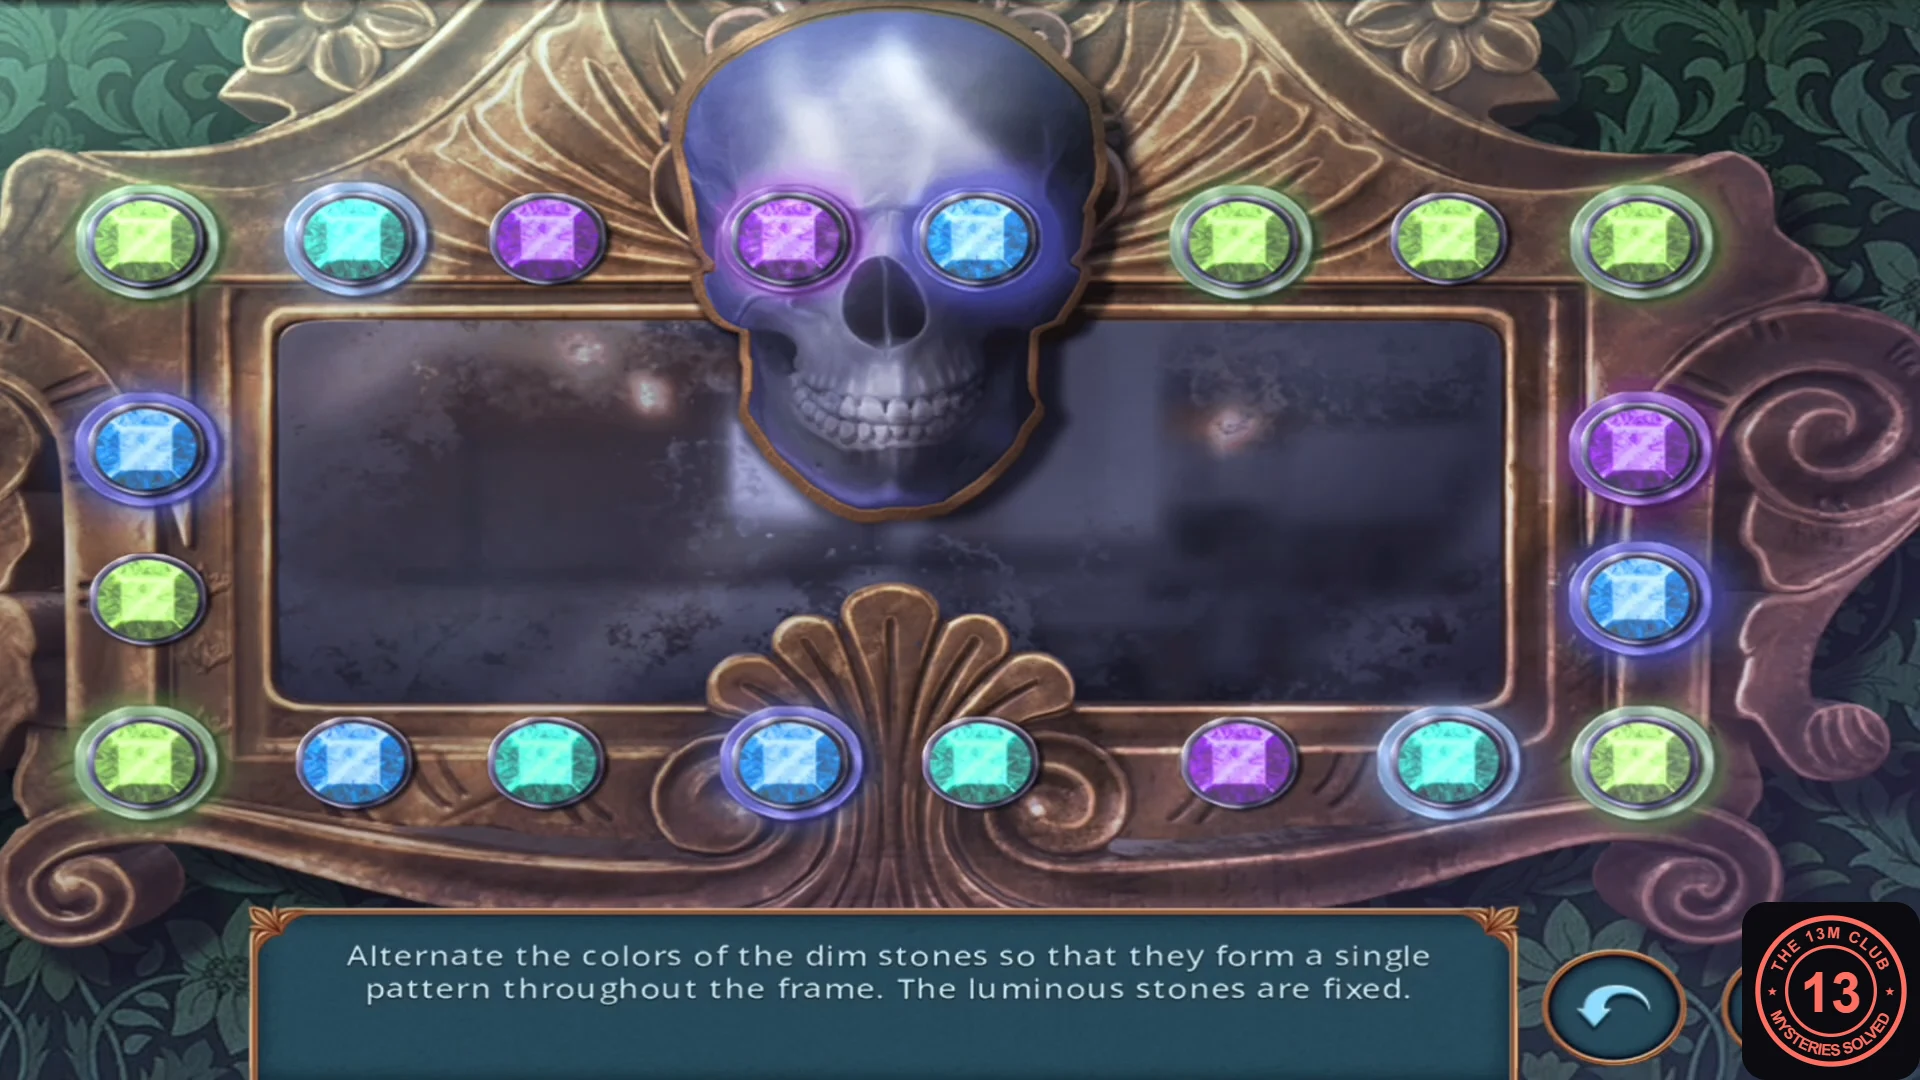
The skull-framed mirror on Vlad's desk takes the two crystals as its eyes.
- In Vlad's room, zoom into the skull mirror frame on the desk (left part of the room) and place the crystals in the skull's eye sockets.
- "Alternate the colors of the dim stones so that they form a single pattern throughout the frame. The luminous stones are fixed." Tap a dim stone to change its colour. Starting at the top-left corner and going clockwise, set the stones to repeat green, cyan, green, purple, blue all the way round the frame.CODEGreen, Cyan, Green, Purple, Blue (repeat clockwise)
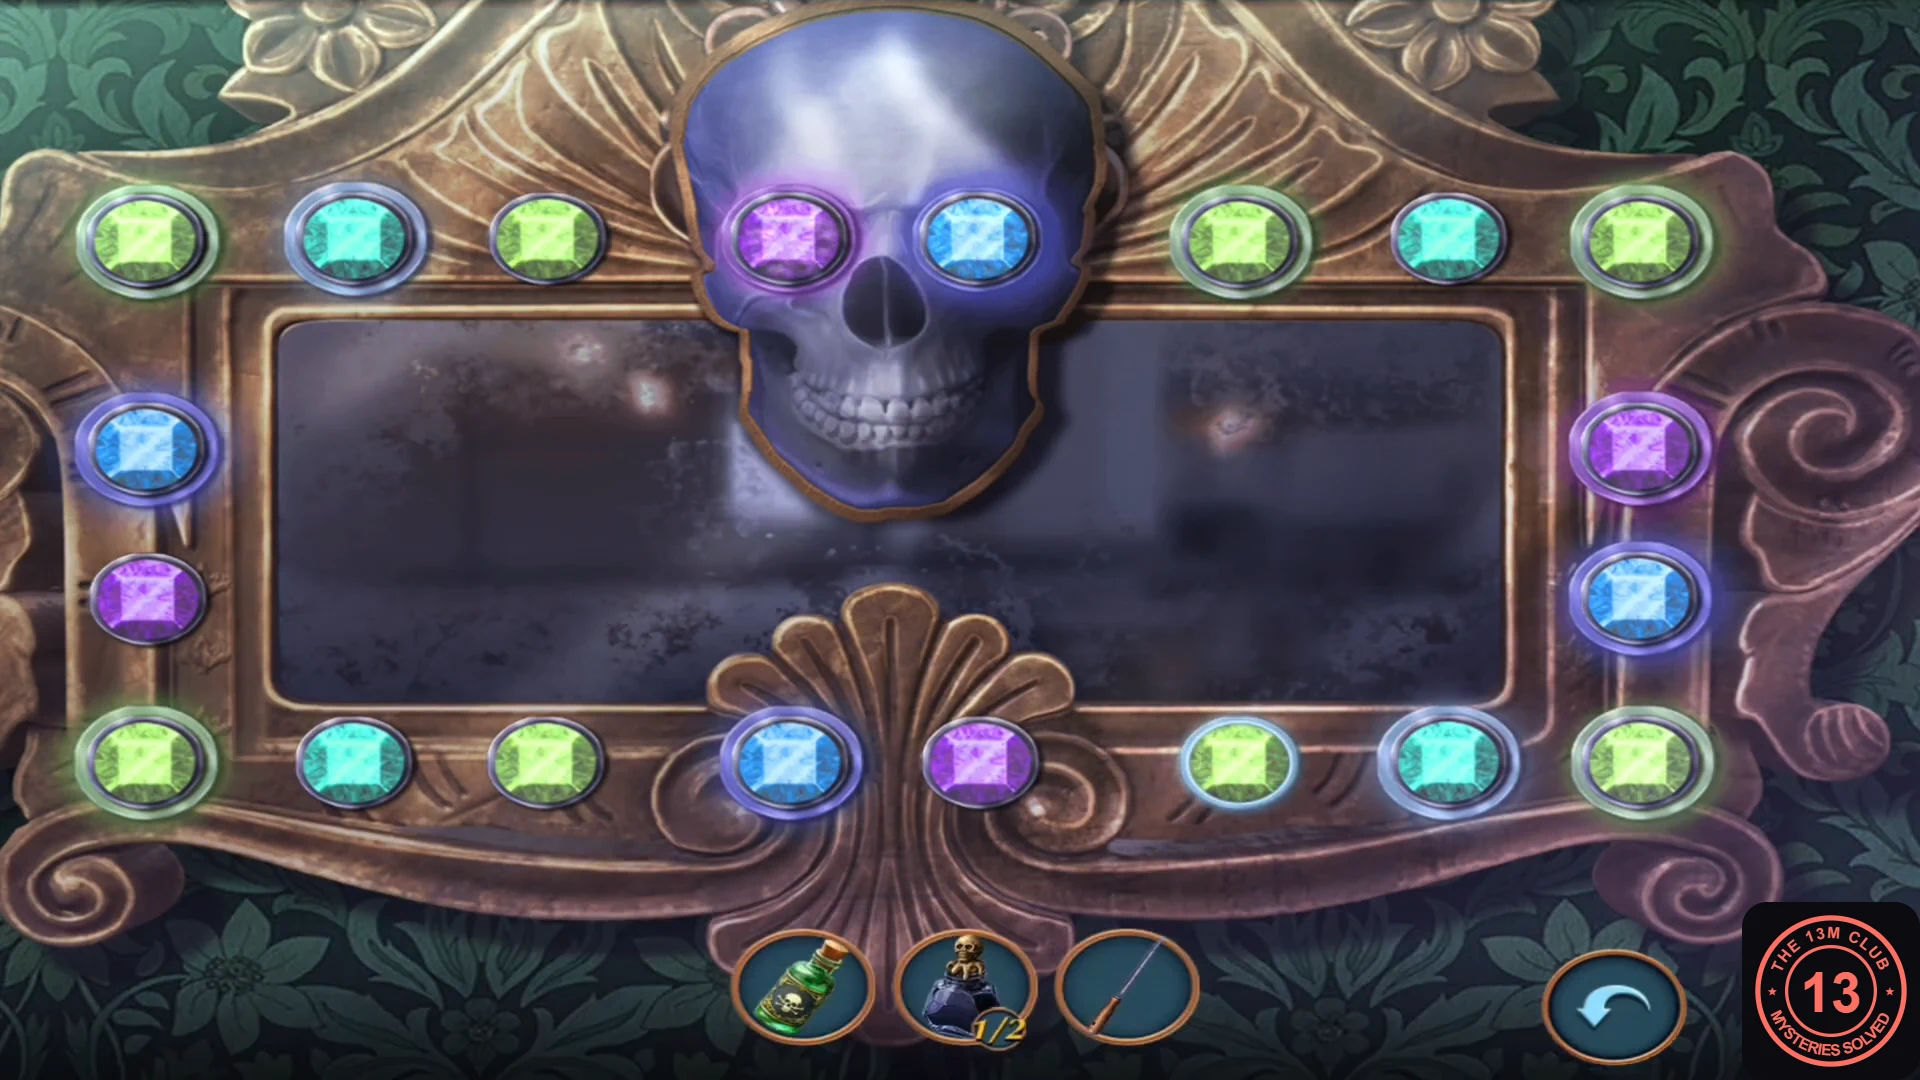
Solved: clockwise from the top-left corner the stones repeat green, cyan, green, purple, blue. - Take the skeleton arm from the drawer below the frame.
Skeleton, rubbing and the globe
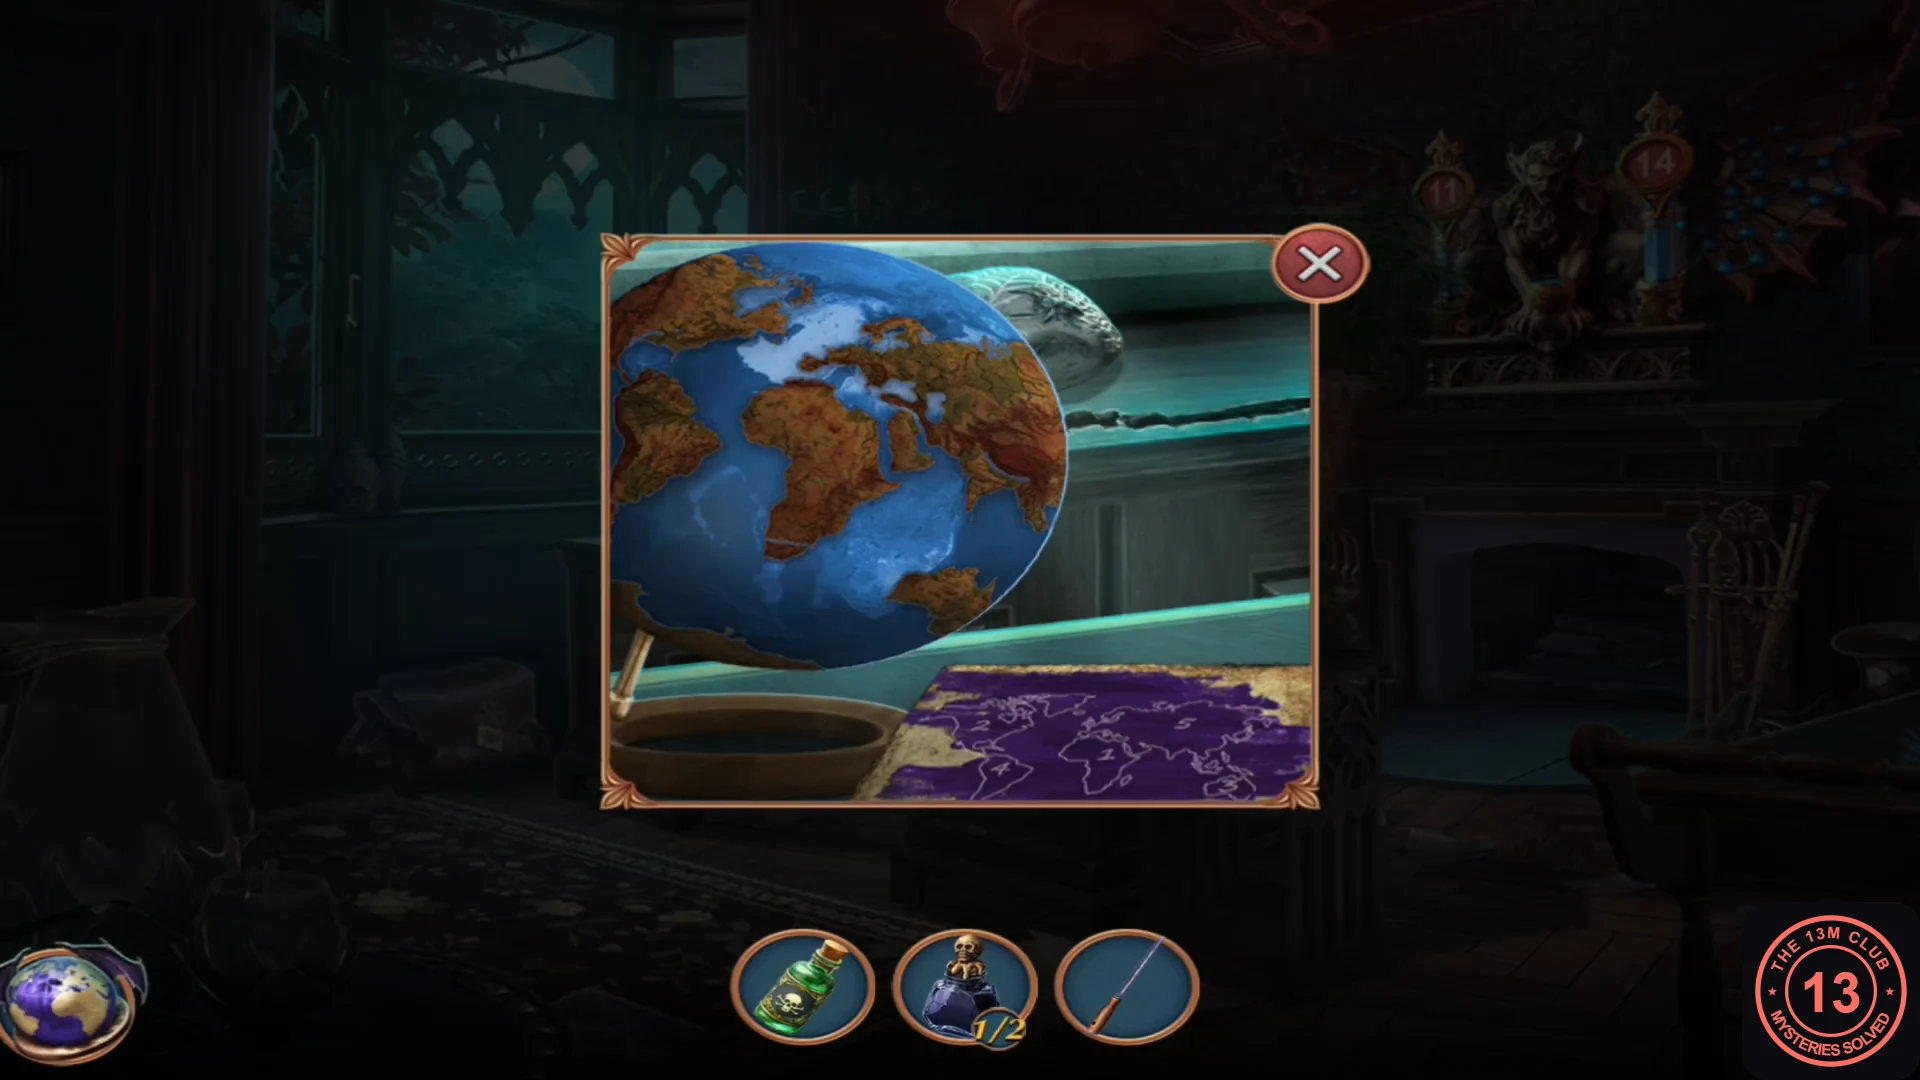
The skeleton in the hallway is missing an arm, and what it is holding helps you read the map beside Vlad's globe.
- In the hallway, attach the arm to the skeleton in the armchair. Take the dark charcoal stick it releases from its hand.
- In Vlad's room, zoom into the paper beside the globe ("I need something to write with.") and rub it with the charcoal. The rubbing numbers the continents: 1 Africa, 2 North America, 3 Australia, 4 South America, 5 Eurasia.
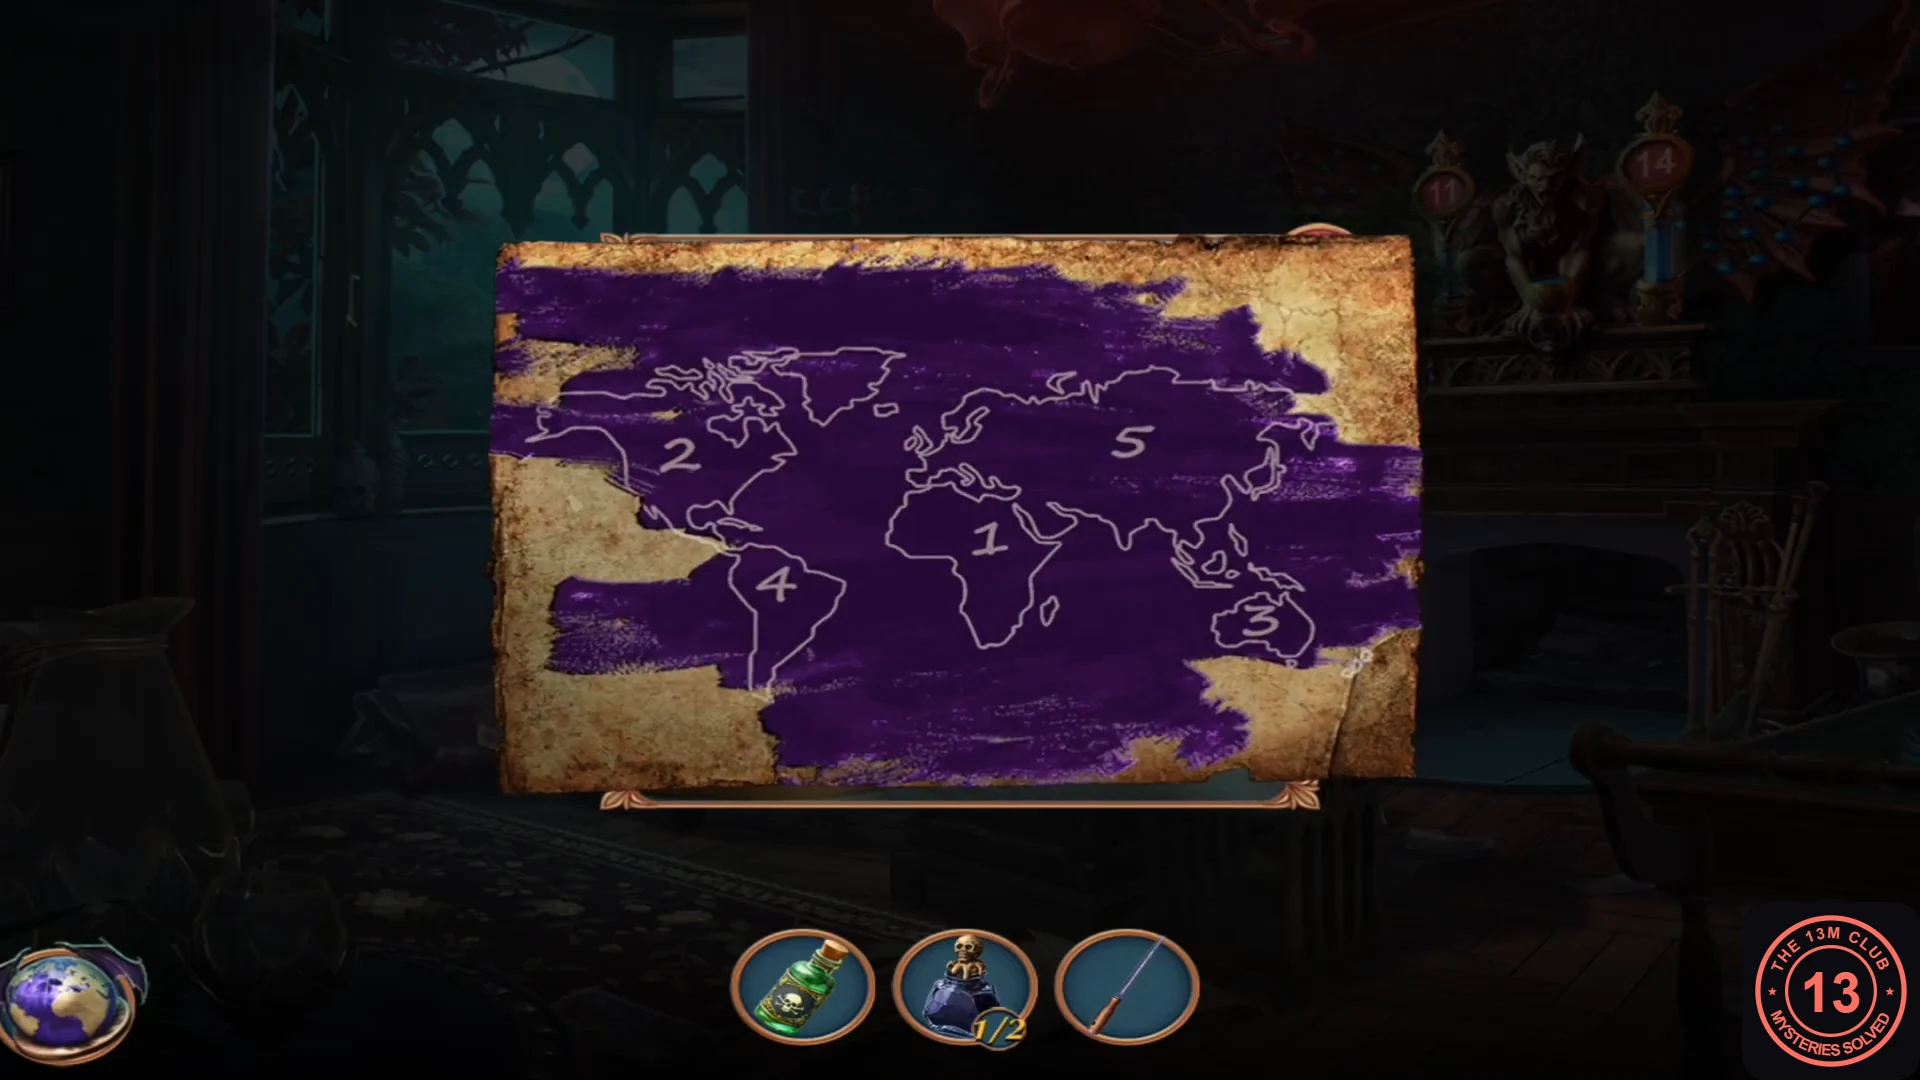
The rubbing: 1 Africa, 2 North America, 3 Australia, 4 South America, 5 Eurasia. - Tap the globe's continents in that order: Africa, North America, Australia, South America, Eurasia. The globe opens; take the tweezers.CODEAfrica, North America, Australia, South America, Eurasia
Portrait pins and the portal maze
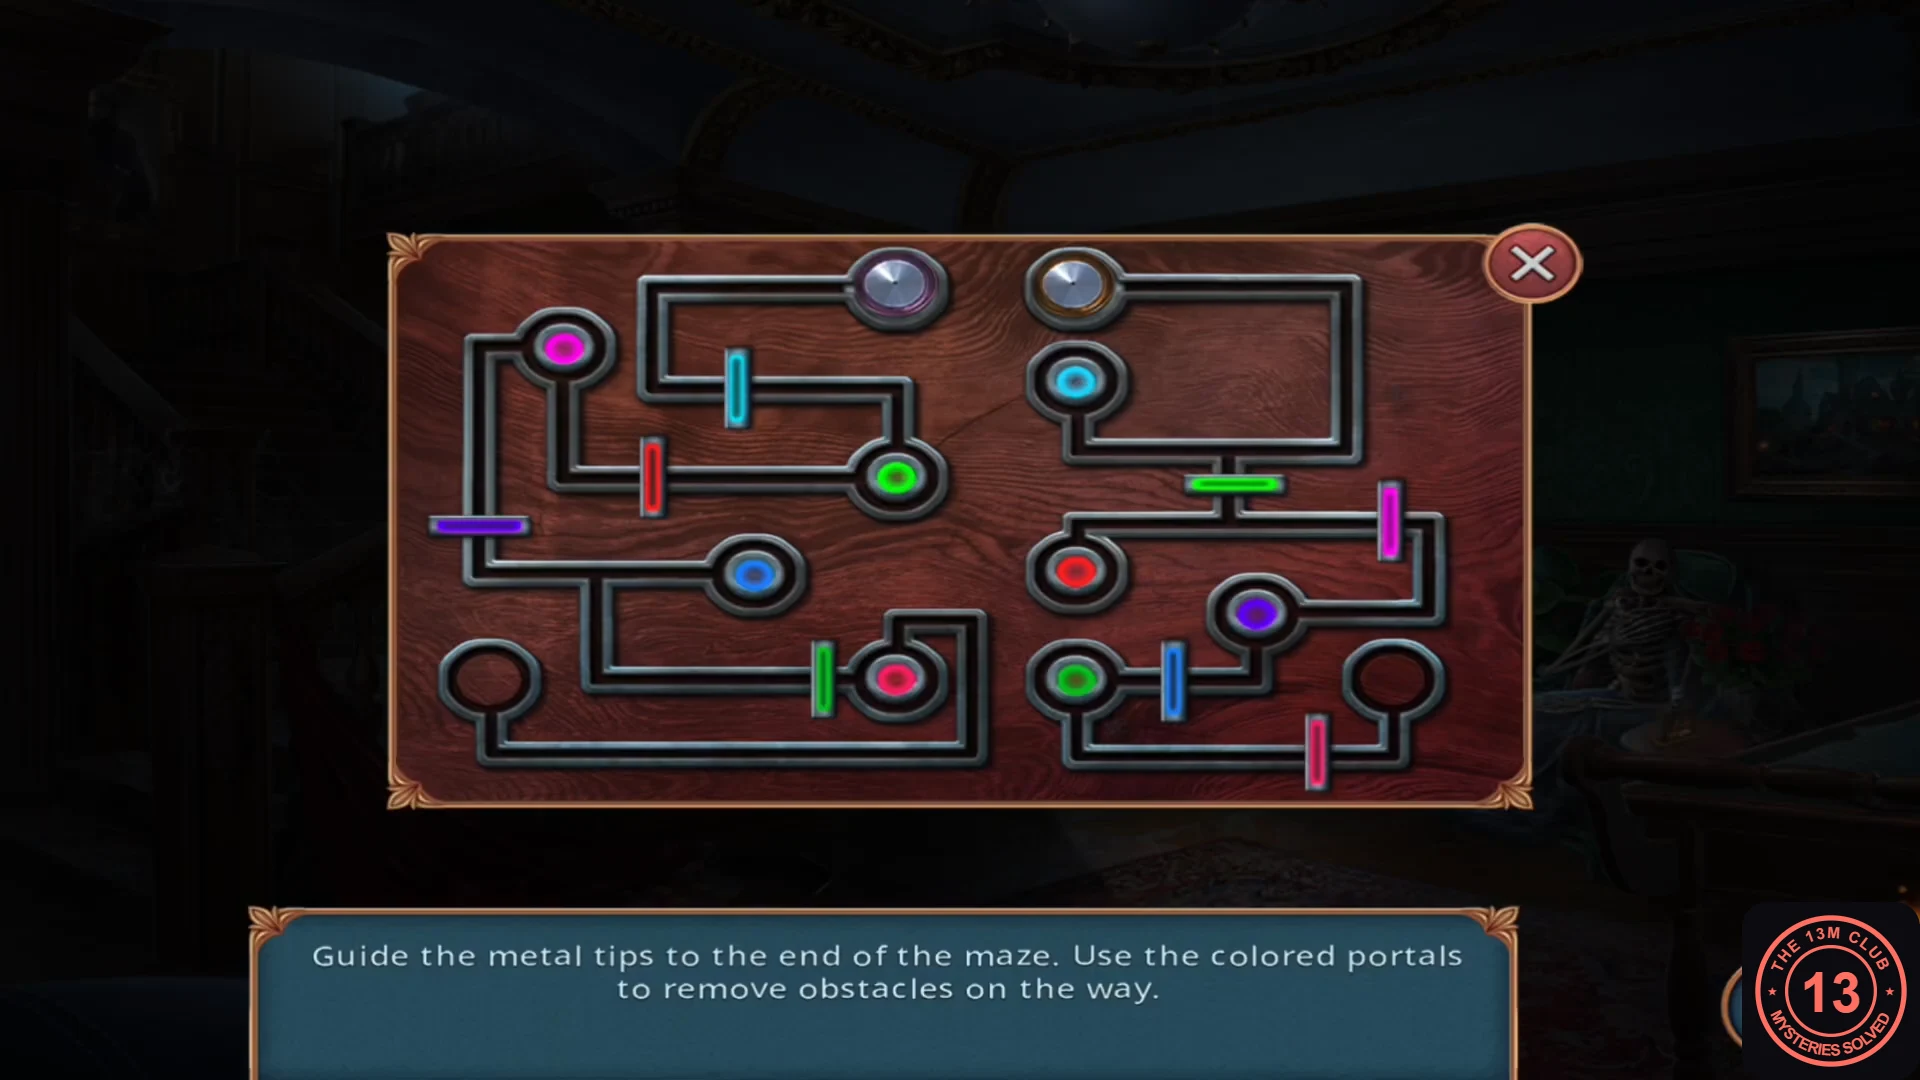
Behind the hallway portrait is a wall safe you cannot open yet, plus a stethoscope that opens the two-maze puzzle on the door to the right of the skeleton.
- Zoom into the hallway portrait and use the tweezers to pull the four pins at its corners. The portrait lowers and reveals a wall safe with four tumblers. Take the stethoscope lying below the safe ("Without a code, I'm not gonna have much luck with this."). Leave the safe for later.
- Zoom into the door to the right of the skeleton and use the stethoscope on the small lock dial in its upper panel. The maze puzzle opens: "Guide the metal tips to the end of the maze. Use the colored portals to remove obstacles on the way." There are two mazes side by side. A tip resting in a coloured portal removes the bar of the same colour in the other maze for as long as it stays there.
- Alternate between the mazes: right tip to the cyan portal at the top; left tip to the green portal (centre right); right tip to the red portal (middle left); left tip to the magenta portal (top left); right tip to the purple portal (middle right, along the right edge); left tip to the blue portal (middle, down the left side); right tip to the green portal (bottom left of the right maze); left tip to the crimson portal (bottom); right tip to its exit at the bottom right; left tip to its exit at the bottom left.CODER cyan, L green, R red, L magenta, R purple, L blue, R green, L crimson, R exit, L exit
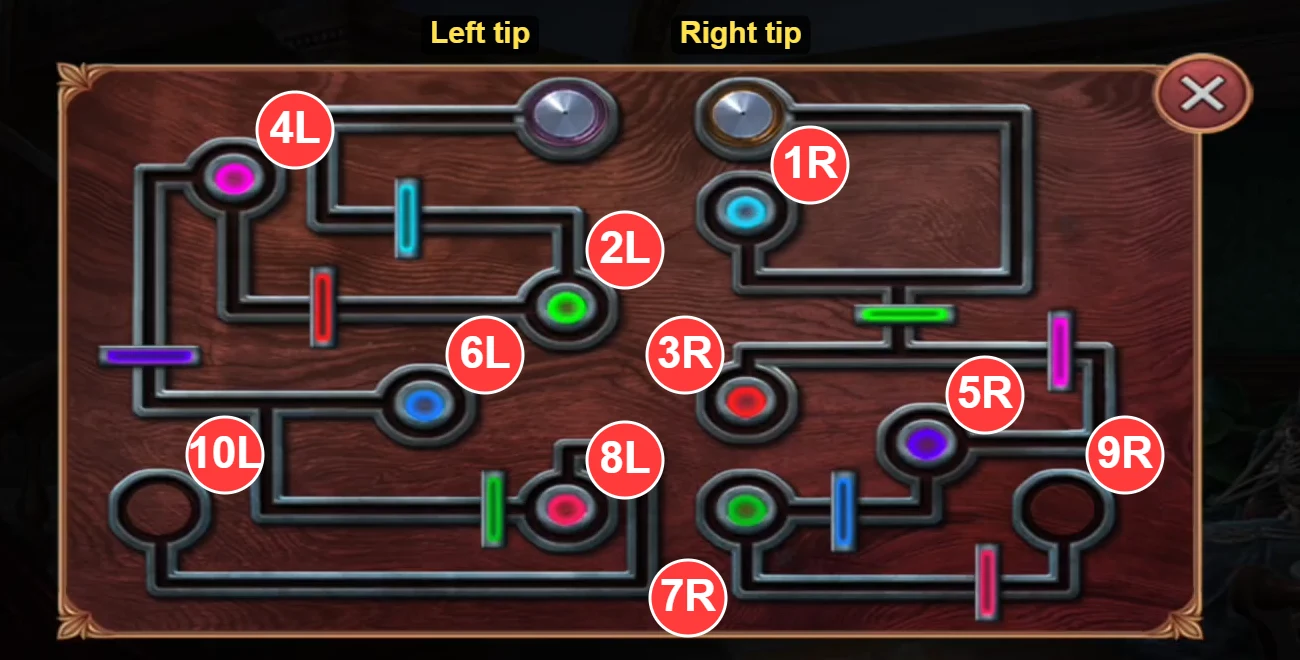
Move order from step 3: each badge marks where that move ends (L = left tip, R = right tip). - The door opens into Demetrius's study.