Outside the Laboratory
New task: sneak into the lab.
- Open the drain grate in the left foreground. Use the Detective Club badge as a screwdriver on the two screws and lift the grate. Take the wooden handle lying on top of the spider web. Something else is stuck in the web; you will need fire for it later.
- Open the equestrian statue and take the wicker basket hanging from the horseman. His fist is empty.
- Open the fire hydrant with the fox. A bare blade lies in the leaves ("And how do I get it out if there's nothing to hold on to?"). Place the rolled paper from Mr. Banks' safe on the blade, then attach the wooden handle, and take the finished sickle. The fox is sitting on the sand Thomas will need later.
- Open the spiked fence. The spikes are too sharp ("Oh no, those spikes are too sharp!"). Place the coat over them to start the climbing puzzle. The coat from the disguise is back in your inventory after the train ride; its icon shows it on a hanger.
Climb Over the Fence
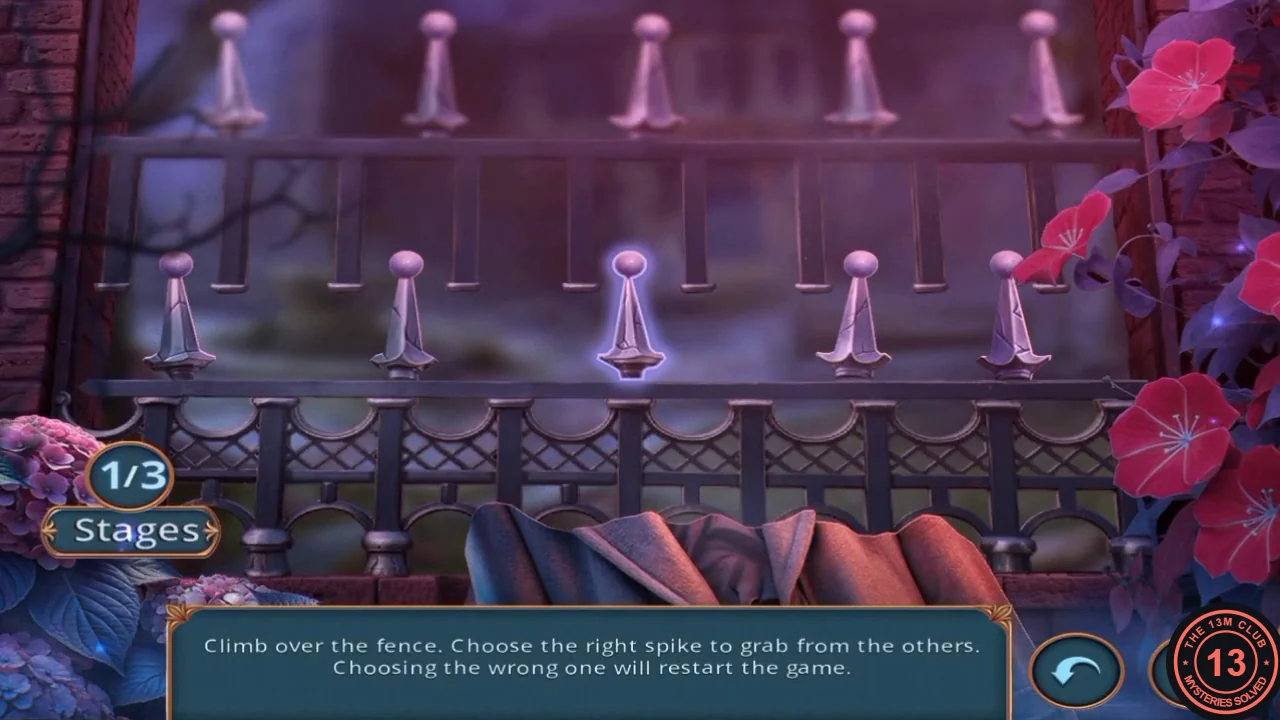
"Choose the right spike to grab from the others. Choosing the wrong one will restart the game." There are three stages.
- Click these spikes in order: stage 1, the middle spike of the lower row; stage 2, the second spike from the left in the middle row; stage 3, the second spike from the left in the top row. The chosen spike lights up as Thomas grabs it. A wrong choice restarts the puzzle from stage 1. The same spikes were correct in two separate playthroughs.
The Gentleman's Offer: Explore the Lab
A gentleman in a white coat offers to let Thomas into the lab. This is the biggest scored decision (6 Decision Points).
- Choose "Great! Thanks, mister!" (costs 1 key, +6 Decision Points) to explore the lab, or "No, thanks, I've got it covered." (free, 0 points). This guide follows the lab route; the scenes of the skip-the-lab route are not covered.
The Lab: Recipe and Ram Emblem
New task: explore. Thomas suspects there are secret records of experiments here.
- Open the fireplace and take the half-burned recipe book ("Recipe for creating a restoration fluid").
- Open the glass display case on the floor in front of the workbench and take the corkscrew.
- Open the workbench and place the recipe book on it. Use the corkscrew to pull the lid off the small wooden crate and take the red-handled spatula from inside.
- Open the candelabra beside the closet and scrape off the wax with the spatula. Take the Ram Emblem. The mechanism runs into the closet but cannot be operated yet ("It looks like the mechanism goes into the closet. But I can't operate it.").
- In the inner courtyard, open the laundry and put the Ram Emblem in the purse lock. Take the purple crystals (chemical reagent) and the valve wheel.
- Back at the workbench, put the purple crystals on the red dish to start the restoration fluid puzzle.
Make the Restoration Fluid
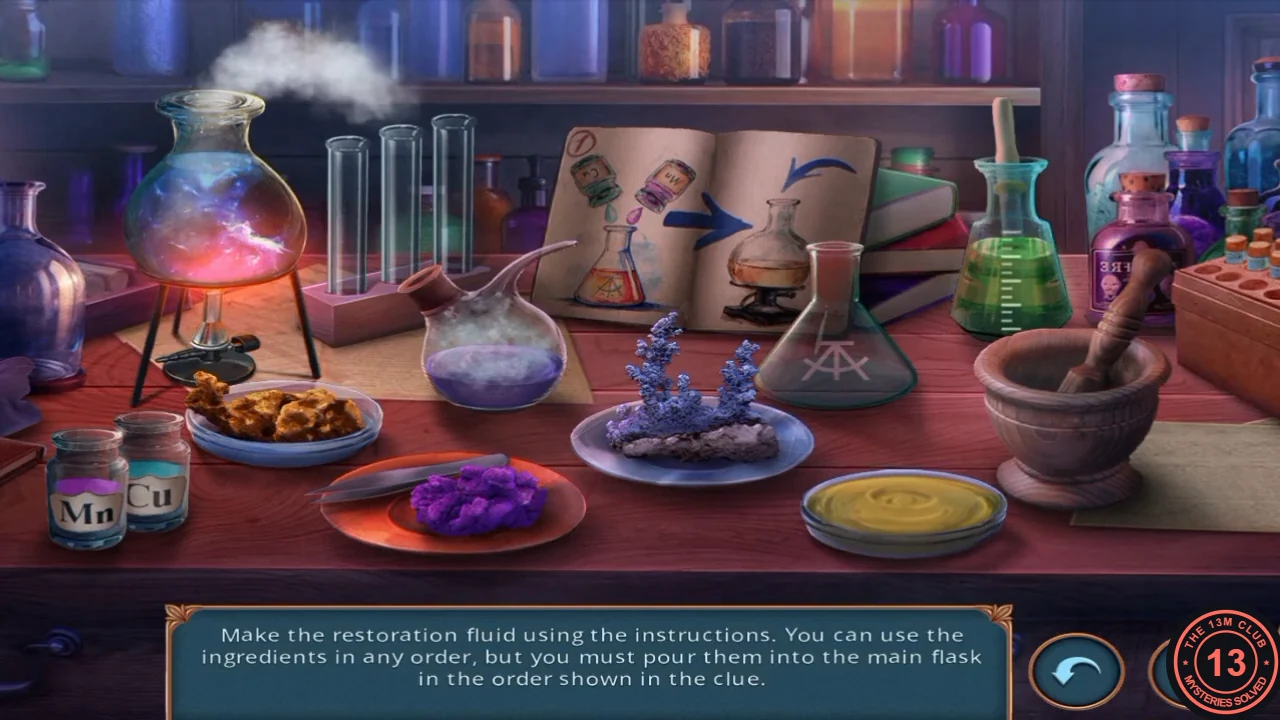
"Make the restoration fluid using the instructions. You can use the ingredients in any order, but you must pour them into the main flask in the order shown in the clue." Tap the book to read the five recipe pages.
- Prepare the five ingredients: pour the Cu and Mn jars into the triangular flask; grind the amber grains in the mortar; move the purple crystal with the tweezers into the yellow bowl (it turns red); fill the empty test tubes from the green flask; pour the pink retort over the purple coral crystals.
- Pour into the main flask in recipe order: triangular flask, mortar, red bowl, test tubes, then the coral pulp. Take the restoration fluid.
- Place the restoration fluid at the glass pane. Thomas wants to find out what was on the burned paper.
Closet, Vines and the Basket
The valve wheel operates the closet mechanism, and the sickle cuts the vines over the cellar hatch.
- In the lab, attach the valve wheel to the closet mechanism by the candelabra and turn it. Take the garden trowel from the opened closet.
- In the courtyard, open the cellar hatch and cut the red vines with the sickle. Take the net frame and the red vines. The hatch latch stays closed for now.
- Open the wicker basket in your inventory and weave in the red vines to repair it.
- Open the tree in the greenhouse and place the basket to start the apple puzzle.
Collect the Apples
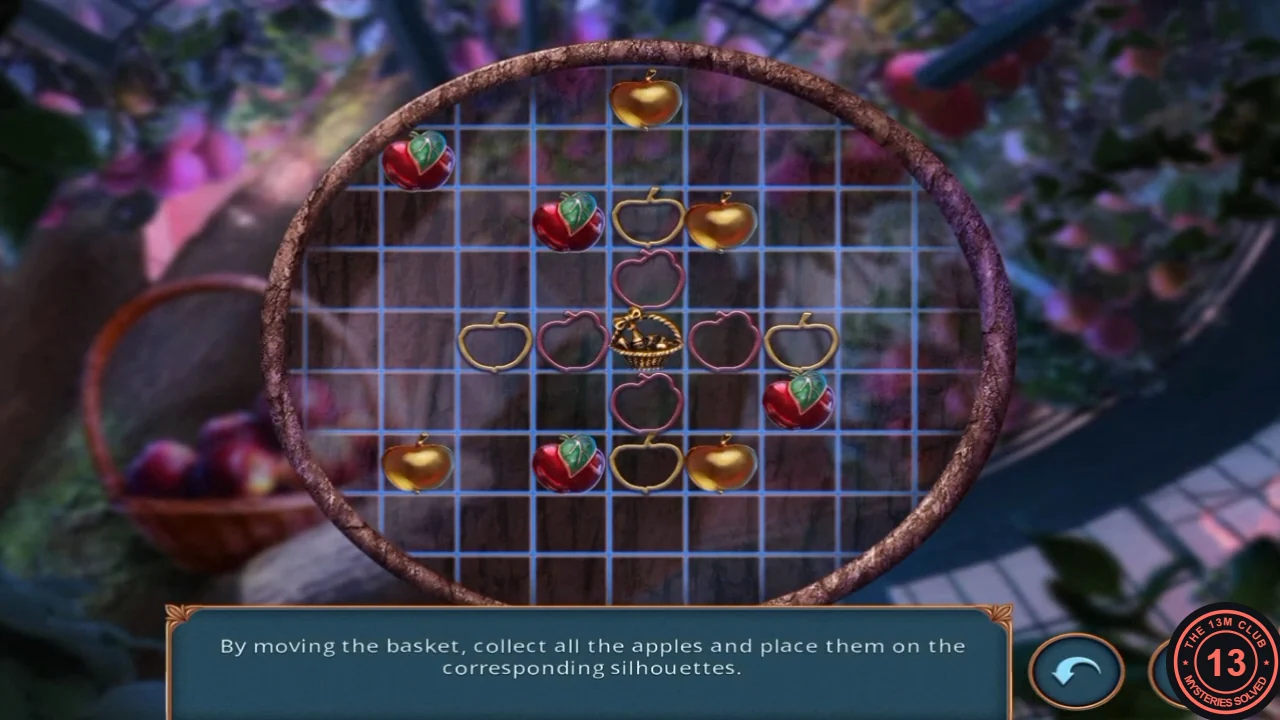
"By moving the basket, collect all the apples and place them on the corresponding silhouettes."
- Tap a neighbouring cell to move the basket one step. Every apple stuck to the basket moves with it as one shape. A loose apple sticks as soon as it sits directly above, below, left or right of the basket or of an apple already stuck to it. The silhouettes form a plus sign: the basket in the centre, a red apple on each of its four sides and a gold apple at the end of each arm. So first bring the basket next to red apples until there is one red apple on every side, then touch the outer side of each red apple to a gold apple. Avoid touching a gold apple with the basket itself. When the plus sign is complete, move it onto the silhouettes so every apple covers the outline of its colour, then take the basket of apples.
The Fox, the Sand and the Burned Note
The apples lure the fox away from the sand by the hydrant.
- Back on the street, give the basket of apples to the fox at the hydrant. When the fox has gone, take the hand rake and the dark wooden rod from the sand.
- Use the garden trowel on the sand by the hydrant to scoop some up.
- In the lab, put out the fireplace with the sand and take the sooty burned note.
- Place the burned note on the glass pane to start the soot puzzle.
Clean the Soot From the Note
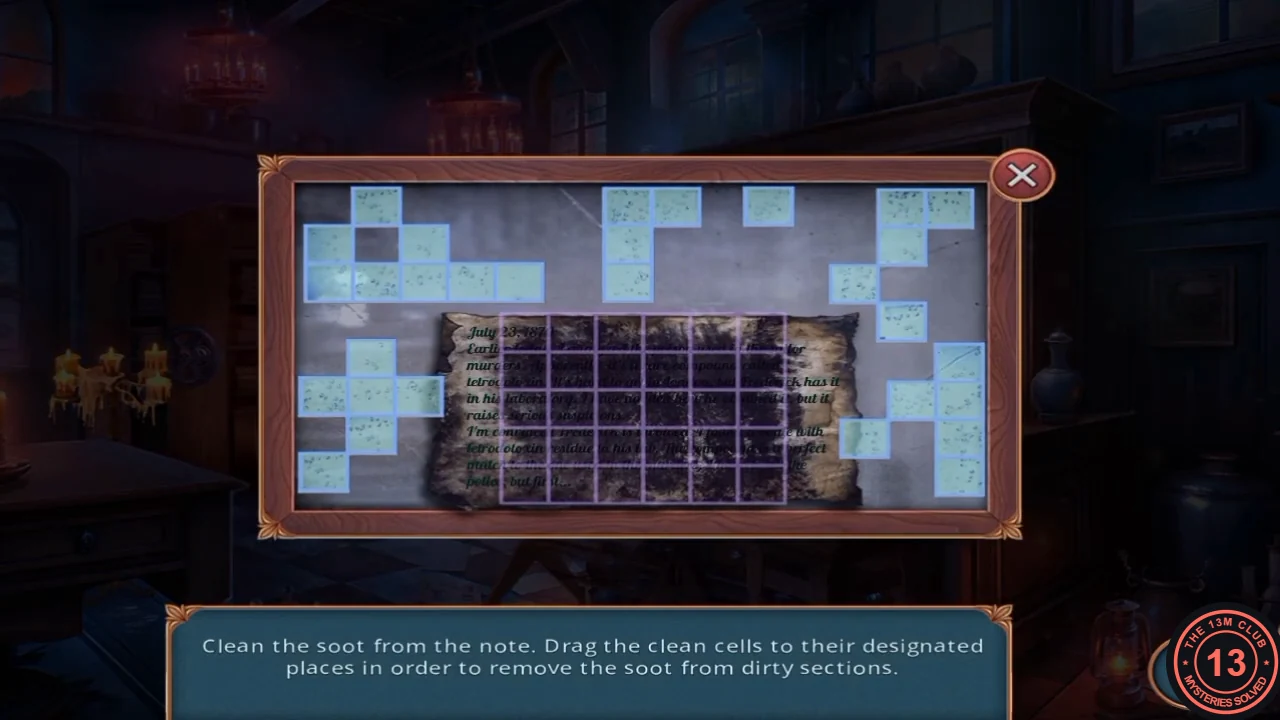
"Clean the soot from the note. Drag the clean cells to their designated places in order to remove the soot from dirty sections."
- Drag each clean cell onto a matching sooty section until the whole note is clean. The letter, dated July 23, 1870, mentions tetrodotoxin and Frederick's lab; Thomas realises Emily found out who the killer is.
Pose the Statue
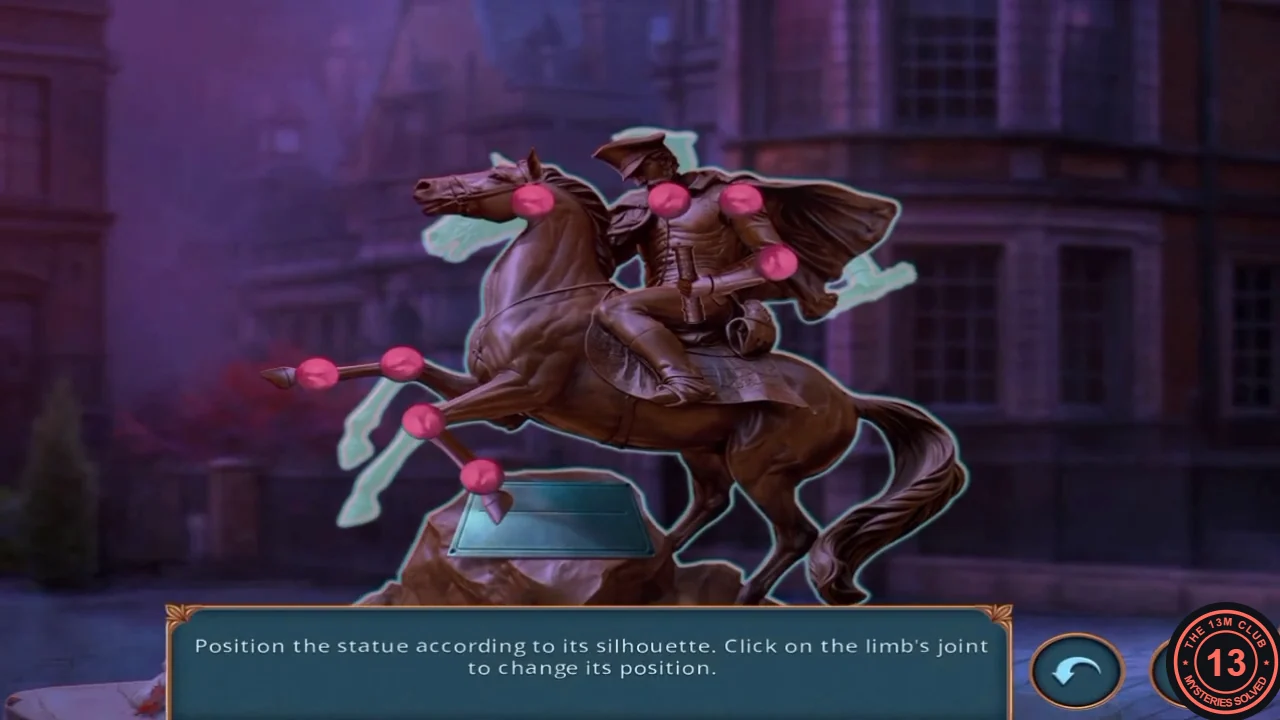
"Position the statue according to its silhouette. Click on the limb's joint to change its position."
- On the street, place the dark wooden rod in the empty fist of the statue to start the puzzle.
- Click each joint until the limb matches the silhouette behind the statue. The pedestal opens; take the wire cutters.
Storeroom: Matching Pairs
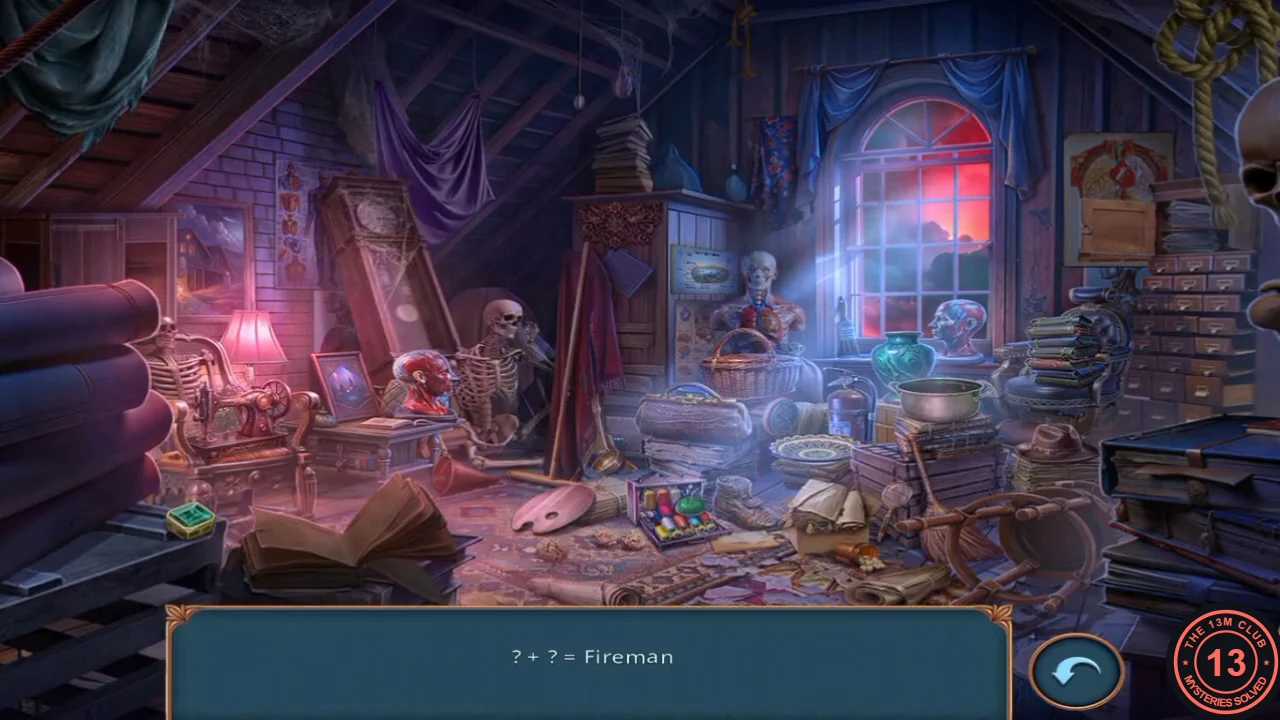
The storeroom in the courtyard holds an association hidden-object scene: find two objects that together make each listed category.
- Cut the wire on the storeroom door padlock with the wire cutters and enter.
- Find the pairs: Fire extinguisher + Bucket = Fireman; Broom Whisk + Mop = Broom; Bacterium + Magnifying glass = Microscope; Brush + Palette = Paint; Pot + Ladle = Cooking; Sewing machine + Sewing kit = Sewing. You receive the Lab Coat Pattern.
The Secret Pocket and the Spider Web
The lab coat in the laundry hides a pocket, and its contents deal with the spider web in the drain.
- Open the lab coat in the laundry and place the Lab Coat Pattern on it to find the secret pocket. Cut it open with the red pen you took from the top hat's band at the burner table, then take the matchbox.
- On the street, burn the spider web in the drain with the matches and take the hammer.
Storeroom: Find the Fragments
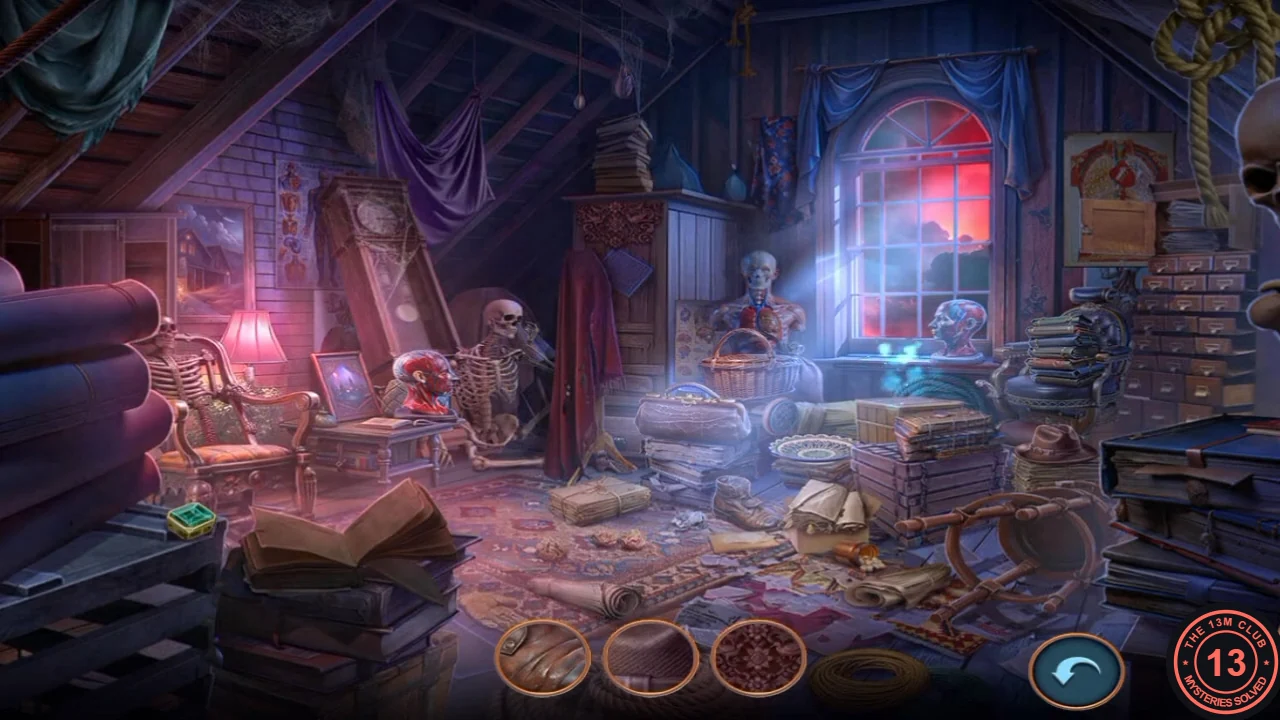
Taking the hammer triggers another noise ("What was that? I have to check it out!") and a second hidden-object scene in the storeroom.
- The tray shows three zoomed-in fragments at a time. Find the object in the scene that each fragment shows and click it; the tray refills until all fragments are found. You receive the crowbar.