Thomas's Bedroom
Thomas is locked in his bedroom and his first task is to get out of the room. Most of the room is solved by collecting items and placing them in the right spots.
- Go to the craft desk on the right. Take the blue city map and look at the recipe sheet on the desk: it needs a red fabric, a green cloth, glue and scissors. The desk drawer is locked; Thomas says he needs something thin and sturdy to open it.
- Pull back the green blanket on the bed and collect the diary, the round paper filter and the green cloth. Look under the bed: there is a chest with an unusual lock shaped like a pair of handcuffs.
- Place the green cloth on the recipe sheet at the craft desk.
- Open the wardrobe on the left and move the jacket aside. Behind it is a wall safe with a compass and four coloured shapes ("When you have a Compass Star, all you need is the right map"). Take the red cloth from the wardrobe.
- Open the diary in your inventory and turn the pages until you reach the quill. Take the quill.
- Place the red cloth on the recipe sheet at the craft desk.
- Use the quill on the locked desk drawer to open it. Take the chisel and the handcuffs.
- Use the handcuffs on the chest under the bed. Take the brass flask and the purple pencil from inside.
- Open the city map in your inventory and use the purple pencil on it; Thomas draws the missing chests onto the map. The suitcase on the window sill is locked with an iron latch for now.
- Place the marked map in the wall safe inside the wardrobe to start the chest puzzle.
Wardrobe Safe: Count the Coins
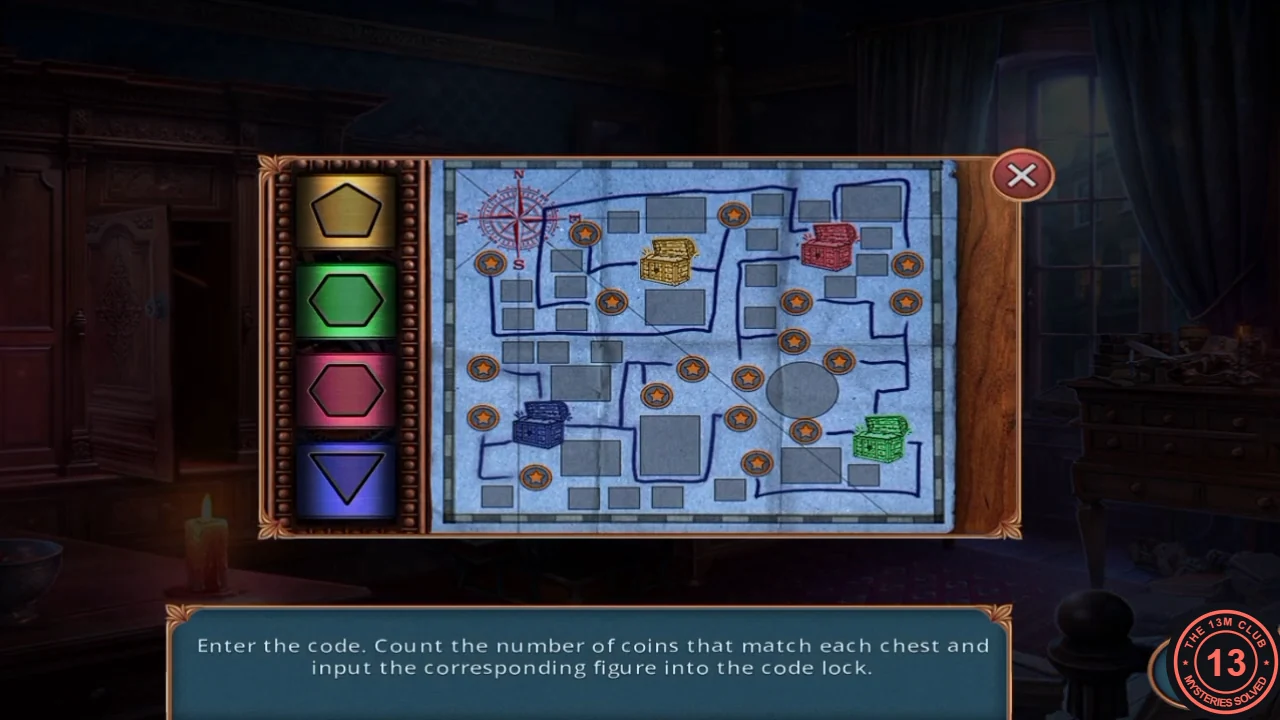
"Count the number of coins that match each chest and input the corresponding figure into the code lock." The map in the safe now shows four coloured chests, and each chest has a line of coins. The lock has four coloured slots, one per chest, and each slot takes a shape: the number of sides of the shape is the number of coins.
- For each colour, count the coins that belong to that chest on the map and set its slot to the shape with that many sides. The recorded solution, from top to bottom, was: yellow = triangle (3 coins), green = pentagon (5), red = square (4), blue = pentagon (5). The safe opens.
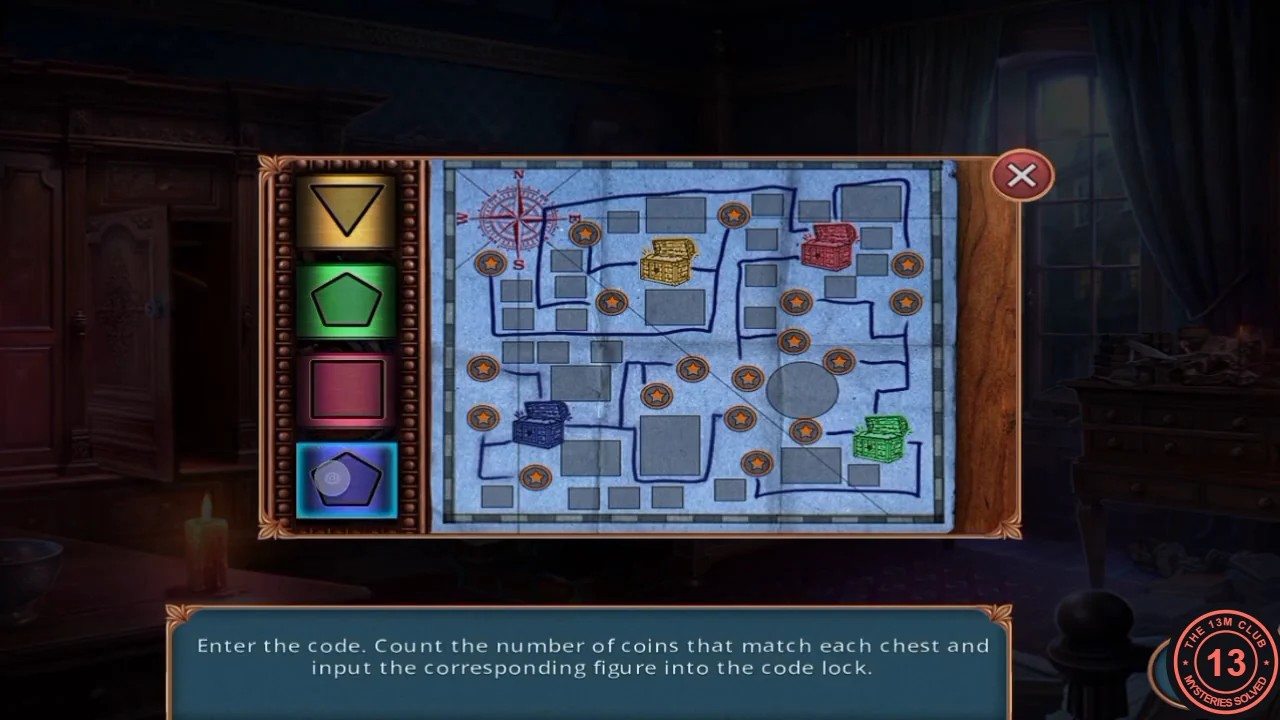
Recorded solution, top to bottom: yellow triangle, green pentagon, red square, blue pentagon. - Take the Detective Club badge, the scissors and the horseshoe magnet from the open safe.
- Use the horseshoe magnet on the iron latch of the suitcase on the window sill. Take the paper sheet, the inspection mirror and the glue.
Untangle the Bedsheet Rope
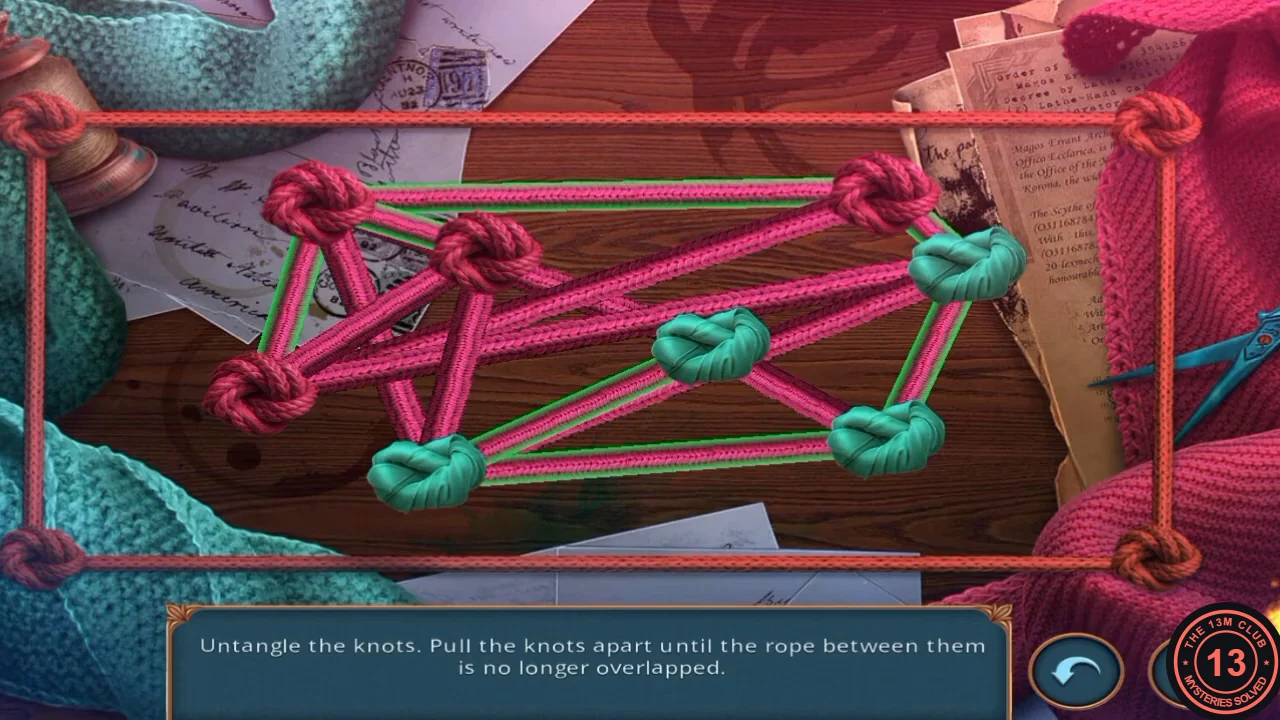
Thomas can't jump from the window ("If I jump, I'll break my legs"), so he makes a rope from bedsheets using the recipe on the craft desk. The knot puzzle is a free-form untangling task: there is no fixed answer, only the goal that no lines cross.
- Place the glue and the scissors on the recipe at the craft desk to start the knot puzzle.
- Drag the knots around until no two lines cross. A practical method: pull the knot with the most crossings to an empty edge of the board, then move each remaining knot next to the knots it is connected to, and finally nudge knots apart wherever two lines still cross. The puzzle completes as soon as the last crossing is gone.
- Take the bedsheet rope and use it on the window. Thomas climbs out of the room.
George and the Apothecary Courtyard
Outside, Thomas meets his friend George and then reaches the courtyard of Mr. Banks' apothecary. This is the first of the scored decisions; see Decision Points and Endings for how they affect the ending.
- Talk with George. Choose "Don't worry. I can handle it!" (costs 35 coins, +1 Decision Point) or "Really? What kind of a friend are you?" (free, 0 points).
- Go to the courtyard. A carriage blocks the apothecary entrance and its coachman is asleep.
- Open the flower bed close-up. Use the chisel on the log to start the carving puzzle.
Carve the Ratchet and Wake the Coachman
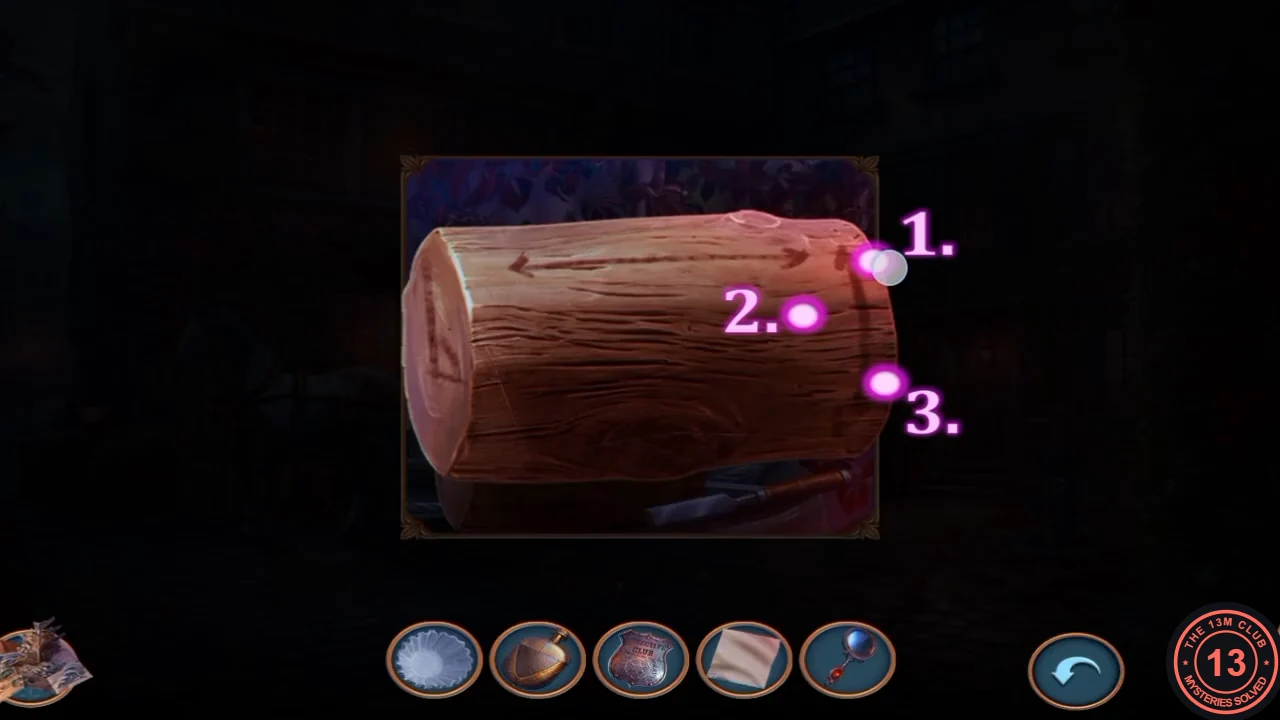
The carving puzzle has three rounds of numbered dots. Connect them in number order each time.
- Connect the dots in order: 1-2-3 in the first round, 1-2-3-4 in the second and 1-2-3-4-5 in the third. Take the carved ratchet body.
- Take the wooden crank handle from the fountain. The crate nearby won't open yet because its paint has dried.
- Open the ratchet body in your inventory and attach the crank handle to make a noisemaker ratchet.
- Use the ratchet on the sleeping coachman. He wakes up and drives away, freeing the apothecary entrance. Enter the apothecary.
Mr. Banks' Apothecary
Mr. Banks runs the apothecary. Talking to him gives the second scored decision and the handle for his safe.
- Talk with Mr. Banks. Choose "Convince him you can help" (35 coins, +1 Decision Point) or "Stay silent" (free, 0 points). You receive the safe handle.
- At the counter, put the paper filter in the empty metal bowl. The jar of green liquid pours through it; take the bent wire (1 of 2) and the golden hook left in the filter.
- Attach the handle to the safe on the counter. It is still locked for now.
- Go to the back door on the right wall. Slide the inspection mirror into the gap to see the bolt, then use the golden hook to lift the bolt. The door opens to the back laboratory.
Back Laboratory: Put Things in Their Place
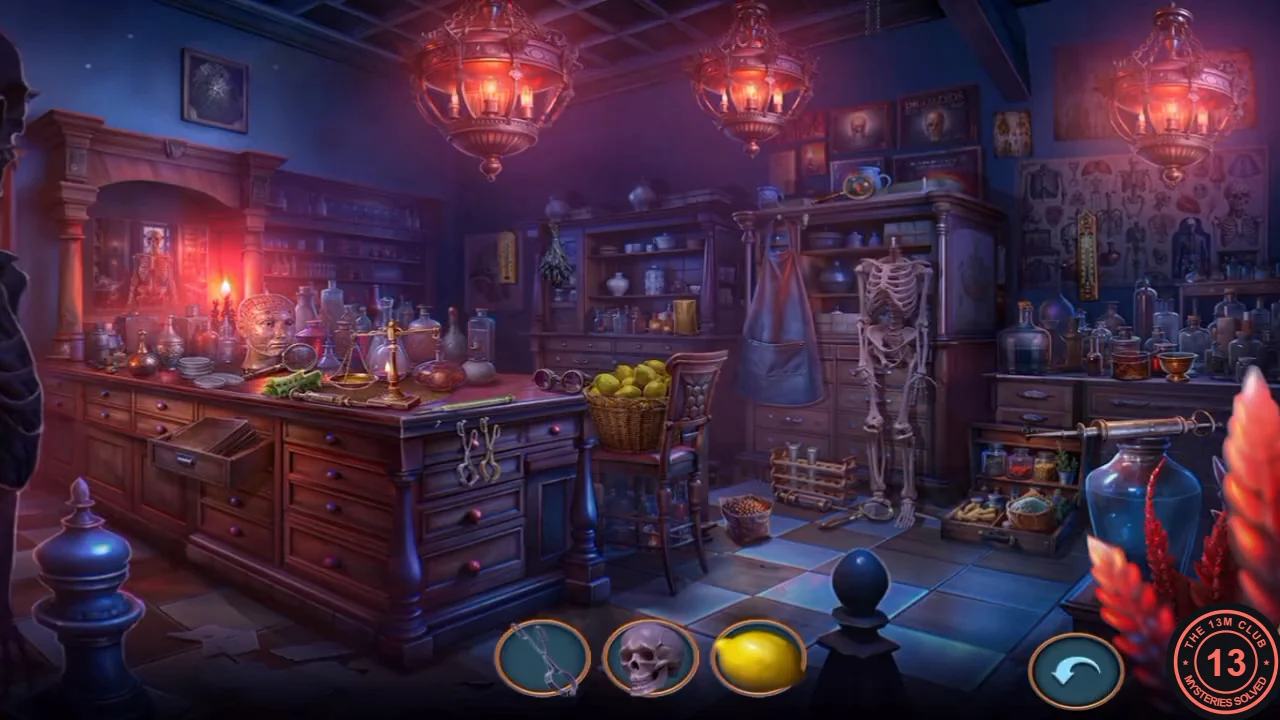
This interactive hidden-object scene gives you a tray of three items at a time. Put each item where it belongs; the tray refills until all items are placed. The final silhouette is the reward.
- Place the skull on the headless skeleton, the lemon in the lemon basket on the chair, the ginger in the low crate of ginger roots on the floor right of the skeleton, and the scale pan on the brass balance on the counter.
- Put the hook-shaped forceps on the clamp rack at the front of the counter, the white dish at the left end of the counter top by the plates, the book in the open drawer at the counter's left end, and the dried herbs on the back shelf left of the skeleton cabinet.
- Put the glass tube in the test-tube rack on the floor, hang the red apron on the hook beside the skeleton and put the goggles at the right end of the counter top beside the other spectacles. Click the medical clamps at the front of the counter to collect them.
Build a Stethoscope
Mr. Banks' safe can be cracked with a stethoscope, which Thomas assembles from parts found around the apothecary and courtyard.
- Go to the burner table at the back left of the apothecary. Take the red pen from the hat band, then take the top hat and the Y-shaped stethoscope frame. The drawer with the keyhole stays locked for now.
- Open the close-up of Mr. Banks at the counter and take the second wire piece (2 of 2).
- Open the stethoscope frame in your inventory and attach both wire pieces.
- In the courtyard, open the fountain. Use the medical clamps to turn the valve nut on the pipe so water flows, then place the brass flask under it to fill it with water.
- Pour the water on the dried paint of the crate and wipe it, open the crate and take the green hose.
- Add the hose to the stethoscope in your inventory, then use the finished stethoscope on Mr. Banks' safe to start the safe puzzle.
Apothecary Safe: Caduceus
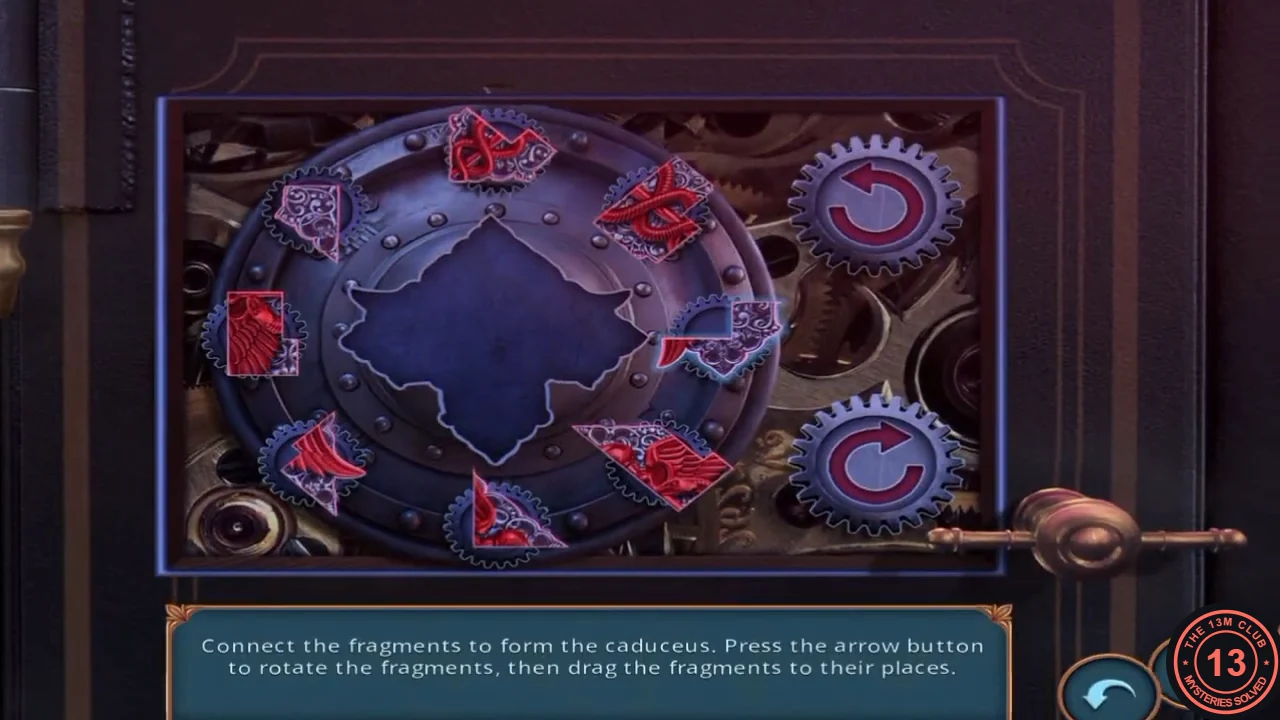
Connect the fragments to form the caduceus (the staff with two snakes). Press the arrow button to rotate a fragment and drag fragments into position. This is a lengthy assembly, and the fragments may not start in the same places for you, so the guide gives the approach rather than every move.
- Build the vertical staff down the middle first, then add the two snake bodies so their curves continue smoothly across the fragment edges, and finish with the wings at the top. If a fragment almost fits, press the arrow button to rotate it until its lines meet the neighbouring pieces. The safe opens when the caduceus is complete.
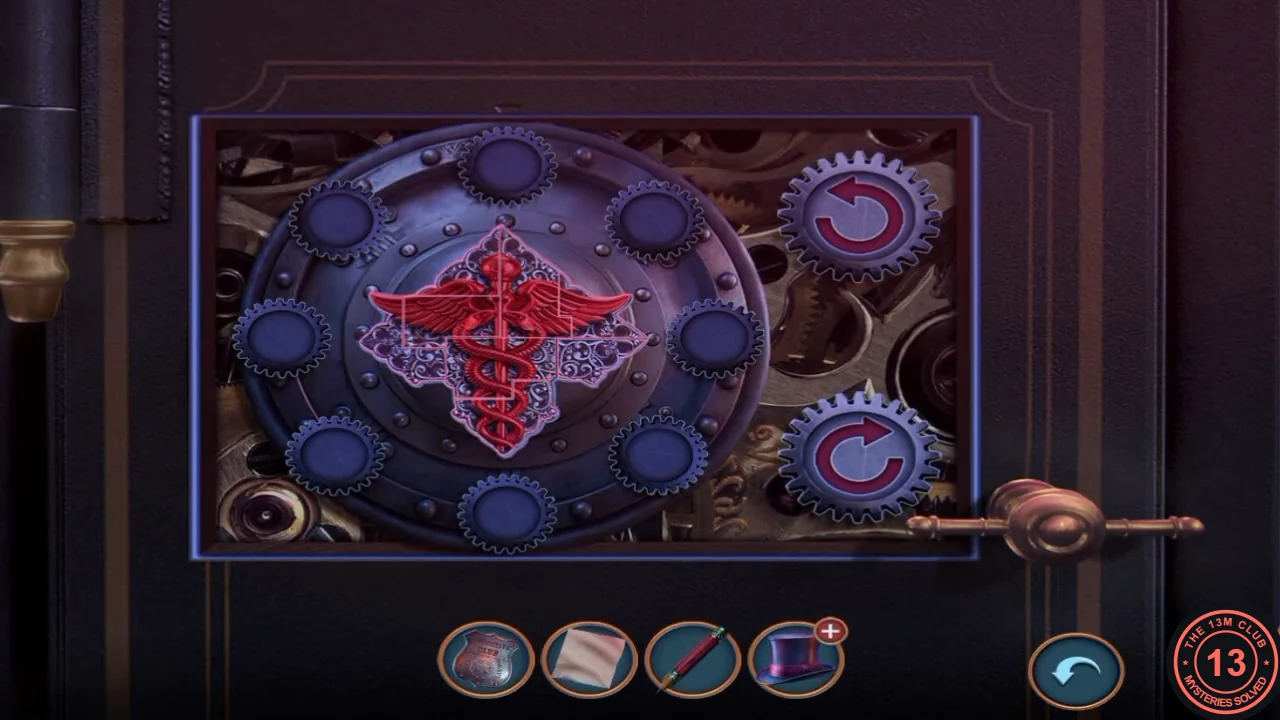
The finished caduceus that opens the safe. - Take the banknote, the rolled paper and the weed killer from the open safe.
- In the courtyard, open the flower bed again and spray the weed killer on the red vines. Take the leather glove and the wax block.
Laboratory Search: Find the Listed Items
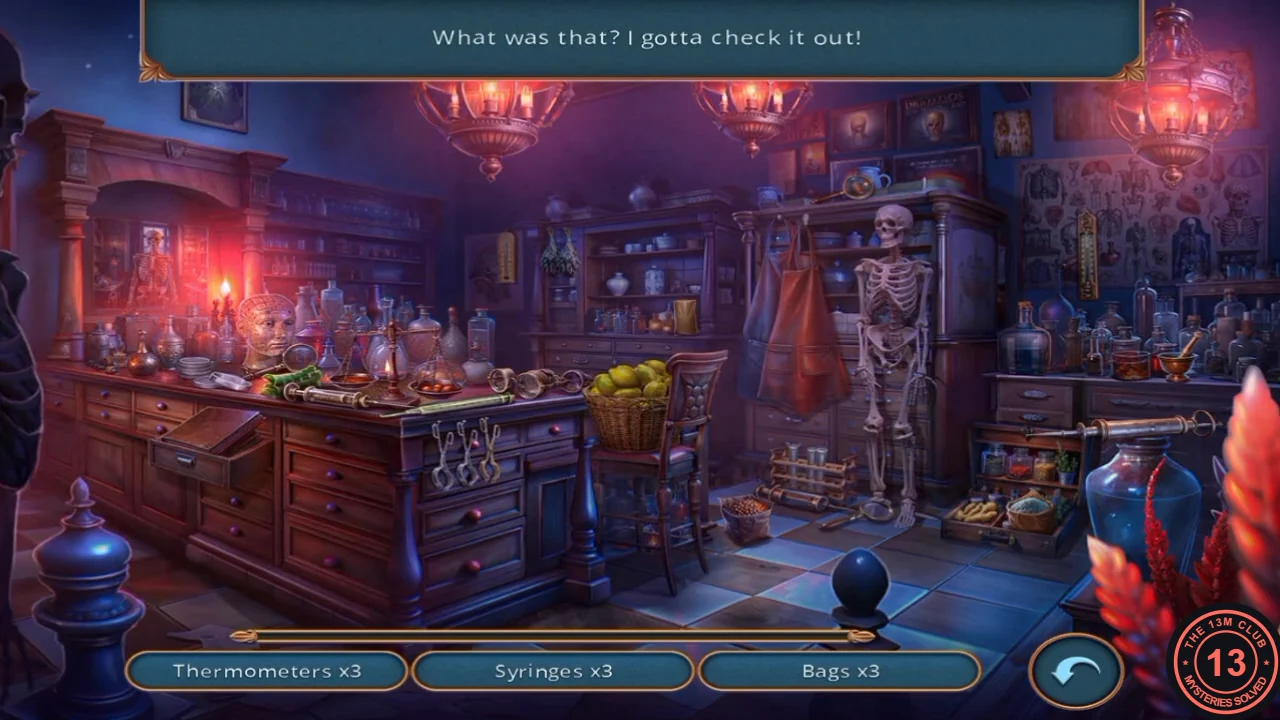
After the glove is collected Thomas hears a noise ("What was that?") and returns to the back laboratory for a hidden-object list.
- Find all items on the list: thermometers, syringes, bags and magnifying glasses (three of each). A new row replaces each finished row until the list is complete. You receive the toy soldier.
Cast a Key and Get the Map
The burner table drawer needs a key, which Thomas casts from the toy soldier.
- At the burner table, place the wax block to make the key mould. Put the toy soldier in the melting pot over the burner, pour the molten tin into the mould and take the cast key.
- Unlock the burner-table drawer with the cast key and take the map and the brass bolt.
- Talk with Mr. Banks again. He explains that the map leads to the lab and that Thomas must take a train. Choose "I'm not giving up on Emily" (35 coins, +1 Decision Point) or "I'm not a child anymore" (free, 0 points). You receive the Lab's Location map.