MAIN STREET
Bookshelf Association Scene
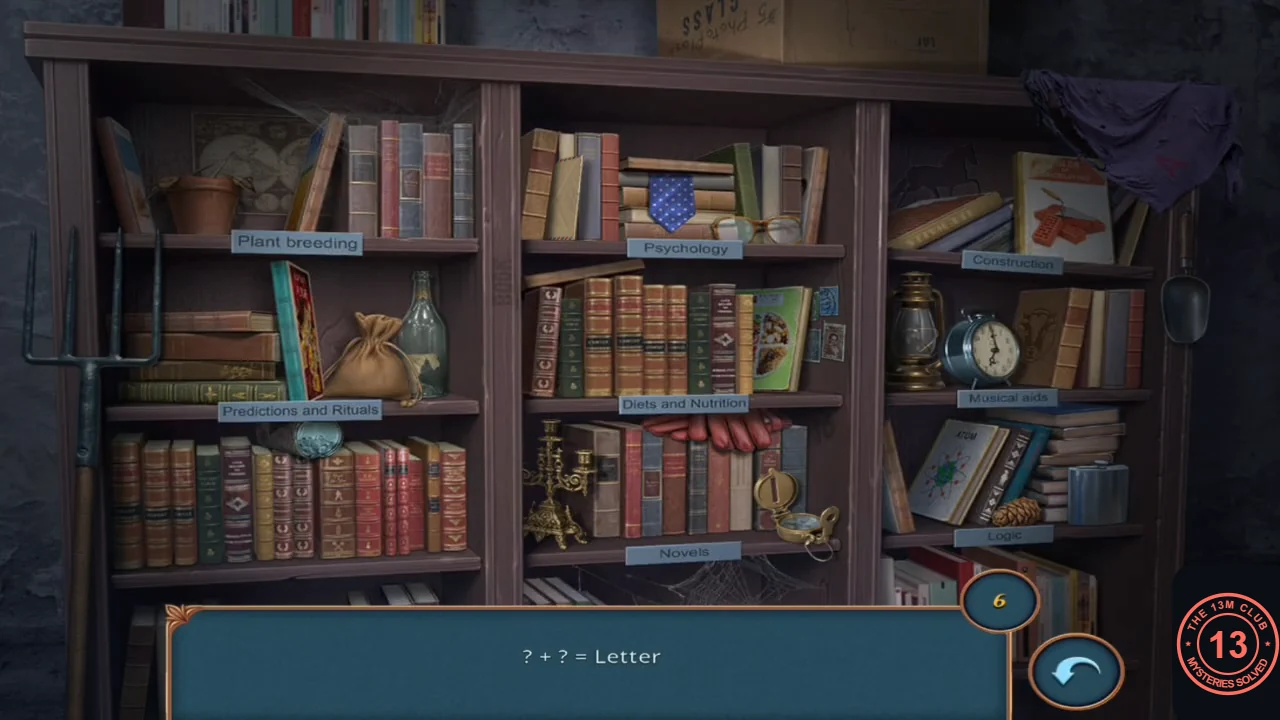
Return to the lit bookshelf in the brick wall on Main Street. This time it is a "? + ? = X" scene: find two objects that combine into the named idea. The counter starts at 6.
- Find the six pairs. Letter: the pale envelope at the left of the Psychology shelf + the stamps pinned beside the cookbook right of the Diets shelf. Navigation: the gold compass on the right of the Novels shelf + the old world map behind the flowerpot at top left. Thirst: the green glass bottle right of the sack + the hip flask at the right of the Logic shelf. Cattle Breeding: the cow picture on a book near the Construction and Musical aids shelves + the horse at the top left of the right-hand bookcase. Tools: the shovel hanging at the right edge + the pitchfork at the left edge. Light: the gold candelabra on the left of the Novels shelf + the oil lantern left of the clock. You receive a Sickle.
MAIN STREET
Shop Crate, Flagpole and Blue Lamp
Collect a blue lamp tube for the map board in the station hall.
- Tap the open shop window under the green awning. Use the sickle to pry the lid off the wooden crate inside, then take the red sponge and the red valve wheel.
- Tap the thin flagpole at the far end of the street, right of the station's flag and above the orange pickup. Attach the valve wheel to the stub on the pole and turn it. The red flag comes down; take the red flag cloth.
- Go to the docks and tap the boat cabin window on the right. Use the red flag cloth to hold the hot blue lamp tube above the window and take the blue lamp tube.
SHERIFF'S DEPARTMENT
Vending Machine: Find the Pairs
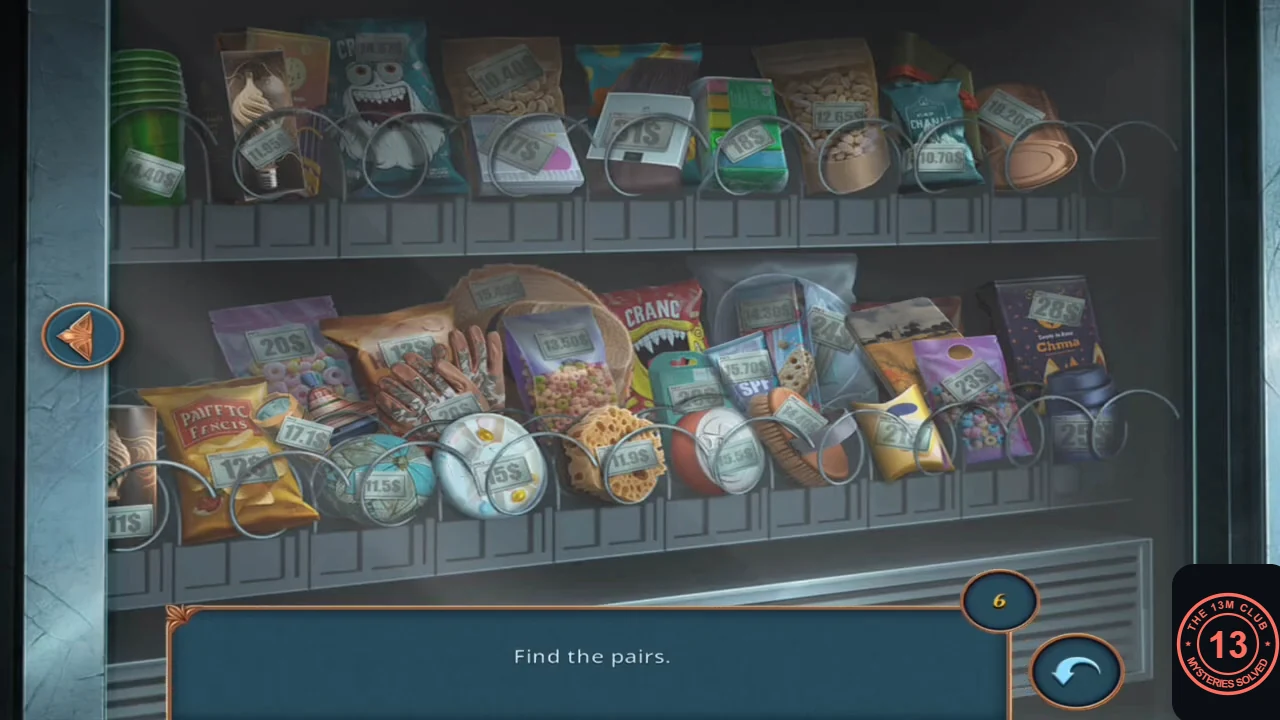
The vending machine in the hall now has a pairs scene. No item is needed.
- Tap the vending machine. Find six pairs of matching products; the shelves span two pages (switch with the arrow), and a pair can be on the same page or across both pages. Tap one item (it gets an outline), then its match. Recorded pairs: leather work gloves (page 1) and clear latex gloves (page 2); a desert-scene phone case (page 2) and a desert-scene postcard (page 1); two SPF sunscreen bottles (one per page); two small orange items with $17.1 tags (page 1 by the chips, page 2 on the pink milk carton); two orange cards with $18 tags (both on page 2); two silver metal vehicle models (both on page 2). You receive a Sandwich.
SHERIFF'S DEPARTMENT
Raccoon and Camera Cartridge
A raccoon is hiding at the far end of the hall.
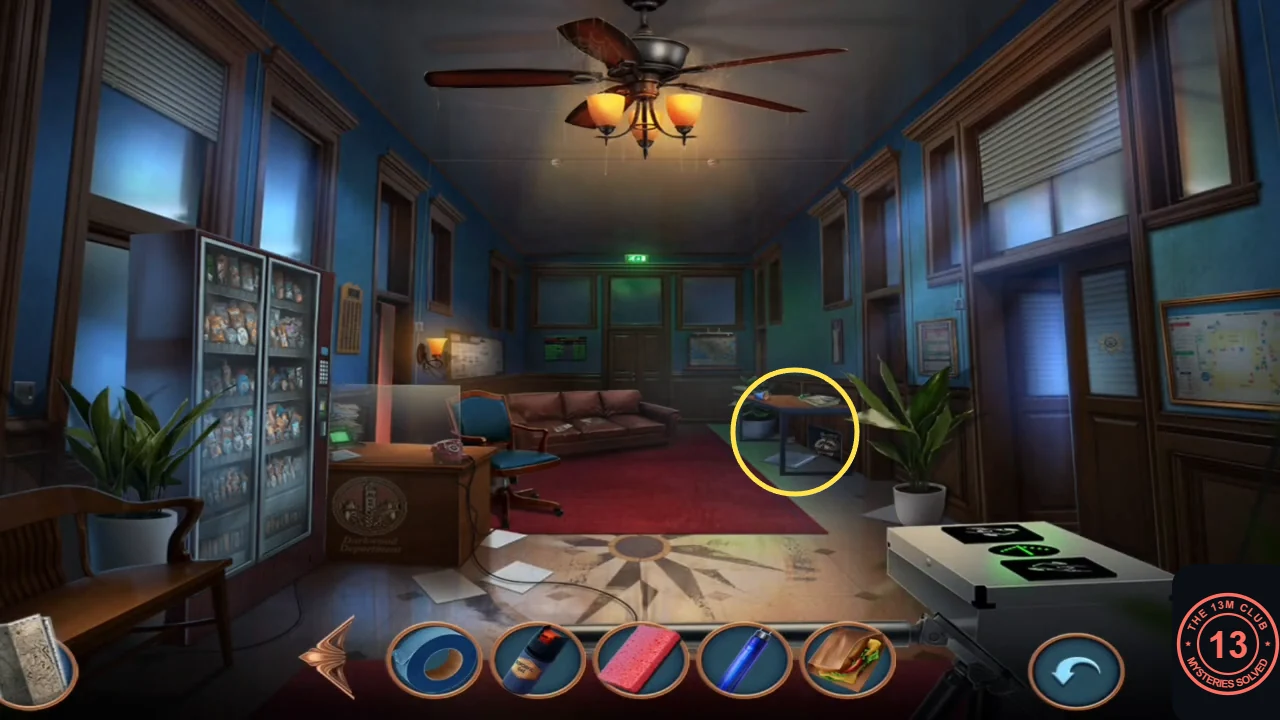
- Tap the small desk at the far right end of the hall, by the green-lit doorway behind the plant. Put the sandwich on the floor by the vent opening; the raccoon grabs it and leaves. Take the white camera cartridge from the opening.
- Open the instant camera in the inventory and insert the cartridge.
SHERIFF'S DEPARTMENT
Tower Map Puzzle
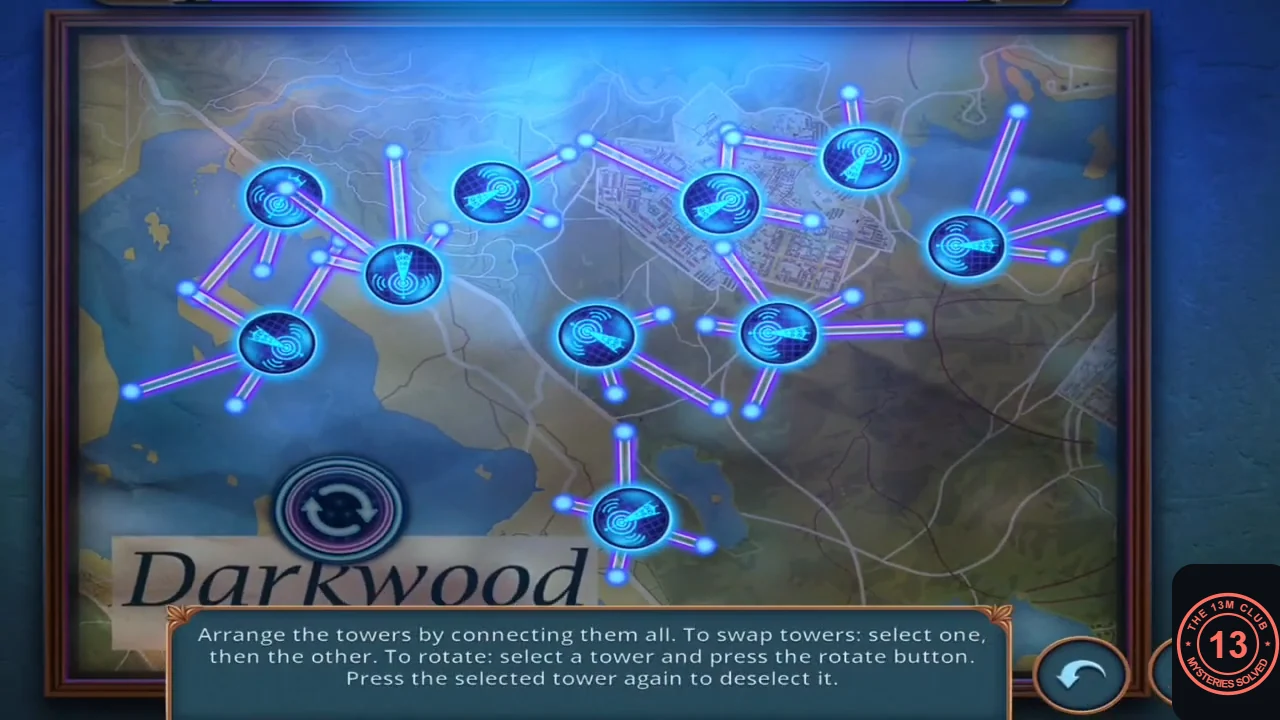
The hall map board can only be read under blue light. The puzzle has many valid swap orders, so this guide gives the method and the finished layout.
- Tap the map board on the right wall of the hall. Install the blue lamp tube in the fitting above the map; tower symbols glow on the map. Use the camera on the map.
- Connect all ten towers. Each tower has fixed beam stubs. To swap two towers, tap one and then the other. To rotate a tower, select it and press the round Darkwood button at the lower left; tap a selected tower again to deselect it. Rotate and swap until each tower's stubs meet a neighbour's and every ring turns green. A red line then reveals the broken link, the camera photographs the map, and the Sheriff marks the tower's location. You travel to the radio tower and the task "Find the tower's location" completes.
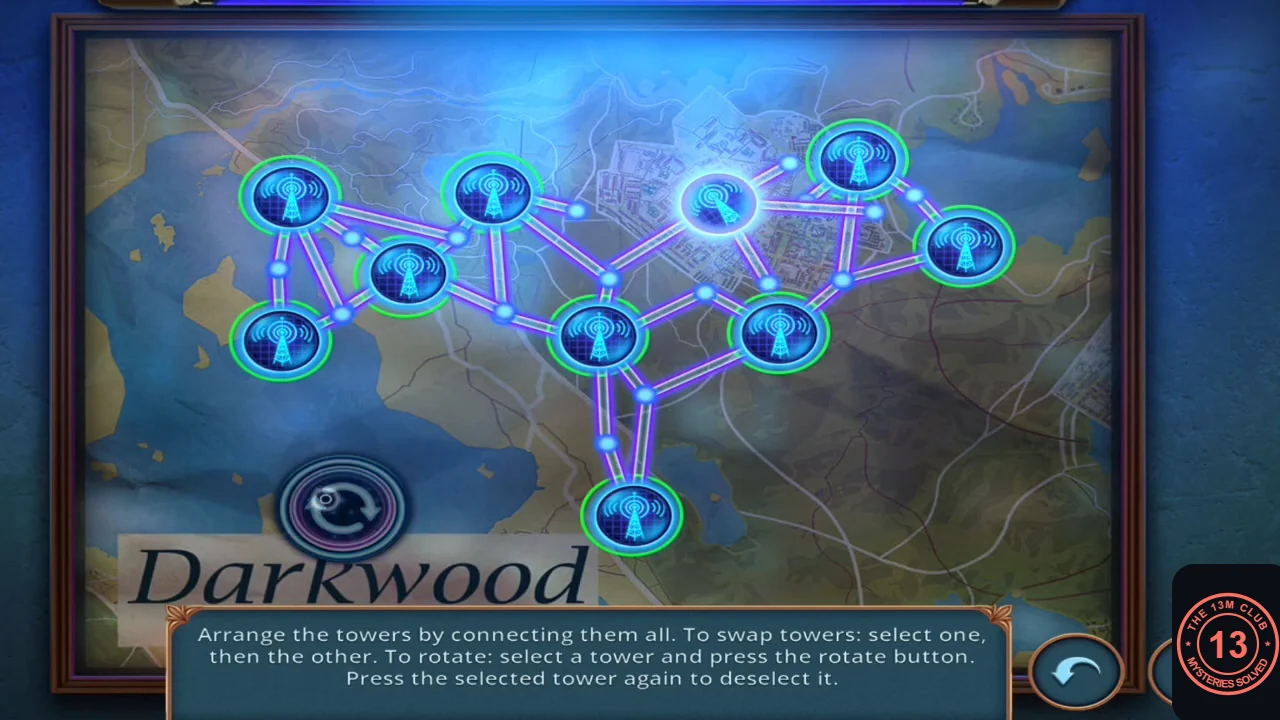
Solved: every tower is linked.