Car jack, gypsum and the mold kit
Task: Learn Eldred's location.
- Open the drain grate covered with thorny vines. Cut the vines with the pocket knife to reveal a red car jack without a handle ("I need to get a handle on this.").
- Open the wall niche on the left (electrical box among autumn leaves). Read the plaster instructions, then take the tub of gypsum and the jack handle.
- Return to the grate, attach the handle to the jack and take the car jack.
- Open the blue crate beside the man and use the car jack to lift it. Take the bottle and the wooden stick from the puddle underneath.
- Open the wooden mold board from the inventory (+). Add the stick, the gloves and the gypsum. It still needs water, which comes later.
Wine bottle puzzle
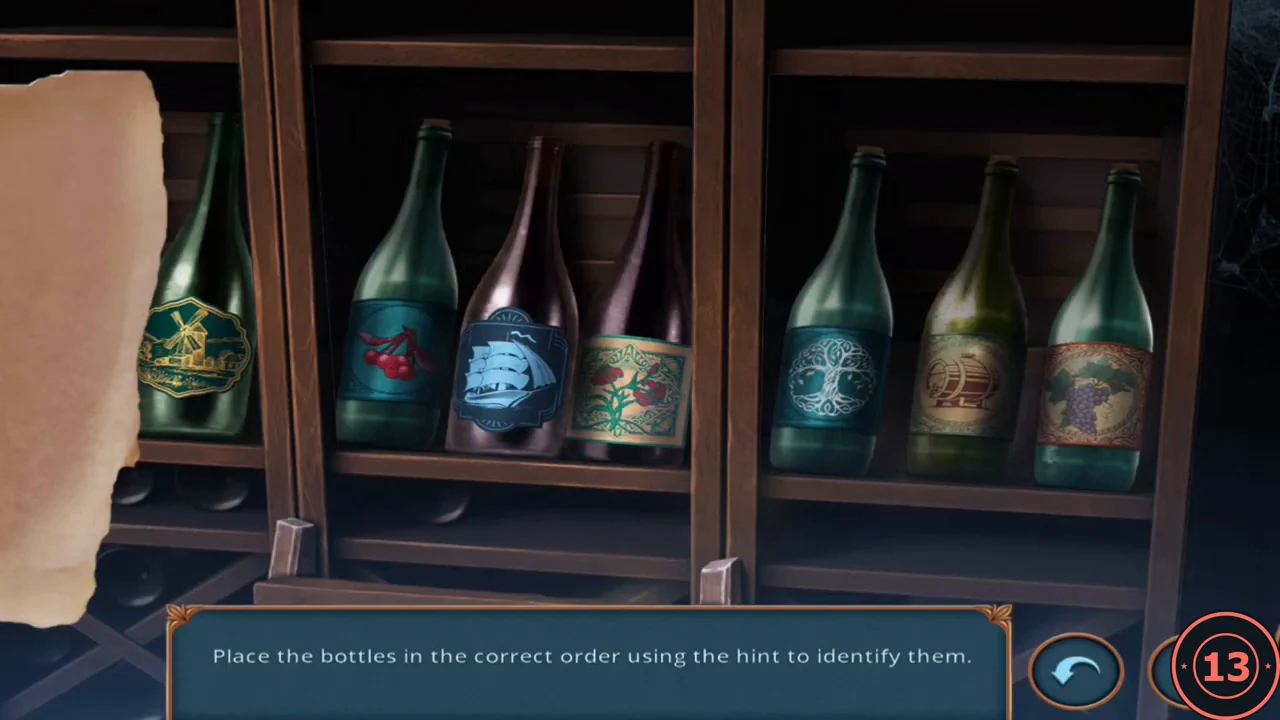
The yellow car trunk in the alley needs a lock pick, which you get later. Travel back to the ruined restaurant and open the wine rack on the left wall.
- Place the bottle on the wine rack to start the puzzle: "Place the bottles in the correct order using the hint to identify them."
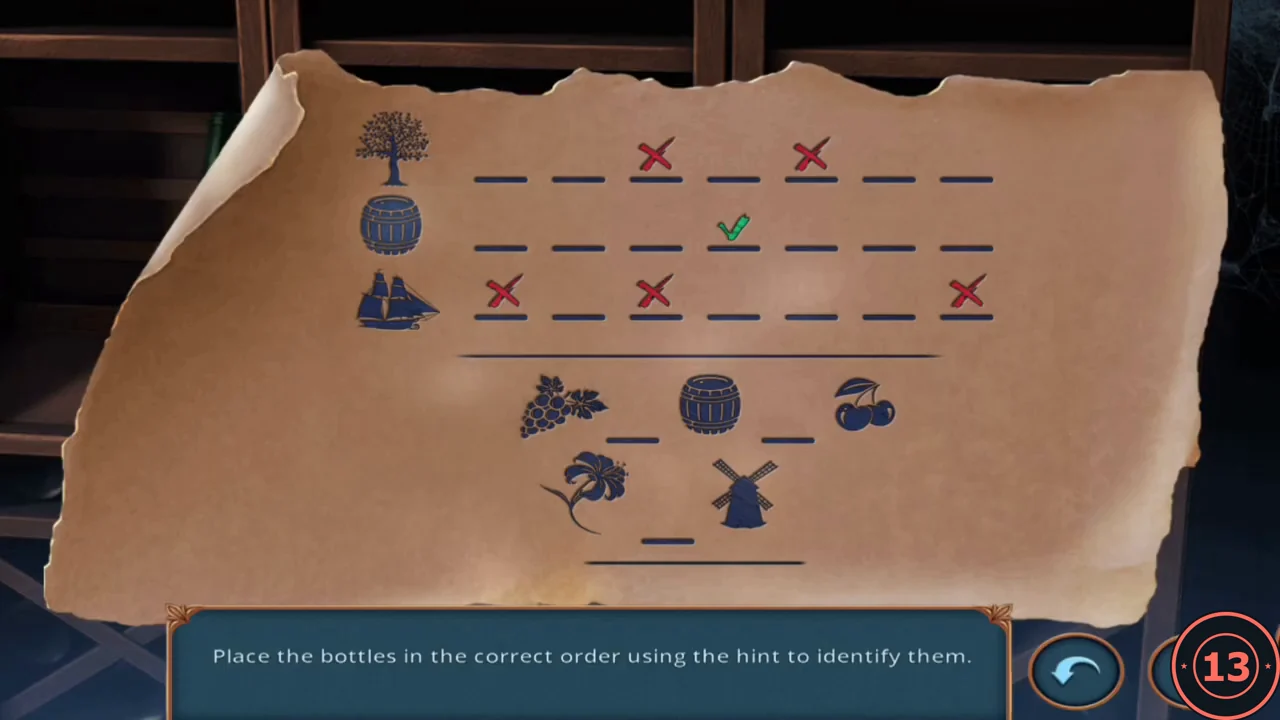
The hint note that gives the bottle order. - Tap two bottles to swap them. The hint says: tree not in slots 3 or 5; barrel in slot 4; ship not in slots 1, 3 or 7; grapes two places before the barrel and cherry two places after it; windmill two places after the flower. The only arrangement that fits, left to right, is FLOWER, GRAPES, WINDMILL, BARREL, SHIP, CHERRY, TREE.CODEFLOWER, GRAPES, WINDMILL, BARREL, SHIP, CHERRY, TREE
- Take the horseshoe.
Tap handle, water and the plaster tile
Use the horseshoe as a drawer handle, then make a plaster tile.
- In the ruined restaurant open the desk hutch at the back ("Couple of holes and no handle."). Fit the horseshoe as a handle and open the drawer. Take the roll of duct tape and the green tap handle.
- Go to the kitchen sink and attach the green tap handle. Water fills the green cup you left there; take the cup of water.
- Open the mold kit and add the cup of water. The plaster is mixed and poured; take the blank plaster tile.
- Open the red kitchen counter with the paint jars and three picture tiles. Place the plaster tile; it is painted and the picture puzzle starts.
Picture puzzle
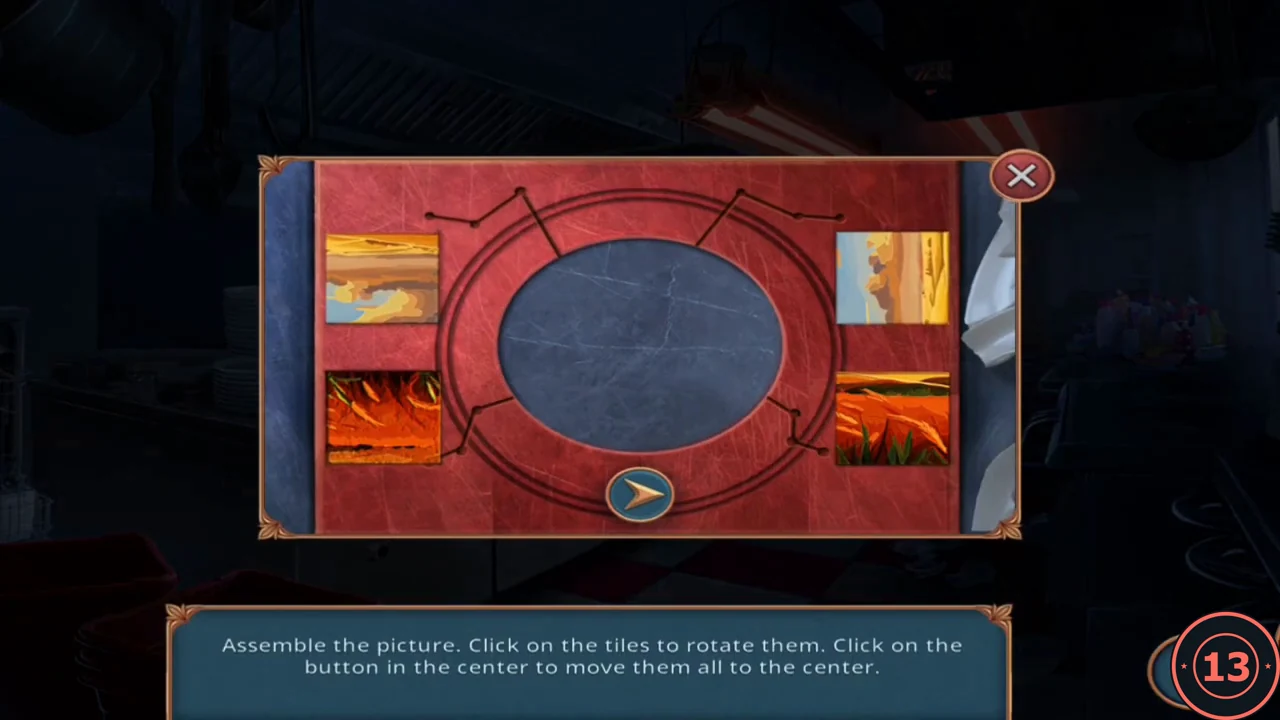
Goal: "Assemble the picture. Click on the tiles to rotate them. Click on the button in the center to move them all to the center." There are four tiles.
- Tap each tile to rotate it until the four tiles form one picture: a sunset with the sun in the sky across the top row and an orange wheat field across the bottom row. Then press the centre button to slide the tiles together.
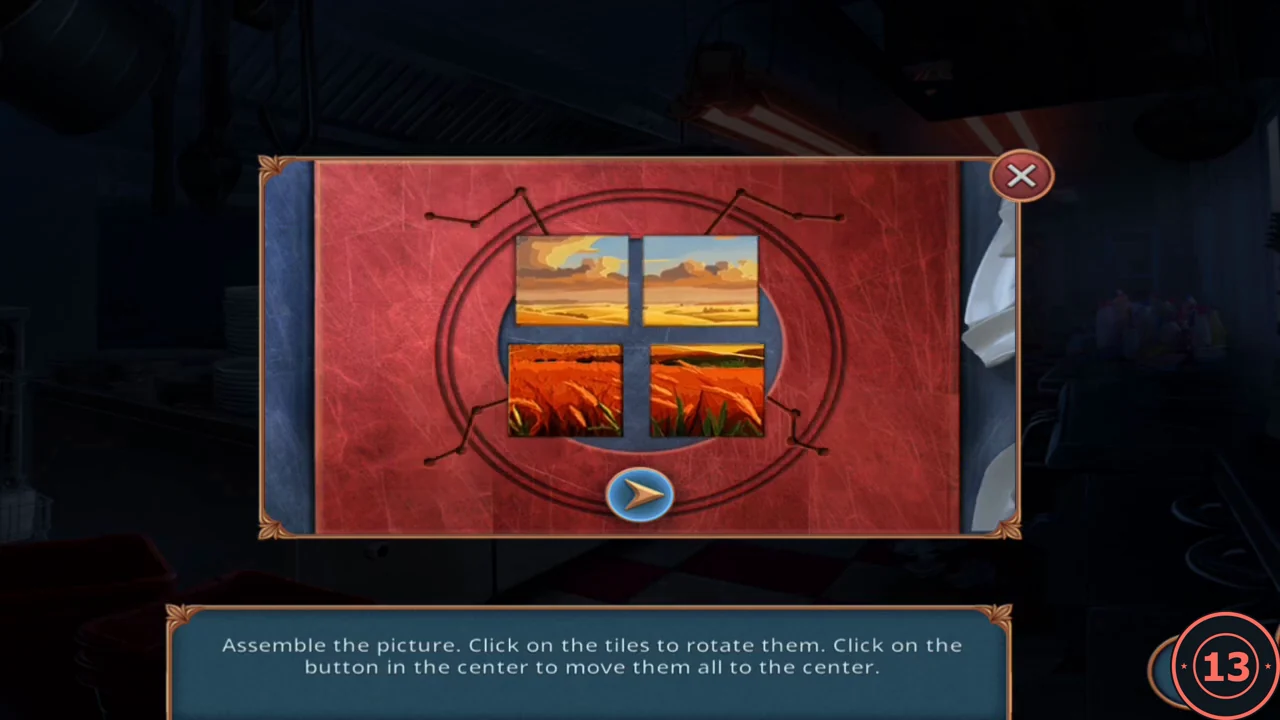
Completed picture after rotating the tiles and pressing the centre button. - Take the flashlight that is revealed.
The electrical box
Back in the alley, open the dark electrical box in the left wall niche.
- Use the flashlight to light the niche, then use the pocket knife to remove the screws and tape from the electrical box. The box opens and the wire puzzle starts.
Wire puzzle
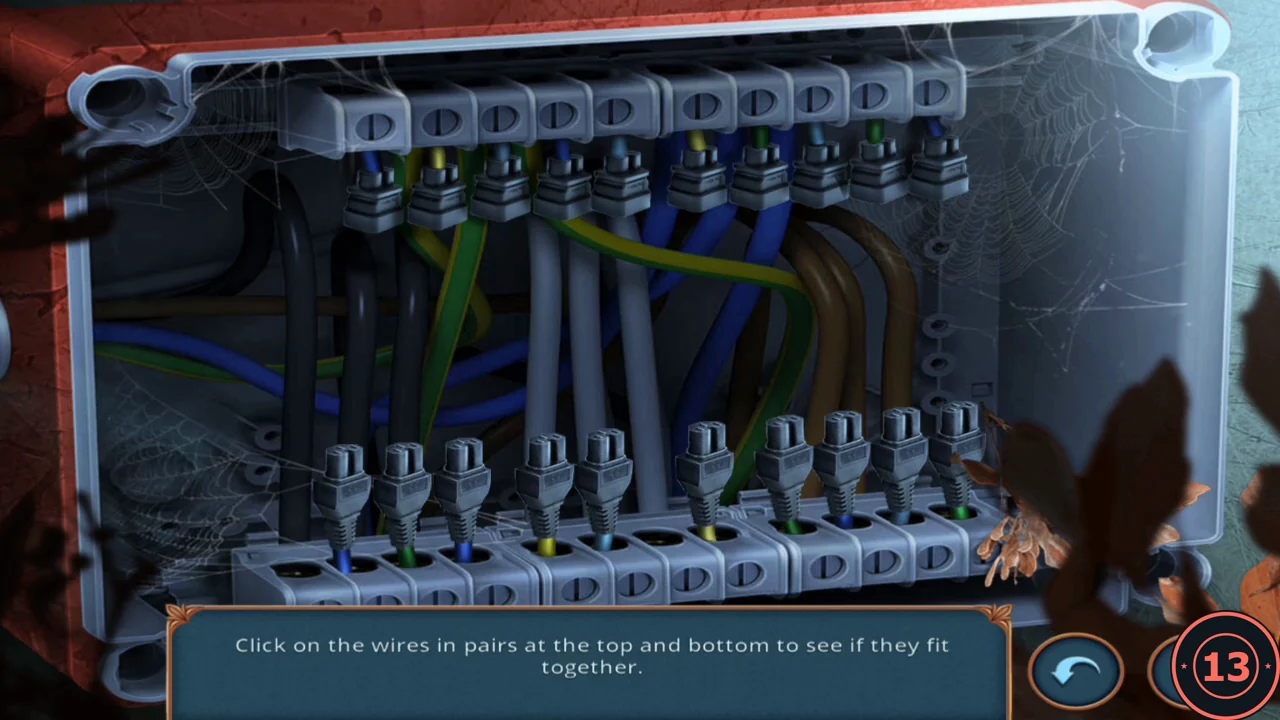
Goal: "Click on the wires in pairs at the top and bottom to see if they fit together." Ten loose plugs hang from the top rail and ten from the bottom rail. This puzzle is solved by testing, so the guide gives the method rather than a list of pairs.
- Tap a top plug, then a bottom plug. If the two wires belong together they join and stay connected; if not, they separate again. Work through the top plugs one at a time: test a top plug against the free bottom plugs until it connects, then move to the next. Connected pairs stay in place, so the remaining choices shrink quickly. The box is finished when all ten pairs are joined.
- Take the red lock pick from the bottom of the box.
Car trunk, special handles and the hacksaw
Open the yellow car trunk and the teal dish.
- Open the yellow car trunk in the alley ("Lock picks are my best friends here!") and use the lock pick on the lock. Take the metal claw (+) and the special handle (2/2).
- Travel to the ruined restaurant and open the teal dish on the round table. Place both special handles on its lid to open it. Read the mechanical raven sketch and take the hacksaw ("I think I saw something similar behind the mirror.").
Pantry silhouette scene
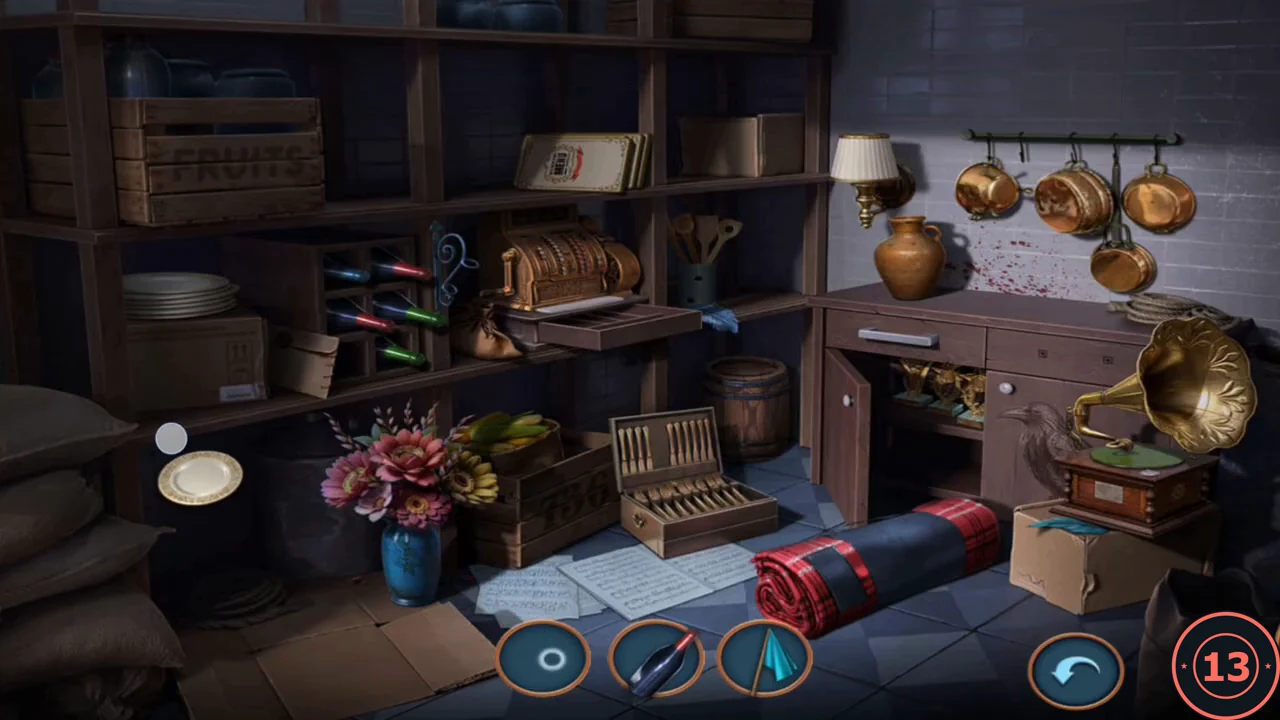
Return to the pantry behind the kitchen mirror. It now holds a silhouette hidden-object scene: three silhouettes are shown at a time.
- Find each object matching a silhouette. The objects include a plate, a pen, an umbrella, corn, a small barrel, a ruler, a light bulb, a vinyl record and a wooden spoon. Some silhouettes need an action: screw the light bulb into the wall lamp to light it, and use the teal umbrella to reach the top shelf.
- Take the reward: a metal crow head.
Coil of rope and the claw
Turn the crow head and claw into a grabbing tool.
- Open the kitchen sink and place the metal crow head at its lower left. The mechanical crow comes to life and flies off; take the coil of rope it leaves at the lower left of the sink.
- Open the metal claw (+) in the inventory and attach the coil of rope to make a claw on a rope.
- In the alley open the drain grate, cut the bars with the hacksaw and lower the claw on the rope. The coin claw puzzle starts.
Coin claw puzzle
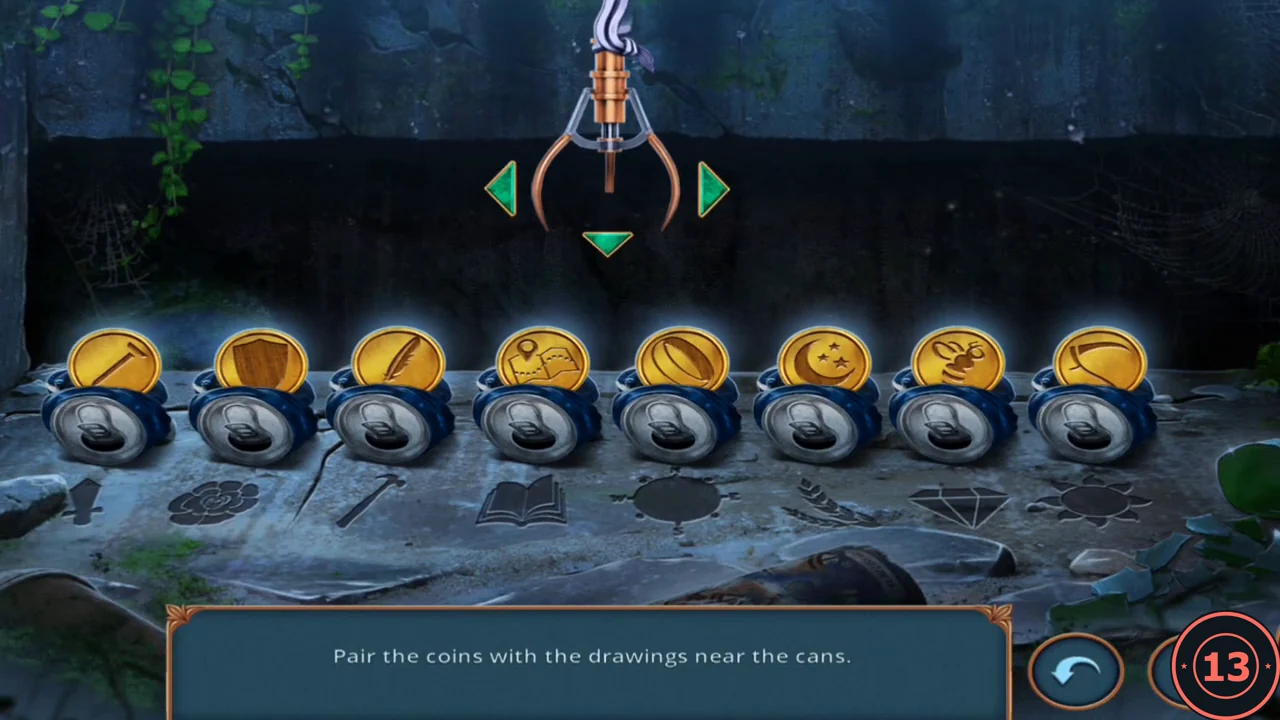
Goal: "Pair the coins with the drawings near the cans." Eight drawings line the bottom: sword, rose, hammer, open book, globe, wheat, diamond and sun. The left and right arrows move the claw; the down arrow picks up two neighbouring coins at once and drops them again.
- Place the coin whose symbol belongs with each drawing. Left to right: SHIELD (sword), BEE (rose), NAIL (hammer), QUILL FEATHER (open book), MAP (globe), SICKLE (wheat), RING (diamond), MOON (sun). Because the claw always carries two adjacent coins, move pairs step by step until every coin sits above its drawing. The starting order may differ between games.CODESHIELD, BEE, NAIL, QUILL, MAP, SICKLE, RING, MOON
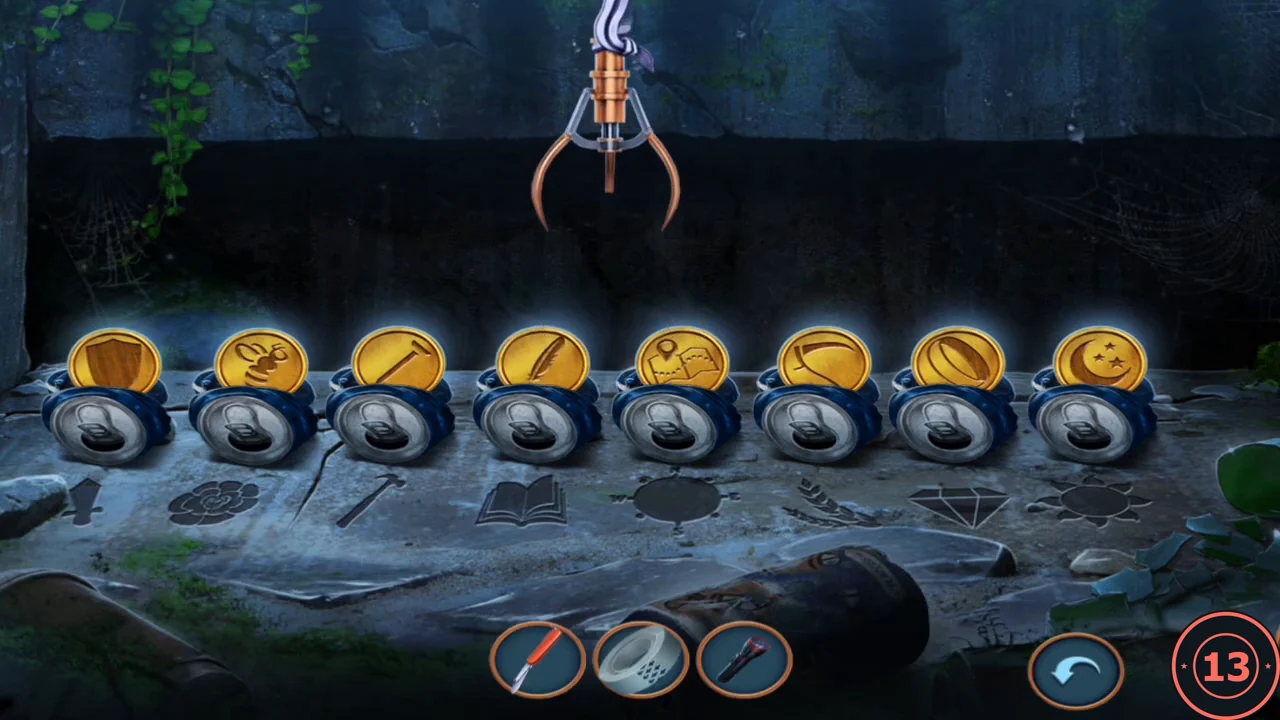
Solved order from left to right: shield, bee, nail, quill feather, map, sickle, ring, moon. - Take the coin.
The fortune teller, Decision 3 and the episode key
Pay the man in the alley for his vision.
- Give the coin to the man. He sees an angry mage holding your friend in a canyon outside the city.
- Decision 3: "Learn more" costs 35 coins and is worth 1 decision point; "End the conversation" is free and worth 0. This guide takes "End the conversation".
- After the car cutscene a padlock screen asks you to "Use the key to continue the adventure." Spend one key to unlock the rest of the episode (the key counter drops by one). The waterfall loads and Learn Eldred's location completes.