Kate's Letter
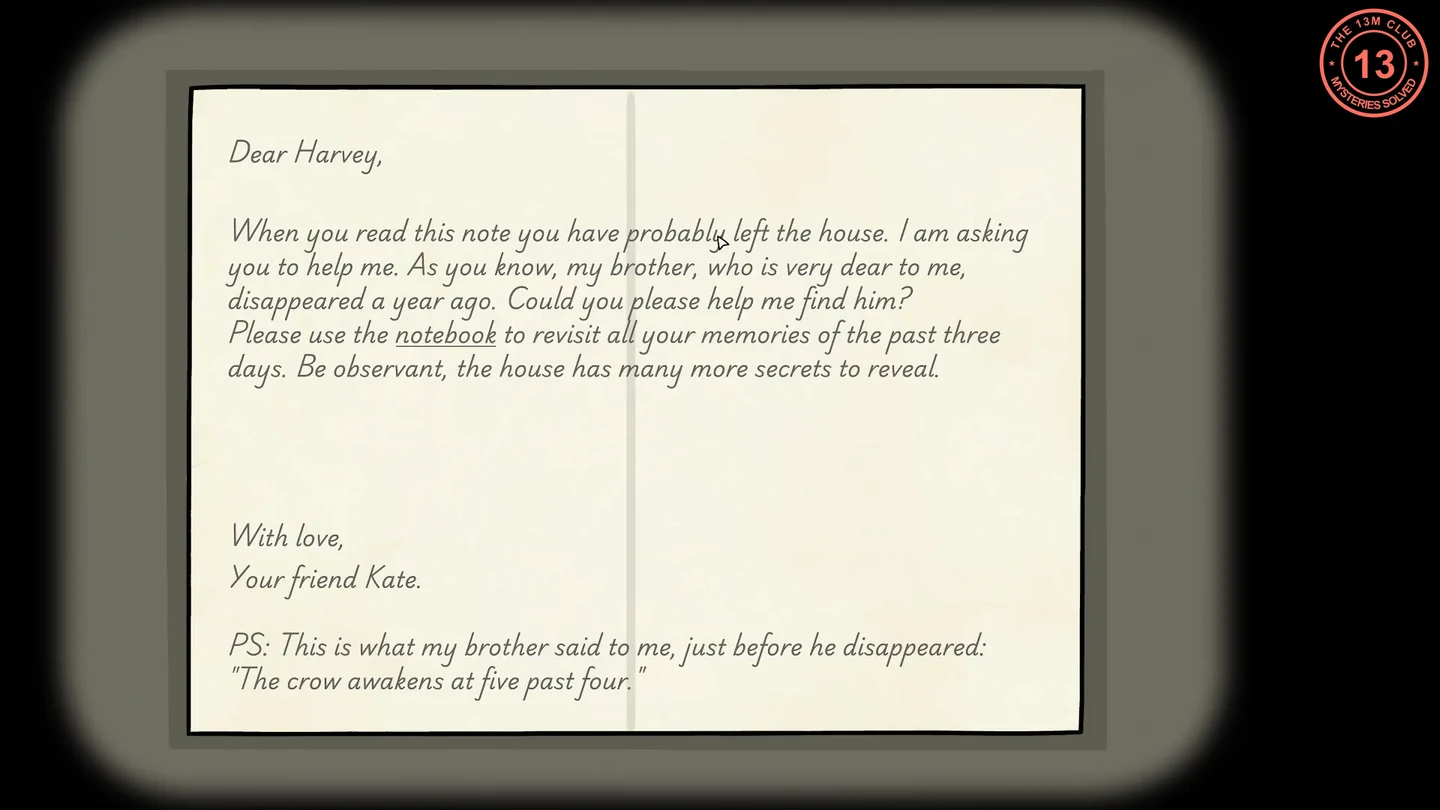
Finishing The Departure unlocks a secret search. Six notes are hidden in five replayed chapters (two of them in Dressing up for Dinner), and every note points to the next puzzle. The notebook can also replay the other chapters, which is useful for re-checking clues such as those in Preparing Coffee and Going Hunting. Its sketch page (pencil tab) is handy for working out codes.
- On the Congratulations screen after the credits, press Continue. You are back in the carriage: click the letter on the seat. It is from Kate: her brother vanished a year ago and she asks you to use the notebook to revisit the past three days. Its P.S. reads: "The crow awakens at five past four."
- Open the notebook, choose a chapter from any day and confirm to replay it. Completed chapters can be replayed in any order.
The Alarm Clock (Waking up Aldous)
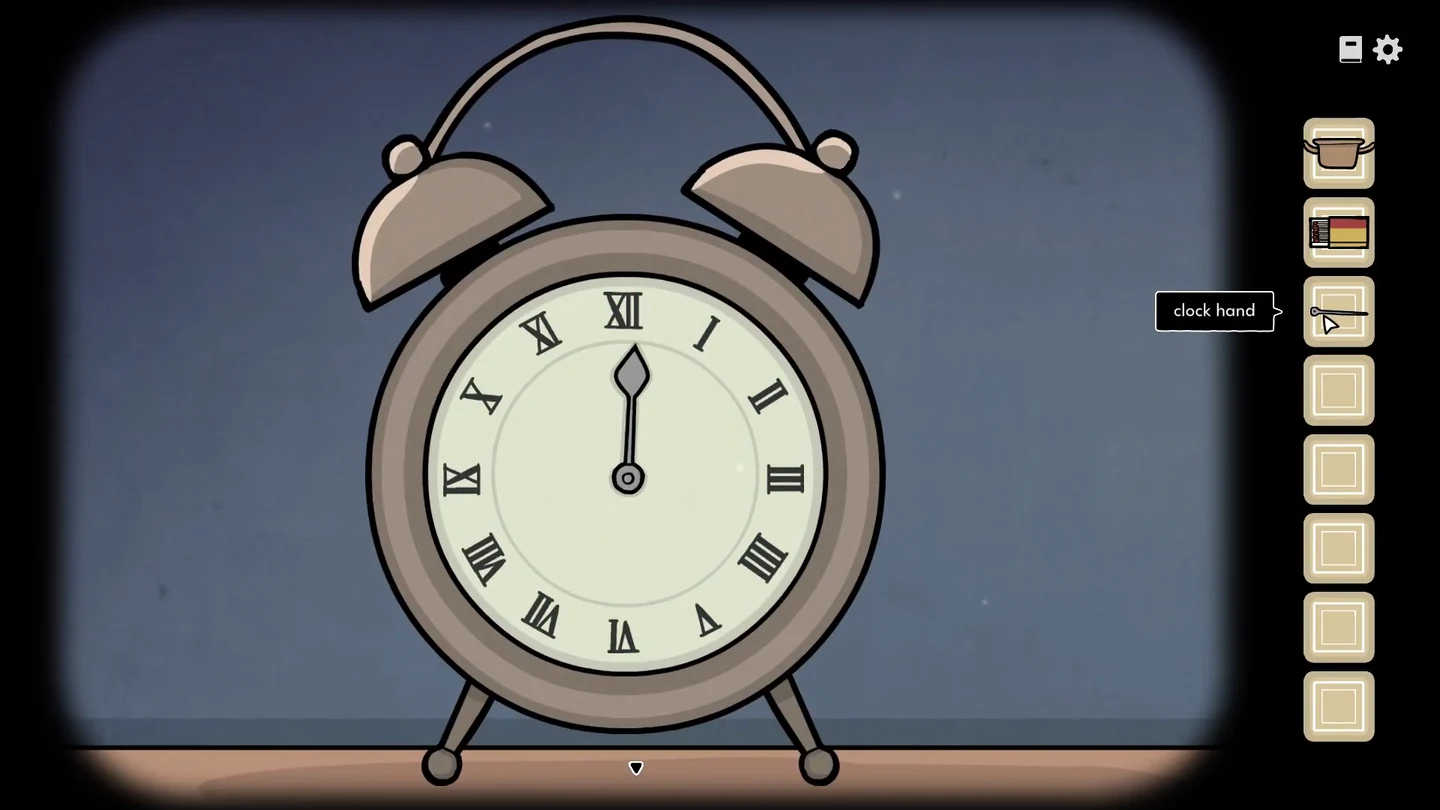
Replay Day 1's Waking up Aldous.
- Take the clock hand from the toy soldier, fit it on the alarm clock and set it to 4:05, as the crow line in Kate's letter suggests. A folded note slips out from behind the clock and lands on the table at its lower right. Click the note and unfold it to read it: Alexandra called the servant to the bathroom and, while she soaked in the tub, made him open her suitcase, which held a severed hand.
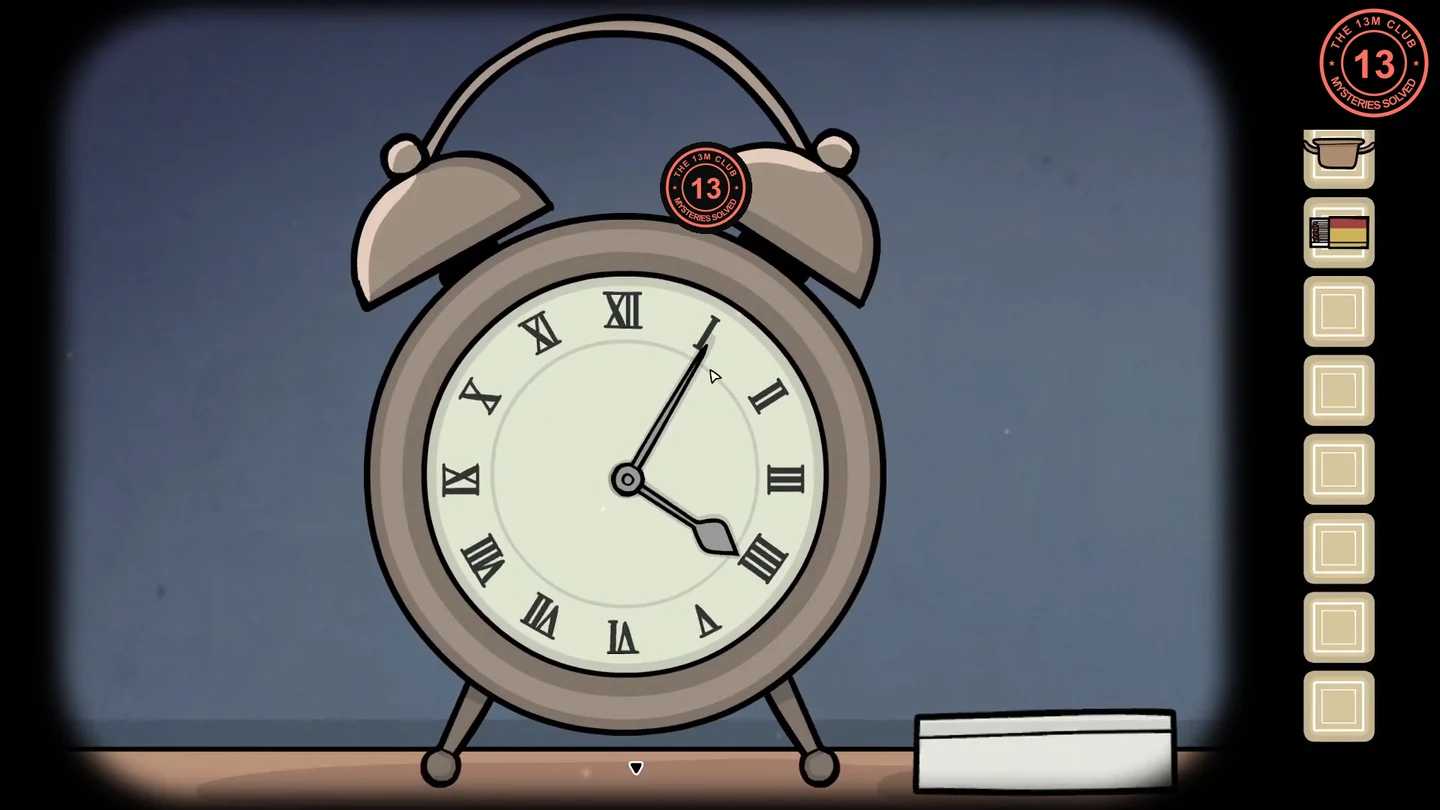
Set to 4:05, the clock drops a folded note at its lower right.
The Bathroom Tiles (Helping with Bathing)
Replay Day 2's Helping with Bathing.
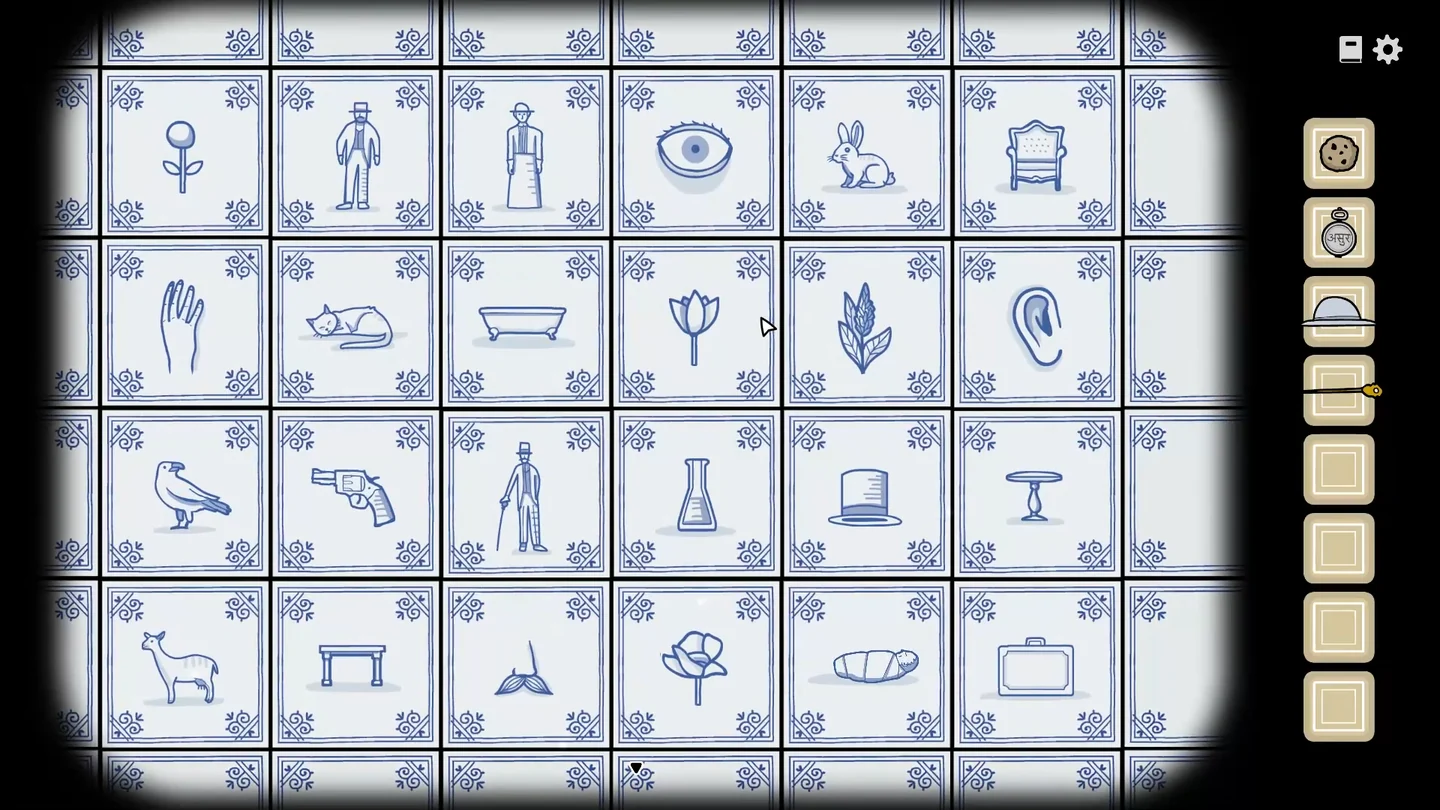
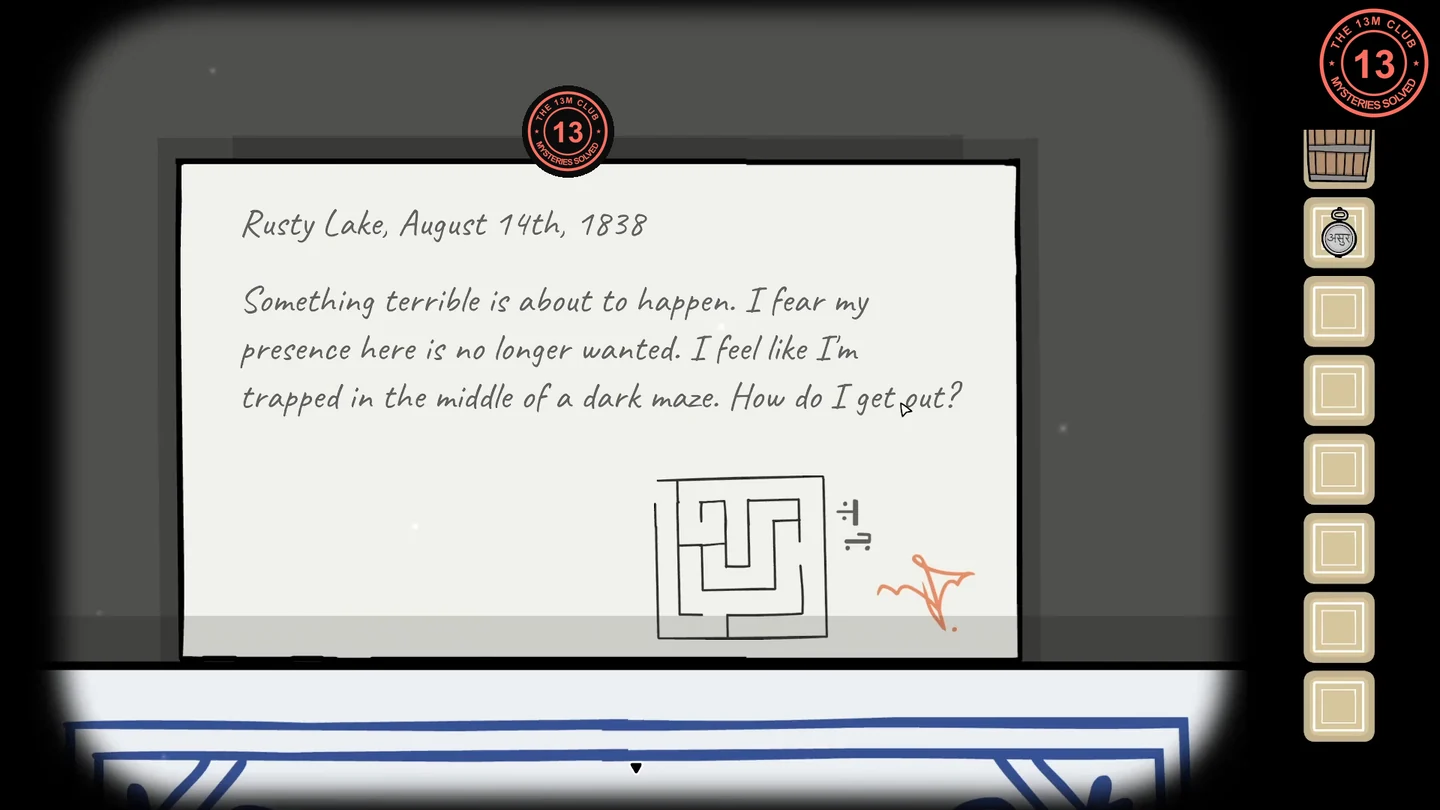
- On the tile wall behind the bath, press the four tiles that tell the first note's story, in order: Alexandra (the woman in a long dress, top row), the bathtub (just below her), the suitcase (bottom row, far right) and the hand (second row, far left). After the fourth tile the cat tile next to the hand comes loose: tap it to remove it, then take the folded note from the recess behind it. It is the second note: the writer feels trapped in the middle of a dark maze, with a small maze drawing.
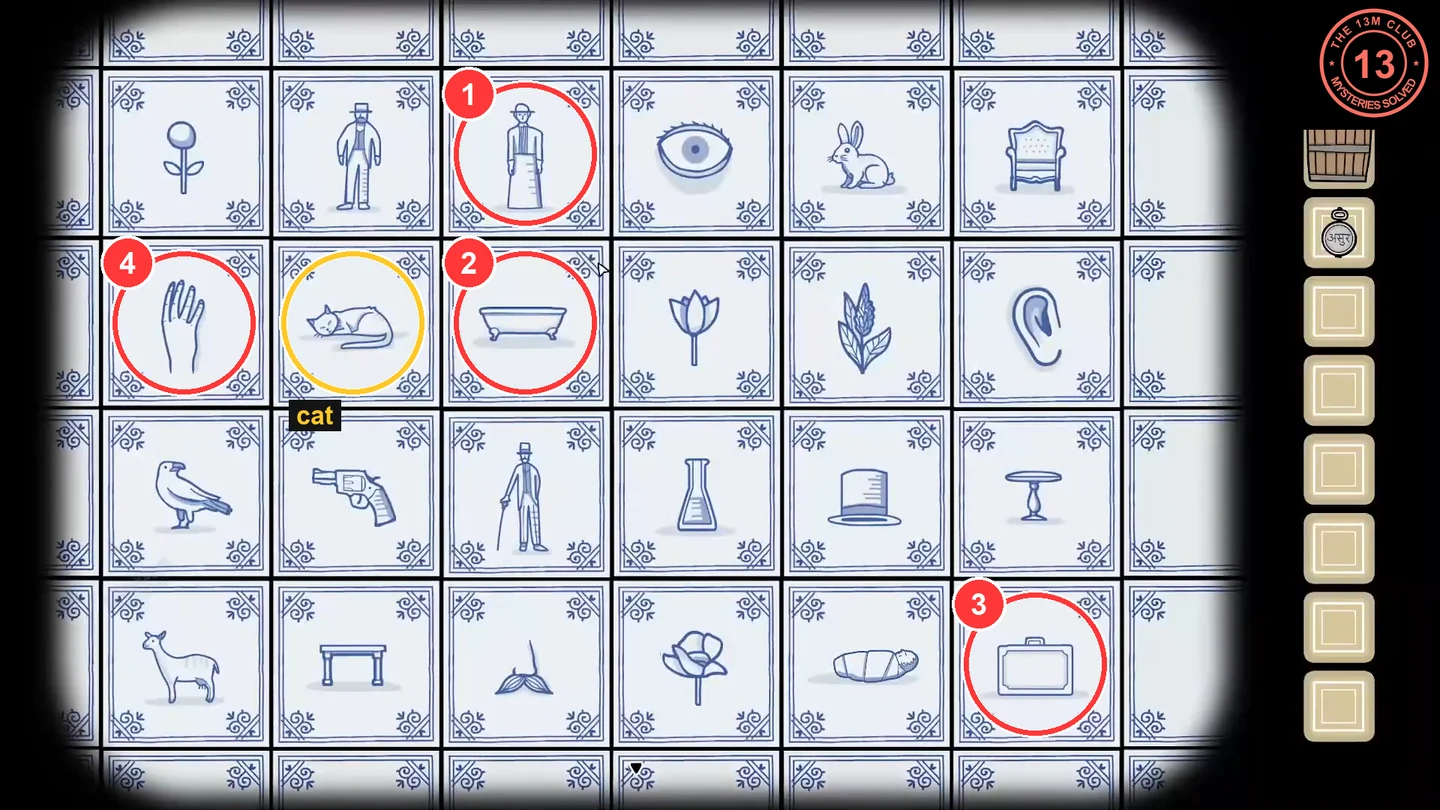
Press the numbered tiles in order; the marked cat tile then comes loose.
The Arrow Box (Assisting in Alchemy)
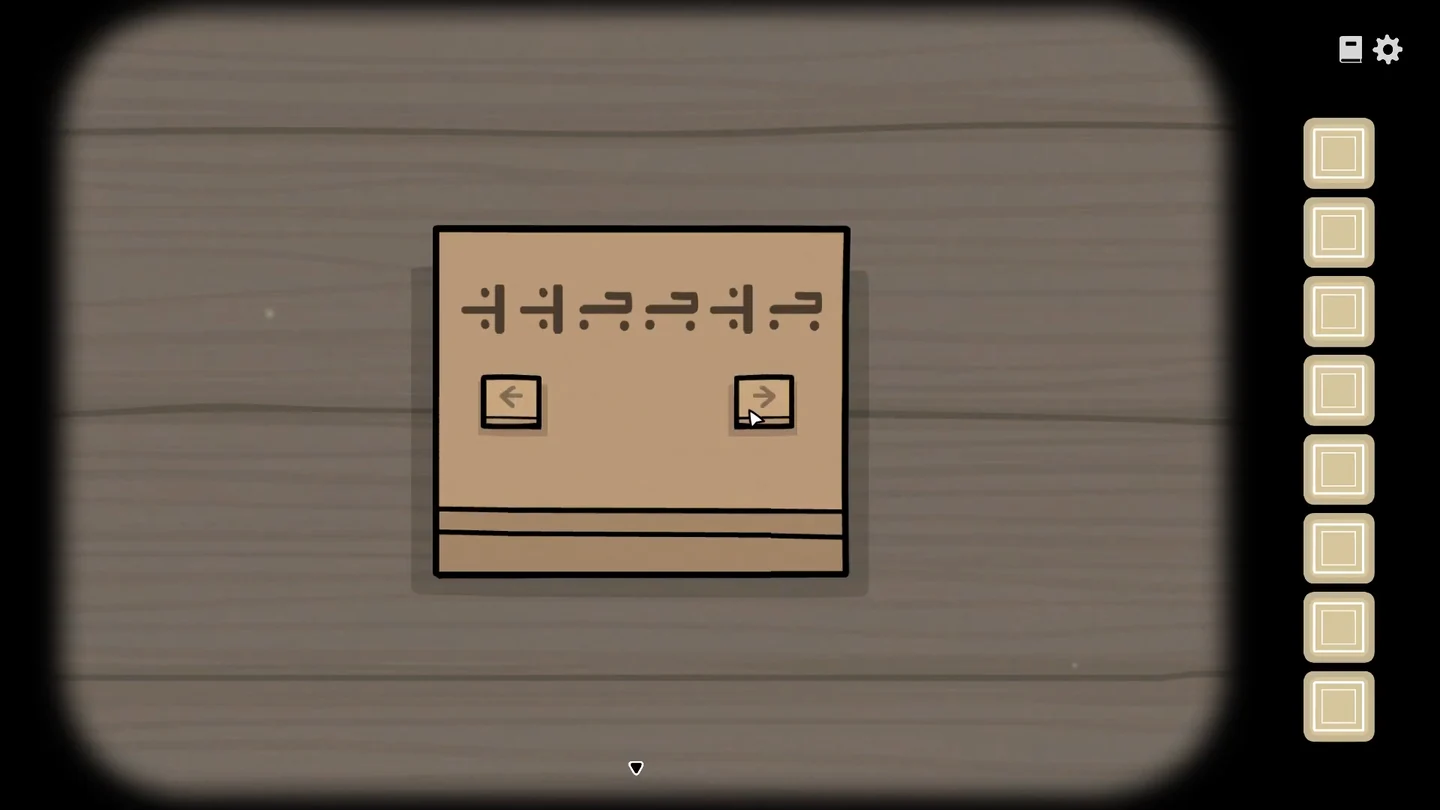
Trace the escape from the maze drawing: starting in the middle, each turn is left or right. The path gives R R R L R L R R L.
- Replay Day 3's Assisting in Alchemy and open the box with the left and right arrow buttons by pressing: right, right, right, left, right, left, right, right, left. Take the third note, dated August 13th, 1838, which is scattered with small symbols of buildings, moons and water.
The Constellation Box (Searching the Attic)
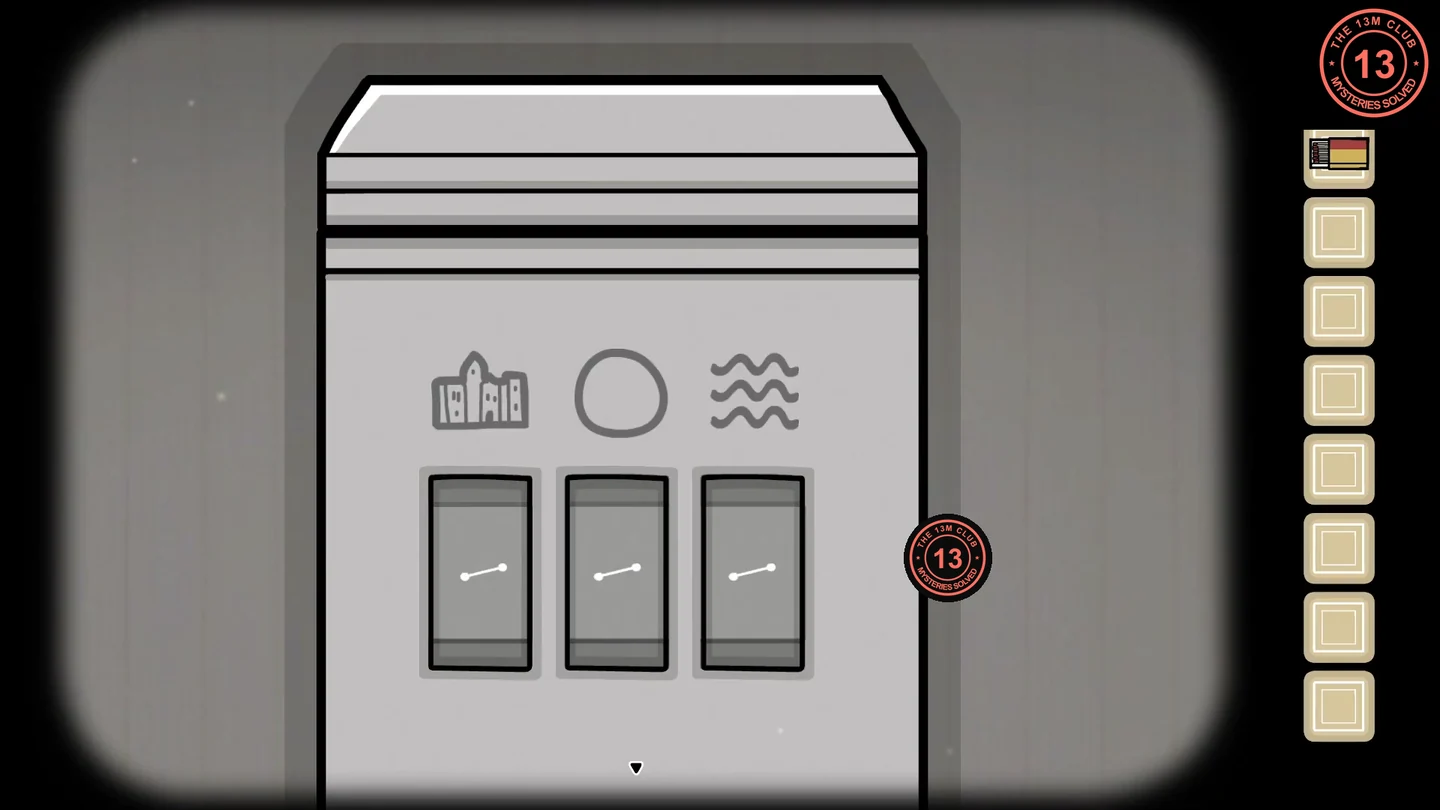
The third note sends you back to the constellation box in Day 1's attic, which now needs three new star shapes.
- Replay Day 1's Searching the Attic and set the constellation box dials. Under the house: the four-star branching shape, with a vertical line up from the central star and two branches down to the left and right. Under the moon (the plain circle): the two-star slanted line. Under the waves: the three-star triangle, with its point facing left. Take the fourth note: Alexandra took the servant to the old ruin in the hills, home to thousands of bats. It shows a lock pattern of bars and dots.
The Cellar Box (Dressing up for Dinner)
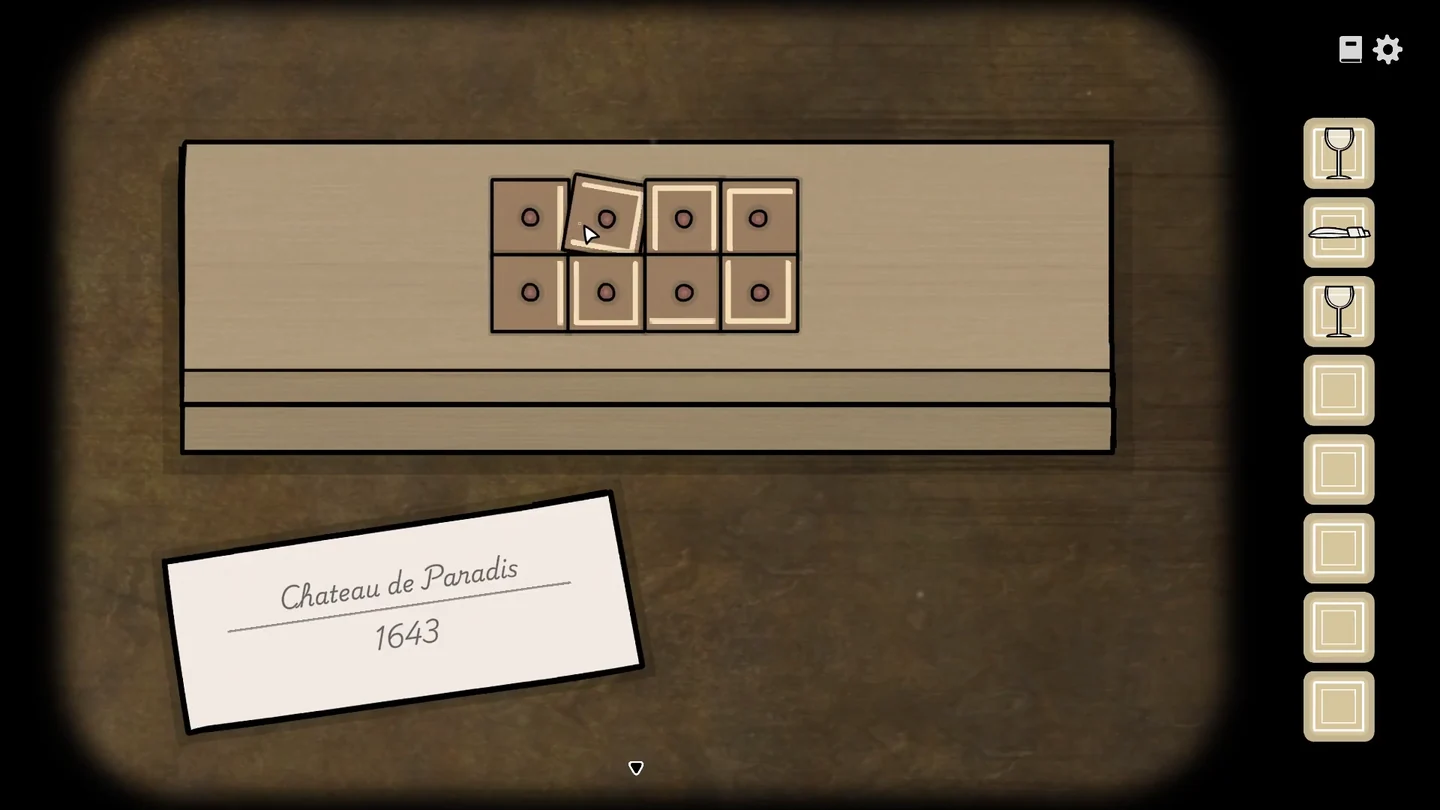
Replay Day 3's Dressing up for Dinner and go down to the cellar.
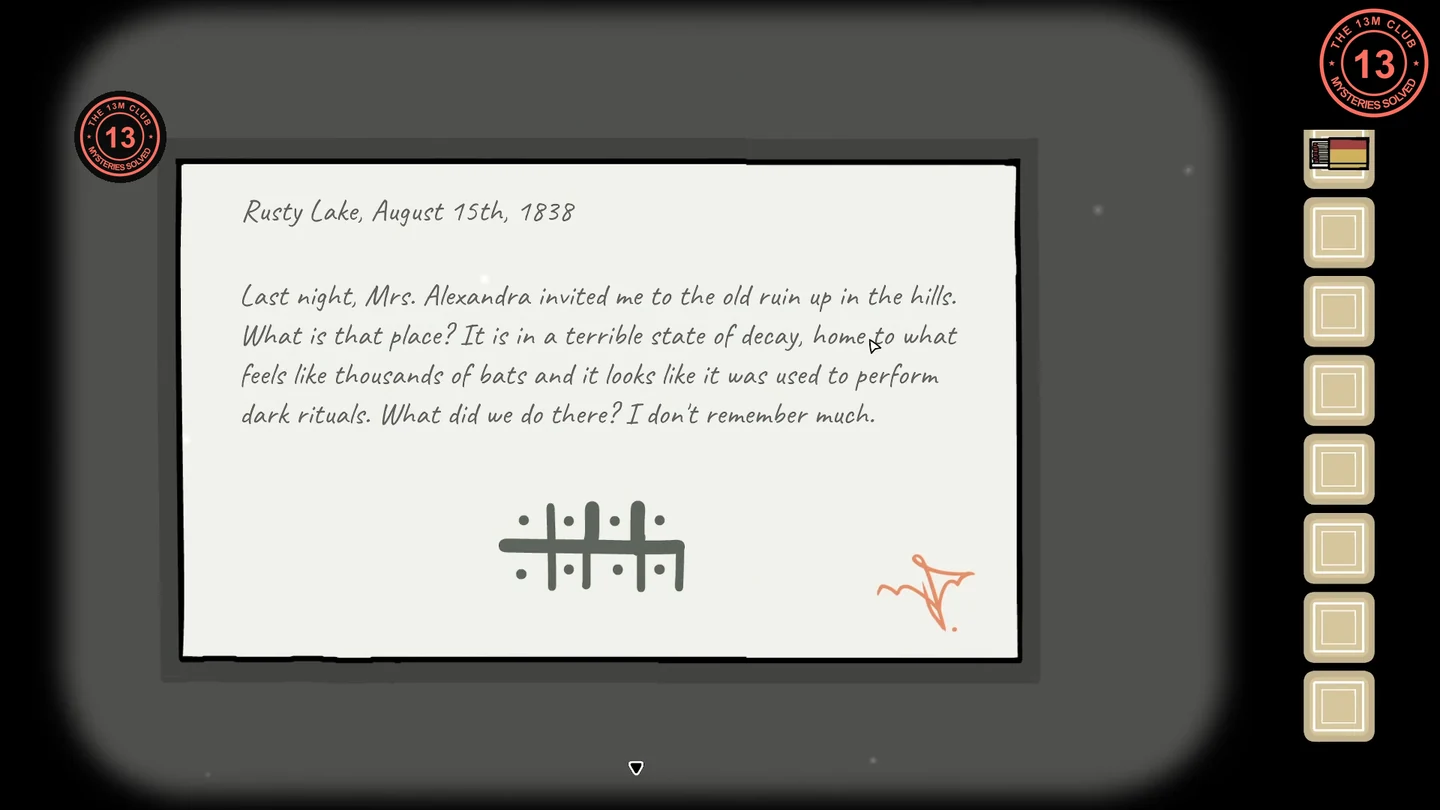
- Turn the tiles of the box on the cellar floor (the one with the Chateau de Paradis 1643 card) to match the bar-and-dot pattern on the fourth note. It opens with a dream note: bronze stairs spiral down into the cave, a silver snake slithers on the ground, and a future son draped in gold has a mark upon his brow.
The Hidden Room
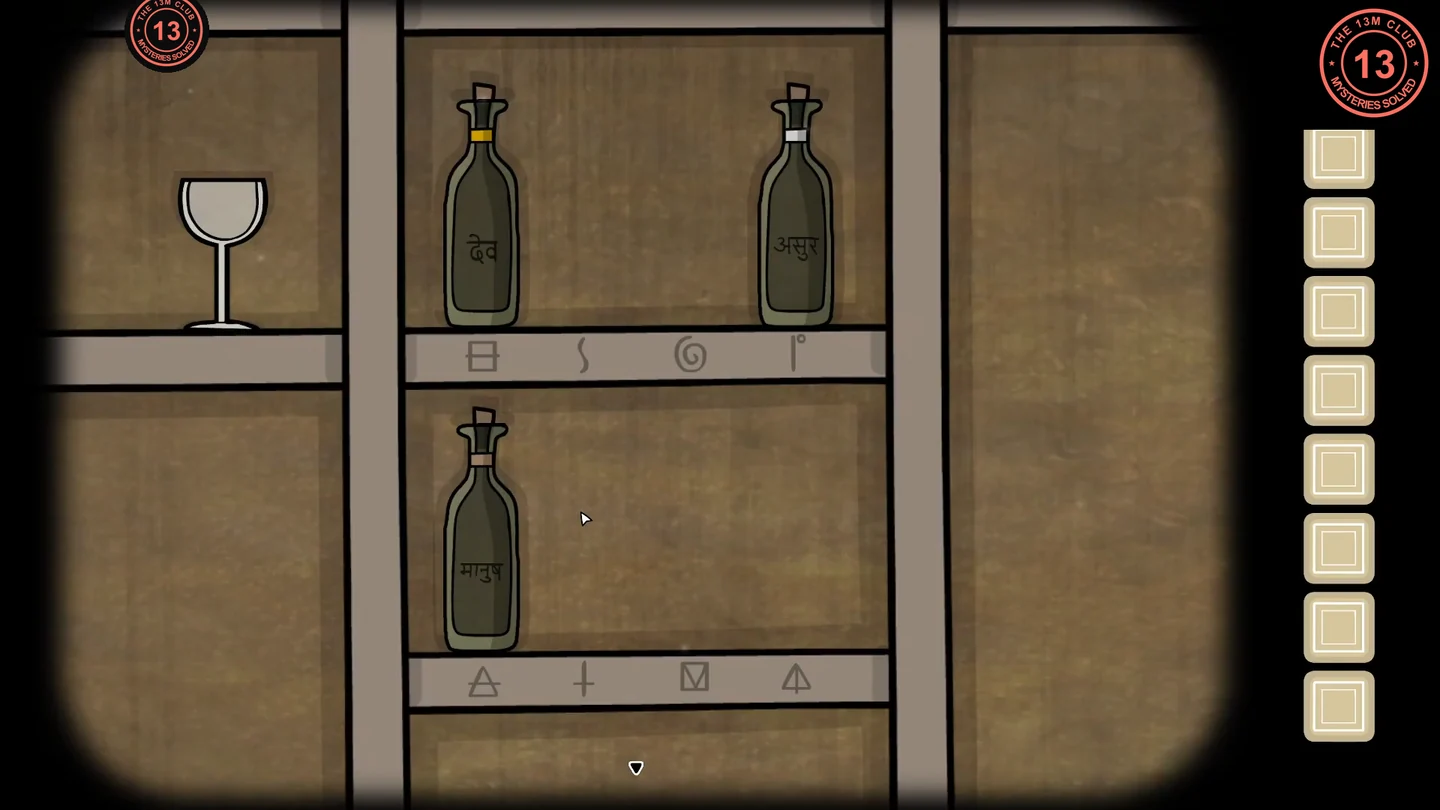
Stay in the Dressing up for Dinner replay. This bottle arrangement is different from the normal one you used earlier in Dressing up for Dinner on Day 3.
- On the cellar bottle shelf, follow the dream: bronze-necked bottle on the spiral (stairs) and silver-necked bottle on the S (snake), both on the top shelf, and gold-necked bottle on the first symbol of the bottom shelf, the triangle with a horizontal line (the mark on the brow). This is not the triangle with the vertical line at the far right of the bottom shelf that the normal chapter uses. A barrel opens: crawl through it into the hidden room.
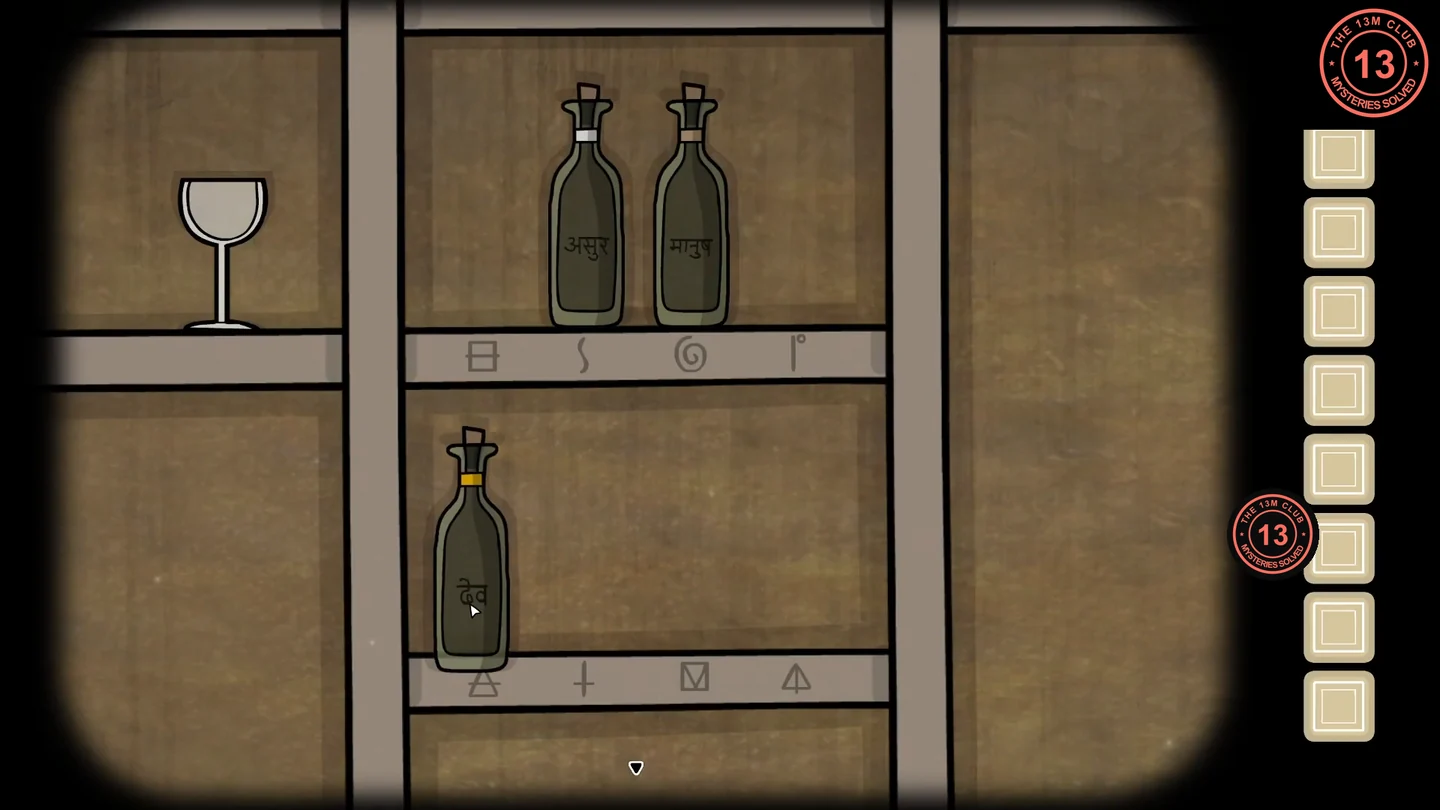
The bottles placed as the dream describes. - Click the red cloth on top of the shelf to find the last note. It shows two crosses, five crosses, an arched window, a circle with a dot and a bar symbol. The green lockbox with four dials sits on the same shelf.
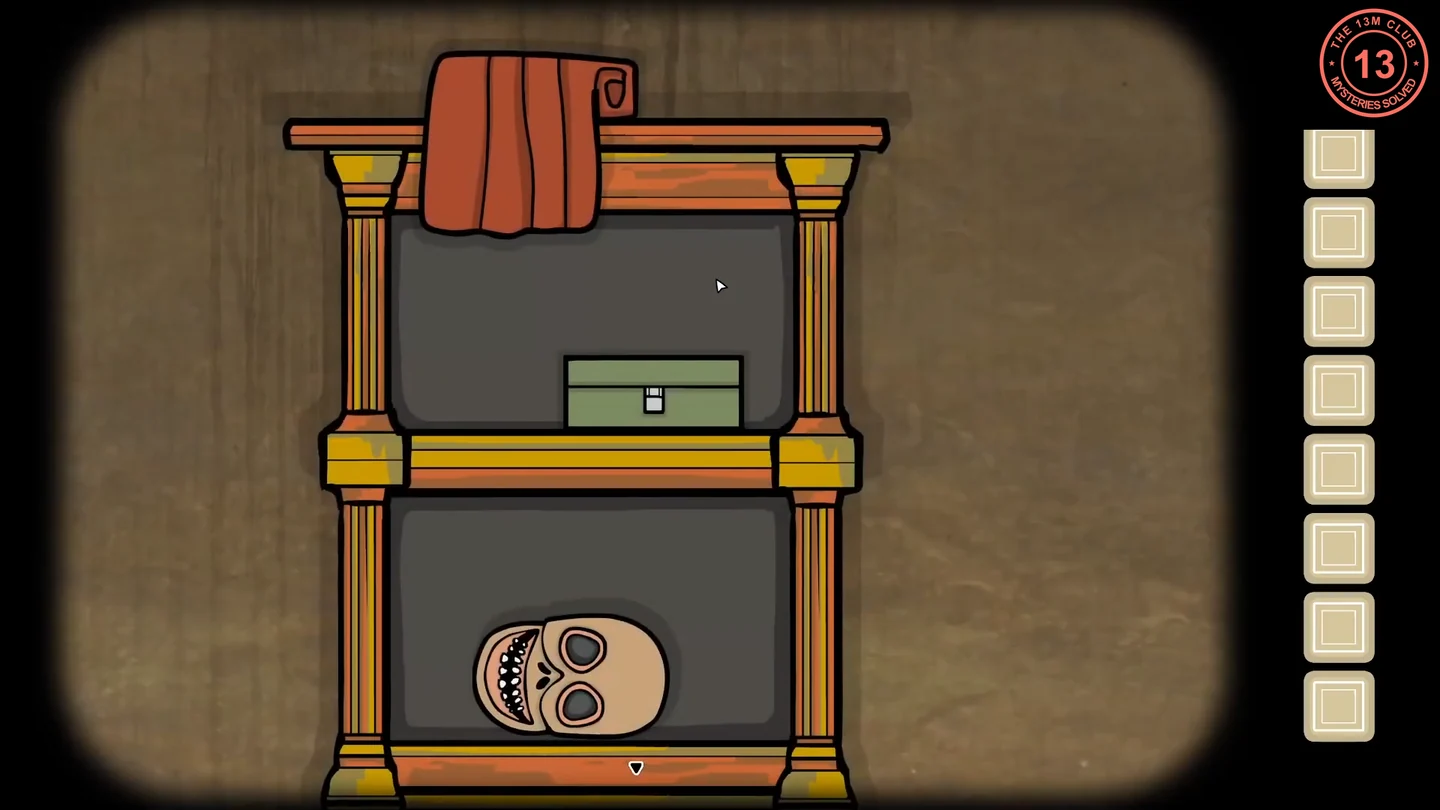
The hidden room's shelf with the red cloth and the green lockbox.
The Lockbox and the Telescope
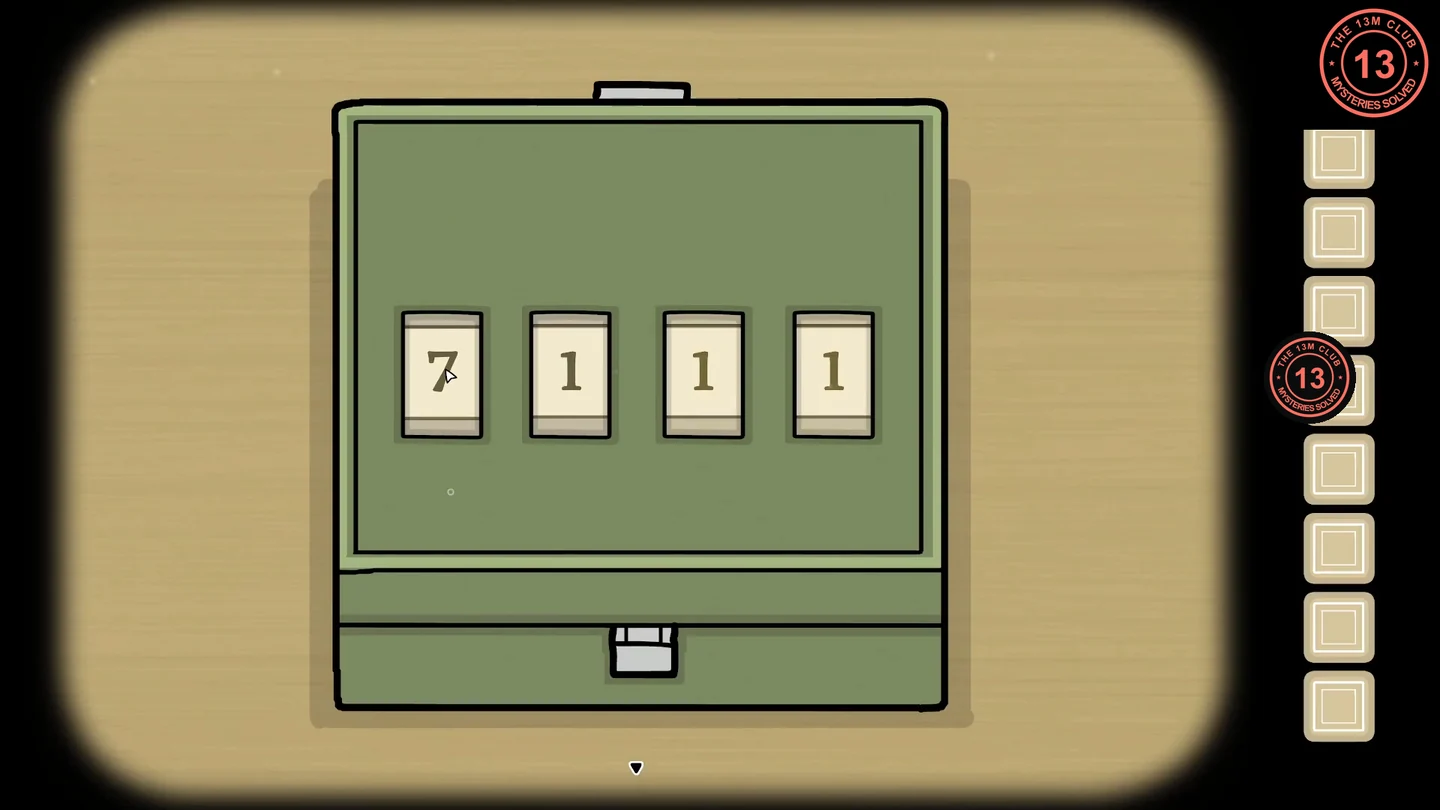
Each symbol on the last note gives one digit of the lockbox code.
- Work out the code, one digit per symbol group. Crosses: in the notebook's Day 2 archive, the letter "My dear Alexandra" has eight red digits, 9 2 6 8 1 3 7 3; cross out two, skip one, cross out five, and 6 is left. Arched window: the arched window at the top of the tower on the Preparing Coffee house painting has a dark shape that forms a 2. Circle with a dot: this is the eye, which is 9 in the Going Hunting shed code. Bar: this is the alchemy symbol for 4, the same symbol used for 4 on the Assisting in Alchemy cupboard (code 2451). The code is 6294. Replaying Preparing Coffee or Going Hunting to look at these clues again is optional. If you do, replay Dressing up for Dinner afterwards and return to the hidden room in the cellar, repeating the dream bottle placement if the barrel is closed again.
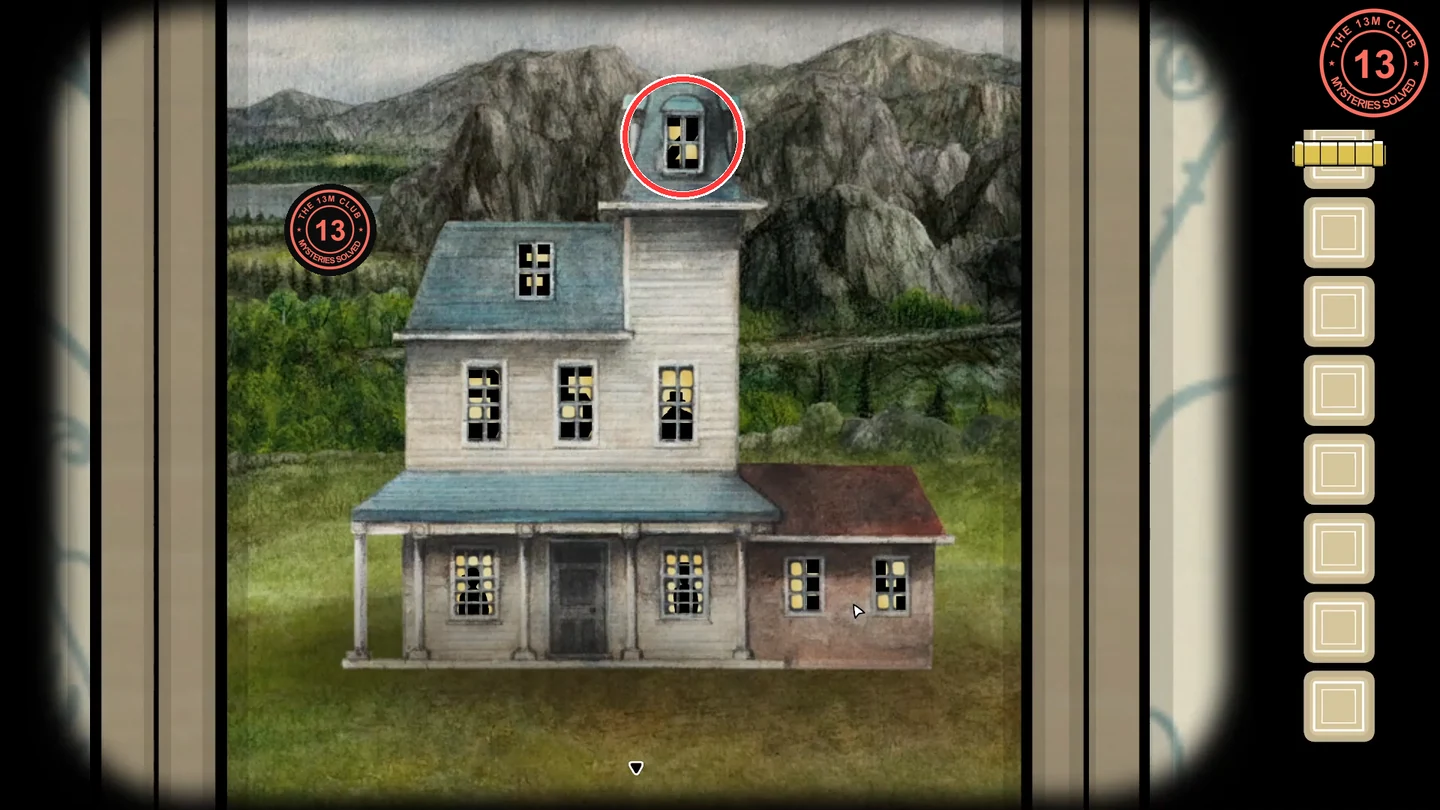
The arched tower window on the house painting, whose dark shape forms the 2. - Set the four dials of the green lockbox to 6294 and take the telescope.CODE6294
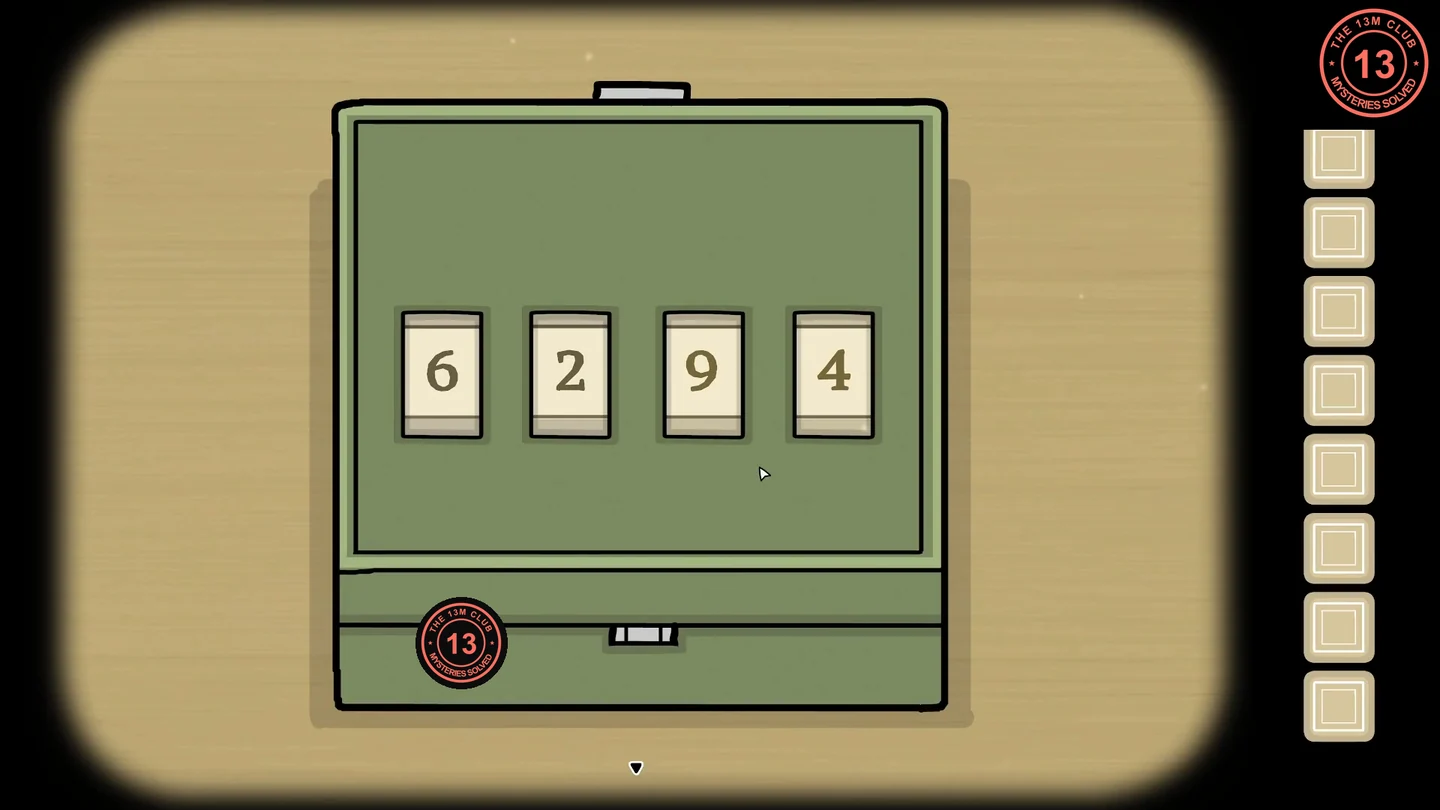
The lockbox set to 6294. - Leave the cellar to the stair hall in the entrance hall. Take the doorway on the right and continue past Aldous's bust and the hunting painting to the next alcove, where a window sits beside the Dining Room door. Open that window and use the telescope on the ruin in the hills. Pan up the tower to the small barred window at the top and click it.
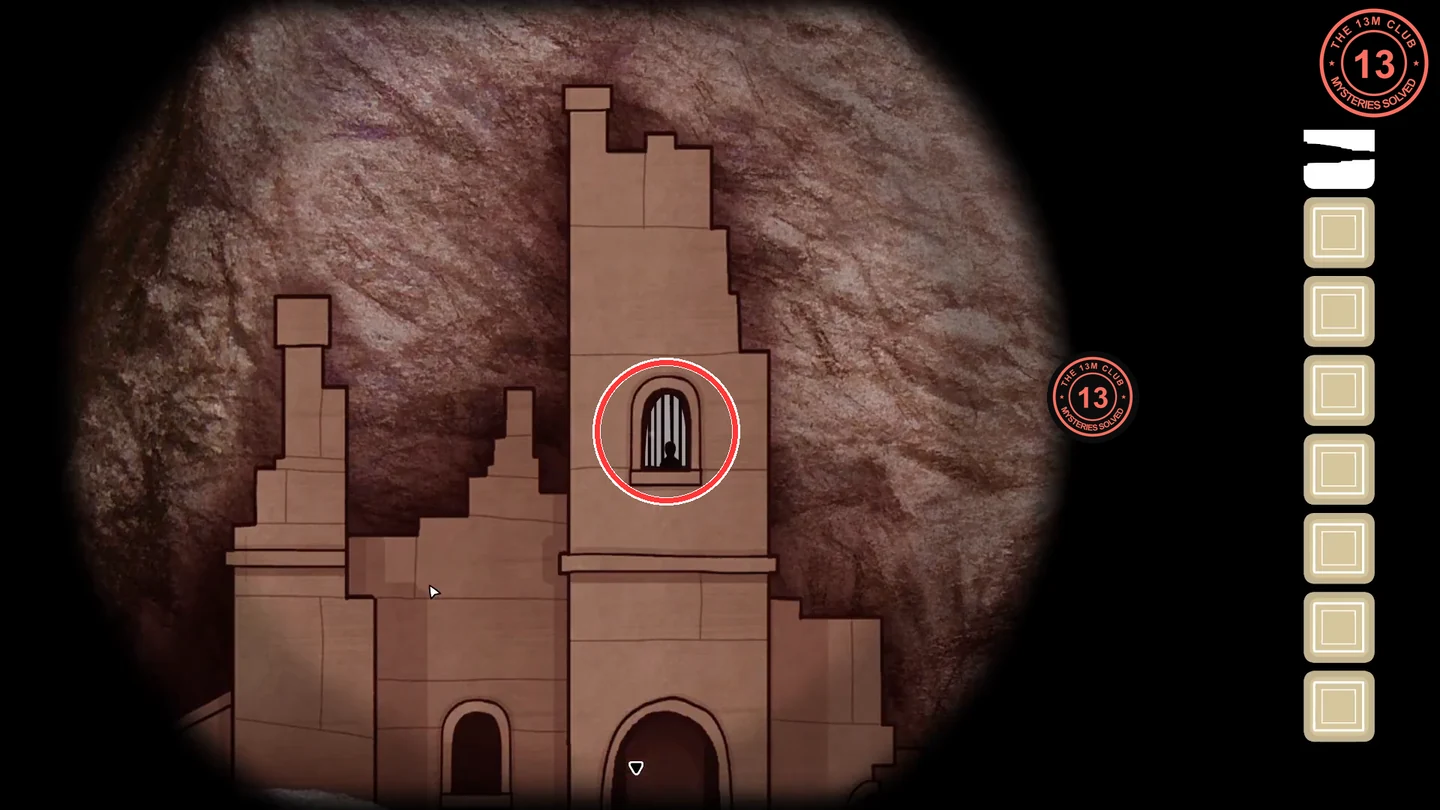
Click the barred window at the top of the ruin's tower. - The screen reads "Well done! You've found him! You have completed your search. For now..." and the You've found him! achievement unlocks. The screen offers two buttons, Watch clip and Continue. Choosing Continue returns you to the telescope view.
The Figure in the Shed
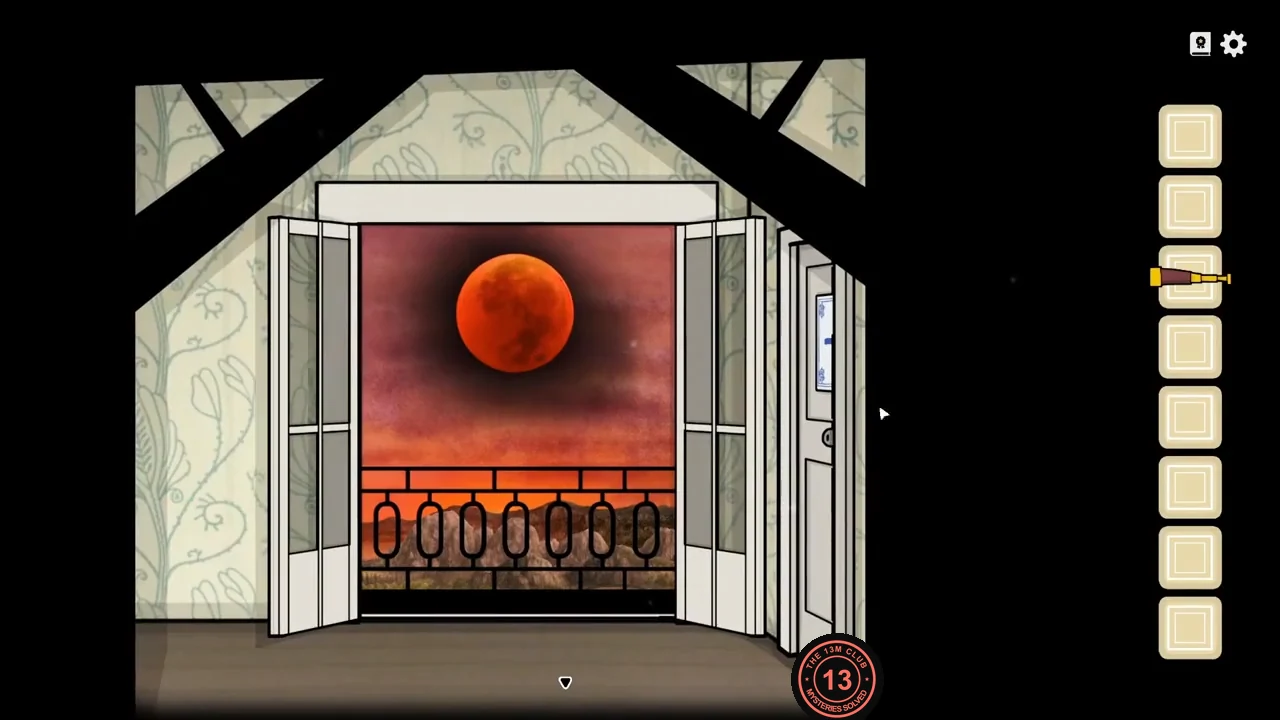
An extra telescope sight after the secret ending. On the ending card choose Continue, keep the telescope and finish preparing for dinner in the same Dressing up for Dinner replay.
- With the telescope still in your inventory, continue Dressing up for Dinner in the same replay. Take the hair ribbon from the crate in the back hallway and Alexandra's necklace. In the cellar, set the bottles back to the normal Dressing up for Dinner arrangement: move the gold-necked bottle to the triangle with the vertical line at the far right of the bottom shelf, and swap the top-shelf bottles so bronze is on the S and silver on the spiral. Take the sacred cloth and sacred water from the golden chest. Prepare James and give Alexandra her things until she leaves the balcony.
- Step out onto the balcony and use the telescope on the small red-roofed shed visible through the railing. A dark figure with pointed ears appears in the shed doorway.
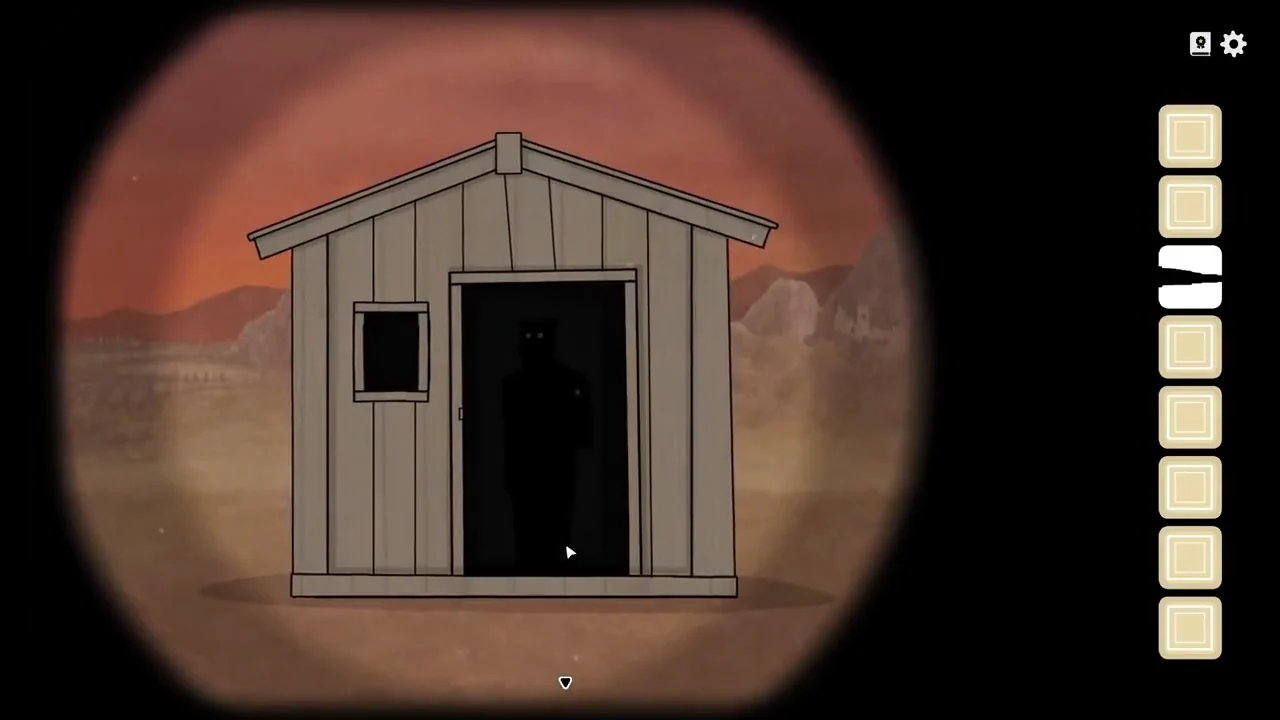
The figure in the shed doorway.