Preparing Coffee
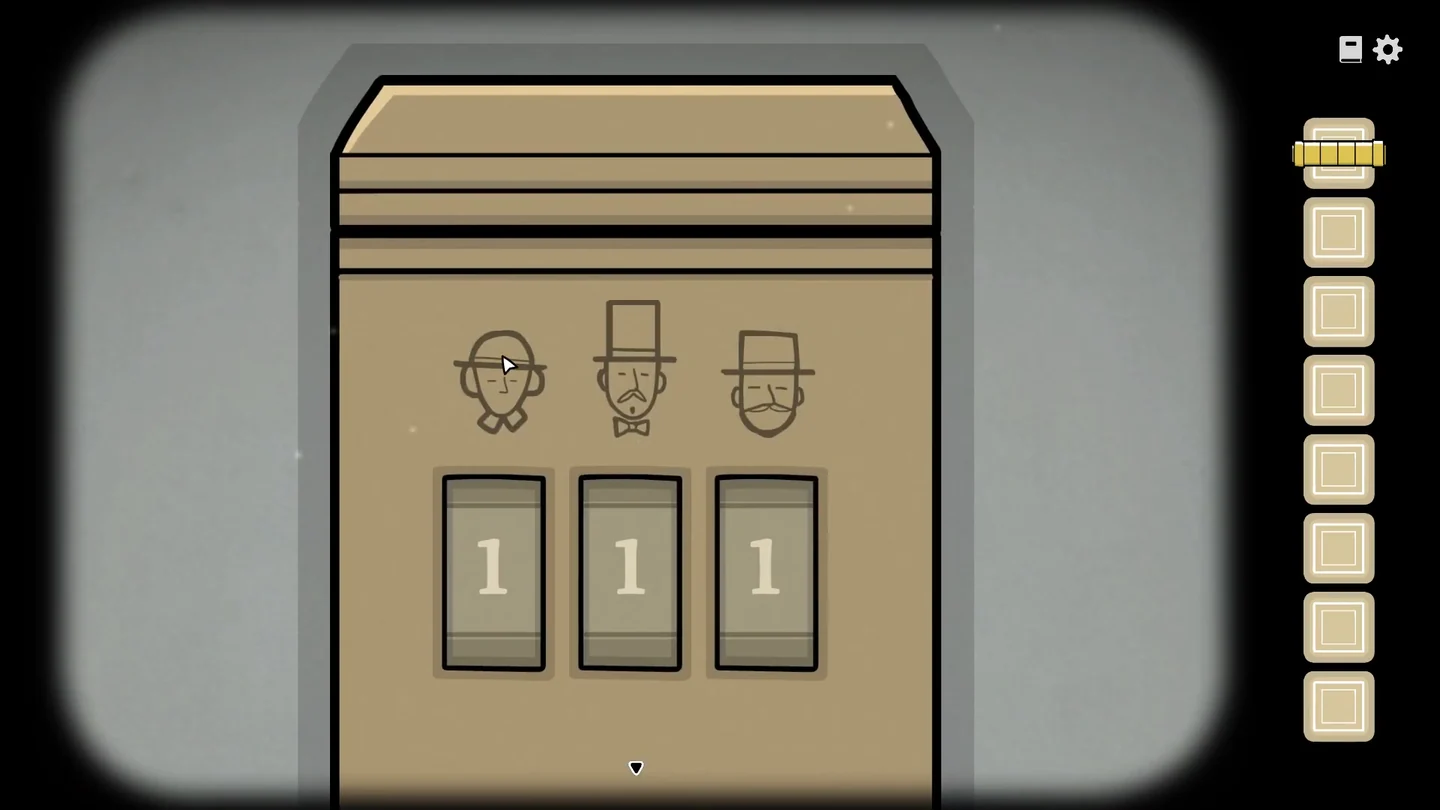
A new day starts with coffee for Mr. Aldous. The coffee beans are locked in a box in the Servant's Room.
- Talk to the maid waiting for you to start the day.
- The box in the Servant's Room has a dial for each sibling. Check which direction each sibling points in their portrait. Return to the house painting on the upstairs landing, light its windows, and follow those directions to read the numbers: Alexandra 3, Aldous 1, William 5. Enter 315 on the box and take the coffee beans.CODE315
- Optional achievement Serving Mr. Aldous his Favorite Coffee: before grinding, place the coffee beans on top of the hot Servant's Room stove and take back the roasted coffee beans. The achievement unlocks when Aldous receives coffee made from them.
- Grind the beans in the coffee grinder upstairs, put the ground coffee in the pot on the Servant's Room stove and take the coffee pot once it boils.
- Find Aldous behind the pink door on the ground floor of the stair hall, beneath the upstairs railing and beside the red chair, and pour his coffee. Then find the maid and talk to her, and enter William's room to finish the chapter.
Waking up William
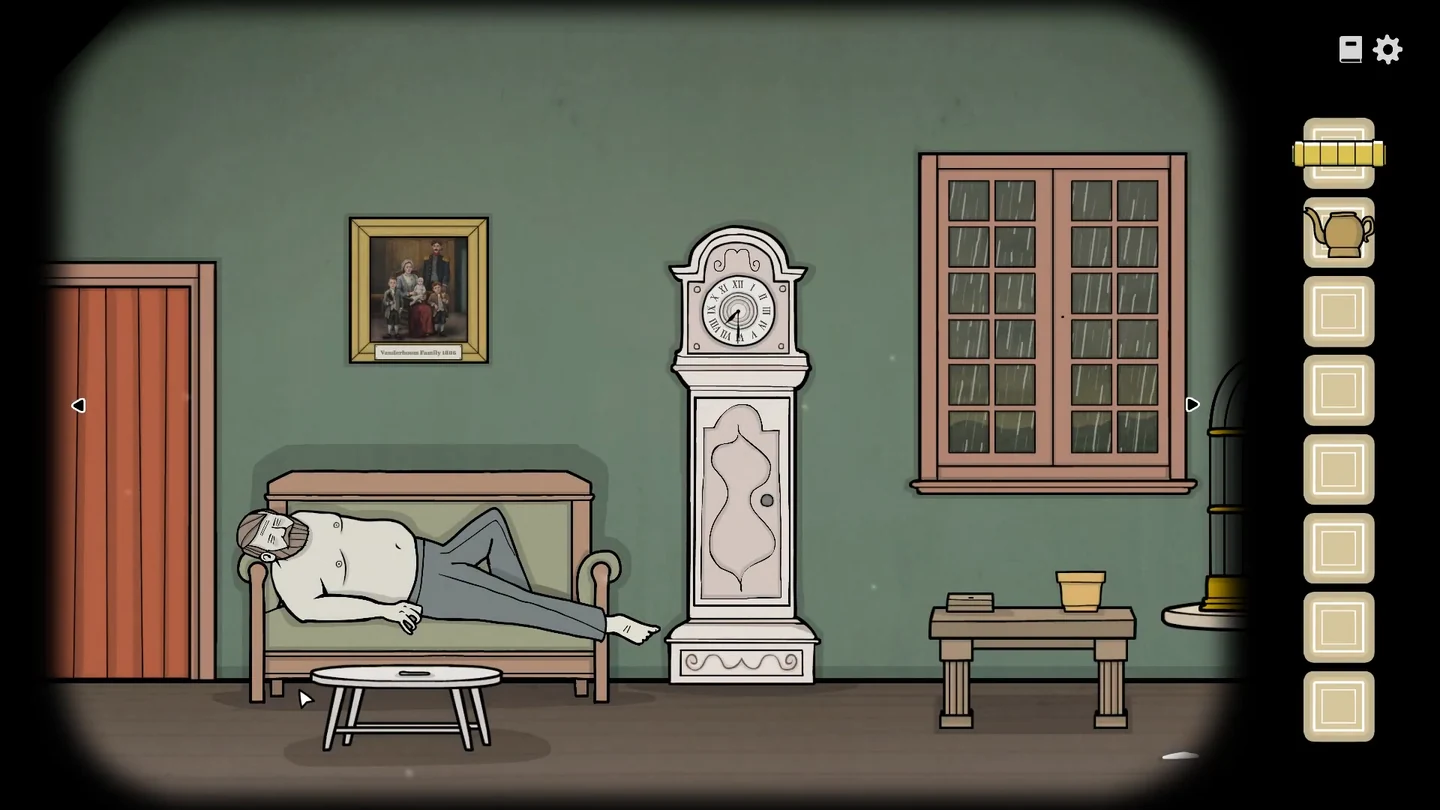
William is fast asleep on the couch in his room. Wake him, get him ready and help him read the special scroll from the attic.
- Take the spoon from the table and the hat from the top of the wardrobe. The pocket watch hanging with the jacket in the wardrobe shows 9 o'clock: set the grandfather clock to 9:00. Back out of the clock face, open the bottom door of the grandfather clock and tap Rustie the cat sitting inside to send him away. The box in the clock case is now accessible.
- Open the box inside the clock and arrange the five relics to match the family portrait above the couch (Vanderboom Family 1806): red brooch top left, pipe top right, bird skull bottom left, baby shoe bottom middle and goblet bottom right. Take the cup.
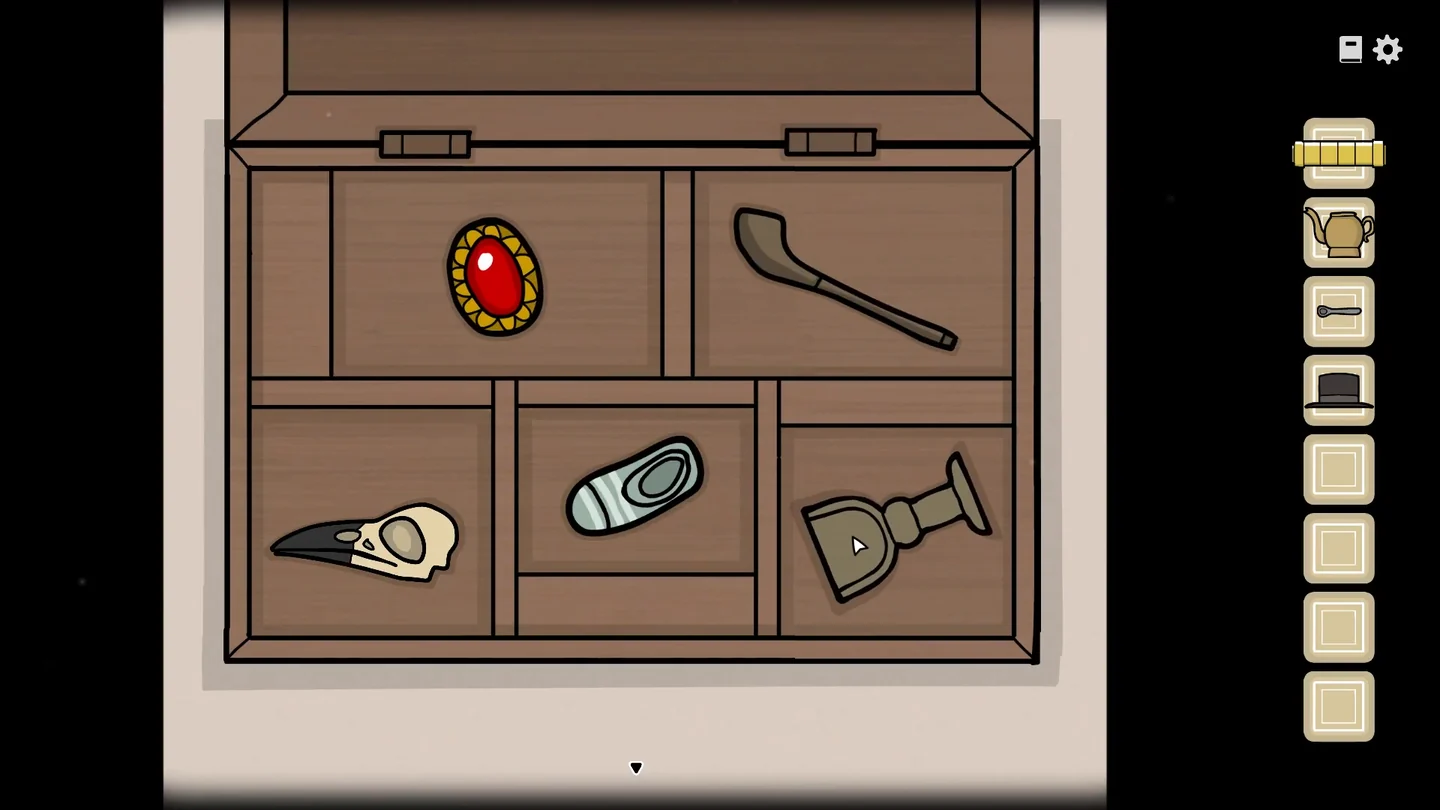
The relics arranged to match the 1806 family portrait. - Use the cup on William's open mouth to collect the cup with liquid. Take the seed from the bird droppings on the floor, plant it in the flower pot on the table and water it with the cup to get birdseed. Feed the parrot and take one of its feathers.
- Optional achievement Tickling Mr. William: while William is asleep, use the feather repeatedly on his mouth, nose, and both spots on his chest until he tells you to stop and the achievement unlocks.
- Tickle one of William's toes with the feather and watch it: it wiggles toward one side a number of times. Count the wiggles, move that many toes in that direction and tickle the toe you land on next. Keep following each new toe's direction and count. The sequence is random, so watch each response carefully; a wrong toe means starting the chain again. When he finally pulls his foot back, take the small key that drops on the floor.
- Unlock the box on the table with the small key and take the eye drops and the window knob. Fit the knob on the window, open it and refill the cup with rainwater. Water the plant again for more birdseed and feed the parrot, which lays an egg: take it.
- Give William the eye drops and the coffee. Once he is dressed, talk to him and give him his hat and the egg, then crack the egg with the spoon. A small figure climbs out of the egg: click it so William picks it up and eats it. Talk to him again until he asks you to put the scroll on the table.
- Put the special scroll on the table. Turn its rings until the pieces line up to form a fish. A paper tab then sticks out of the right end of the scroll: drag it to the right to pull out the story.
- Read the story. William's finger stays fixed, so move the paper with the pictures under it to make him point at the pictures in the order they appear: house (top left), cave (bottom right), door (top right), the three timepieces (middle), book (bottom middle), elixir bottle (top middle) and the glowing figure of Enlightenment (bottom left). Talk to William to finish the chapter.
Cleaning the Floors
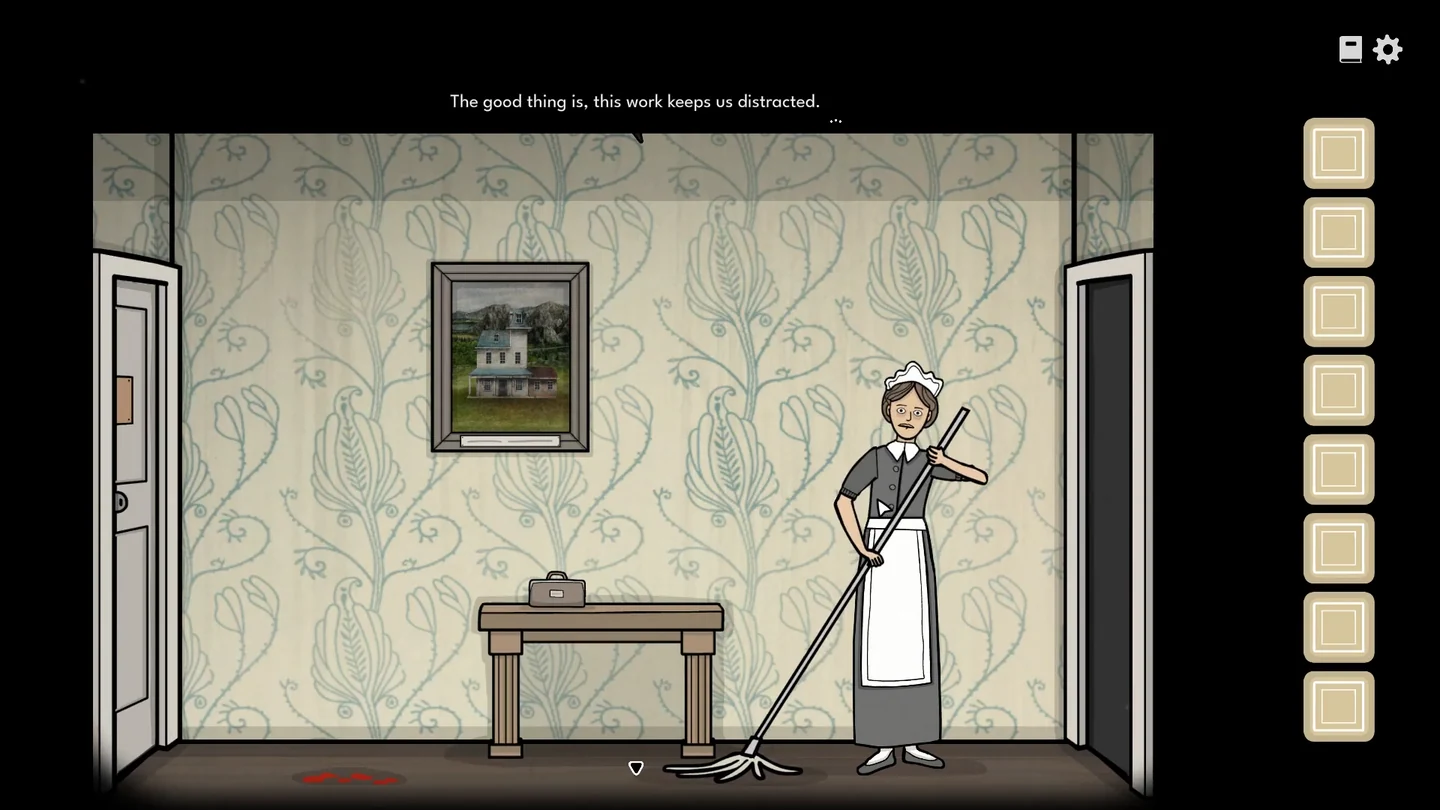
Bloodstains have appeared around the house. Each stain is a small puzzle: the drops have to be scrubbed away in the right order.
- Find the maid in the upstairs hallway and talk to her. Take the scrubber from her bag on the table.
- Optional achievement Deep Cleaning: do this before you finish the Servant's Room stain. While its drops are still on the floor, scrub the faint area in the top-left corner of that floor until a stick-figure drawing of two children appears and the achievement unlocks.
- Scrub the three stains. Stain beside the maid: count the circles in each drop and clean them in counting order. Stain near the Bathroom: follow the direction in which the blood ran. Stain in the Servant's Room: clean the drops in matching pairs (for the optional achievement, scrub the top-left corner first as described above). If the drops stay, try a different order using the same rule.
- Talk to the maid again. Look through the keyhole of the Bathroom door, then go to the balcony and climb the ladder to finish the chapter.
Going Hunting
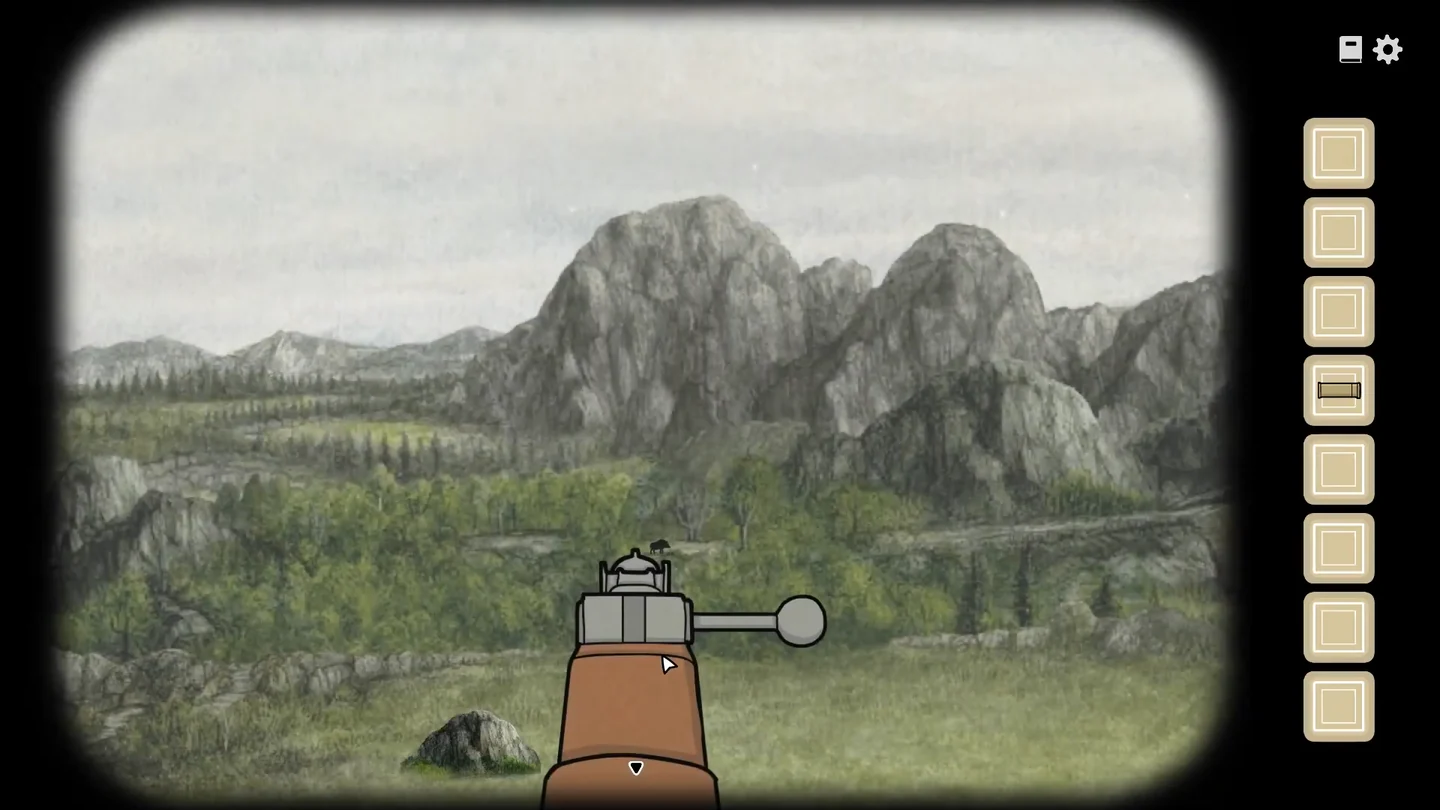
Aldous wants meat for tomorrow's dinner. His hunting list says where each animal is found: deer near gently flowing water, pheasant in the treetops, rabbit in burrows under rocks near grassland, pigeon high in the air and boar among the roadside bushes.
- Talk to Aldous until he hands you the rifle. Pick up the four bullets lying on the tree stump first, then rest the rifle on the stump to start the hunt. The rifle takes one bullet at a time: load a bullet from your inventory for each shot, line up the target, then use the control on the right side of the rifle to fire. When your bullets run out, go back to the stump for more.
- Optional achievement A Perfect Hunt: this is the same hunt as the next step, played without a single miss, so decide before your first shot. Every one of the nine shots has to hit something that needs shooting. Some targets only appear after another shot: the boar after the roadside bushes, the rabbit after the rock in the field and the deer after William has been hit twice. One working no-miss route: the roadside bushes, the boar, the pheasant, the pigeon, the rock in the field, the rabbit, William twice and finally the deer. Fetching a new bullet from the stump is not a miss. If it worked, Aldous says "Good shooting! You knew what to do." and the achievement unlocks. The hunt is then complete: skip the next step and continue with the meat clue.
- Normal hunt (skip this if you finished the no-miss run above): pan around and shoot each animal on the list in any order. The boar only appears after you shoot the bushes beside the road, and the rabbit after you shoot the rock in the field. The deer appears by the river only after you have shot William there twice. Load each shot from the bullets in your inventory and return to the stump to refill only when they run out.
- When Aldous returns with the meat, read the letter on the ground: a true hunter trains his sight, smell, touch, taste and hearing. Drag the animal parts on the table apart. The Roman numerals are not printed on the sense organs themselves but on separate marked bones and scraps: move each organ to the marker it belongs with until it lines up with it. For example, the eye lines up with the bone marked IX. In the letter's order the numbers are sight 9, smell 1, touch 2, taste 7 and hearing 6. Enter 91276 on the shed lock.CODE91276
- In the shed, take the butcher knife and the cloth. Give the knife to Aldous and click his arm until blood runs over his eyes. While he cannot see, undo the two straps of his satchel, open it and take his silver timepiece, then wipe his face with the cloth to finish the chapter.
Doing the Washing

Gather all of the family's dirty laundry, wash it and hang it out to dry on the balcony.
- Take the dirty clothes from the table below Aldous's portrait. In the Servant's Room, take the pile of dirty clothes and baby James from the floor, and the clothes on the table. Alexandra's note says to change her son's diaper and keep him clean at all times.
- Find Kate the maid in the upstairs hallway and give her the baby, then take the dirty diaper. Knock on the Guest Room door and collect William's dirty clothes.
- Put all of the dirty clothes into the tub on the Servant's Room stove and take the tub of clean laundry.
- On the balcony, use the tub of wet laundry on the empty clothesline to hang the seven pieces, then rearrange them in order of the number of red stripes, from fewest to most: shirt, underpants, the small towel, trousers, the sock with fewer stripes, the sock with more stripes, then the wide striped piece, which is James's cloth diaper. Take the key from the shirt pocket.
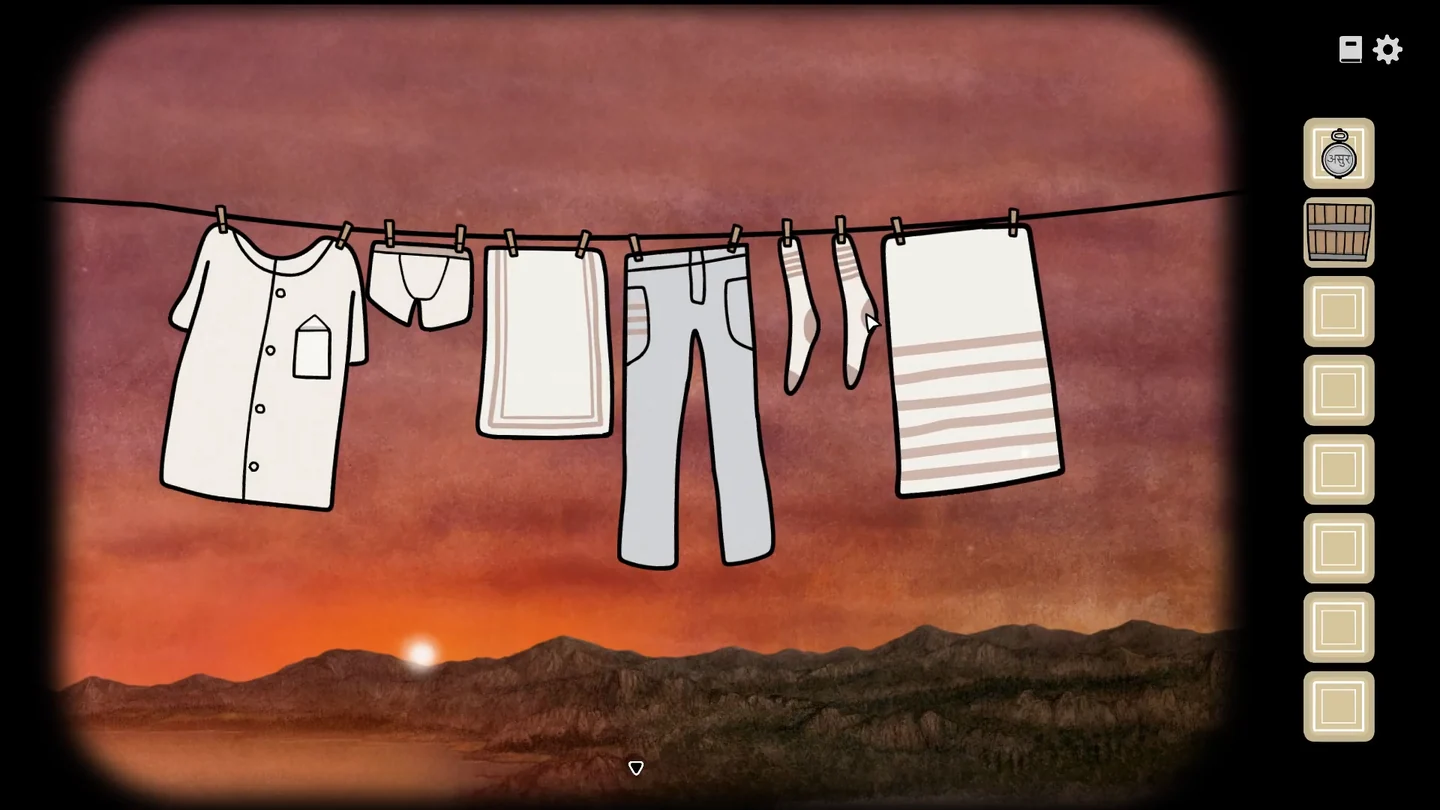
The finished clothesline, from fewest to most red stripes. - Optional achievement Close Inspections: before unlocking it, look through the keyhole of the Bathroom door. A hooded figure stares back and the achievement unlocks.
- Unlock the Bathroom door with the key and go inside to finish the chapter.
Helping with Bathing
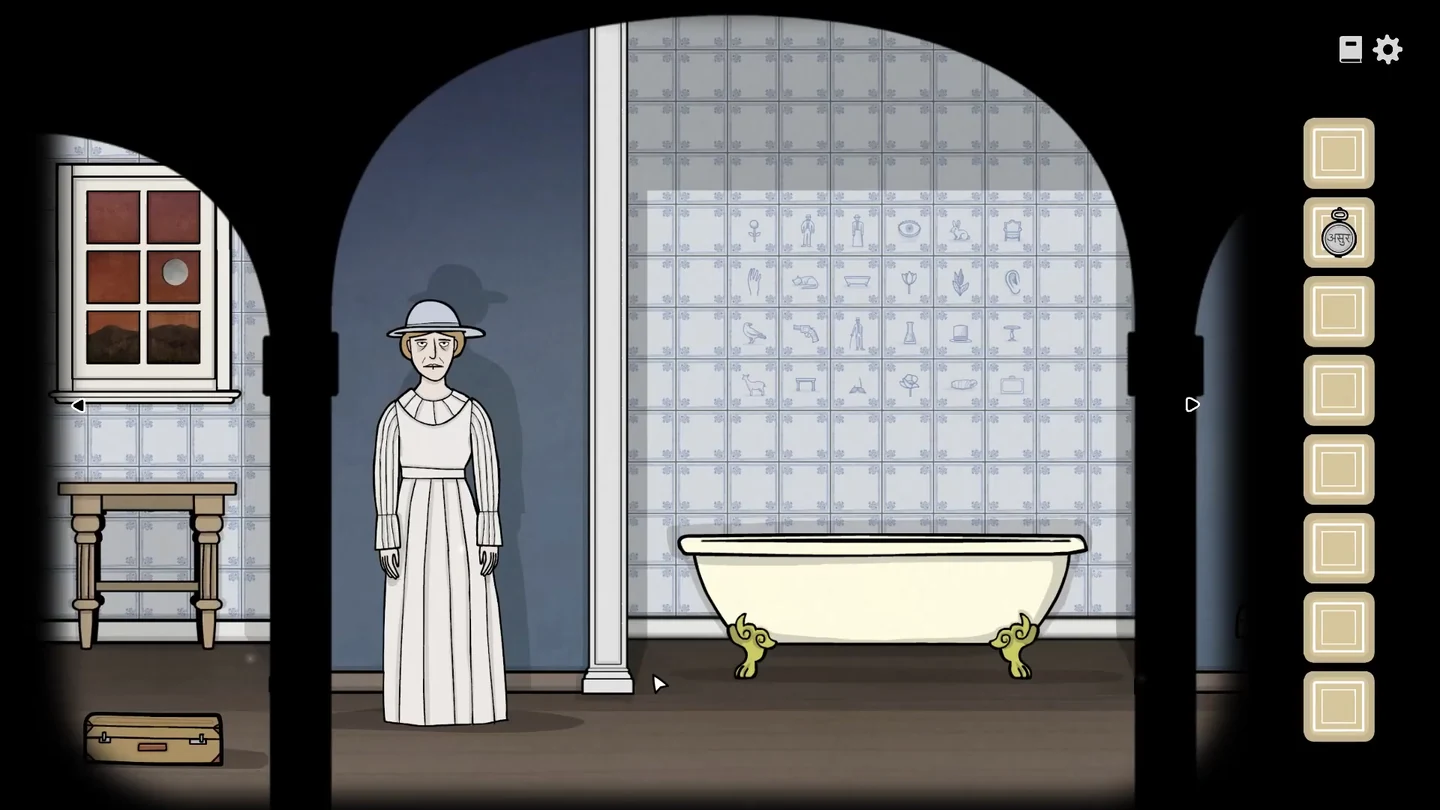
Prepare Alexandra's bath and keep her happy, while finding a way to steal her bronze timepiece.
- Fill the bathtub using the tub. Open the box on the table by sliding the square pieces until each one's shape lines up with the holes; start with the middle piece. Take the soap from the box and the cookie from the plate, and add the soap to the bath.
- Click the tiles behind the bathtub. Select groups of four tiles that share a theme: the Vanderboom family (William, Alexandra, Aldous, James), senses (eye, ear, hand, nose), things one carries (gun, hat, suitcase, elixir), flowers (dandelion, tulip, larkspur, lily), furniture (chair, bath, table, side table) and animals (rabbit, cat, bird, goat). Take the scissors.
- Take off Alexandra's hat and pull out her hairpin. Cut her stitches with the scissors to get a maggot.
- Put the cookie in front of the mouse hole. When the mouse comes out, kill it with the hairpin, and take the hairpin back before leaving the close-up: you need it again in the bath. Then put the maggot on the mouse to get the bone comb.
- Comb Alexandra's hair and help her undress so she can get into the bath.
- Bubble puzzle: click the bathwater to start the first wave of bubbles. The white dot on a bubble shows the direction it will travel; its angle is fixed. Tap the bubble whose dot points towards the others so it moves into them and pops them. Keep clearing the waves this way until a hand reaches out of the water.
- Use the hairpin on the hand that reaches out of the water until it retreats. Keep talking to Alexandra until she says you may leave now and closes her eyes. Only then use the scissors on her pendant to cut it off, and pick it up.
- Optional achievement Cleaning the Windows: after she tells you to leave, wipe the fogged-up bathroom window clean. A masked figure appears outside and the achievement unlocks.
- Hang Alexandra's hat on the coat rack and collect the notes from her gown and her hat. Lay them on the table with the letter: the red crosses cover the red digits, and the code left over is 281. Open her suitcase, use the pendant on the small box inside and take the bronze timepiece. Leave the Bathroom to finish the chapter.CODE281
Night Time Duties
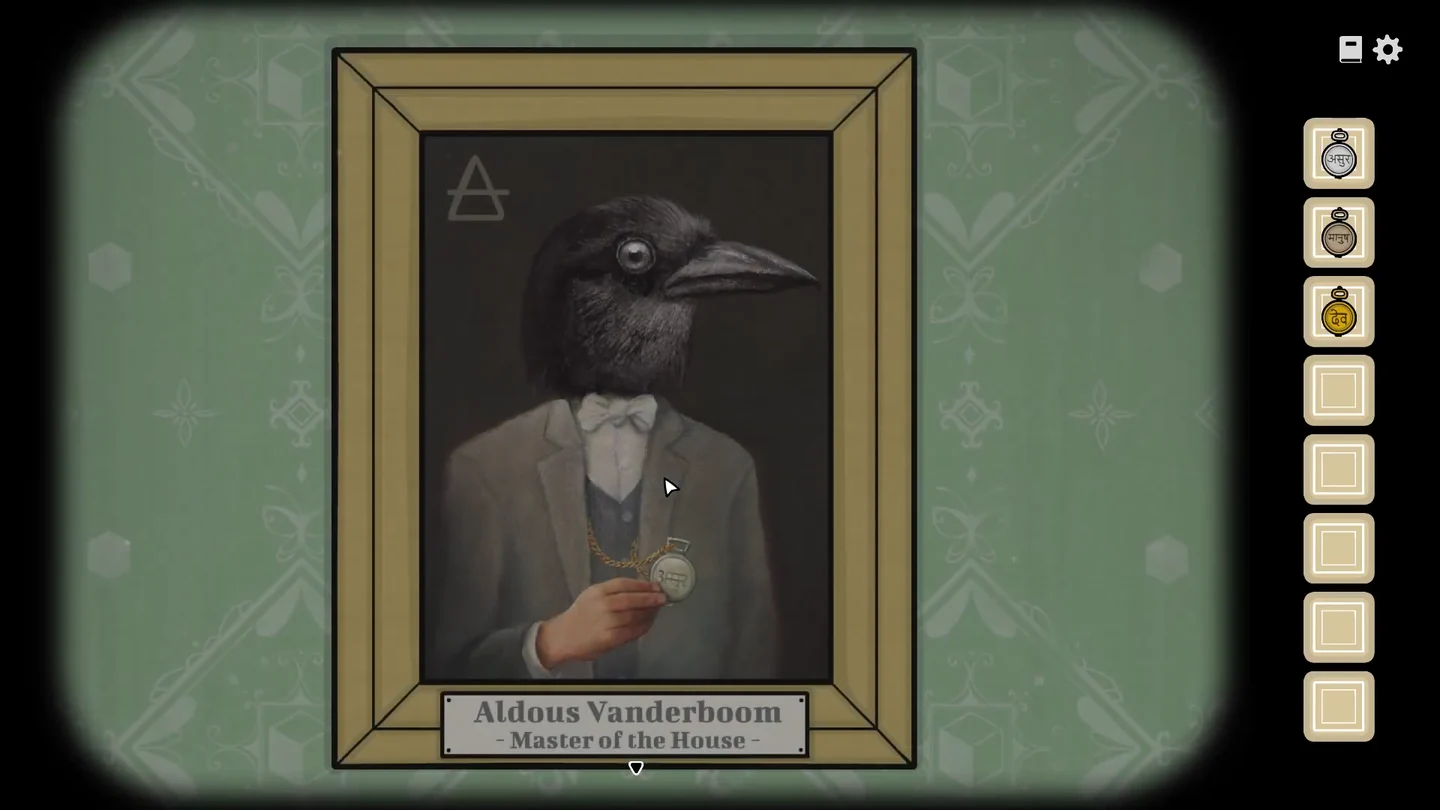
With the silver and bronze timepieces in hand, William has a final assignment for you: take the three timepieces down to the cellar.
- Find William, who is waiting for you downstairs, and talk to him until he gives you his golden timepiece.
- Use each timepiece on its owner's portrait and note the symbol that appears: Aldous (silver) a triangle with a line through it, Alexandra (bronze) a cross, William (gold) an S.
- Optional achievement Garbage Disposal: go out onto the upstairs balcony and click the leftover remains lying on the floor so that they fly over the railing.
- Pull back the rug and open the cellar trapdoor. On the bottle shelf, place the bottles by the colour of their necks: the silver-necked bottle on the triangle with a horizontal line (Aldous's symbol, the first symbol on the bottom shelf), the bronze-necked bottle on the cross next to it, and the gold-necked bottle on the S on the top shelf. A barrel opens: crawl through it to finish the chapter.
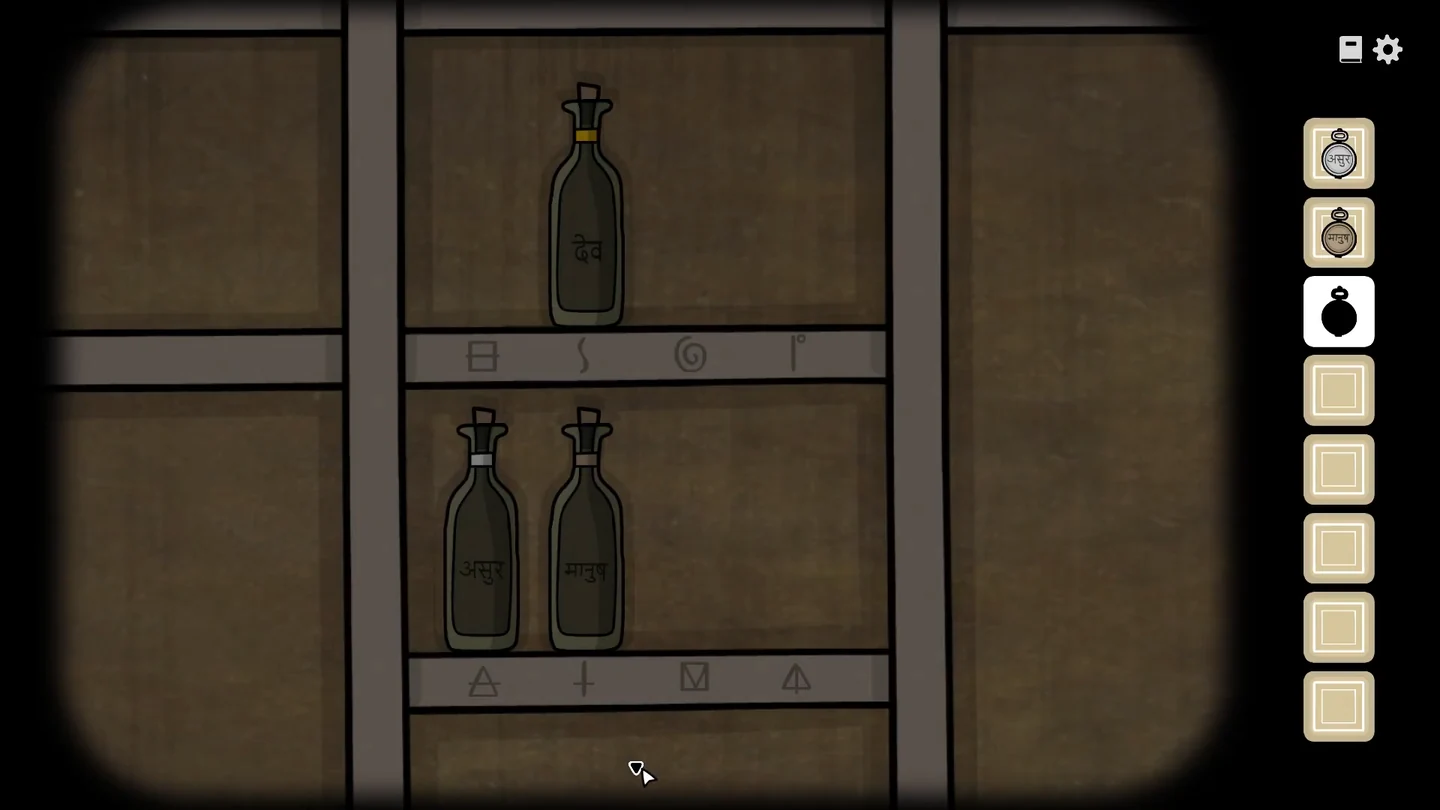
The bottles placed on the shelf by neck colour.
Inspecting the Cellar
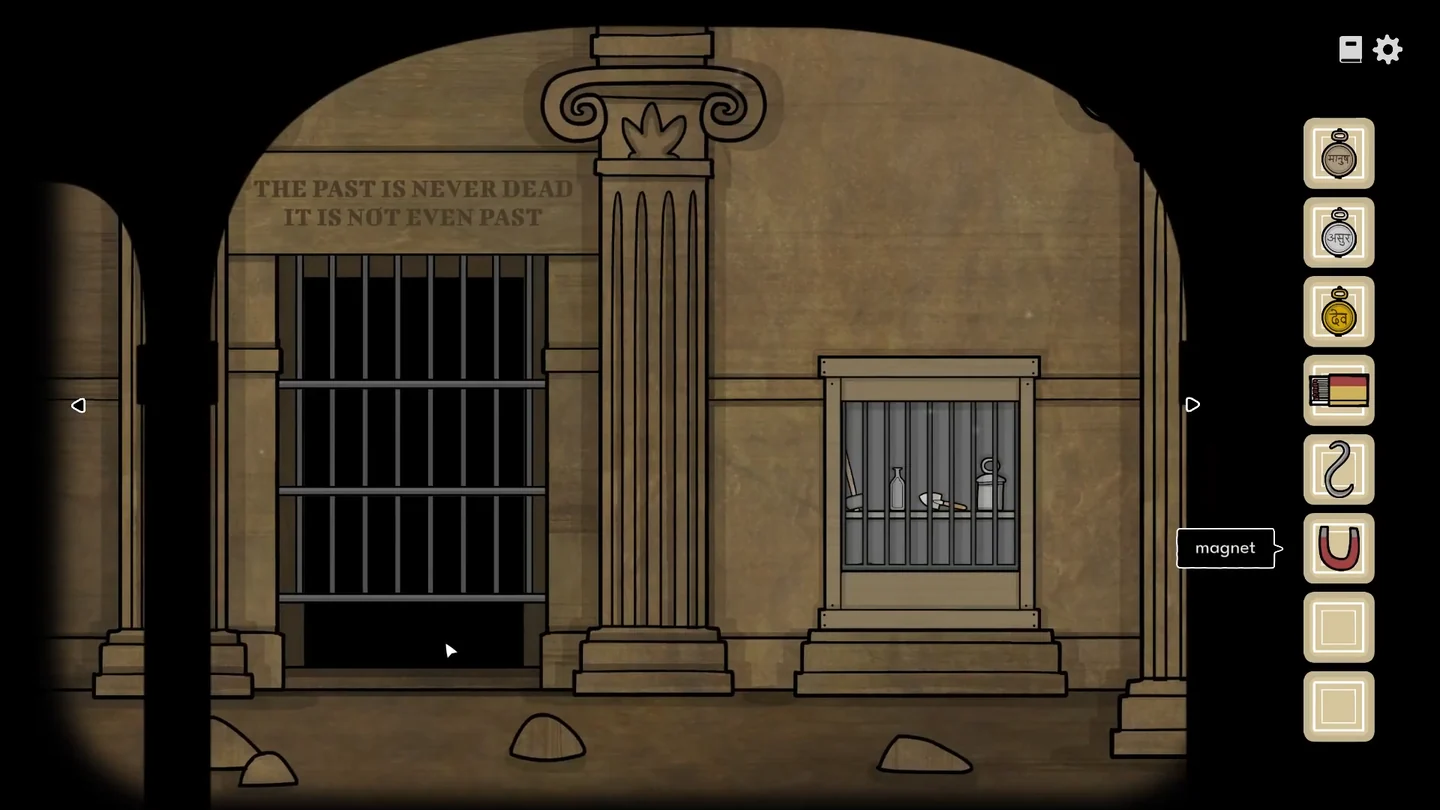
Below the house lies a crypt behind a barred gate. You can only take three tools from the cabinet at a time, and each hallway needs a particular set. Inside, a statue of a woman holds a clock. The left and middle hallways end at statues holding clocks (a bird-headed and a cube-headed statue), and the right hallway leads to the door guarded by three statues, where the three times open the way.
- Take any three tools from the tool cabinet: this opens the barred gate. Go in and look at the statue of the woman: her clock shows 5 o'clock. Click her clock to reset: you return to the entrance with all tools back in the cabinet, and can now pick the set for a hallway. Clicking the clock statue at the end of any hallway resets you the same way.
- Middle hallway (corkscrew, bottle, matches): use the corkscrew on the barrel twice. The first use only leaves a mark; the second makes oil start flowing out. Fill the bottle with the oil, light the oil on the floor with the matches so the barrel explodes, then pour the bottle of oil into the hole in the rock and light it to blast it open. The cube-headed statue beyond holds a clock showing 10 o'clock. After reading it, click the cube-headed statue's clock: you return to the entrance and the cabinet is restocked, ready for the next set of tools.
- Optional achievement Pest Control: before your ordinary trip down the left hallway, make an extra visit with the magnet, the sledgehammer and the matches. Pull the key out of the mouse hole with the magnet. Then use the magnet on the hole again so the rat peeks out. With no item selected, click the peeking rat so it runs out of the hole, then select the sledgehammer and hit the rat as it runs back. When the achievement unlocks, go back to the woman's statue and click her clock to reset, which reopens the cabinet so you can choose the tools for the left hallway.
- Left hallway (spade, magnet, matches): use the magnet on the mouse hole to pull out a key, dig up the box in the dirt pile with the spade and open it with the key to get a torch. Put the torch in the wall holder and light it. The bird-headed statue holds a clock showing 8 o'clock. After reading it, click the bird-headed statue's clock to return to the entrance; the cabinet is restocked, so you can now take the tools for the right hallway.
- Right hallway (weight, sledgehammer, hook): take these three tools from the restocked cabinet. Hang the hook on the ring above the gate and attach the weight to raise it. Smash the pillar with the sledgehammer and continue to the room with the three statues.
- Hang a timepiece on each statue and set them, from left to right, to 5, 8 and 10 o'clock. Go through the door, take the book and give it to Aldous to finish Day 2.