Leyla's Three Reels
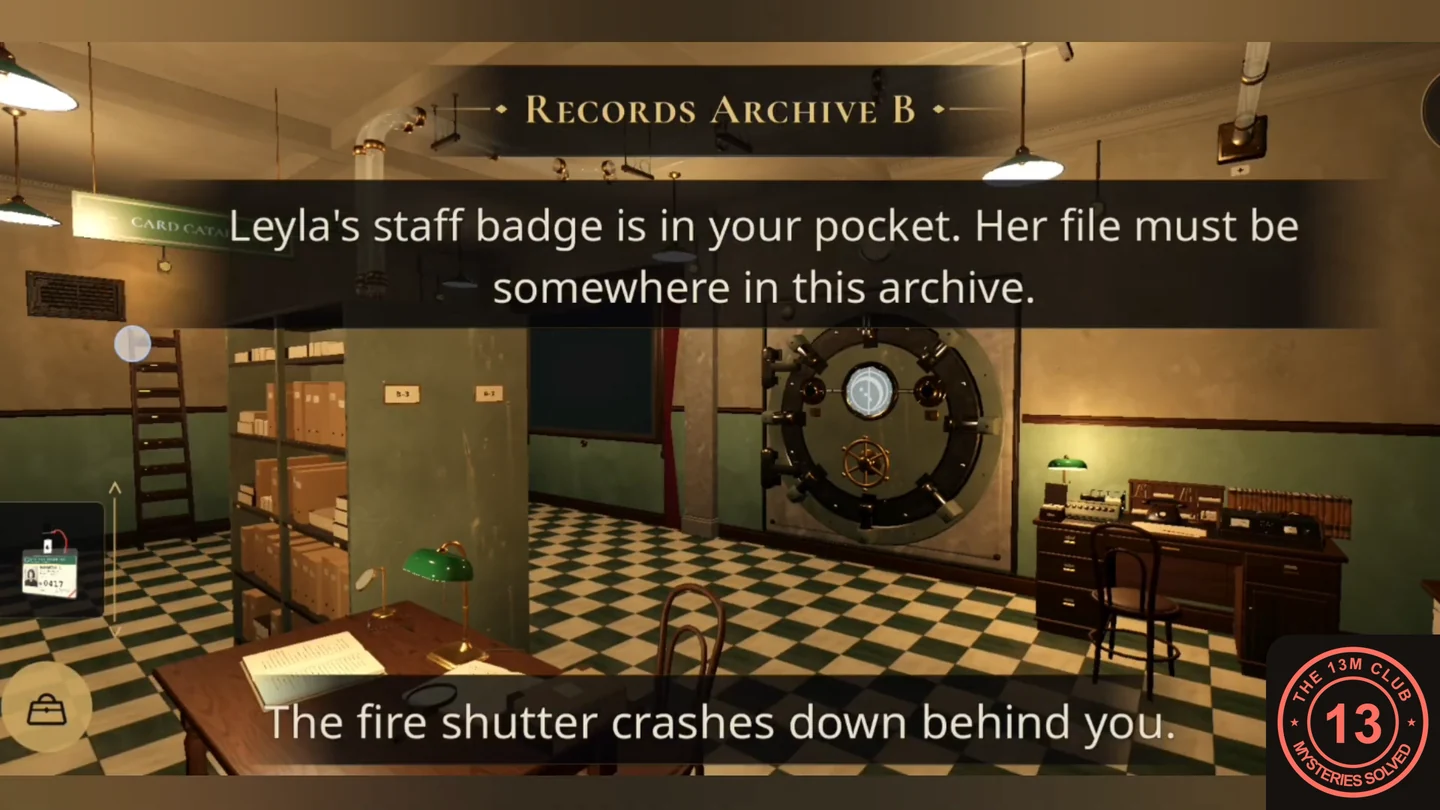
Chapter 2 opens in Records Archive B with Leyla's lab badge in your bag. Three of Leyla's tape reels, labelled by year, are hidden around the room; collect all three for the tape deck later.
- Open the hatch in the floor and take Reel · 1998.
- In the row of ledgers in The Stacks, open the hollow ledger and take Reel · 1997.
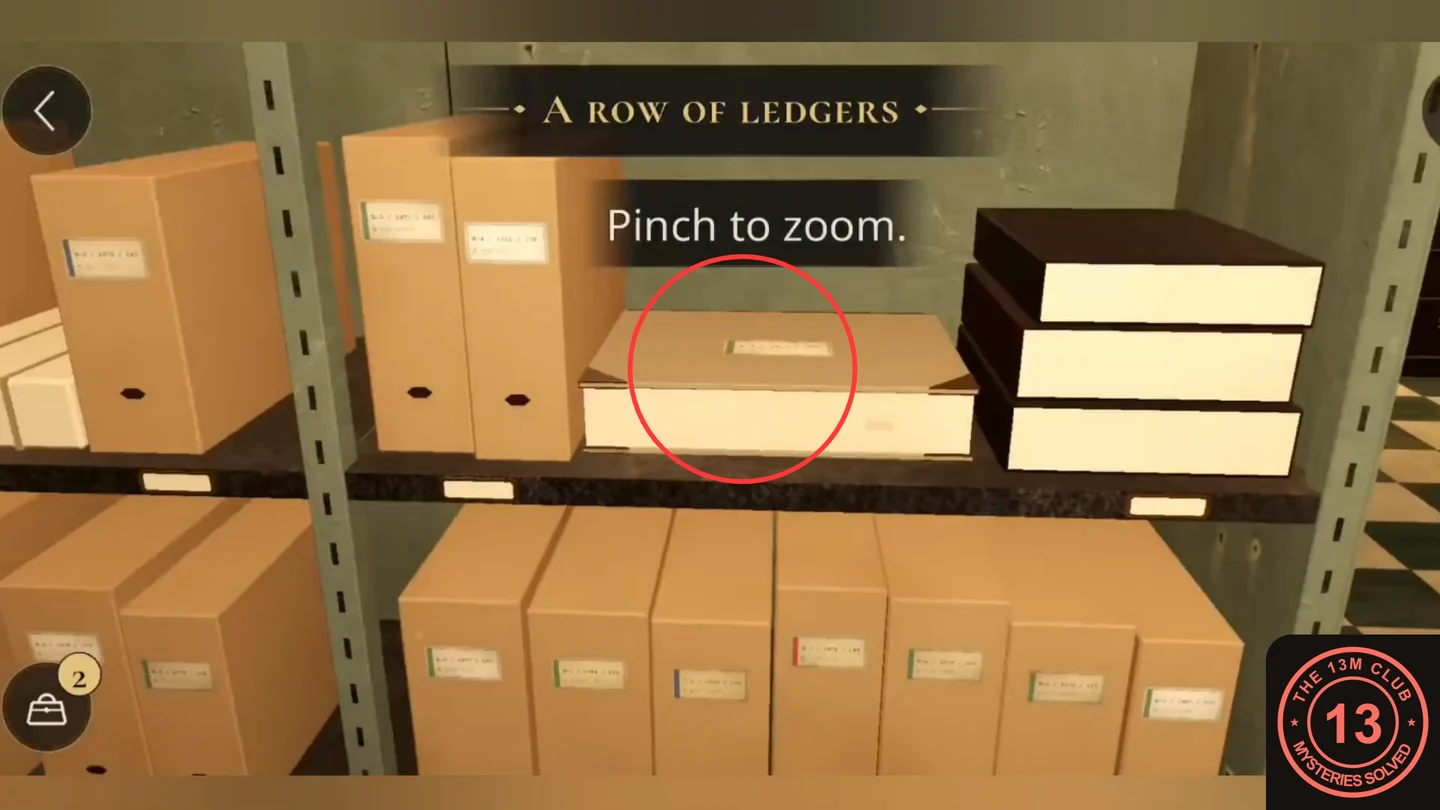
The hollow ledger in The Stacks. - Climb to the ventilation grille above the ladder; it swings open on two loose screws. Take Reel · 1996.
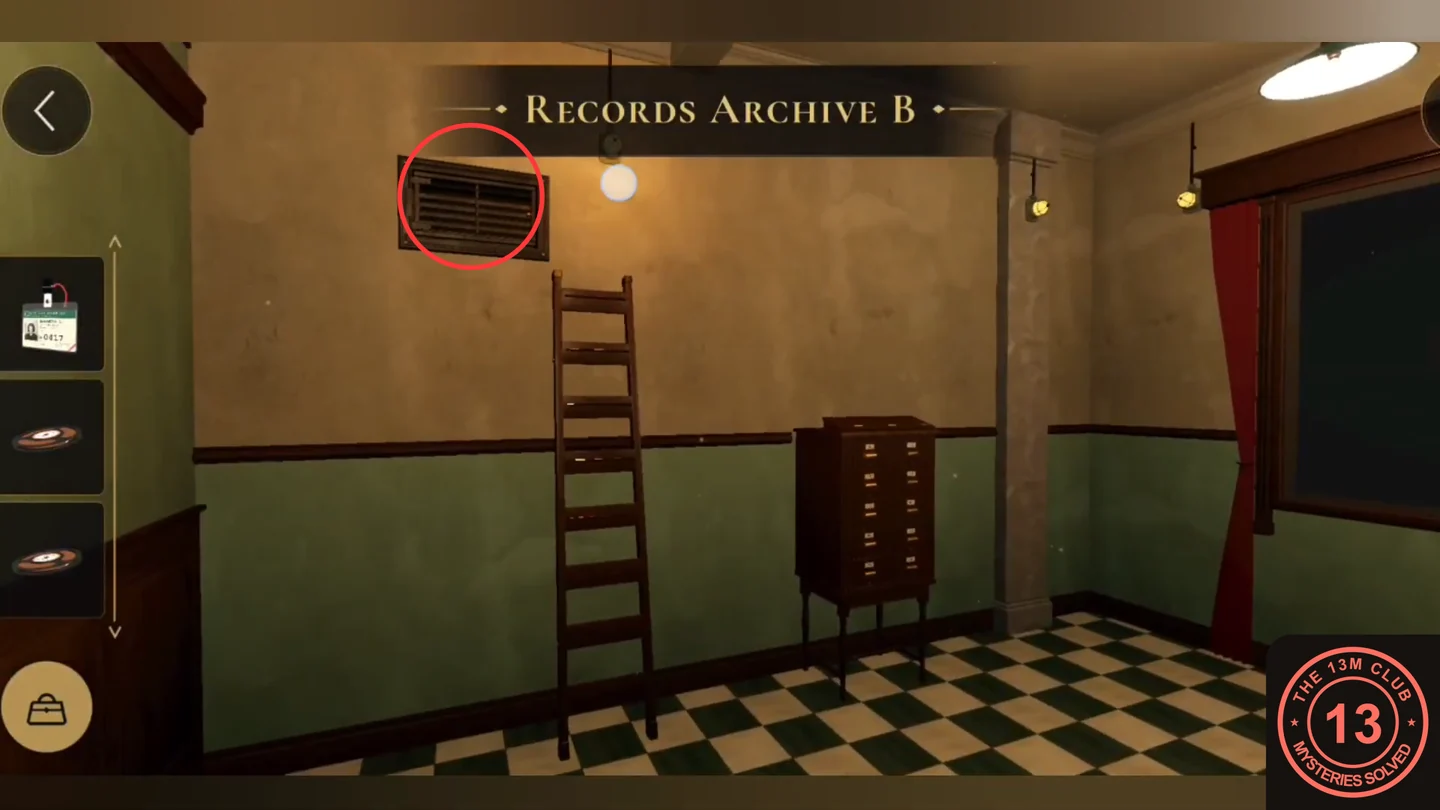
The ventilation grille above the ladder.
The Tube Compressor
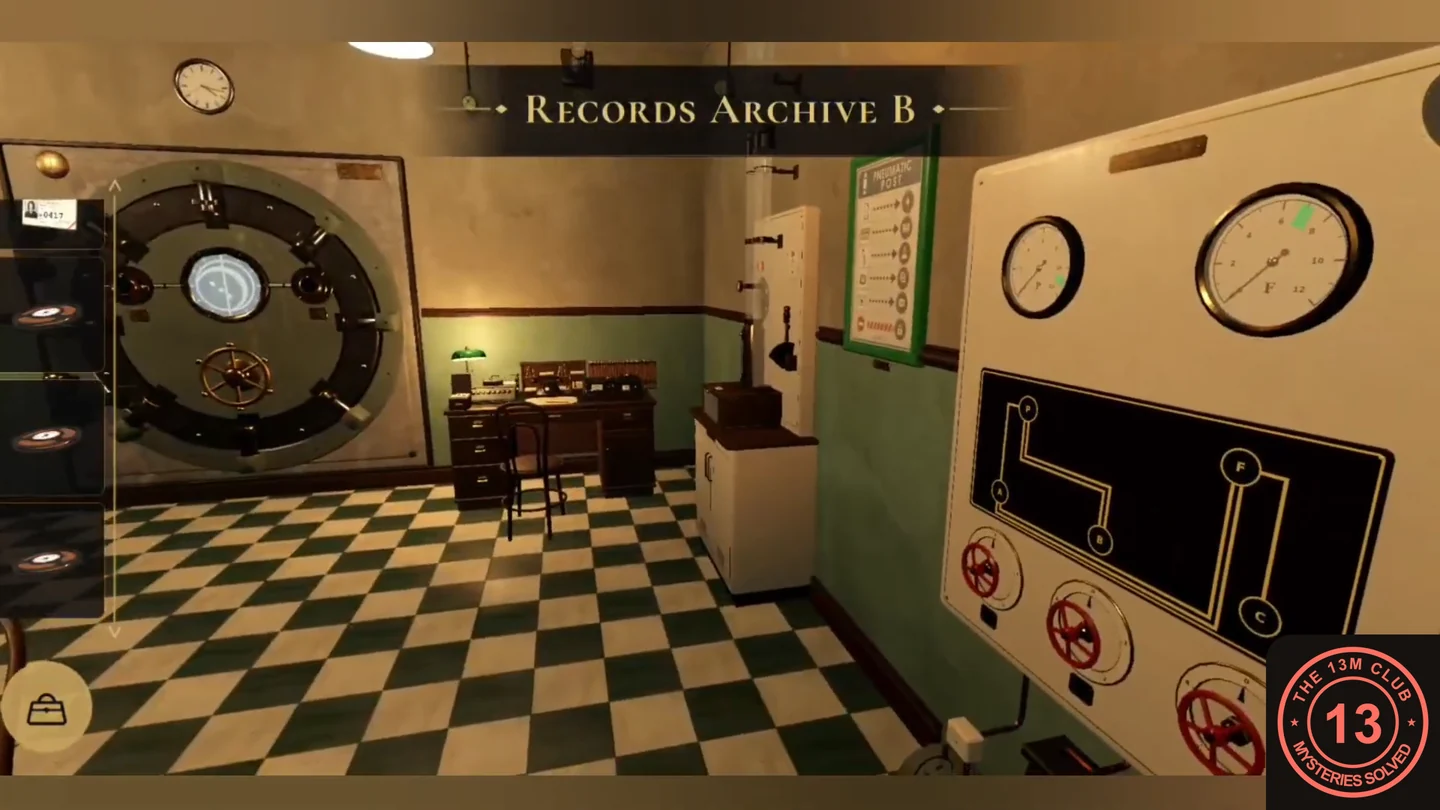
The pneumatic tube station needs a request card and pressure from the tube compressor. The valve settings are not fixed, so use the compressor's own feedback.
- Take the Blank request card from the pneumatic tube station.
- Zoom into the tube compressor. Its pipe diagram shows which valves feed each gauge: gauge P is fed by valves A and B, gauge F by valves A and C. Because valve A affects both gauges, it helps to settle A first and then adjust B for gauge P and C for gauge F. The panel tells you when a gauge is off the mark. When both gauges sit on their marks, the compressor coughs and hums and holds the pressure.
The Card Catalogue
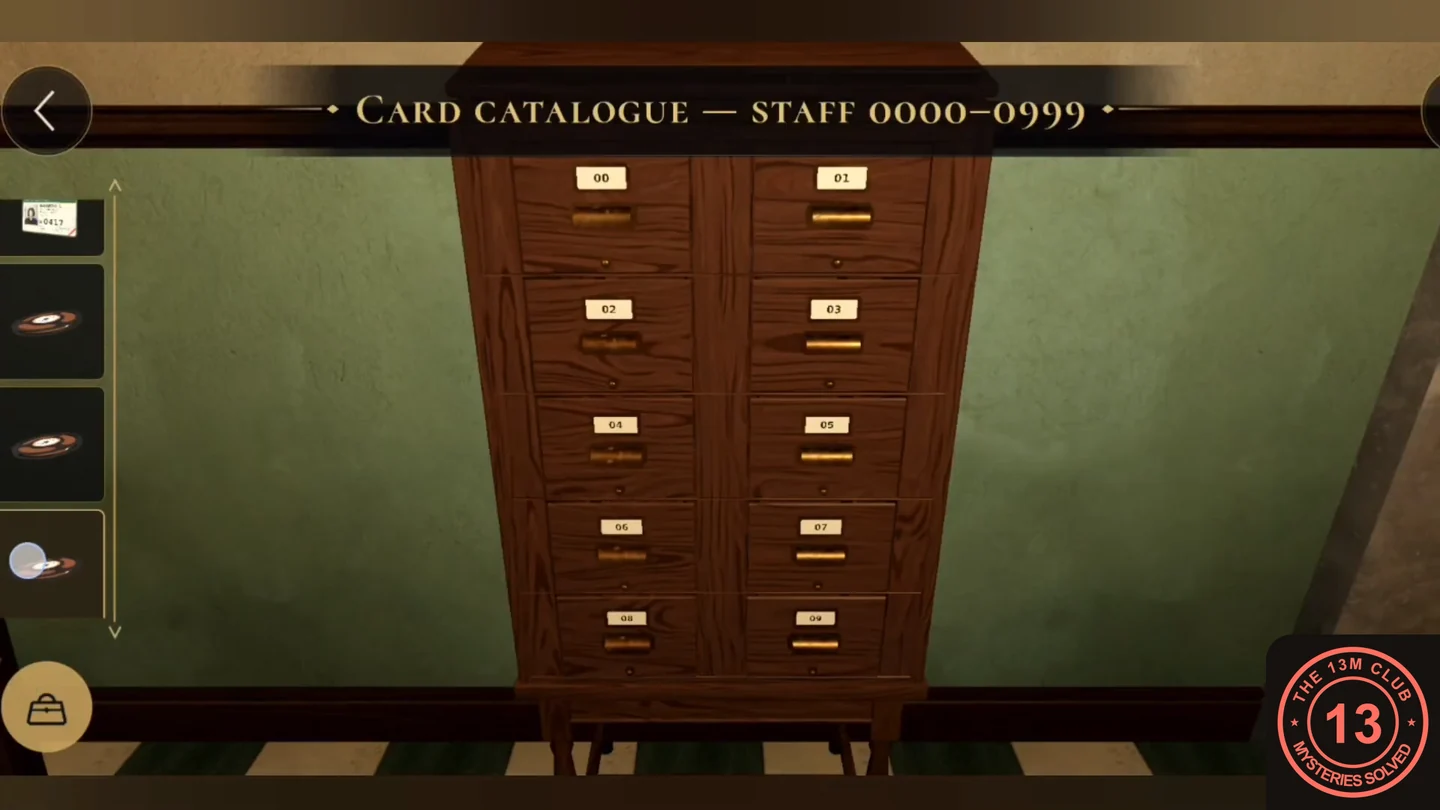
Leyla's lab badge shows her staff number, which is her address in the staff card catalogue. Read the number on your own badge.
- Check Leyla's lab badge for her staff number (0417 (example from one game; yours may differ)). In the staff card catalogue, open the drawer for the first two digits (04), choose the divider for the third digit (1-) and take the card for the last two digits (17): Index card 0417.CODE0417
The Card Punch
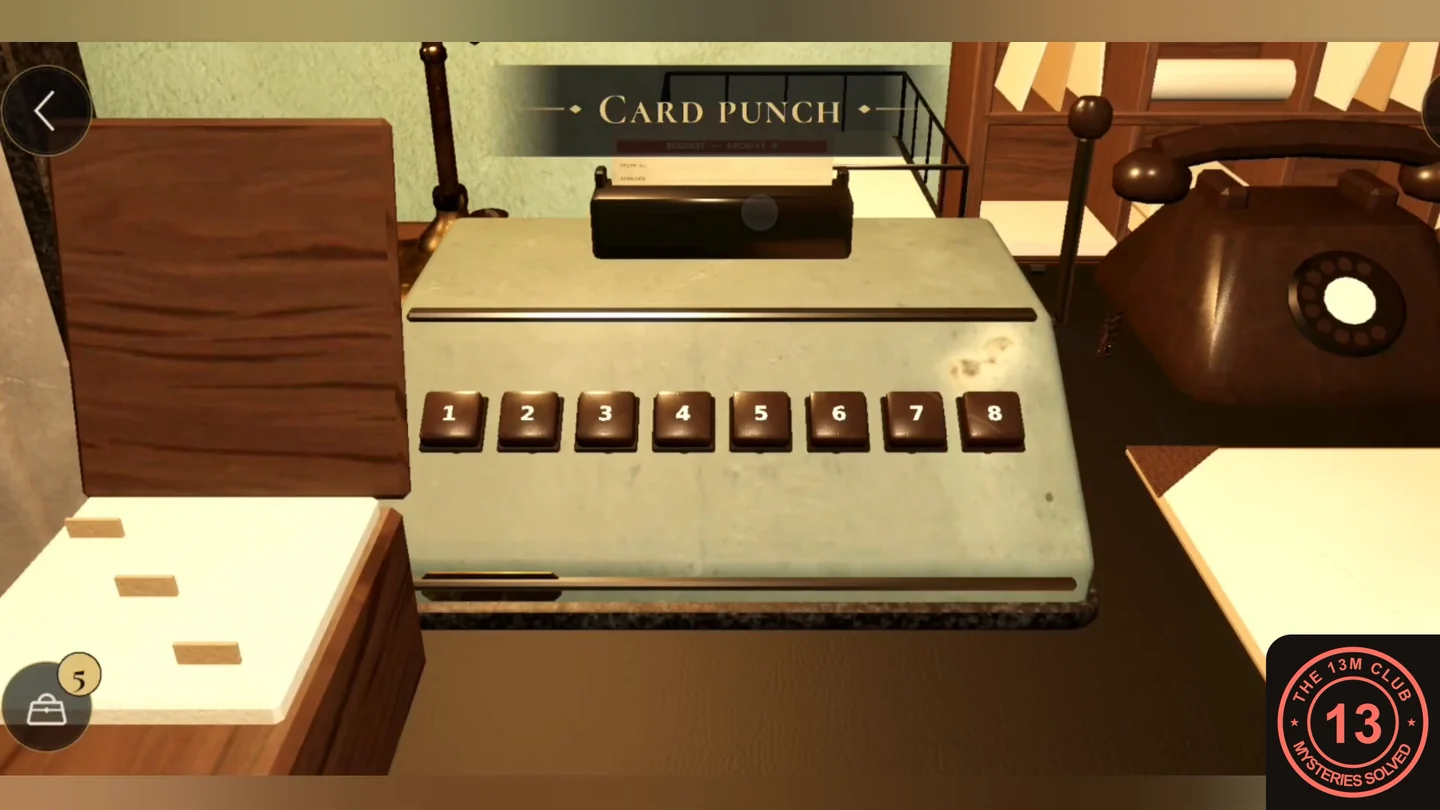
The Index card has eight numbered positions along its top edge, and some of them are notched. Which positions are notched can differ between games.
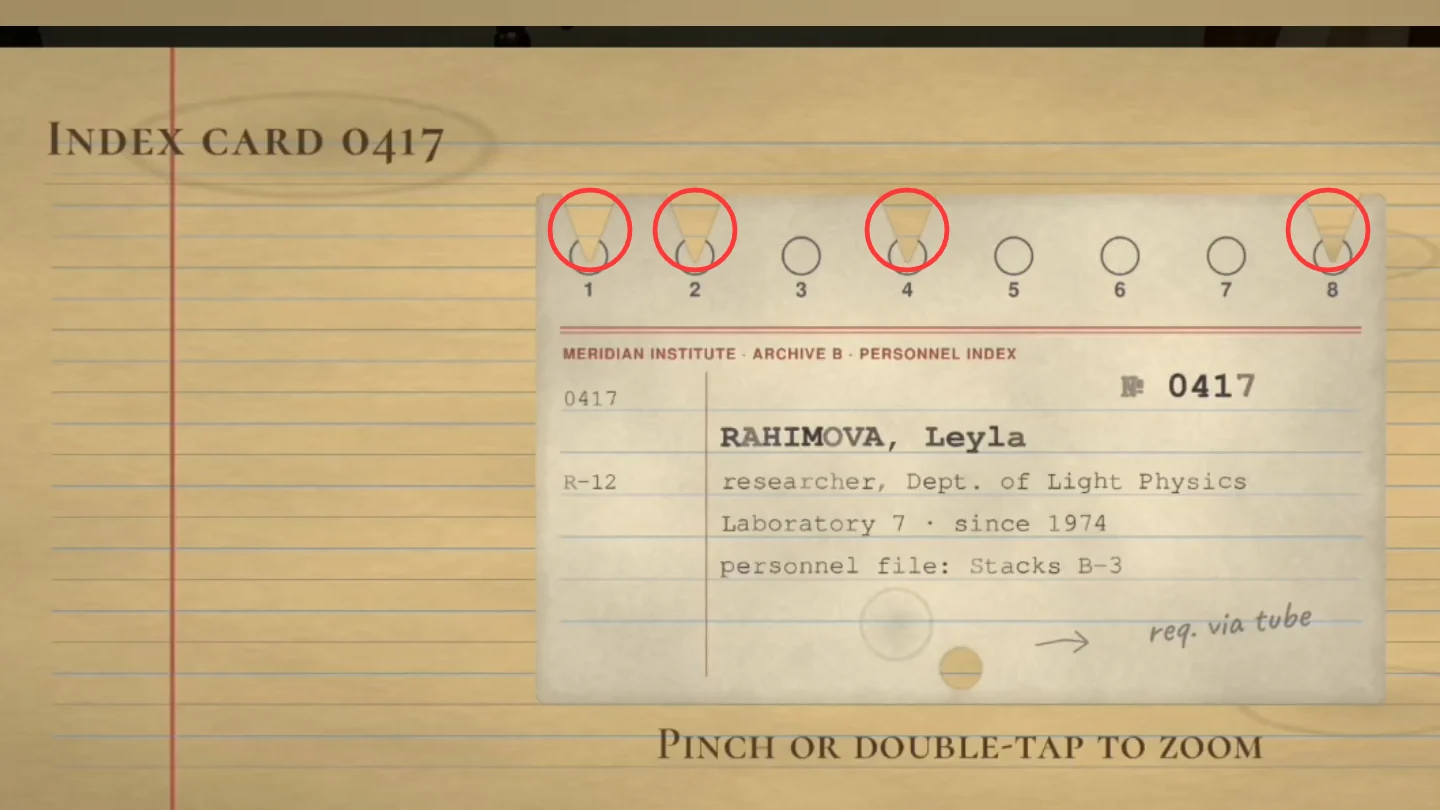
- Read the Index card and note which of positions 1 to 8 are notched (1, 2, 4 and 8 (example from one game; yours may differ)). Load the Blank request card into the card punch on the archivist's desk and press the keys with those numbers. Clack: the card is punched.
The Pneumatic Post
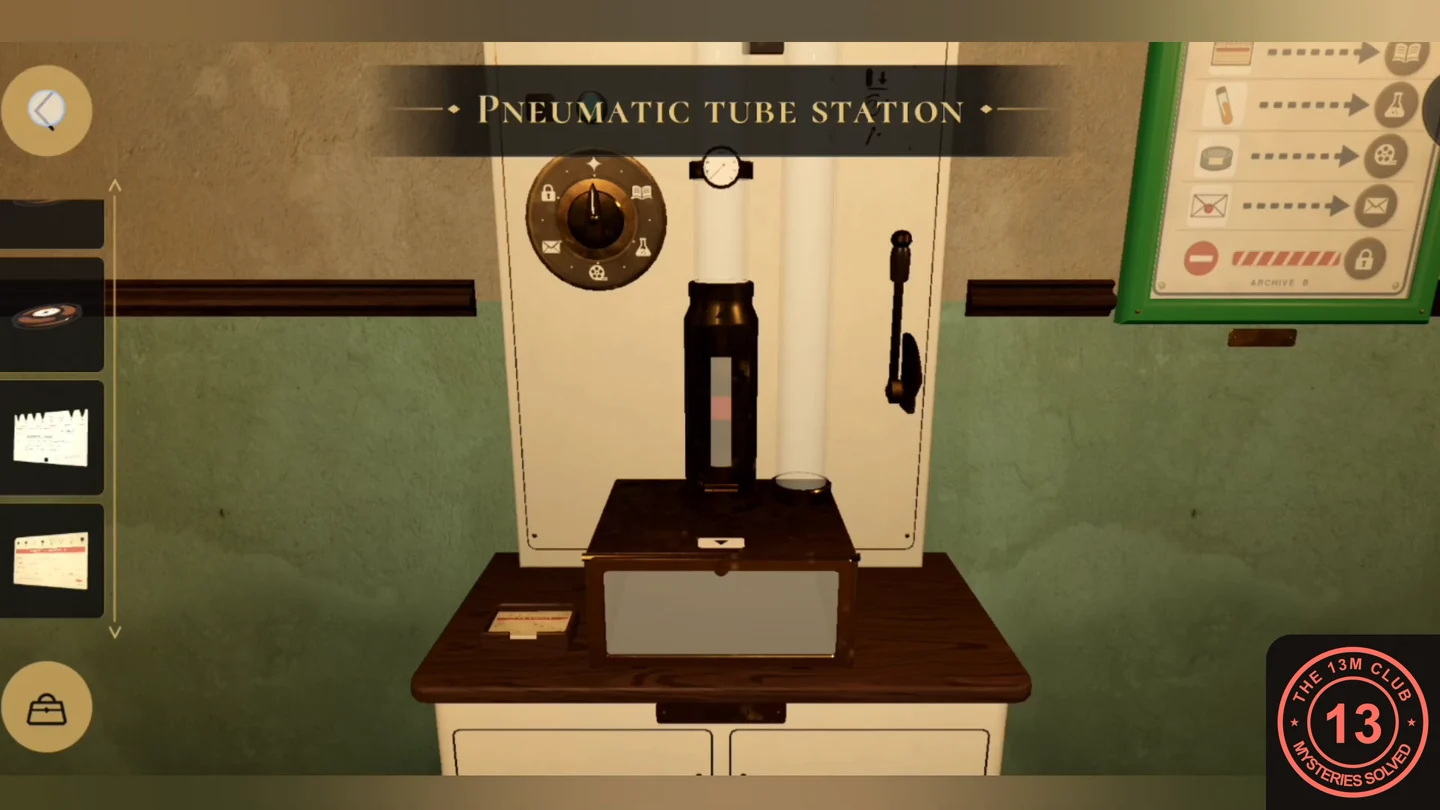
The routing chart beside the tube station shows which symbol a request card is sent to: the book symbol.
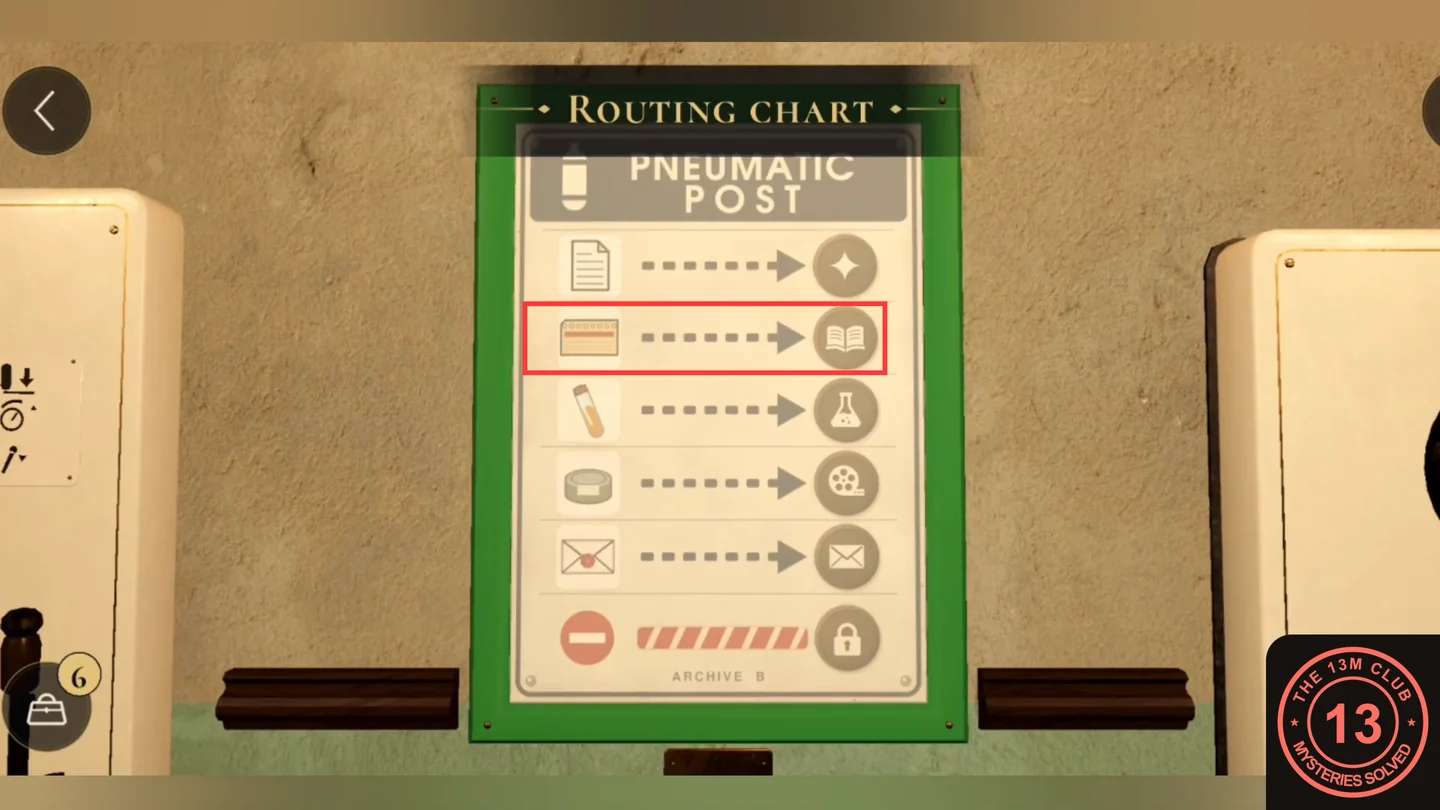
- Put the Punched request card in the canister at the pneumatic tube station, set the station dial to the book symbol shown on the routing chart and send it. The canister comes back: take Leyla's personnel file and the Locker key (tag 9).
Locker 9
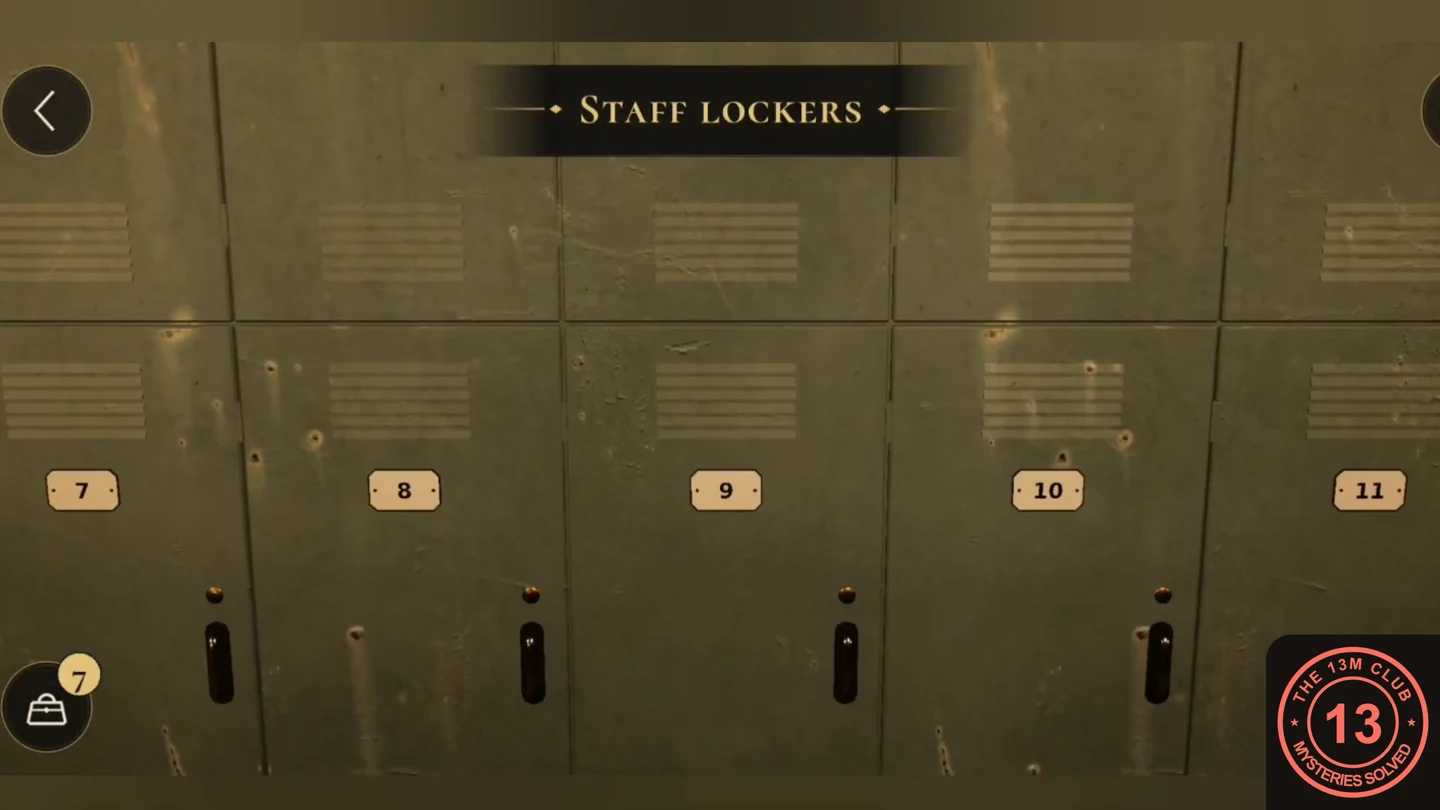
Leyla's personnel file says Locker 9 keeps her receiver.
- Open Locker 9 among the staff lockers with the Locker key and take the Pocket receiver.
The Tape Deck
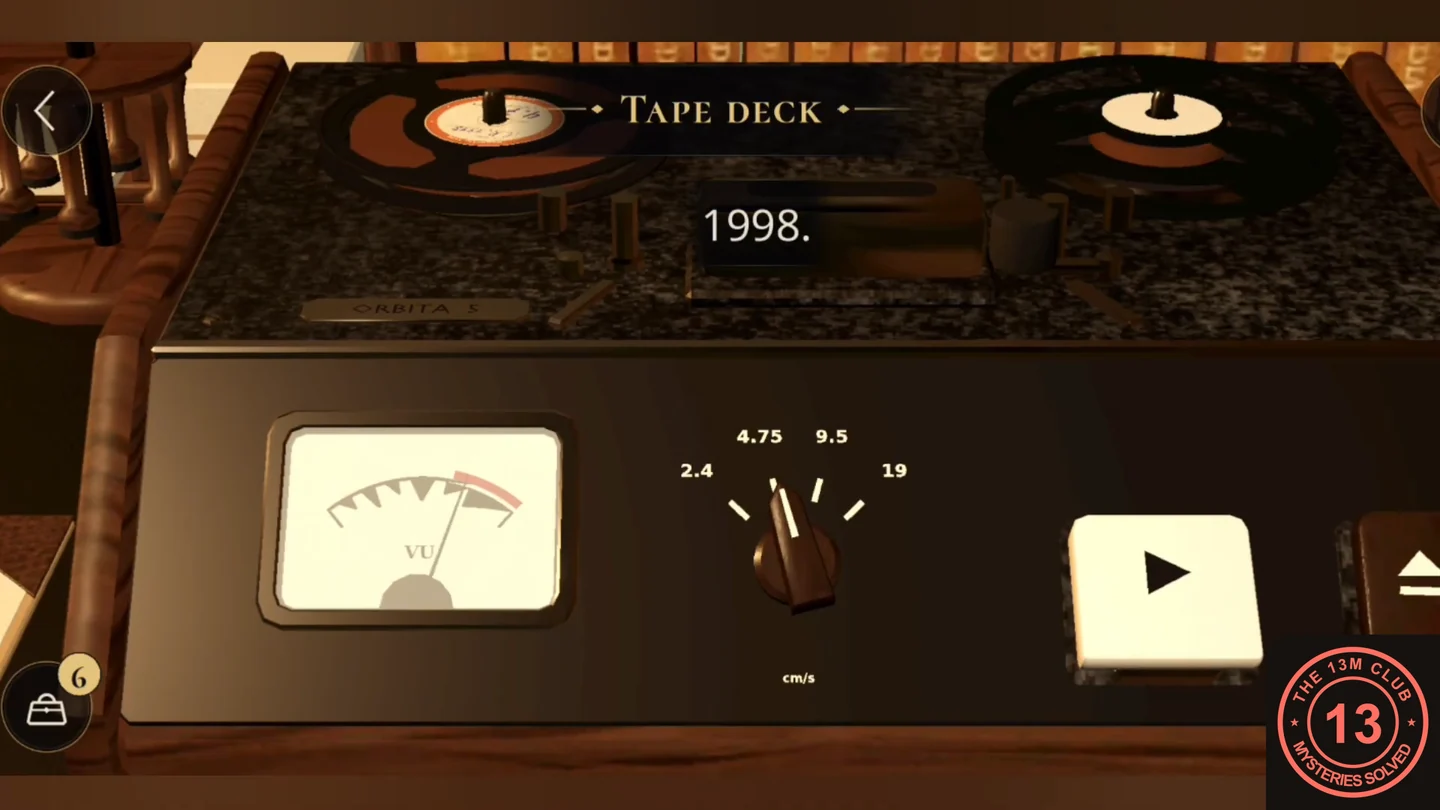
Leyla's reels play on the tape deck on the archivist's desk, and each recording ends with a series of clicks. The click counts can differ between games, so listen carefully.
- Put each reel on the tape deck, set the speed to the value printed on its label (4.75) and press play. Count the clicks at the end of each reel and note them by year (example: 1998 five, 1997 four, 1996 five). One recording says the booth answers to her reels in the order she made them.
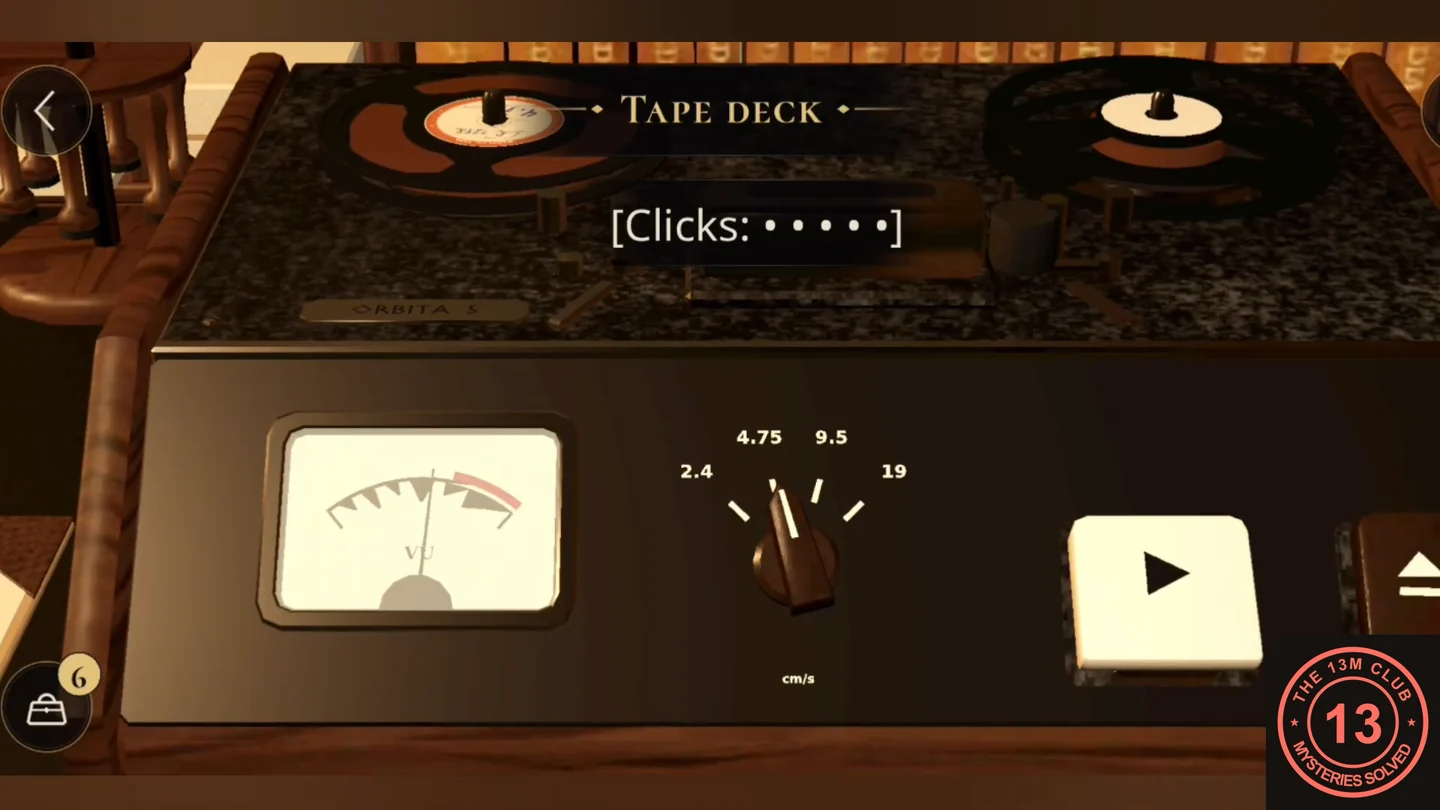
Example: the end of Reel 1998 gives five clicks.
The Projection Booth Door
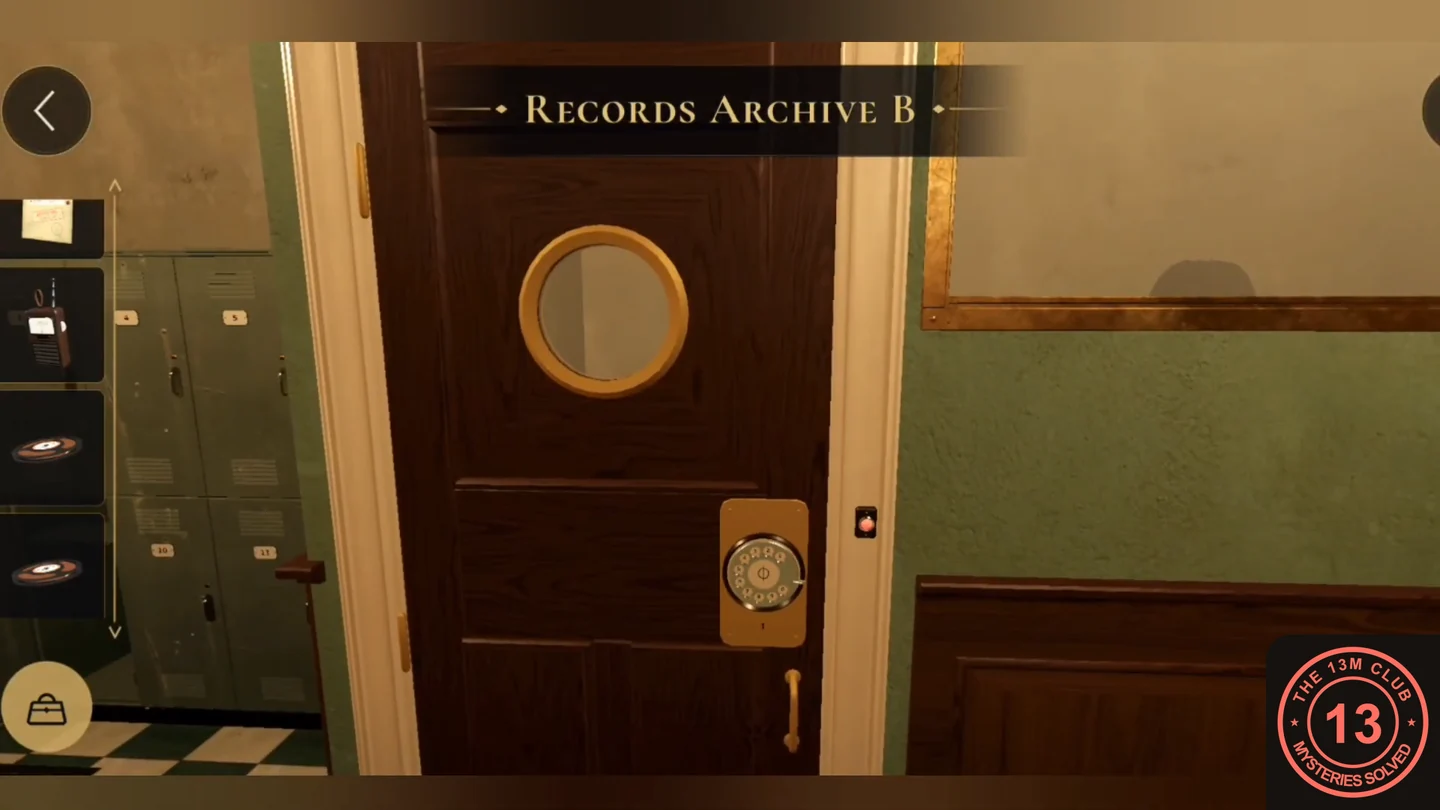
The projection booth door has a rotary dial lock that takes the three click counts.
- Dial the click counts in the order the reels were made, oldest first: 1996, then 1997, then 1998 (5, 4, 5 in the example, giving 545). The booth door unlatches.CODE545
The Film Splicer
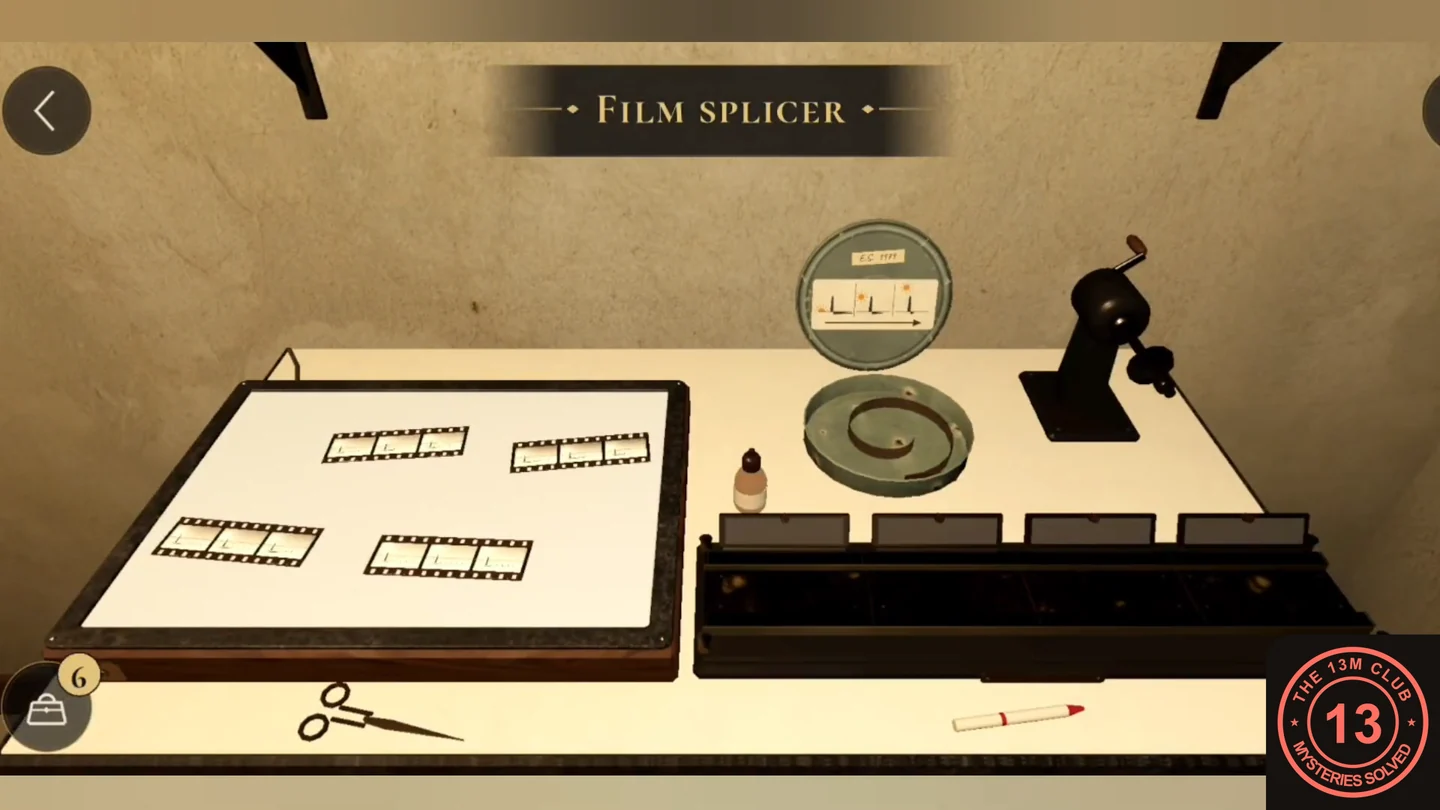
Strand's 1979 film lies cut into four strips on the light box. The diagram inside the canister lid shows the order the strips belong in.
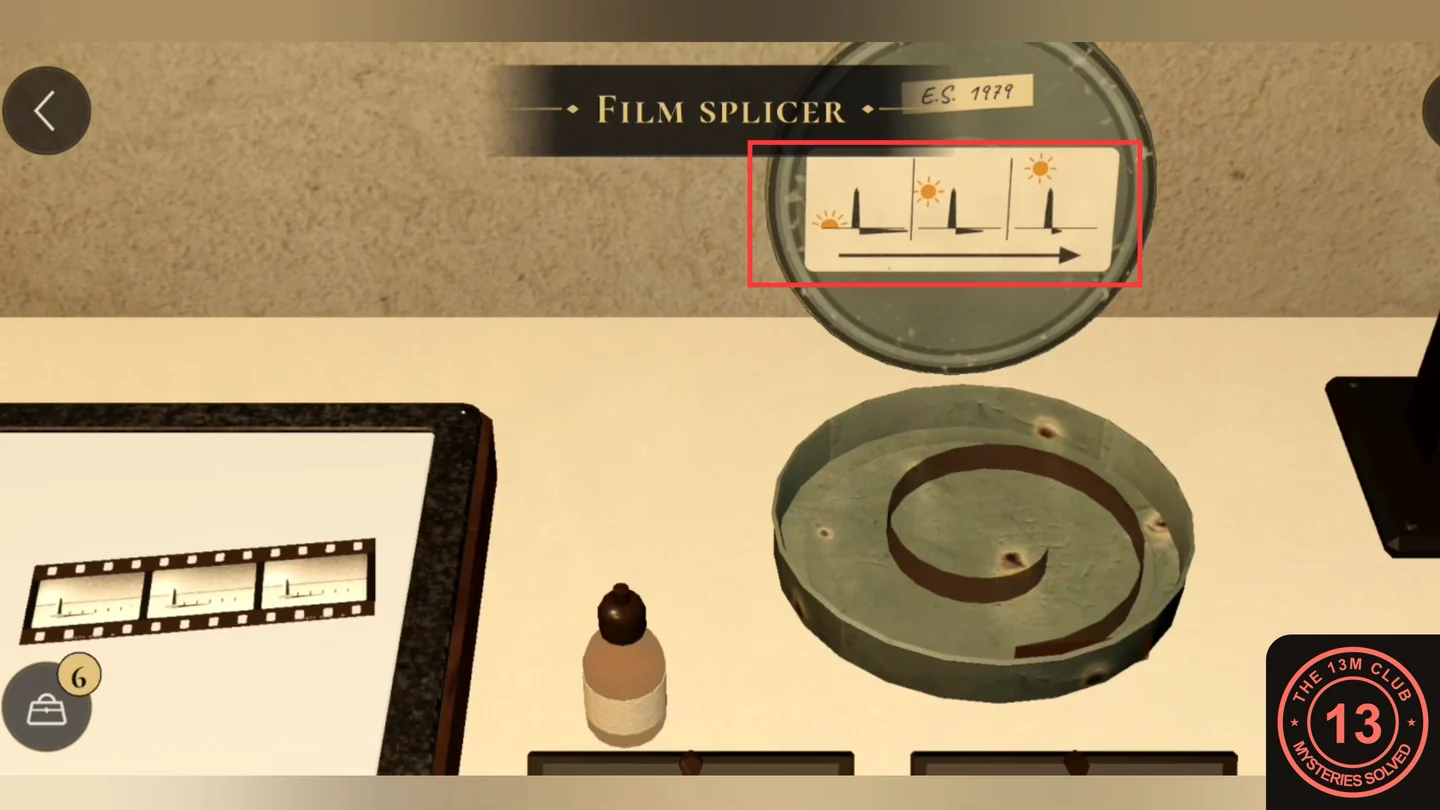
- Study the diagram inside the film canister's lid: from left to right the sun climbs higher and the post's shadow grows shorter. Compare the shadow in each strip's frames, then move the strips one at a time from the light box into the four slots of the splicer tray beside it, from the longest shadow in the left slot to the shortest in the right. Slots can be filled in any order. When all four strips sit in the right slots, the splices hold: take the Film reel.
The Film Projector and Slide Cabinet
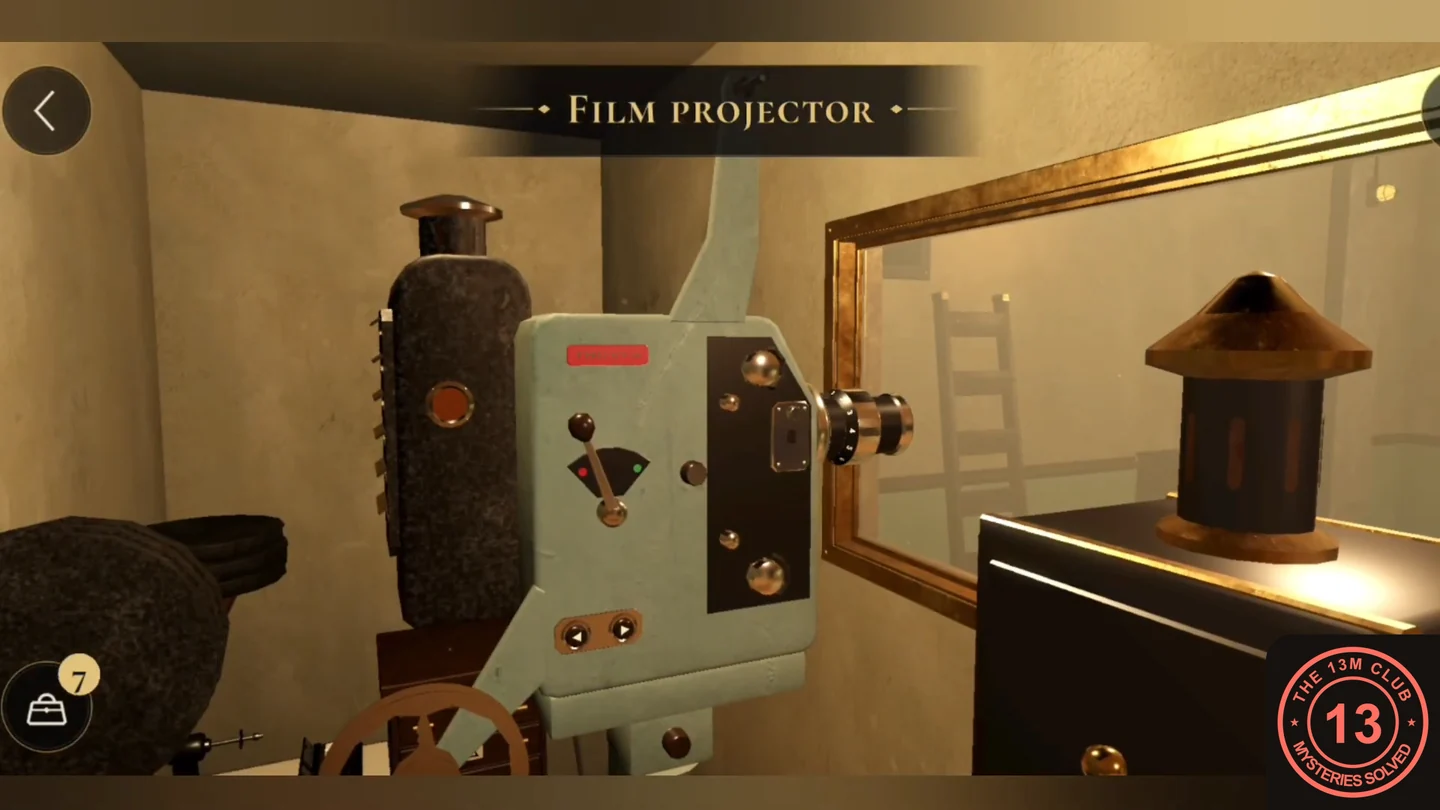
Strand's film shows Leyla, and she points the way to the slide cabinet.
- Load the Film reel on the film projector and watch the film. Leyla appears for a moment and touches one drawer of the slide cabinet; note which one.
- Open that slide cabinet drawer and take the Emblem slide. Then open the small wooden box on the shelf and take the two Blank Lumen crystals.
Recording the Two Crystals
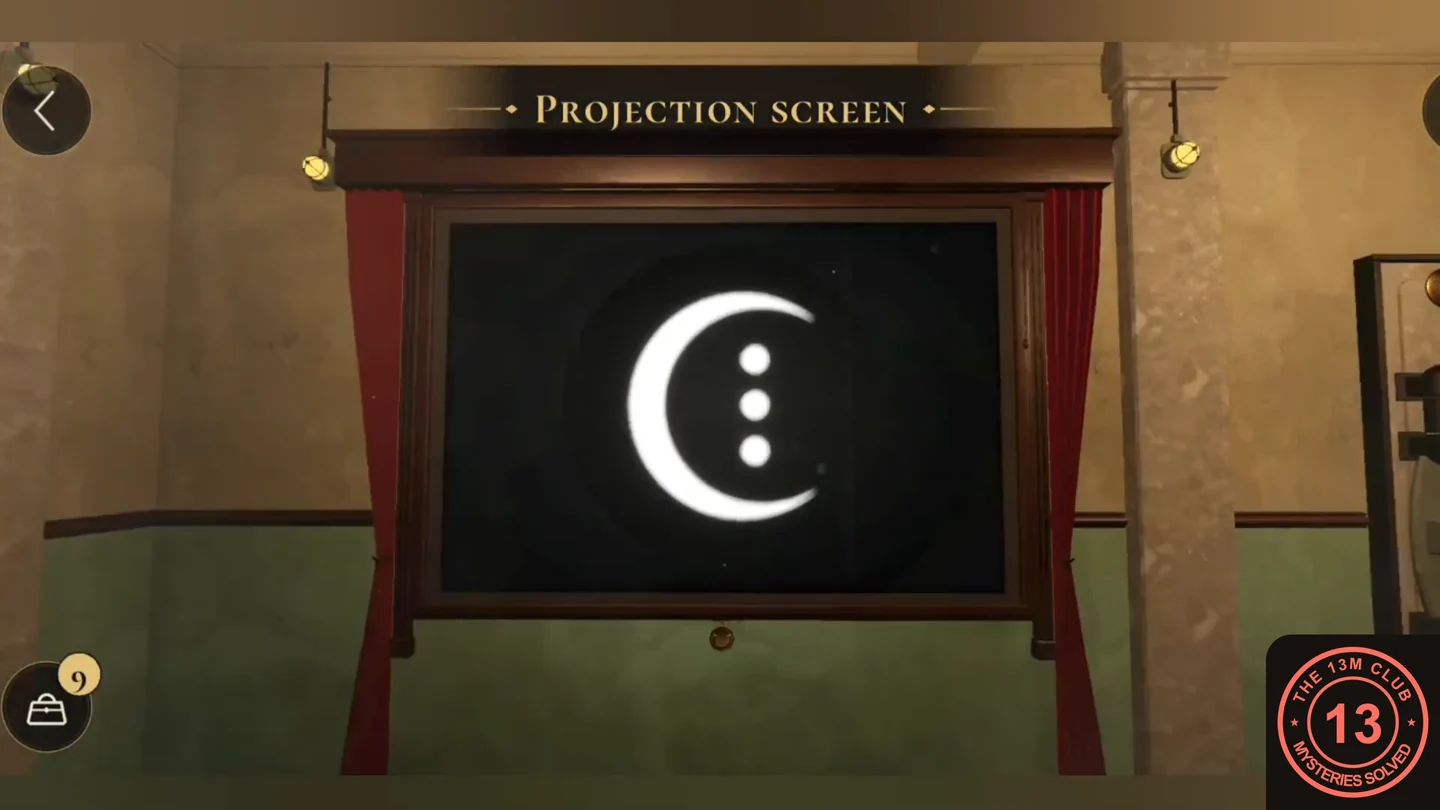
A Blank Lumen crystal remembers the first sharp image that falls on it, through the holder under the screen. You need one crystal holding Leyla's sign and one holding Strand's mark.
- Turn the numbered focus ring around the film projector's lens until the picture of Leyla's sign on the screen is sharp; a blurred picture leaves the crystal clear. Put a Blank Lumen crystal in the holder under the screen: it flares and becomes Crystal: Leyla's sign.
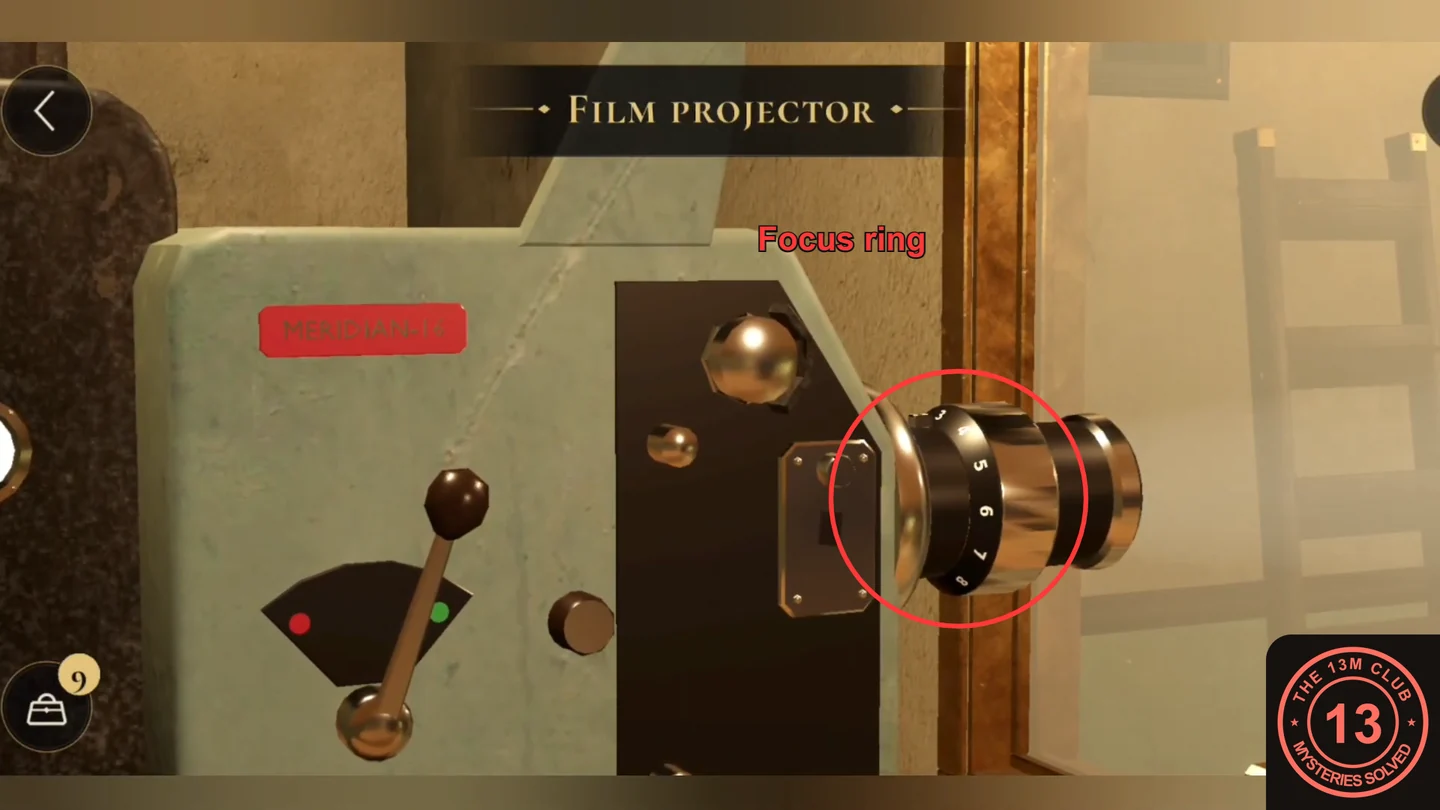
The numbered focus ring around the projector lens; turn it until the picture on the screen is sharp. - Load the Emblem slide into the slide projector. Its light crosses the film's light on the screen, so switch off the film projector's lamp until only the Institute's mark shows. Put the other Blank Lumen crystal in the holder: it becomes Crystal: Strand's mark.
The Archive Vault
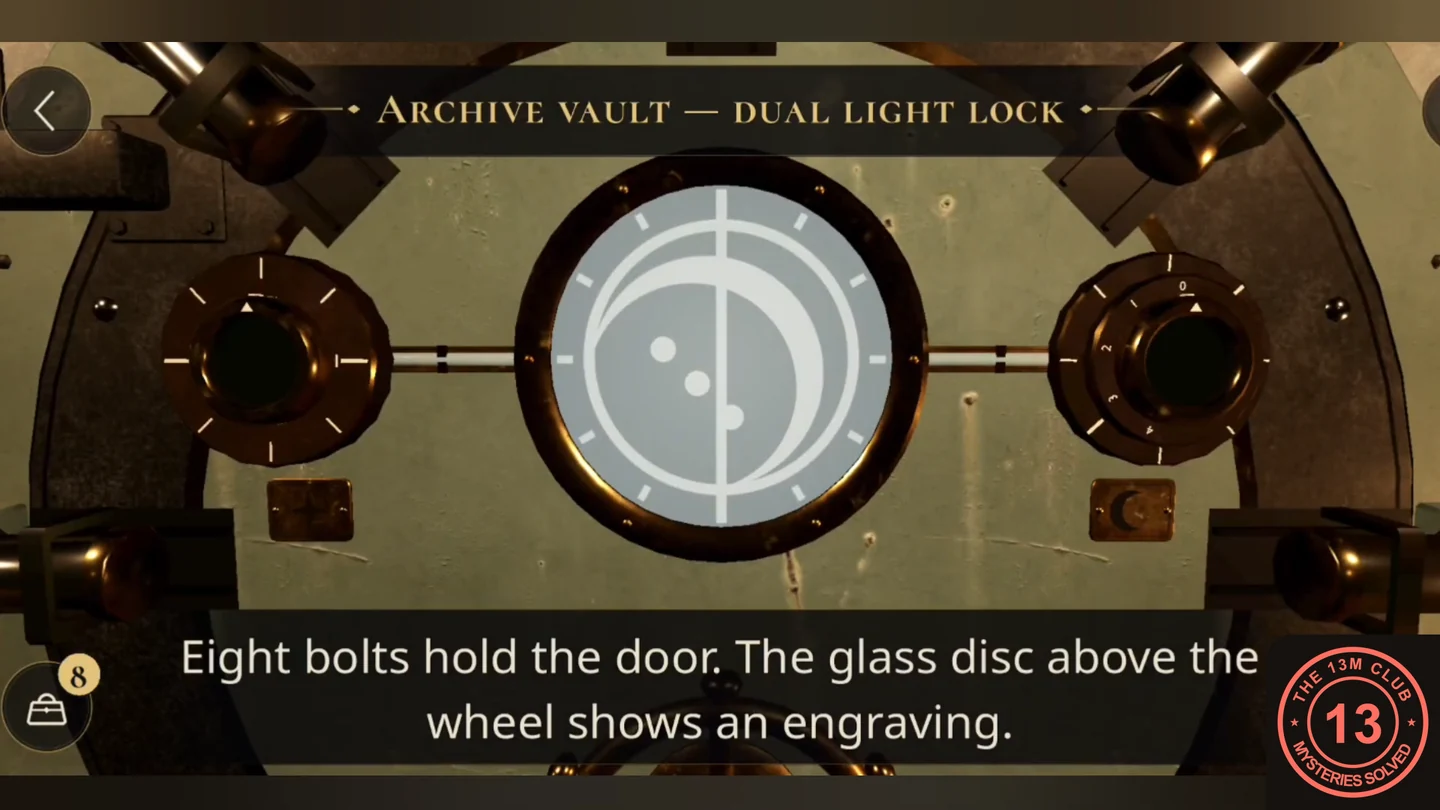
The archive vault has a dual light lock: a glass disc with an engraving and two crystal sockets, each with a dial.
- Put both crystals in the vault's sockets. Turn the two dials until both projected images line up exactly with the engraving on the glass disc. When both images lock into the engraving, the bolts slide back one after another and the vault opens.
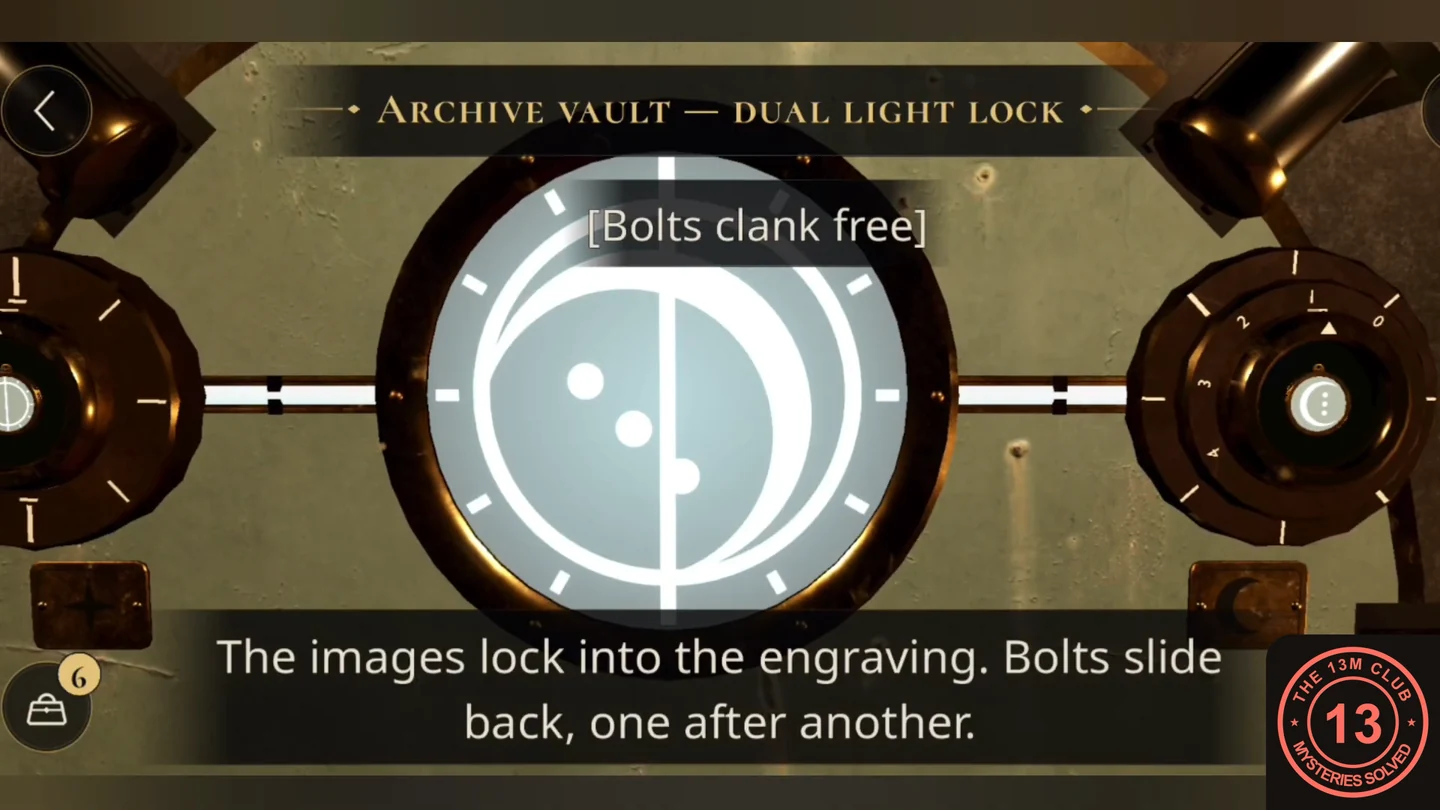
Both images locked into the engraving.
Strand's Key or Leyla's Key
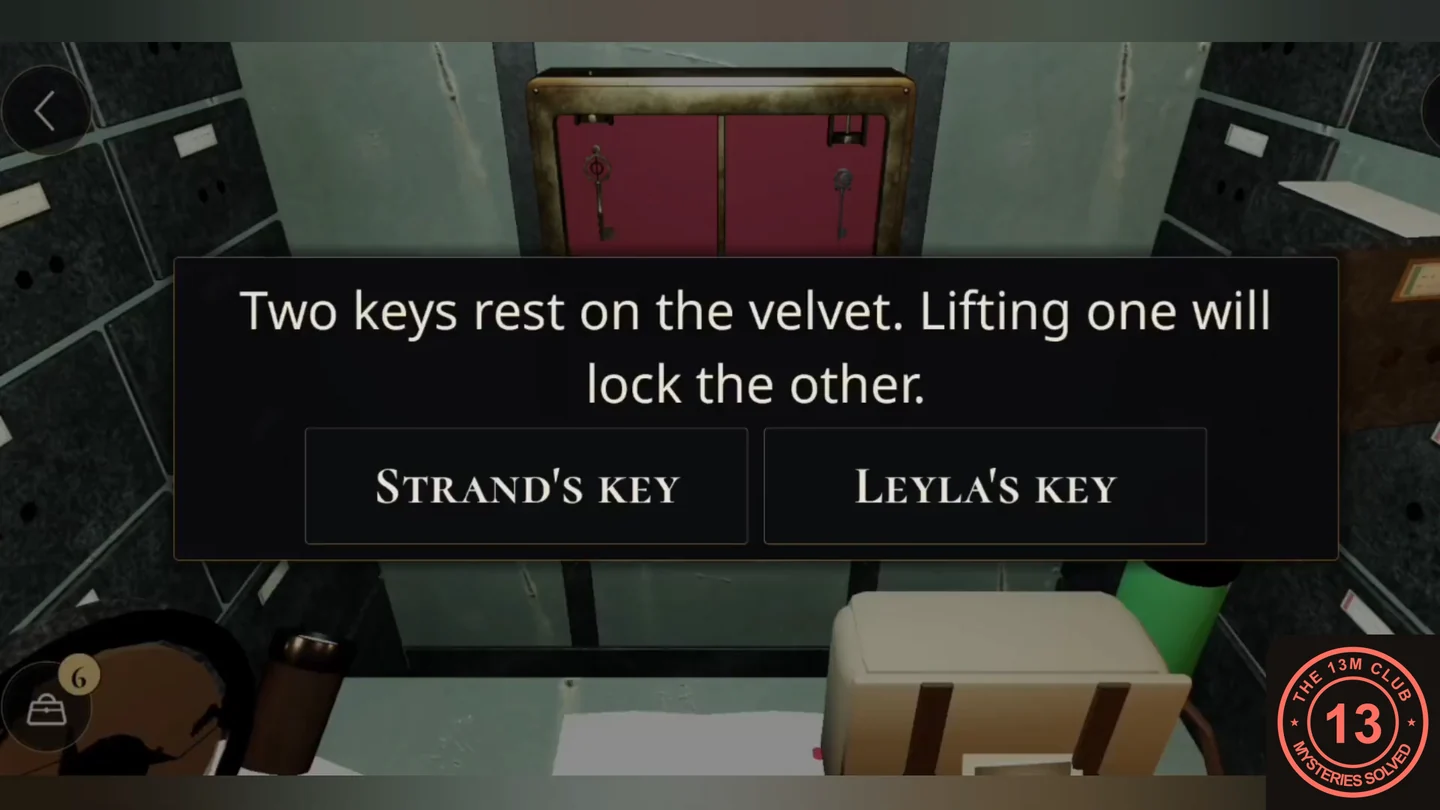
Inside the vault are two keys, and taking either one locks the other. The choice is saved, and this guide follows LEYLA'S KEY.
- Take LEYLA'S KEY. A lift descends, you find a recorder, a teaser for Chapter 3: The Underground Facility plays, and the Chapter Complete screen for The Missing Scientist appears. The STRAND'S KEY alternative is not covered in this guide.