Leyla's Desk Drawer
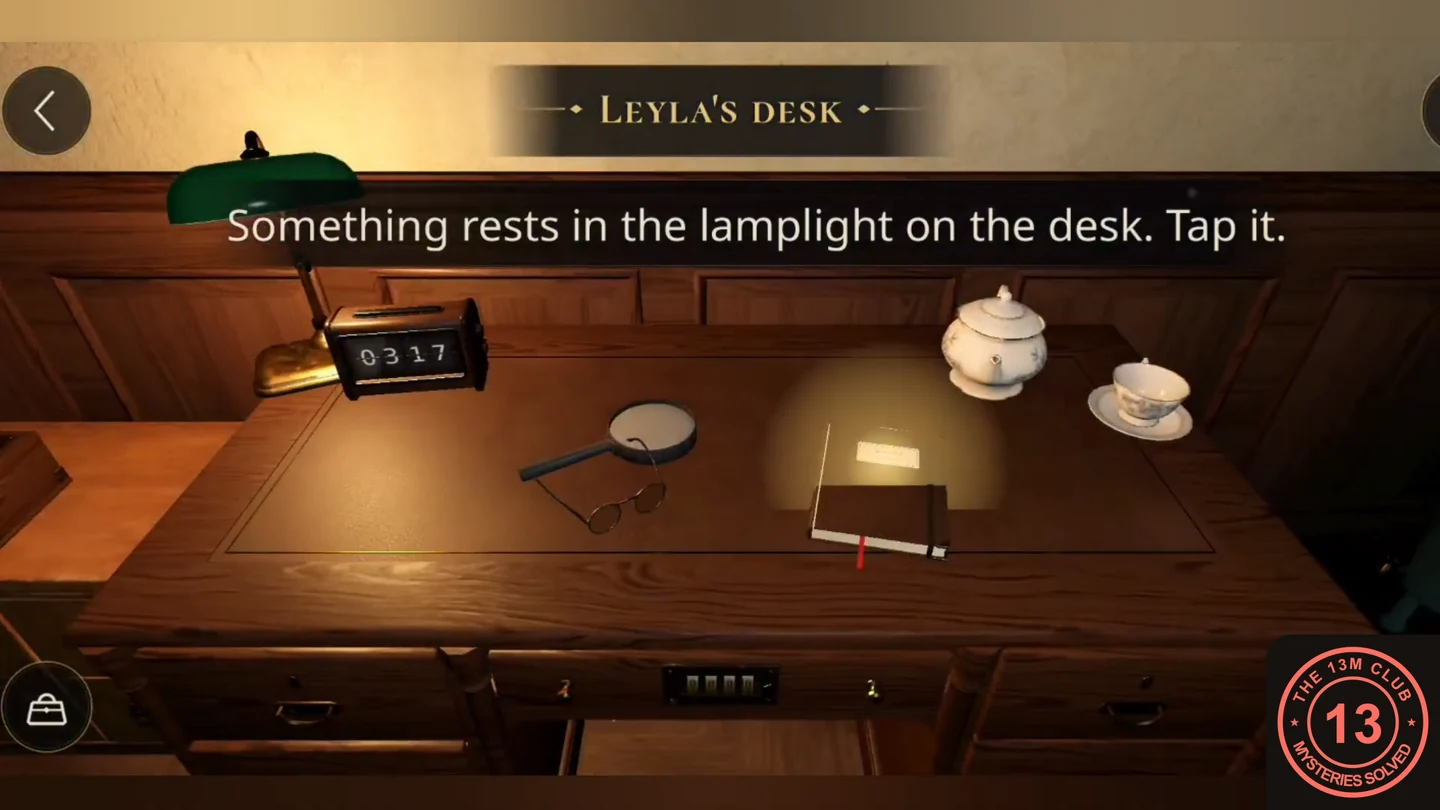
Leyla's notebook and the stopped flip clock on her desk give the drawer combination. The clock time can differ between games, so always read your own clock.
- Tap the notebook lying in the lamplight on Leyla's desk to take Leyla's notebook. Page 2 says she set her desk drawer lock to the moment every clock in the building stopped.
- Zoom into the stopped flip clock on the desk and read its time. Set the four brass wheels of the drawer lock to that time as four digits (0317 (example from one game; yours may differ)). The drawer slides open: take the UV lamp (empty).CODE0317
Strand's Gear Box
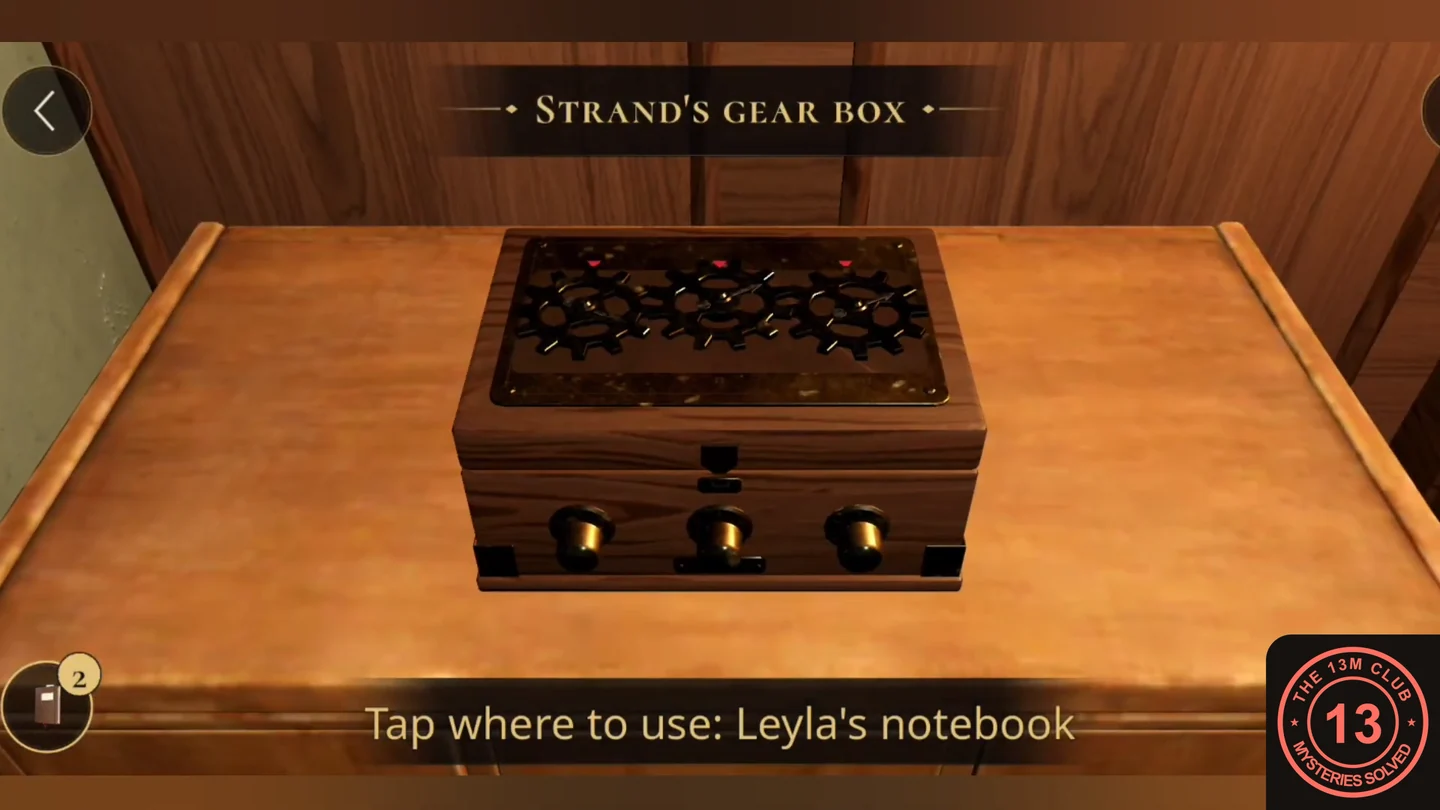
Notebook page 3 says Leyla keeps the cell for her lamp inside Strand's gear box, and that turning one wheel makes its neighbour follow. The gears' starting positions can vary, so work from what you see rather than a fixed tap sequence.
- Zoom into the gear box beside the desk. Each of the three gears has an arrow, and each knob on the front turns its own gear and the gear next to it. Turn the knobs until all three arrows point straight up at the marks above the gears (a red mark shows at the top when a gear is aligned). The lid springs open.
- Take the Battery cell. In the bag, select the UV lamp (empty), press Combine and tap the Battery cell. The UV lamp flickers to life.
The Wall Safe
The UV lamp reveals hidden writing in the notebook that points to Strand's chart on the wall. The symbols, and therefore the code, can change between games.
- Open Leyla's notebook to the blank page 5 and drag the UV lamp over it. Hidden text appears: the safe answers in Strand's symbols, counted on his Table of Resonances, followed by four symbols. Note them in order.
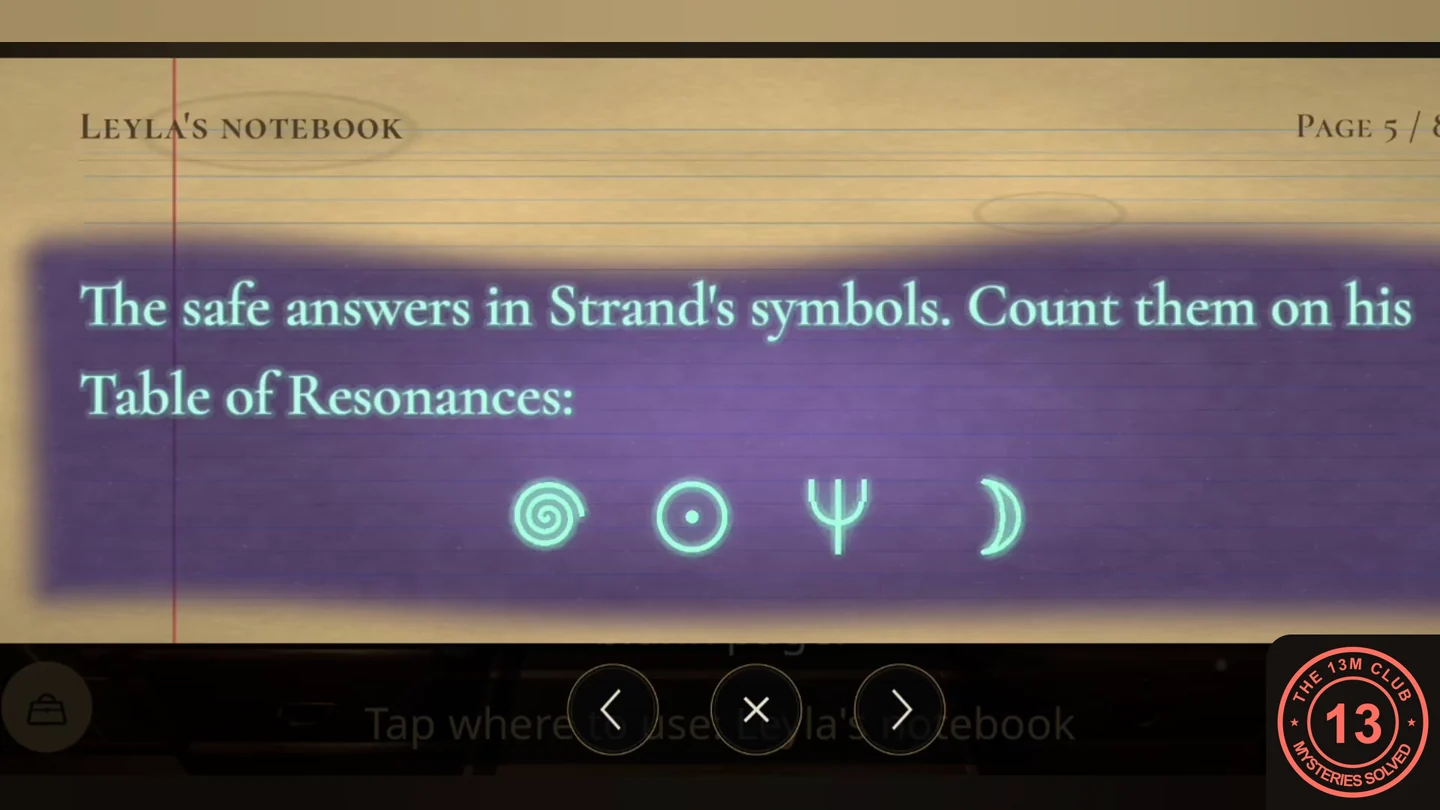
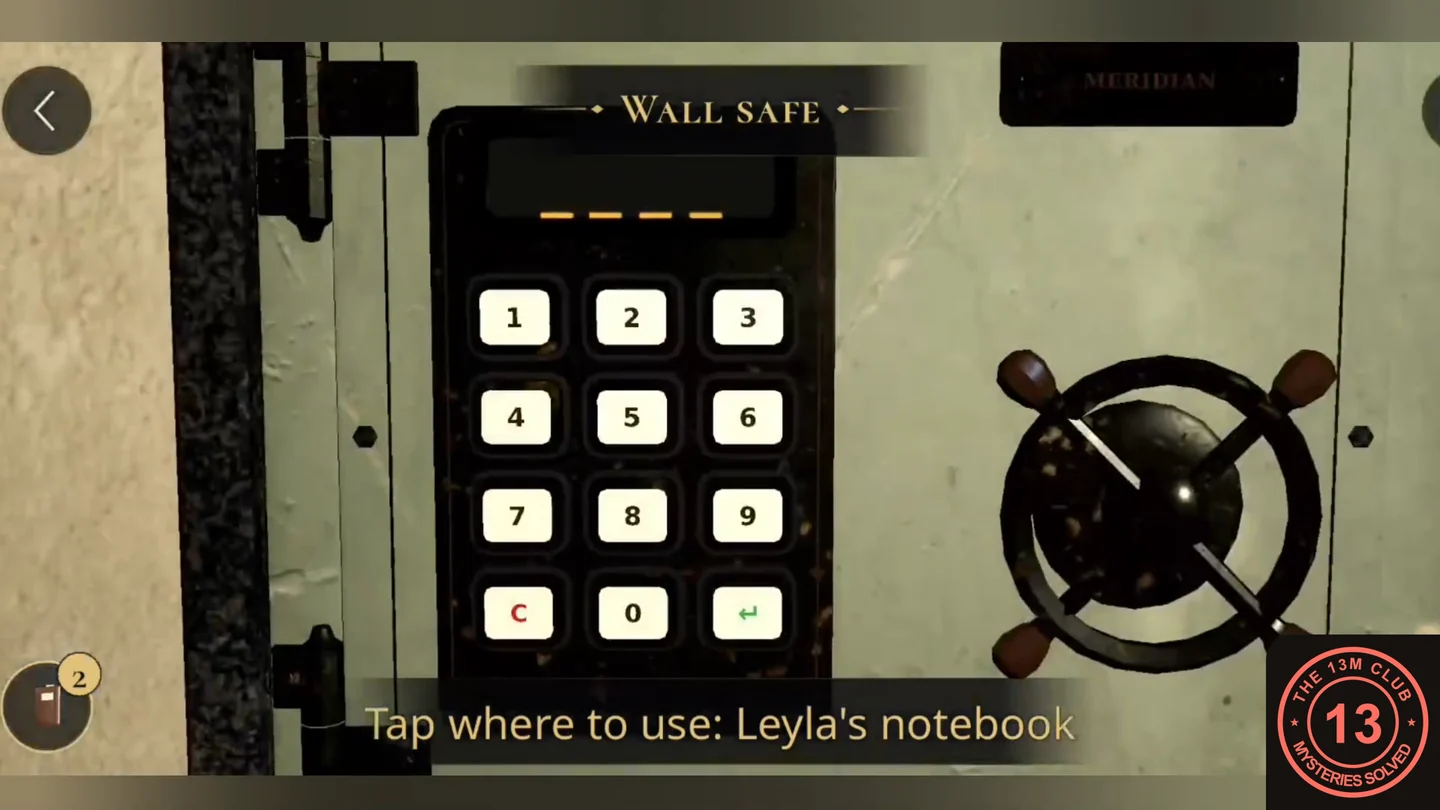
Example: the hidden text on notebook page 5 and its four symbols. Your symbols may differ. - Zoom into the framed Tabula Resonantiarum on the wall. Find each of your four symbols on the chart and count the dots printed next to it, keeping the notebook's order. The four counts are the safe code (9783 (example from one game; yours may differ)).CODE9783
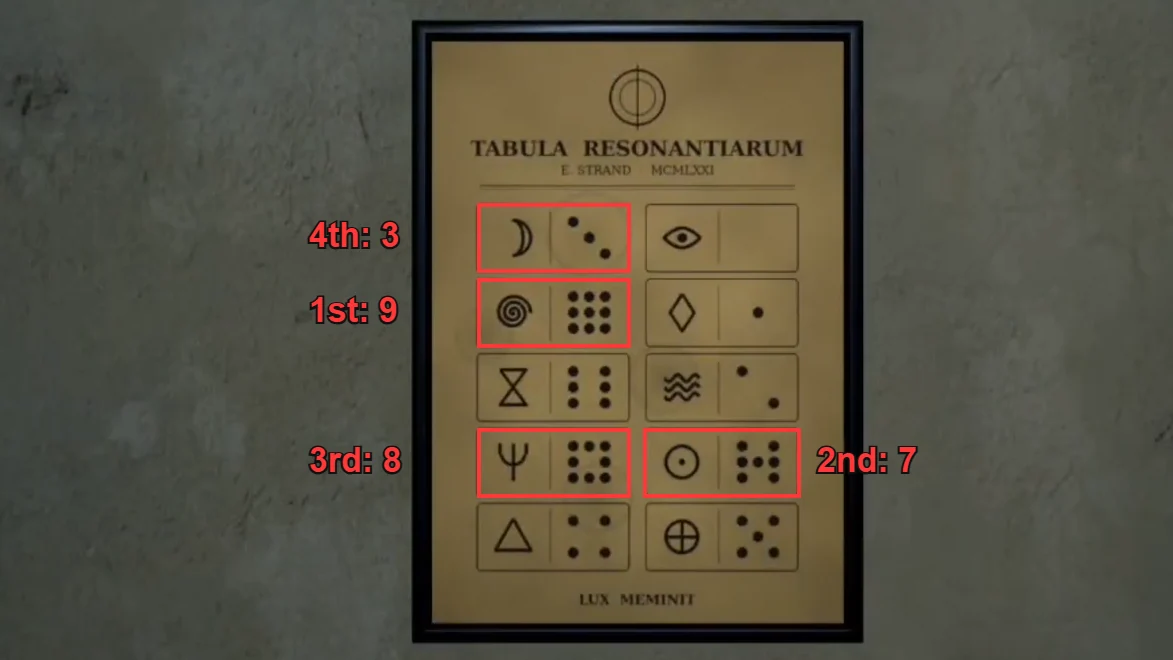
Example: count the dots beside each symbol in the notebook order: spiral 9, circled dot 7, trident 8, crescent 3 gives 9783. - Enter the code on the wall safe keypad. The bolts slide back: take Strand's letter, the Crystal lens, the Radio valve and the Brass key.
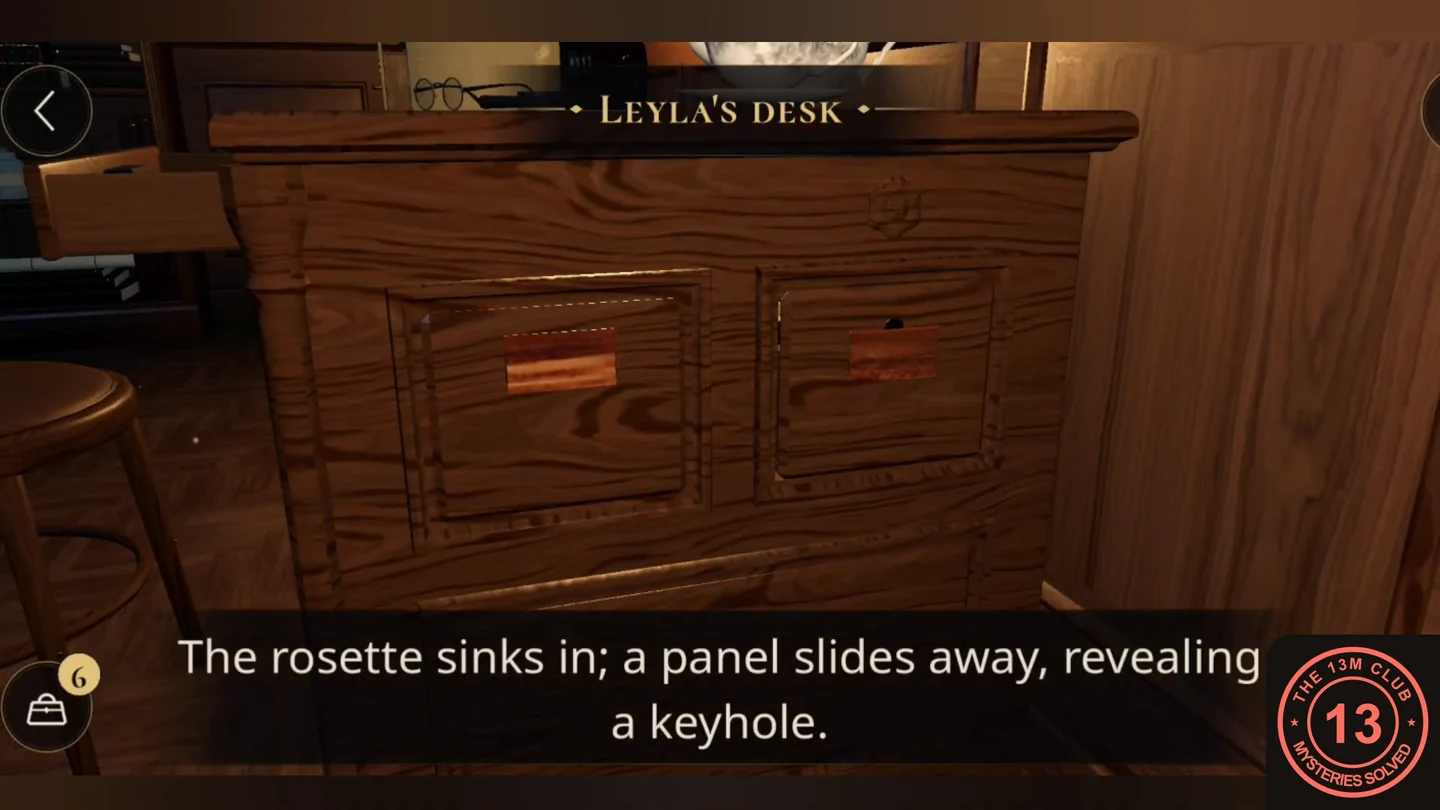
Panel 7
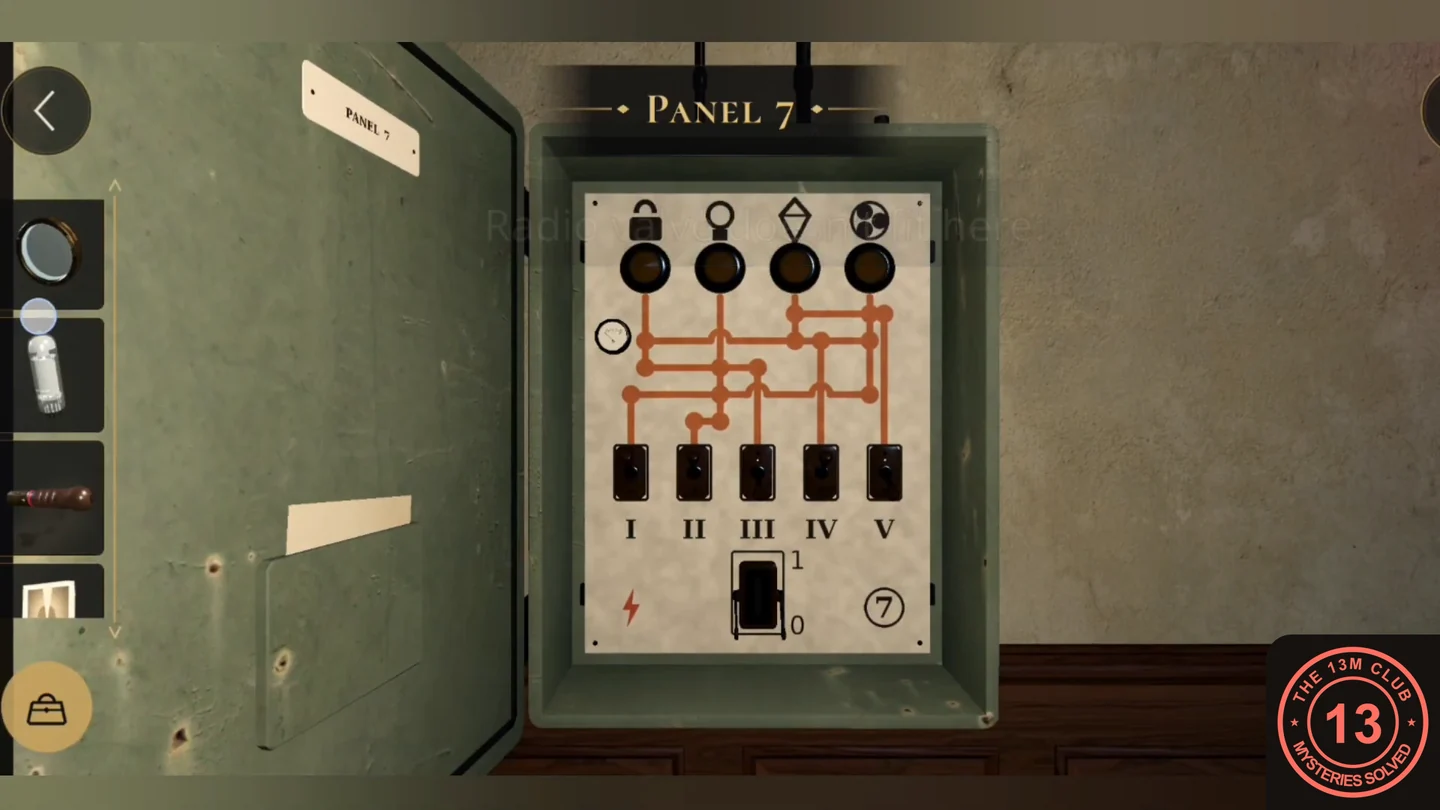
Notebook page 4 says that on Panel 7 the LOCK, LIGHT and ARRAY lines must be live and the VENT line must stay dead. The switch wiring may differ between games, so use the panel's lamps as feedback instead of copying switch positions.
- Use the Breaker handle on the empty main breaker of Panel 7, the electrical panel by the door.
- Flip switches I to V one at a time while watching the four lamps at the top of the panel; each lamp lights while its line has power. Aim for the lock, light (bulb) and array (diamond) lamps lit and the vent (fan) lamp dark. If the vent line gets power, sparks trip the breaker: change that switch and try a different combination. When only the three correct lamps are lit, the panel reports Power restored and a red glow appears around the bookcase.
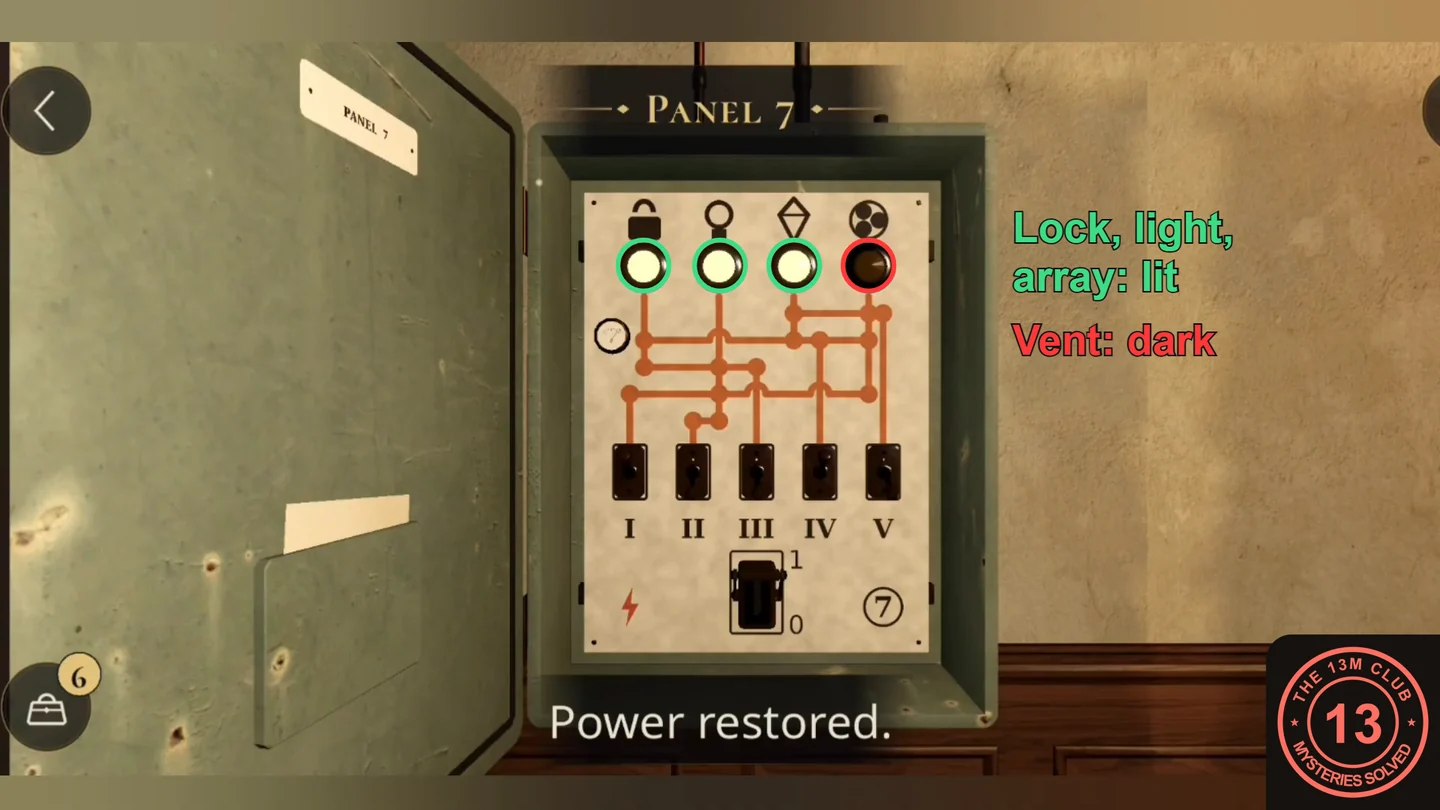
The target: lock, light and array lamps lit, vent lamp dark. Switch positions can differ in your game.
The Valve Radio
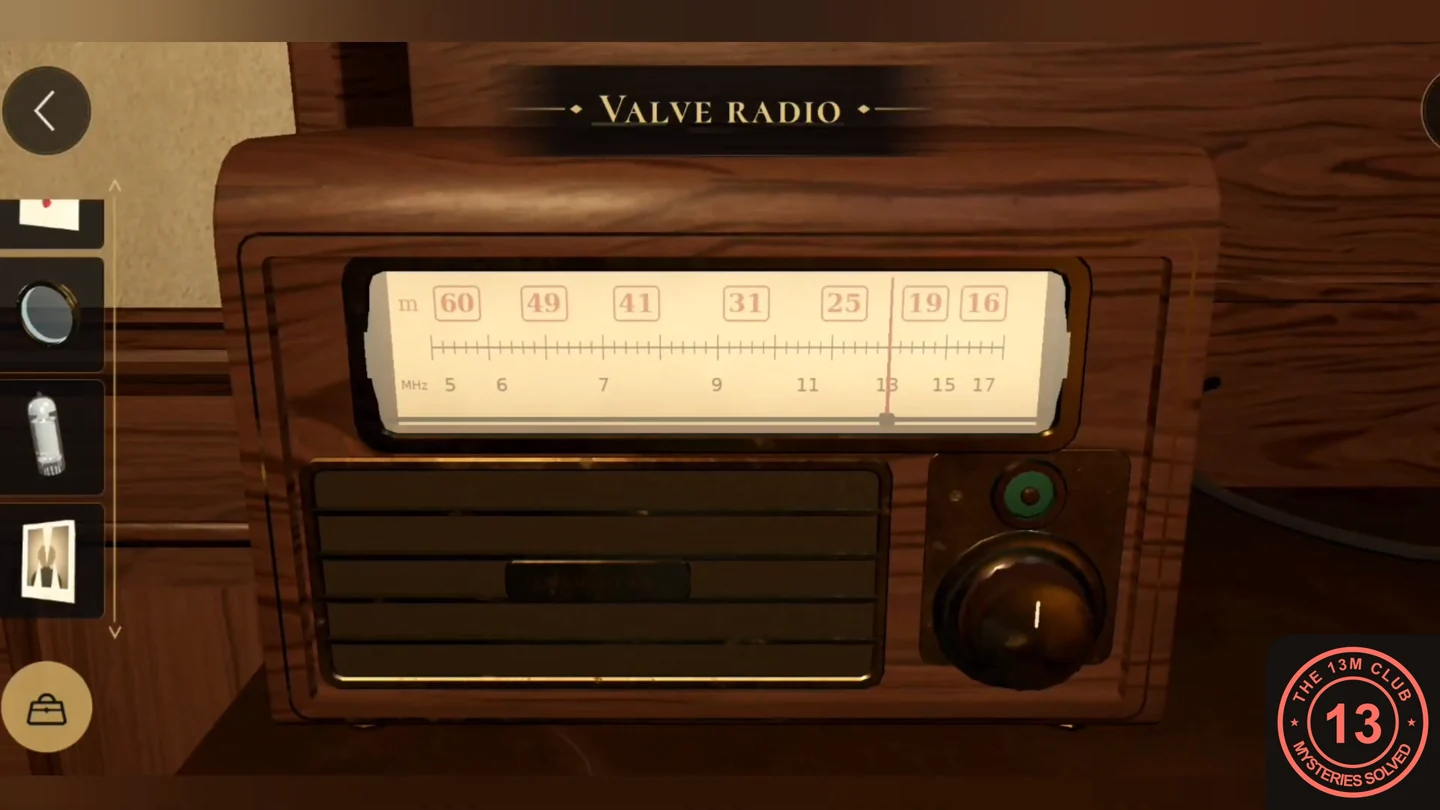
With the power back on, the valve radio can pick up a beacon. Strand's chalkboard gives the wavelength to tune to.
- Use the Radio valve on the empty socket of the valve radio. The valve warms up with an orange glow.
- Read the wavelength written on Strand's chalkboard (λ = 41 m (example from one game; yours may differ)). Turn the radio's tuning knob until the needle sits on that wavelength. A beacon cuts through the static as groups of dots separated by dashes. Count the dots in each group (1, 4 and 2 (example from one game; yours may differ)).
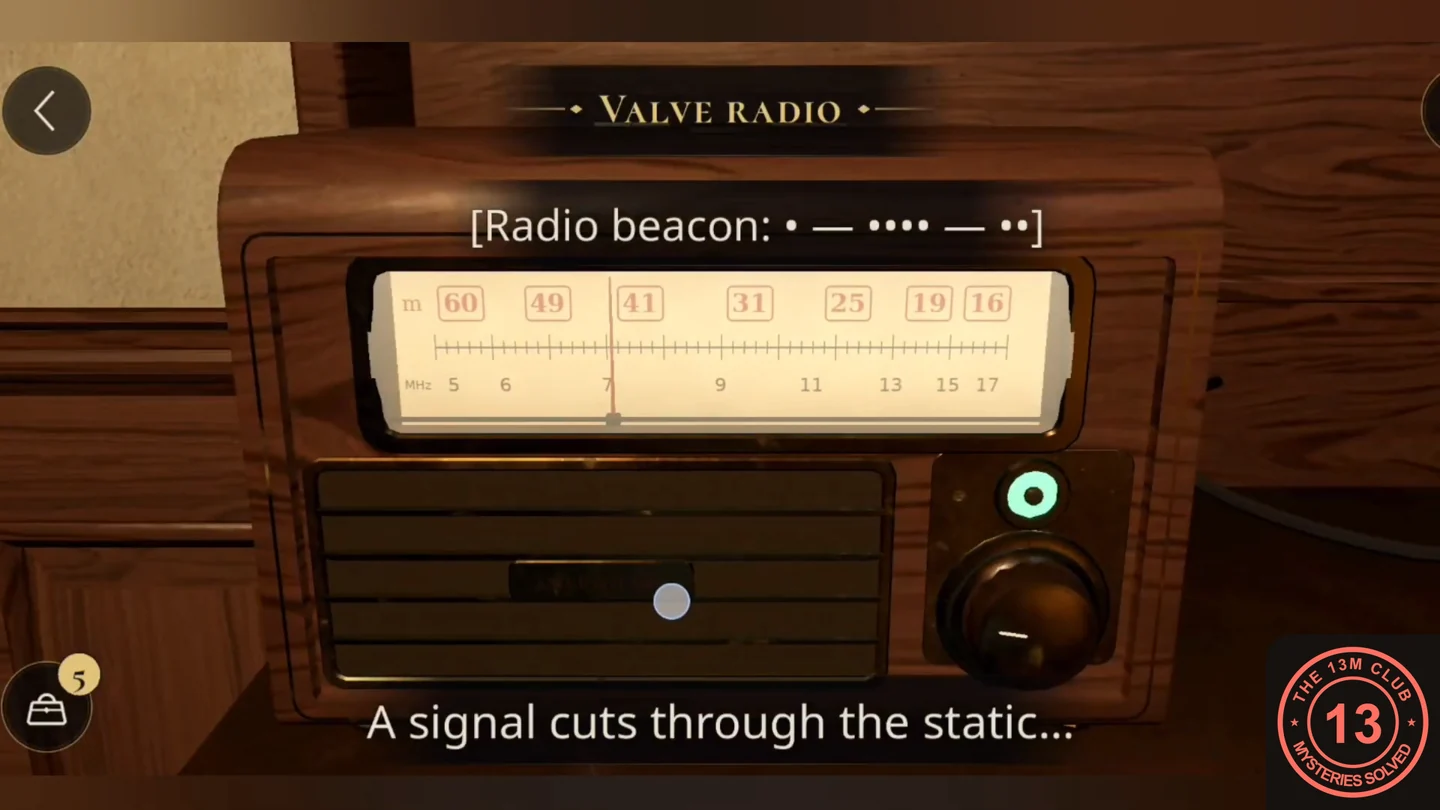
Example: tuned to 41 m, the beacon gives dot groups of 1, 4 and 2.
The Bookcase
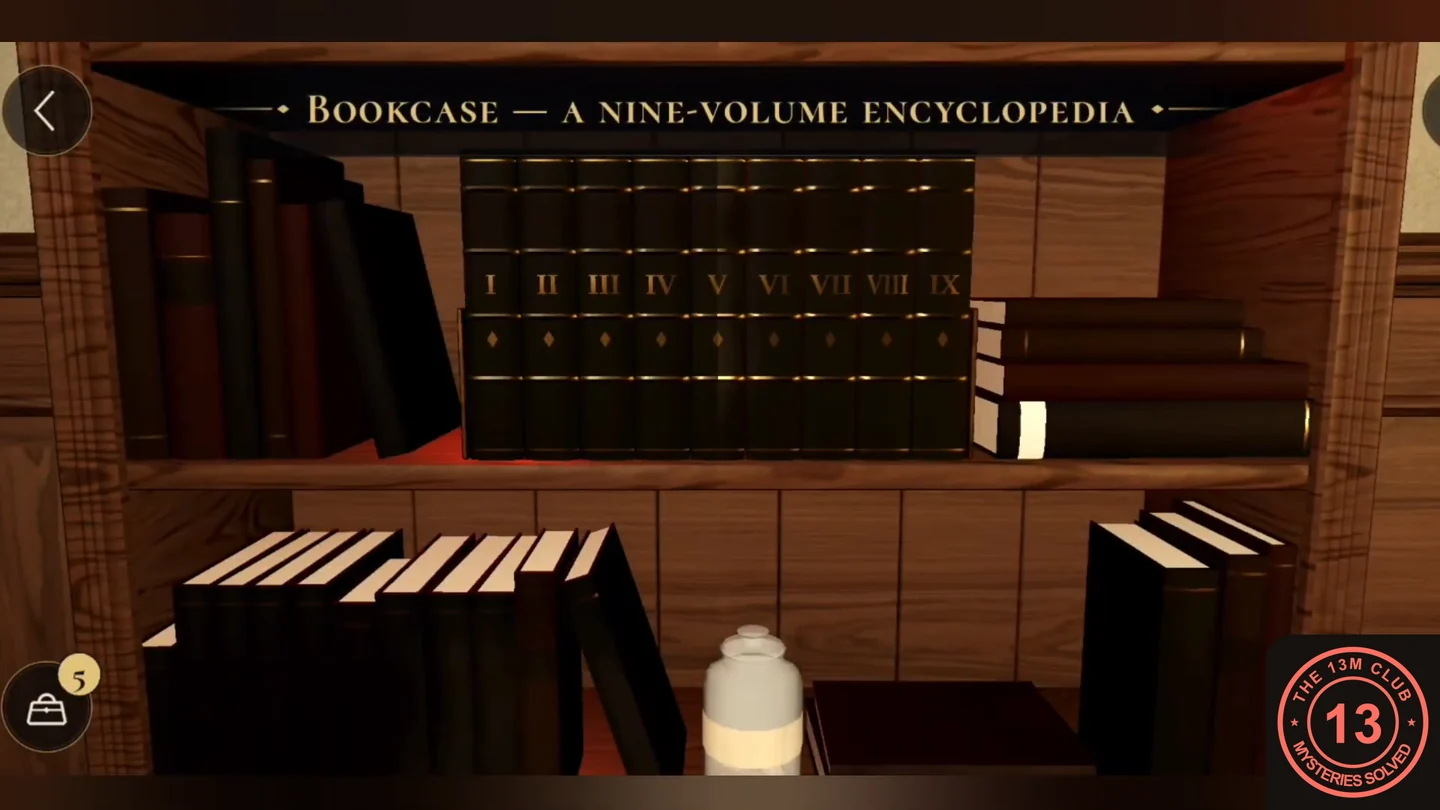
The beacon's dot groups are volume numbers for the nine-volume encyclopedia in the bookcase.
- Pull the encyclopedia volumes whose numbers match the beacon's dot groups, in the same order (I, IV, II (example from one game; yours may differ)). Something clicks and the bookcase swings open into Leyla's darkroom.
The Shadow Sculpture
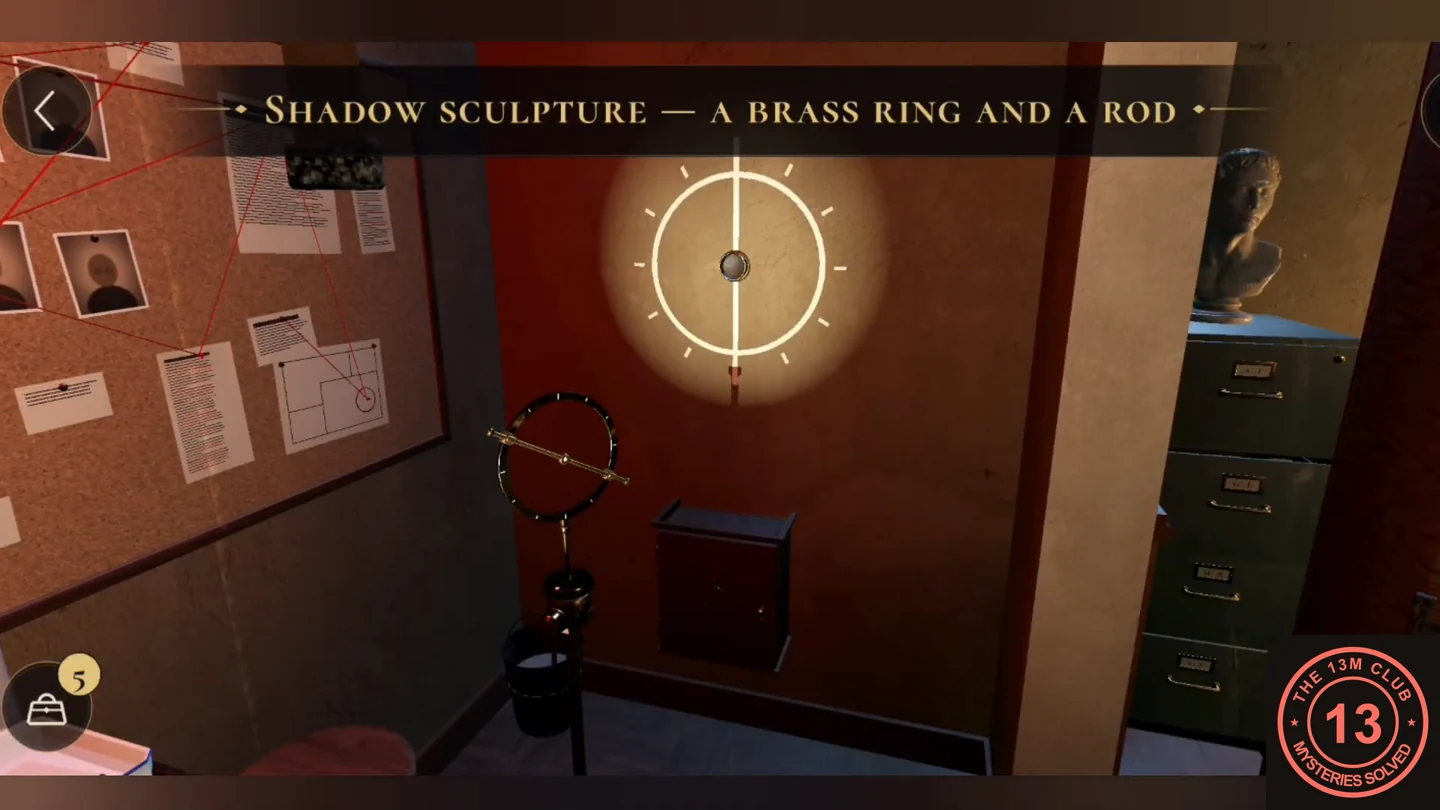
In the darkroom a lamp lights the Institute's mark on the wall, and a brass ring on a rod stands in front of it.
- Zoom into the shadow sculpture and rotate the brass ring and the rod until their shadow matches the mark on the wall: turn the ring edge-on so its shadow becomes a straight vertical line through the lit circle. The small cabinet clicks open: take the Round mirror.
The Lumen Projector
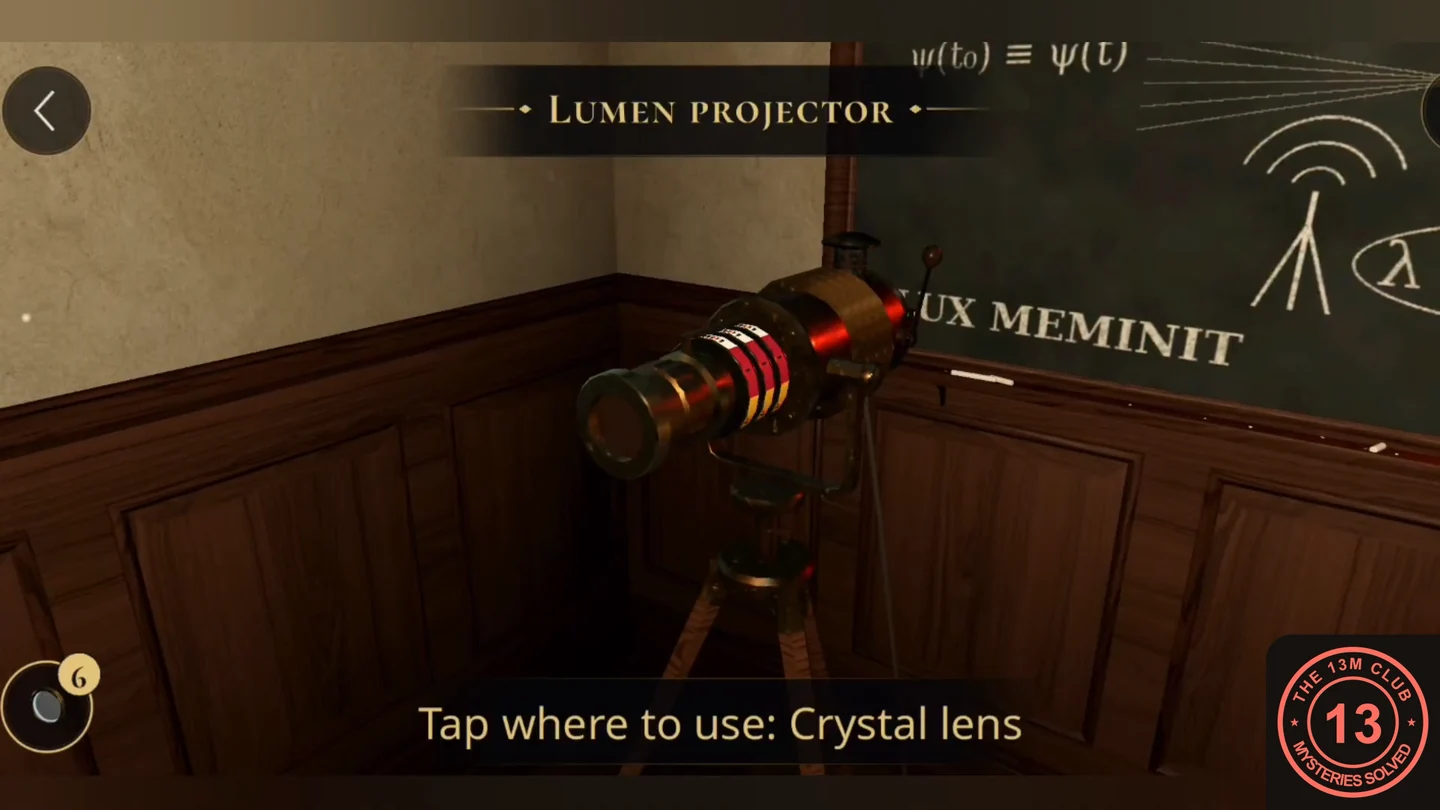
Strand's letter says the light opens any door when the three rings sing with the three samples, heaviest first. The sample values can differ between games, so read your own jars.
- Use the Crystal lens on the Lumen projector on its tripod. The crystal lens slides into the projector.
- Read the density (ρ) labels on the three coloured sample jars on the bench (example: pink 1.84, blue 1.20, green 0.79). Order the colours from the highest number to the lowest, then turn the three projector rings so their colours under the top markers follow that order from left to right (pink/red, blue, green in the example). The projector hums and its beam strikes the brass back of a mirror stand.
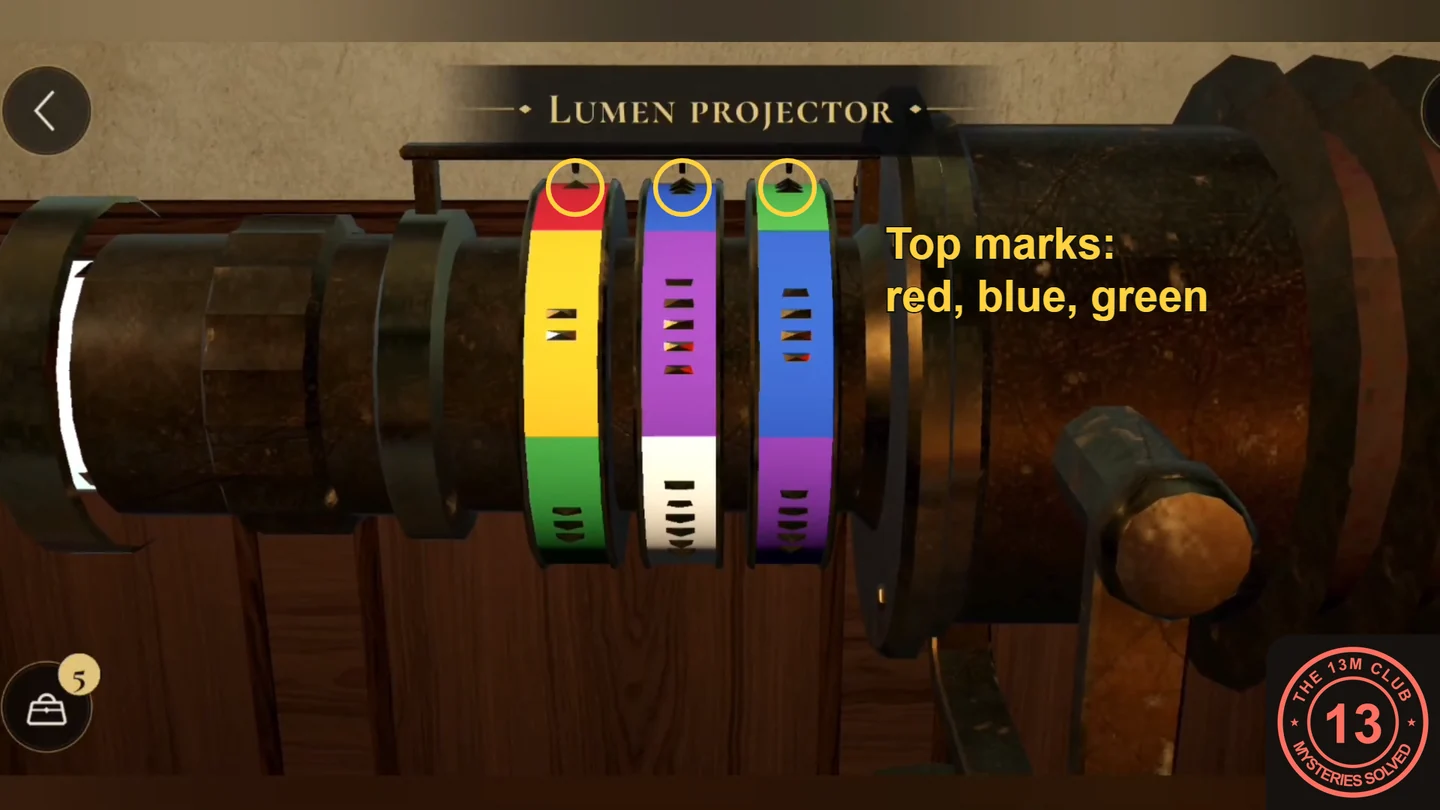
Example: heaviest first gives red (pink sample), blue, green under the top markers.
The Mirror Stands
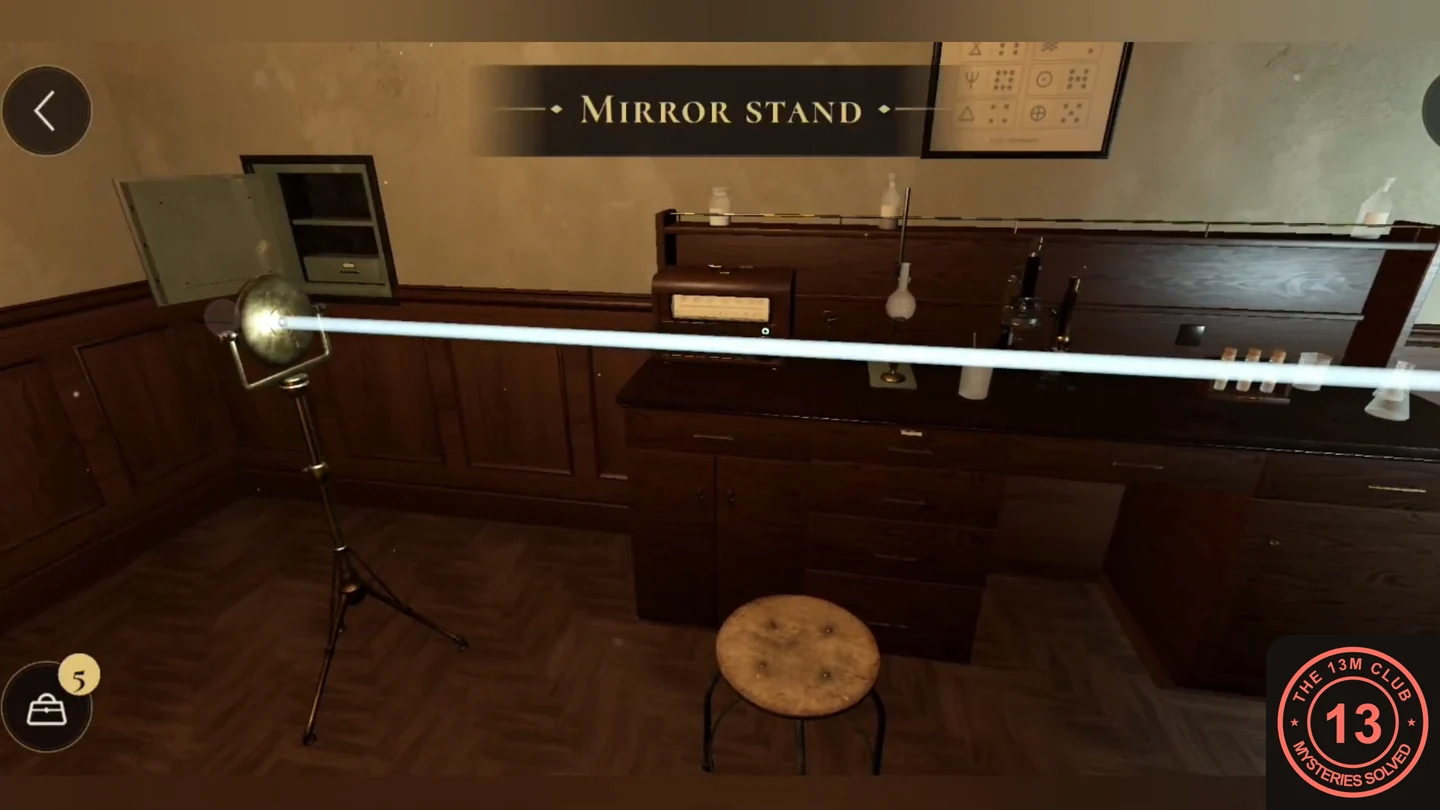
Two mirror stands must carry the projector beam to the round eye beside the laboratory door.
- Tap the first mirror stand to turn it so its mirror face, not its brass back, catches the beam and sends it on toward the empty second stand.
- Use the Round mirror on the empty second stand, then turn it until the beam reaches the round receiver (the door's eye) beside the laboratory door. The eye blazes, the magnetic lock lets go and the door opens.
Take the Lens or Leave It
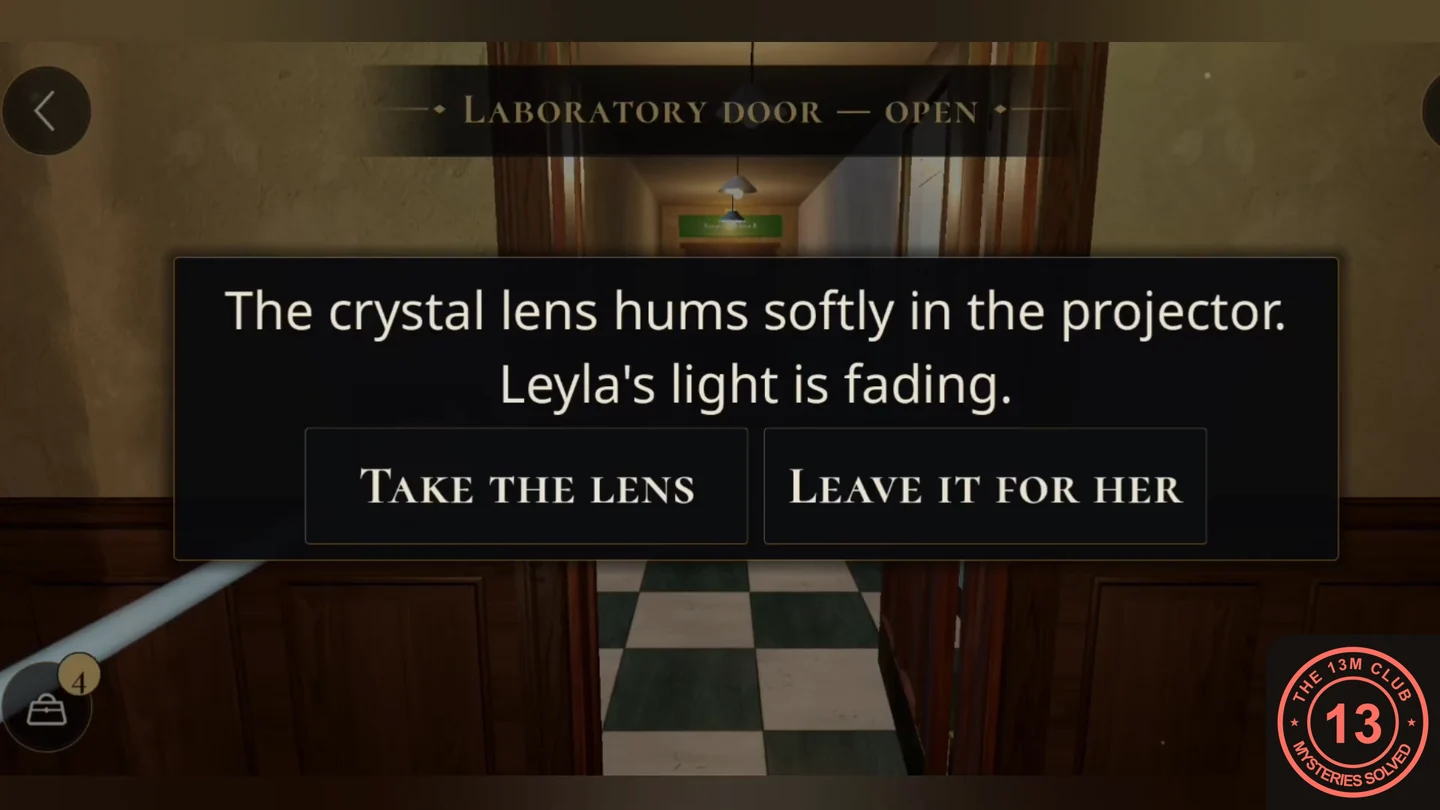
Leaving the laboratory, the game asks what to do with the crystal lens. The choice is saved, and this guide follows LEAVE IT FOR HER.
- Choose LEAVE IT FOR HER. Chapter 1 ends with the Chapter Complete screen for The Locked Laboratory (12/12 puzzles), and Chapter 2 begins in Records Archive B with Leyla's lab badge in your bag. The TAKE THE LENS alternative is not covered in this guide.