Meeting Elena and the ritual mural
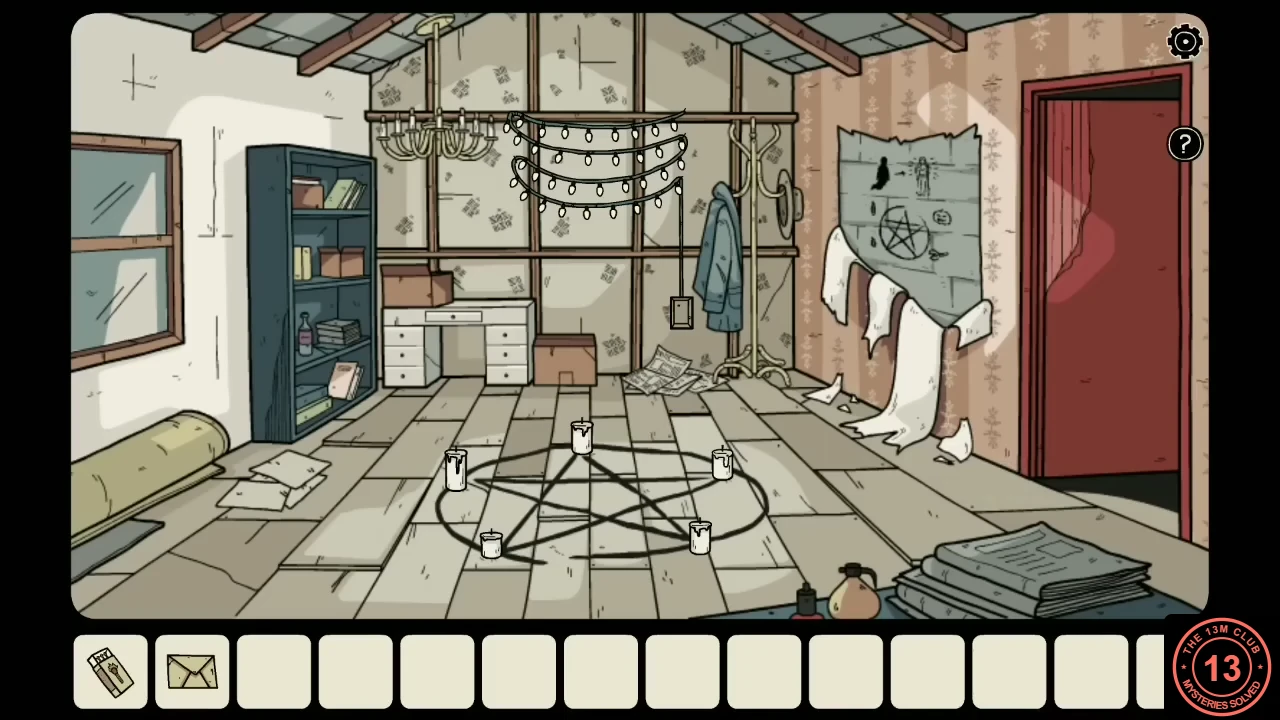
The elevator opens on the fifth floor. This guide calls the arrival room the lobby: a staircase, a small red door with a lion's head under the stairs, a table of torn papers and the elevator. A doorway leads to the wheel room and then the den; the stairs climb to a landing with a red door to the attic and a grey door to the storeroom.
- Step out of the elevator. A shadow runs up the stairs; follow it to the upper landing and through the red door on the left into the attic.
- A cutscene plays. The girl from Darien's dreams introduces herself as Elena and explains that she is stuck in this place. She asks him to perform the ritual drawn on the wall, promising it will free her, and vanishes after asking him to return with all the items.
- Examine the mural on the attic wall. Around the pentagram it shows the four items the ritual needs: a striped candle, a carved pumpkin, a cockroach and a crab claw.
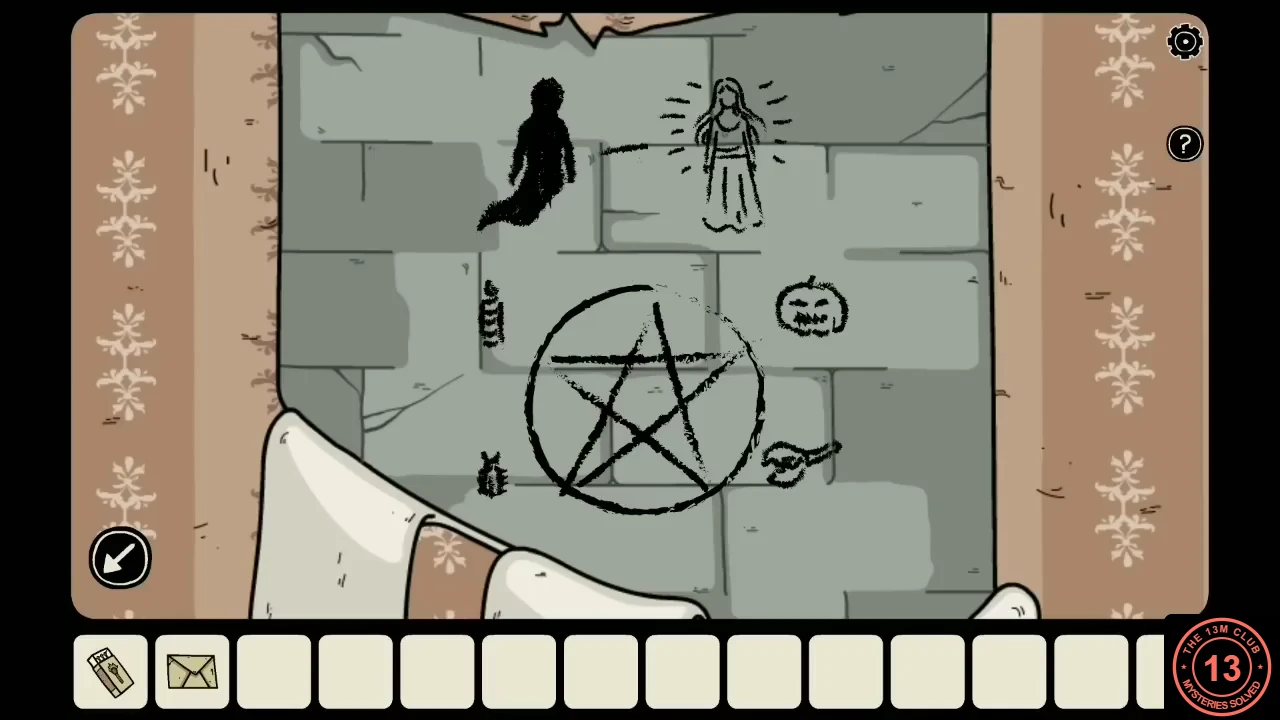
The mural: the four items the ritual needs. - Go through the grey door on the landing into the storeroom. Open the large cardboard box and take the pumpkin, then take the photo from behind the cactus on the shelf.
The torn drawings and the arrow cabinet
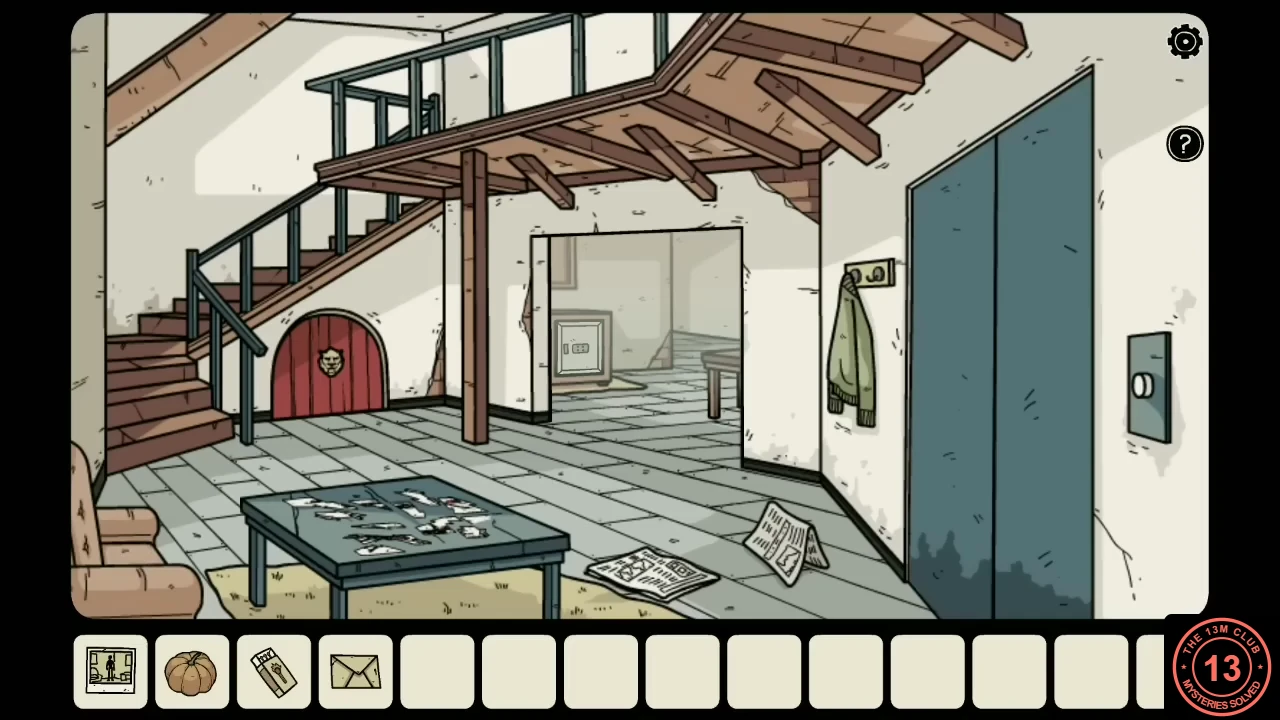
The scraps of paper on the lobby table make up four drawings of a horned shadow creature. The direction it points in each drawing sets the arrow lock on the cabinet in the wheel room.
- Examine the torn papers on the lobby table and drag the scraps together to rebuild four drawings of a horned shadow creature. Note the direction it points in each drawing. Example: top left up and to the right, top right left, bottom left down and bottom right down and to the right.
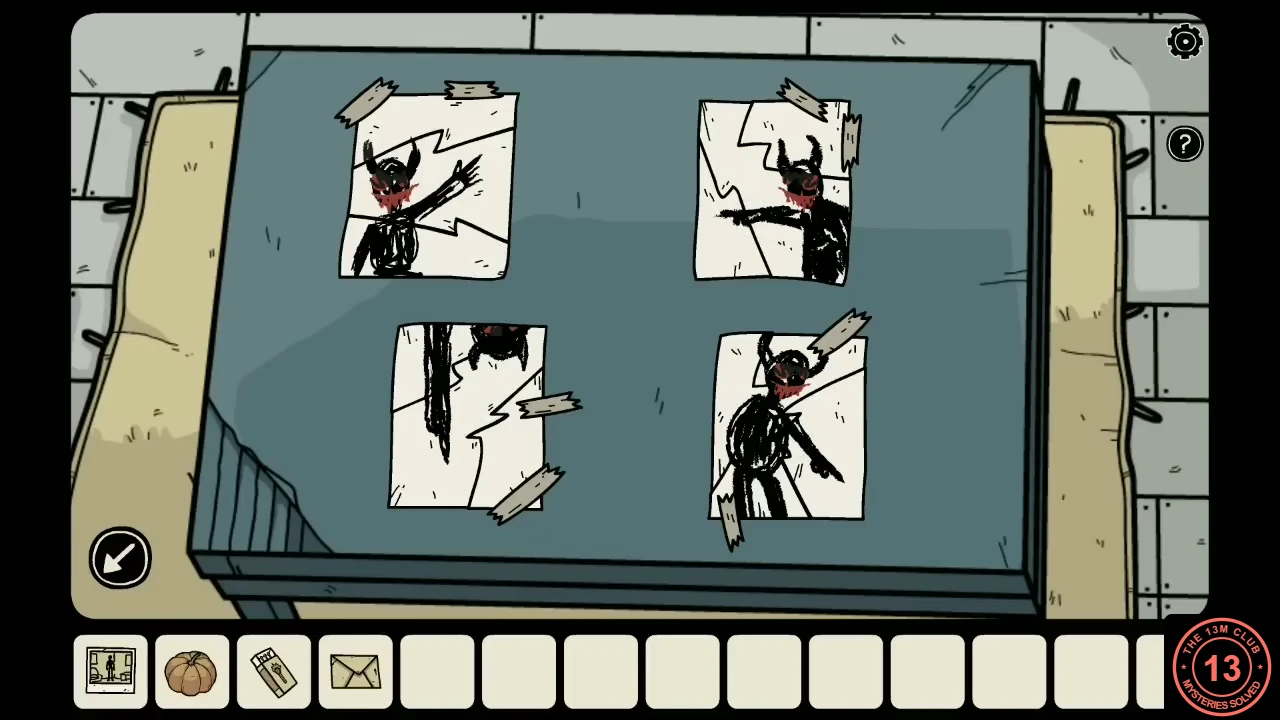
Example: the four rebuilt drawings and the direction each creature points. - In the wheel room, examine the low cabinet: its right-hand door has four arrows arranged in a square. Tap each arrow to turn it until it matches the drawing in the same corner. Open the door and take the key handle.CODE↗ ← ↓ ↘
The crumpled papers and the colour wheel
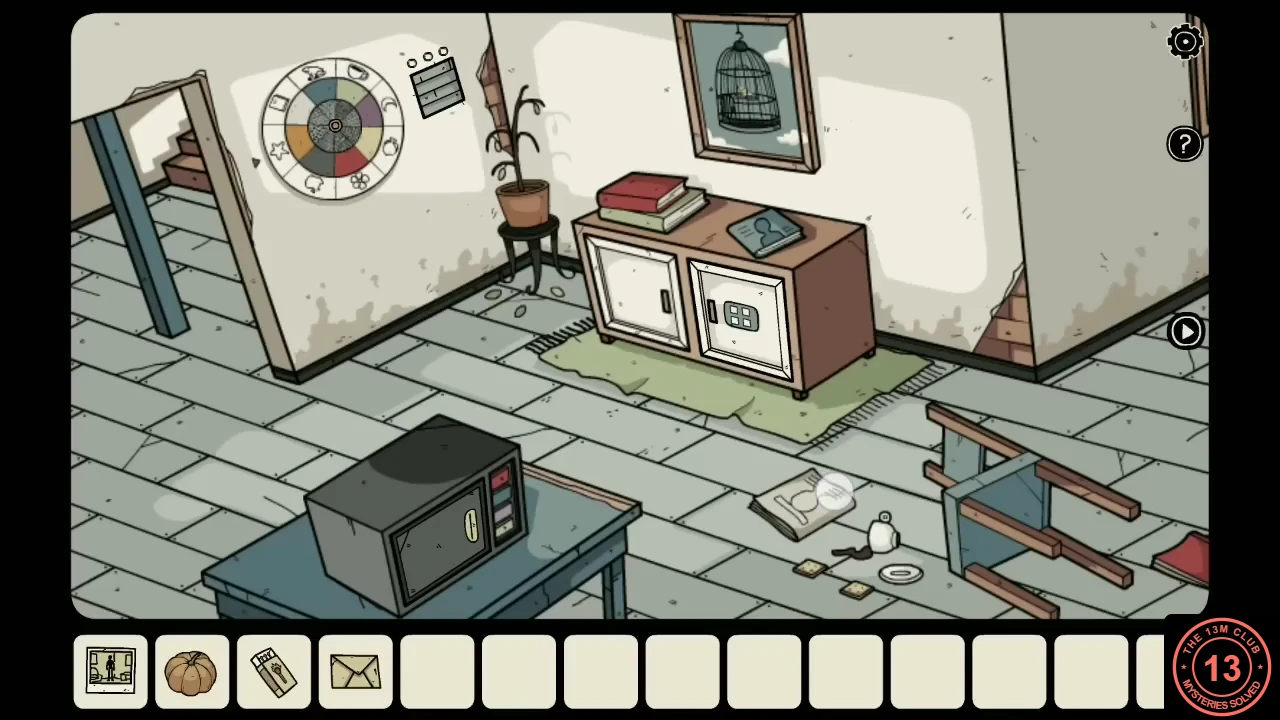
Three crumpled drawings in the den each combine an object, a colour and a pattern. The wheel on the wheel-room wall has a ring for each, and lining up all three drawings opens its compartment.
- In the den, pull back the rug, lift the loose floorboard and take the cockroach.
- Read the book on the desk. Its writer senses something invisible in this room trying to communicate and wonders how to make the invisible visible. You will deal with this later.
- Search the wastebasket beside the desk. It holds three crumpled drawings, each showing an object in one colour with a pattern. Example: a red frog covered in rows of small loops, a blue apple with spots and a purple fish with scales.
- In the wheel room, examine the wheel on the wall. The outer ring holds objects, the middle ring colours and the inner circle patterns. Turn the rings until one drawing's object, colour and pattern all line up at the red pointer on the left; a light comes on. Do the same for the other two drawings, in any order. When all three lights are on, take the black candle and the red key from the compartment.
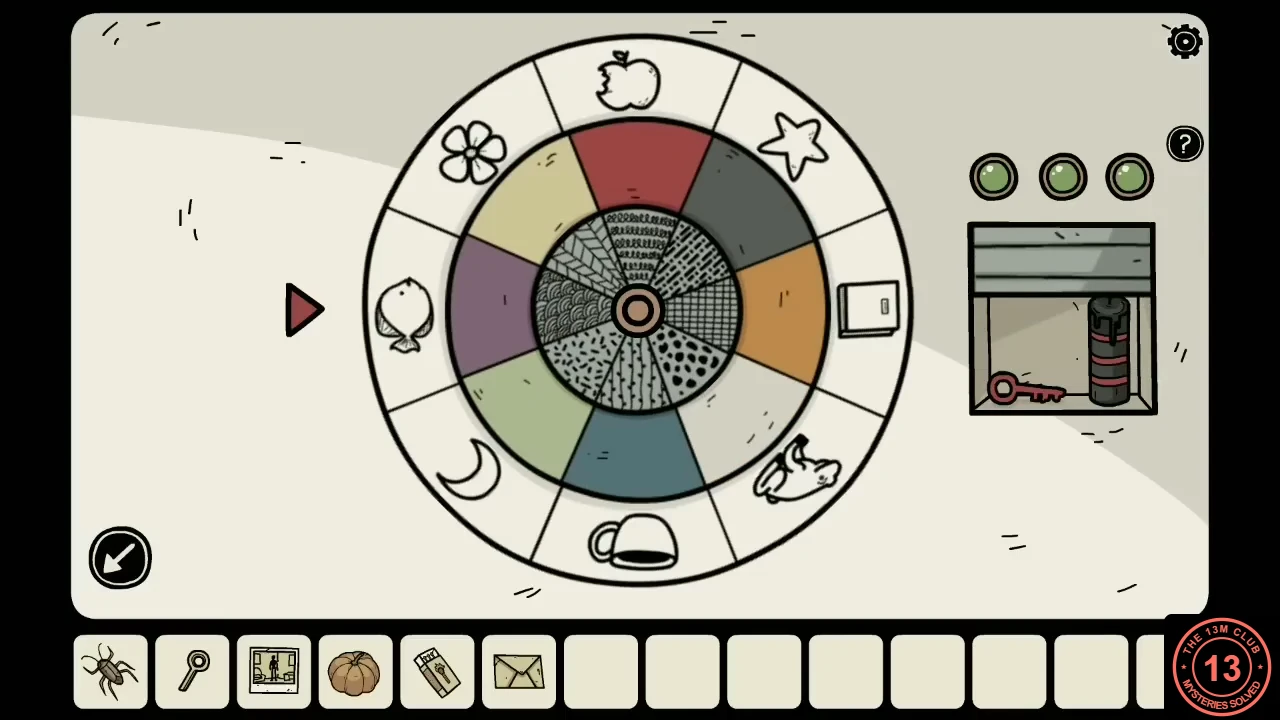
The last combination lined up at the pointer: all three lights are on and the compartment is open. - Unlock the birdcage picture on the wall with the red key and take the bird.
The bird in the window and the branch desk
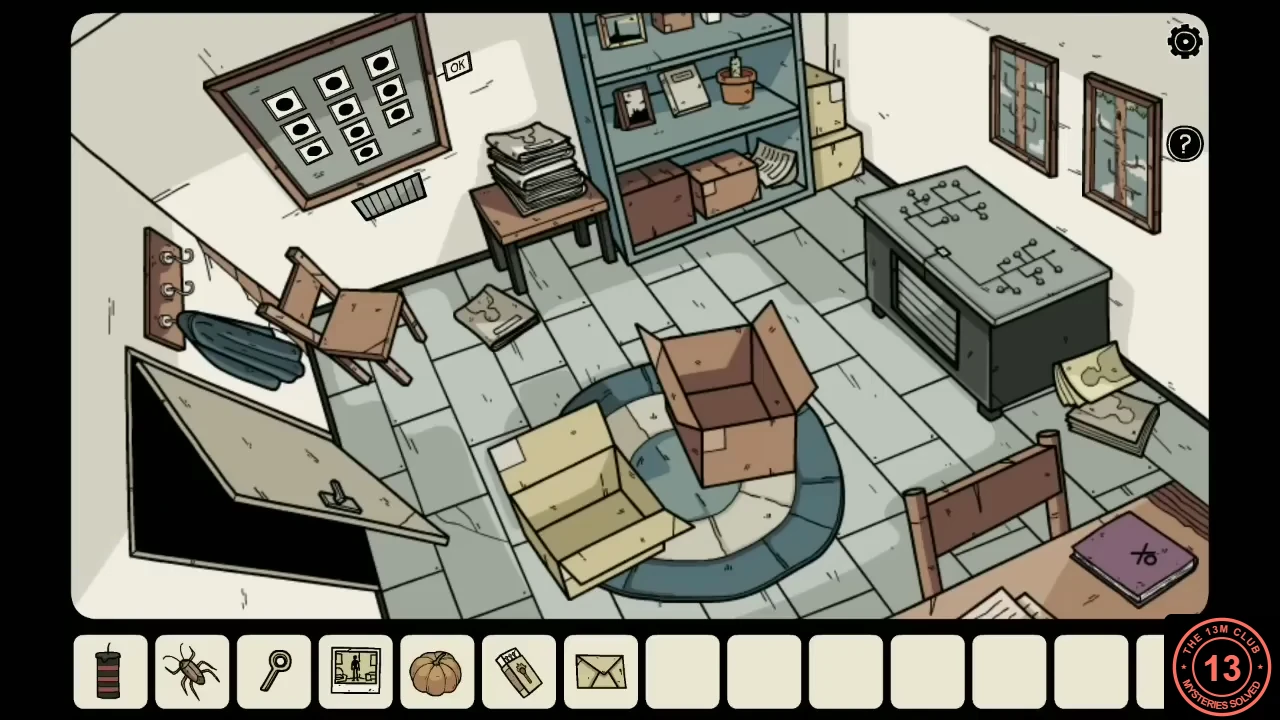
Two trees stand outside the storeroom window, and the desk beside it is drawn with the same branches. Let the bird show you where to press.
- In the storeroom, examine the window: two trees stand outside, and the right-hand one has a hole in its trunk. Put the bird beside the hole and tap it. It hops to four branches in turn; note each landing spot. Example: left tree, top branch on the right; right tree, third branch on the left; left tree, third branch on the left; right tree, top branch on the right.
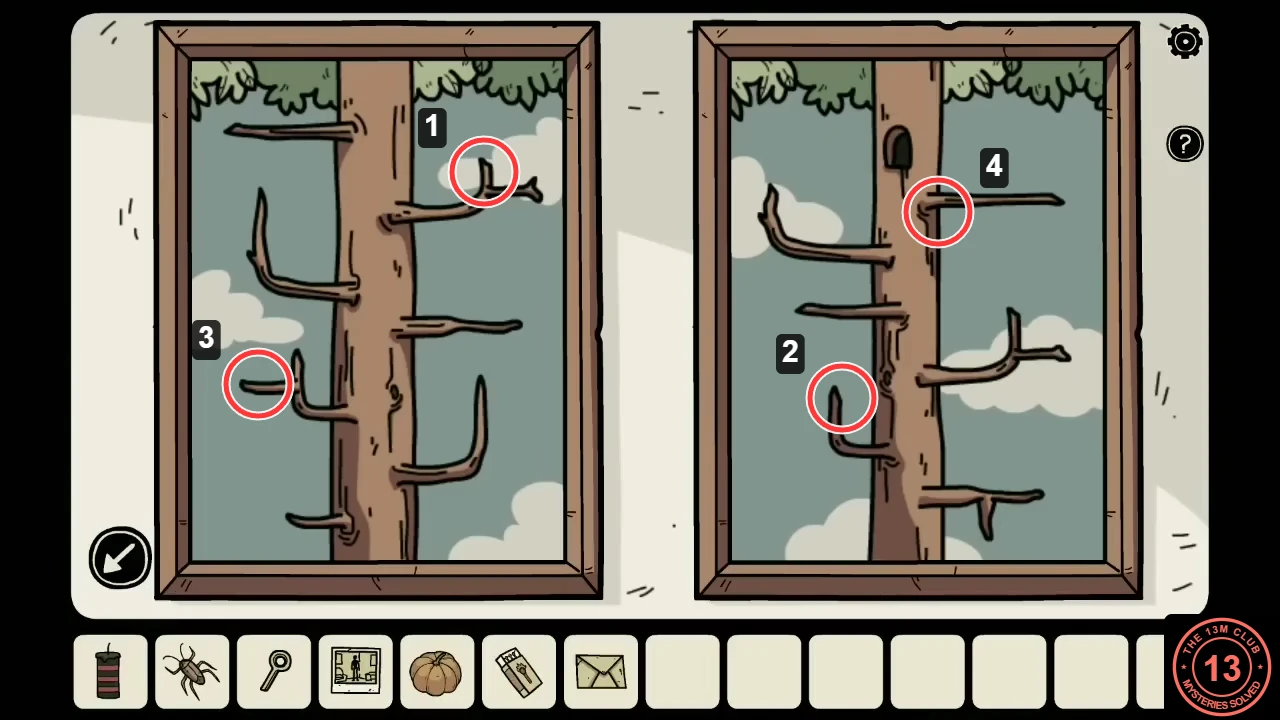
Example: where the bird lands, in order 1 to 4. - Examine the desk: its top shows the same two trees as lines with a knob at the end of each branch. Press the knobs for the bird's four landing spots in the same order and press OK.
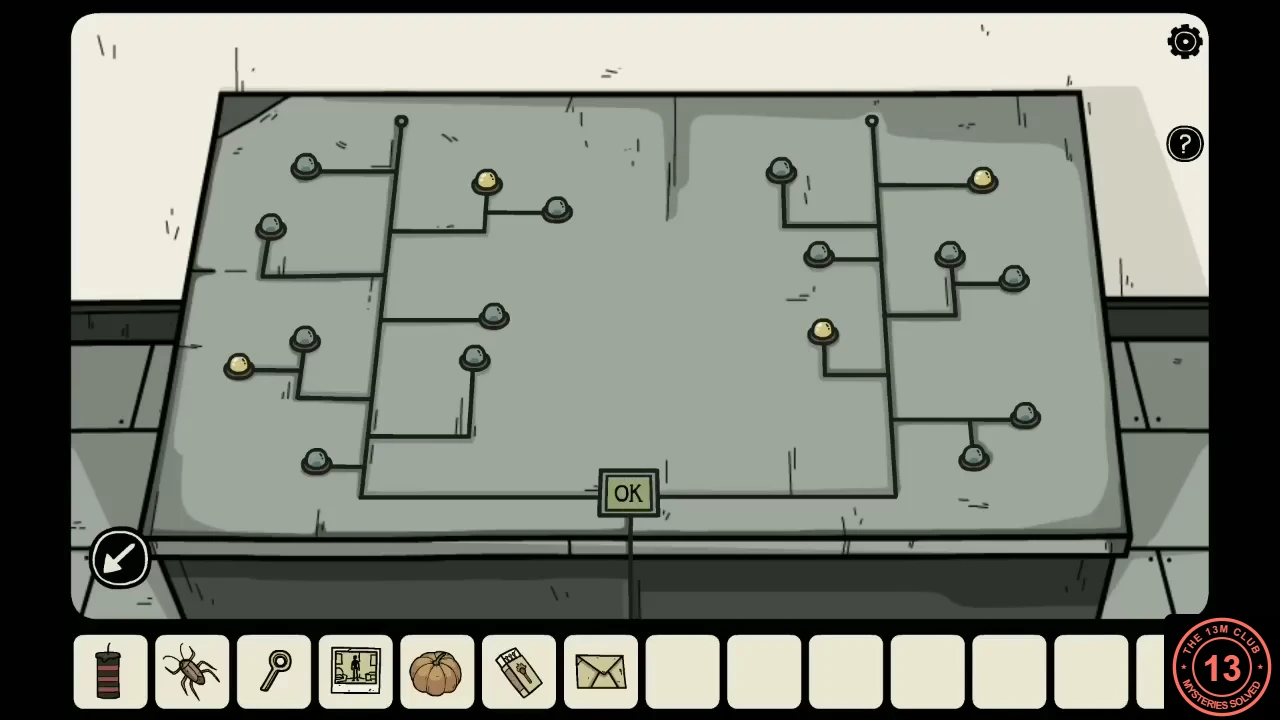
Example: the four matching knobs lit on the desk before pressing OK. - A compartment in the desk opens: take the screwdriver.
The lion door and the doll house
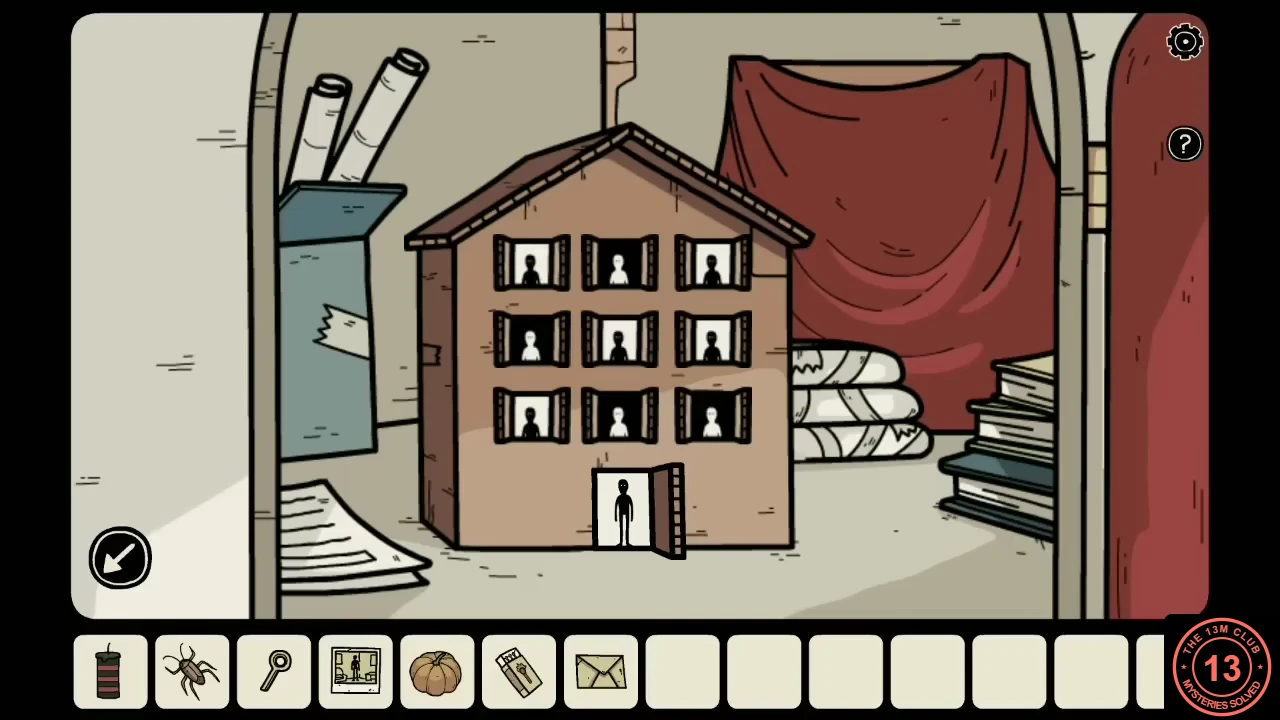
The small red door under the lobby stairs has a lion's head but no knocker. The knocker is hidden in the elevator, and behind the door a doll house shows the pattern for the tile board in the storeroom.
- In the elevator, unscrew the small plate below the floor buttons with the screwdriver and take the lion doorknocker.
- In the lobby, fit the doorknocker onto the lion's head on the small red door under the stairs and knock. The door opens on a doll house.
- Open all nine shutters and the front door of the doll house. Each window shows a figure: most are black on white, but a few are white on black. Note the white-on-black ones. Example: the middle window of the top row, the left window of the middle row, and the middle and right windows of the bottom row.
- In the storeroom, examine the board on the wall: nine tiles in three rows and a tenth below them in the place of the door. Tap tiles to switch them between a black dot on white and a white dot on black. Make the tiles in the white-on-black positions show a white dot on black, leave all the others black-on-white, then press OK. Take the electrical fuse from the tray below.
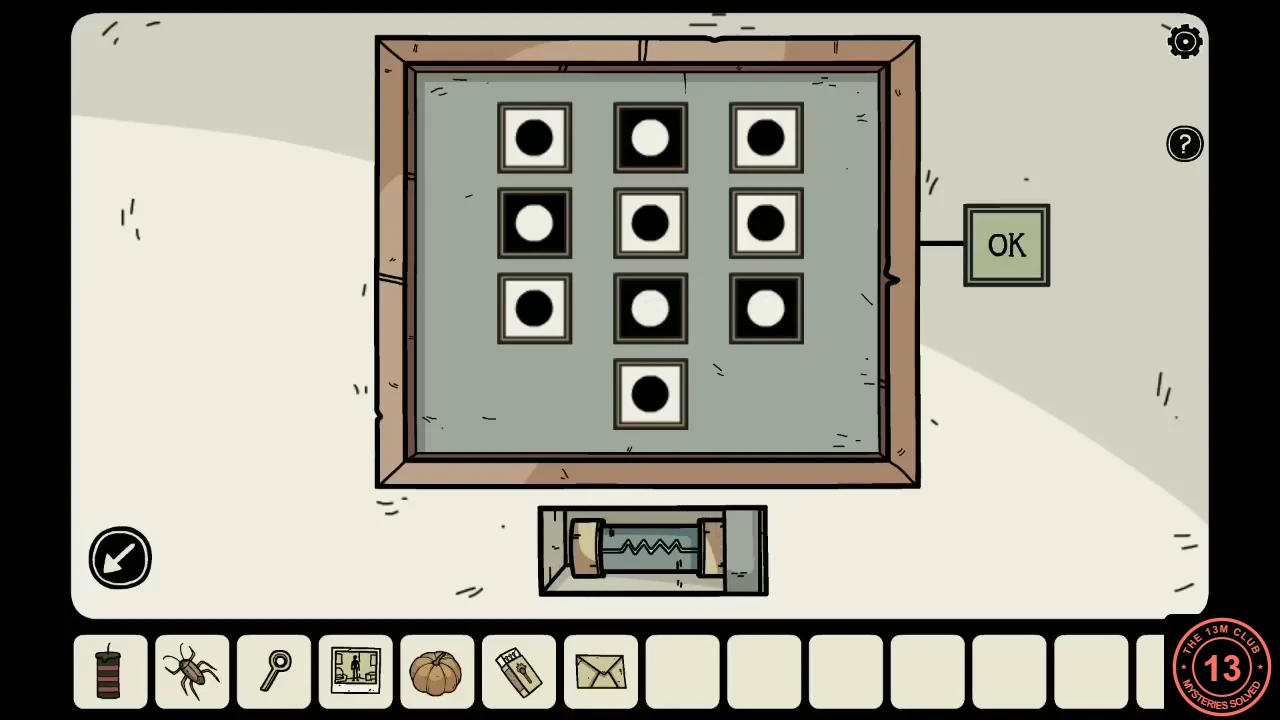
Example: the tile board matching the doll house, with the fuse in the tray below.
The string lights and the microwave safe
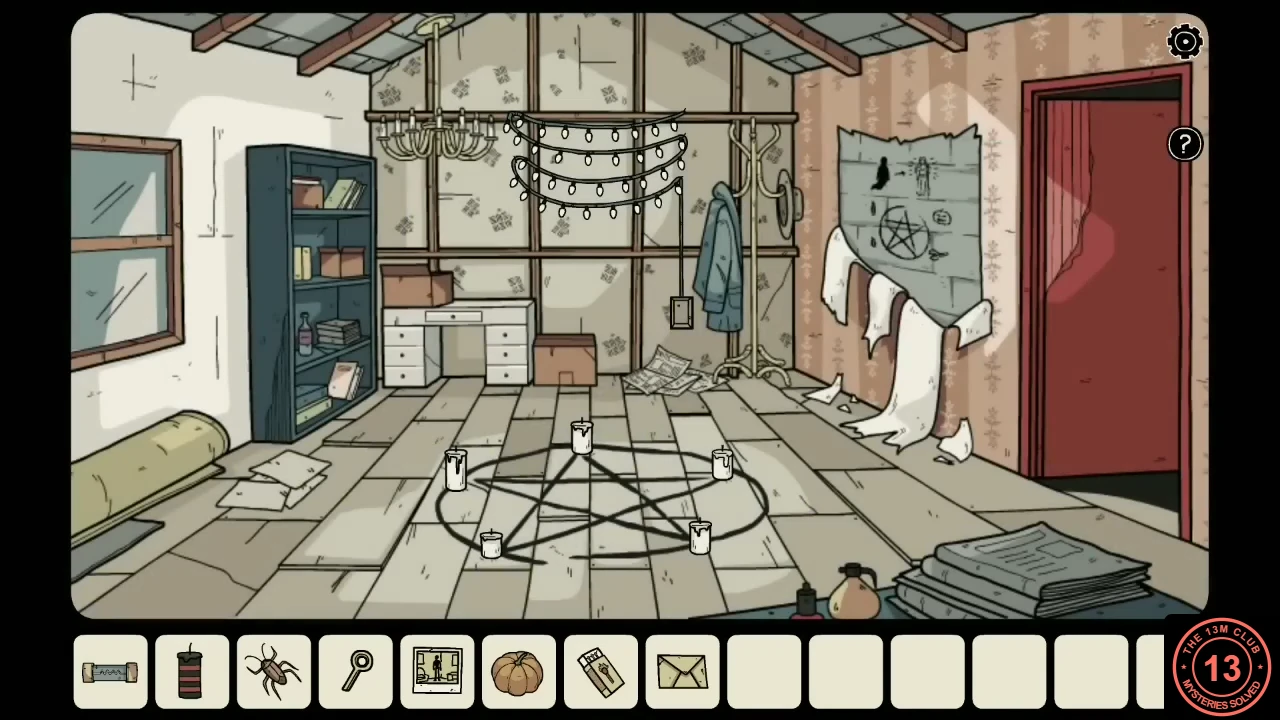
The string lights over the attic have no power. Once the fuse is in, they flash in four colours, and the counts open the microwave safe in the wheel room.
- In the attic, put the electrical fuse into the small box hanging below the string lights. The lights start to flash, lighting the bulbs of one colour at a time.
- Count how many bulbs light up in each colour. Example: 6 green, 3 purple, 8 blue and 4 red.
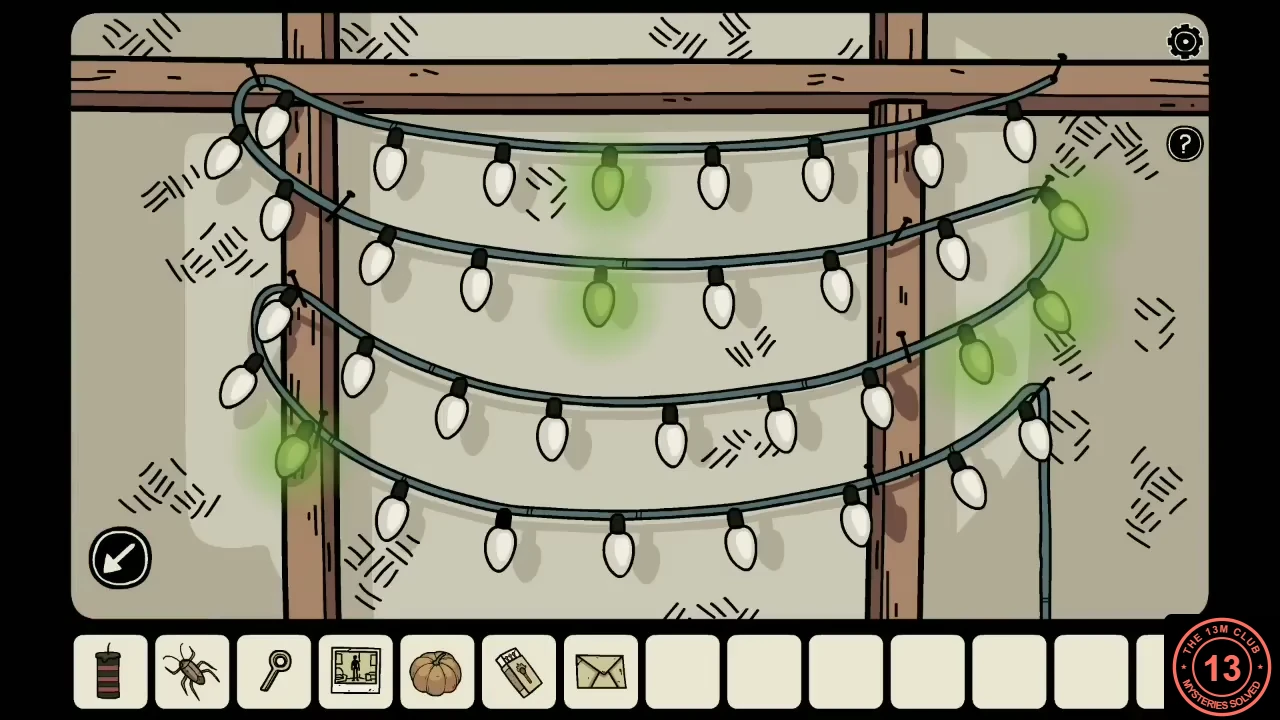
Example: one colour at a time, here six green bulbs. - In the wheel room, examine the microwave on the blue table: it is a safe with four coloured buttons. Tap each button until its number of dots matches the count for its colour (top to bottom: red, blue, purple, green). The door opens: take the ticket and the bucket of red paint.CODE4836
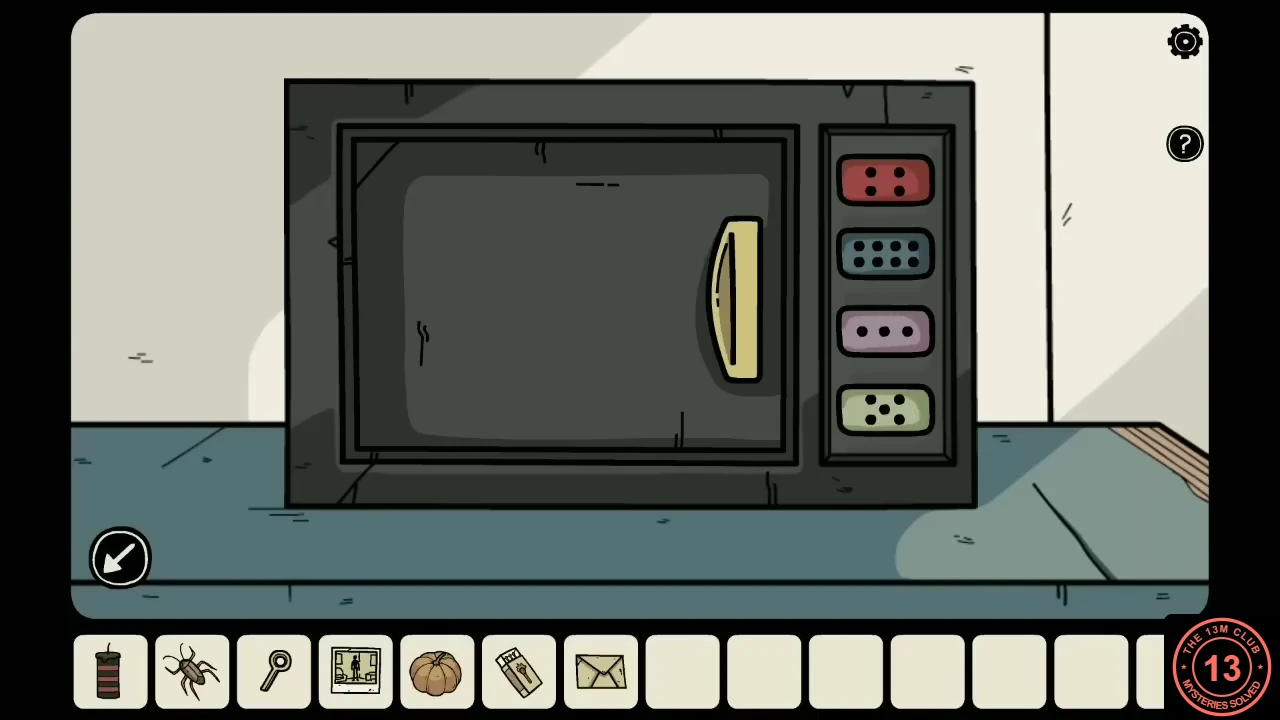
Example: the microwave buttons set to the light counts.
The puppet theatre
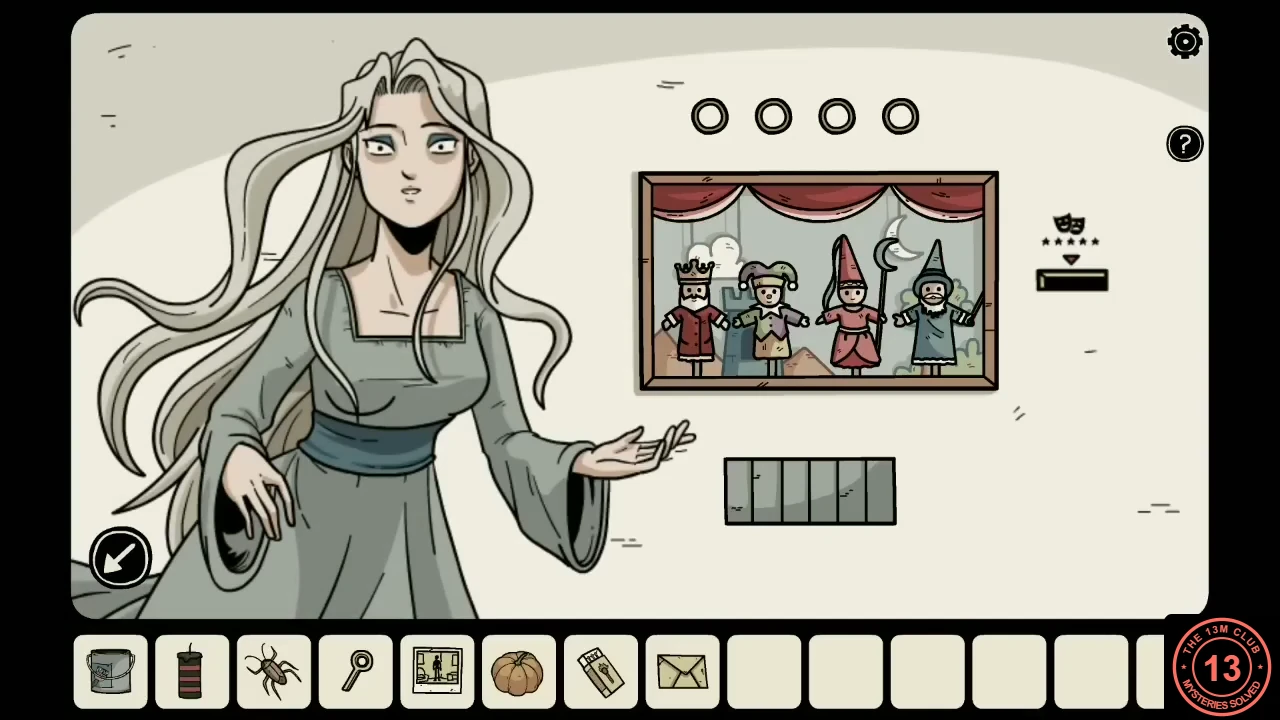
The ticket fits a slot on the upper landing, between the attic door and the storeroom door. It opens a small puppet theatre where Elena asks you to match the puppets' hats, four rounds in a row.
- On the upper landing, examine the slot marked with theatre masks on the wall between the red door and the grey door. Select the ticket, choose Grab and insert it. A small puppet theatre appears with Elena beside it.
- Tap the theatre to start. Each round, the curtain opens on four puppets (a king with a crown, a jester with a belled cap, a princess with a tall pointed hat and veil, and a wizard with a pointed hat), then Elena shows four rows of hats. Tap the row whose hats are in the same order as the puppets from left to right. A light comes on for each correct round. The puppets change order every round, so watch each one.
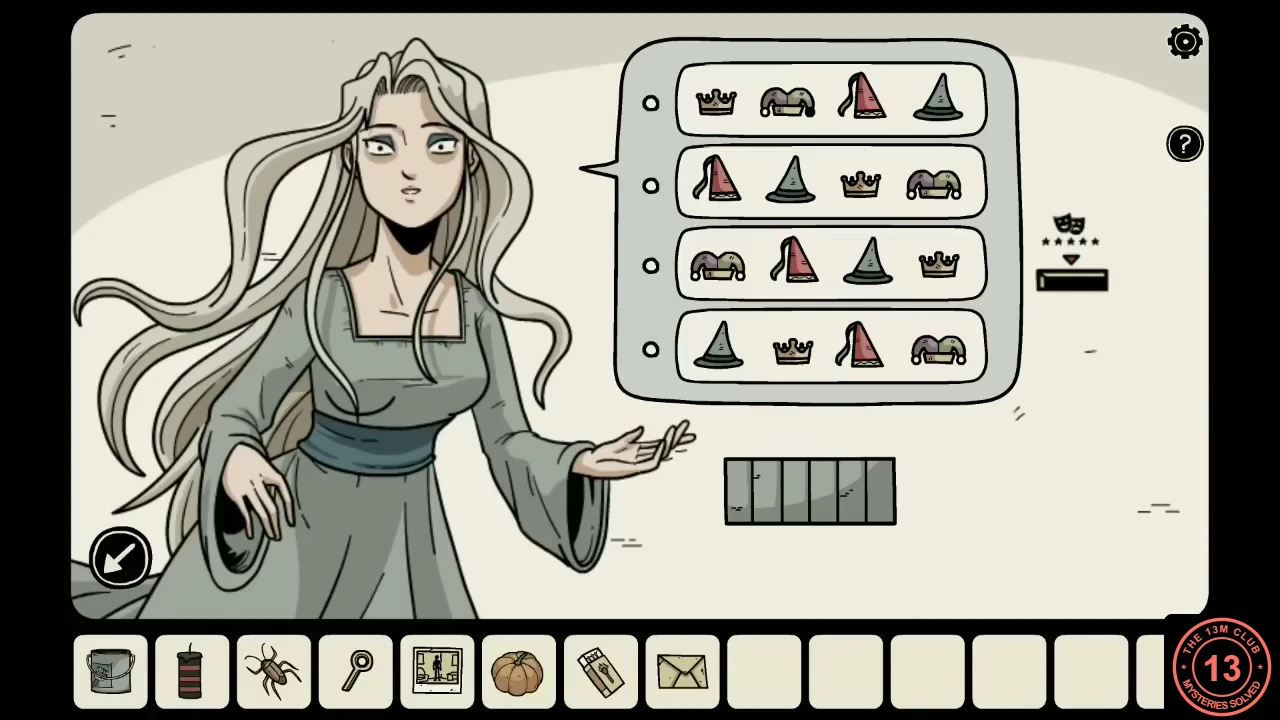
Example round: the puppets stood king, jester, princess, wizard, so the top row is correct. - After four correct rounds, a compartment below the theatre opens: take the crab claw.
The invisible ghost and the dice board
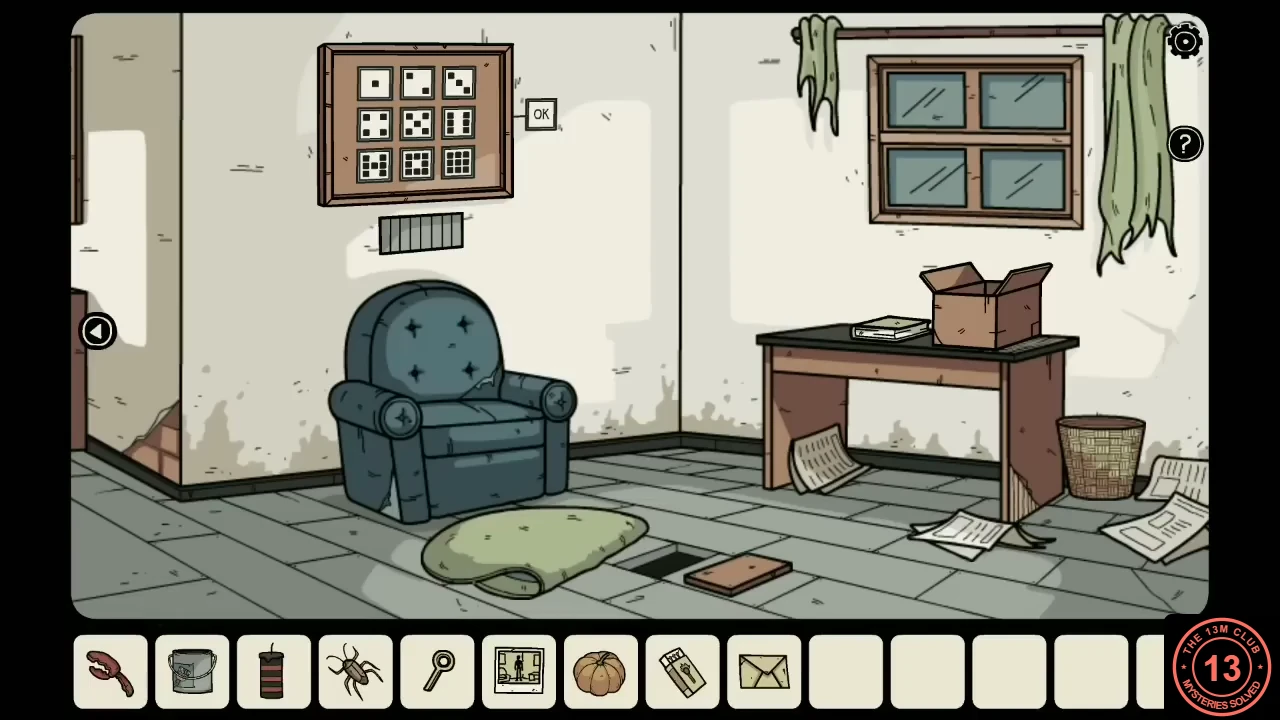
The book in the den asked how to make the invisible visible. The photo from the storeroom shows where the invisible visitor stands, and the red paint reveals it.
- In the den, look at the photo from your inventory. It shows this room with a glowing figure standing between the armchair and the desk.
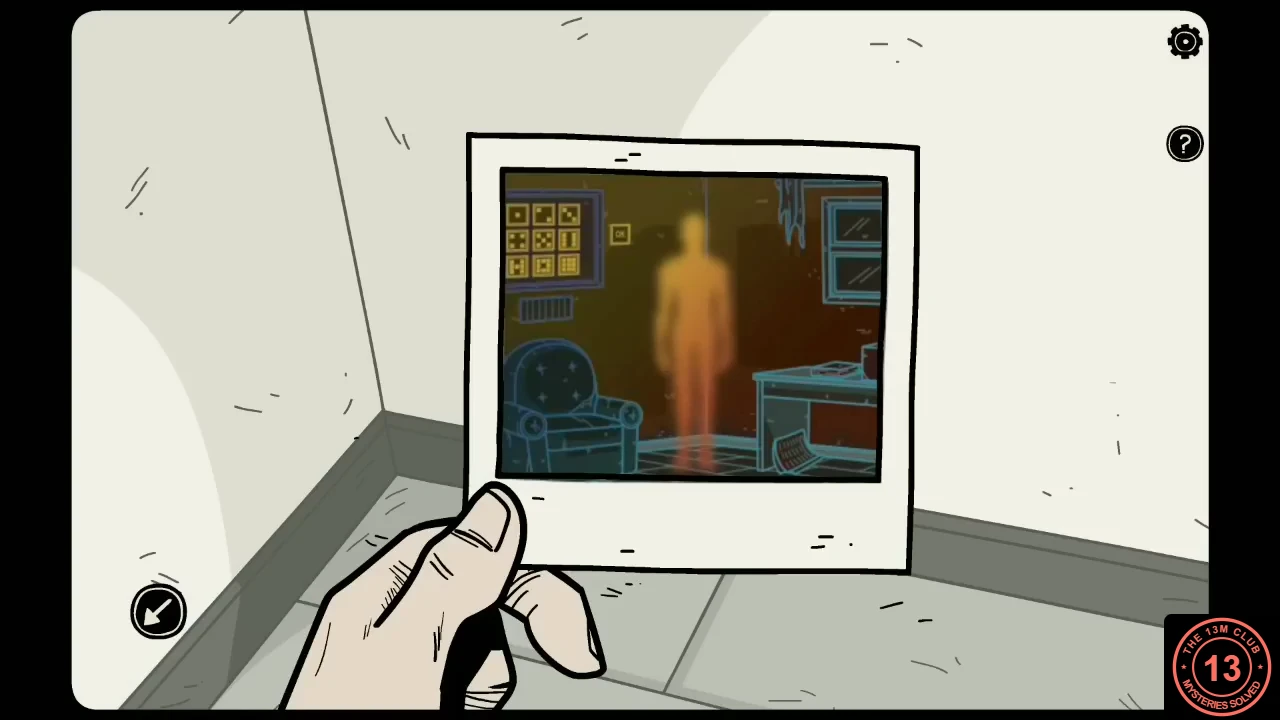
The photo shows where the invisible figure stands. - Throw the bucket of red paint at that spot. The paint splashes over an invisible ghost; tap it. It holds up its fingers four times. Example: 6, 9, 2 and 4.
- Press the dice faces for those numbers on the board above the armchair, in the same order, and press OK. Take the star-shaped ice tray from the compartment that opens below.CODE6924
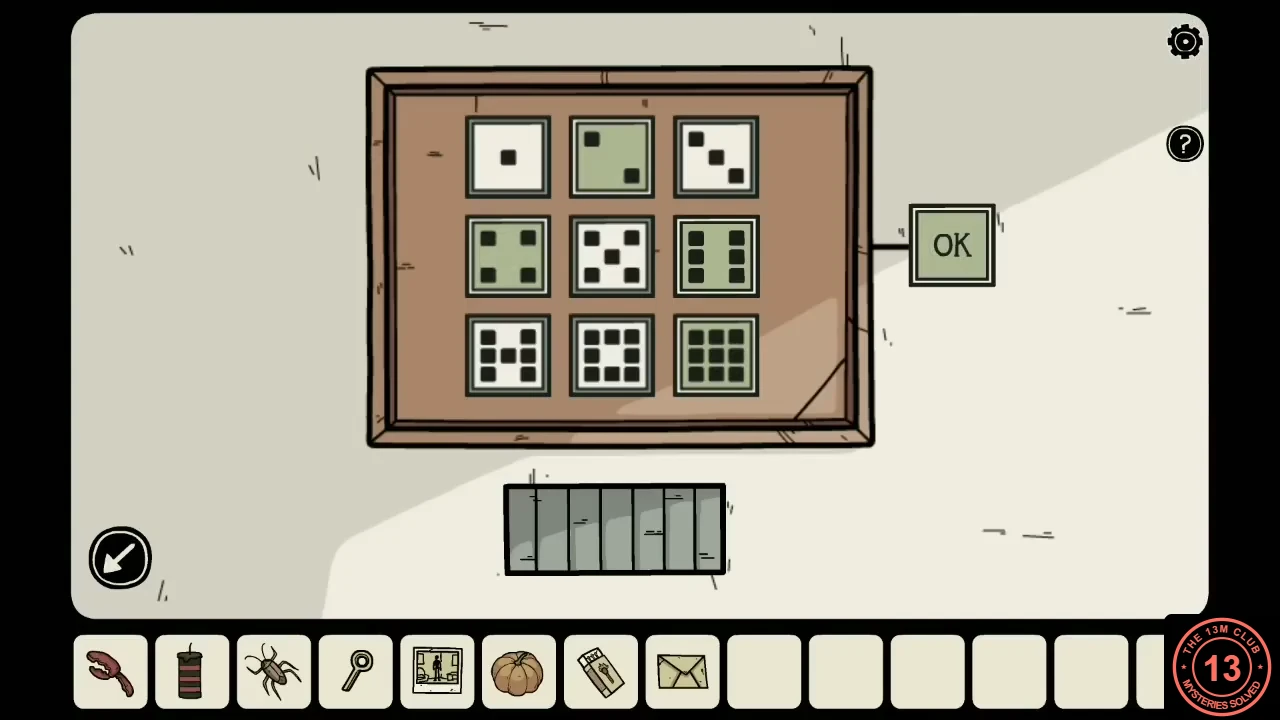
Example: the 6, 9, 2 and 4 faces selected before pressing OK.
The star-shaped ice key and the pumpkin
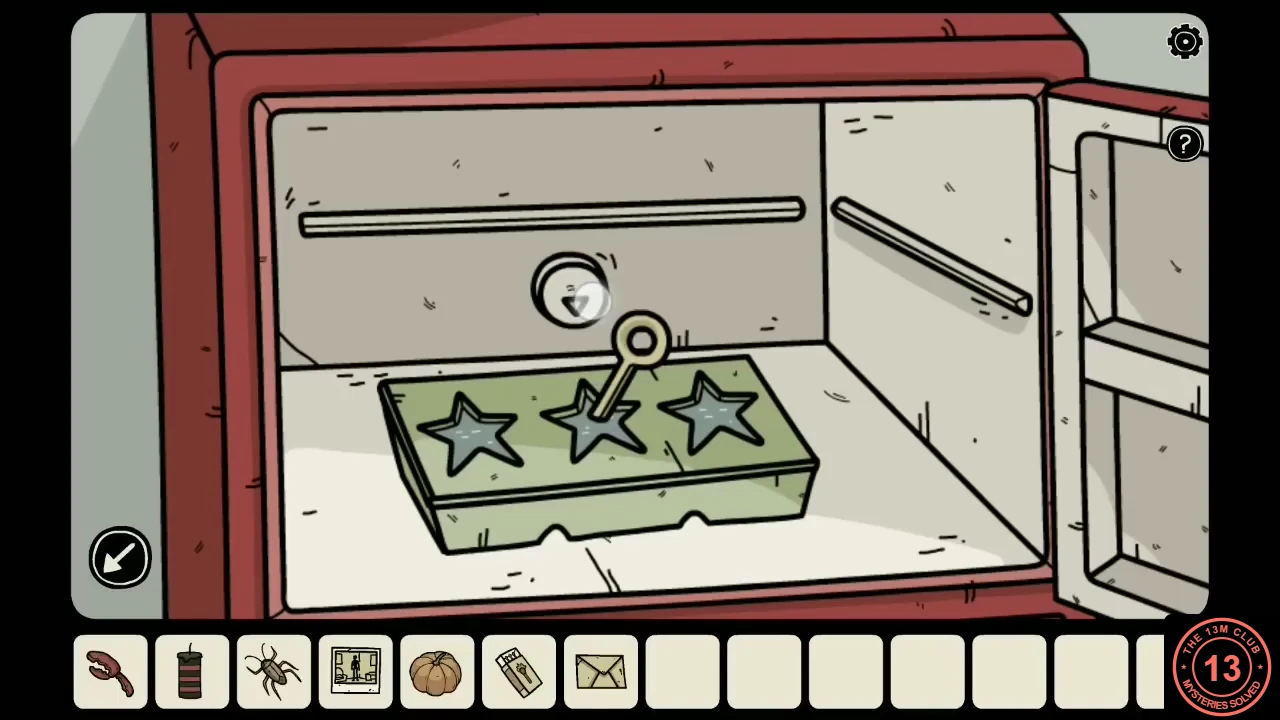
The key handle from the arrow cabinet has no key bit. Freezing it into the star-shaped ice tray makes one that fits the wooden box on the third-floor landing.
- Take the elevator down to the third floor and go through the apartment's front door to the kitchen. Put the ice tray in the sink and turn on the tap to fill it.
- Open the top door of the fridge (the freezer), put in the ice tray and then put the key handle into it. Close the freezer, open it again and take the key handle with star-shaped ice.
- On the third-floor landing, insert the star-shaped key into the wooden box on the wall beside the apartment door. Open it and take the knife.
- Use the knife on the pumpkin to carve a face into it.
The ritual and the ending
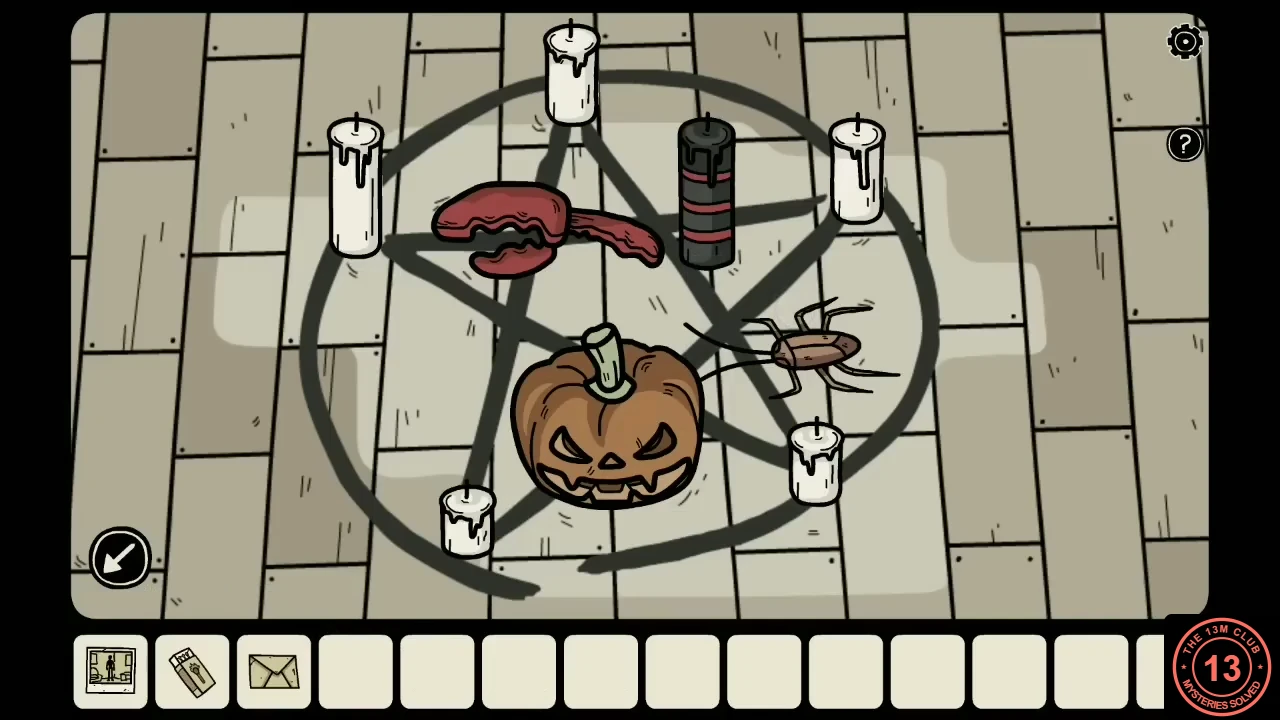
With the black candle, the cockroach, the crab claw and the carved pumpkin, return to the attic on the fifth floor to perform the ritual.
- Take the elevator up to the fifth floor, climb the stairs and enter the attic. Examine the pentagram on the floor and place the four items: the black candle at the upper right, the crab claw on the left, the cockroach on the right and the carved pumpkin at the bottom.
- Light the candles with the matchbox. The ritual begins and Elena breaks free of her shadow form.
- Ending: Elena explains that years ago she wandered onto the building's fourth floor, which belonged to some witches. They turned her into a shadow and made the whole floor vanish, and the only way to free herself was an exchange: someone had to take her place. The attic door locks behind Darien, the mural turns out to be titled Exchange of Souls, and when he sees someone in his own flat across the street he writes HELP on the attic window in lipstick. The figure is Elena, who whispers that she is sorry. Darien becomes a shadow, and a masked witch remarks that the girl has broken free of her spell but left a replacement behind. The main story ends here.