Exploring the upper floor
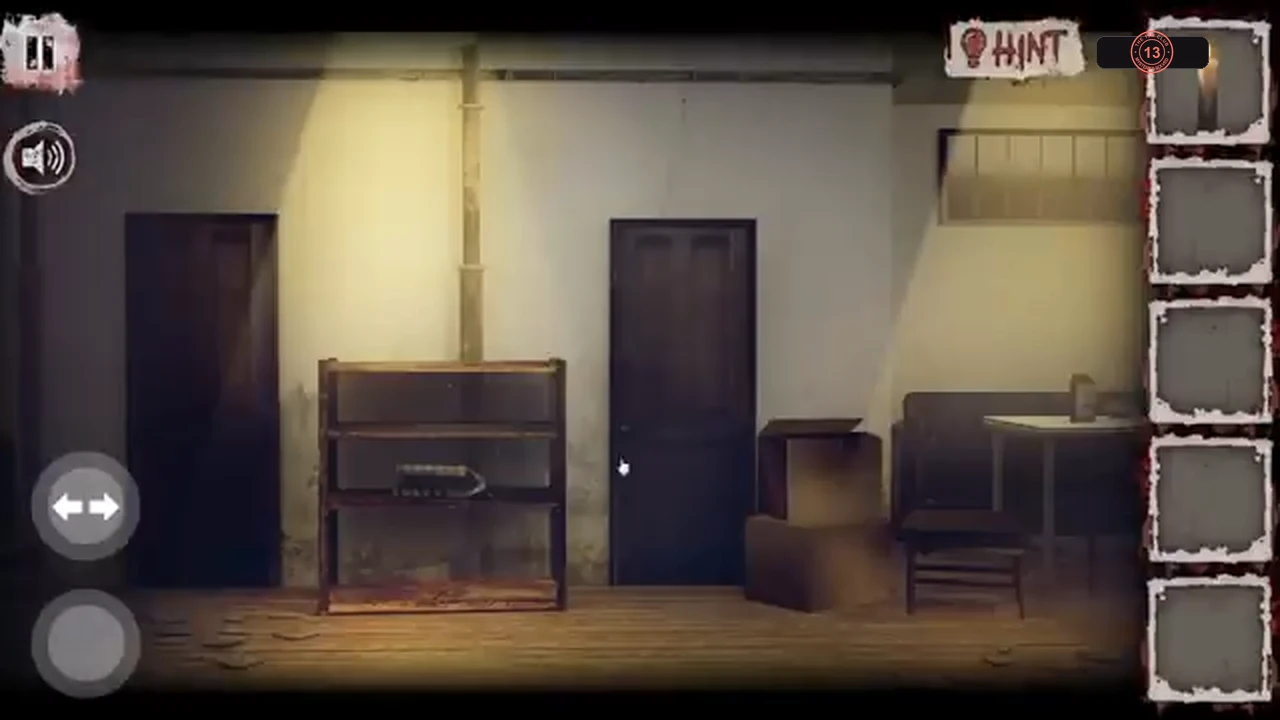
With the power on you can explore the upper floor. The corridor's left door is still locked; the right door leads to the kitchen and the far right end leads to a long hall. Collect two items for later before solving anything.
- In the upstairs corridor (the side with two doors), tap the right end of the table at the right side of the view to reach the hall. Continue into the dining room and take the stepladder leaning at the far left.
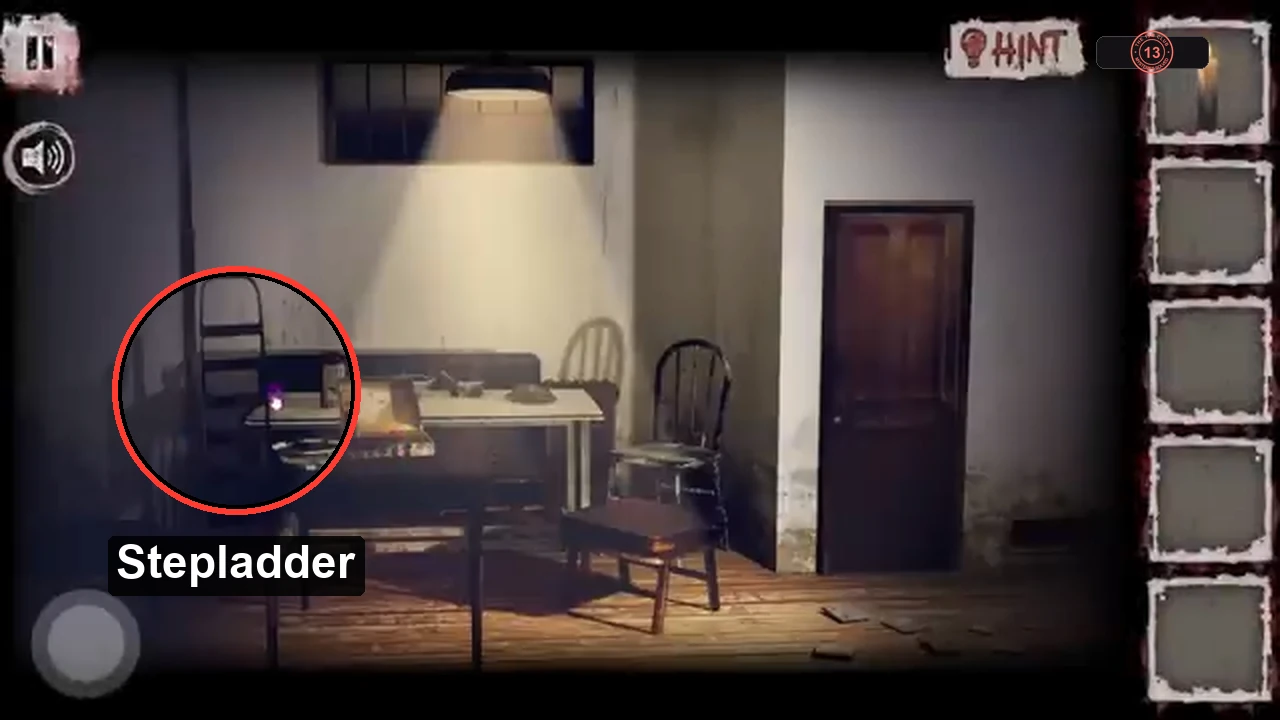
The stepladder leans against the wall at the far left of the dining room. - Tap the door on the right of the dining room to enter the dressing room and take the piece of lumber leaning by the locker on the left.
The patient and the cipher
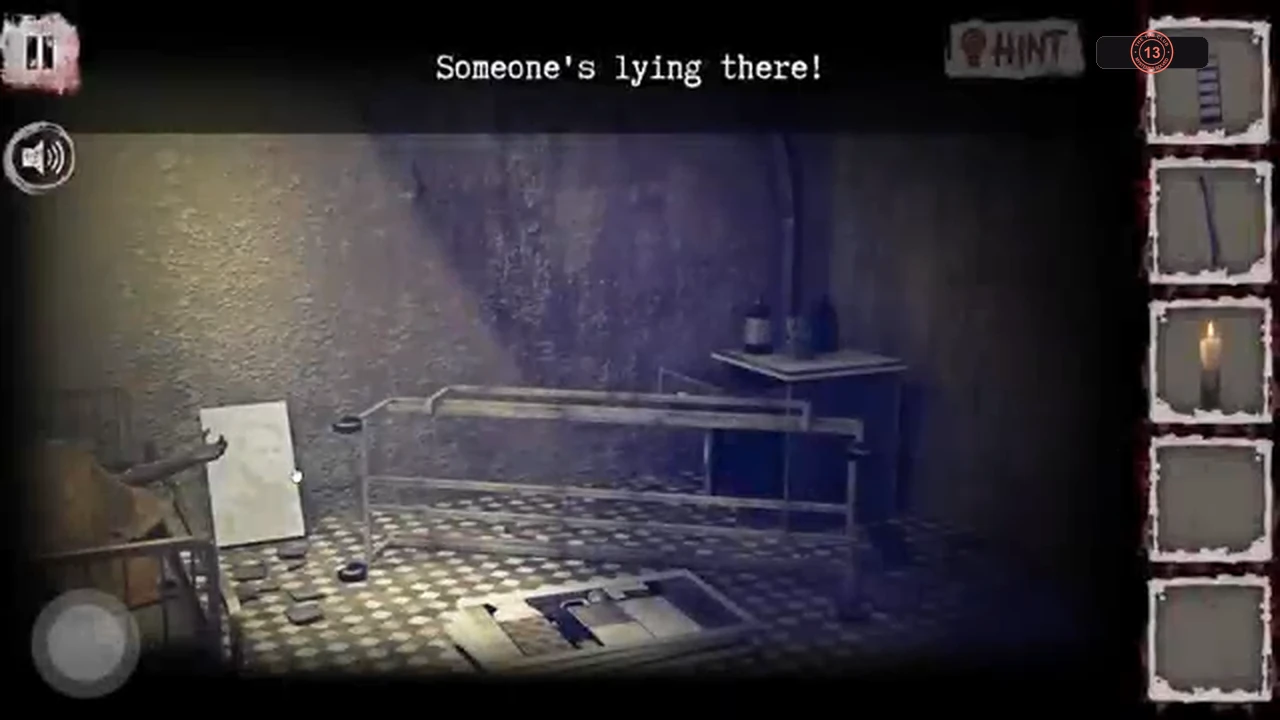
The noise came from the basement. The doorway that was too dark to enter earlier is now lit, and someone is lying inside.
- Go down to the basement and turn to the green-door half. Enter the doorway on the left (formerly too dark). A patient lies on the bed and asks you to bring him morphine.
- Tap the white board leaning to the right of the bed ("It looks like a cipher"). It numbers the alphabet: A = 1, B = 2 and so on to Z = 26. The board stays where it is, but a note of the cipher appears in the notes slot at the top left.
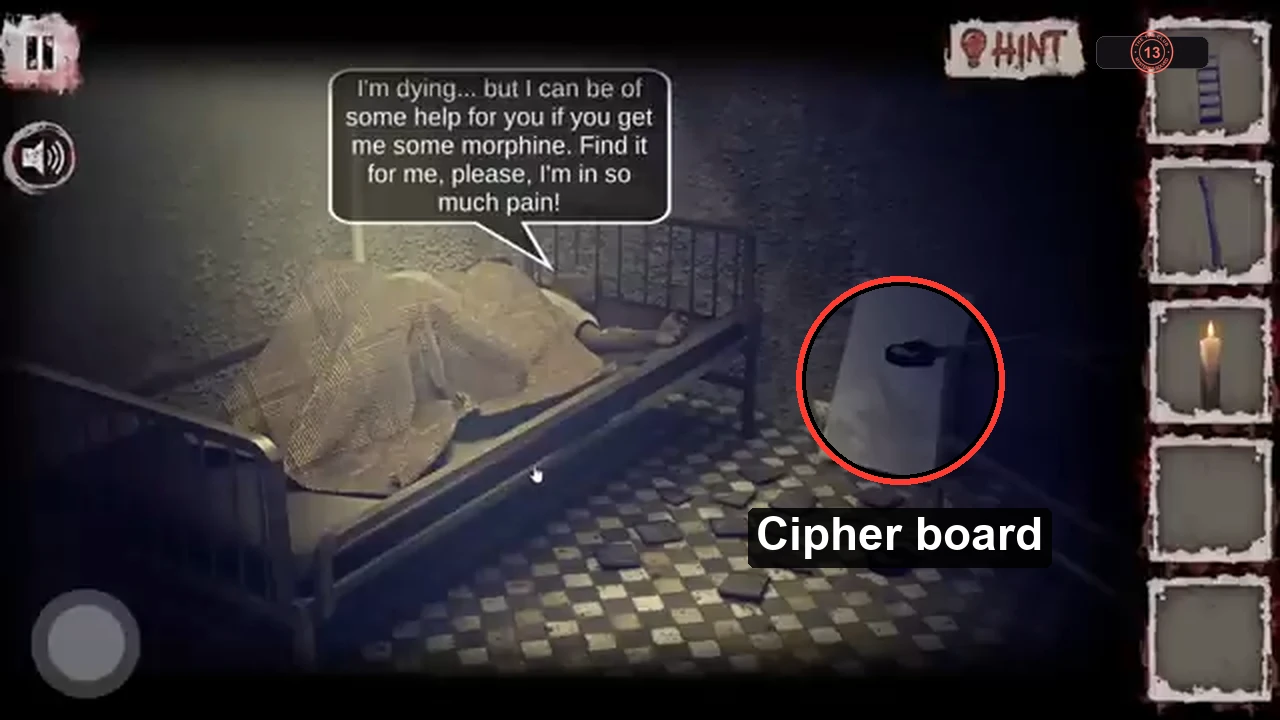
Tap the white board beside the bed to note the cipher.
The PAIN keypad and the laboratory
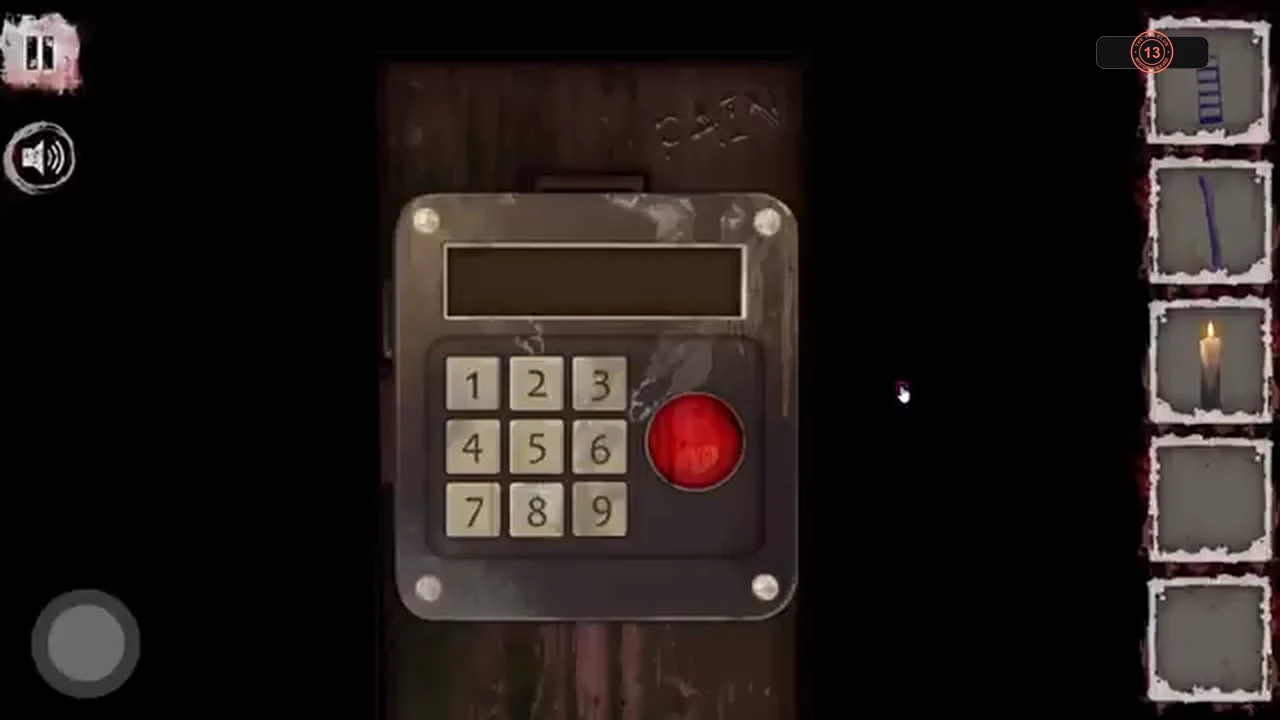
One door in the hall has a number keypad and the word PAIN written beside it. The cipher turns the word into the code.
- In the hall, turn to the side with the boxes and radiator and tap the keypad door marked PAIN. Convert each letter with the cipher: P = 16, A = 1, I = 9, N = 14. Type 161914 and press the red button ("The code is correct").CODE161914
- Inside the ruined laboratory, tap the workbench. Tapping the rat only triggers a jump scare. Take the red-handled screwdriver lying to the left of the white bottles.
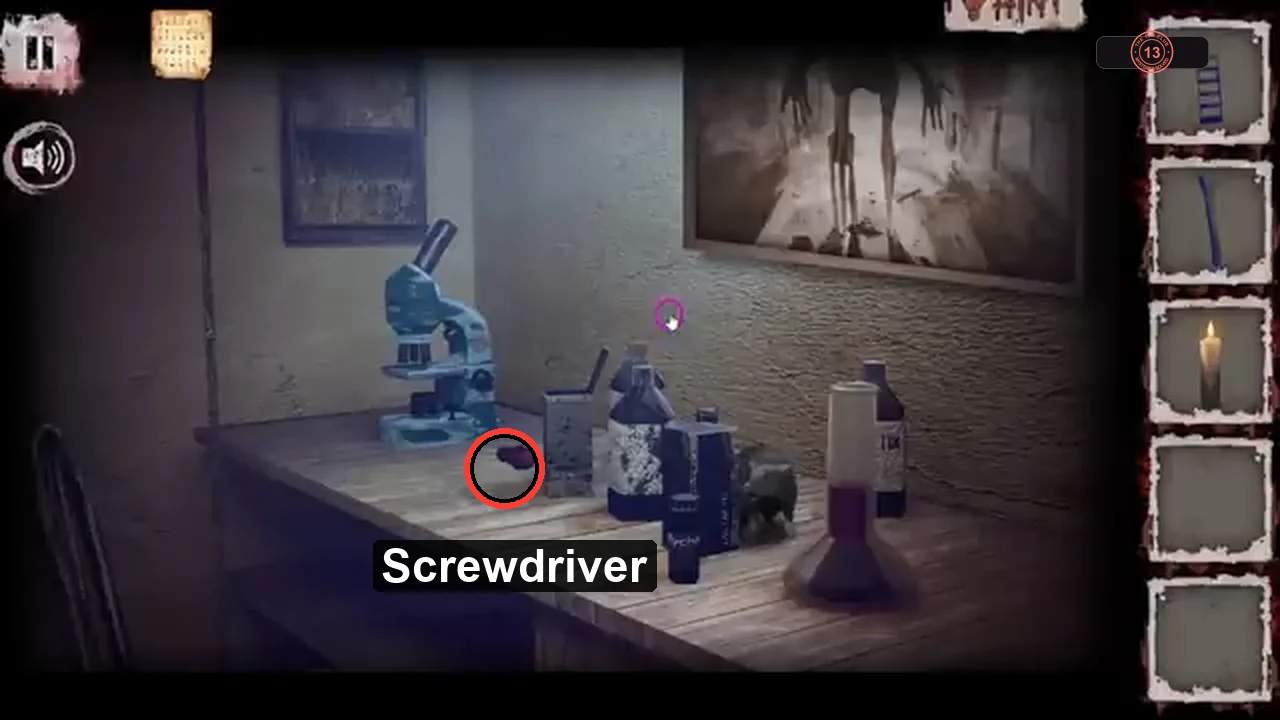
The screwdriver lies on the bench to the left of the white bottles.
The kitchen rod and the boarded doorway
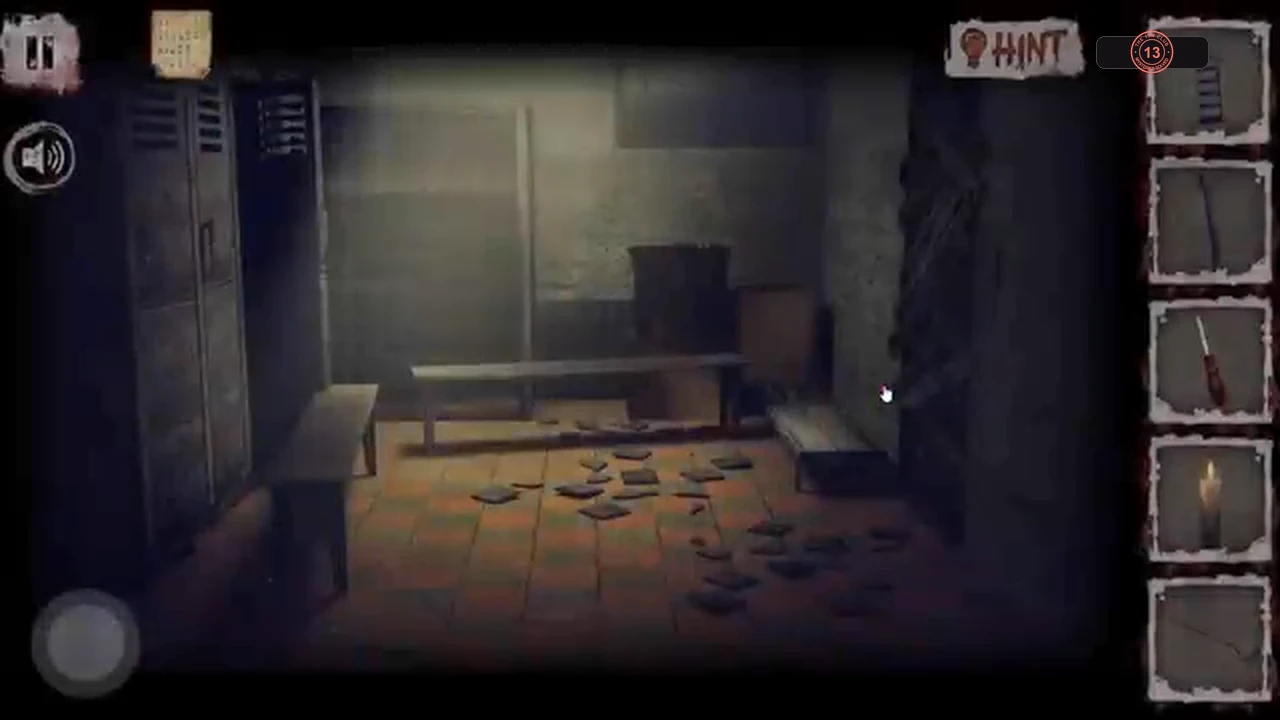
A doorway in the dressing room is nailed shut with planks. The kitchen has a tool to pry them off.
- From the upstairs corridor, take the right-hand door into the kitchen. Note the word "secret" written in blood on the left wall; you will return to it. Tap the window niche above the counter, left of the fridge, and take the thin bent metal rod with a hooked end leaning on the window ledge.
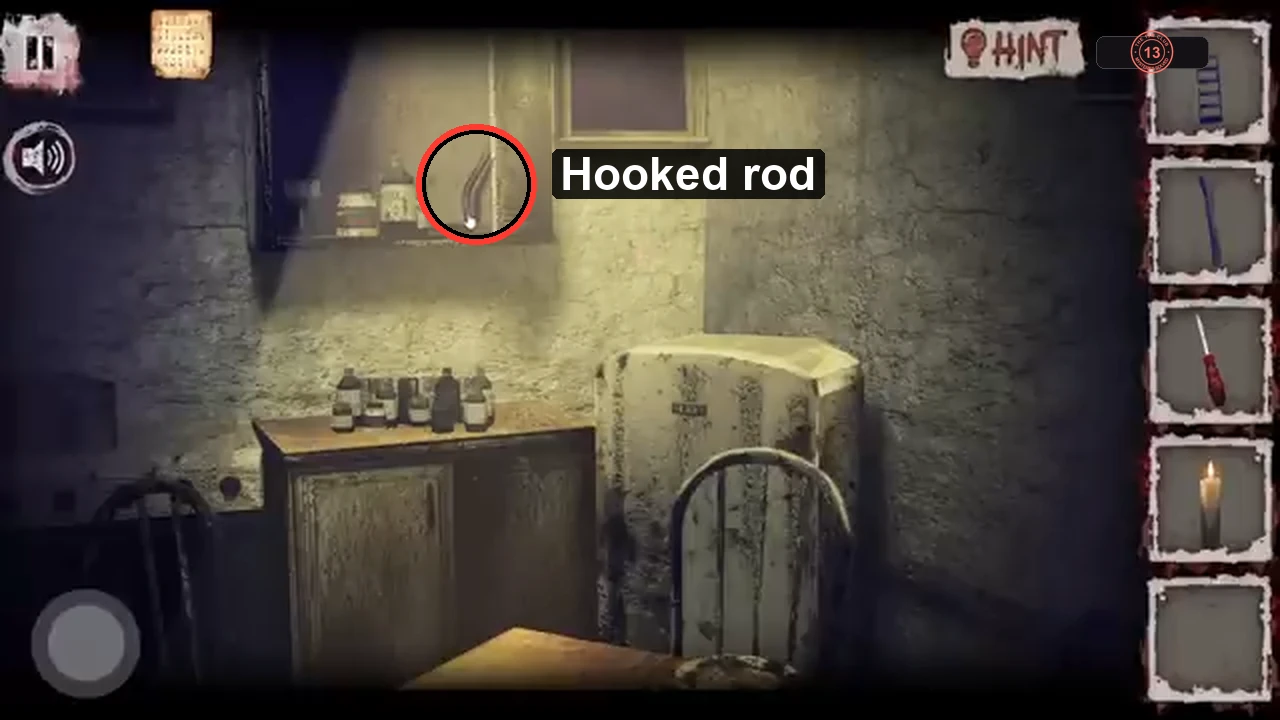
The hooked rod leans on the kitchen window ledge, left of the fridge. - Go through the hall and the dining room into the dressing room. Drag the hooked rod onto the boarded doorway on the right wall; the boards are pried off automatically. Tap the doorway to enter the washroom.
The pillow code and the briefcase
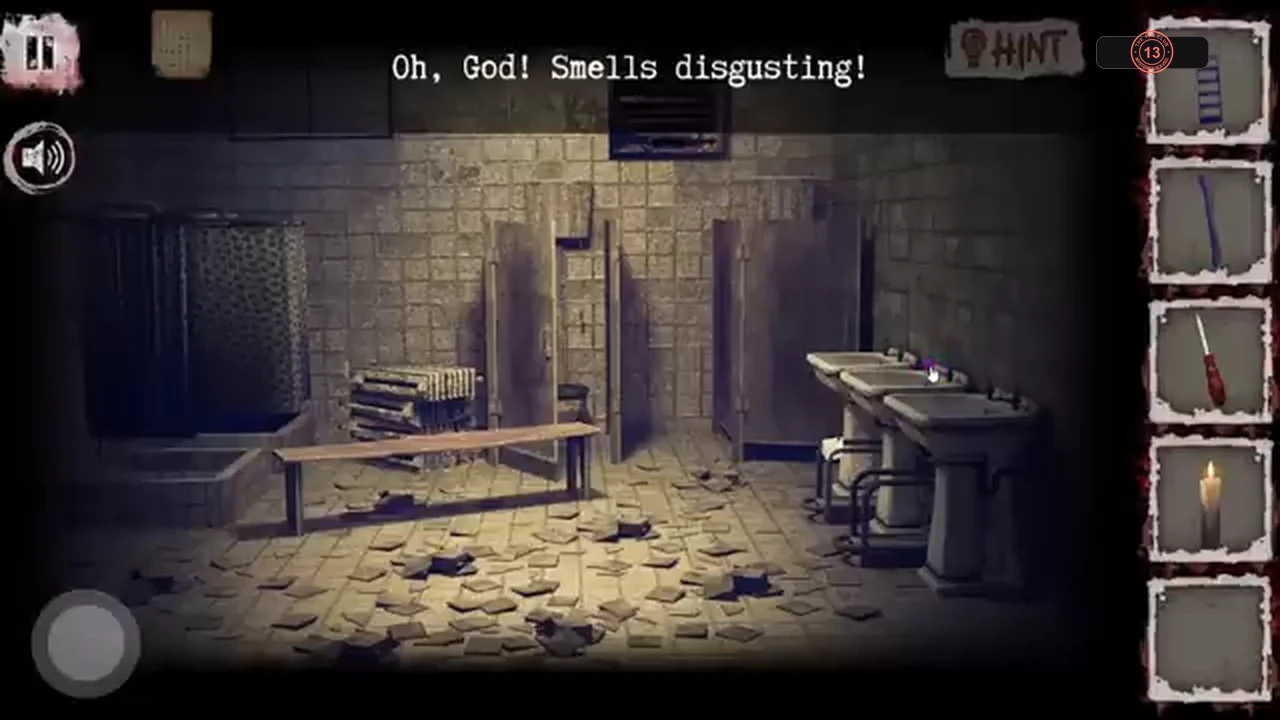
The washroom hides the three-digit code for the briefcase on the basement shelf.
- In the washroom, tap the shower stall at the far left. Inside is a pillow with a face drawn on it and three small numbered tags sewn on: 6 on the left, 8 at the top and 3 at the bottom. The left tag is the hardest to read.CODE683
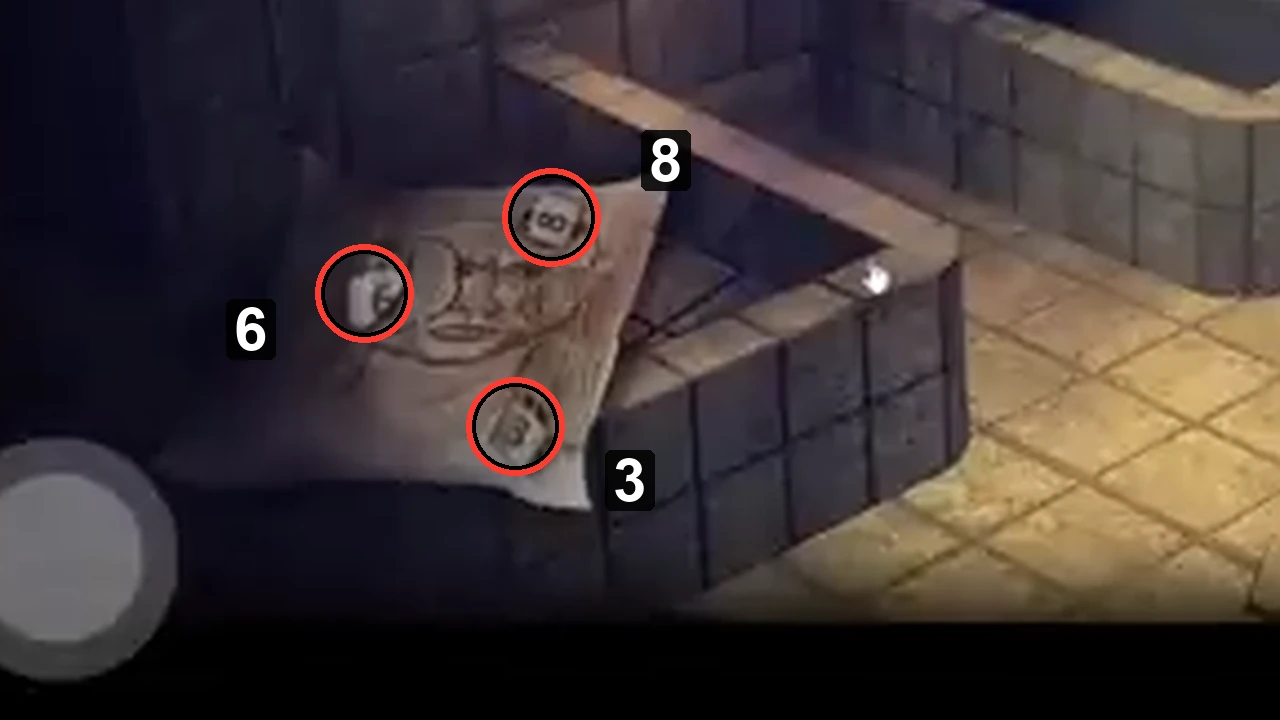
The three tags on the pillow read 6, 8 and 3. - Go back down to the first half of the basement, tap the wooden box to climb up, and tap the briefcase on the lower shelf. Set the dials to 6, 8, 3. It opens; take the hairspray.CODE683
The washroom vent
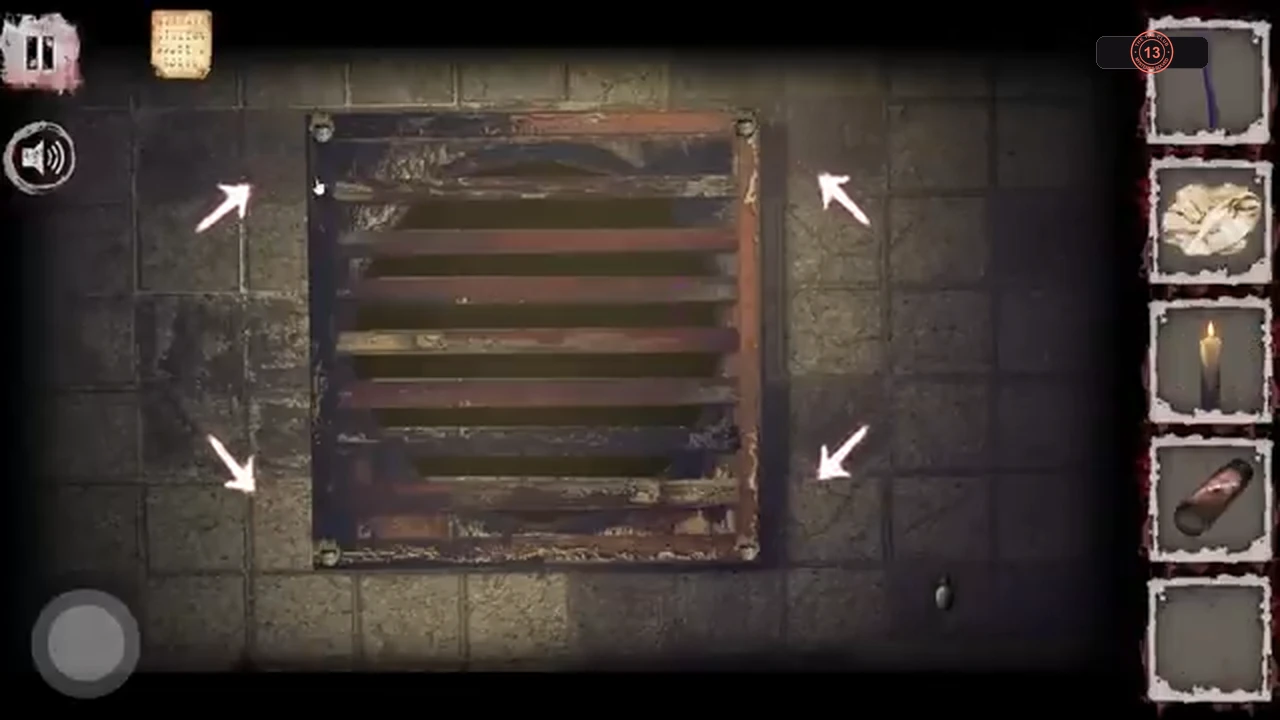
A ventilation grate high on the washroom wall leads somewhere bright, but it is screwed shut and the duct is full of spiders.
- Back in the washroom, tap the sinks and take the white crumpled cloth (a rag) hanging on the pipe under the left sink.
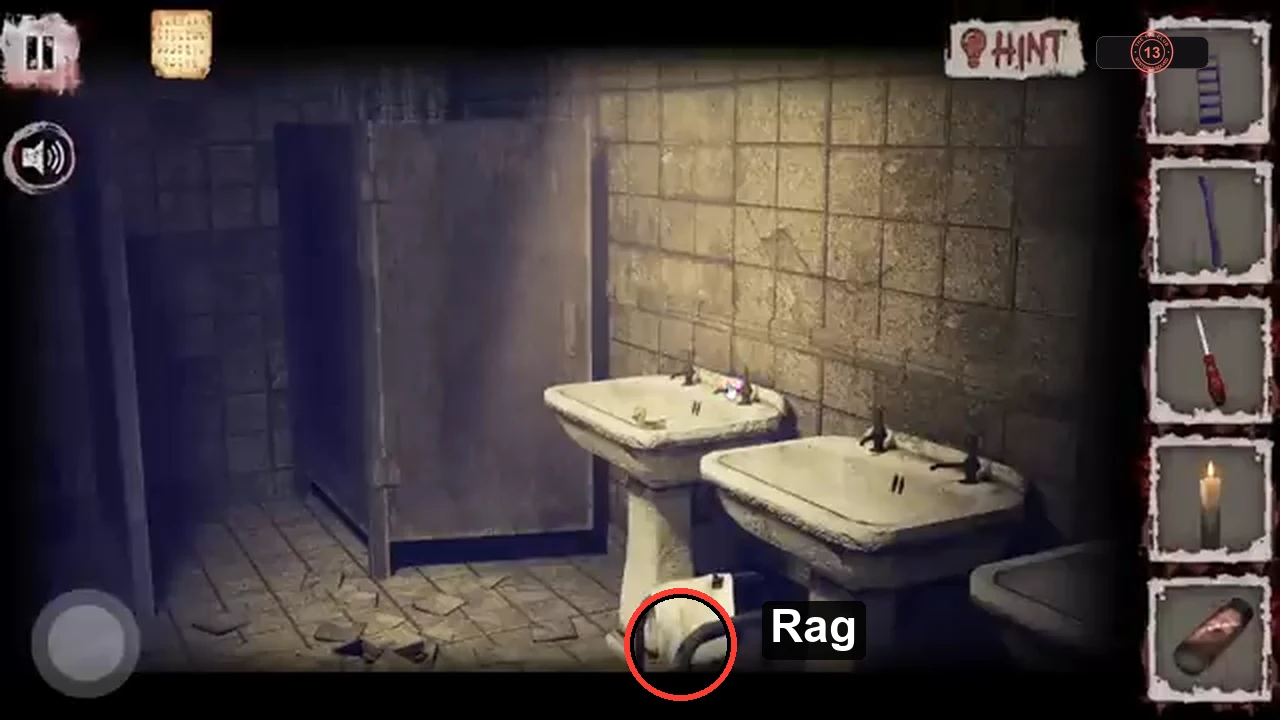
The rag hangs on the pipe under the left sink. - Drag the stepladder onto the wall of the stall below the vent, then tap the vent ("Too many spiders here").
- Drag the screwdriver onto the grate once. It leaves your inventory and arrows appear at the four corner screws. Tap one screw and wait for its unscrewing animation to finish before tapping the next (the recording goes upper left, lower left, upper right, lower right). When all four are out the grate comes off; tap the opening.
- A thick spider web blocks the duct, and the candle alone is not enough. In the inventory, drag the hairspray onto the lit candle, then drag the combined item onto the web to burn it away.
The room beyond the vent
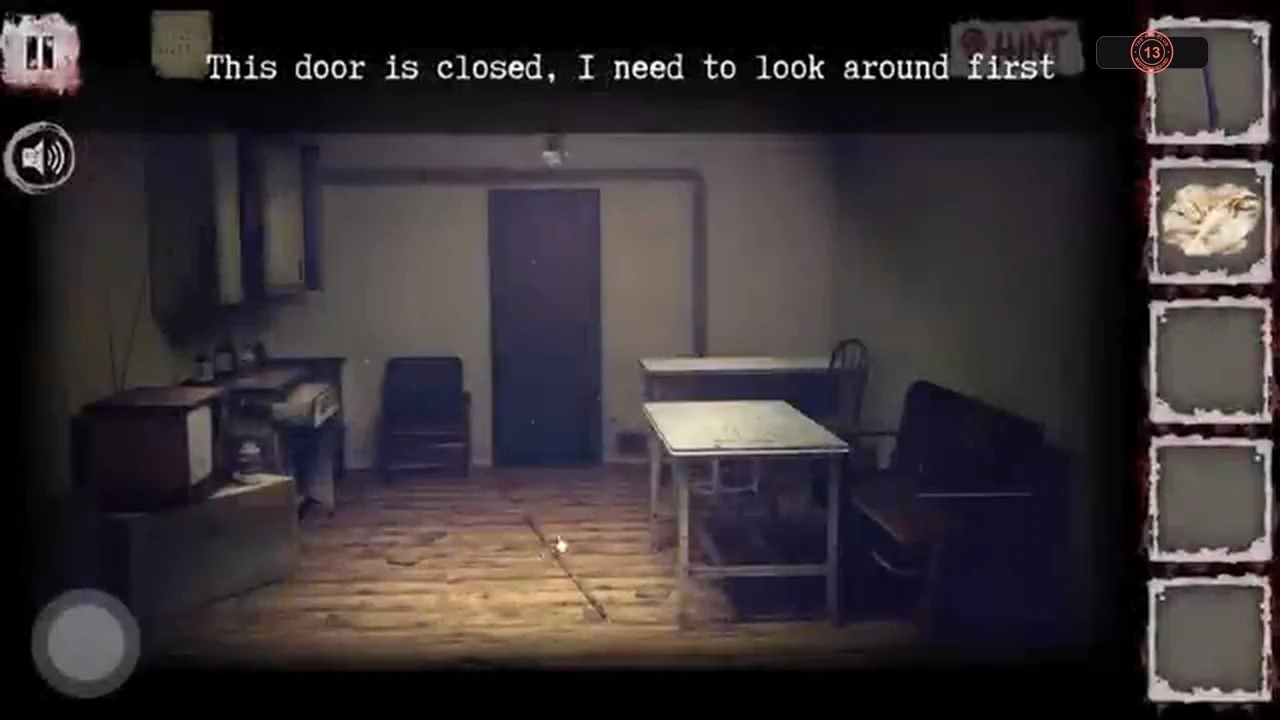
The vent drops you into a room with a cabinet, a TV, a sofa and a table. Its door is locked from the outside, so you leave the way you came, with a key and a clue.
- Tap the cabinet area, then tap the small key on the low cabinet at the left, beside the canister. It slides across the floor and goes into your inventory.
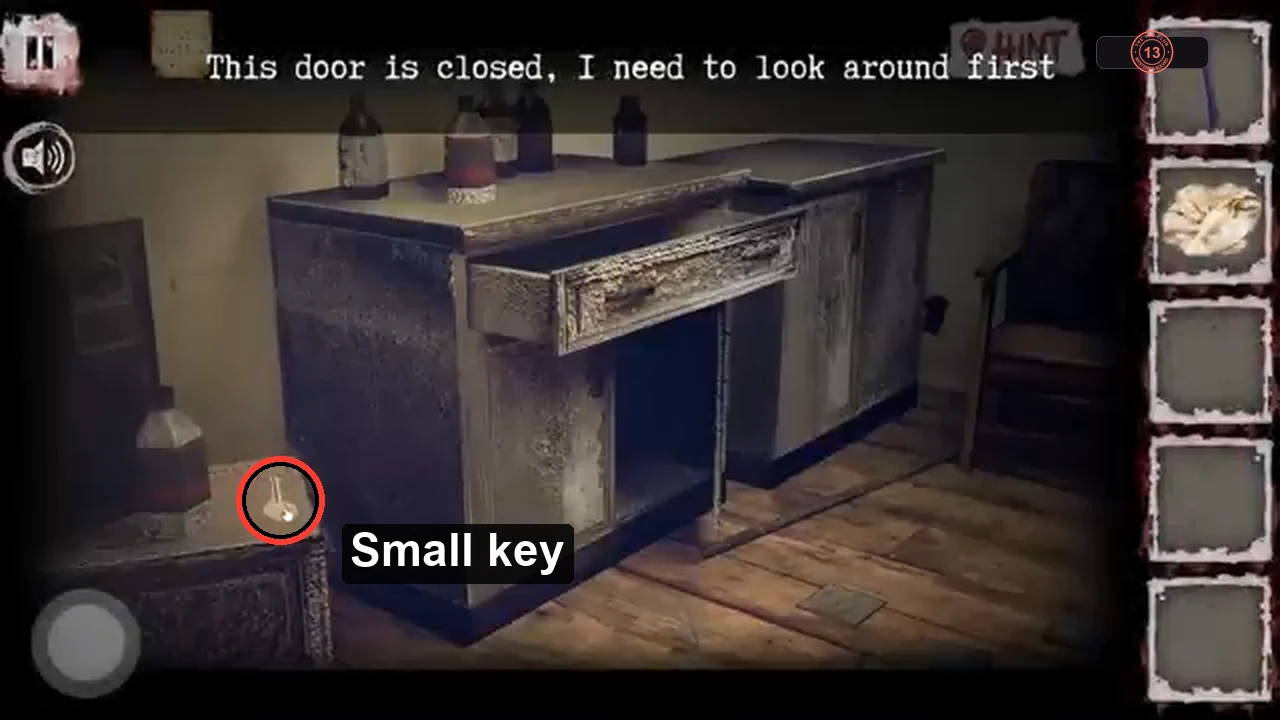
Tap the small key on the low cabinet. - Tap the table and look closely at the drawings scratched into it: a brain marked 10 and a pair of hands marked 4. You need these numbers in Chapter 19.CODEbrain 10, pair of hands 4
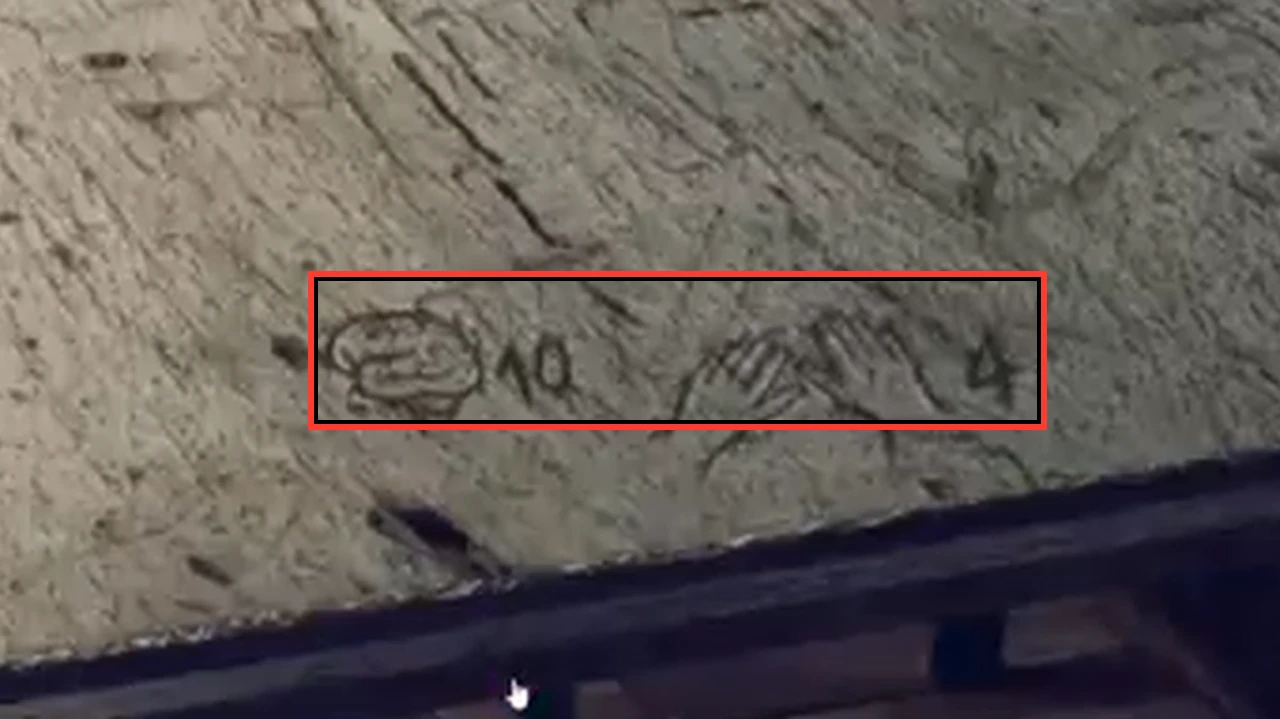
The scratched drawings: brain = 10, pair of hands = 4.
The drug warehouse
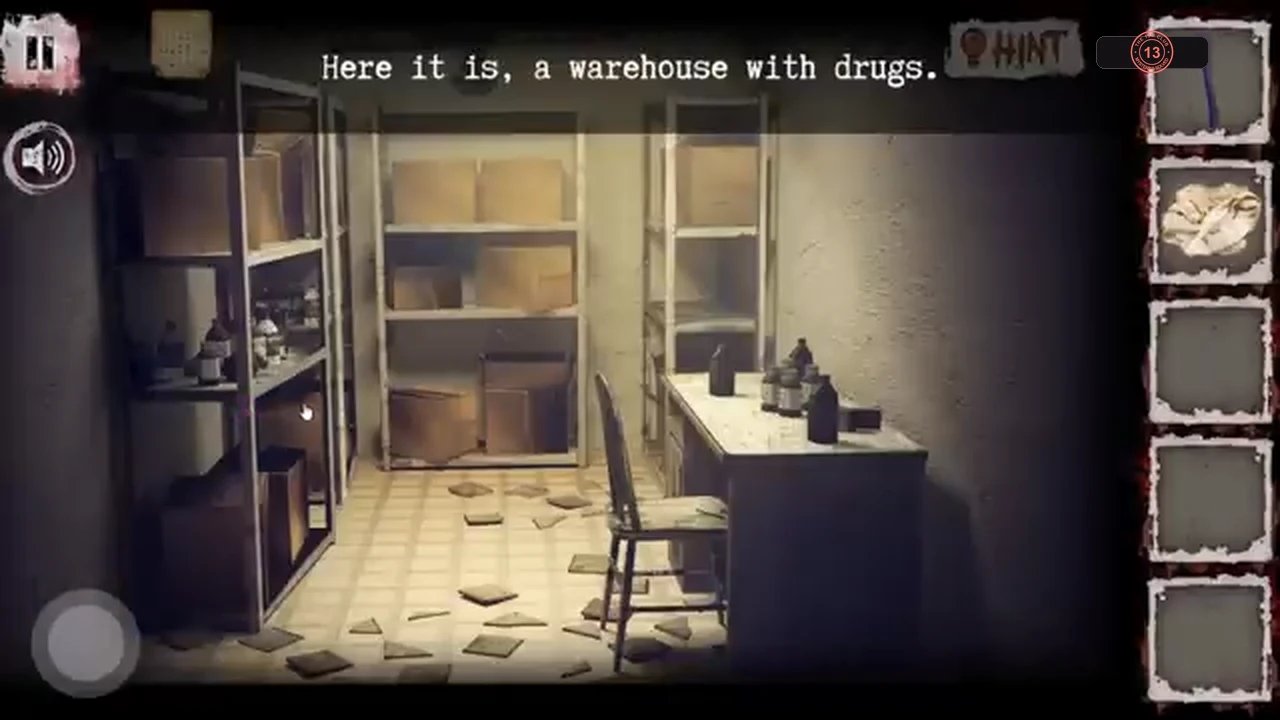
The small key opens the locked left door in the upstairs corridor: the hospital's drug store.
- Climb back out through the vent, return to the upstairs corridor and drag the key onto the left door ("a warehouse with drugs").
- Tap the shelves on the left and take the syringe: the morphine the patient asked for.
- Tap the desk, then take the long thin metal pick lying on the seat of the chair under it.
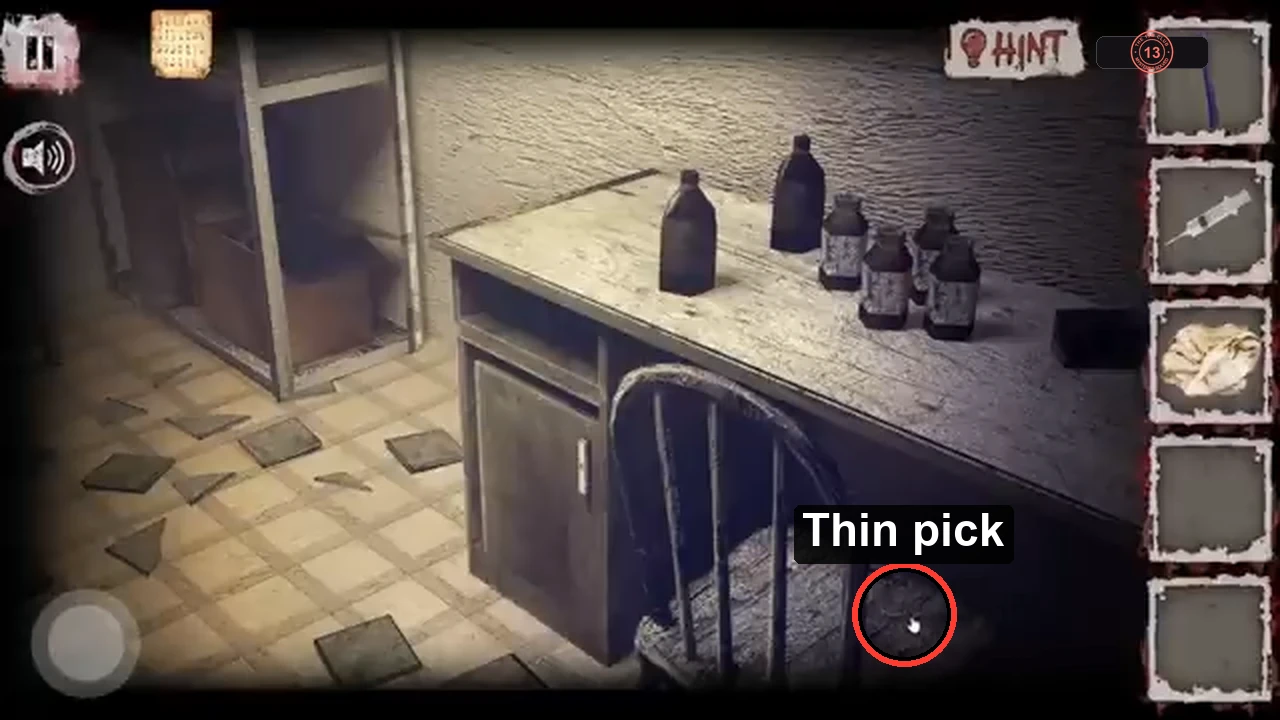
The thin pick lies on the seat of the chair under the desk.
The patient's axe head
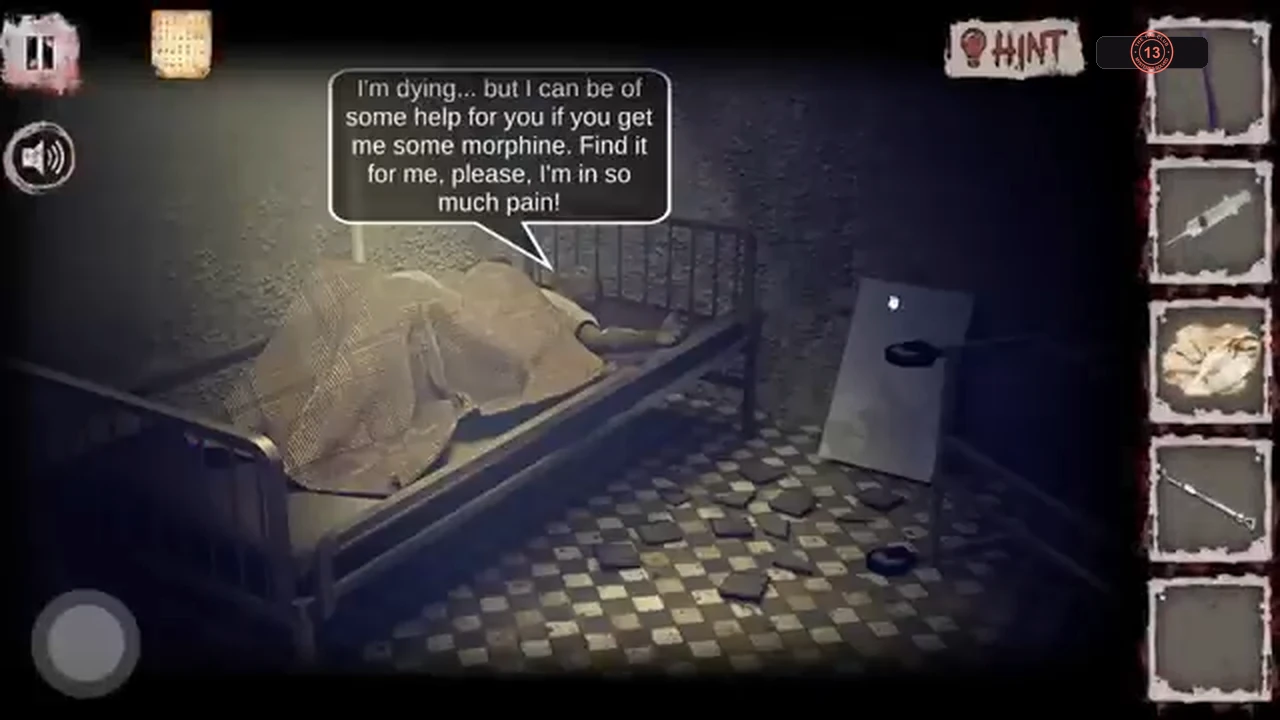
In return for the morphine, the patient gives you part of an axe and your real mission.
- Go down to the patient's room in the basement and drag the syringe onto him. The injection plays automatically.
- The view moves under the bed: tap the axe head to take it. The patient asks you to collect all the documents and film this place, or no one will believe you. This becomes your objective for the rest of the game.
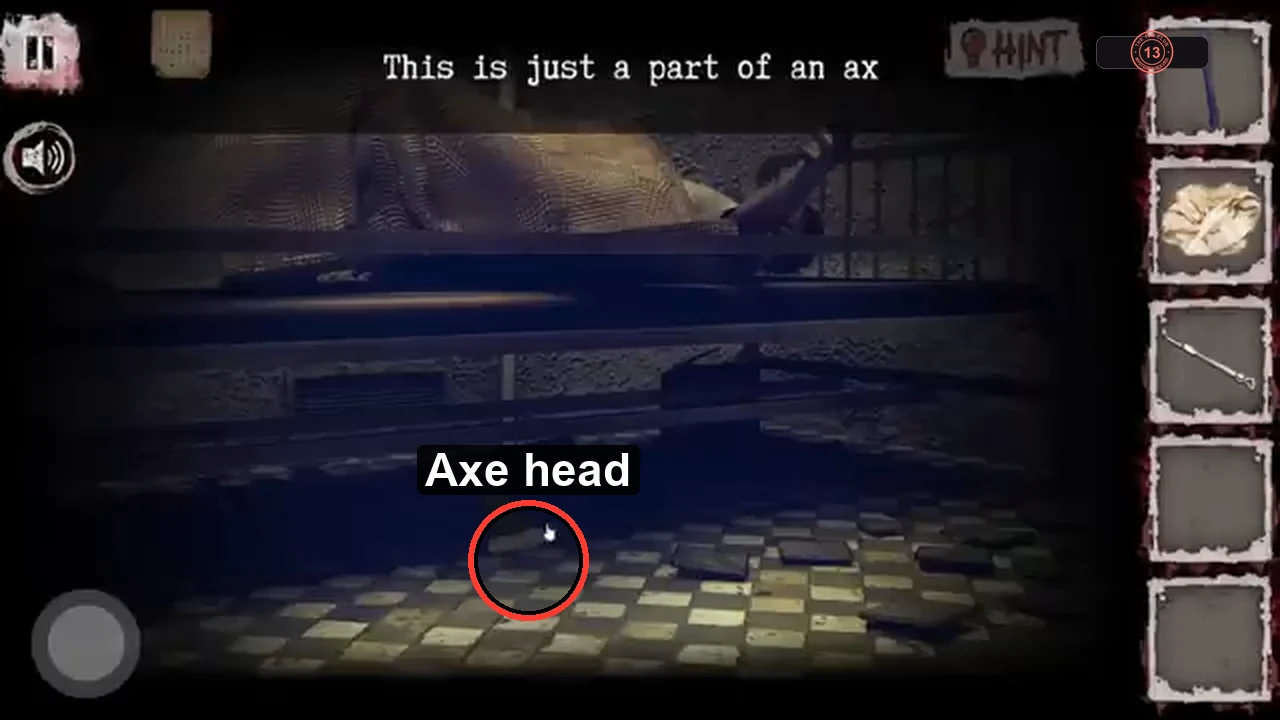
After the injection, the axe head lies under the bed. - In the inventory, drag the axe head onto the piece of lumber to make an axe. (On your way back up, a skeleton jump scare on the stairs needs no input.)
The secret wall and the SECURE door
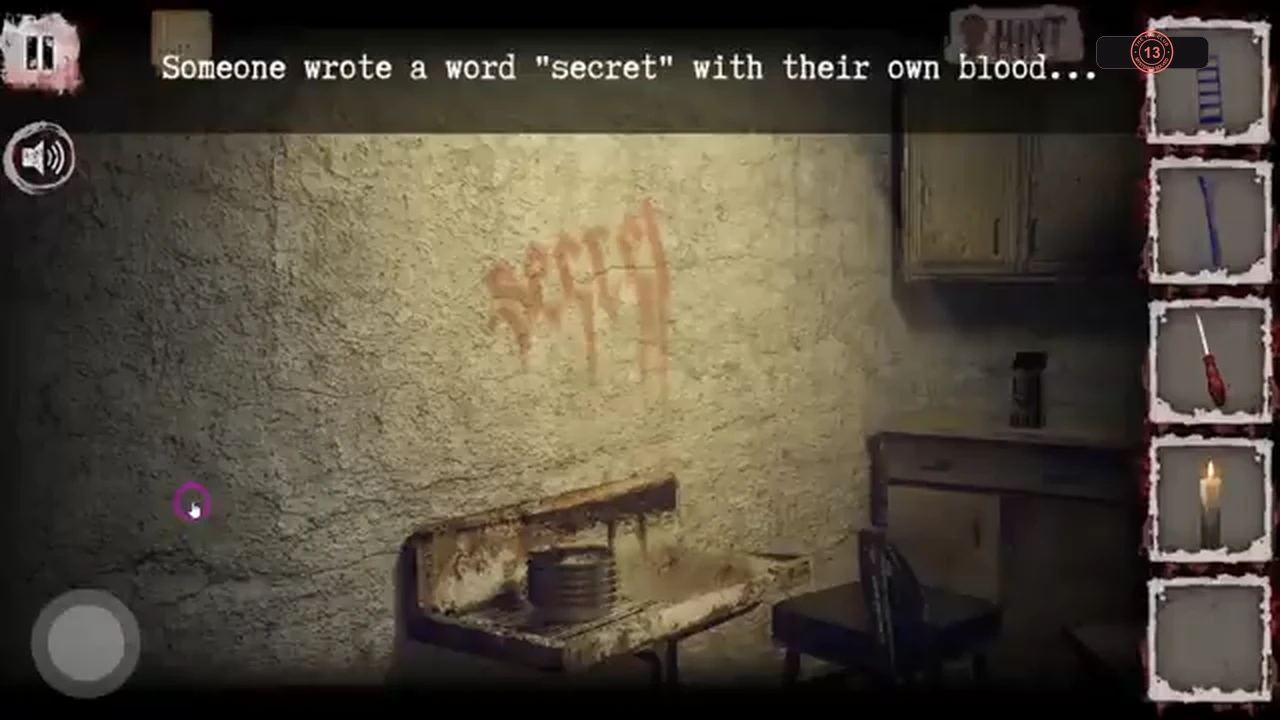
The word "secret" on the kitchen wall marks a hidden cavity. The key inside opens the door on the SECURE side of the corridor.
- In the kitchen, tap the left wall with "secret" written on it, then drag the axe onto the word. Several chops open a hole.
- Tap the hole and take the old key.
- In the upstairs corridor, turn to the SECURE side and drag the key onto the dark door at the far left edge, where the SECURE arrow points. Enter the room.
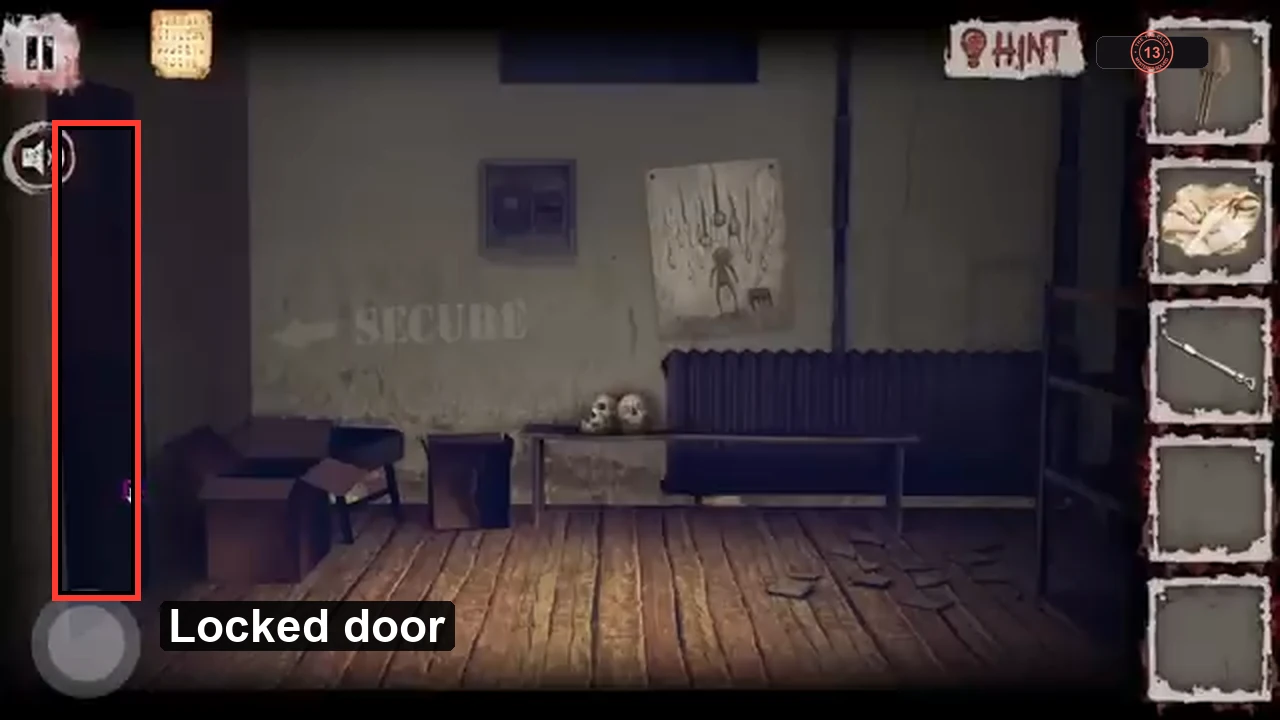
The door that the old key opens is at the far left edge of the SECURE side.
The chained instrument container
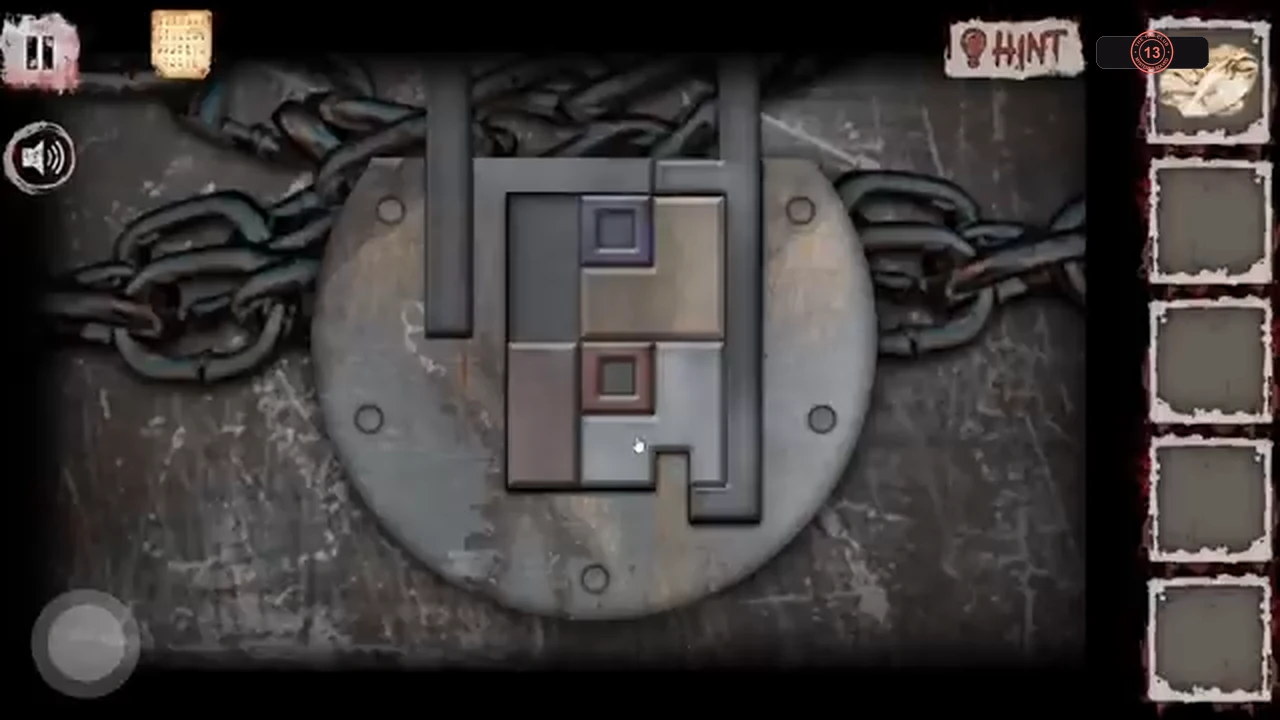
In the bottom-left corner of this room is a metal container for surgical instruments, chained shut with a padlock. Picking the lock turns into a sliding-block puzzle. The guide gives the target layout and an approach rather than a long move list; the only recording available shows one starting layout, so yours may differ.
- Tap the bottom-left corner of the room to see the chained container, then tap the padlock and drag the thin metal pick onto it. After a short animation the sliding-block puzzle appears.
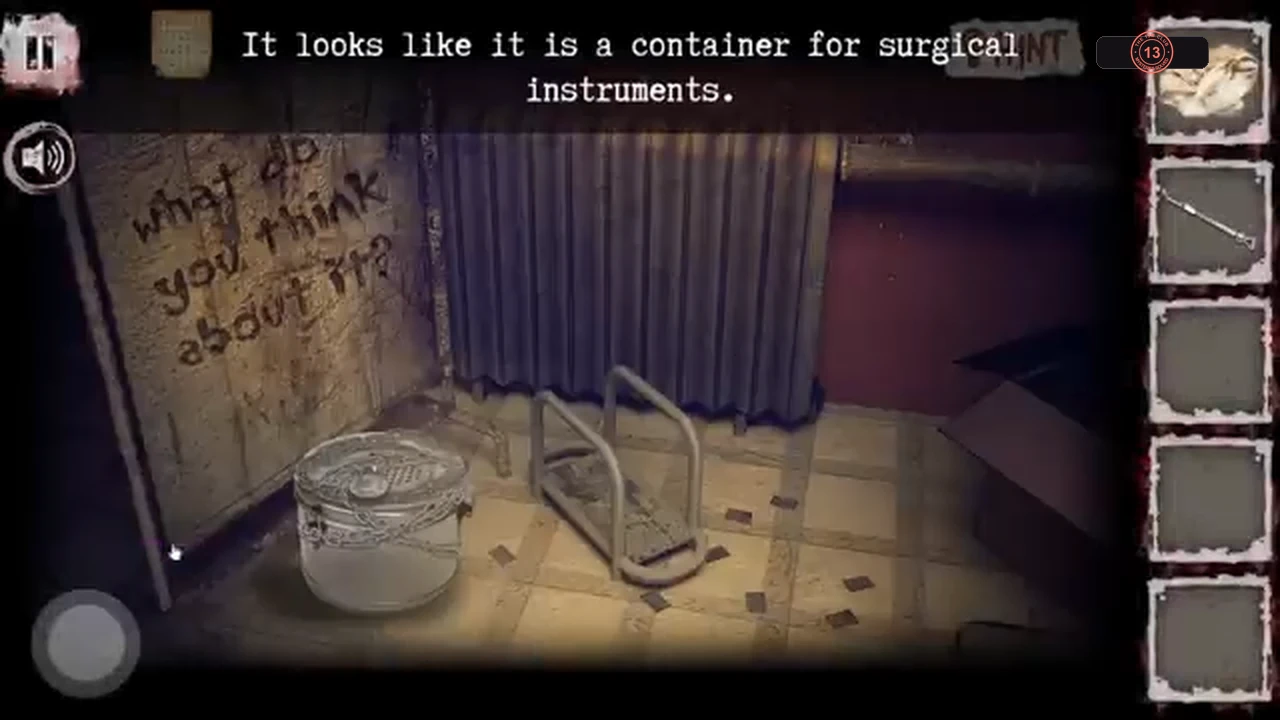
The chained container in the bottom-left corner of the room. - Goal: the long dark bar must slide all the way down the right-hand column into the notch at the bottom right, which opens the lock. To clear that column, finish with the two small squares (blue and red) side by side in the bottom-left corner, the tall tan block above them on the left, the tan L-shaped block at the top right and the light grey block in the middle. Work the two small squares down into the bottom-left corner first, then shift the light grey block left out of the right-hand column, and finally drag the dark bar down. This guide was made from a single playthrough, so your starting arrangement may differ; if it does, keep the same finished layout as your goal and clear the right-hand column one block at a time.
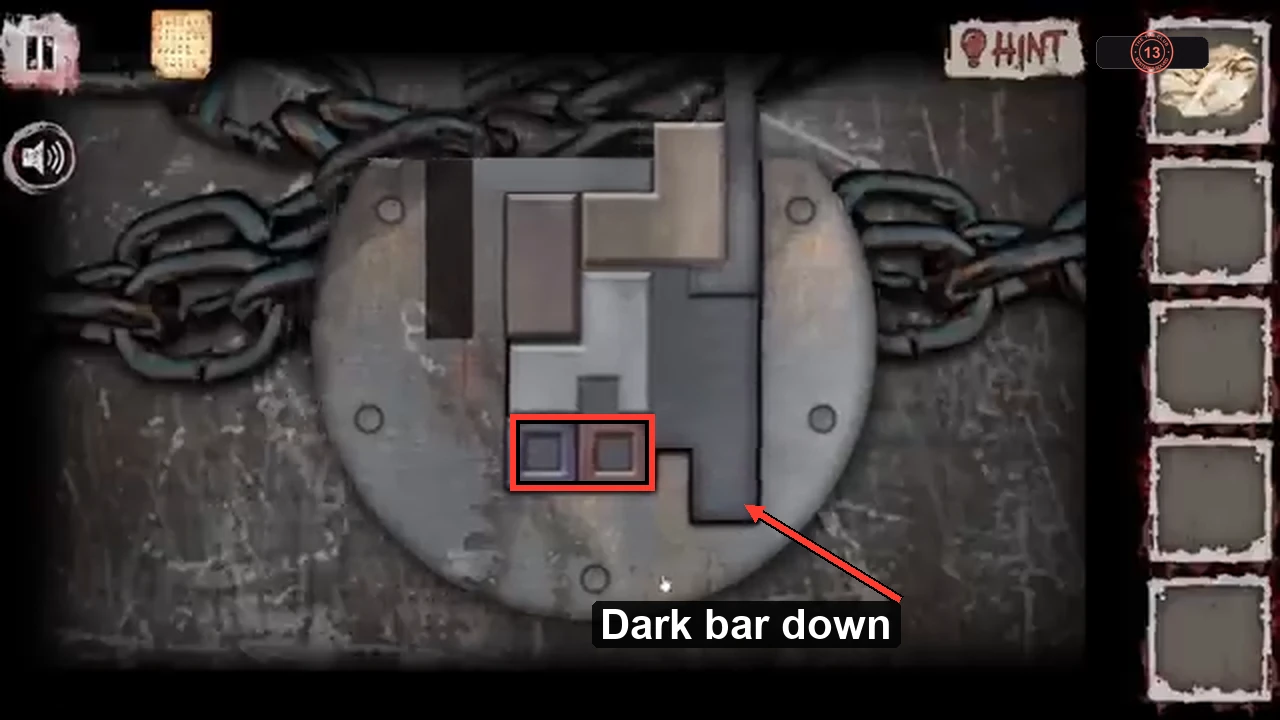
Target state: both small squares in the bottom-left corner and the dark bar slid down into the notch. - The container opens. Tap the bloody instruments and take the dark key lying among them at the upper left.
Assembling the camera
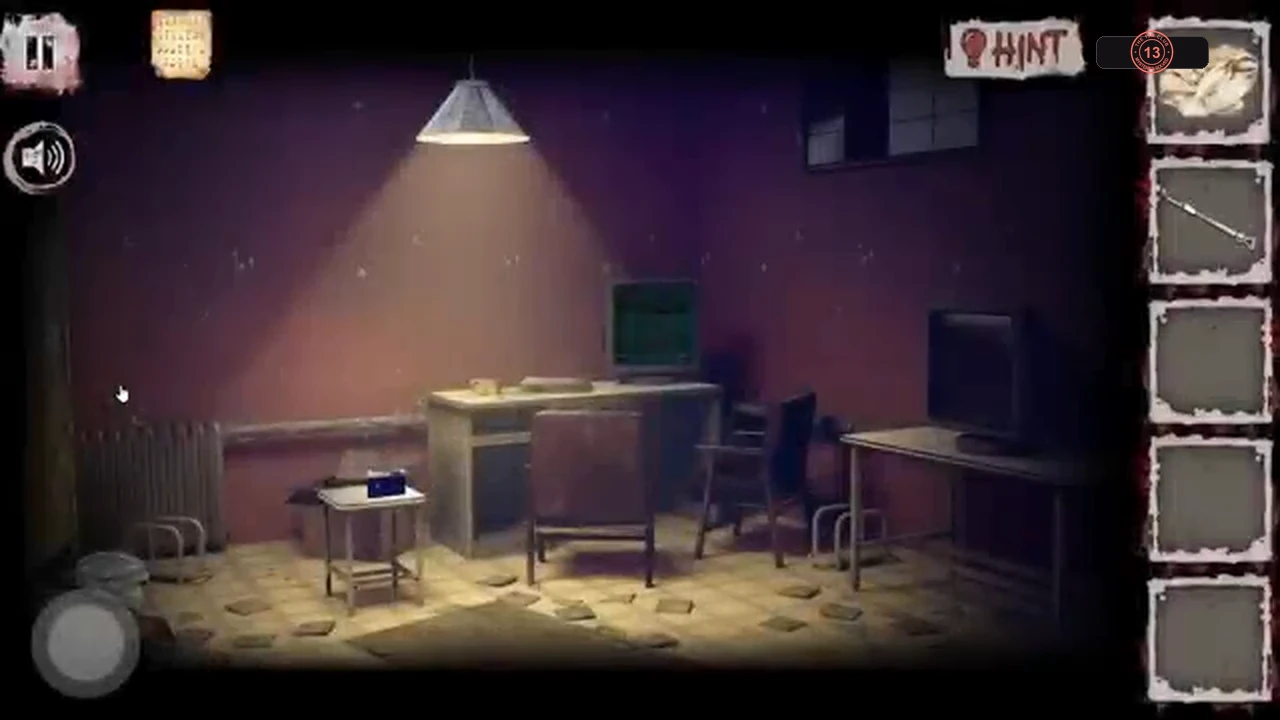
To film the hospital, you need a camera. Its body and lens are in the same room as the container.
- Back in the room view, tap the small box on the little stool-table at the left and take the blue camera body (it has no lens).
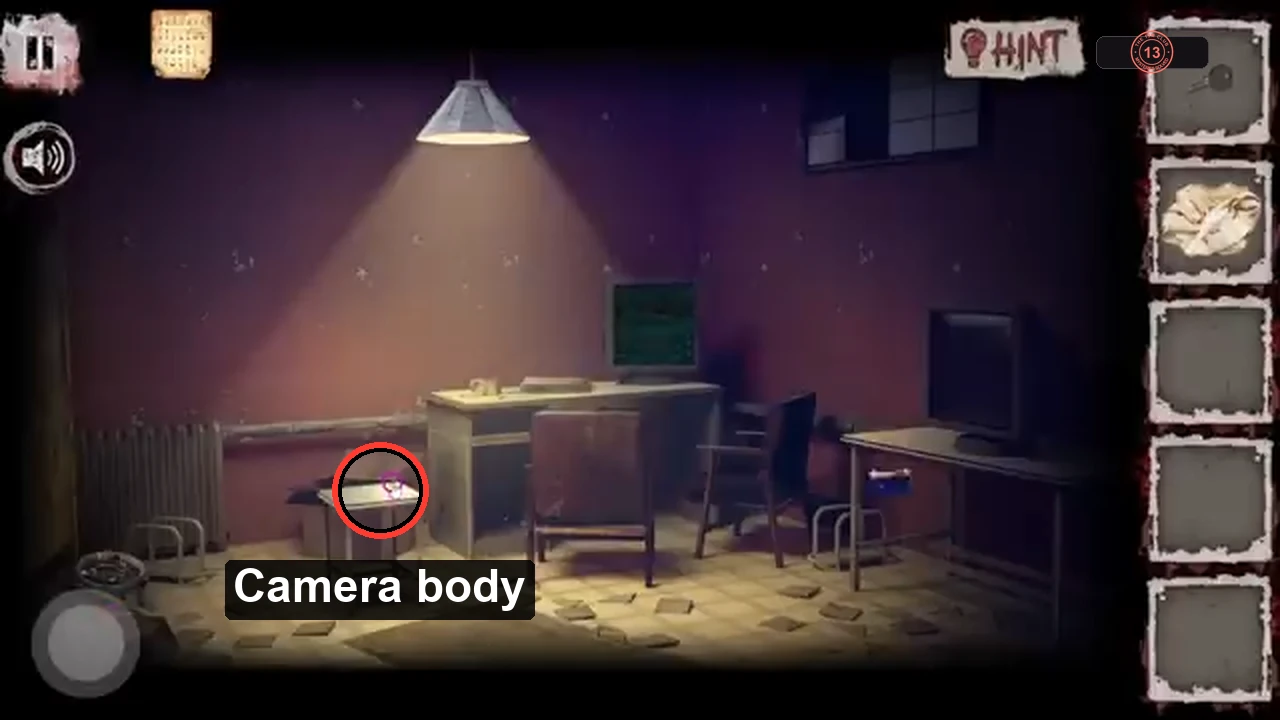
The camera body is in the small box on the stool-table. - Tap the desk and take the round lens from the left front side of the desk.
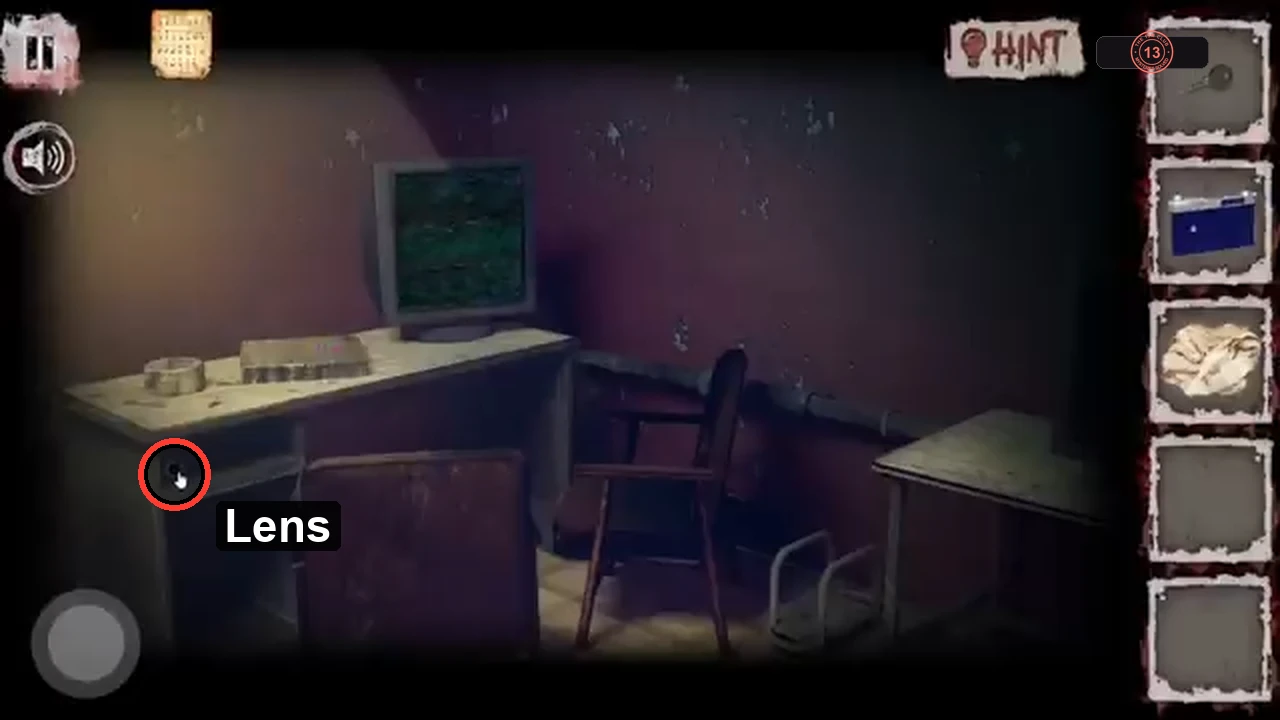
The lens sits at the left front side of the desk. - In the inventory, drag the lens onto the camera body to assemble the camera.