CHAPTER 1
The locked ward
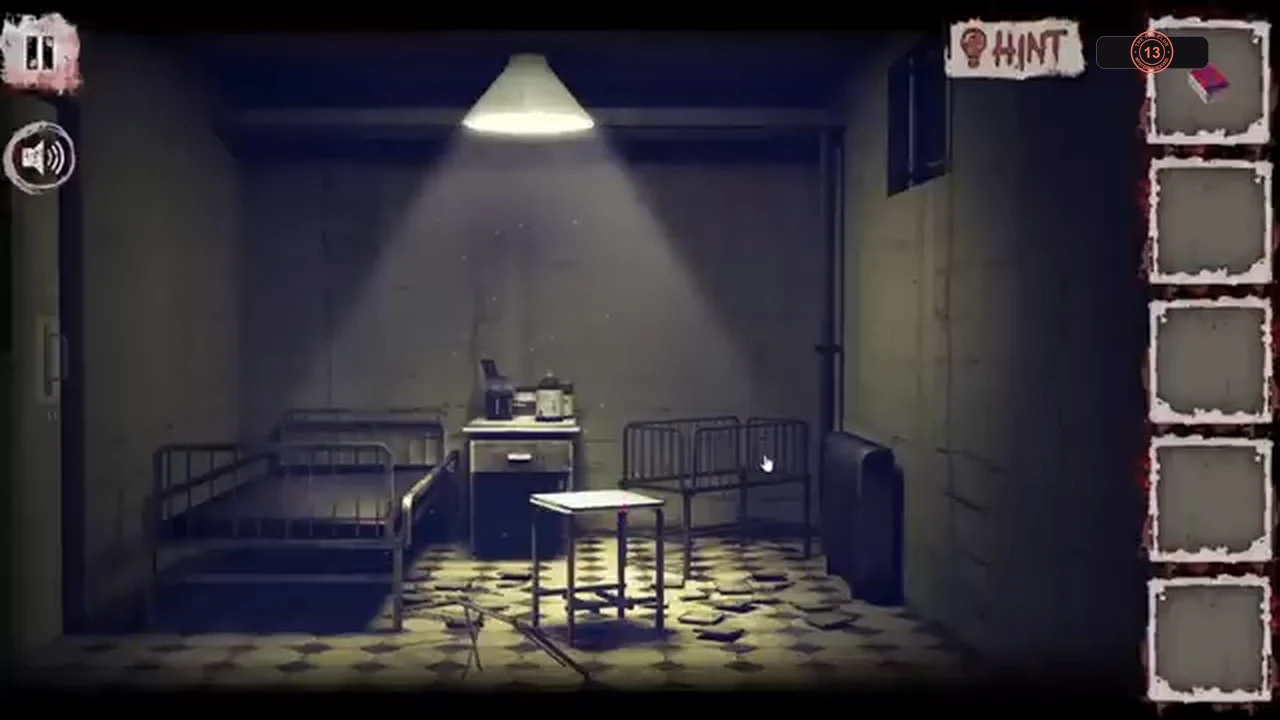
After the opening story (you can skip it), you are shut in a small ward with two beds, a barred window and a locked door. The door needs a makeshift lock pick and a six-arrow combination hidden in the room.
- Open the nightstand drawer between the two beds and take the matches. Look at the figures carved into the top of the drawer: each has an arrow under it, reading LEFT, LEFT, LEFT, RIGHT, LEFT, LEFT from left to right.
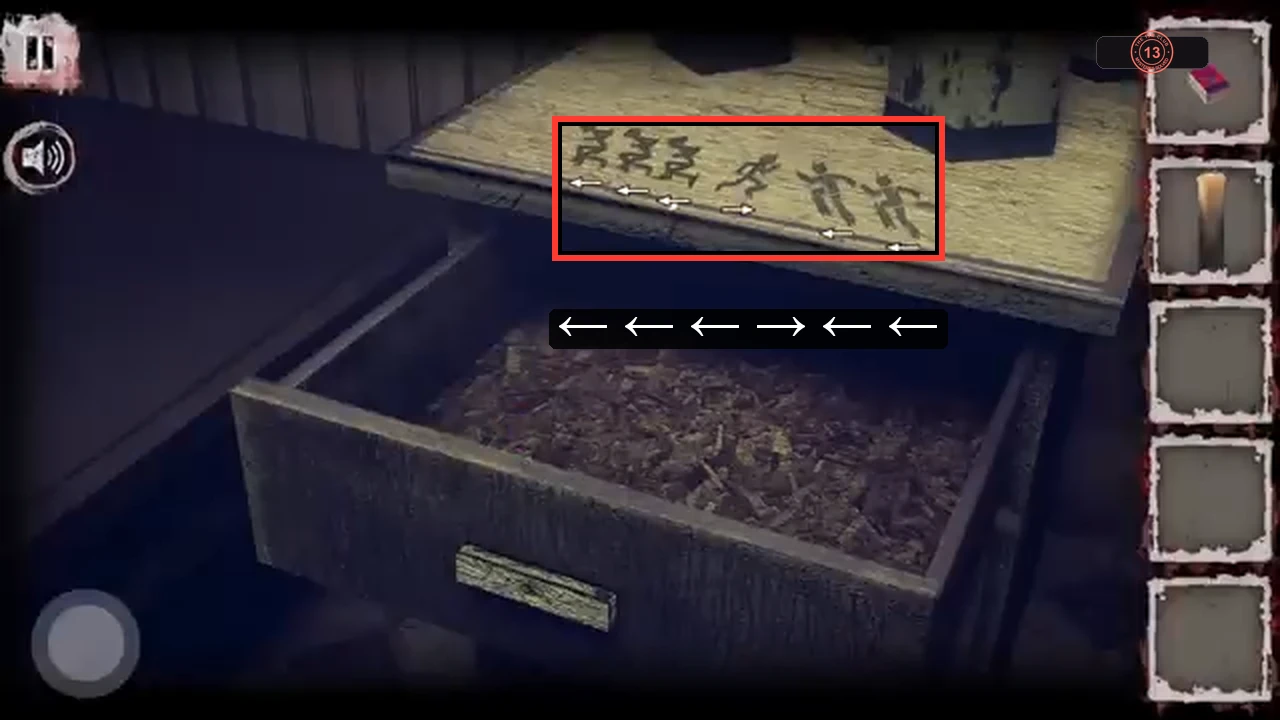
The arrows under the carved figures give the lock order: left, left, left, right, left, left. - Tap the barred window on the right wall. A candle stands behind the bars; swipe down over it repeatedly (about four times) until it works free, then it goes into your inventory ("Great candle!").
- In the same window view, tap the loose end of the barbed wire at the top left to take a bent piece of wire.
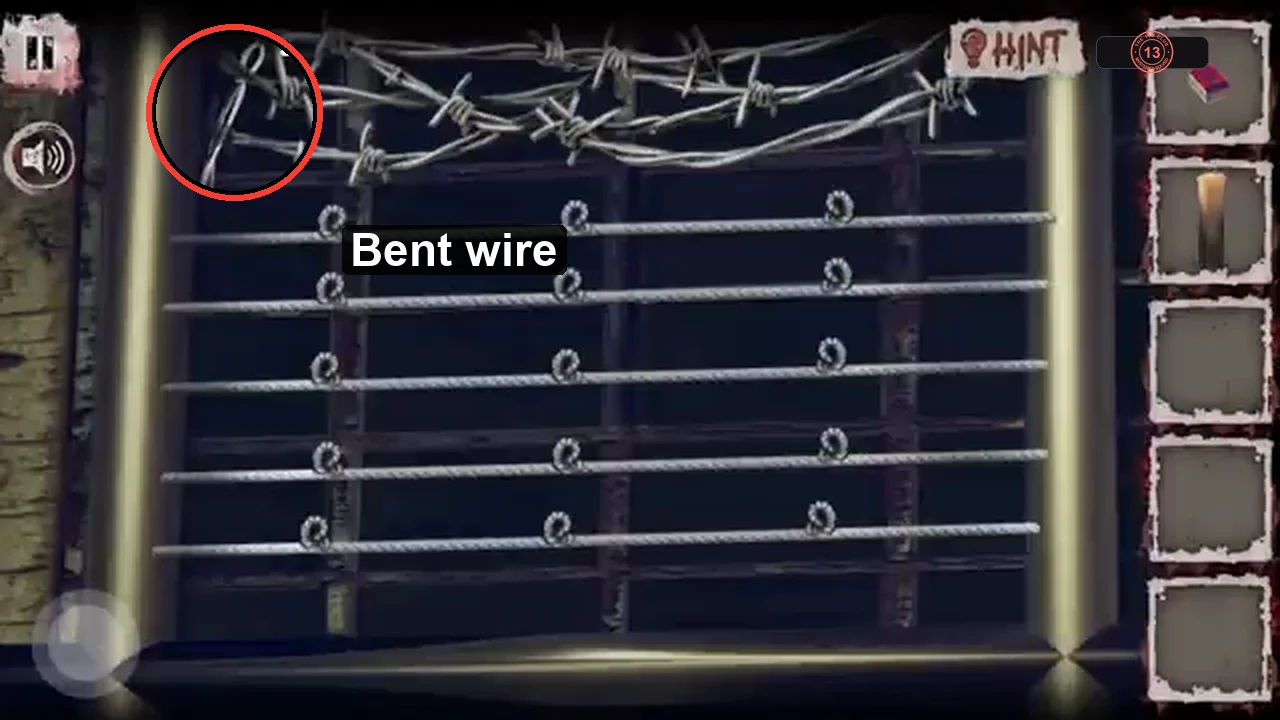
Tap the loose end of the barbed wire to take the bent wire. - Drag the bent wire onto the keyhole of the door. A lock view with a left and a right arrow appears (the drawer clue is shown as a small inset once you have seen it). Press LEFT, LEFT, LEFT, RIGHT, LEFT, LEFT, then open the door.CODELLLRLL
CHAPTER 2
Light in the dark basement
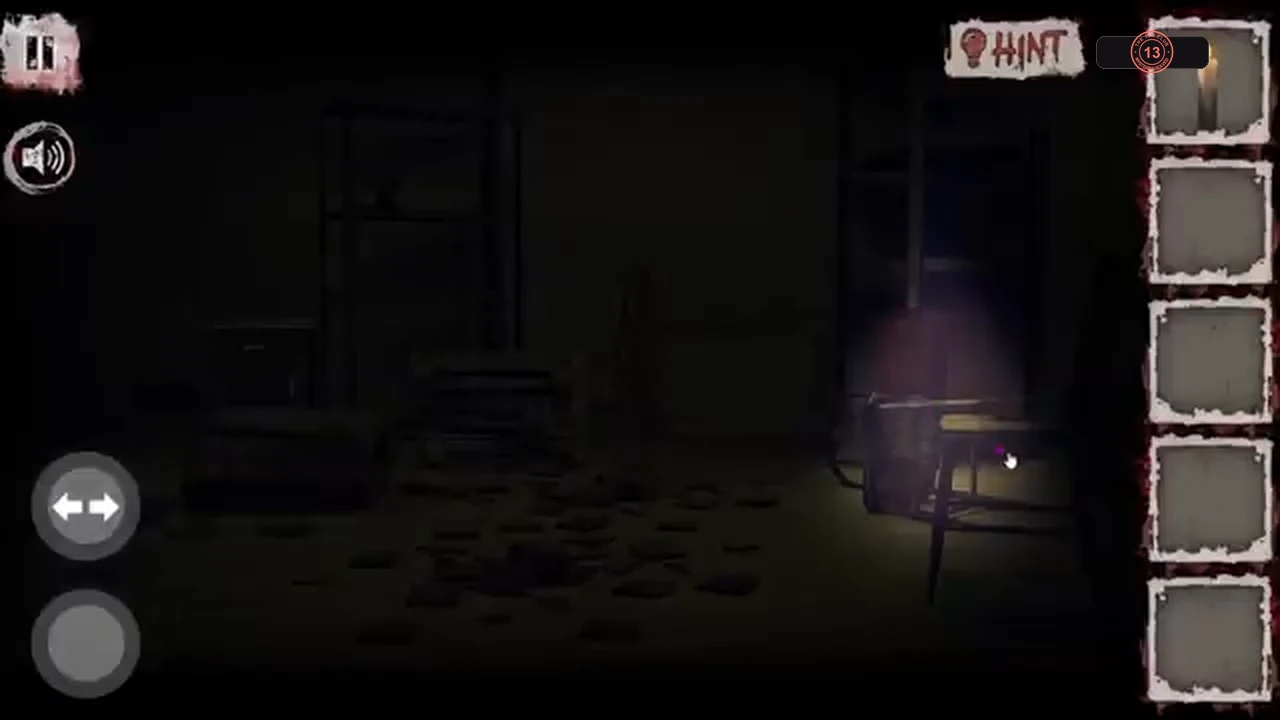
Beyond the door is an utterly dark basement. The candle gives you a small cone of light; a working flashlight lights the whole room.
- In the inventory, drag the matches onto the candle to light it, then select the lit candle. Its light now follows where you tap.
- Use the arrow button to turn to the other half of the basement. Pick up the small wooden box on the floor on the right, near the radiator, and take the flashlight from the low ledge on the left near the radiator. It has no batteries yet.
- Turn back to the first half and drag the wooden box onto the floor in front of the tall shelves on the right, just left of the chair ("I hope the box will hold my weight"). Elsewhere it does not fit.
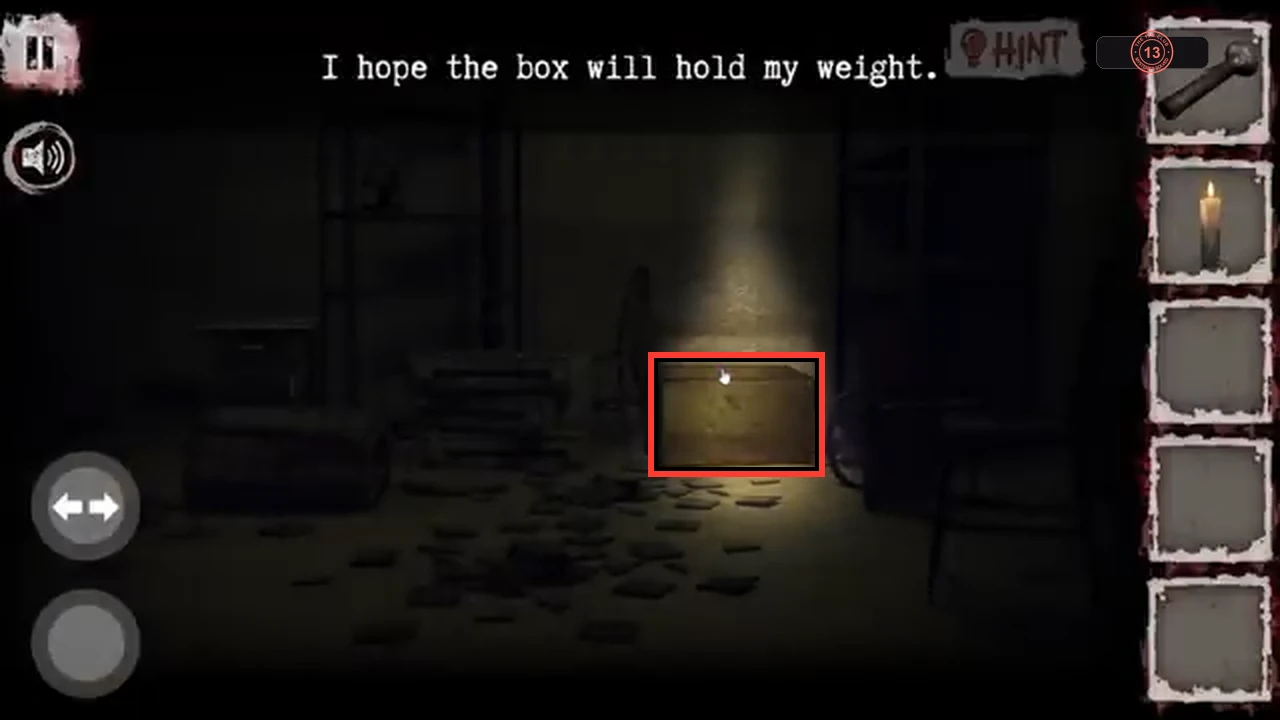
The wooden box placed in the only spot it fits, in front of the tall shelves. - Tap the chair on the right to look at the dark floor around it. Tap across the scattered broken tiles to move the candle light and find the batteries at the far (top-left) edge of the tile pile; tap them to take them.
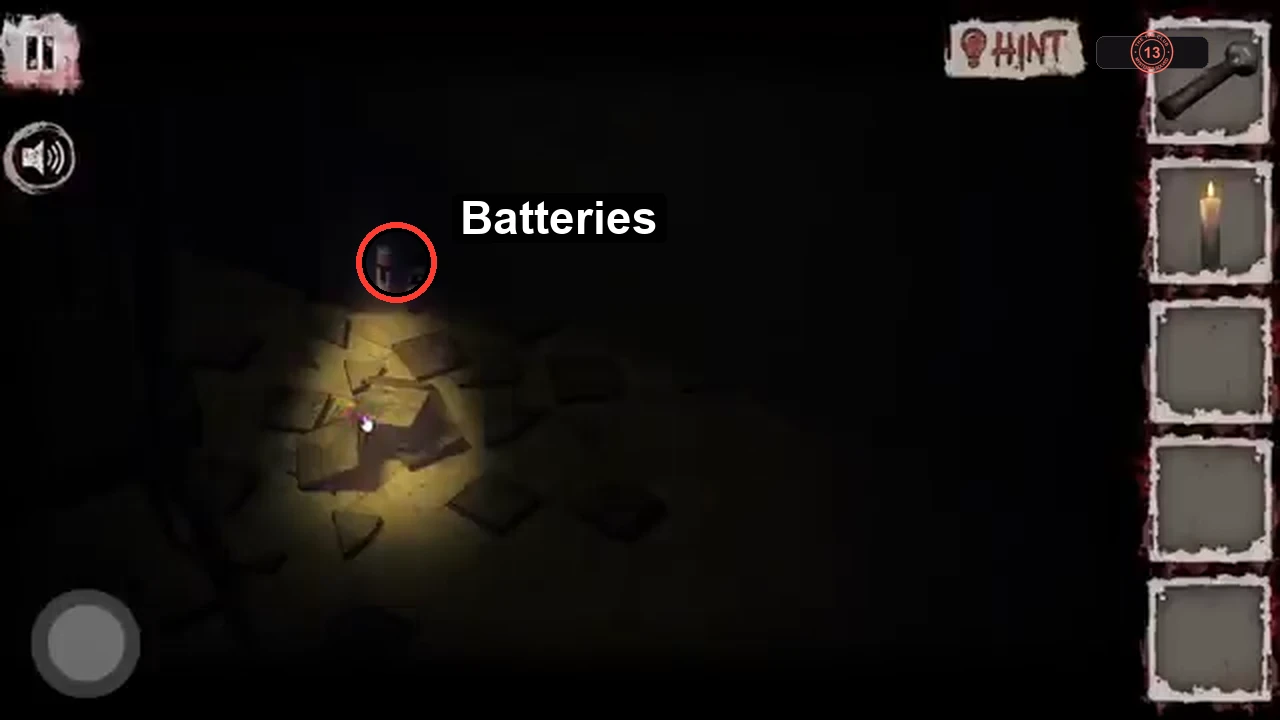
Move the candle light over the tile pile; the batteries lie at its far edge. - In the inventory, drag the batteries onto the flashlight. Both icons disappear and the basement becomes properly lit.
CHAPTER 3
The high shelf and the green door
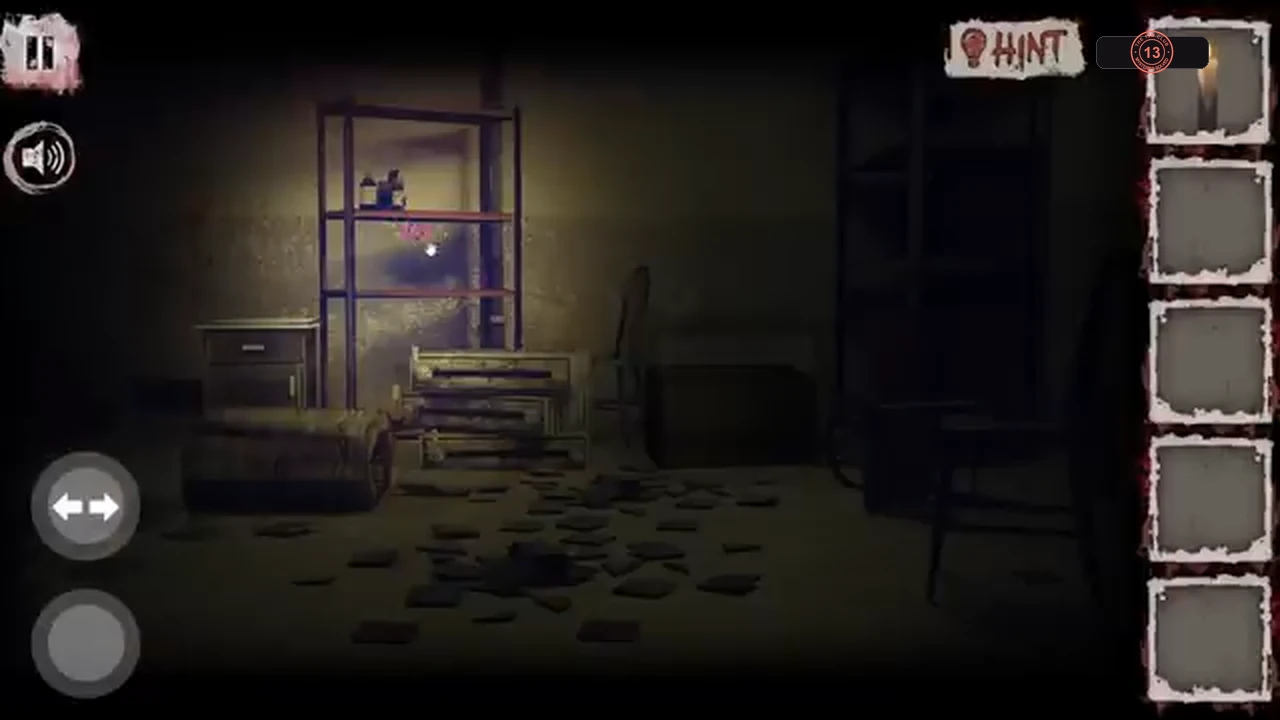
The box you placed lets you climb to the top shelf, where a pry bar opens the green door in the other half of the basement.
- Tap the wooden box to climb up to the shelves. Take the thin bent metal bar with a hooked end lying on the top shelf beside the valve wheel. The briefcase on the lower shelf has a three-digit lock; its code comes later (Chapter 10).
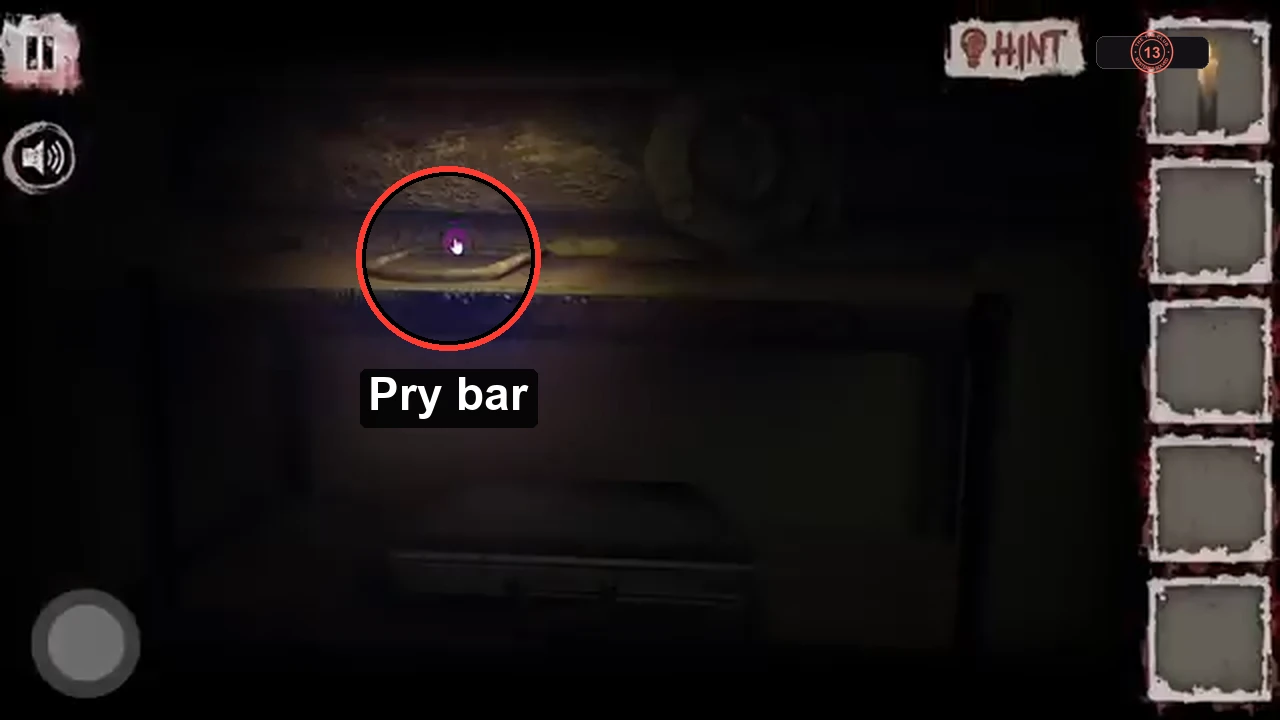
The hooked pry bar lies on the top shelf. - Turn to the other half of the basement and drag the pry bar onto the locked green door. Arrows point to two orange brackets: tap the upper bracket, wait for the bar to pry it off, then tap the lower one. Open the door.
CHAPTER 4
The key in the green ward
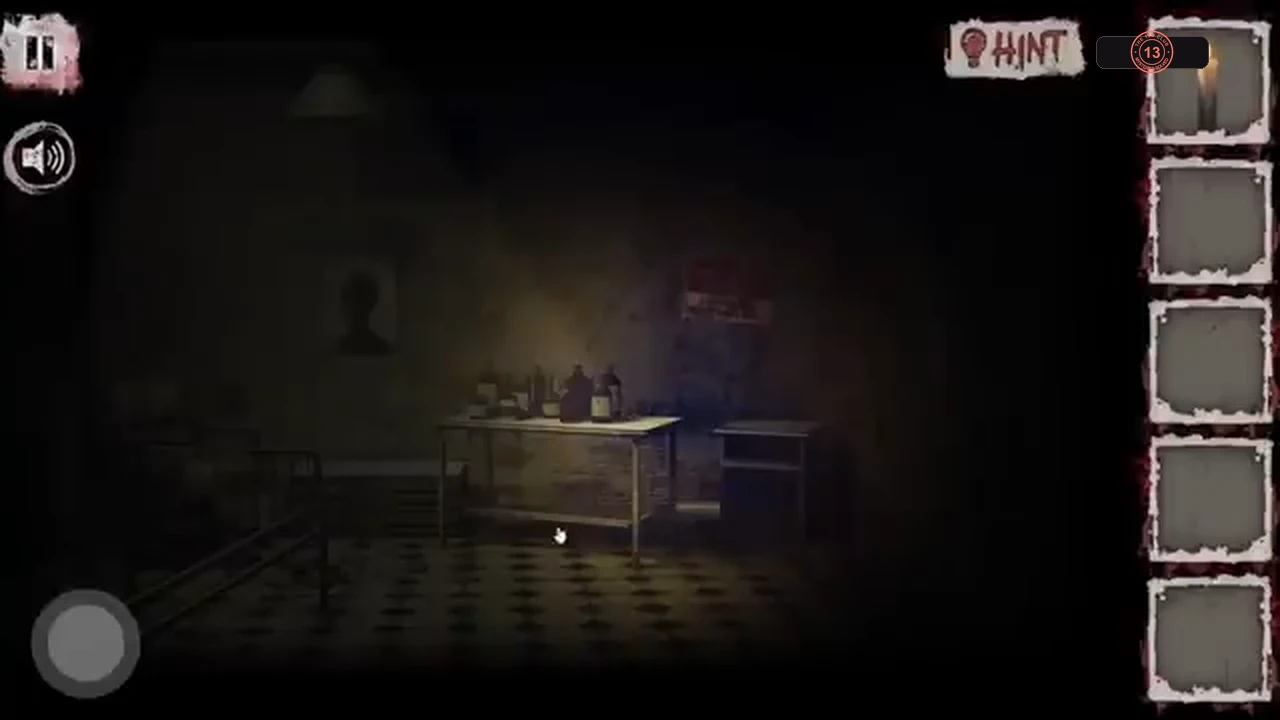
The green door leads into another ward. A key lies on the floor, but you are not alone in here.
- Tap the floor in the left foreground beside the bed, next to the stacked books, and take the key. A man then lunges at you in a short scripted scene; no input is needed.
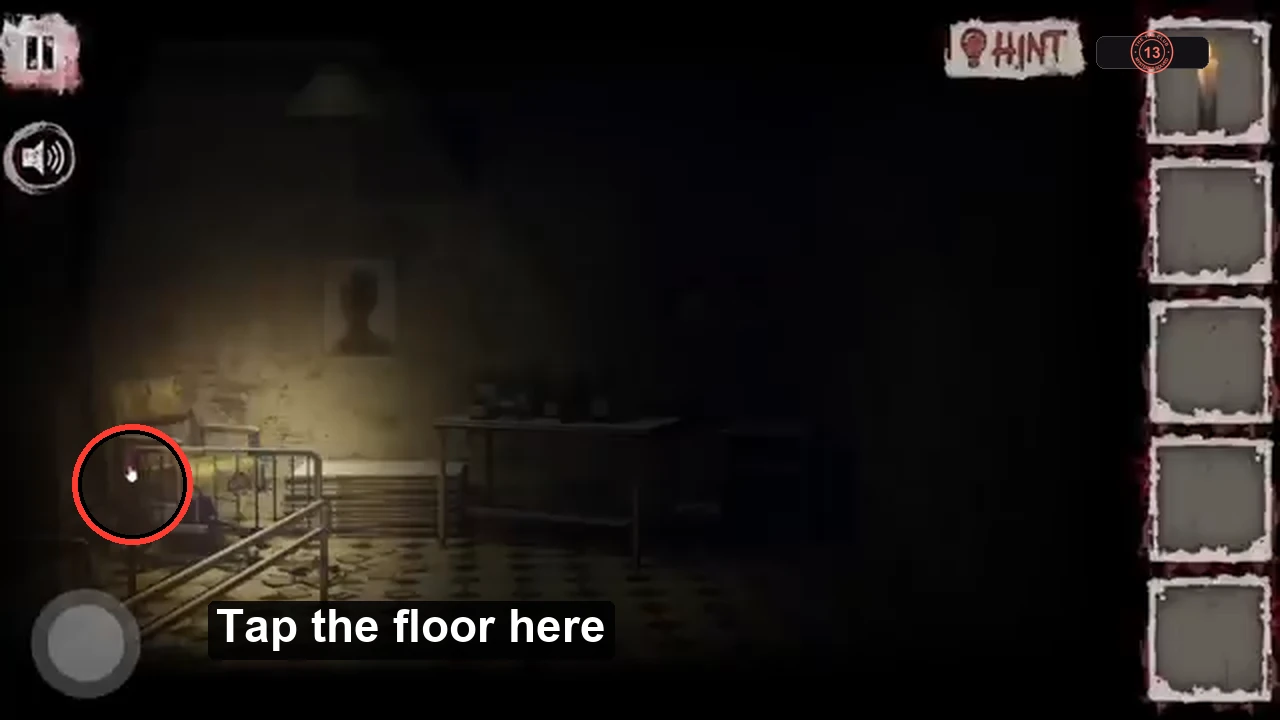
Tap the floor in the left foreground beside the bed to find the key. - Go back to the first half of the basement and drag the key onto the louvered doors at the top of the wooden stairs. Go up to the corridor.
CHAPTER 5
The fuse panel
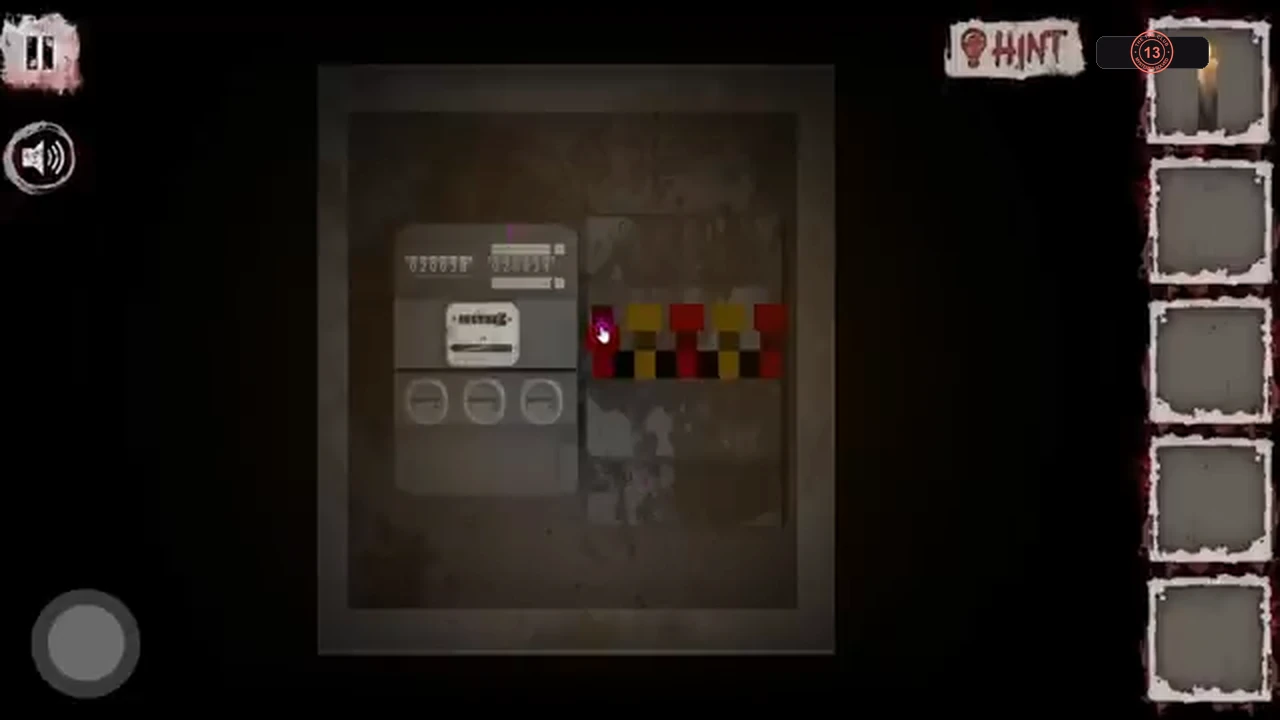
The upstairs corridor is too dark to use any door. A small panel of coloured blocks restores the power, and the bottles downstairs tell you how to set it.
- In the upstairs corridor, turn to the side with SECURE written on the wall and the skulls. Tap the small panel on the wall above the skulls: it has five columns of coloured blocks (red, yellow, red, yellow, red), all raised.
- Go back down to the green-door half of the basement and tap the glass cabinet on the back wall. It holds five bottles, left to right: tall red, short yellow, short red, tall yellow, short red. After you have seen them, the panel shows this clue as an inset.
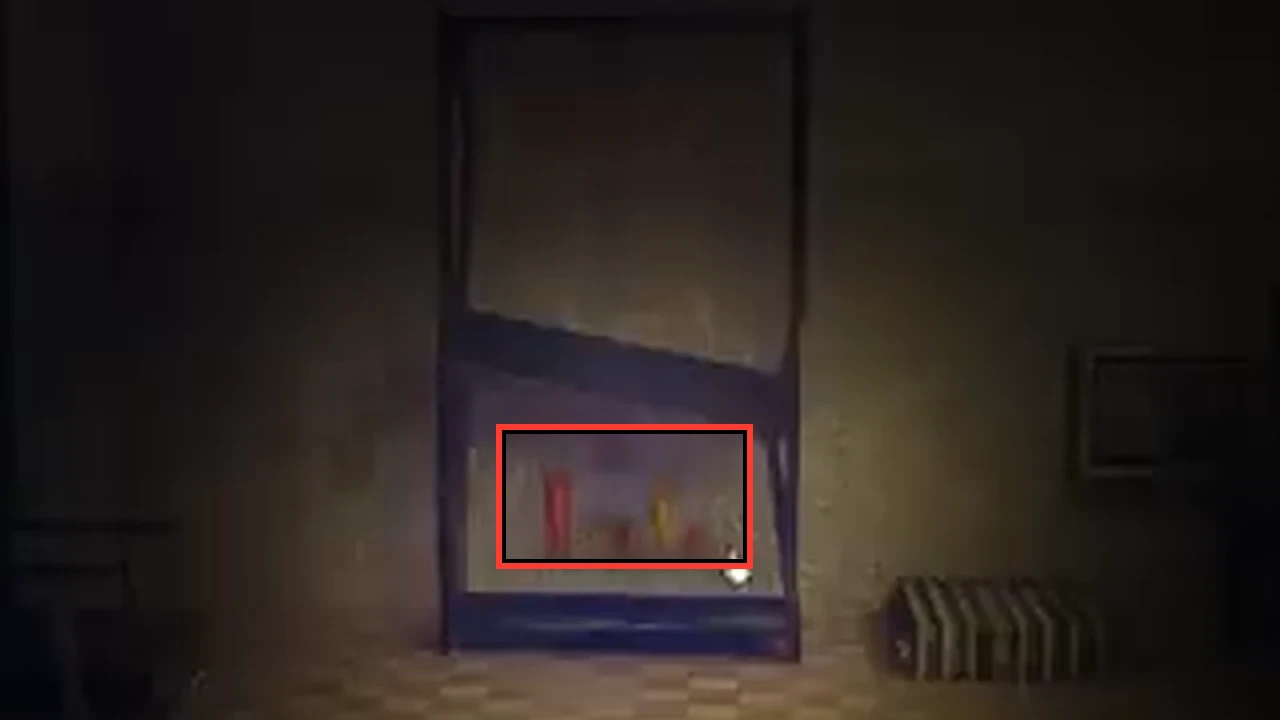
The bottle heights in this cabinet are the clue for the panel. - Return to the panel and match the bottles: a tall bottle means the column stays raised, a short bottle means the column is lowered. Tapping a column changes its position. Set column 1 up, 2 down, 3 down, 4 up, 5 down. The lights come on ("Phew, now you can really look around"), and you hear a noise from downstairs.CODEUP DOWN DOWN UP DOWN
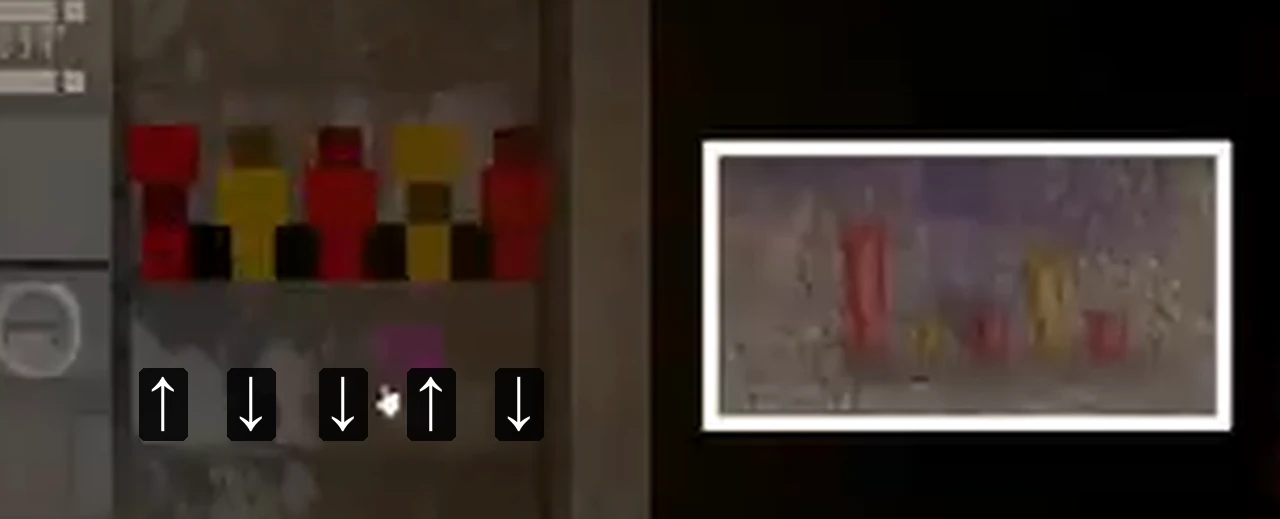
Solved: columns 1 and 4 raised (up arrows), columns 2, 3 and 5 lowered (down arrows).