Study: Dove and Roman Numeral Panel
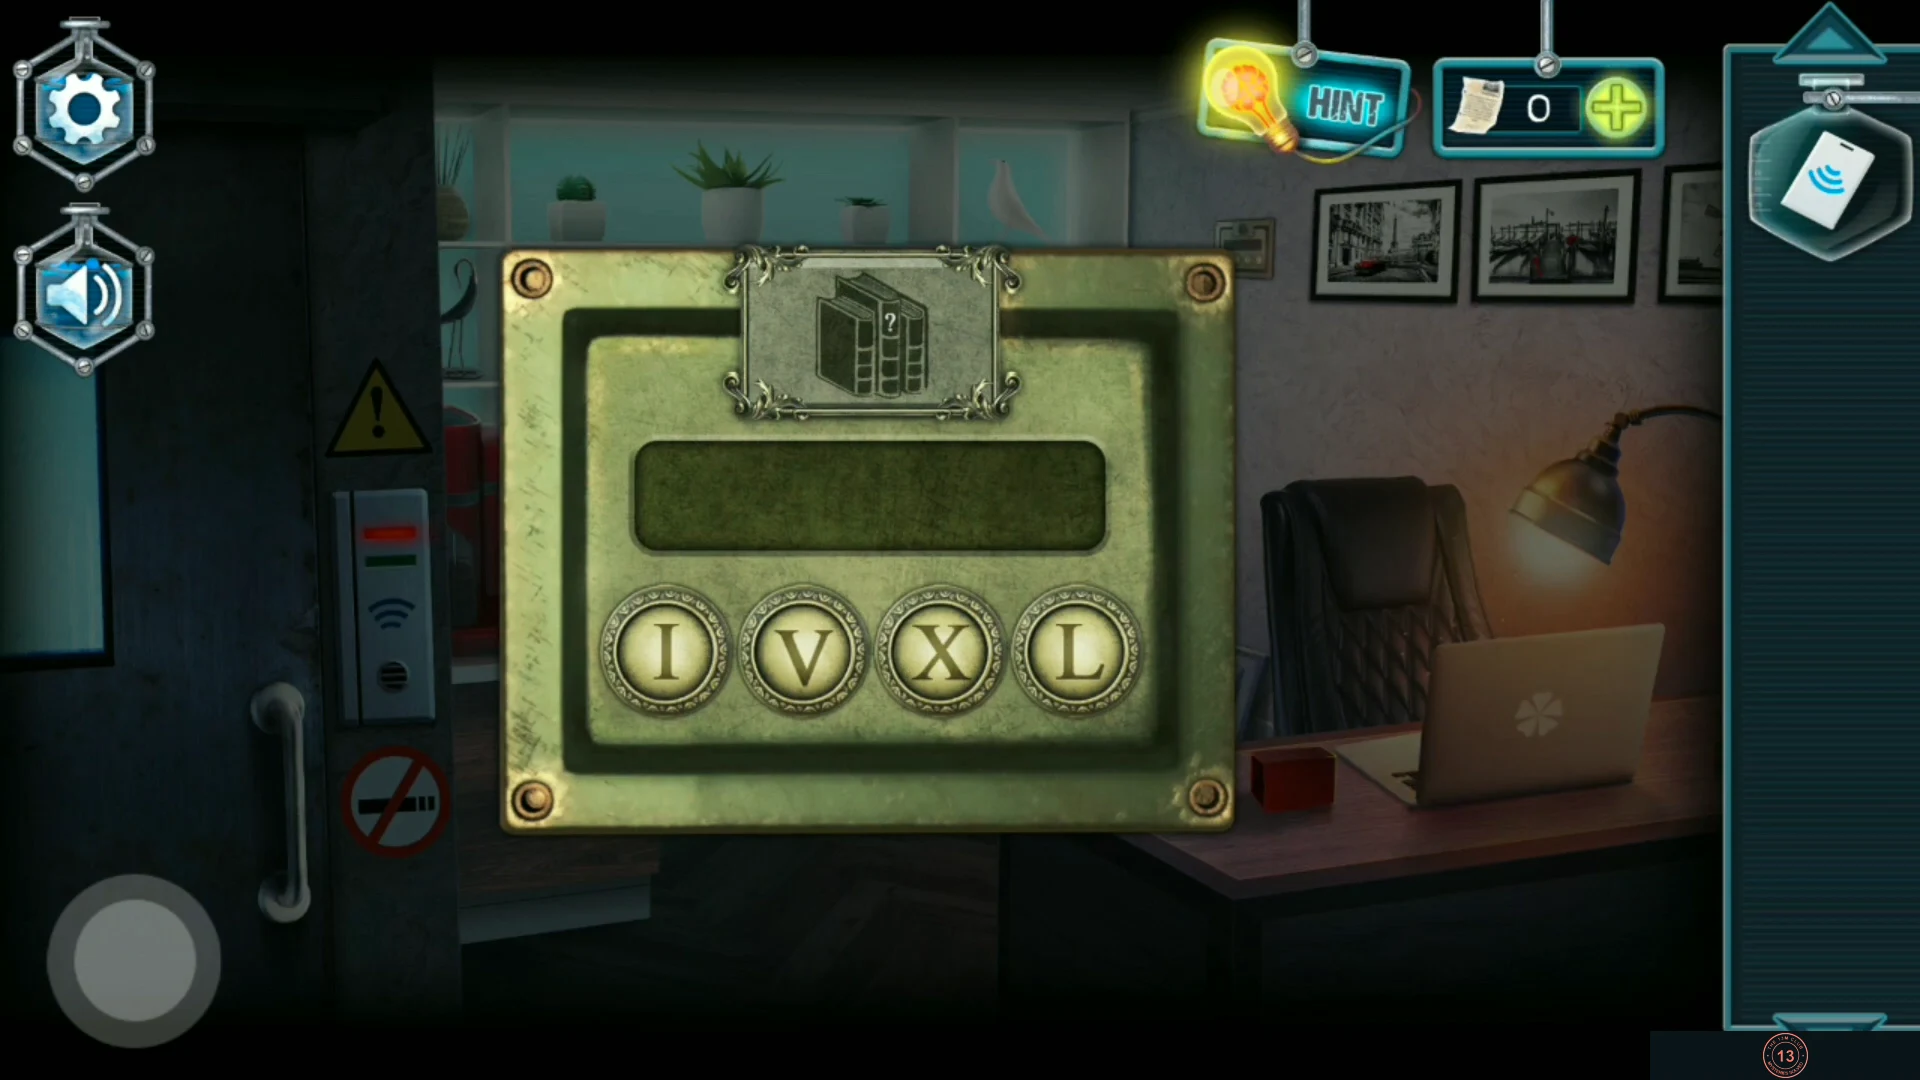
The laboratory door in the study has a card reader with no power. A headless white dove sits on the study bookshelf.
- In the study, put the Dove head on the headless dove. A picture on the wall slides aside ("Has this picture moved?") to reveal a panel with I, V, X and L buttons above a painted row of books.
- Three of the painted books stand taller than the others. Read their numerals from left to right: XV, VI and LX. Enter them as one sequence, X V V I L X. The card reader light turns green.CODEXVVILX
- Use the Key card on the reader beside the security door and enter the laboratory ("This is where I've made my discoveries.").
Laboratory: Computer Login
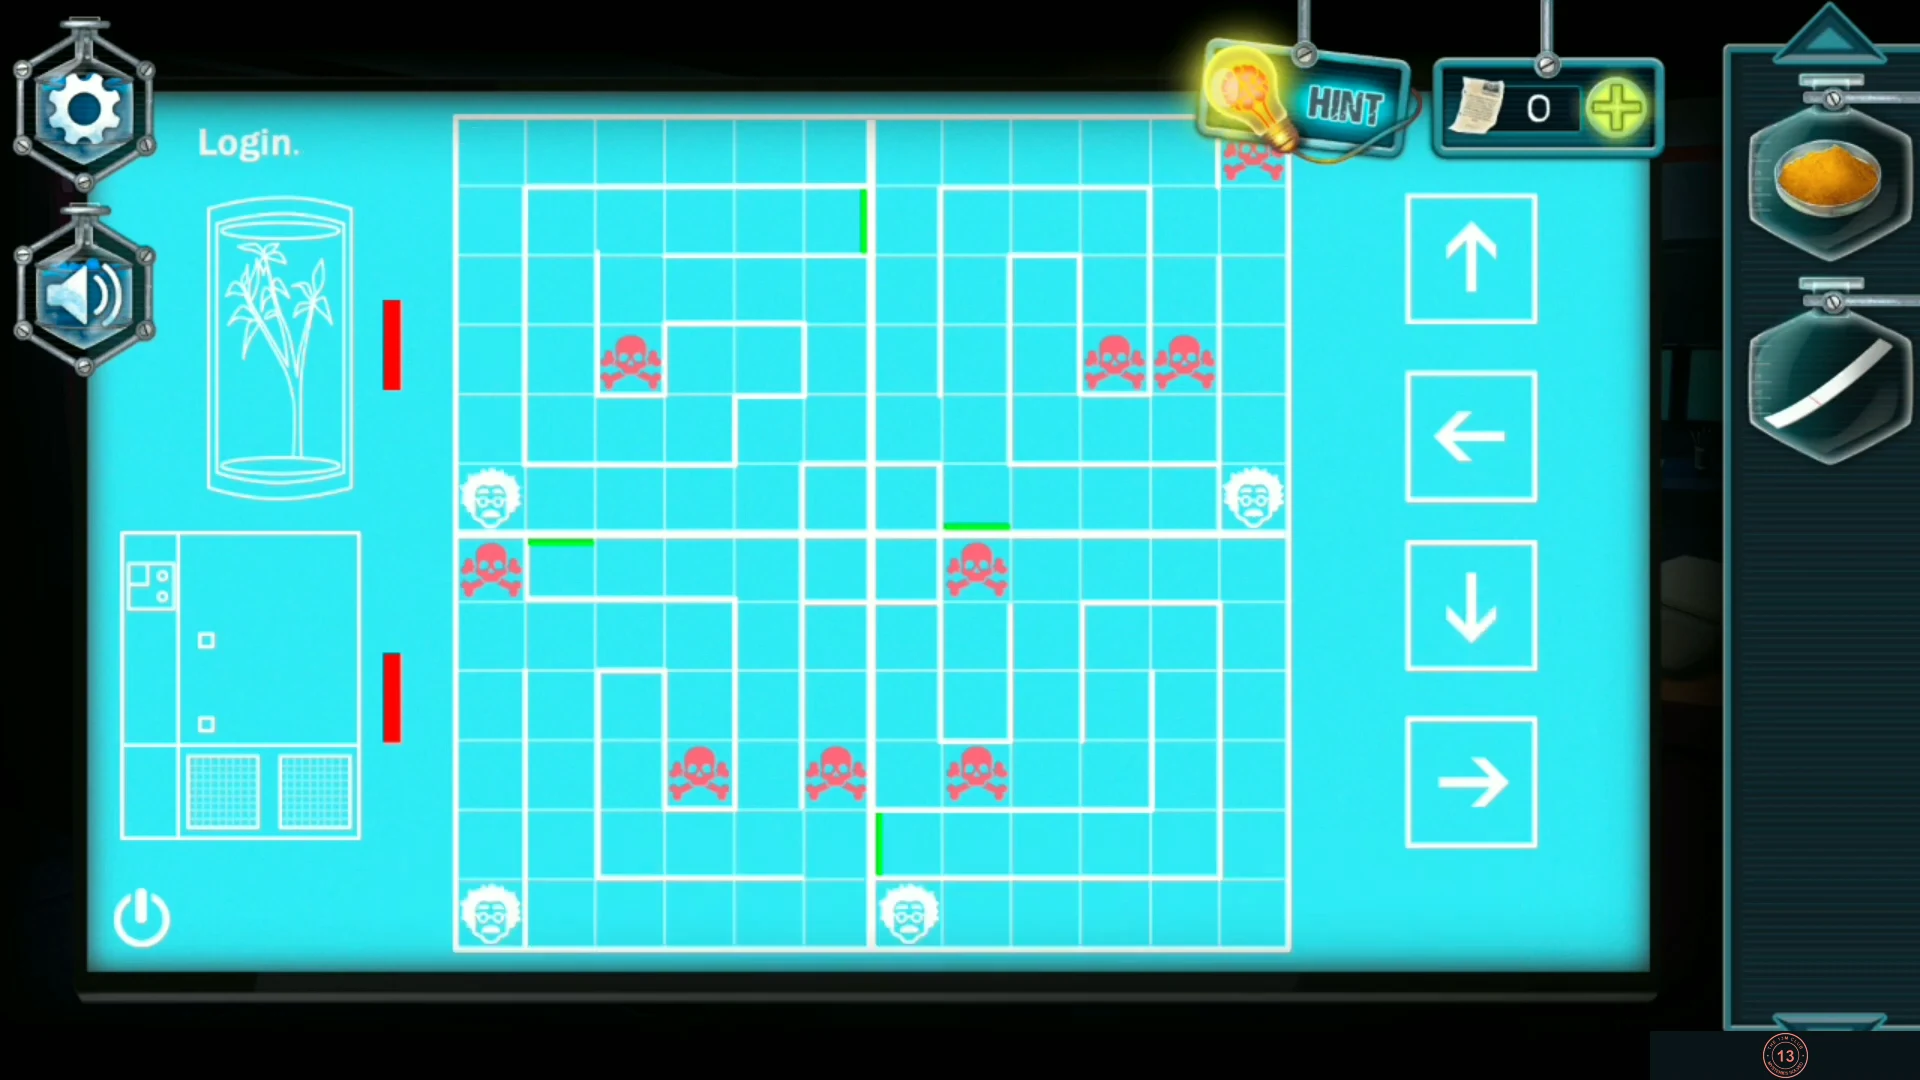
The research computer locks the fridge and the arboretum. Its login is a maze game ("Guide the Einsteins to the exits using the arrow keys on the keyboard. Beware of the skulls!").
- Tap the computer and press ENTER. The maze has four quarters, one Einstein in each, red skulls on some squares and a short green bar on a wall in each quarter that marks its exit.
- How it moves: each arrow press moves every Einstein exactly one square in that direction, all at the same time. An Einstein with a wall or the maze edge on that side simply stays where it is for that press, so walls let you move some Einsteins while others wait. Each Einstein is shut inside its own quarter of the maze and leaves the maze when it steps onto the square beside its quarter's green exit bar. Never step an Einstein onto a skull square; count squares before you press, because one press too many can walk an Einstein into a skull.
- The full solution takes about 70 presses, so here is the plan rather than every press; the maze layout was the same in both recordings we checked. The bottom-right Einstein starts on the bottom edge at the left of its quarter, hidden under the hint box until you close it. Begin with Right 5 times (only that Einstein can move, into the bottom-right corner), then Up exactly 4 times; the top-right Einstein then sits directly under the skull in the top-right corner. After that, take the Einsteins out one at a time in this order, using walls to hold the others still: (1) Bottom-right: its exit bar is on the inner wall of its quarter, one row above the bottom. Work it round the inner walls until it sits on that row with a clear run to the left, then press Left until it leaves. (2) Top-right: bring it along the top row to the centre wall, then Down 4, Right 1 and Down once more through the green bar in the bottom wall of its quarter. (3) Bottom-left: its exit bar is in the top wall of its quarter, second square from the left. Take it along the bottom row towards the centre, then up to the top row of its quarter (in the recording: one square up, one left, then four up), then press Left; it leaves before reaching the skull in the corner. (4) Top-left: its exit bar is on the right side of its quarter, second row from the top. Get it into that row and press Right until it leaves. Before every press, check the next square of each Einstein still in the maze; if it is a skull, press a different direction first or wait until a wall holds that Einstein still. When all four are out, the screen confirms the login ("OK! The fridge and arboretum are unlocked.").
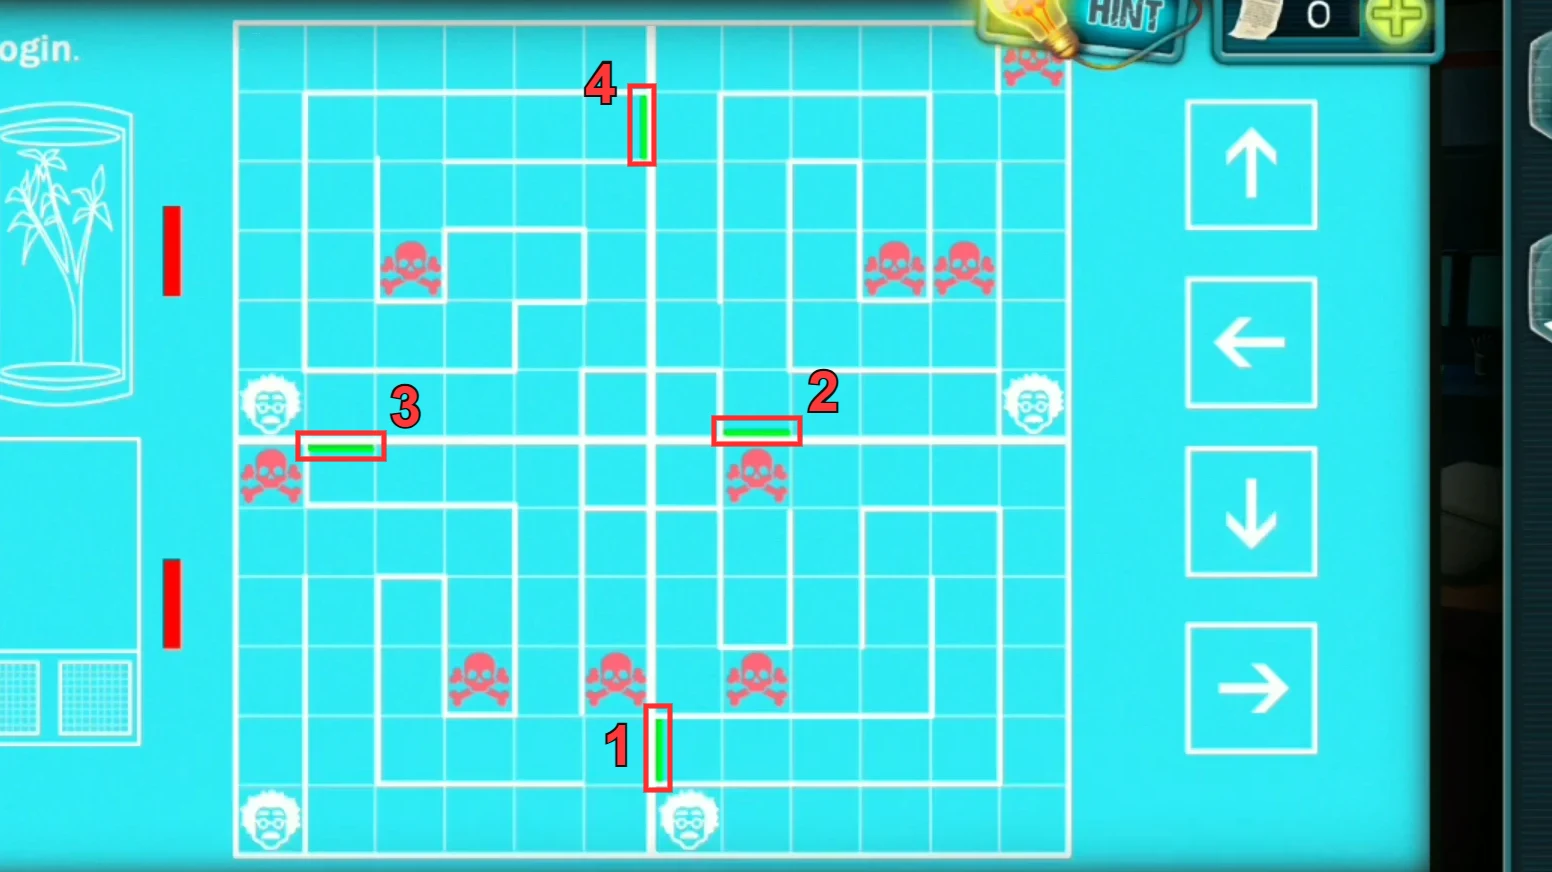
The four exit bars, numbered in the order this guide takes the Einsteins out. The Einsteins are shown partway through a recorded attempt, so the top-left one is not on its starting square. - Read the three note pages next to the computer: the target weight 17,34 for the powder scale, a diagram for heating the reagents, and a diagram for extracting the leaf.
Laboratory: Auto-Pruner and Fridge
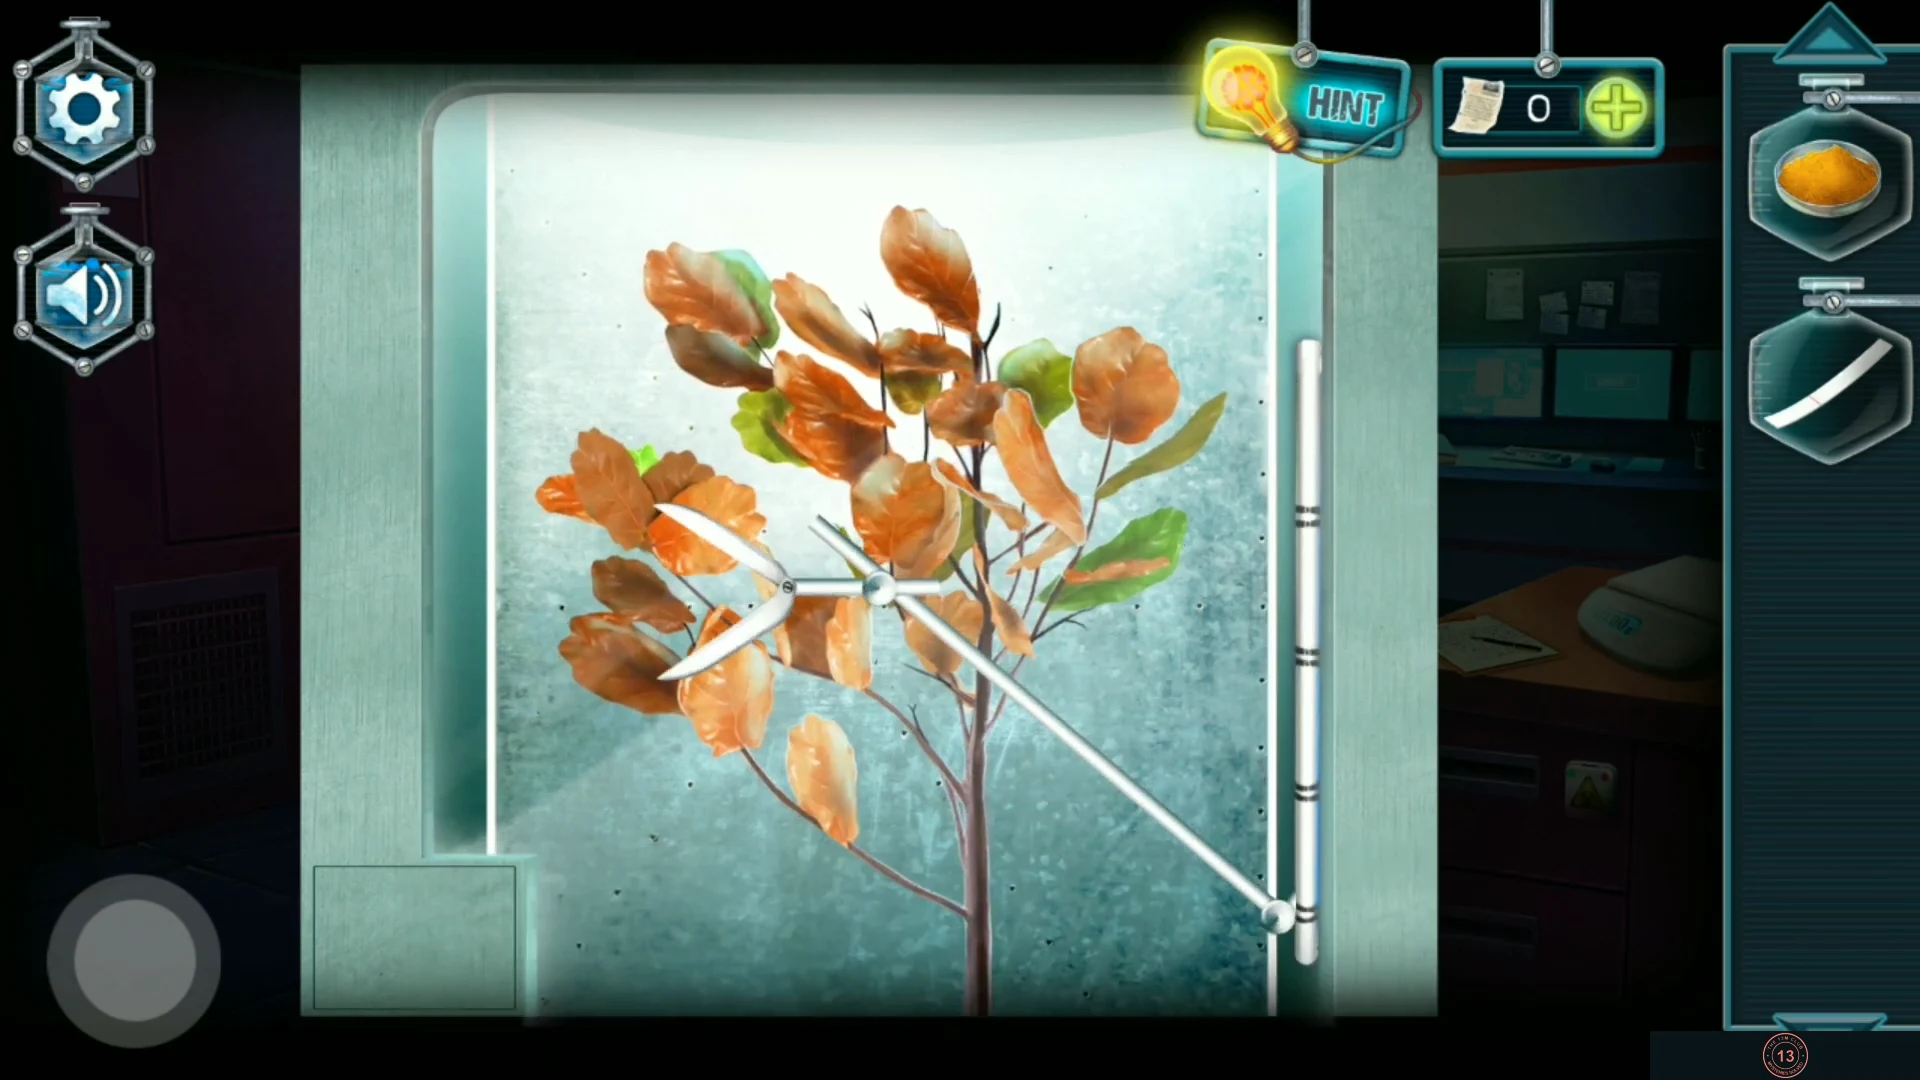
With the login done, the glass arboretum and the fridge are open.
- Tap the glass arboretum ("Hold the auto-pruner and then release to cut off dead leaves."). The pruner blade moves up and down the rail on the right; hold, then release, and the arm swings out and cuts at the blade's current height. On the left side of the plant, about halfway up, a brown leaf hides a single bright green one. First cut away that brown leaf to reveal the green leaf, then cut the green leaf itself. It drops into the tray at the bottom left; tap the tray to take the Leaf. You do not need to clear the other brown leaves.
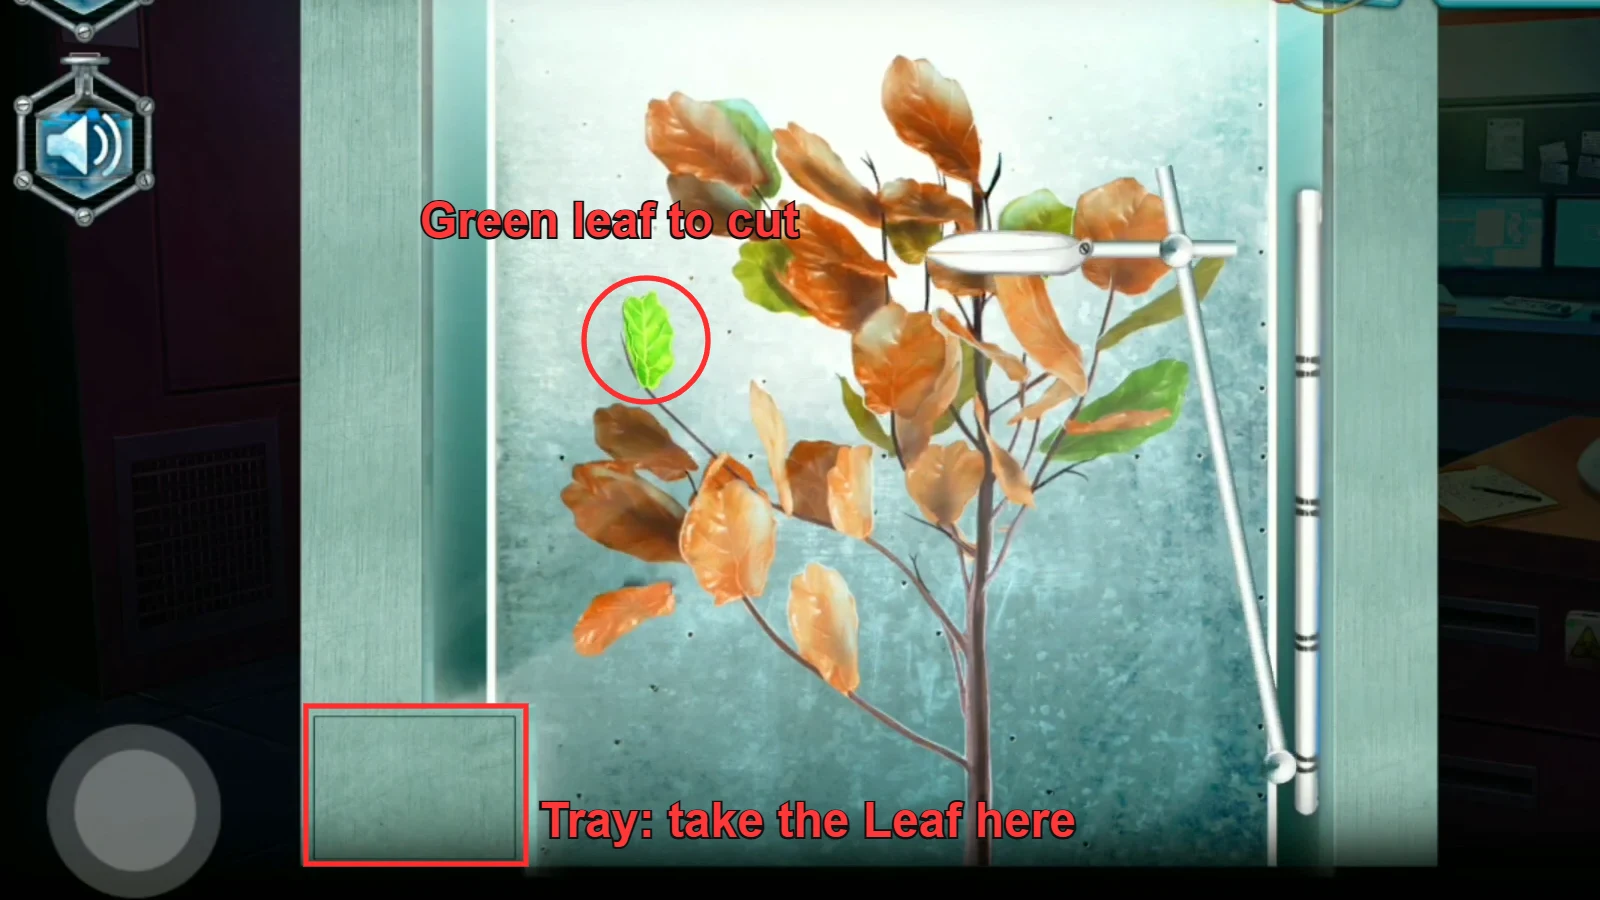
With the brown leaf cut away, the green leaf is uncovered. Cut it next; it drops into the tray at the bottom left. - Open the fridge and take the red test tube and the dish of green powder. On the bench, take the white litmus strip and the dish of yellow powder.
Laboratory: Powder Scale
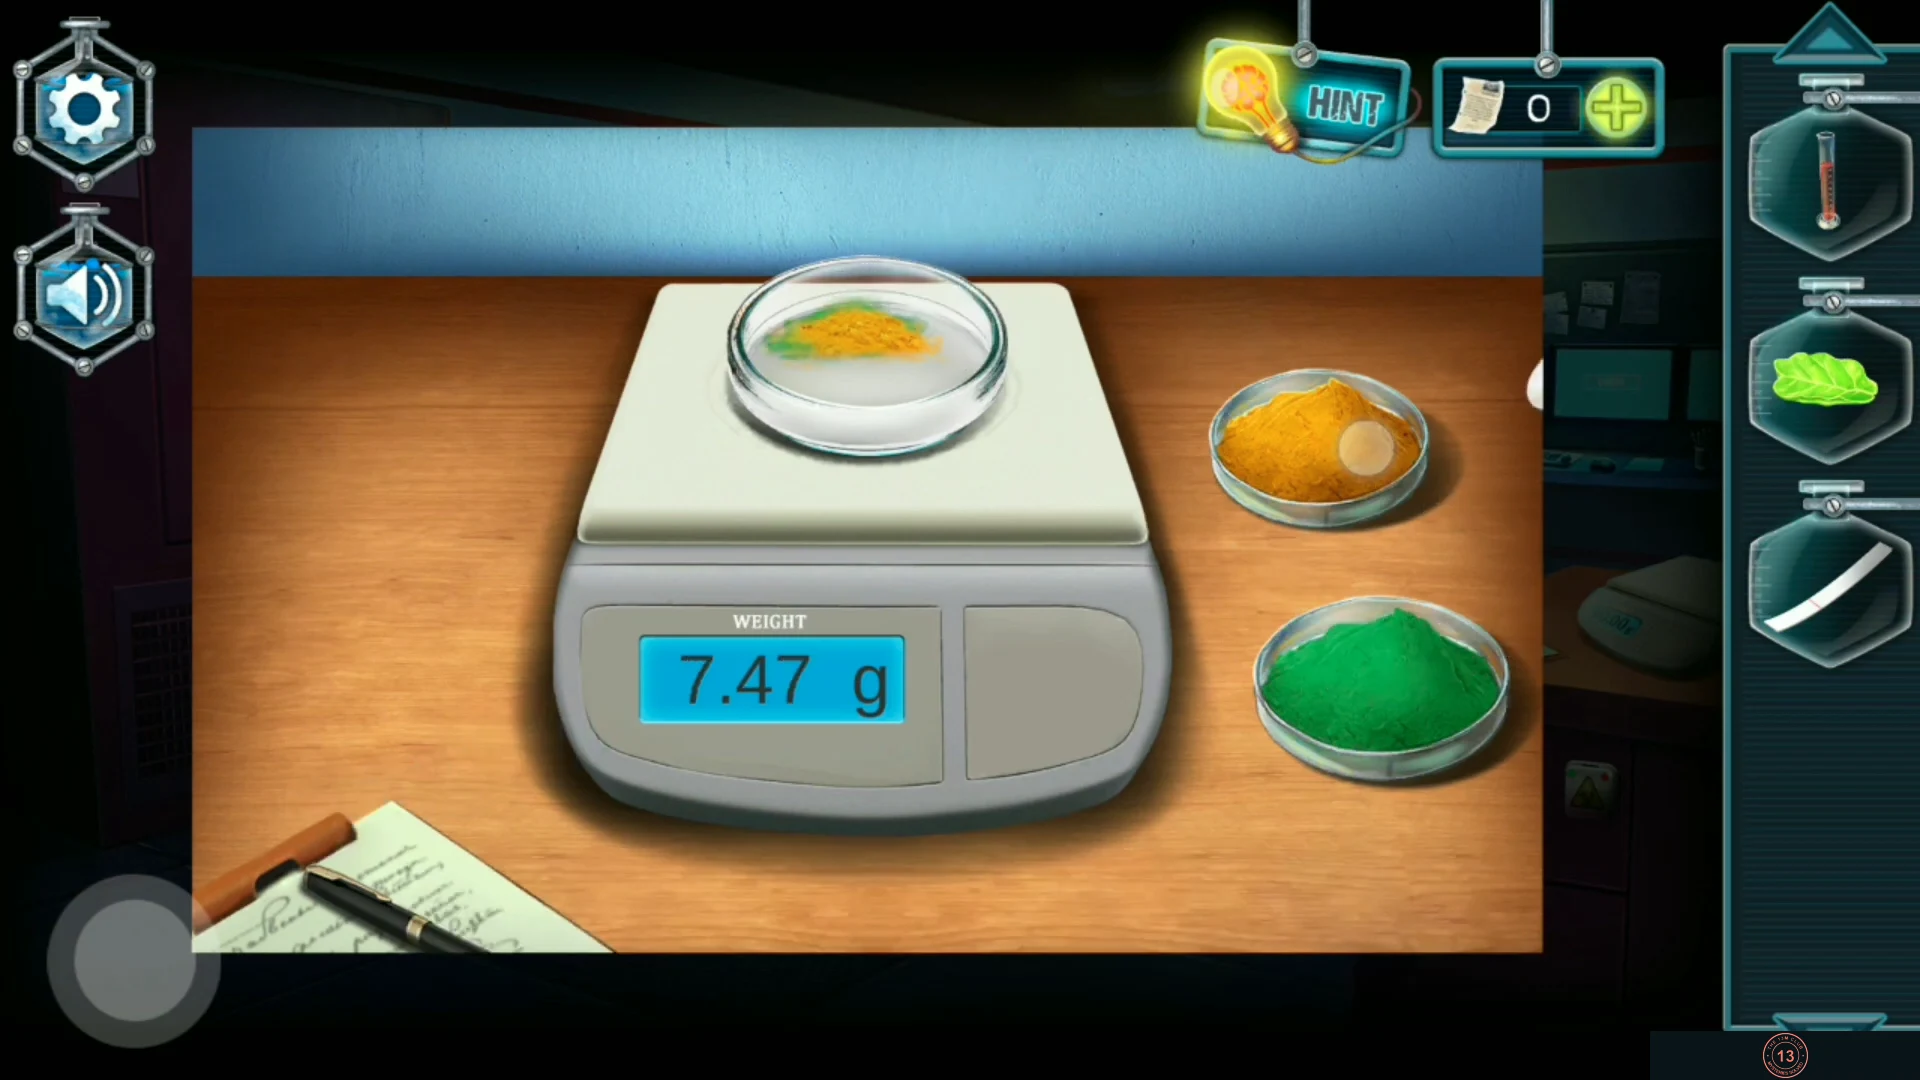
Weigh out exactly the amount from the notes, 17,34 (17.34 g).
- Put both powder dishes beside the digital scale. Each scoop of yellow adds 2.40 g and each scoop of green adds 5.07 g. Three yellow and two green scoops make 7.20 + 10.14 = 17.34 g. Add them in any order (yellow, green, yellow, green, yellow works), then take the Mixture.CODE17.34
Laboratory: Litmus Key and Chemical Lock
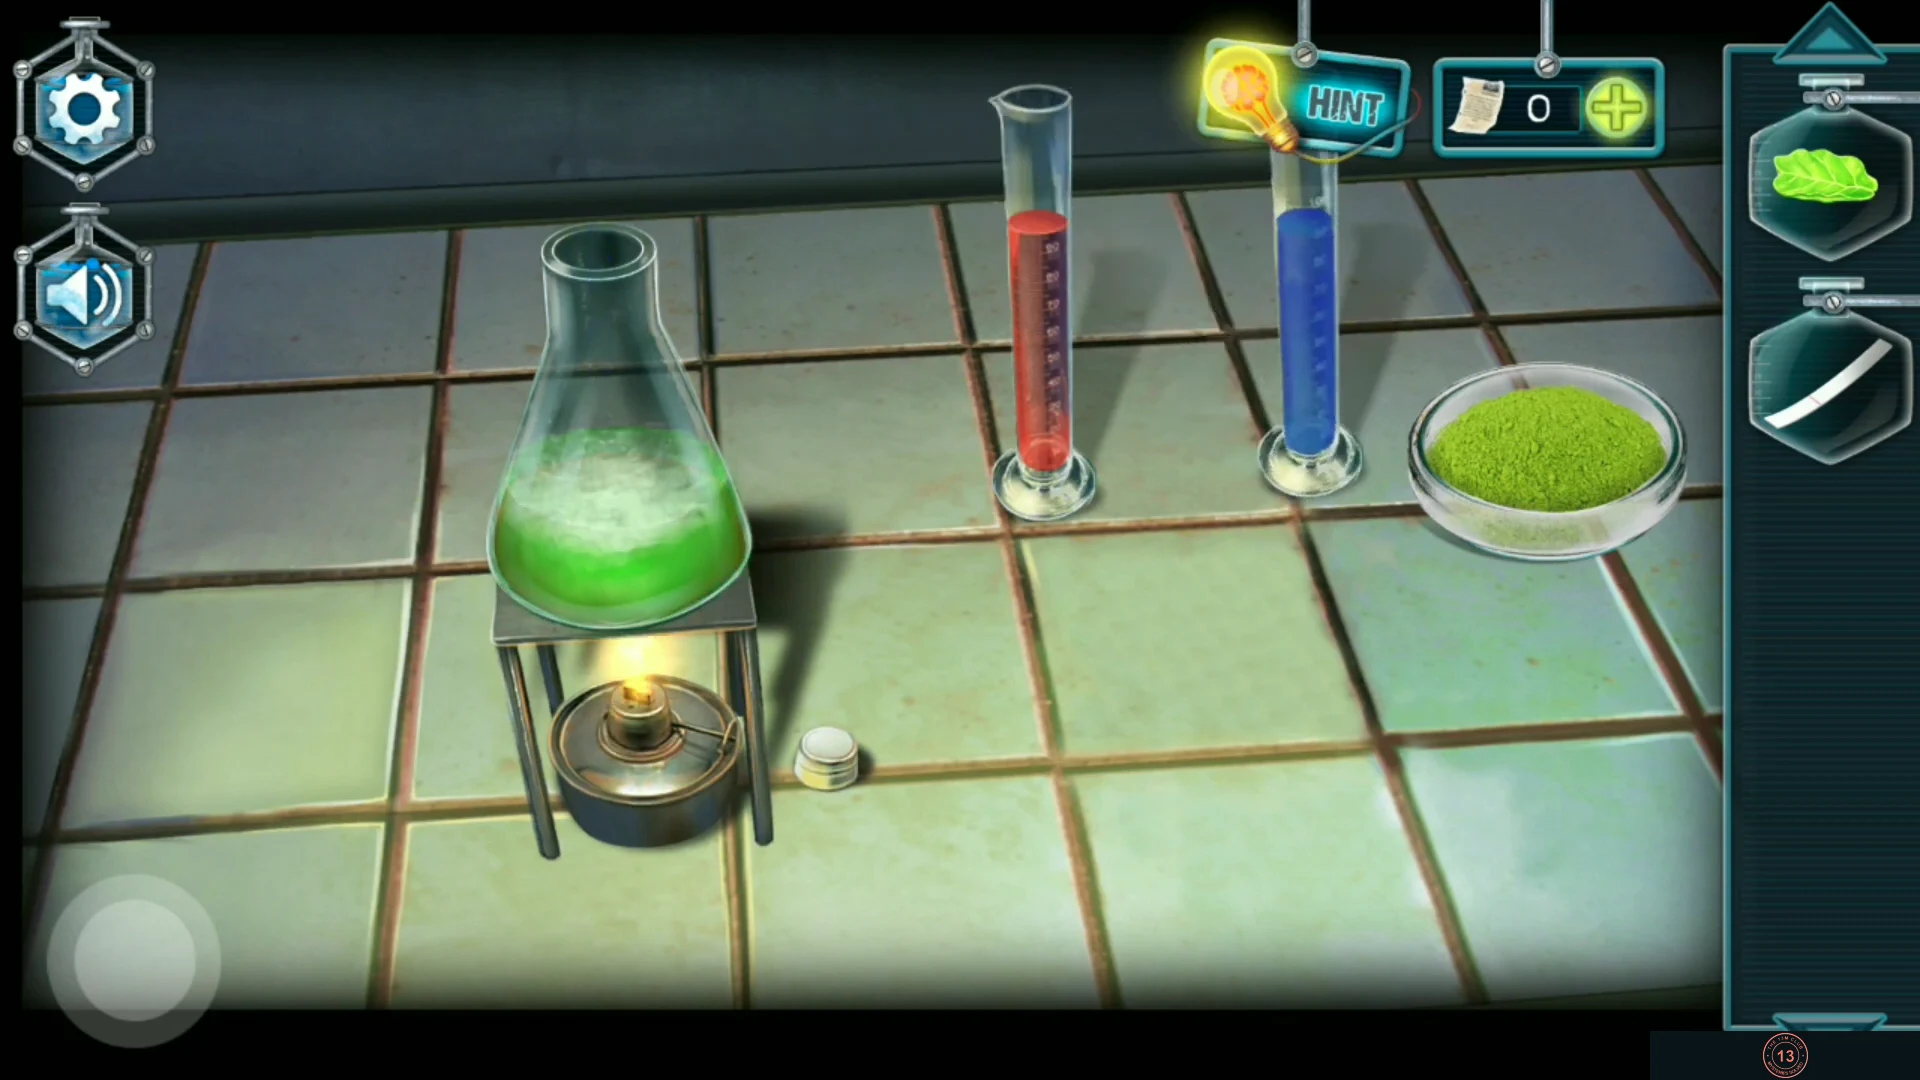
Follow the bench diagram to brew a litmus indicator for the chemical lock on the desk drawer.
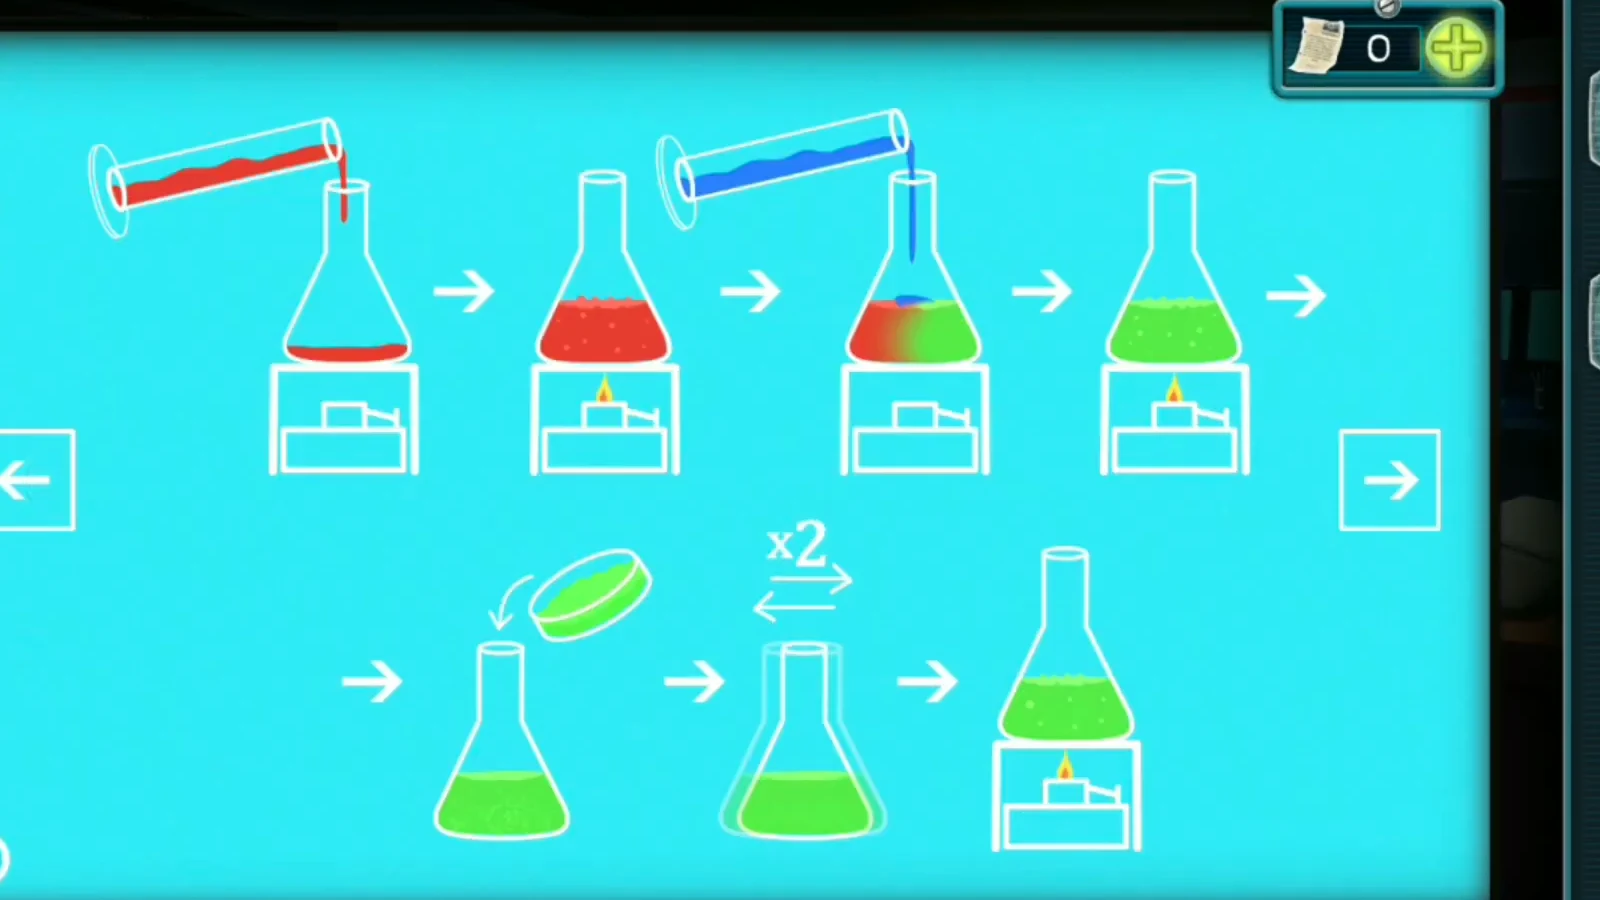
- At the bench, set down the red test tube and the Mixture. Follow the diagram from the computer notes: pour the red liquid into the flask and heat it with the burner, then add the blue liquid and heat again until it turns green. Add the Mixture. Next comes the x2 with side-to-side arrows on the diagram: the flask has to be shaken twice. Touch the flask until it lifts off its stand, rocks from side to side and settles back by itself; in the touch-screen recording this took a few short touches on the flask, the last with a small sideways movement, so if nothing happens, touch it again. Do this a second time for the second shake, then tap the burner to heat it again. Add the Leaf; the burner lights again and the liquid turns purple. Finally dip the Litmus indicator strip into the purple liquid; it becomes the Litmus indicator (activated).
- Insert the Litmus indicator (activated) into the chemical lock (marked with a yellow warning triangle) on the drawer under the desk. Take the Key from the basement.
Basement: Film Strip Drawer
The basement is under the hatch beneath the sun rug in the garage.
- Return to the garage, tap the sun-pattern rug and use the Key from the basement on the padlock of the floor hatch. Climb down and pull the lamp cord to switch on the light ("Where is the switch?").
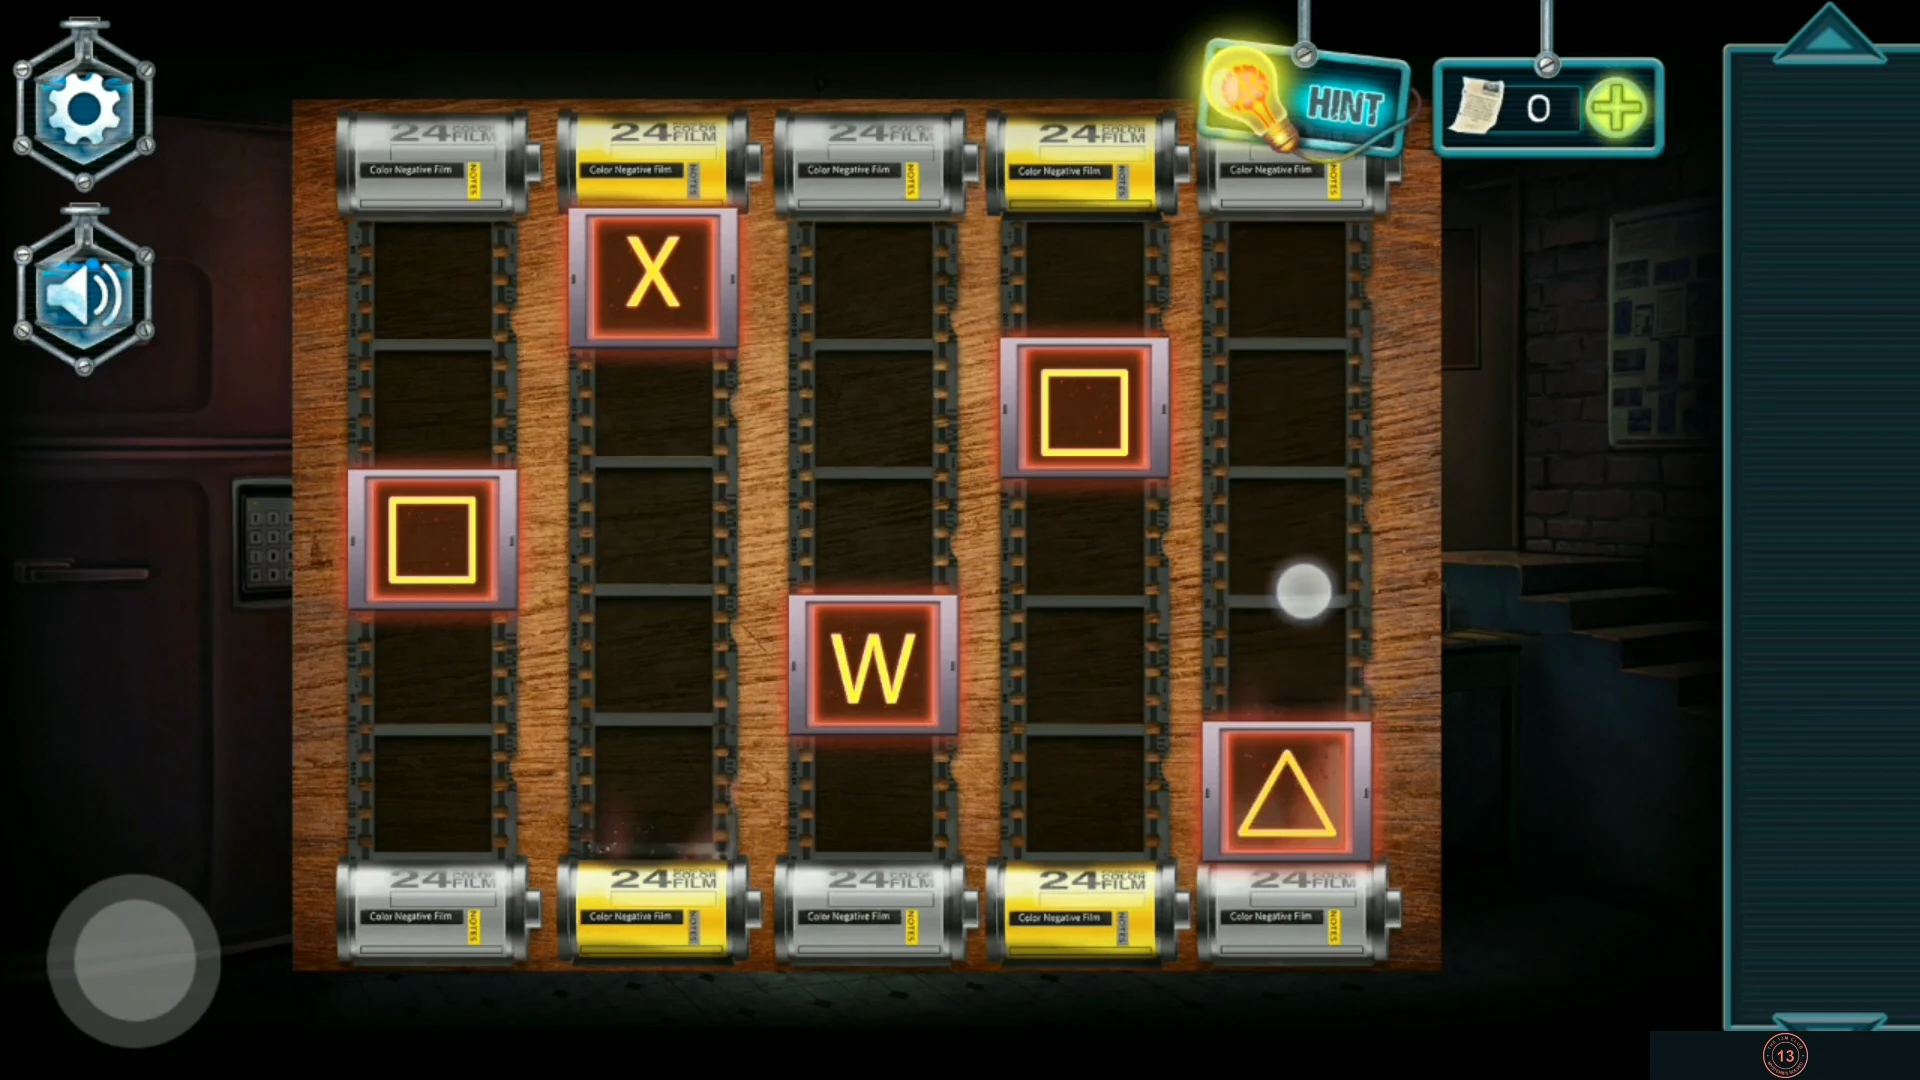
- The clue sheet pinned on the garage wall shows five symbols with hints: X with an up arrow, a square with a down arrow, a triangle between two arrows, and O and W with question marks. X goes at the top, the square at the bottom and the triangle in the middle.
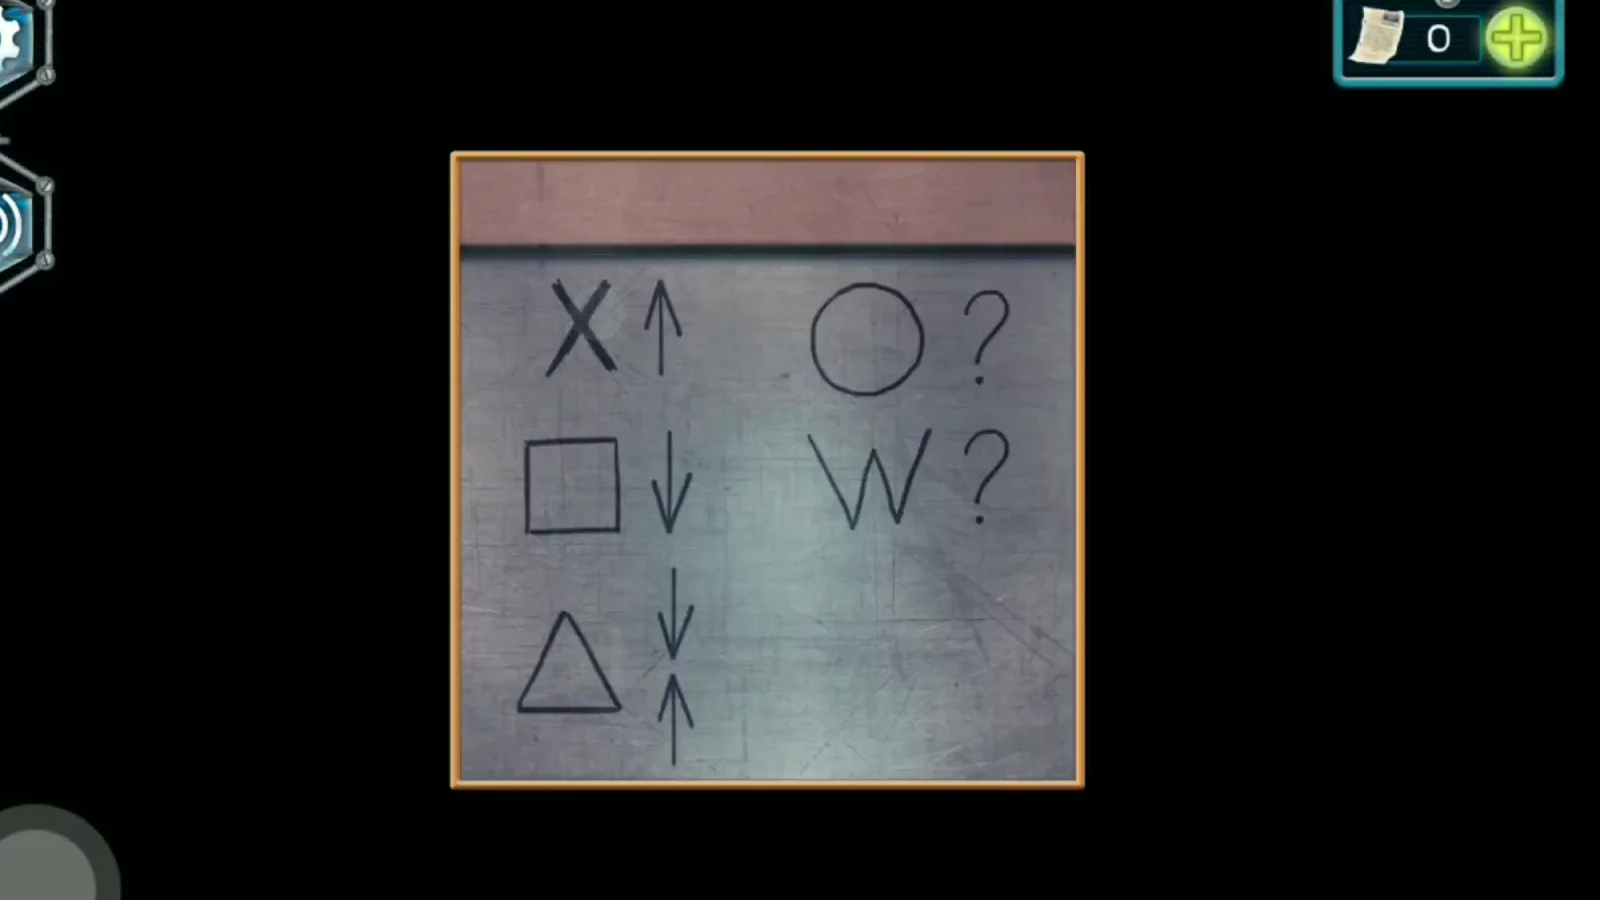
The symbol hints on the garage wall. - Open the drawer of the basement table and scroll the five film strips so that each row shows one symbol: X in the top row, W in the second, the triangle in the middle, O in the fourth and the square at the bottom. Take the Torch and the note with numbers from the drawer.CODEX W △ O □
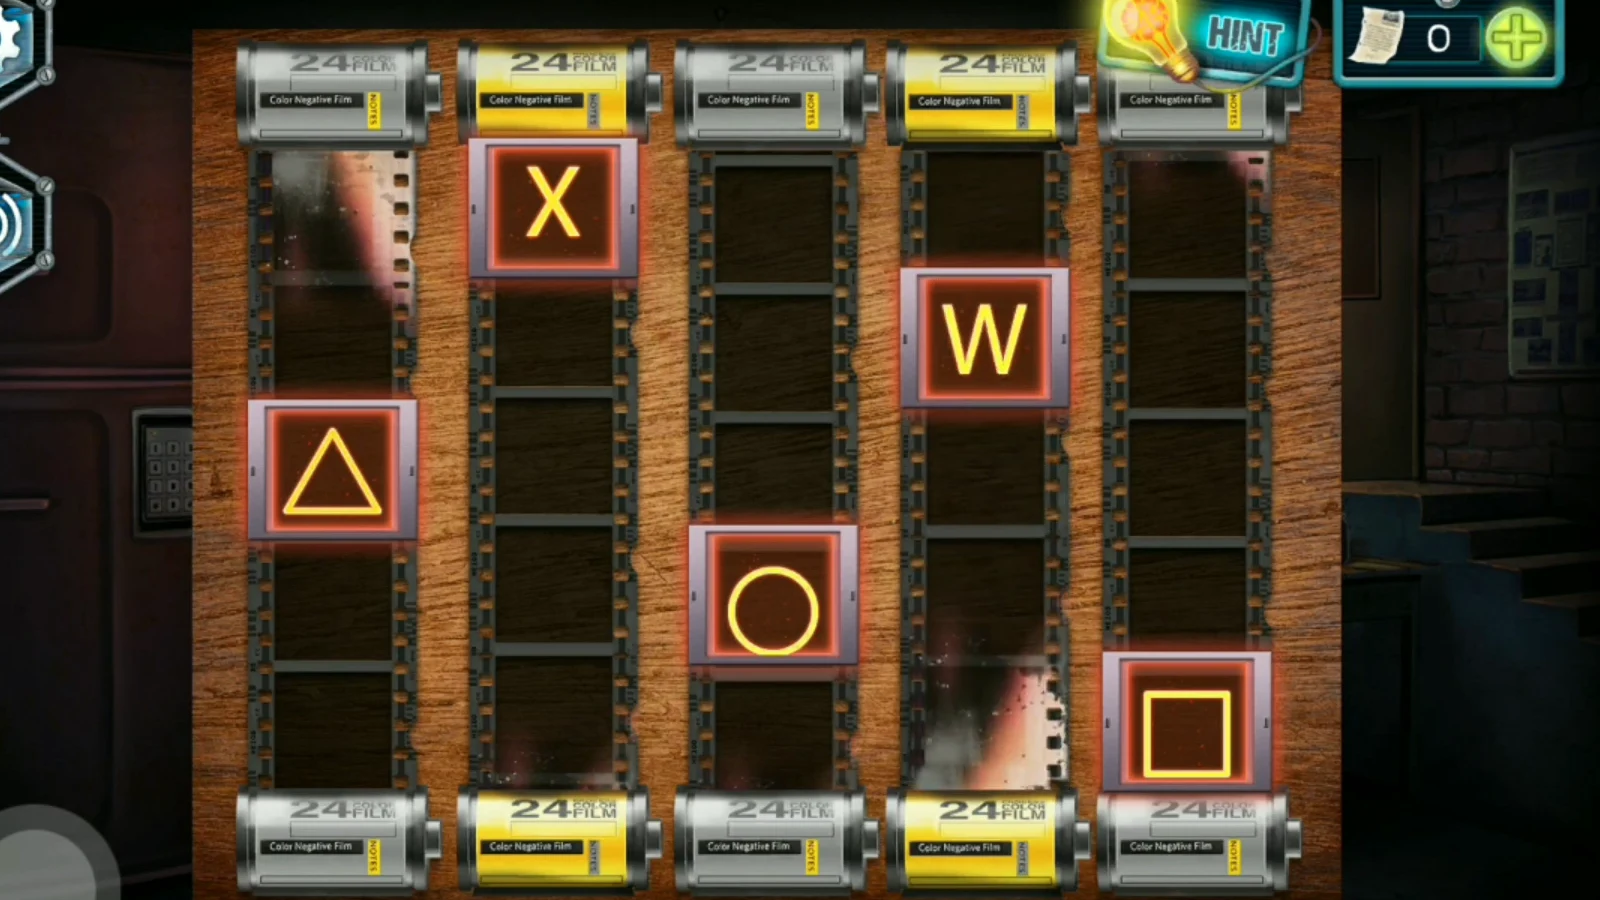
Solved: one symbol per row, from X at the top to the square at the bottom.
Basement: Fridge Code, Rat and Chained Locker
As you search, the basement light fails ("Alone, in the basement, in the dark...").
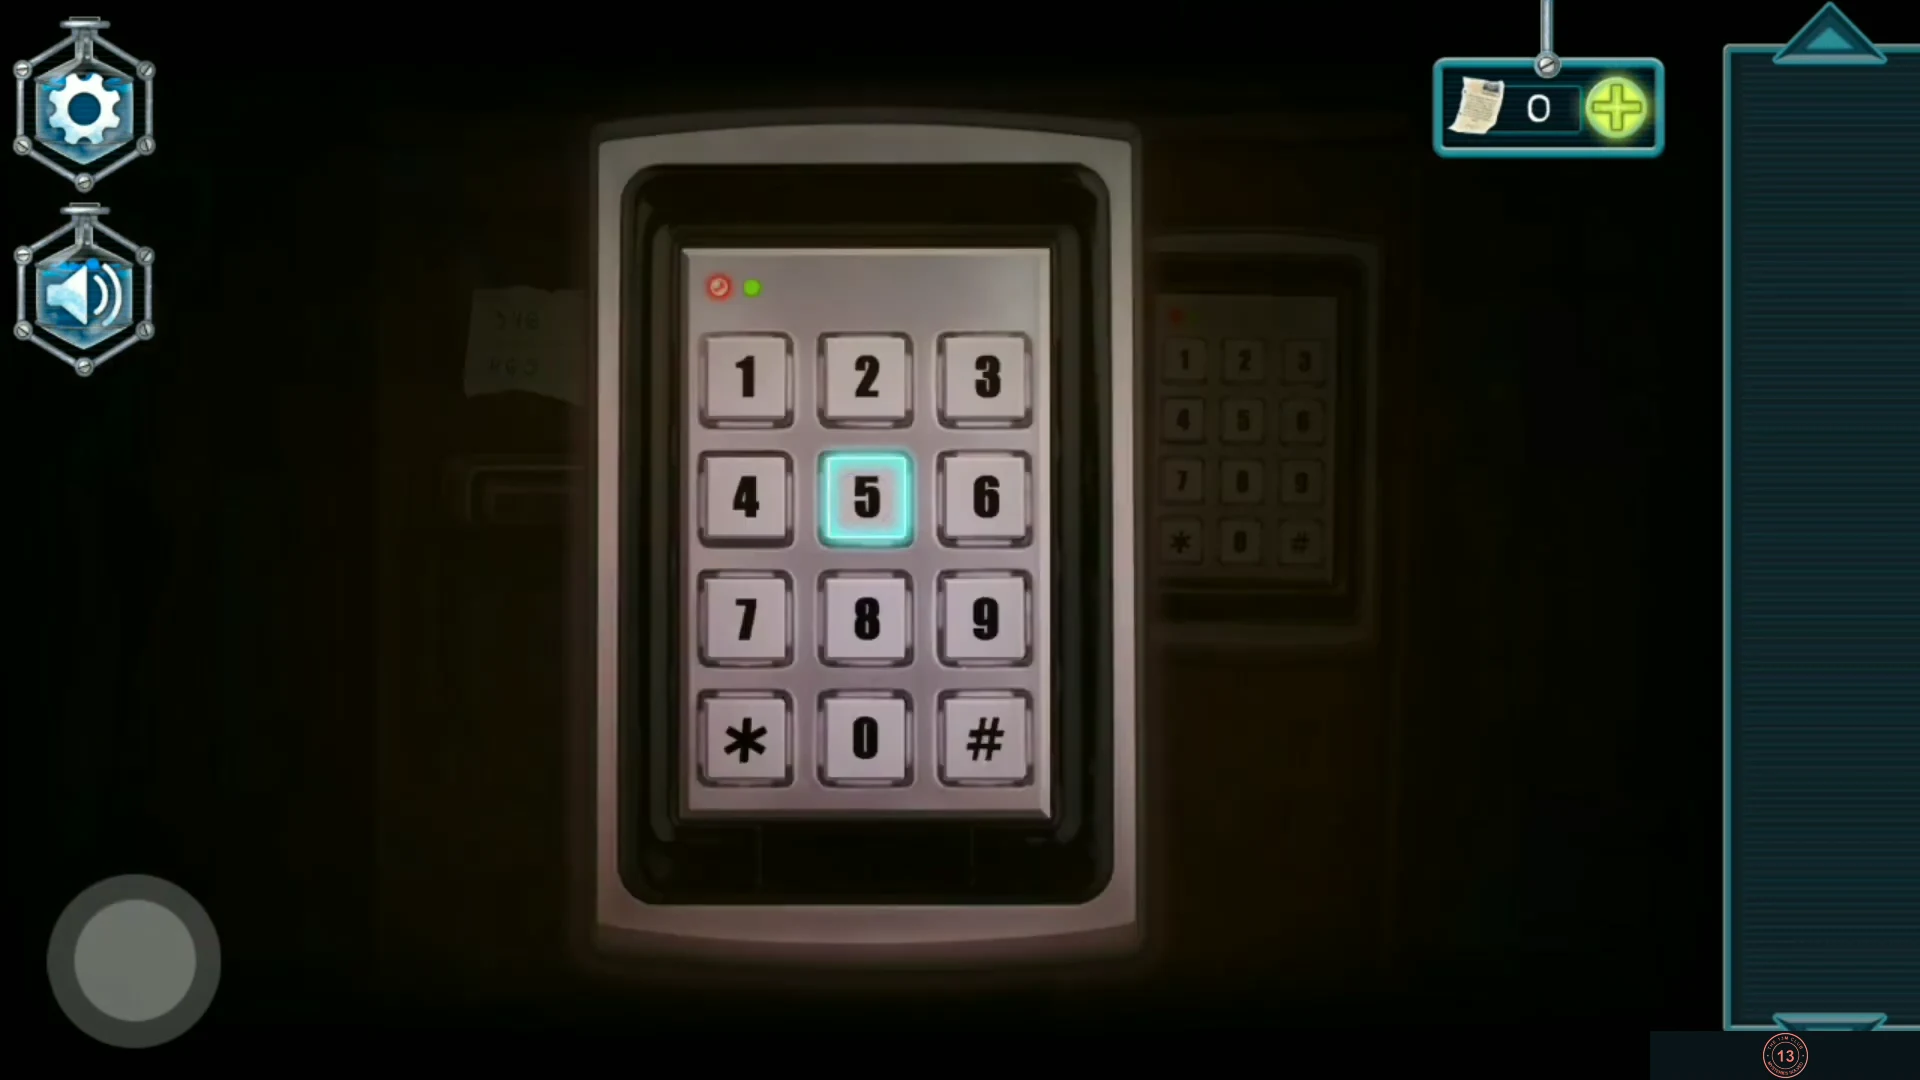
- Switch on the Torch. Attach the number note to the keypad of the basement fridge. The pairs on the note follow a pattern: 346 becomes 469 (+123), 132 becomes 366 (+234), 244 becomes 589 (+345). The next step adds 456, so 111 becomes 567. Enter 567 and take the Cheese.CODE567
- Zoom in on the broken window, where a rat guards a gas canister. Throw the Cheese quickly before the rat pounces, then take the Blowtorch.
- Use the Blowtorch on the chain around the metal locker until the chain glows and snaps. Take the note with the password 844517 and the Antidote ("Here it is, the antidote! Now I need to go back to the laptop and send the evidence to the police.").
Study: Laptop and Brain Memory Pairs
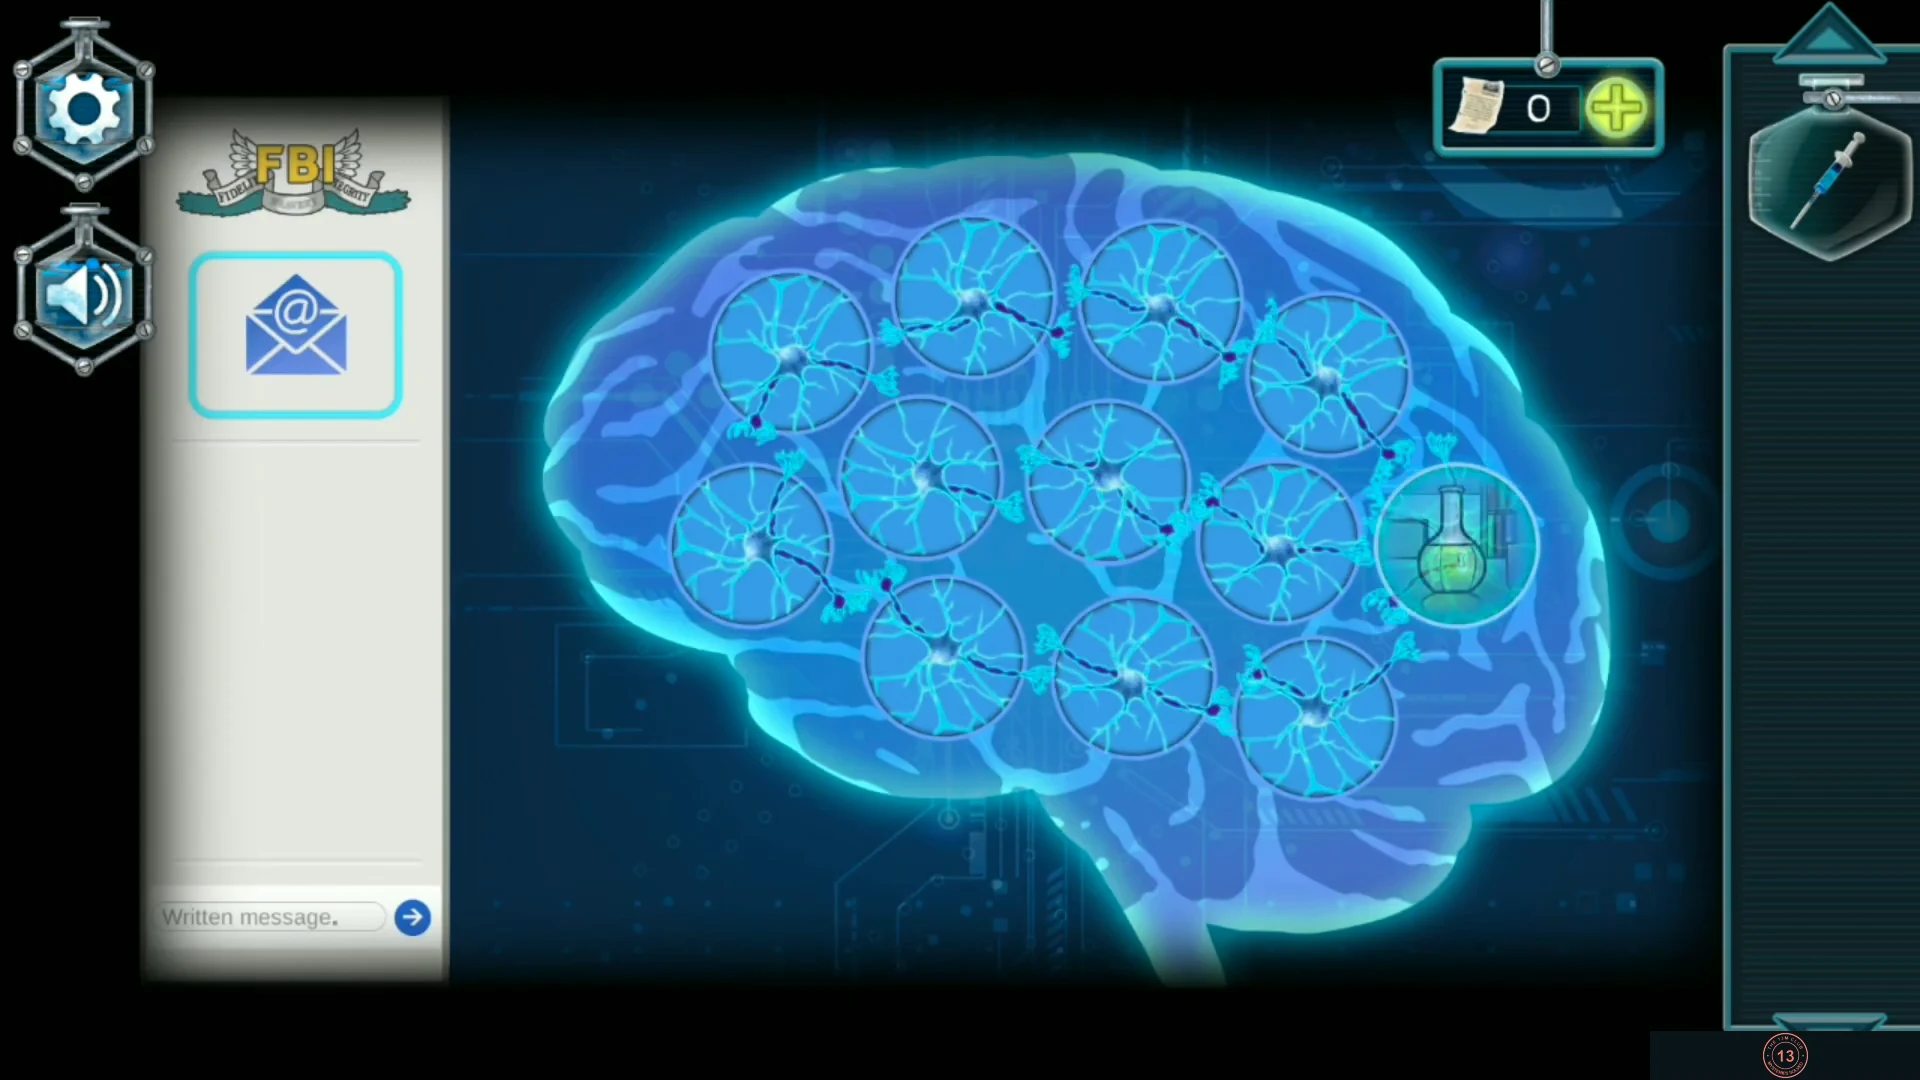
Send the evidence to the FBI from the laptop on the study desk.
- Go back to the study and open the laptop. Enter the password 844517.CODE844517
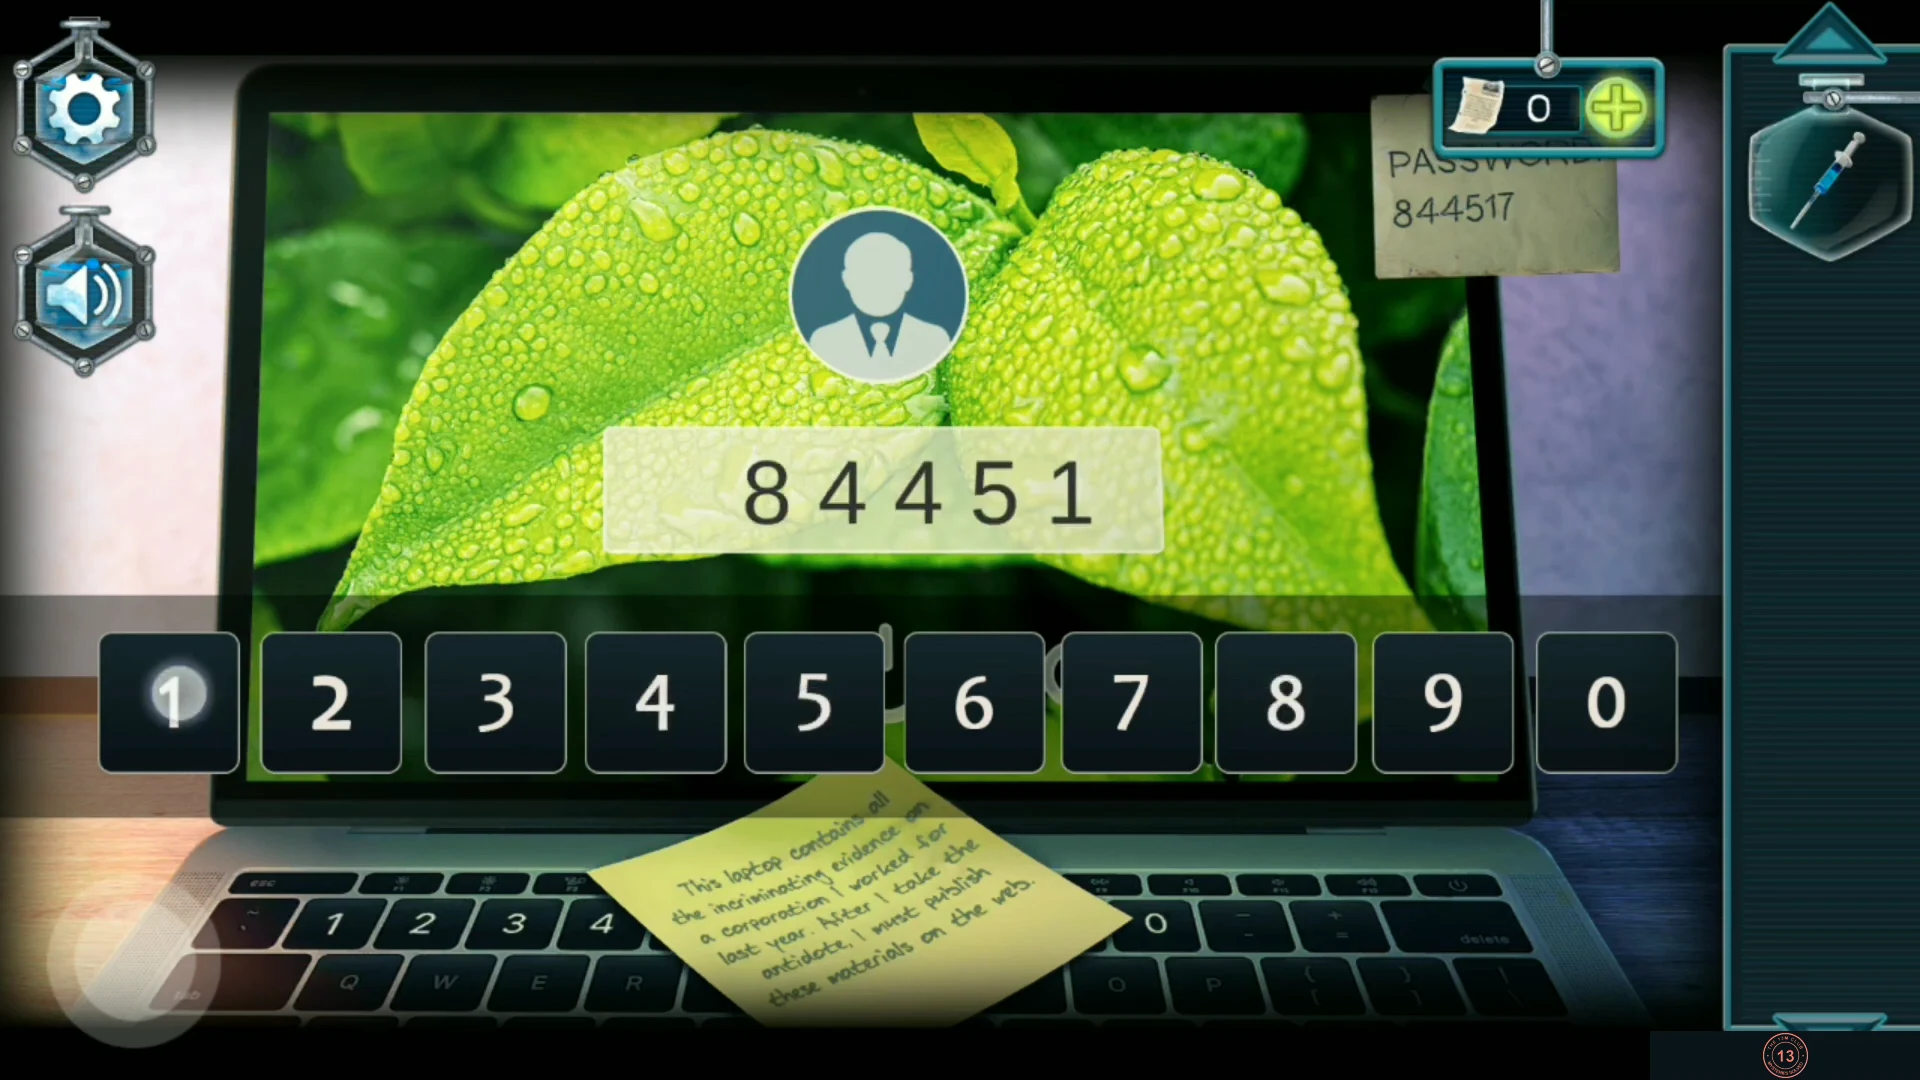
Typing the password 844517 from the note on the screen. - An FBI mail window opens beside a brain with twelve round nodes hiding six pairs of memory pictures. Tap a node to turn up its picture, then tap a second node. If the two pictures match, both stay open and the picture is added to the evidence list on the left; if they do not match, both close again after a moment. Remember where each picture was, so you can pair it up later. Keep going until all six pairs are open.
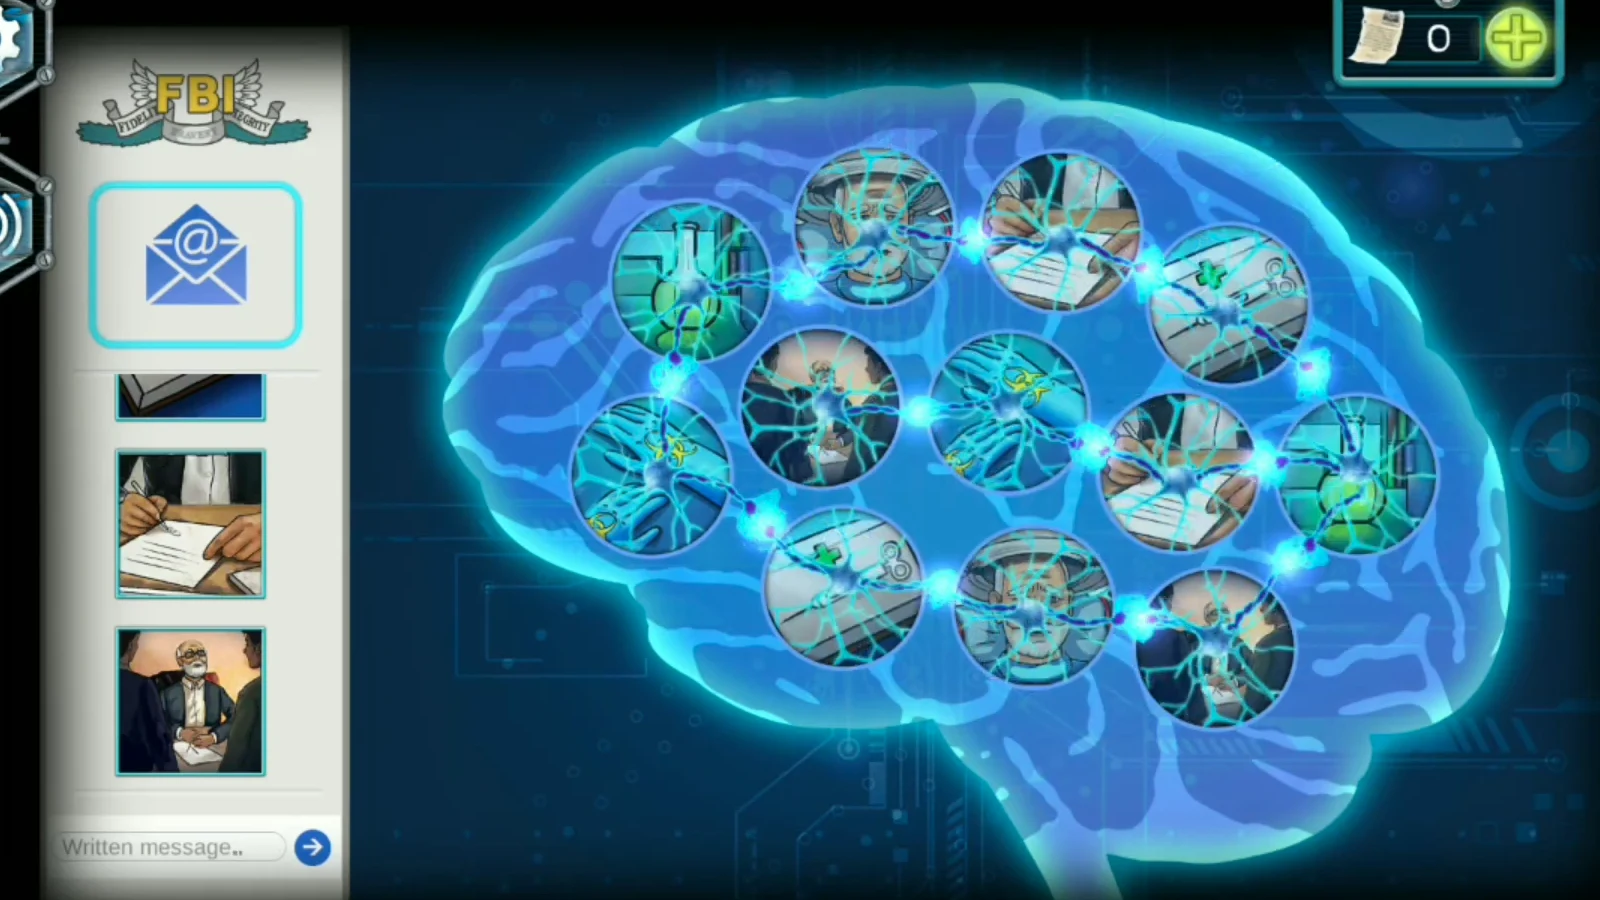
All six pairs matched. - When the last pair is matched, the brain flashes with light, the evidence is sent and the closing comic starts with Jack injecting the Antidote.
Ending
Matching the last pair of memory pictures plays the closing comic. Only one of the two playthrough recordings we checked continues through the whole closing sequence; it shows a single ending.
- Watch the closing comic: Jack injects the antidote ("Nothing stays hidden for long"), the FBI arrests the culprits ("And the culprits get what they deserve!"), and a news report announces that a famous microbiologist has saved the world. An AMNESIA title with fireworks and the message "The end! Congratulations! You've finished the game!" follow, with More games and Rate buttons.
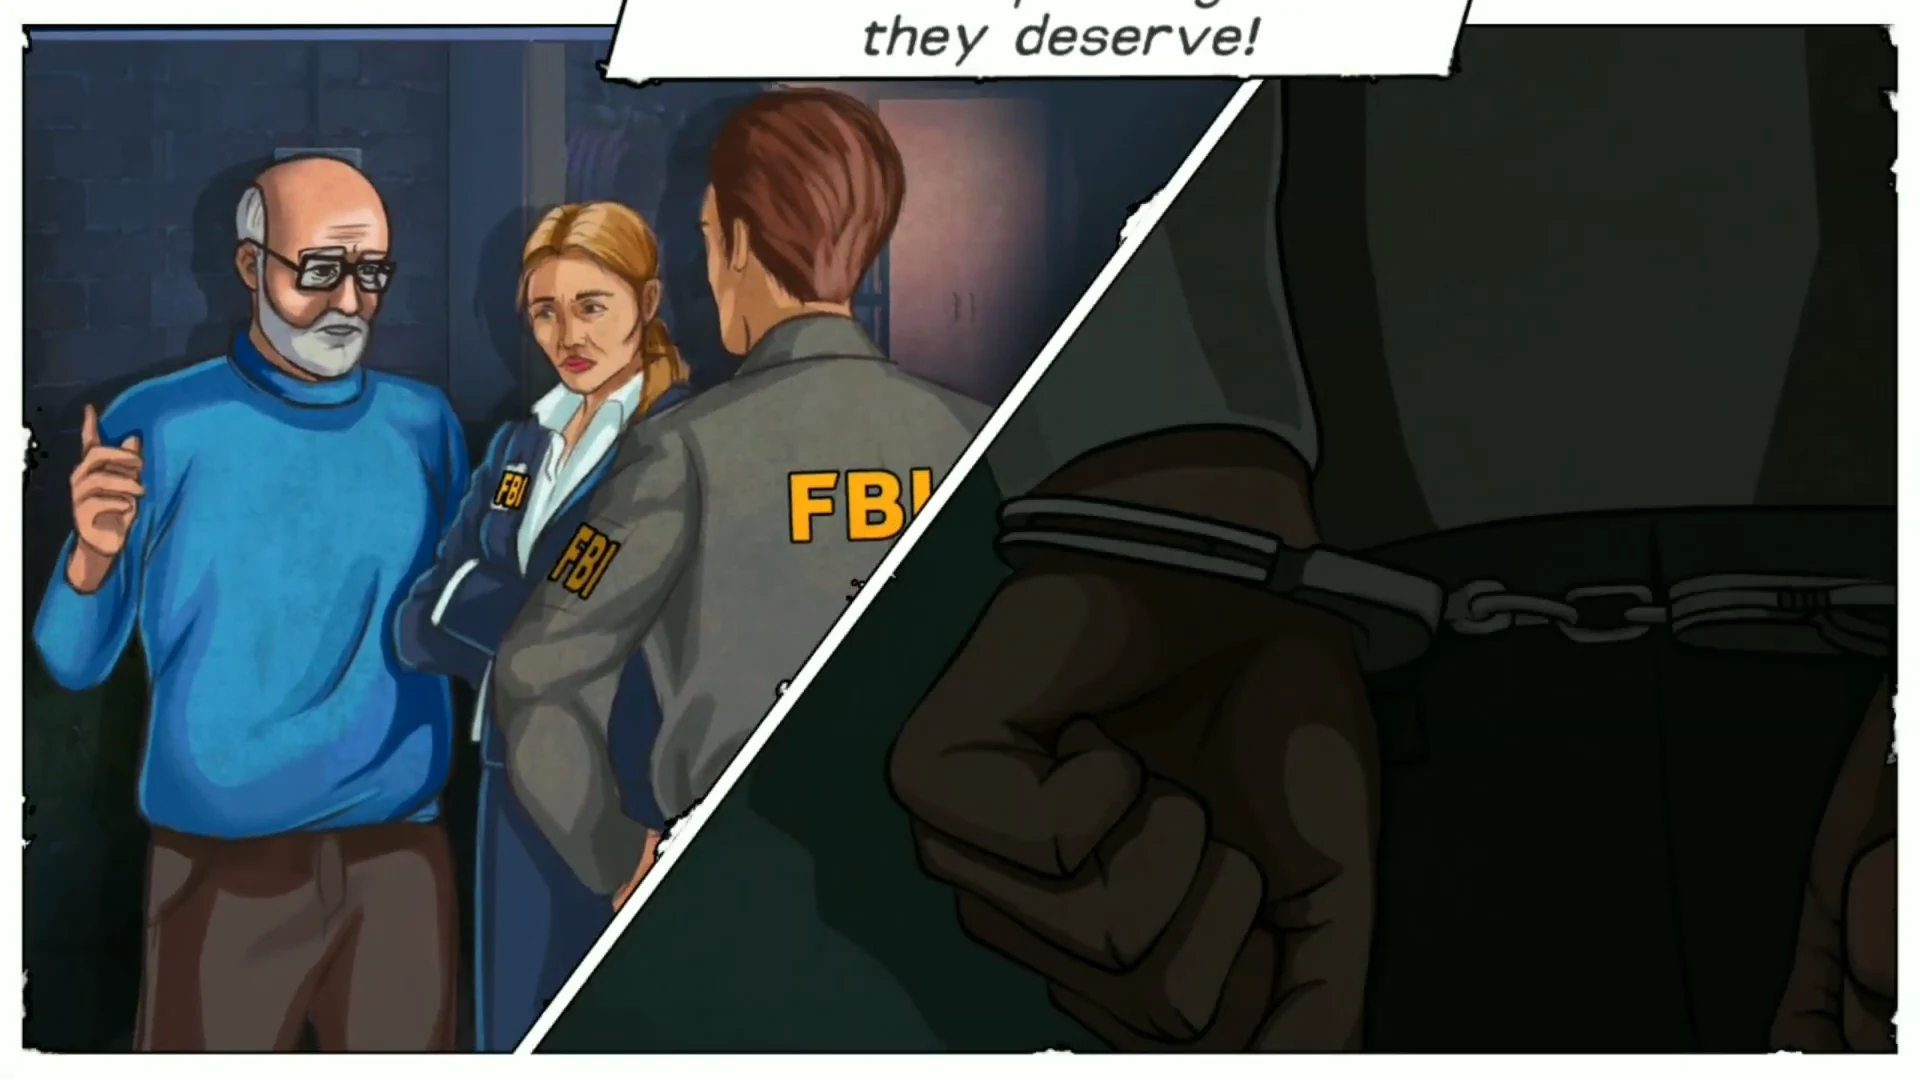
The closing comic: the culprits are arrested.