Study: Desk and Trojan Horse Maze
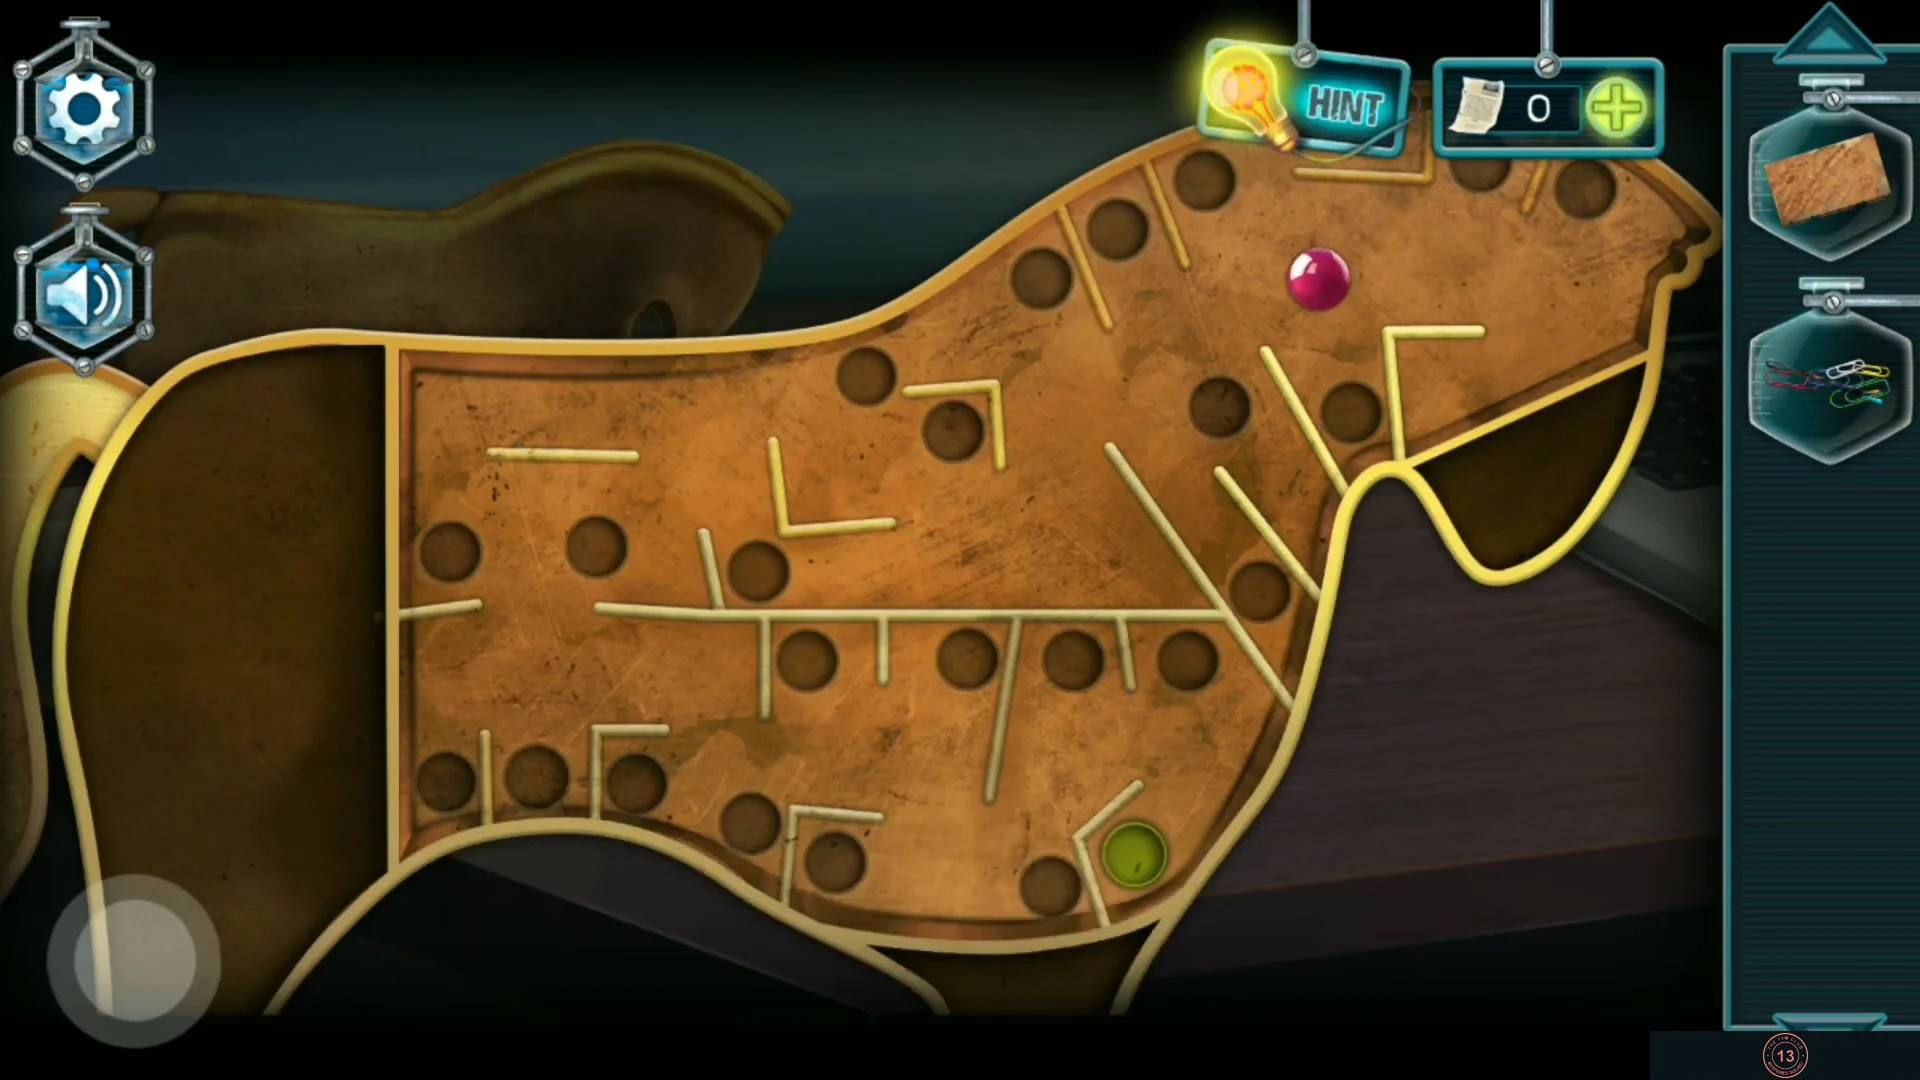
The study has a desk with a laptop, a pen cup and a golden horse ("Trojan horse. I wonder what's inside?"), shelves with a cabinet, and a security door to the laboratory with an unpowered card reader.
- Tap the red pen cup on the desk to knock it over, move the pens aside one by one and take the Paper clips underneath.
- Tap the horse to open a panel with a ball maze ("Tilt your phone to roll the ball to the exit."). Tilt the device to roll the ball through the channels to the exit, then take the Ball.
Study: Ring Lock and Scissors
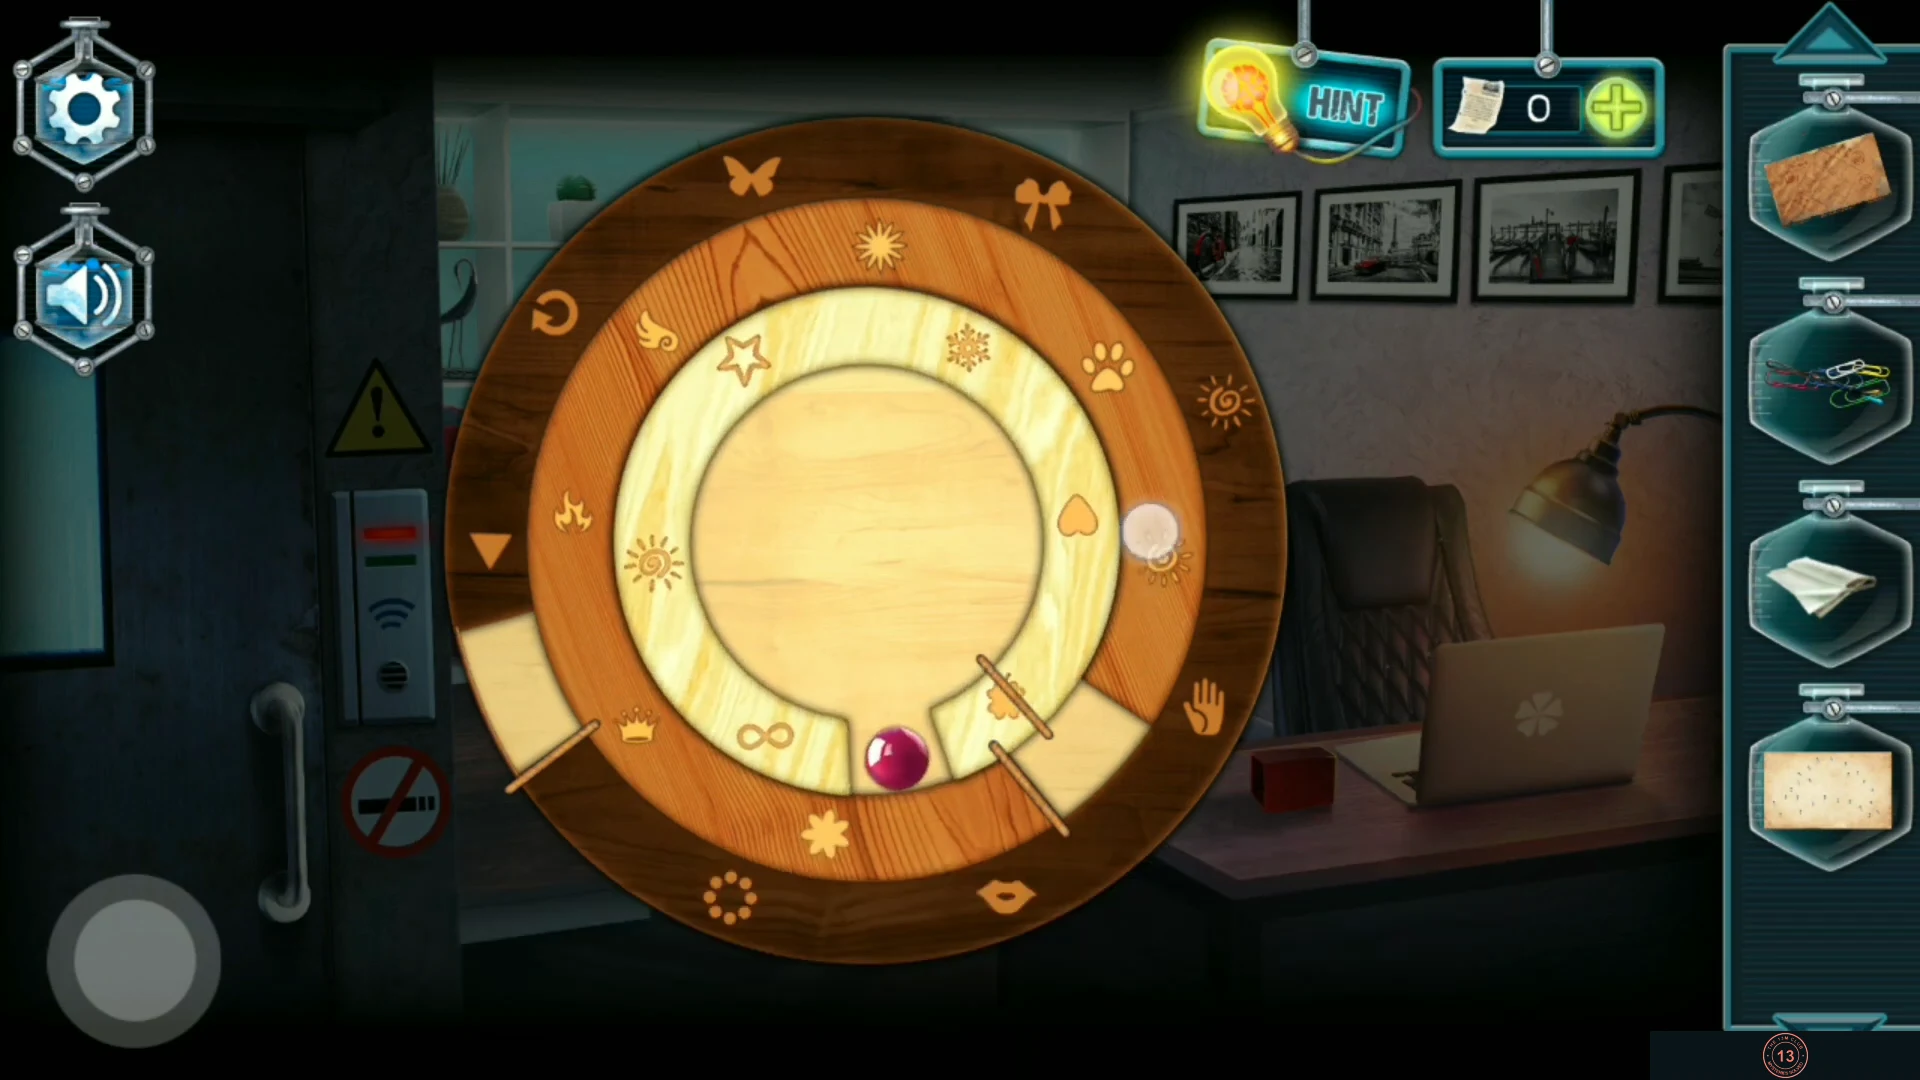
A silver casket on the shelf is locked by a round wooden lock with three rotating rings. A newspaper clipping on the shelf shows how they should line up.
- On the shelf, take the framed photo. Its back has a pattern of numbered dots, a trimming scheme for the bonsai in the bedroom. Read the newspaper clipping with the concentric ring diagram and take the Rag (a white cloth) lying on the shelf.
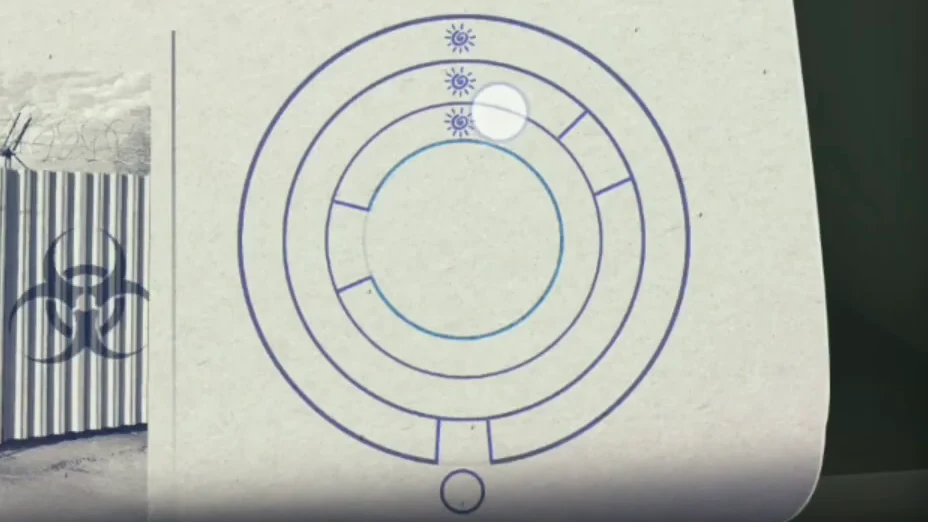
The newspaper diagram: all three suns line up at the top; the ring gaps are staggered and the outer opening is at the bottom. - Zoom in on the round lock and place the Ball in it ("Rotate the circles so that the ball is in the depression below, pay attention to the symbols."). Each of the three rings has one gap, and a thin wooden pin sits at the end of each gap. Turn the rings so their gaps line up and the Ball can roll outwards from the inner ring into the middle ring and then into the gap of the outer, symbol-covered ring. Where a pin bridges from one ring's gap into the next, those rings are linked and turn together, carrying the Ball. Turn the outer ring until its gap, with the Ball in it, sits in the notch at the bottom; its sun symbol is then at the top. Next turn the middle ring on its own (in the recording the linking pin disappeared as soon as the middle ring moved) until its sun is directly below the outer sun, then turn the inner ring until its sun lines up as well. With all three suns at the top, as in the newspaper, the casket opens.
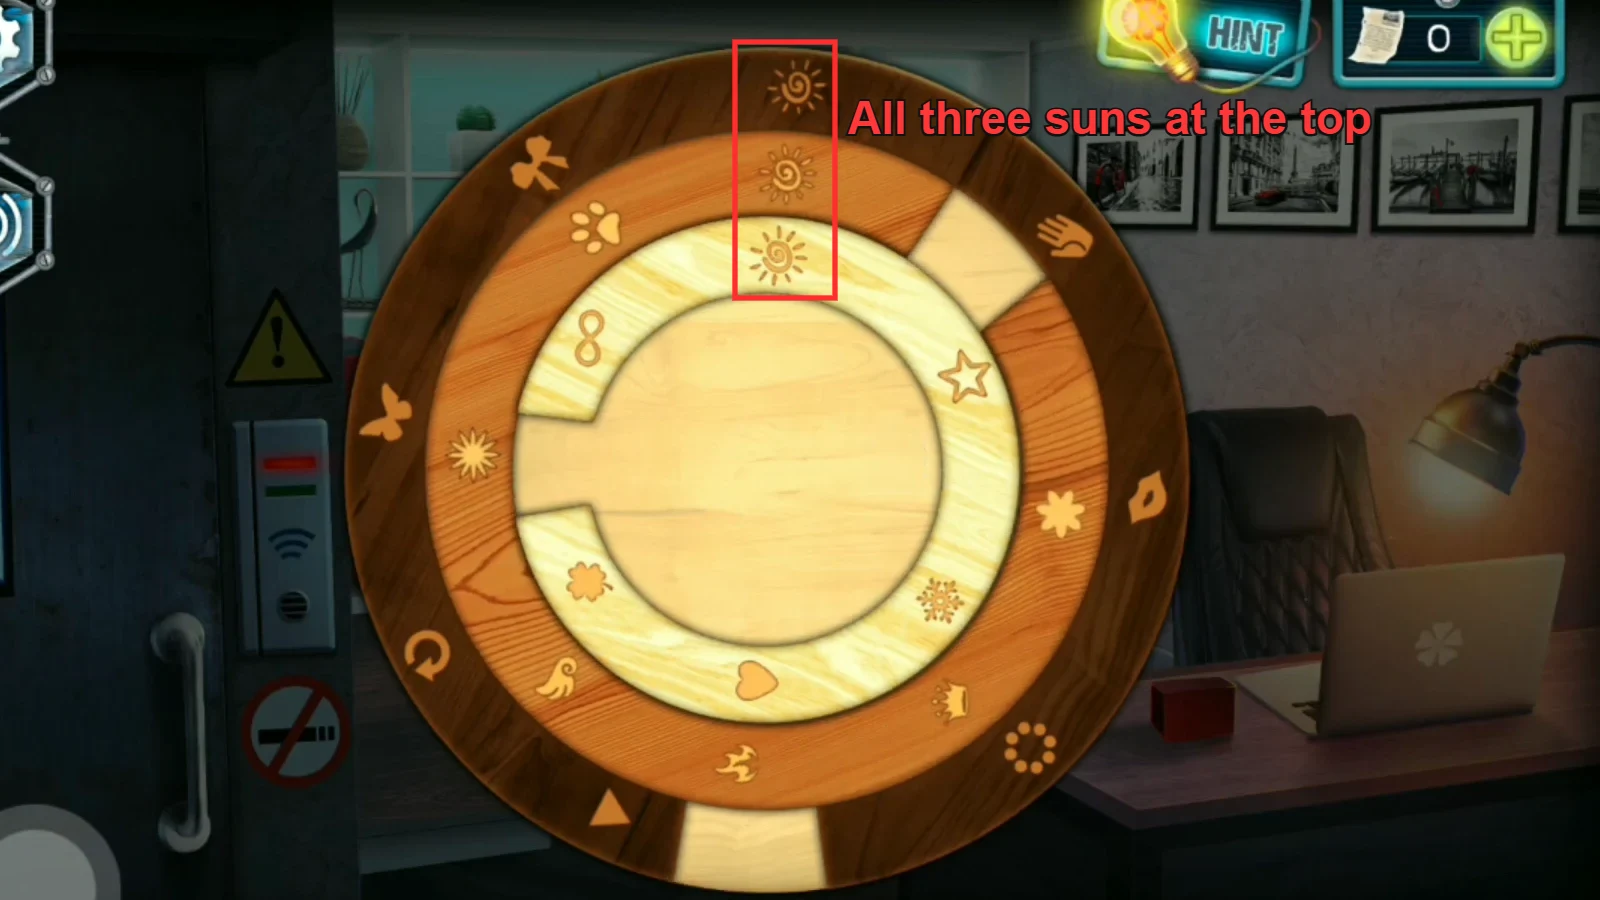
The solved lock, matching the newspaper: all three suns at the top. The ball has already gone from the bottom notch as the lock opens. - Take the Scissors from the silver casket.
Upstairs Corridor: Table Drawer Lock
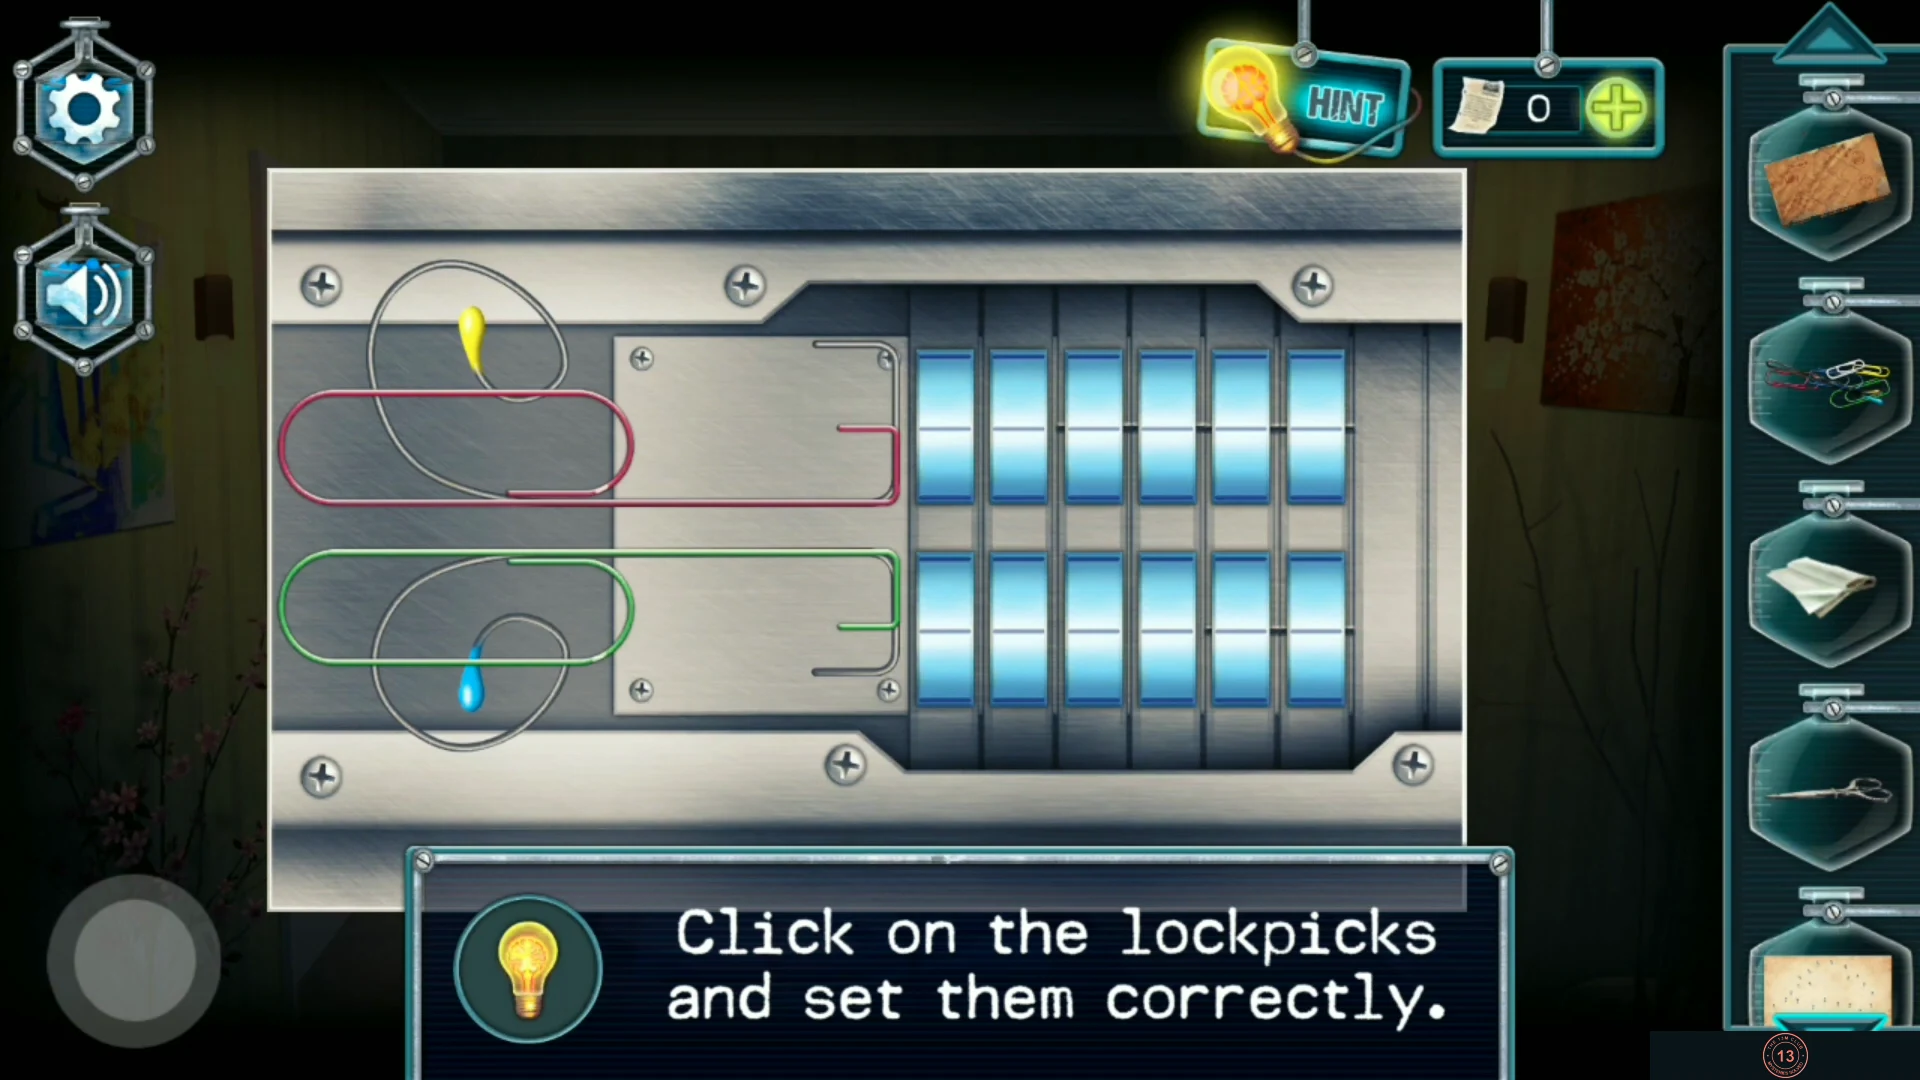
The drawer of the table under the corridor window is locked, and you have no key.
- Combine the Paper clips with the hairpin from the mannequin to make Lockpicks, and use them on the drawer's keyhole.
- The lock shows two bent picks, pink above and green below, next to two rows of pins ("Click on the lockpicks and set them correctly."). Clicking a pick moves it further into the lock, and its bends push pins up or down. Work on the pink pick first until all pins in the upper row are held clear of the middle gap, then work the green pick until the lower row is clear as well. The lock clicks open when both rows are set.
- Open the drawer and take the golden letter D. It is half of the key for door D.
Garden: Green Rhombus Box
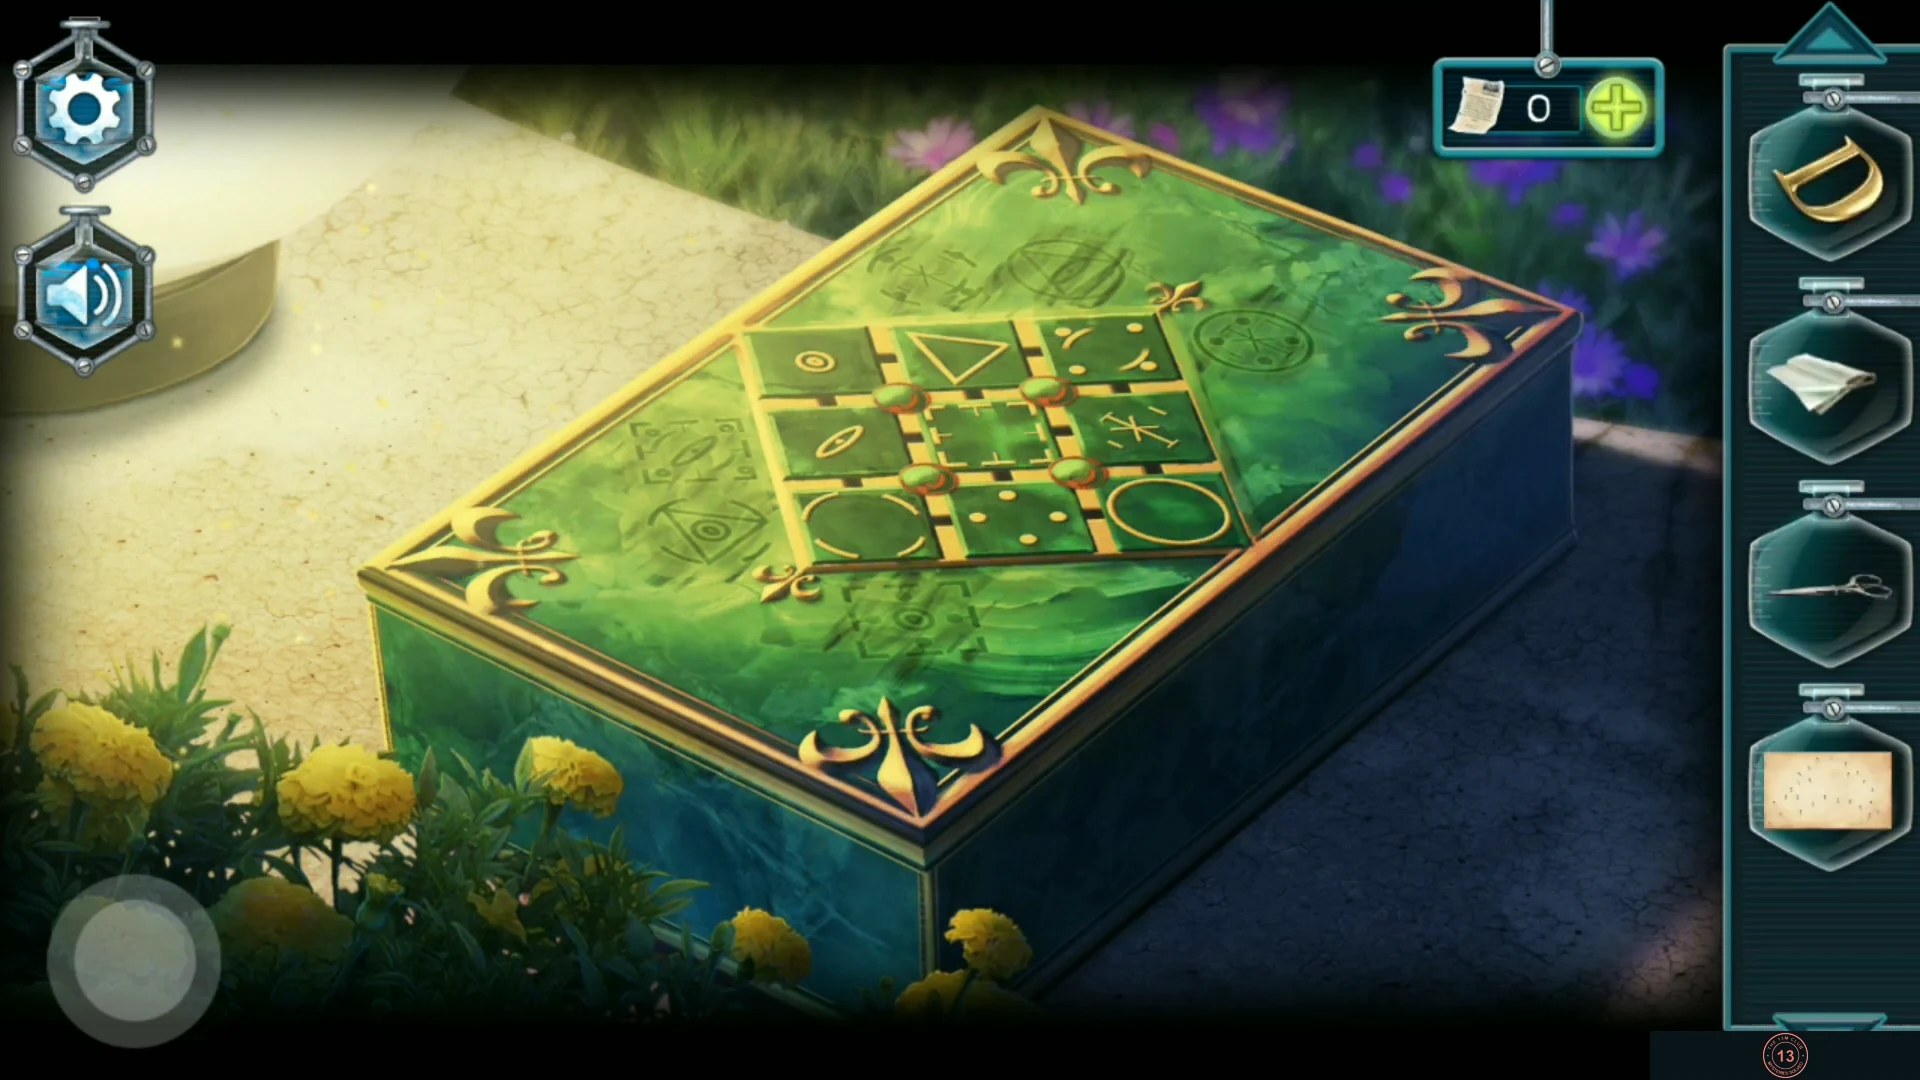
A green box with a diamond of nine rhombus tiles sits beside the fountain lamps in the garden. It needs the Note with hint from the living room. This is a long rearrangement puzzle, so the guide gives the target and a method rather than every move.
- Zoom in on the green box and use the Note with hint on it ("I'll copy a note here..."). The green marker draws six target symbols around the diamond.
- Open the puzzle ("Arrange the symbols in rhombuses in a row so that they become a symbol at the beginning of the row"). Each of the four red knobs rotates the four tiles around it. Every straight row of three tiles must stack into the symbol drawn at the end of that row; a symbol glows green when its row is right.
- The target layout is fixed: top tile four dots; upper-left corner brackets; upper-right a staff with crossbars; far left a small circle with a dot; centre an arc with two dots; far right a large circle; lower-left a large broken circle; lower-right an eye; bottom a triangle. Work from one corner, placing a tile and then using a different knob to bring the next one in without disturbing it. If a solved symbol goes dark, its tiles have moved and need fixing again. When all six symbols glow, take Book III from the box.
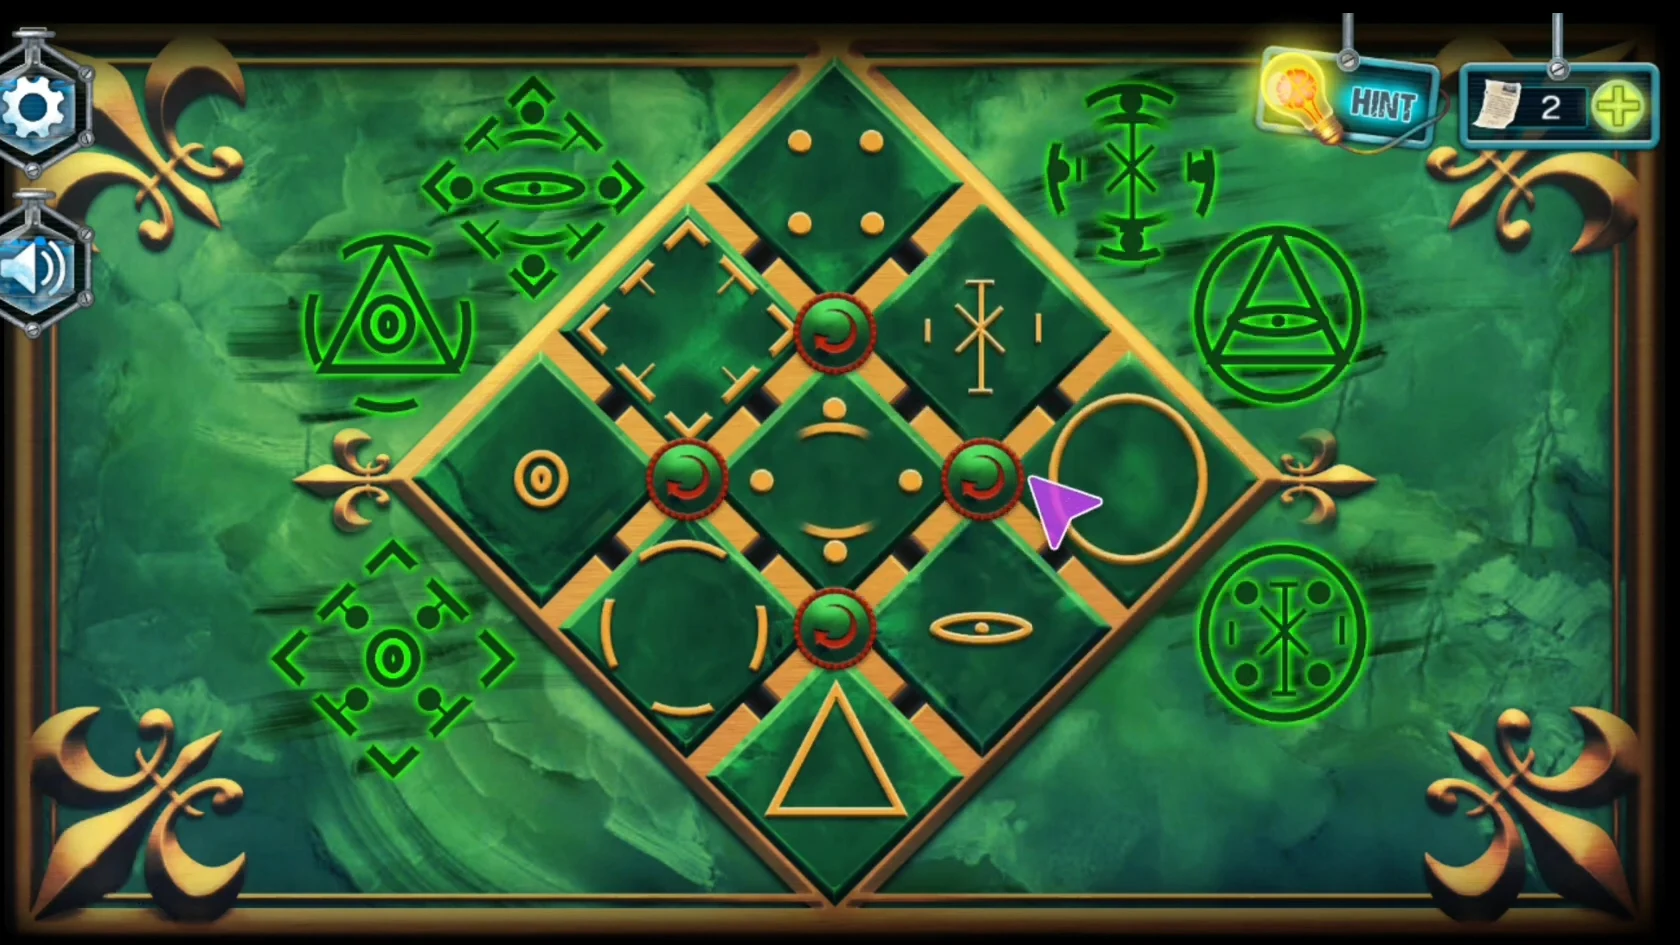
The fixed target layout, with all six symbols glowing.
Living Room: Bookshelf
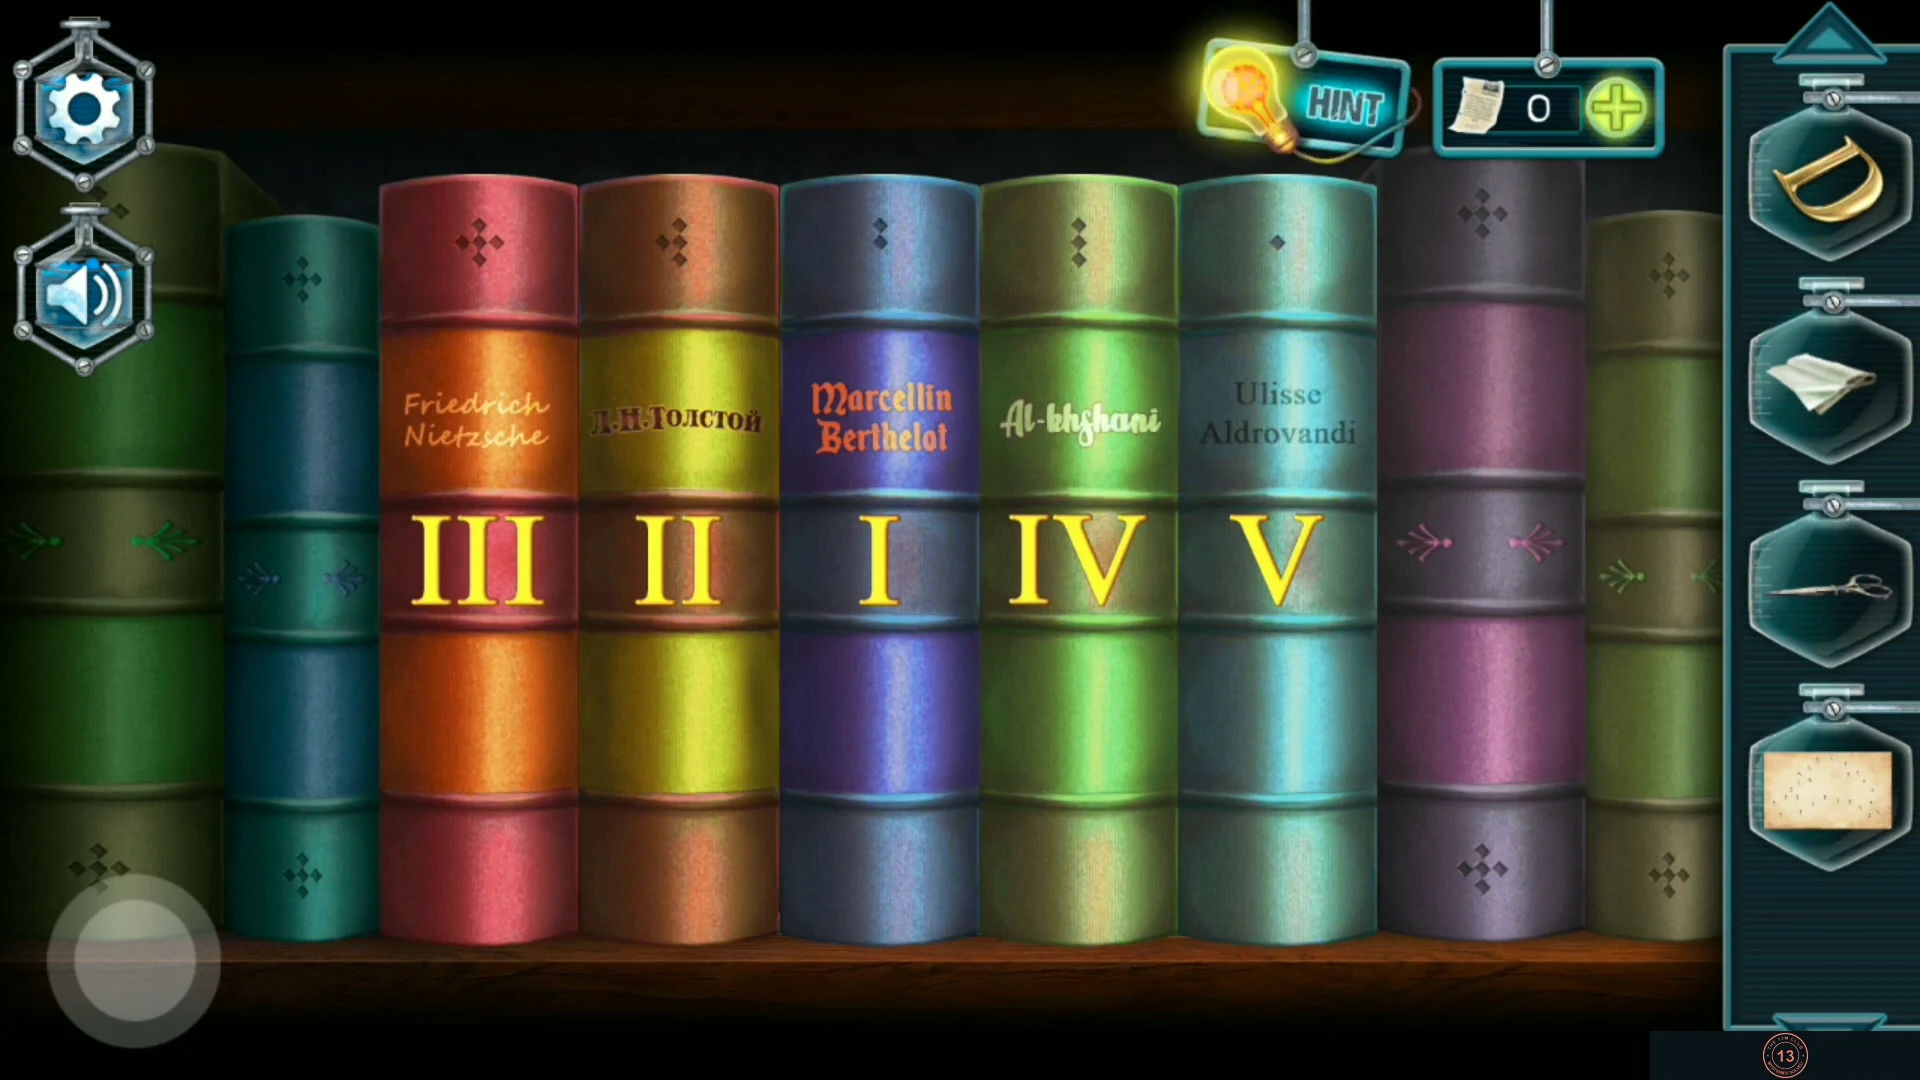
One book is missing from a row of five numbered books on the living-room bookshelf. Each book has a small pattern of one to five dots on its top.
- Put Book III into the gap. Swap the books so that the dots on their tops count 1, 2, 3, 4, 5 from left to right; the dots move with each book. The Roman numerals then read V, I, IV, II, III. The row lifts; take the TV remote from behind it.CODEV I IV II III
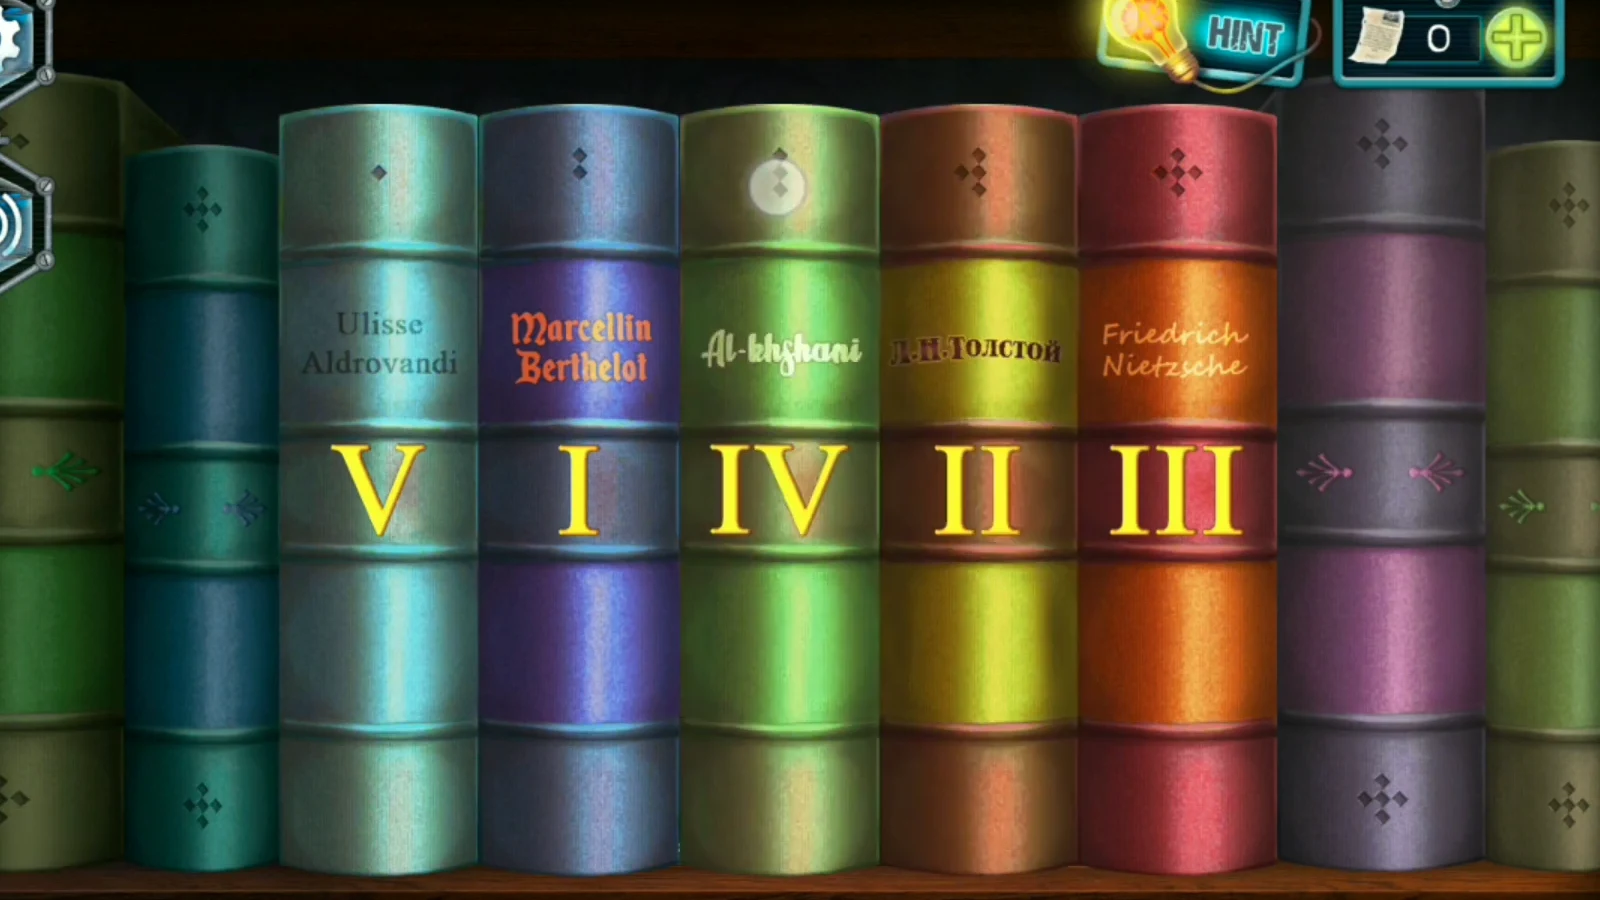
Solved: the dots on the book tops run 1 to 5 from left to right.
Living Room: TV Test Card and Wall Safe
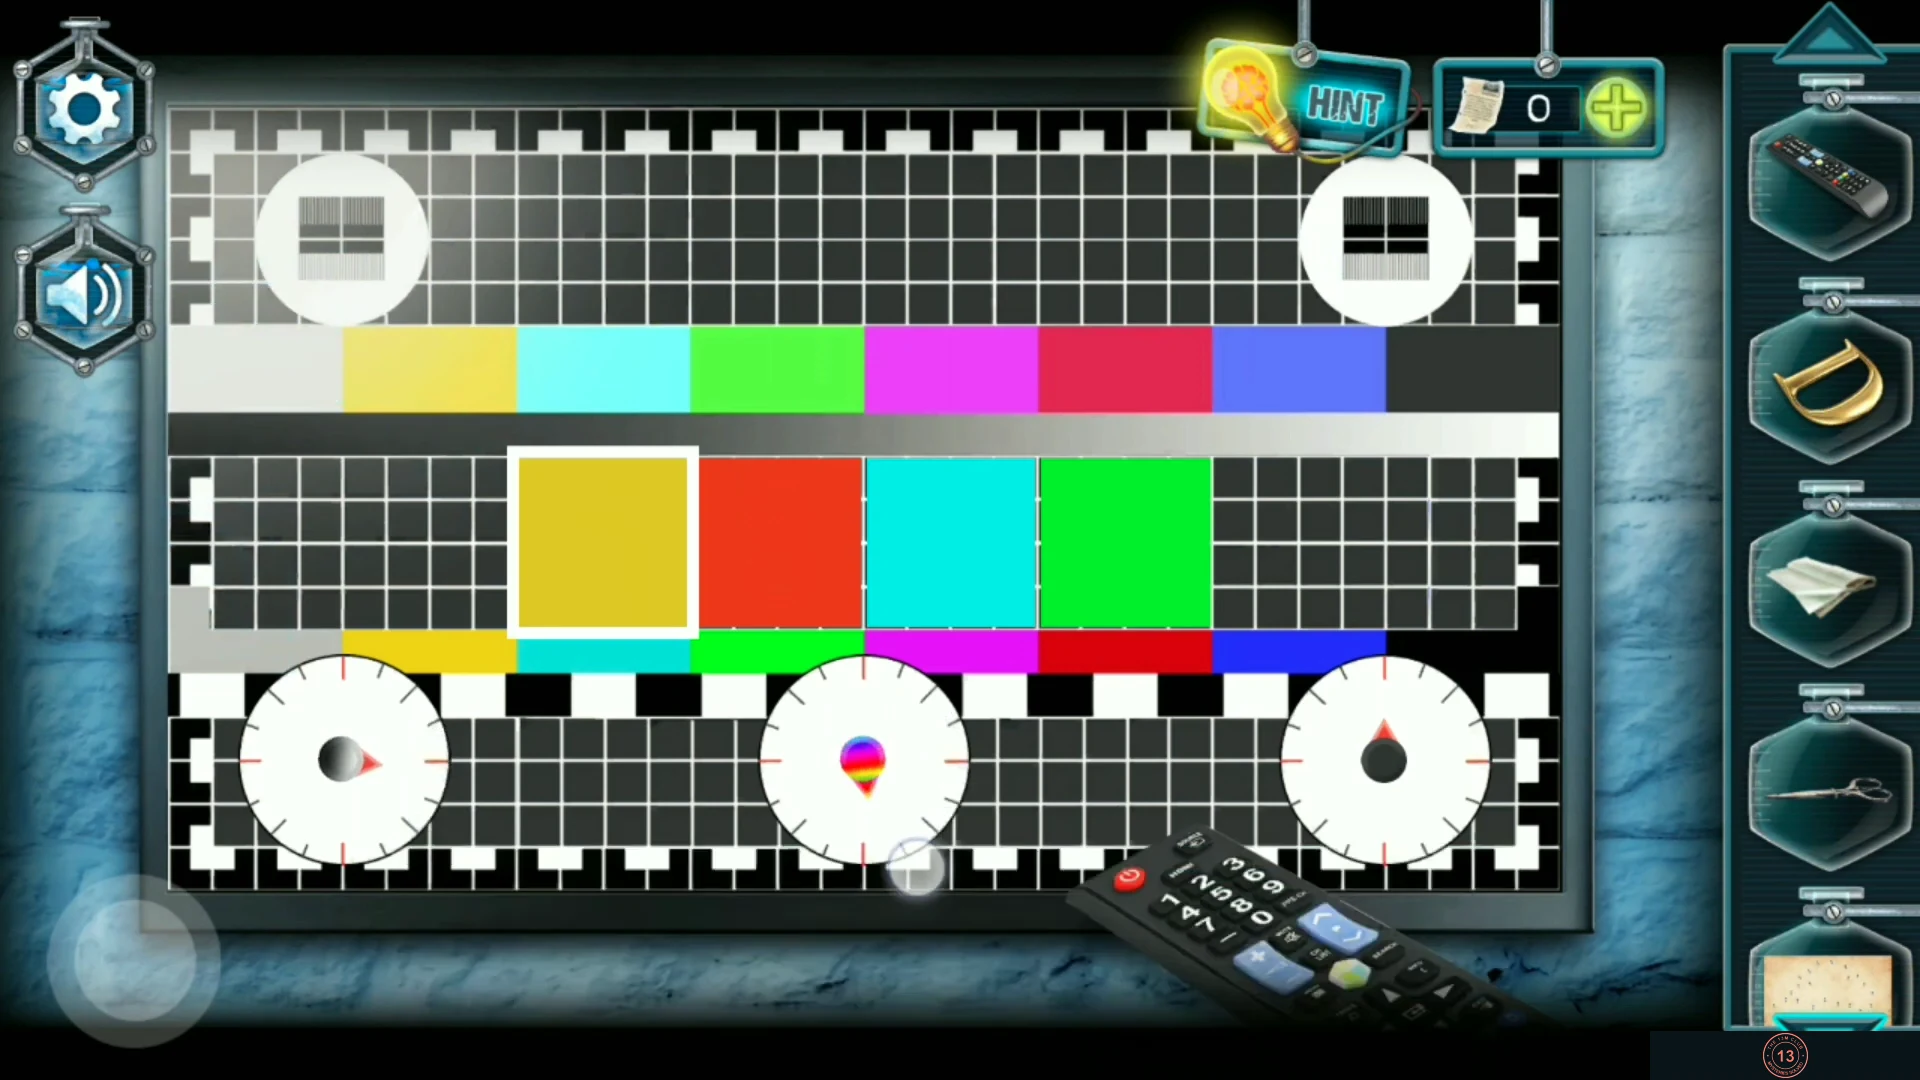
The TV shows a test card with four coloured boxes. Each box hides one digit of the wall-safe code, and the order of the boxes gives the order of the code.
- Use the TV remote on the TV. Tap a coloured box, then turn the brightness, saturation and contrast dials until a digit shows clearly inside it. Repeat for each box: yellow 5, red 8, cyan 4, green 2.
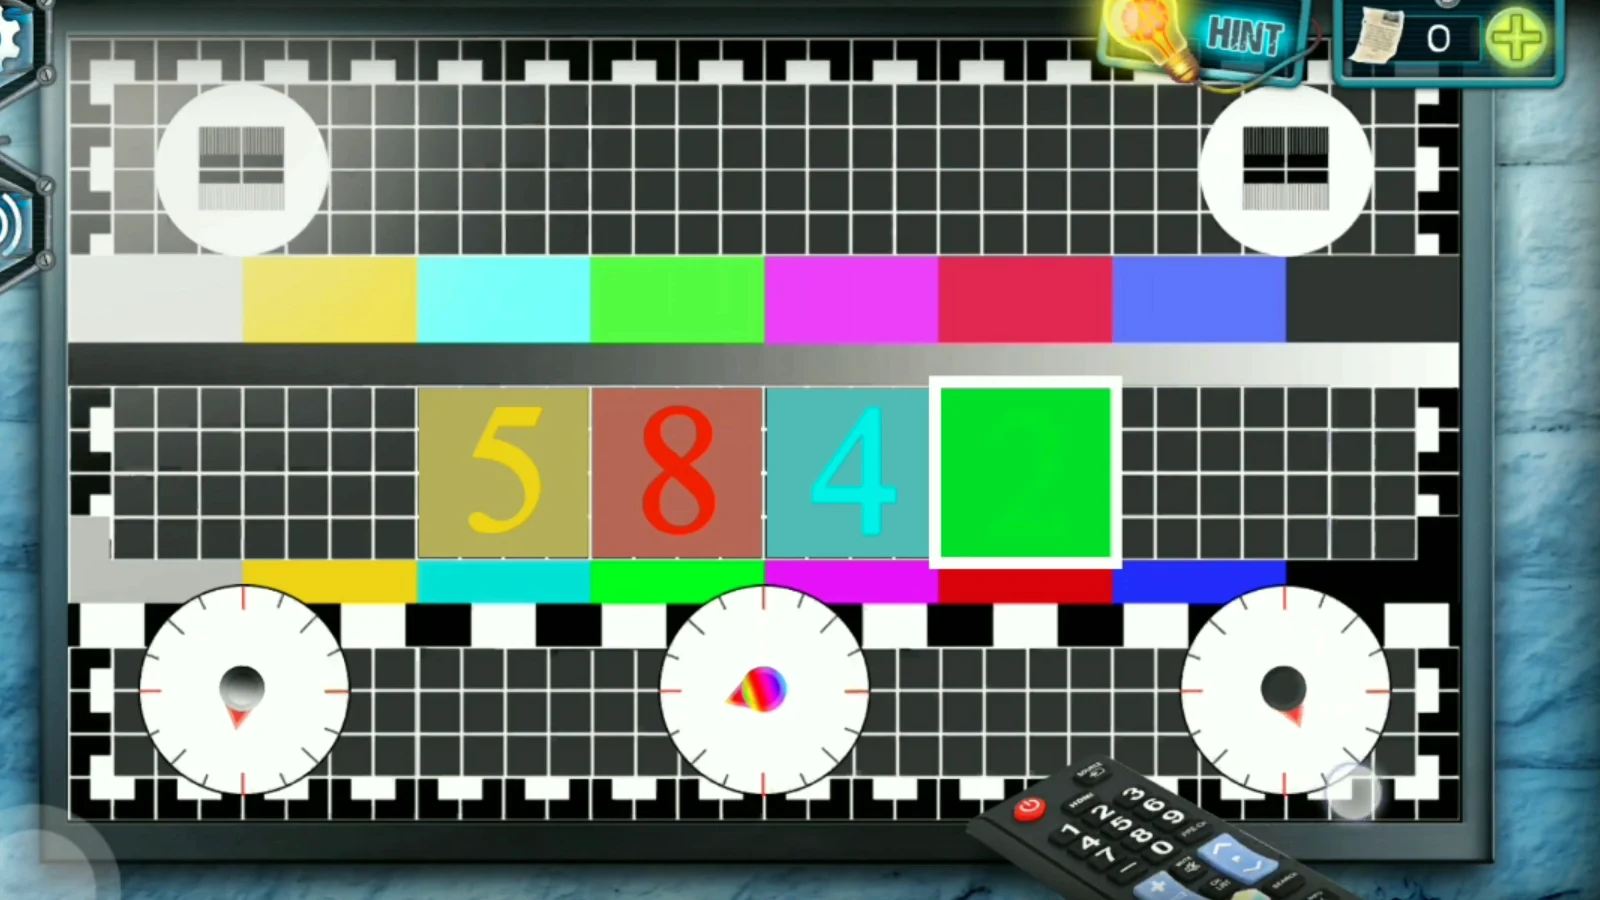
5, 8 and 4 are revealed; tune the green box last to show 2. - Open the wall safe behind the tied-back curtain with 5842 and take the second key piece.CODE5842
- Combine the golden D with the second piece to make the Bedroom key. Use it on door D in the upstairs corridor and go in.