The Front Gate
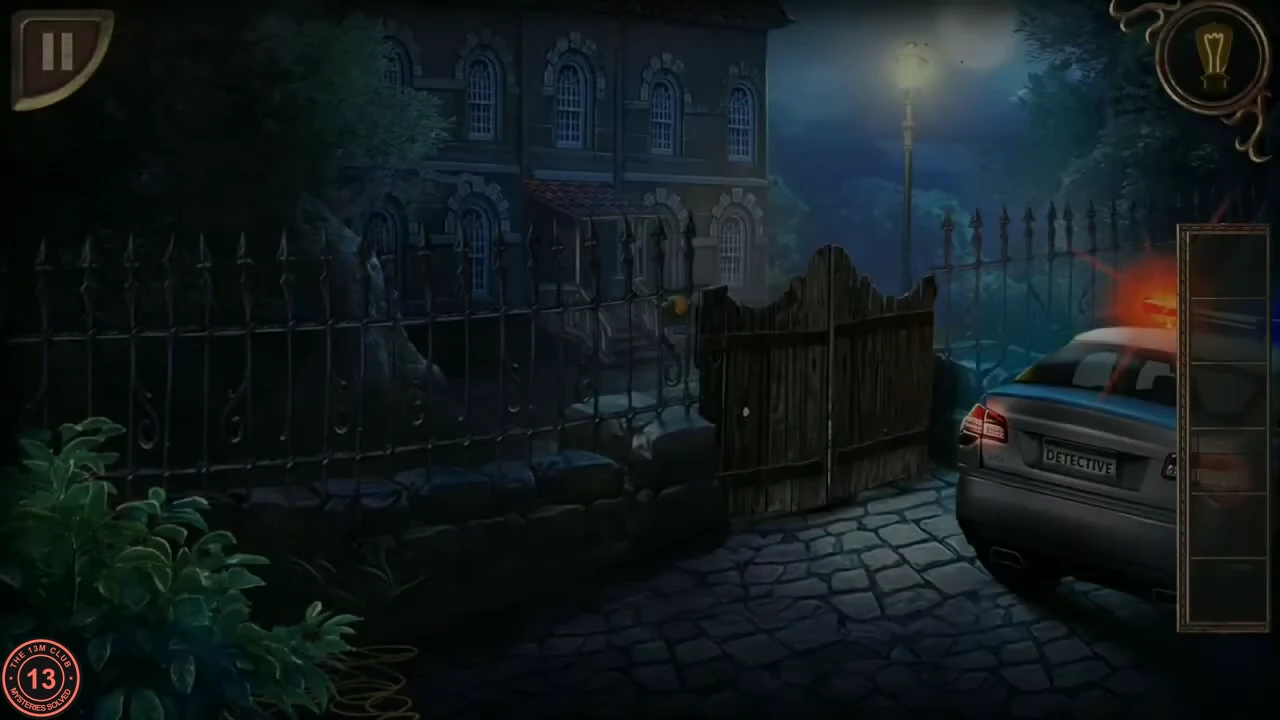
You play the police officer sent to the house on Elm Street after a pizza delivery boy goes missing. The wooden gate is shut.
- Tap the trunk of the police car to look inside, then take the MAGNET.
- Pick up the ROPE lying on the ground at the bottom left, beside the bush.
- Tapping the gate only shows CLOSED. Open the inventory and drag the rope onto the magnet to make a magnet on a rope.
- Use the magnet on a rope on the gap in the gate. The gate opens; walk through to the porch.
The Boarded Porch
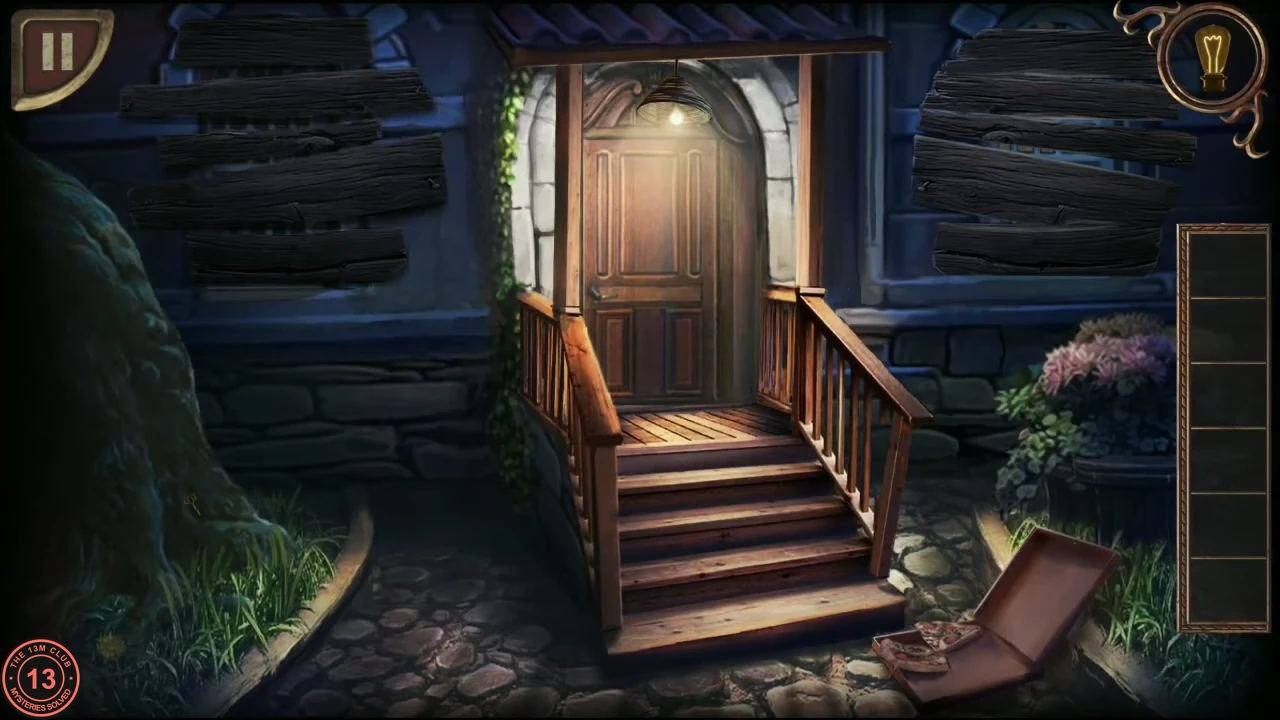
The windows on both sides of the front door are boarded up. Build a hooked tool from a piece of the porch railing to get them open.
- Take the KEY from the grass at the bottom left, by the tree.
- Tap the loose top rail of the right-hand porch railing. It falls onto the ground by the pizza box; tap it there to pick up the wooden piece (its inventory icon shows a small brass plate with a keyhole).
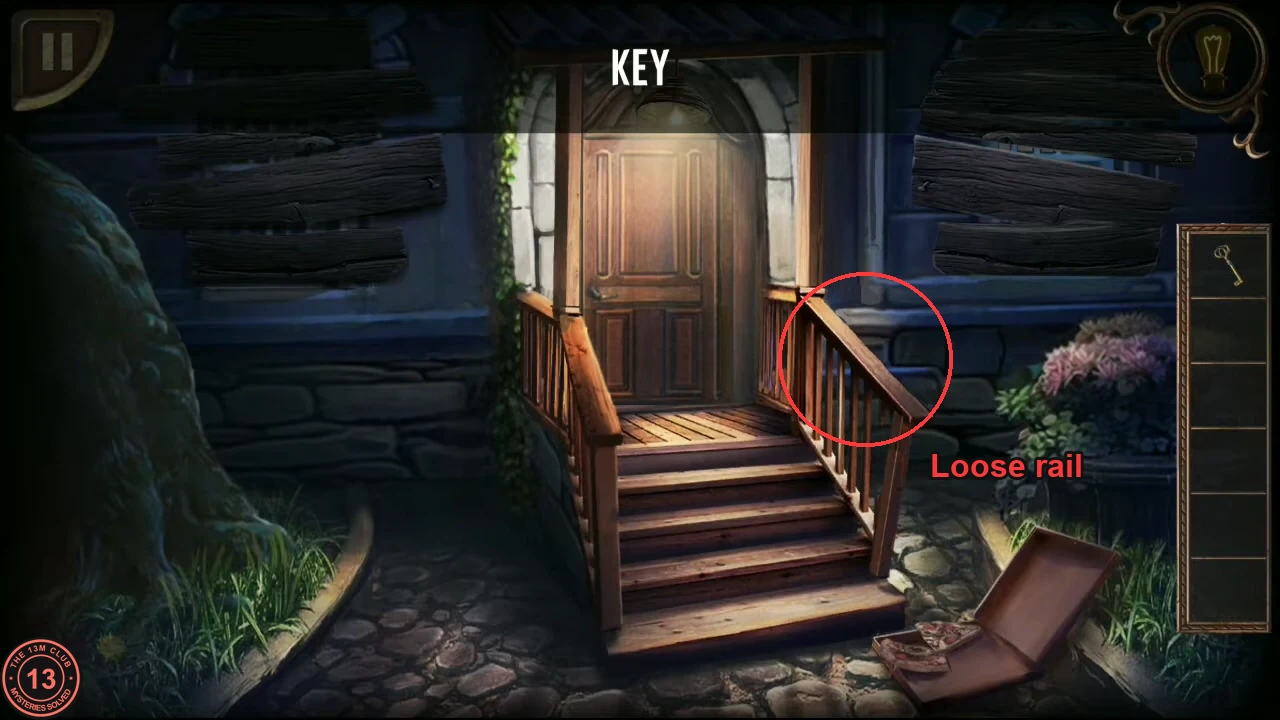
Tap the loose top rail of the right-hand railing; it drops by the pizza box. - In the inventory, drag the key onto the wooden piece. The piece is shown enlarged, the key turns in its brass plate and a metal hook swings out of the end. You now have one hooked wooden tool, and the key is used up.
- Use the hooked tool on the boarded windows to pull the boards off. Tap the right-hand window to open it and climb in; you land in the bathroom.
The Bathroom: Draining the Bathtub
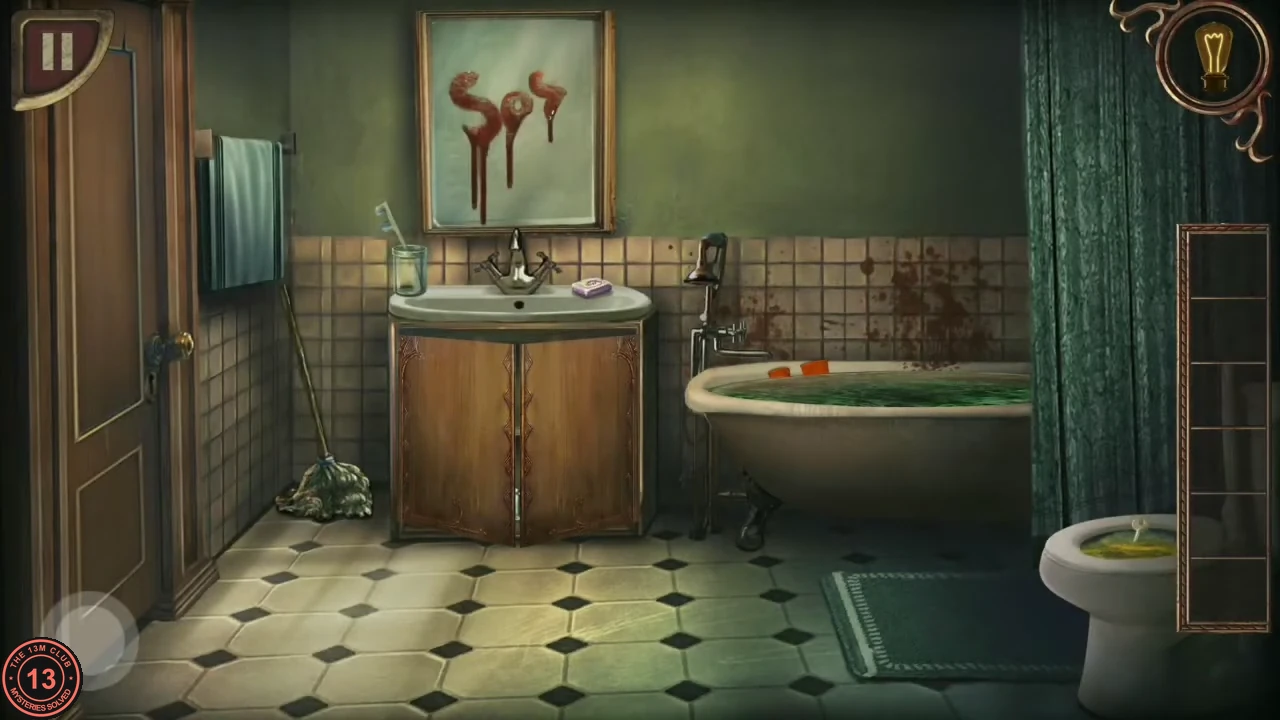
The bathroom door will not open with anything found here, so you must reach the rest of the house another way.
- Take the MOP leaning left of the sink. Open the cabinet under the sink and take the PLUNGER and the TAPE.
- In the inventory, drag the plunger onto the mop, then drag the tape onto the result to make a long plunger.
- Use the long plunger on the bathtub. "THAT'S BETTER." The water drains; take the orange RUBBER GLOVES from the empty tub.
- Use the rubber gloves on the toilet to fish out a KEY.
- The bathroom door rejects this key ("THIS KEY IS NOT FROM THIS DOOR."). Climb back out through the window, use the key on the front door and step into the foyer.
The Foyer: Two Halves of a Key
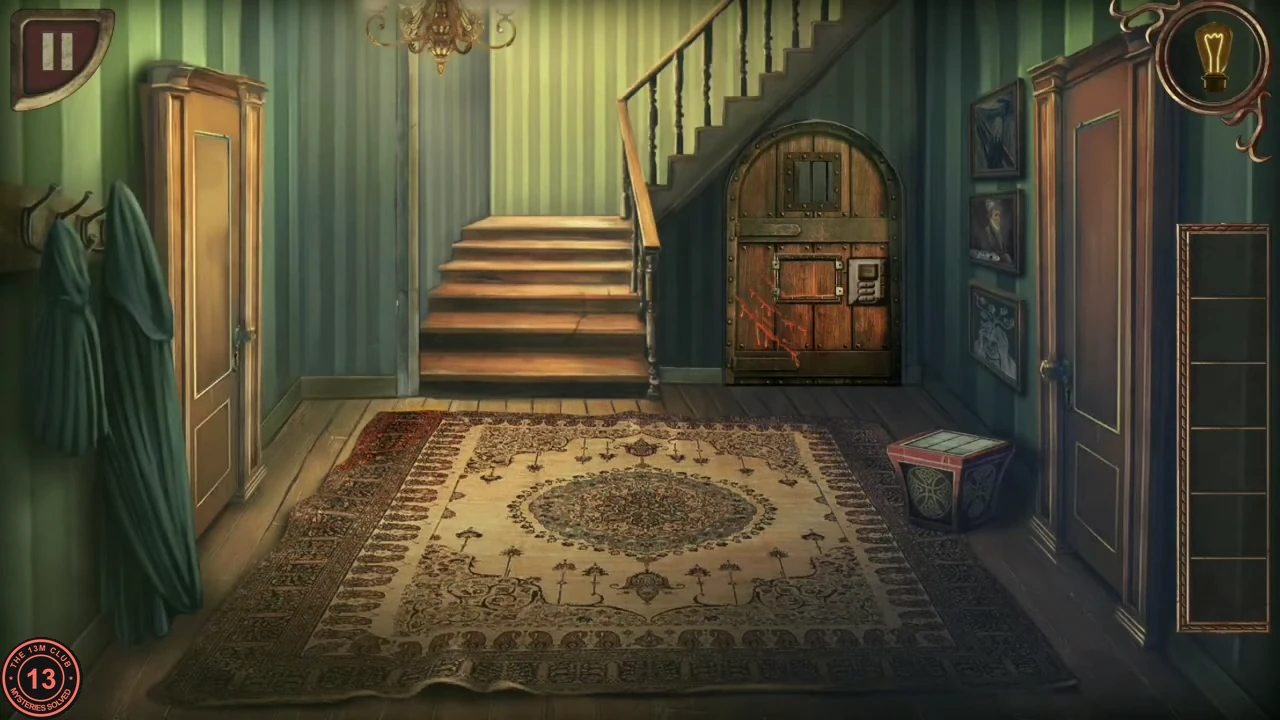
The door on the left of the foyer is locked. Its key is in two pieces hidden in this room.
- Tap the folded upper-left corner of the rug to find PART OF A KEY.
- Tap the green coats hanging on the left. They swing and the second PART OF A KEY drops onto the floor at the foot of the left-hand door; tap it to pick it up.
- Combine the two parts in the inventory and use the finished key on the left-hand door to enter the laboratory.
The Laboratory: Brewing the Poison
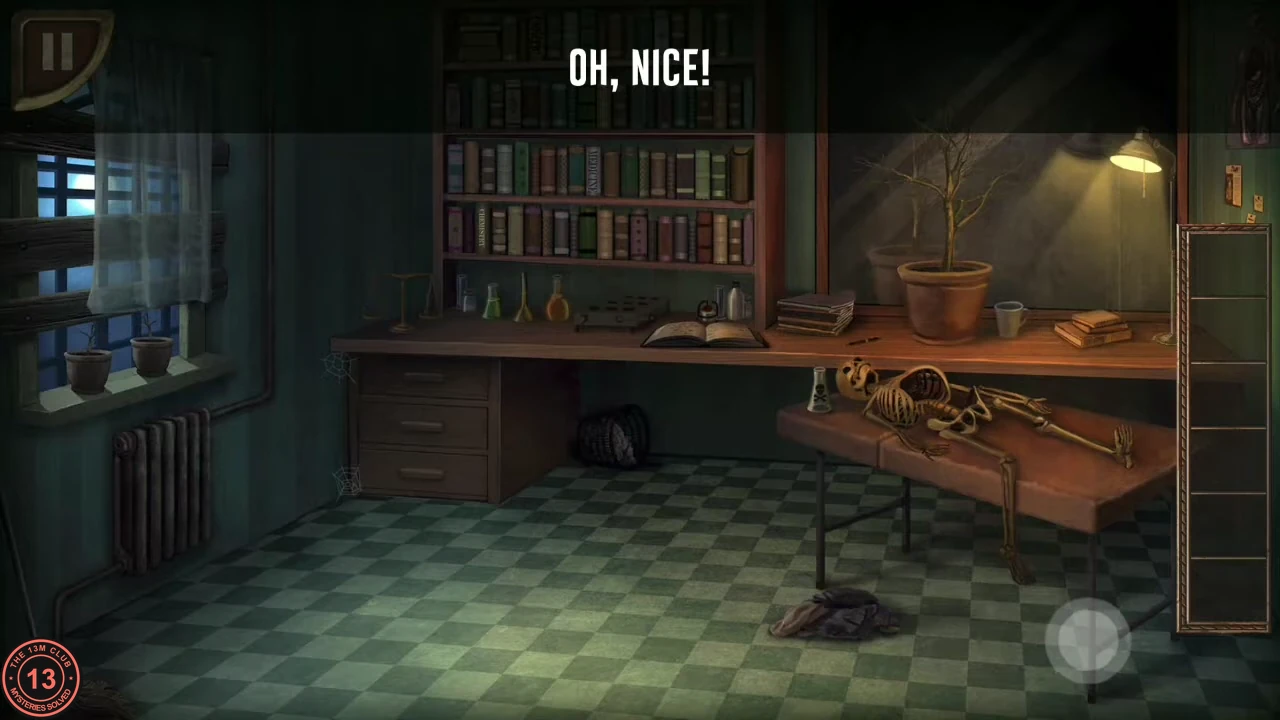
Mix the right number of each liquid in the apparatus and add the scorpion to brew a powerful poison.
- The room is dark ("A CHOKING SMELL..."). Tap the desk lamp at the upper right to switch it on.
- Zoom in on the bookshelf. Tap the thick dark-brown book at the far right end of the second-lowest row of books (just above the bottom full row); it falls off the shelf and uncovers a glass jar. Tap the jar to take the SCORPION.
- While zoomed in on the bookshelf, open the notebook lying at the bottom right of that view, on the desk below the shelves. The "Physic Poison" page asks for 4 green (yellow + blue), 3 orange (yellow + red), 1 brown (orange + blue) and a scorpion. Ignore the hint button; it offers an advertisement.
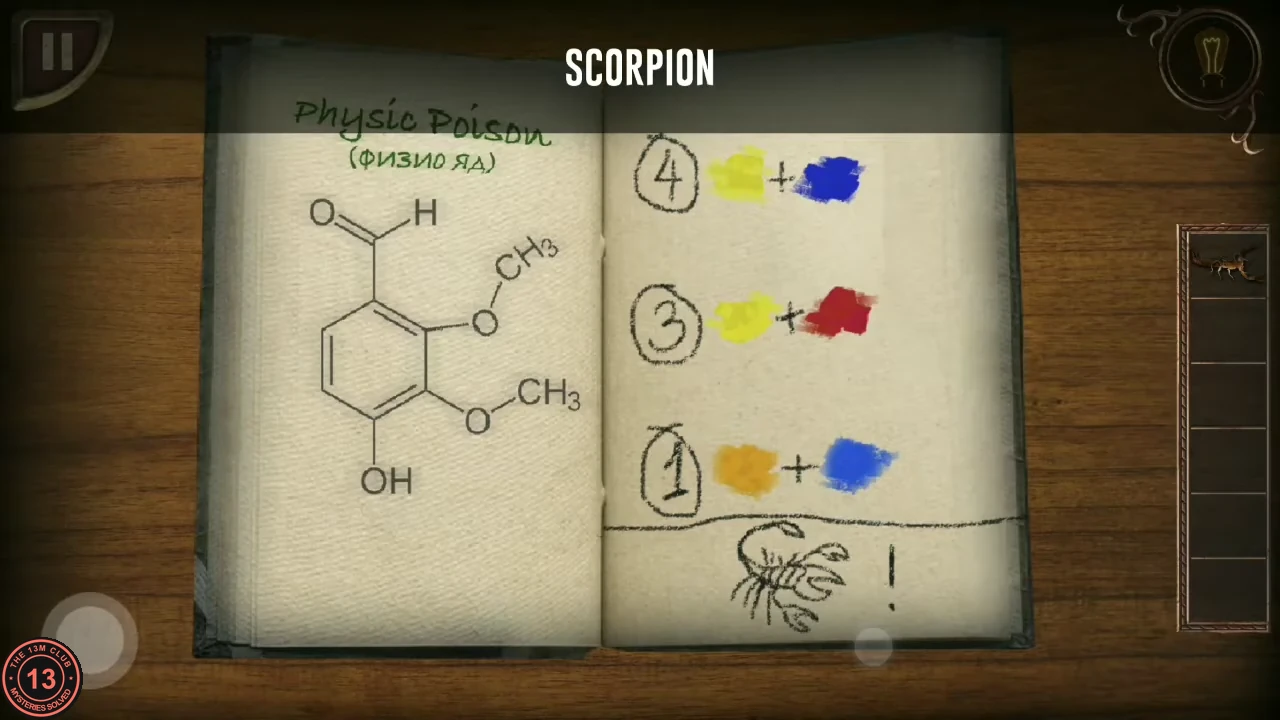
The recipe: 4 green, 3 orange, 1 brown, then the scorpion. - Tap the 3 x 3 apparatus on the lower shelf. Pour 4 wells of green, 3 of orange and 1 of brown from the flasks beside it, leaving one well empty. Only the counts matter: different arrangements of the same colours work. Finish the whole recipe without leaving the close-up, because backing out can empty the wells and you would have to pour them again.
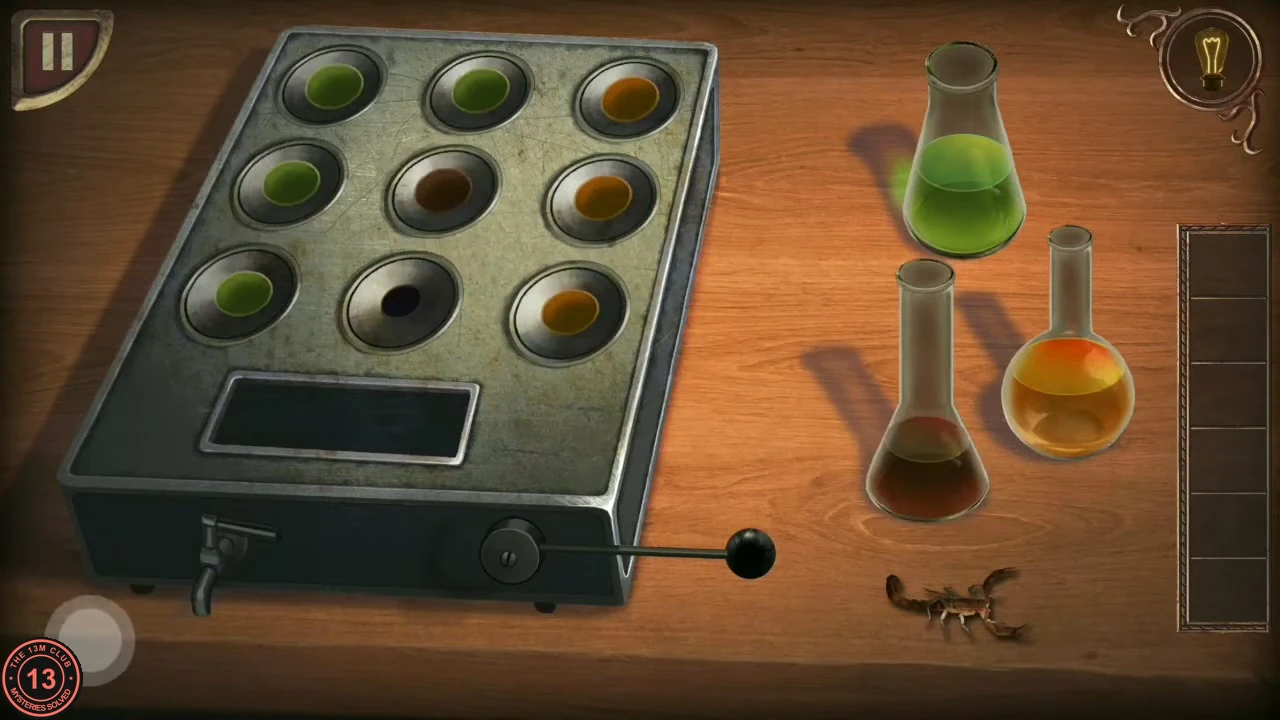
An example of a finished arrangement; any positions work if the counts match. - Drag the scorpion into the rectangular tray and pull the lever. Take the skull-marked POISON bottle that comes out.
Upstairs Hallway: The Ring Dial Box
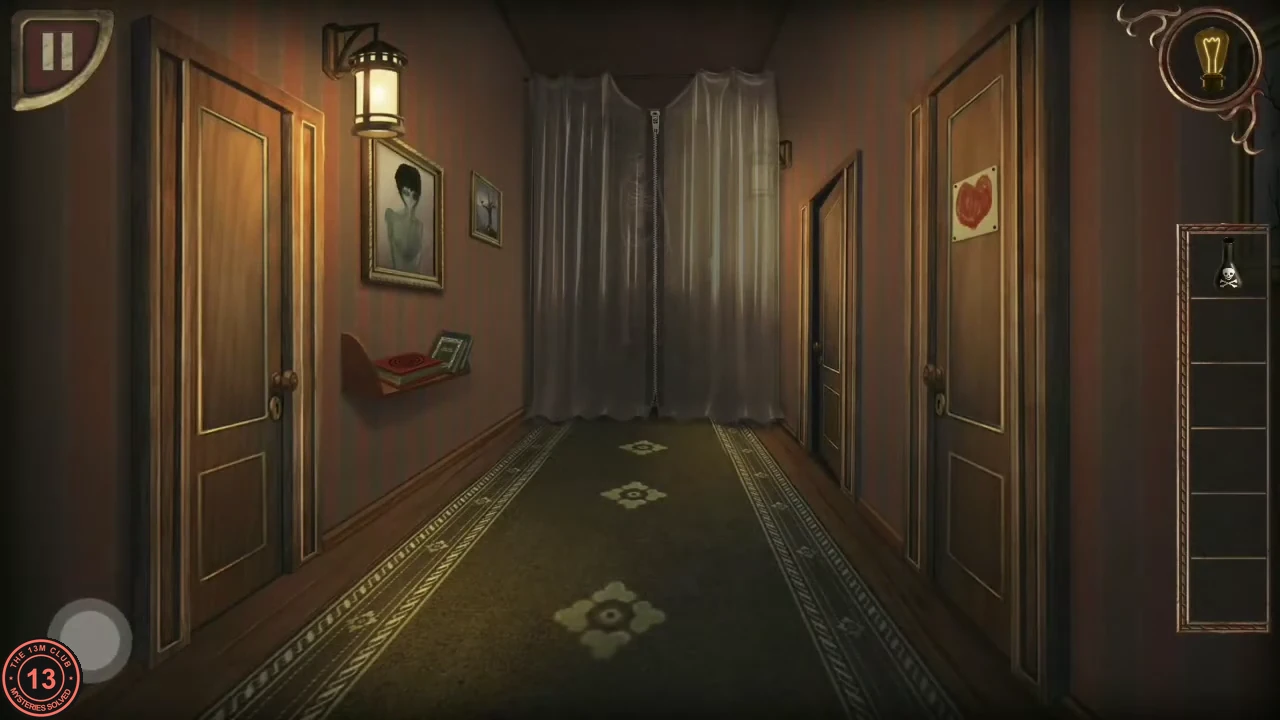
Return to the foyer and climb the stairs. A red box on a small shelf on the left wall, below a portrait, holds a dial with three number rings.
- Zoom in on the red box. The dial has three rings of numbers around a centre marked with the Roman numeral III; the outer ring holds 17, 29, 45 and 24. The III tells you the rule: each ring inward is the previous number multiplied by 3.
- Rotate the middle and inner rings so that along each spoke the middle number is three times the outer number and the inner number is three times the middle number: 17-51-153, 29-87-261, 45-135-405 and 24-72-216. Then tap the III in the centre to confirm; the centre spins.
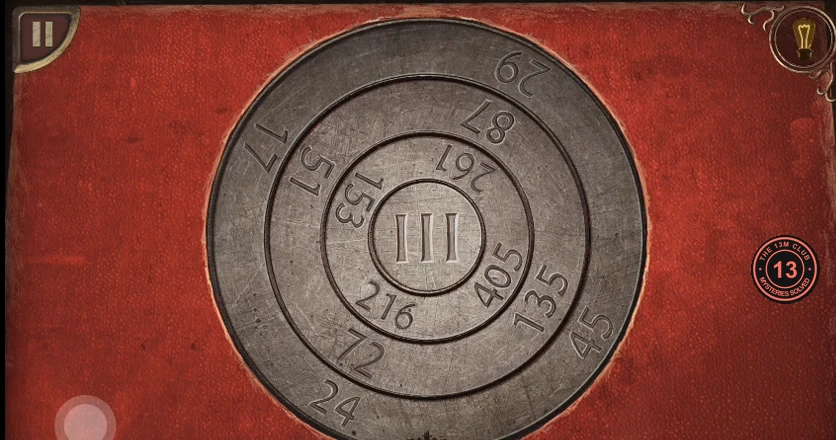
The solved dial: every spoke multiplies by 3 from the outer ring inward. - The view returns to the hallway with the box open; take the GOLD KEY from it.
- The near left door rejects the gold key (the message appears in Russian and means the key does not fit). Open the near right door with the red heart; it is unlocked and leads to a child's bedroom.
The Child's Bedroom: Doll Schedule and Alphabet Poster
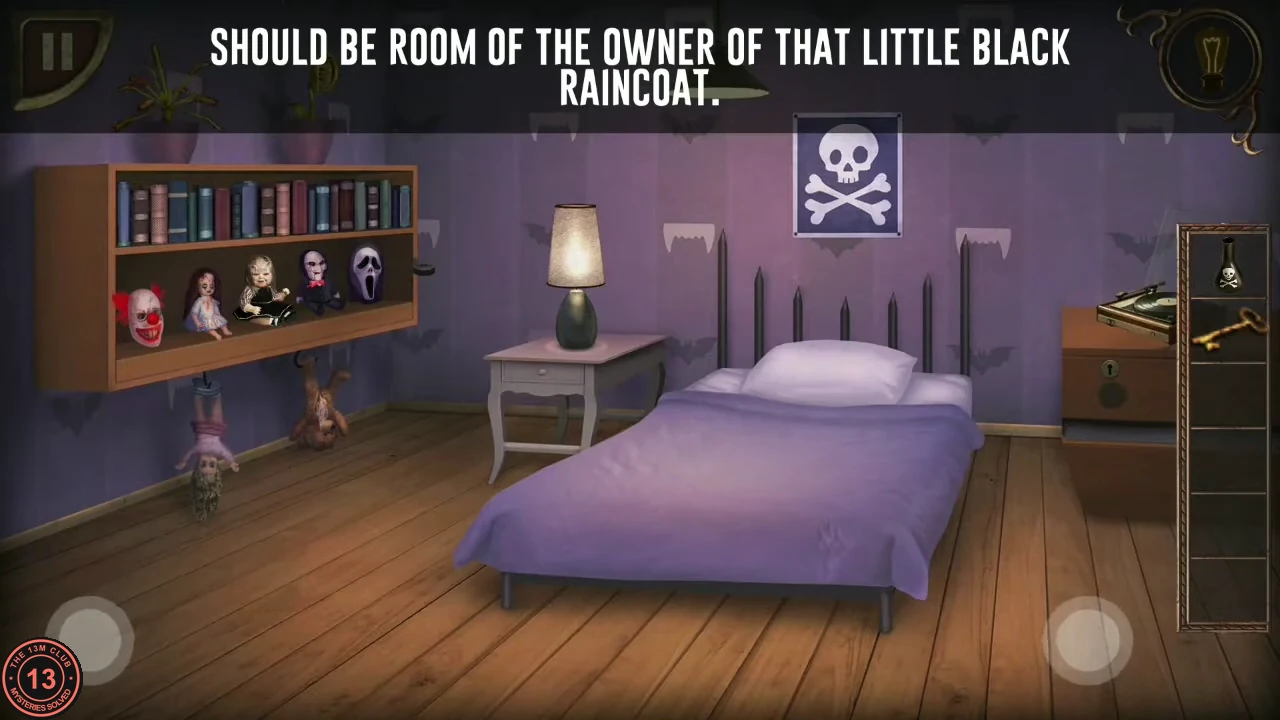
A schedule of creepy faces tells you how to order the dolls, and the dolls reveal which letter to press on the poster.
- Use the gold key on the locked drawer of the nightstand to the right of the bed. Tap the open drawer to take the schedule note; it stays available as a clue at the top right.
- The schedule pairs times with faces: 7.00 horned face, 10.00 wild-haired face with spiral cheeks, 13.00 clown, 15.00 Scream mask, 18.00 long-haired girl.
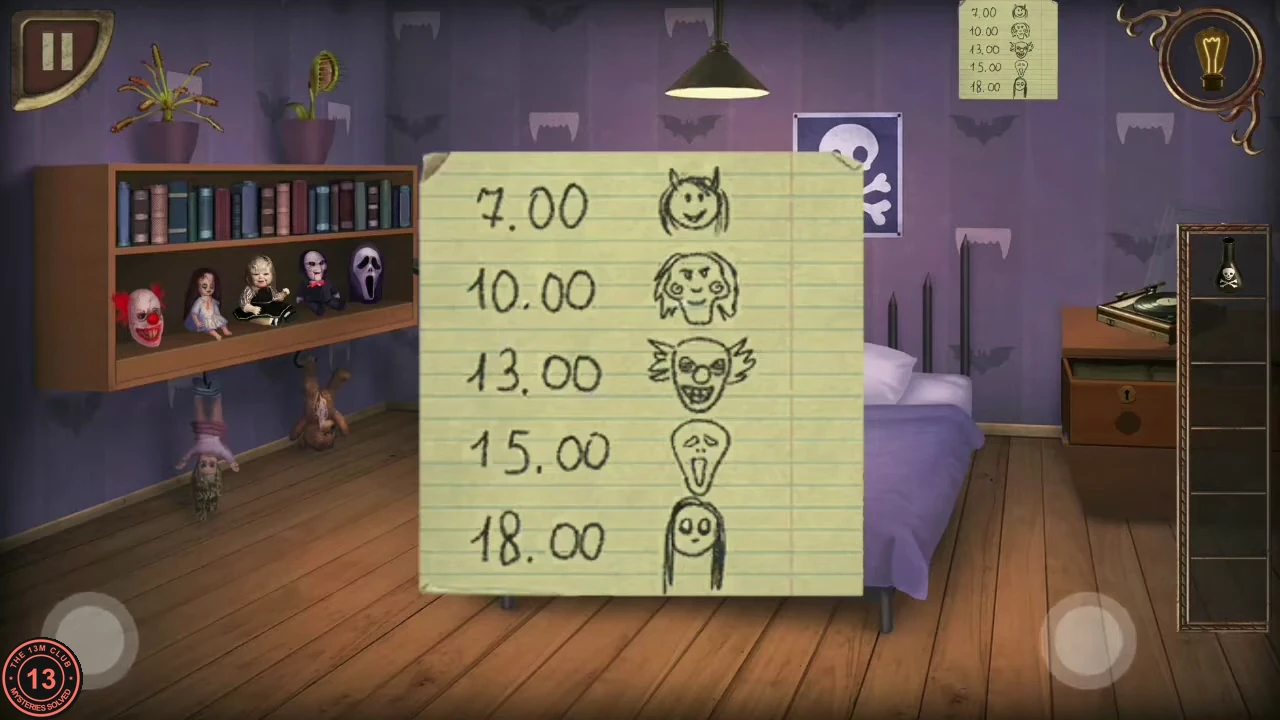
The schedule note from the nightstand drawer. - Zoom in on the doll shelf on the left wall. Tap one doll and then another to swap their places. Arrange them from left to right in schedule order, earliest time first: blonde doll in the black dress, puppet with spiral cheeks, clown, Scream mask, long-haired girl. When the order is right, a lamp at the end of the shelf switches on.
- Look at the floor under the shelf: the lamp projects three ring shapes with a small tail, like the letter Q.
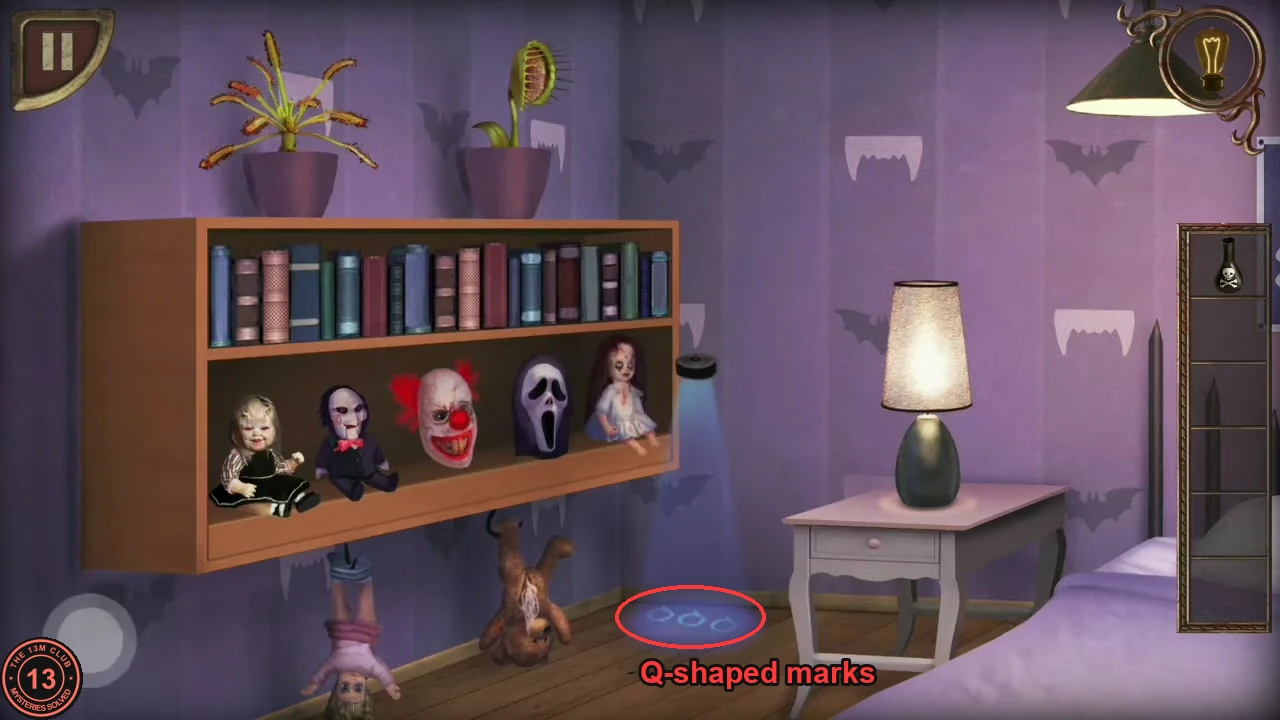
Solved shelf order and the Q-shaped marks the lamp projects on the floor. - Turn to the desk side of the room and zoom in on the alphabet poster above the desk. Tap the letter Q, and keep tapping it until the poster reacts; one tap may not be enough. The poster swings aside to reveal a "FLIMSY BRICK ..." patch of wall; you need a hammer for it later.
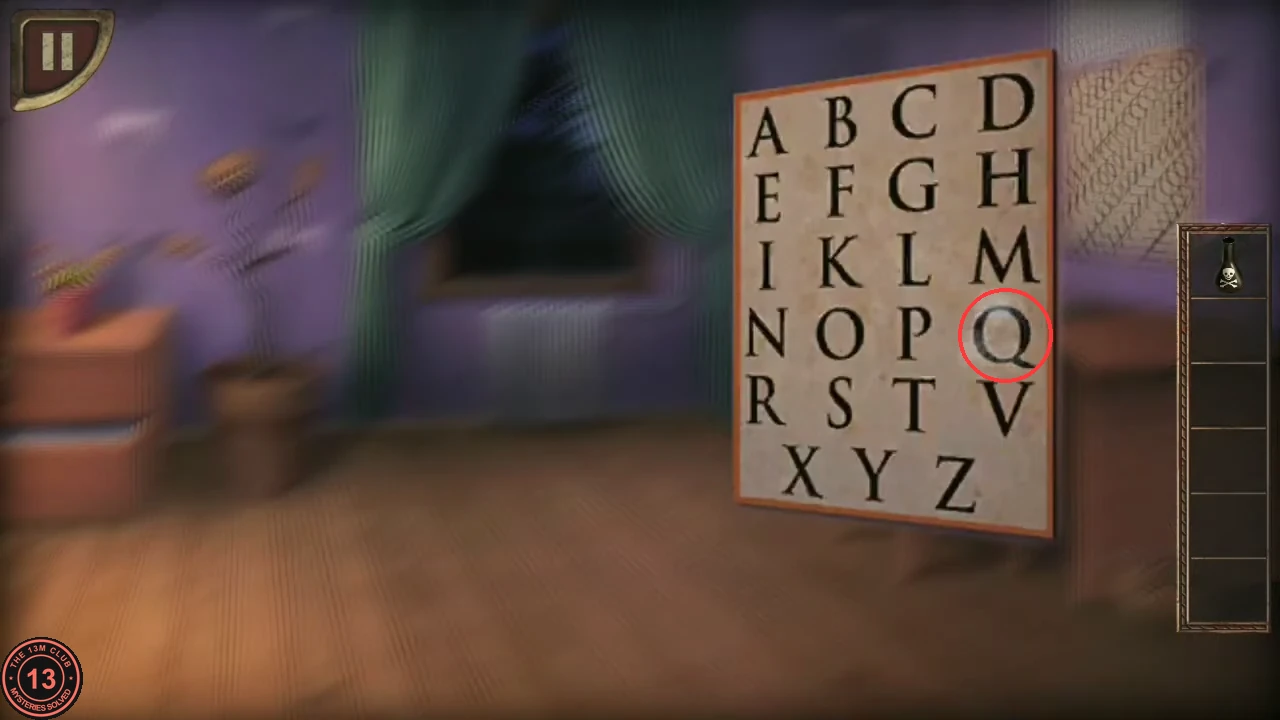
Tap the Q on the alphabet poster repeatedly until the poster swings open.
The Foyer Portrait and the Strong Lock
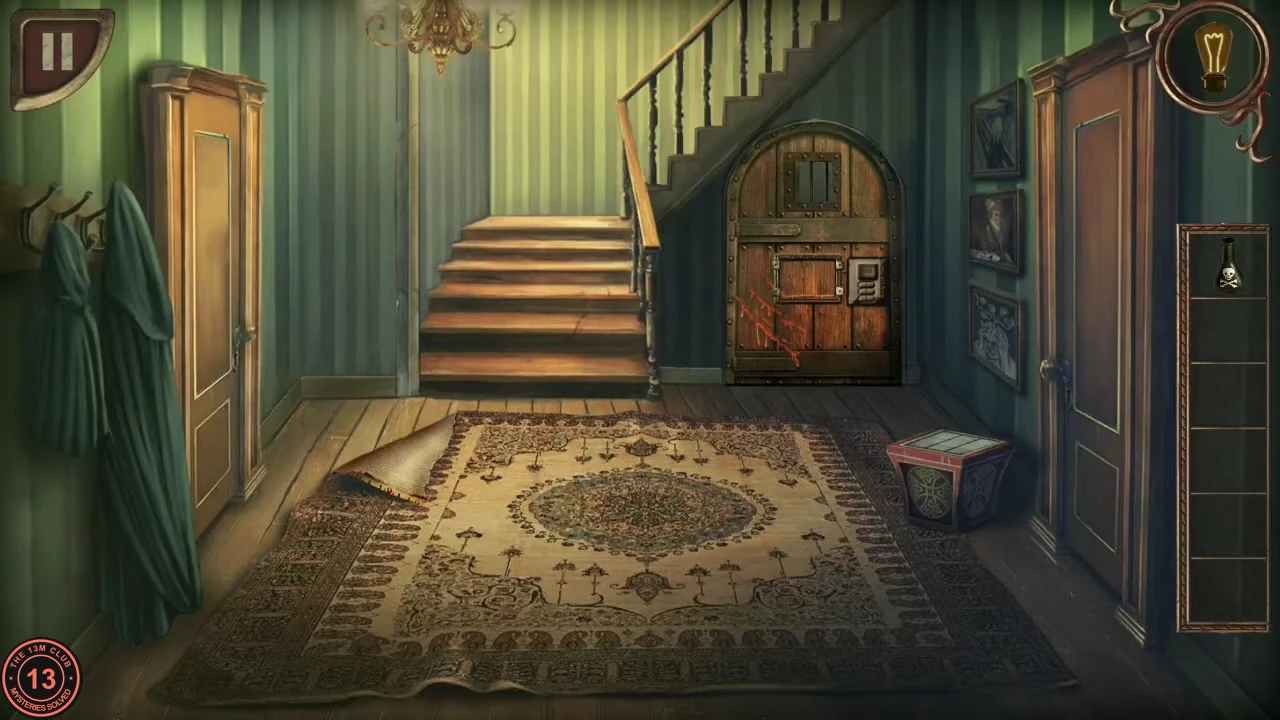
Head back downstairs. The door under the stairs has a three-roller combination lock.
- Tap the portrait of the woman on the right-hand wall of the foyer. She holds a hand of cards. Read only the three black spade cards from left to right: 3, 7 and the ace (count it as 1). Ignore both red cards. The code is 3, 7, 1.
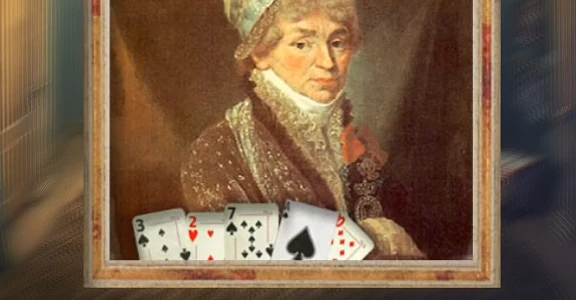
The portrait's cards; read the spades only: 3, 7, ace (1). - Zoom in on the "Strong Lock" on the door under the stairs. Tap a roller and all three start counting up on their own, one digit at a time. Tap a roller again while it shows its digit to stop it there: stop the top roller on 3, the middle one on 7 and the bottom one on 1. The rollers that are still moving keep counting, so if you miss a number, wait for it to come round again. When the lock reads 3-7-1, press OPEN to enter the cellar.CODE371
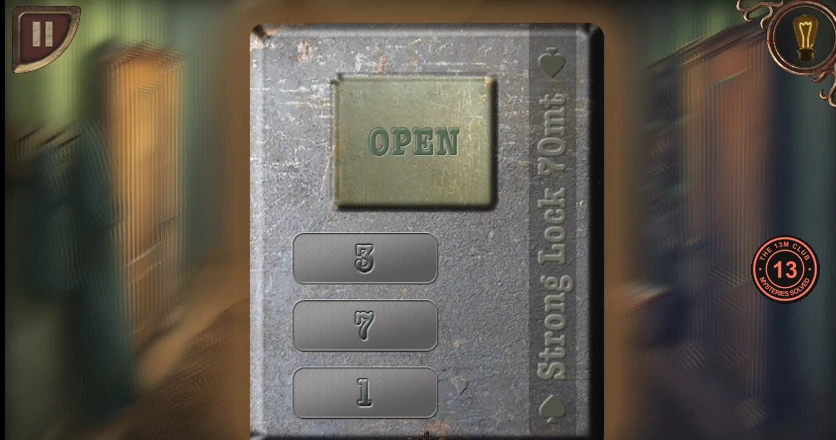
The Strong Lock set to 3-7-1.
The Cellar: The Man With the Hammer
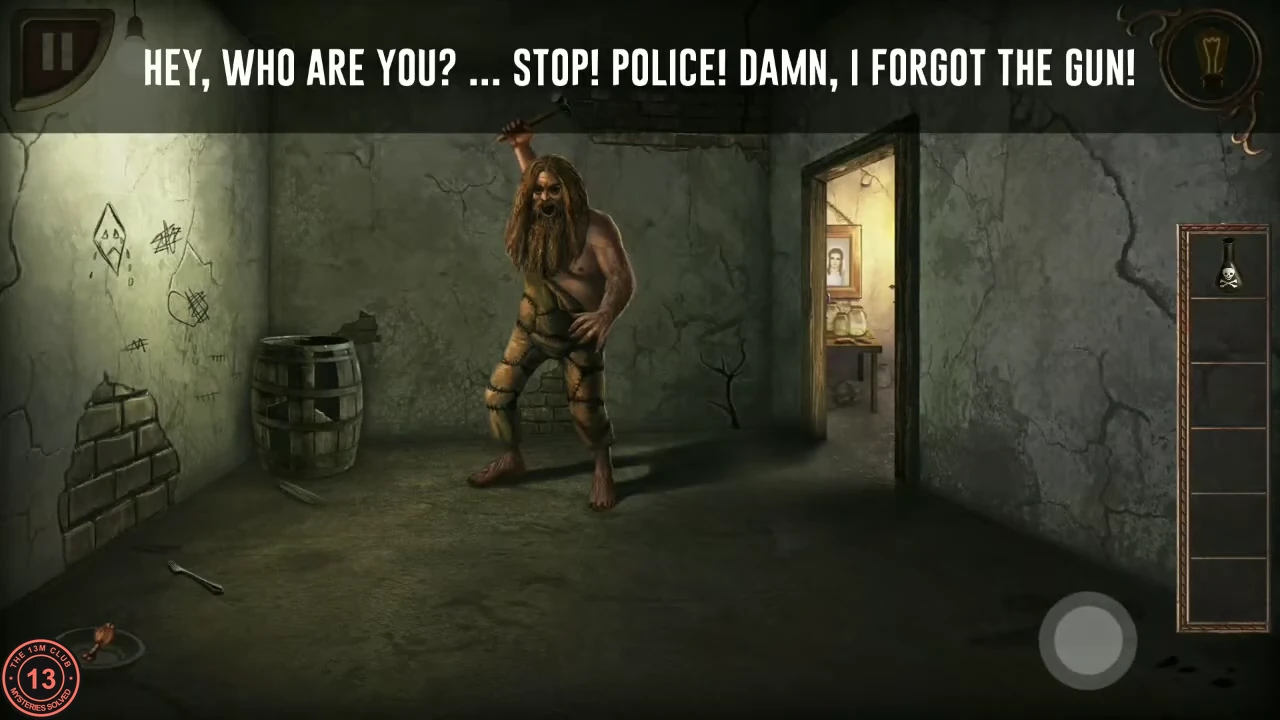
A bearded man with a hammer blocks the cellar: "HEY, WHO ARE YOU? ... STOP! POLICE! DAMN, I FORGOT THE GUN!"
- Pick up the FORK lying on the floor in front of the barrel and the MEAT in the frying pan in the bottom-left corner of the cellar. You will need both later.
- Drag the POISON onto the man. He dissolves: "WOW, WHAT A POWERFUL REAGENT IT TURNED OUT!"
- Pick up the HAMMER from the floor by his remains, then go through the right-hand doorway into the side room.
The Cellar Side Room: The Loop Riddle
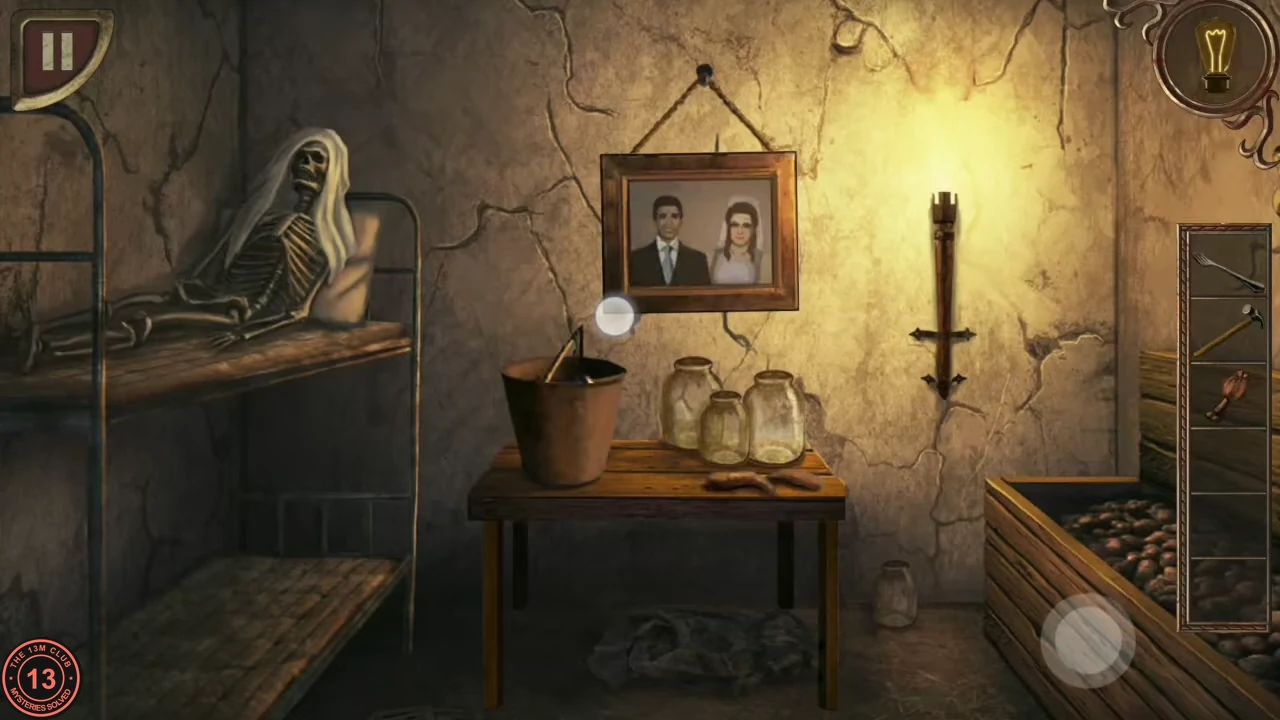
A note hidden behind the wall gives the code for a box in the foyer.
- Take the AMULET (a tooth on a stick) from the bucket on the table.
- Drag the HAMMER onto the nail at the top of the couple's portrait. The portrait falls onto the table and reveals cracked plaster. Drag the hammer onto the crack to break through (the hammer stays in your inventory) and read the note in the hole.
- The note reads 2809 = 4, 5884 = 4, 7096 = 3, then 6855, 2193 and 1616 with their answers blotted out. Count the closed loops in each number's digits: 0, 6 and 9 have one loop each and 8 has two. So 6855 = 3, 2193 = 1 and 1616 = 2. The code uses all six answers from top to bottom, including the three printed ones: 4-4-3-3-1-2.CODE443312
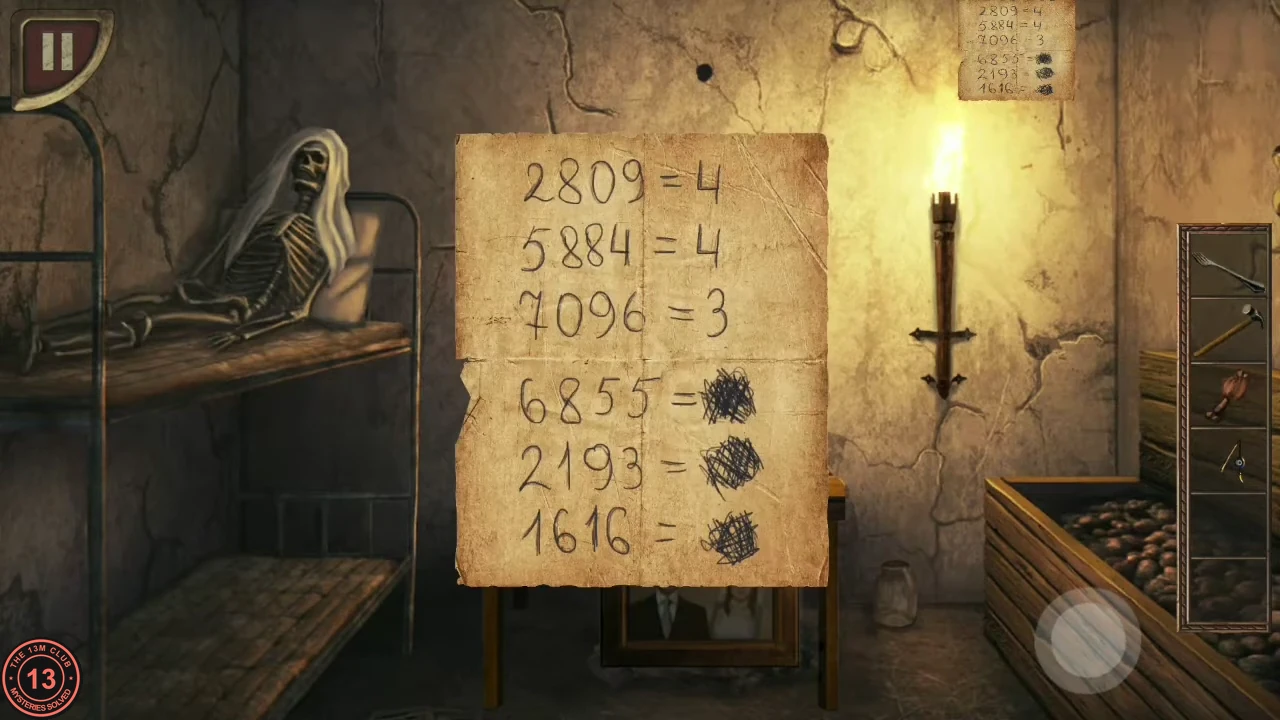
The loop riddle: count the closed loops in each number.
The Foyer: The Magic Matchbox
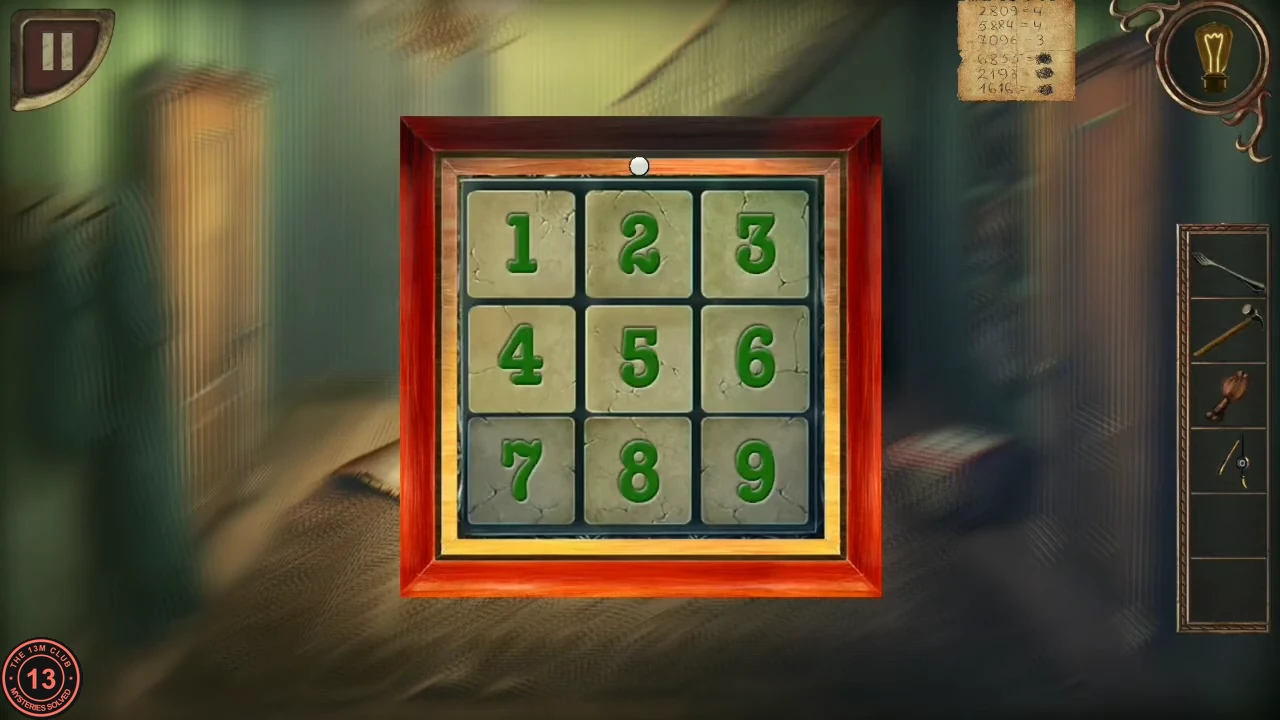
A small box on the floor of the foyer, on the right by the stairs, has a 3 x 3 keypad marked "MAGIC MATCHBOX".
- Return to the foyer, zoom in on the box and press 4, 4, 3, 3, 1, 2. The small light at the top turns green and the centre tile opens; take the MAGIC MATCHES.CODE443312
- In the inventory, combine the AMULET with the MEAT. You will need this for a dog later.